
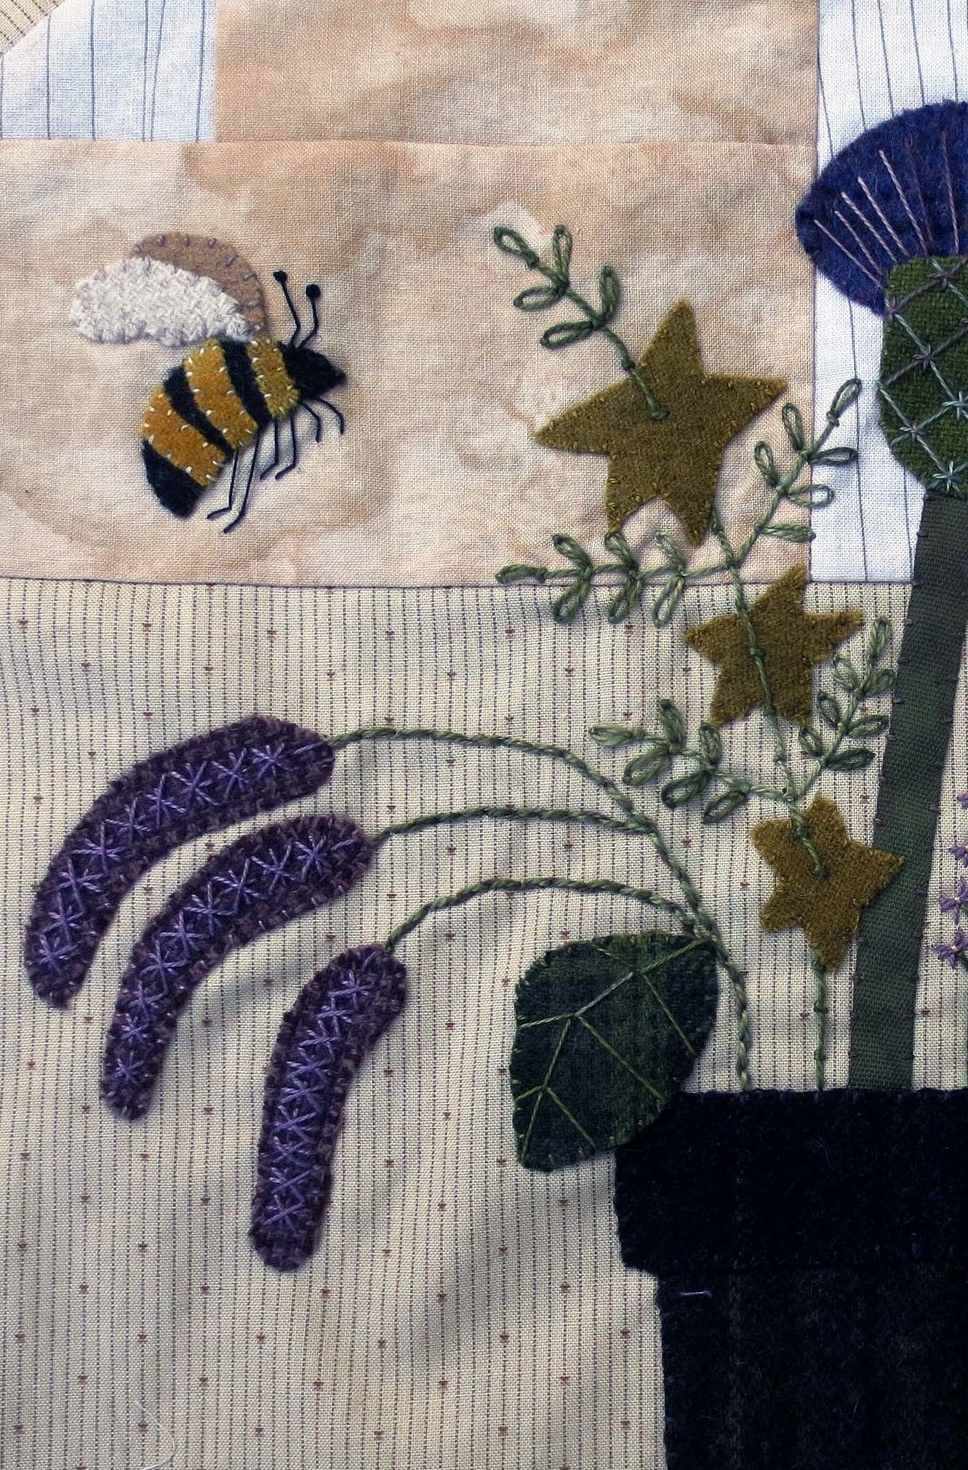
Flowers From My Garden Block #2 - Part II
These are instructions for completing the second block of Flowers From Garden Mystery Quilt. Please see the previous post for Part I of Block #2.
Instructions: Use the layout and stitch guide downloaded from the previous posting.
- Place your block on the full size layout with the lightbox underneath both. Lay out the star flowers, long flowers, and leaf #1. Note: If you don't have a full sized layout, you can use the layout as a guide to help position the wool pieces. Just make sure will have room for the embroidered stems and leaves. You may have already drawn the left stems in when you drew the right side stems. If so, place your wool pieces accordingly.
- Fuse wool pieces in place using steam.
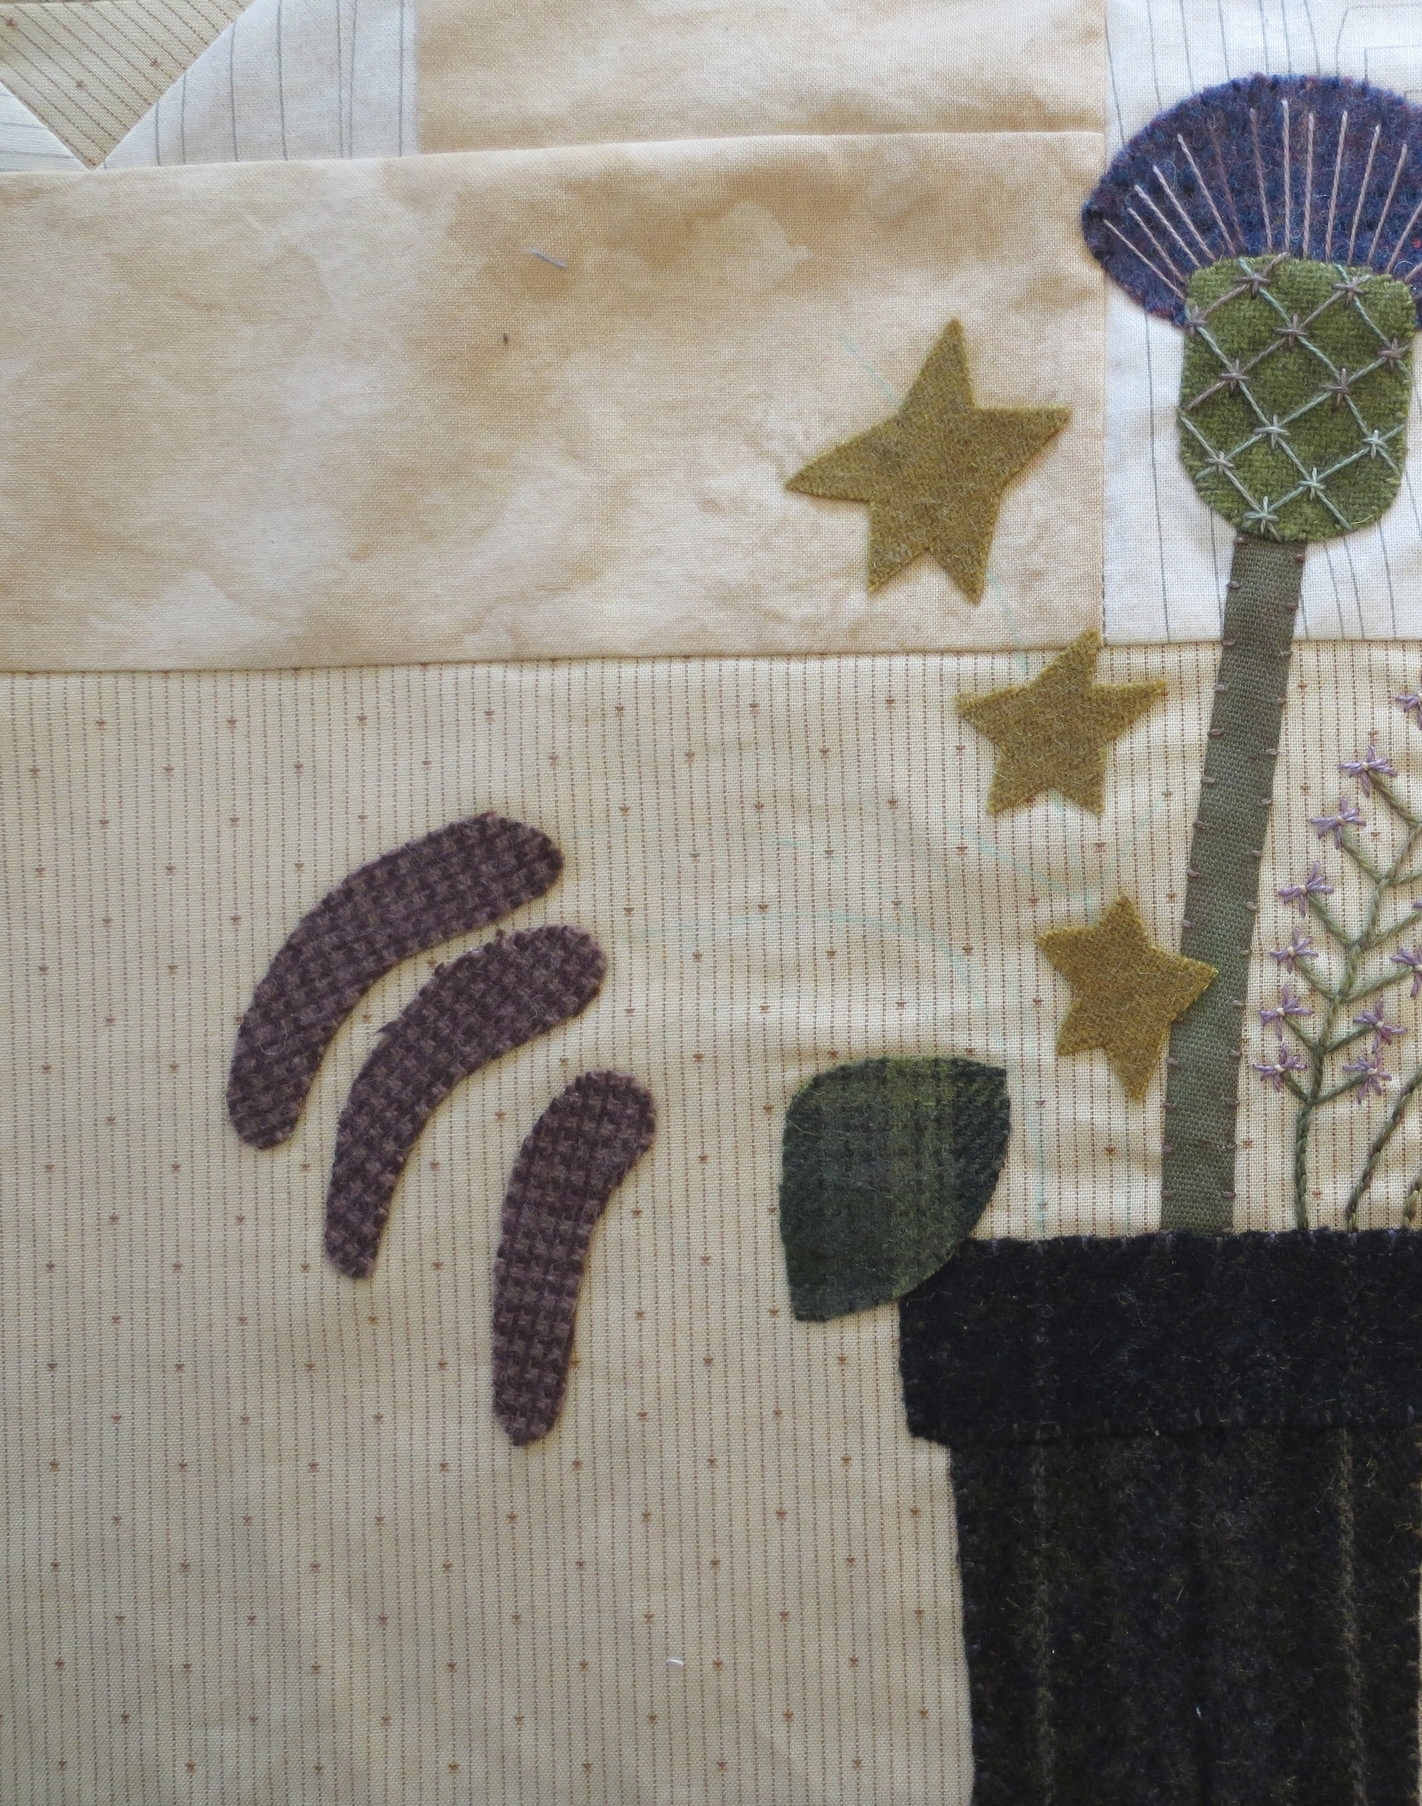
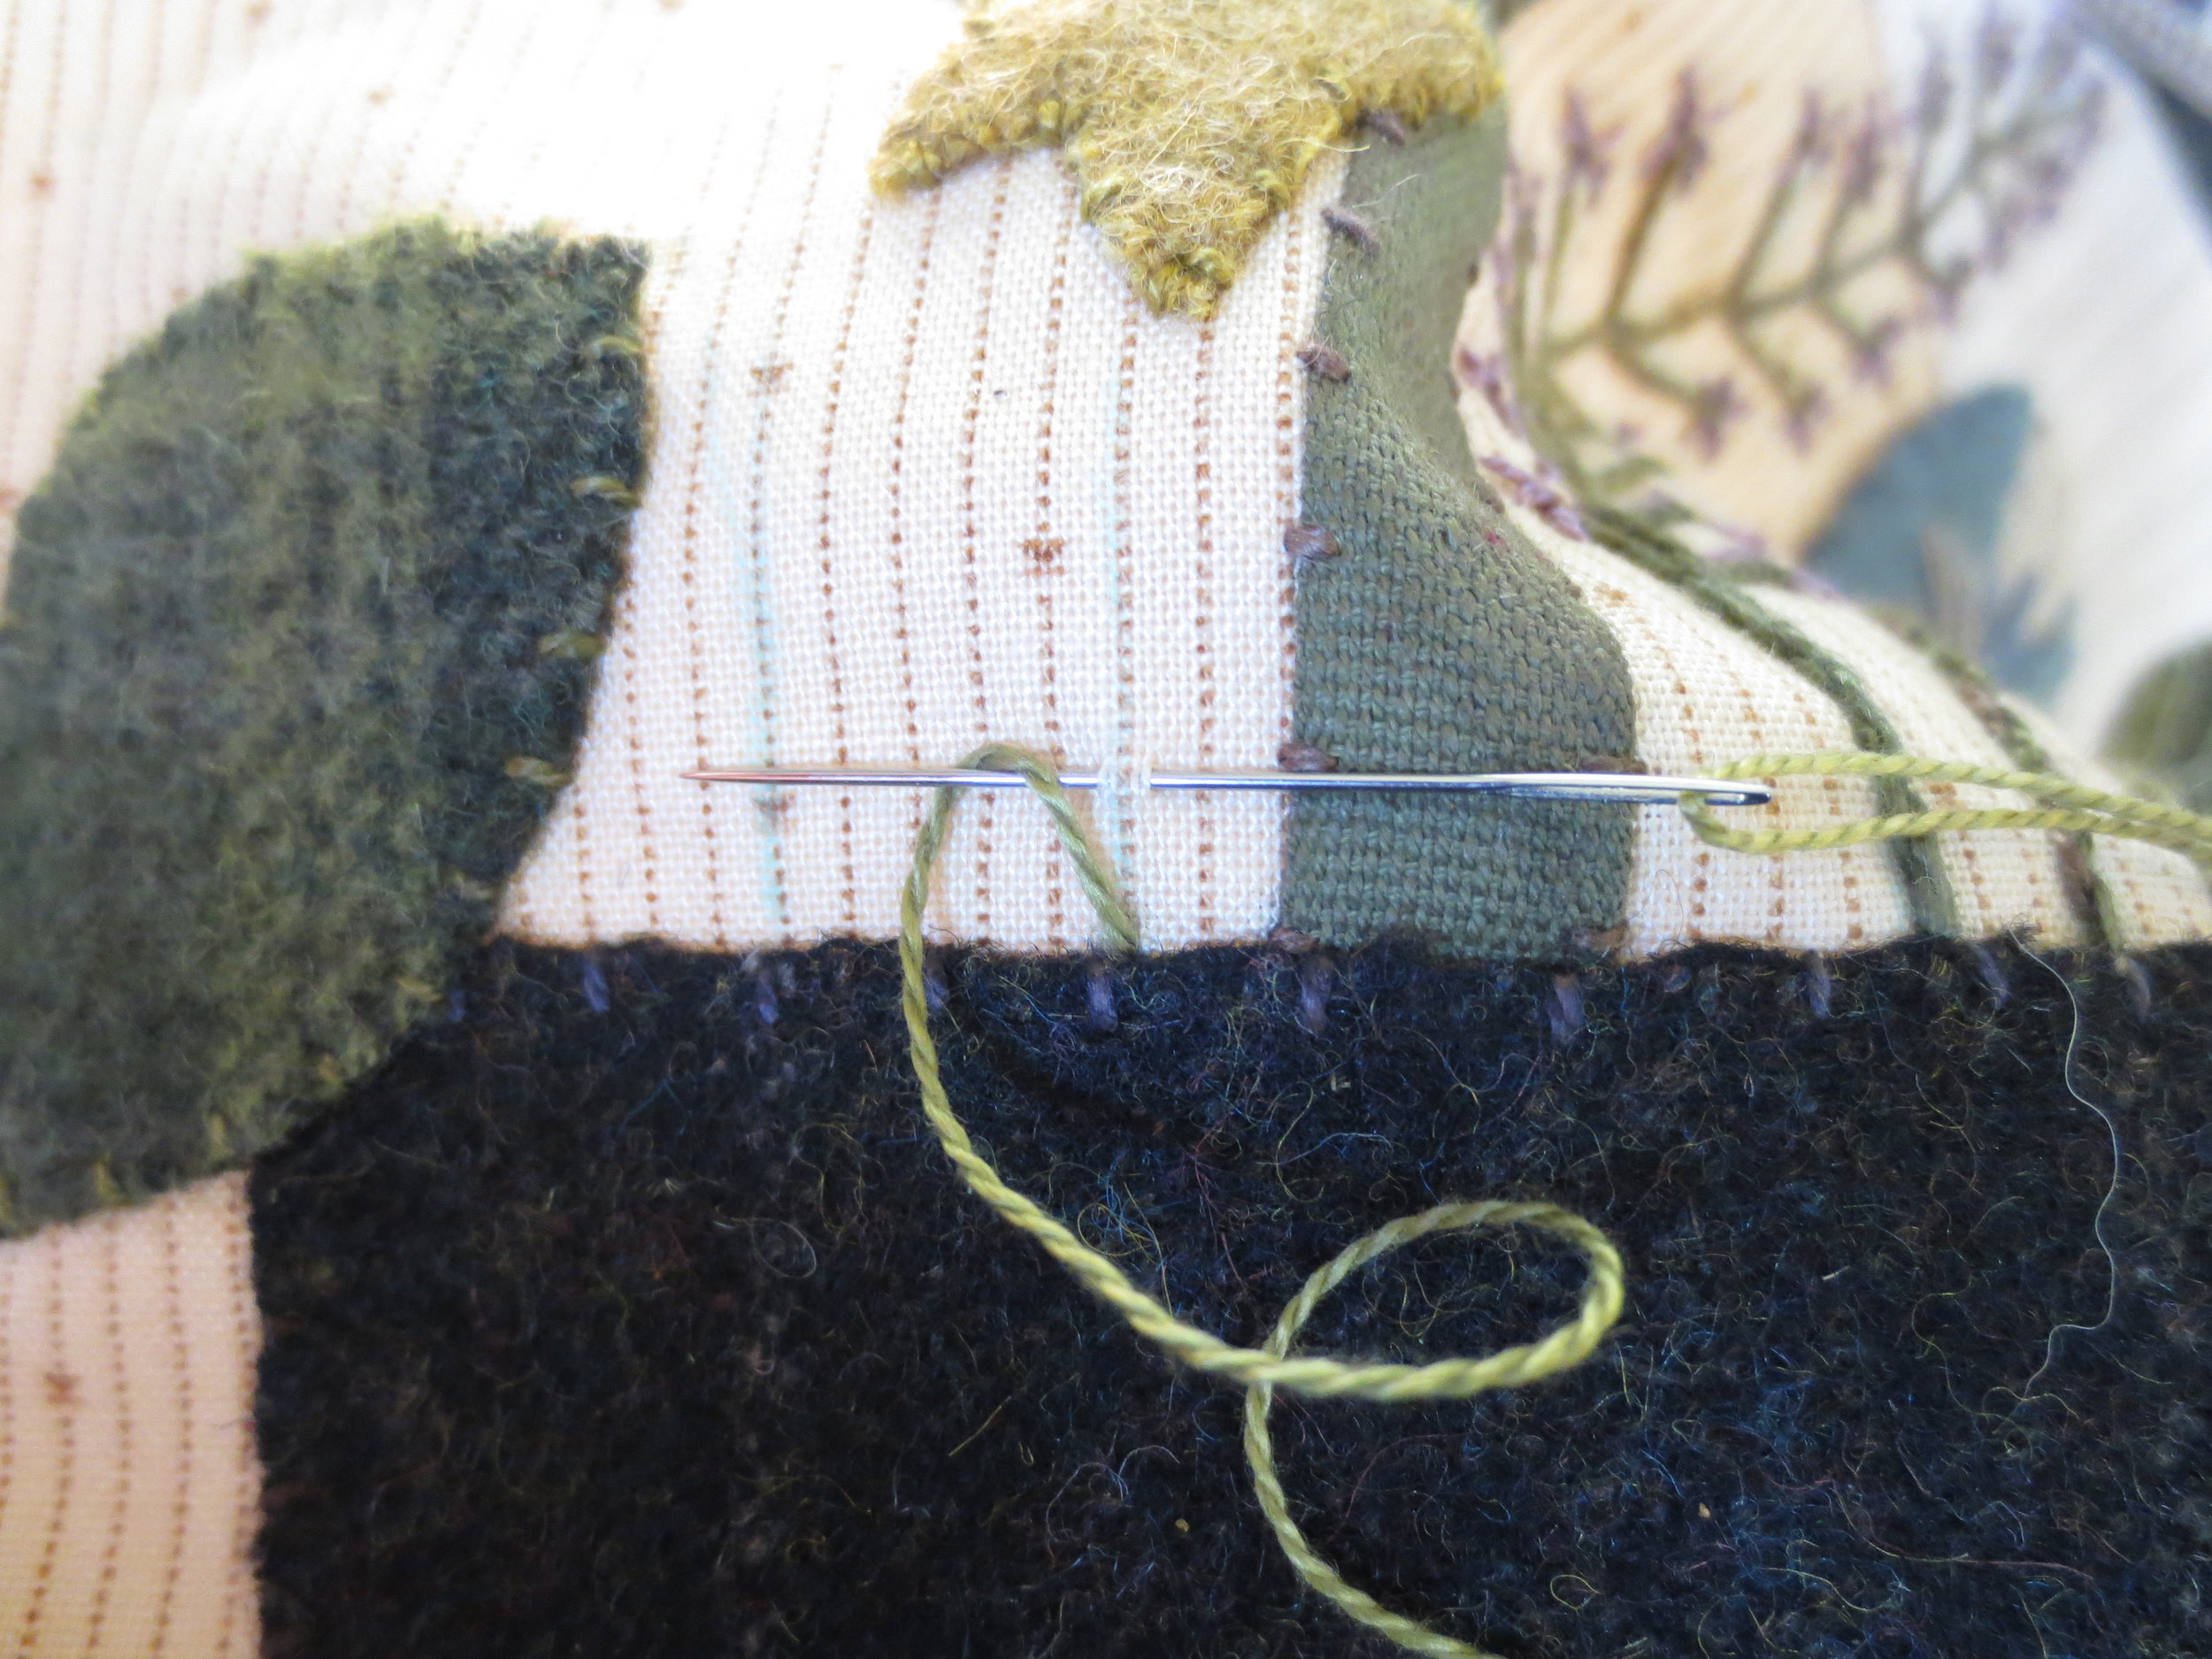
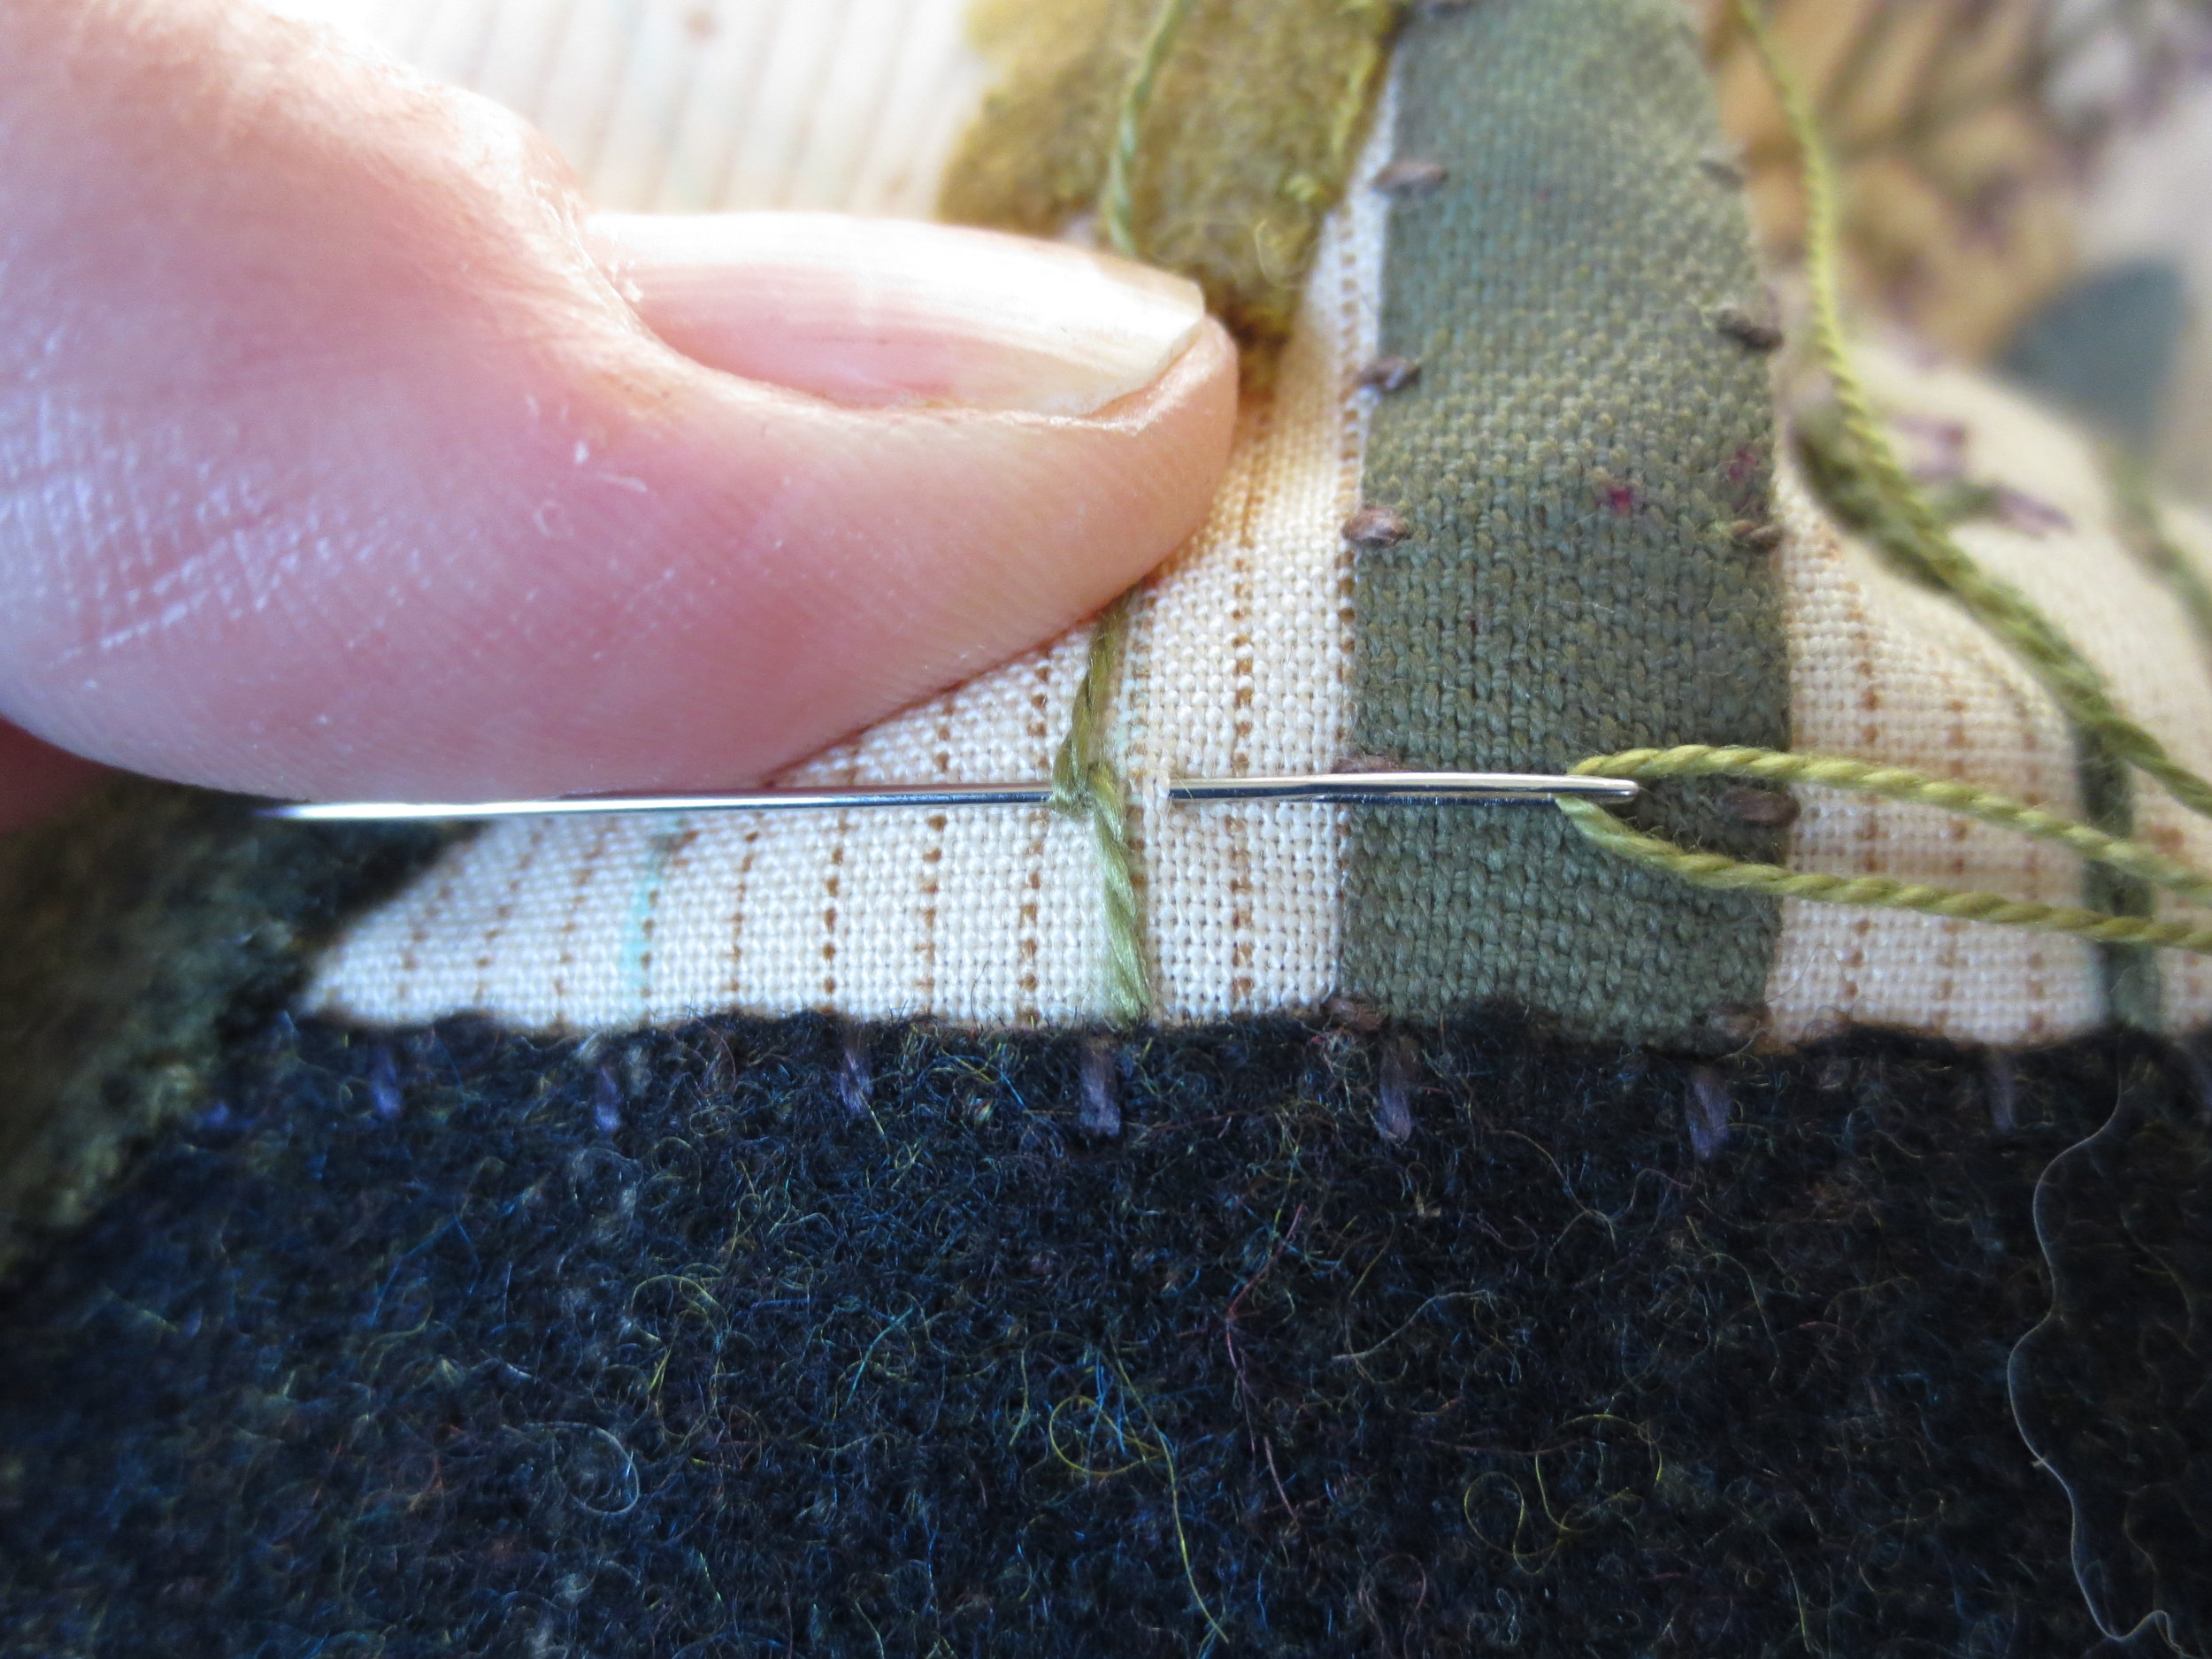
3. Whip stitch the star flowers, long flowers, and leaf #1 with perle cotton, size 12. Use colors that match wool colors.
4. If you haven't drawn the stems in, do so now.
5. Star Flowers
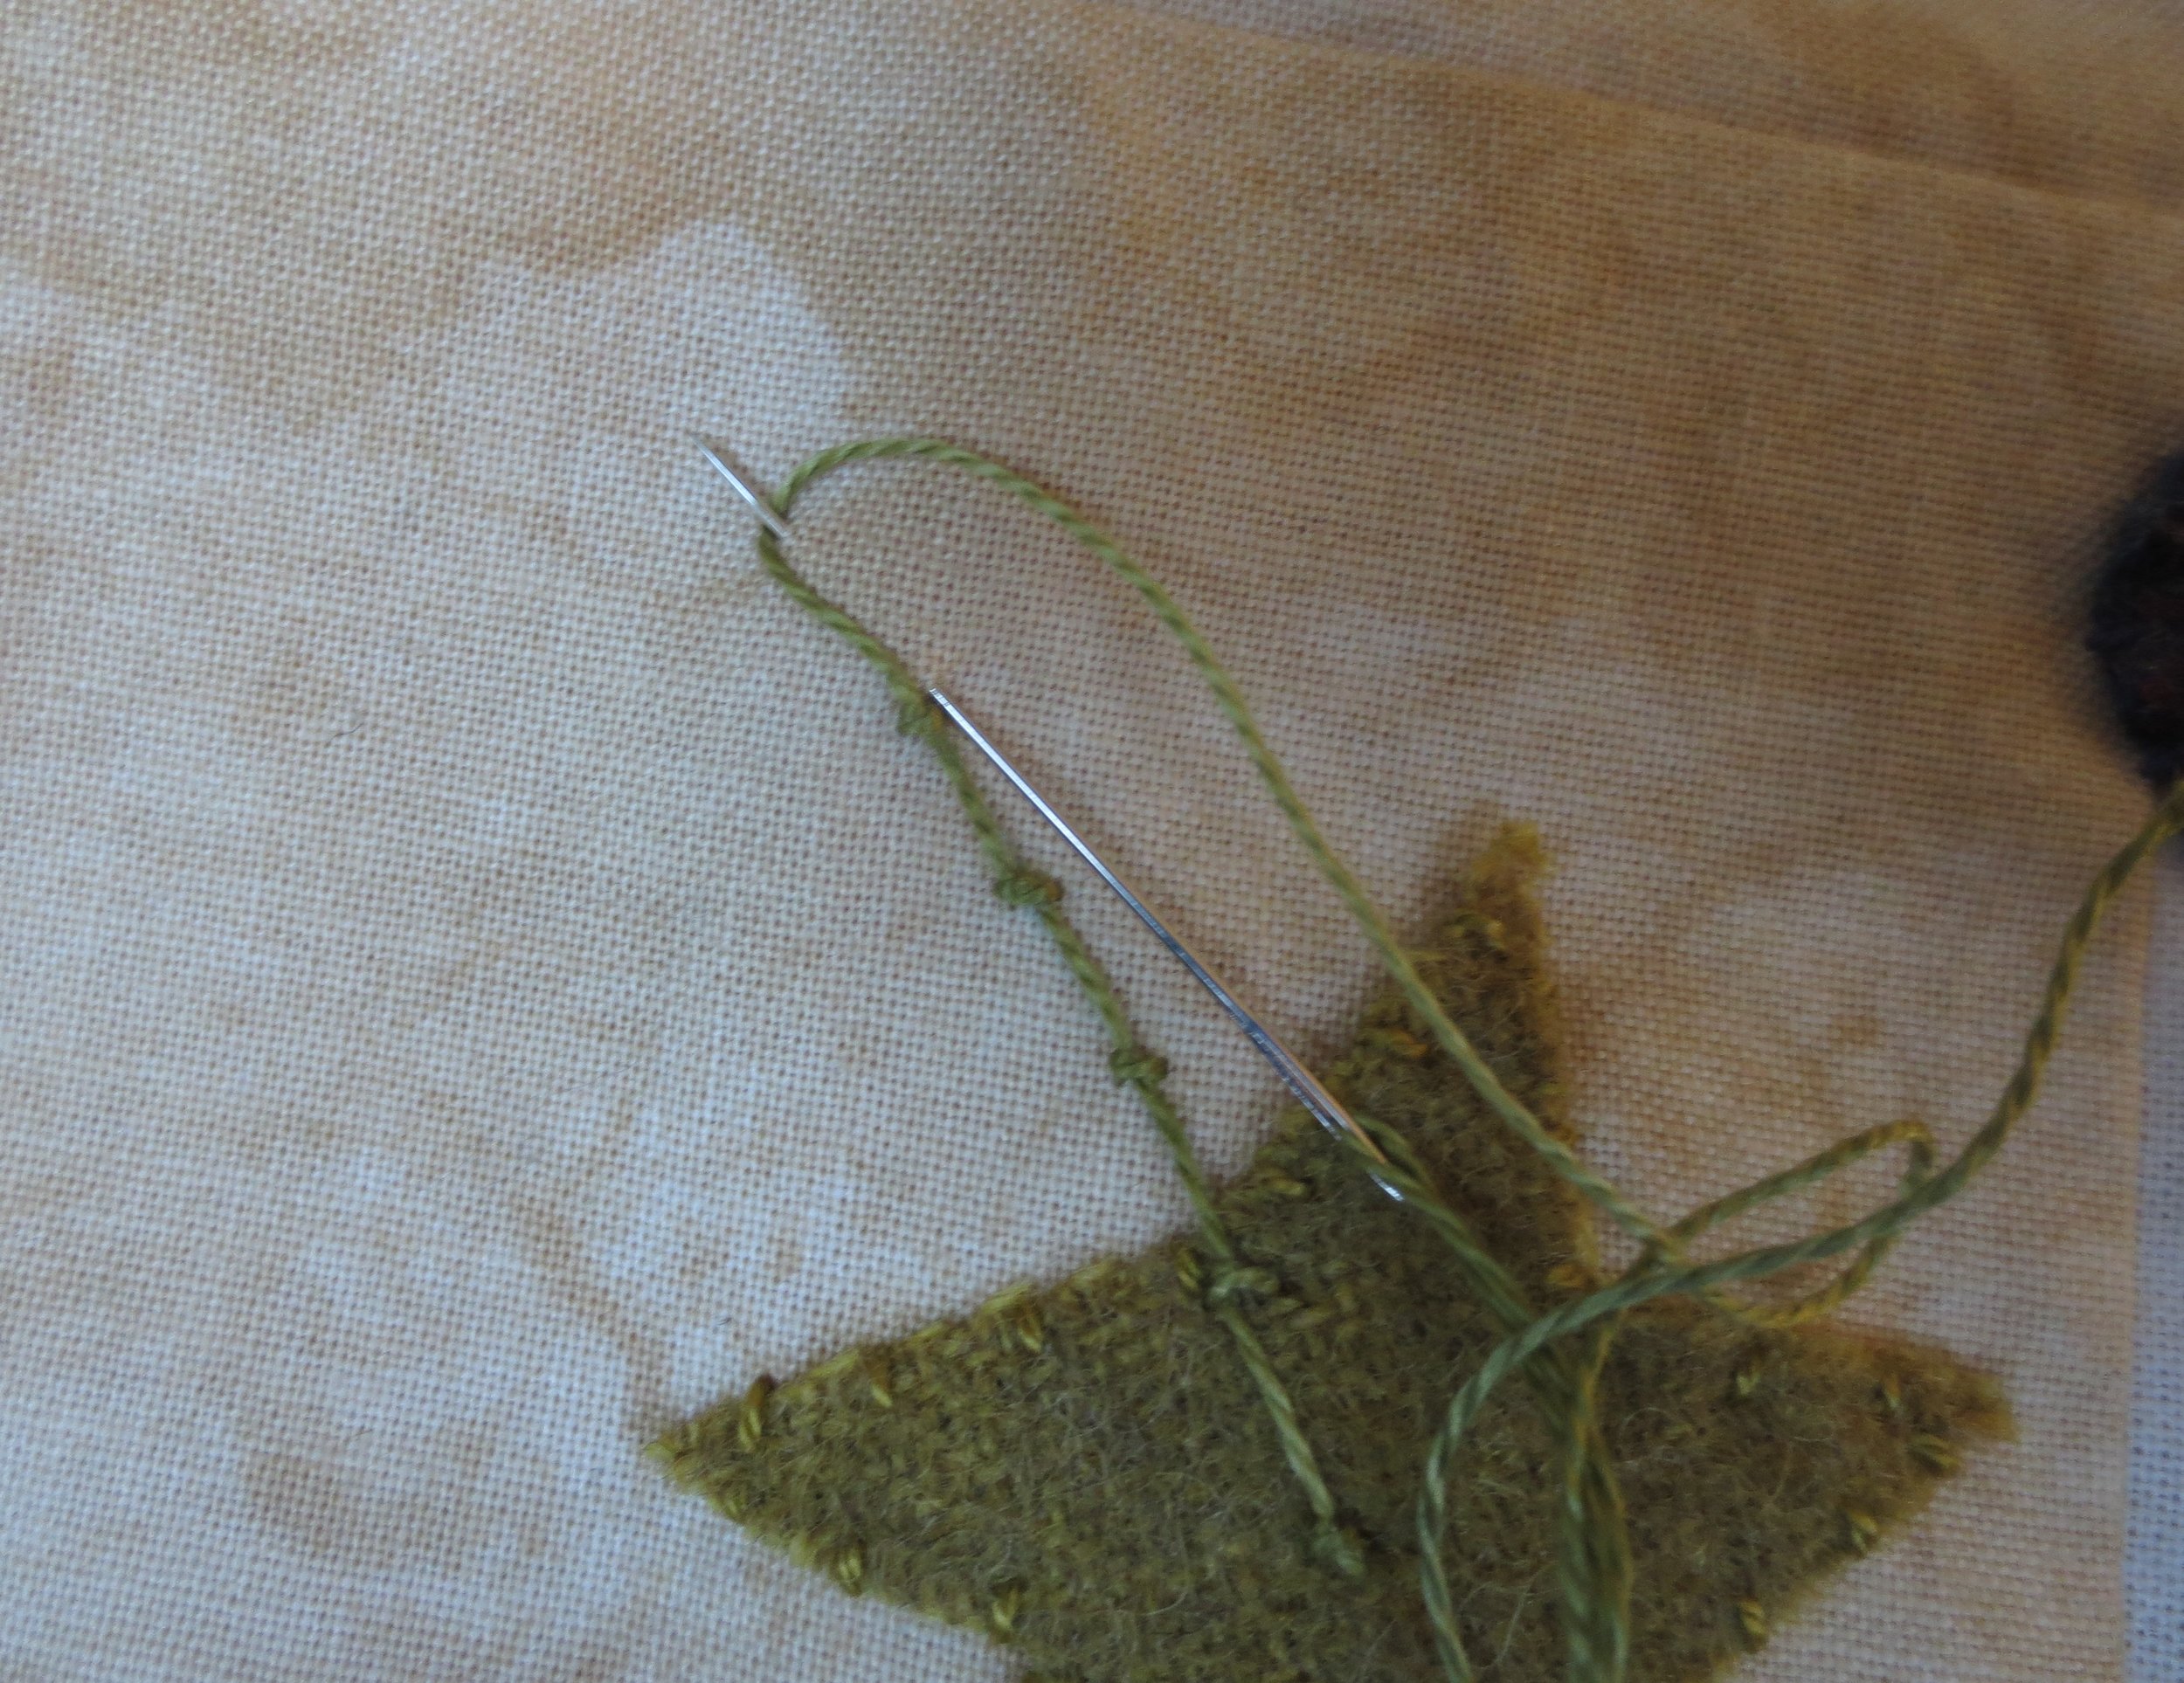
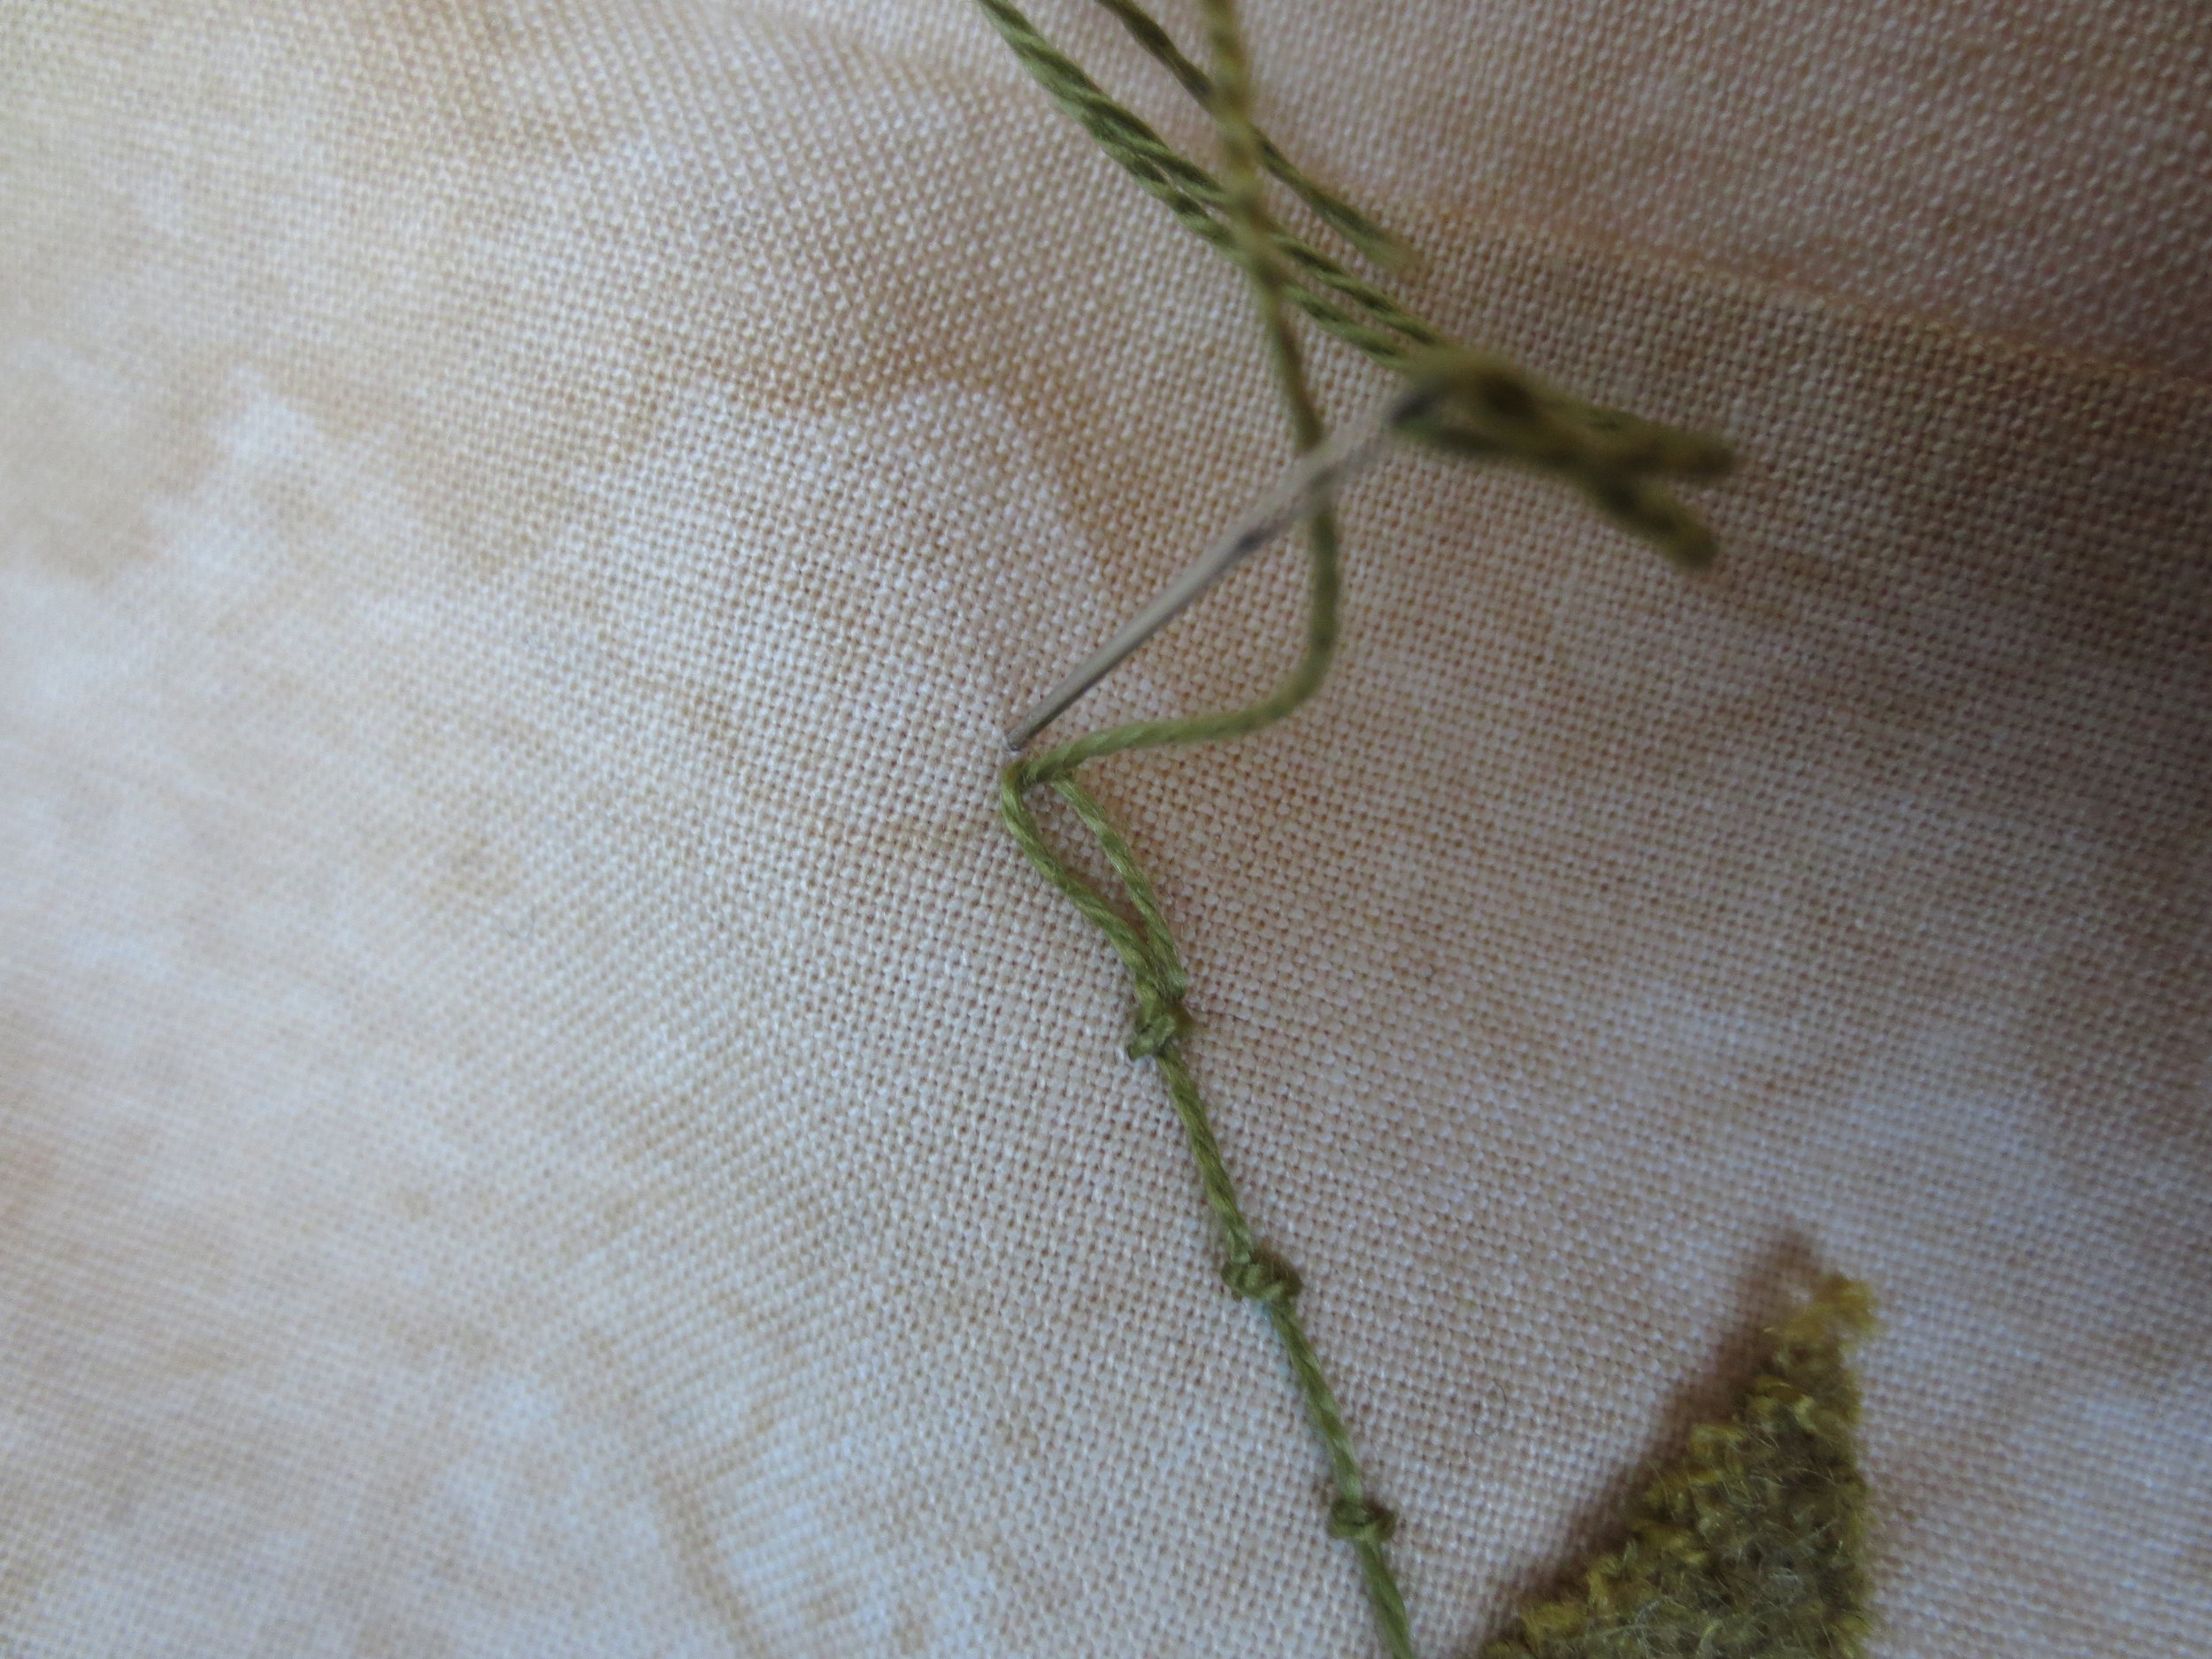
- Use perle cotton, size 8 to make a coral stitched stem ( I used Valdani #O519), beginning at the top of the flowerpot. See layout for guidance on spacing between knots.
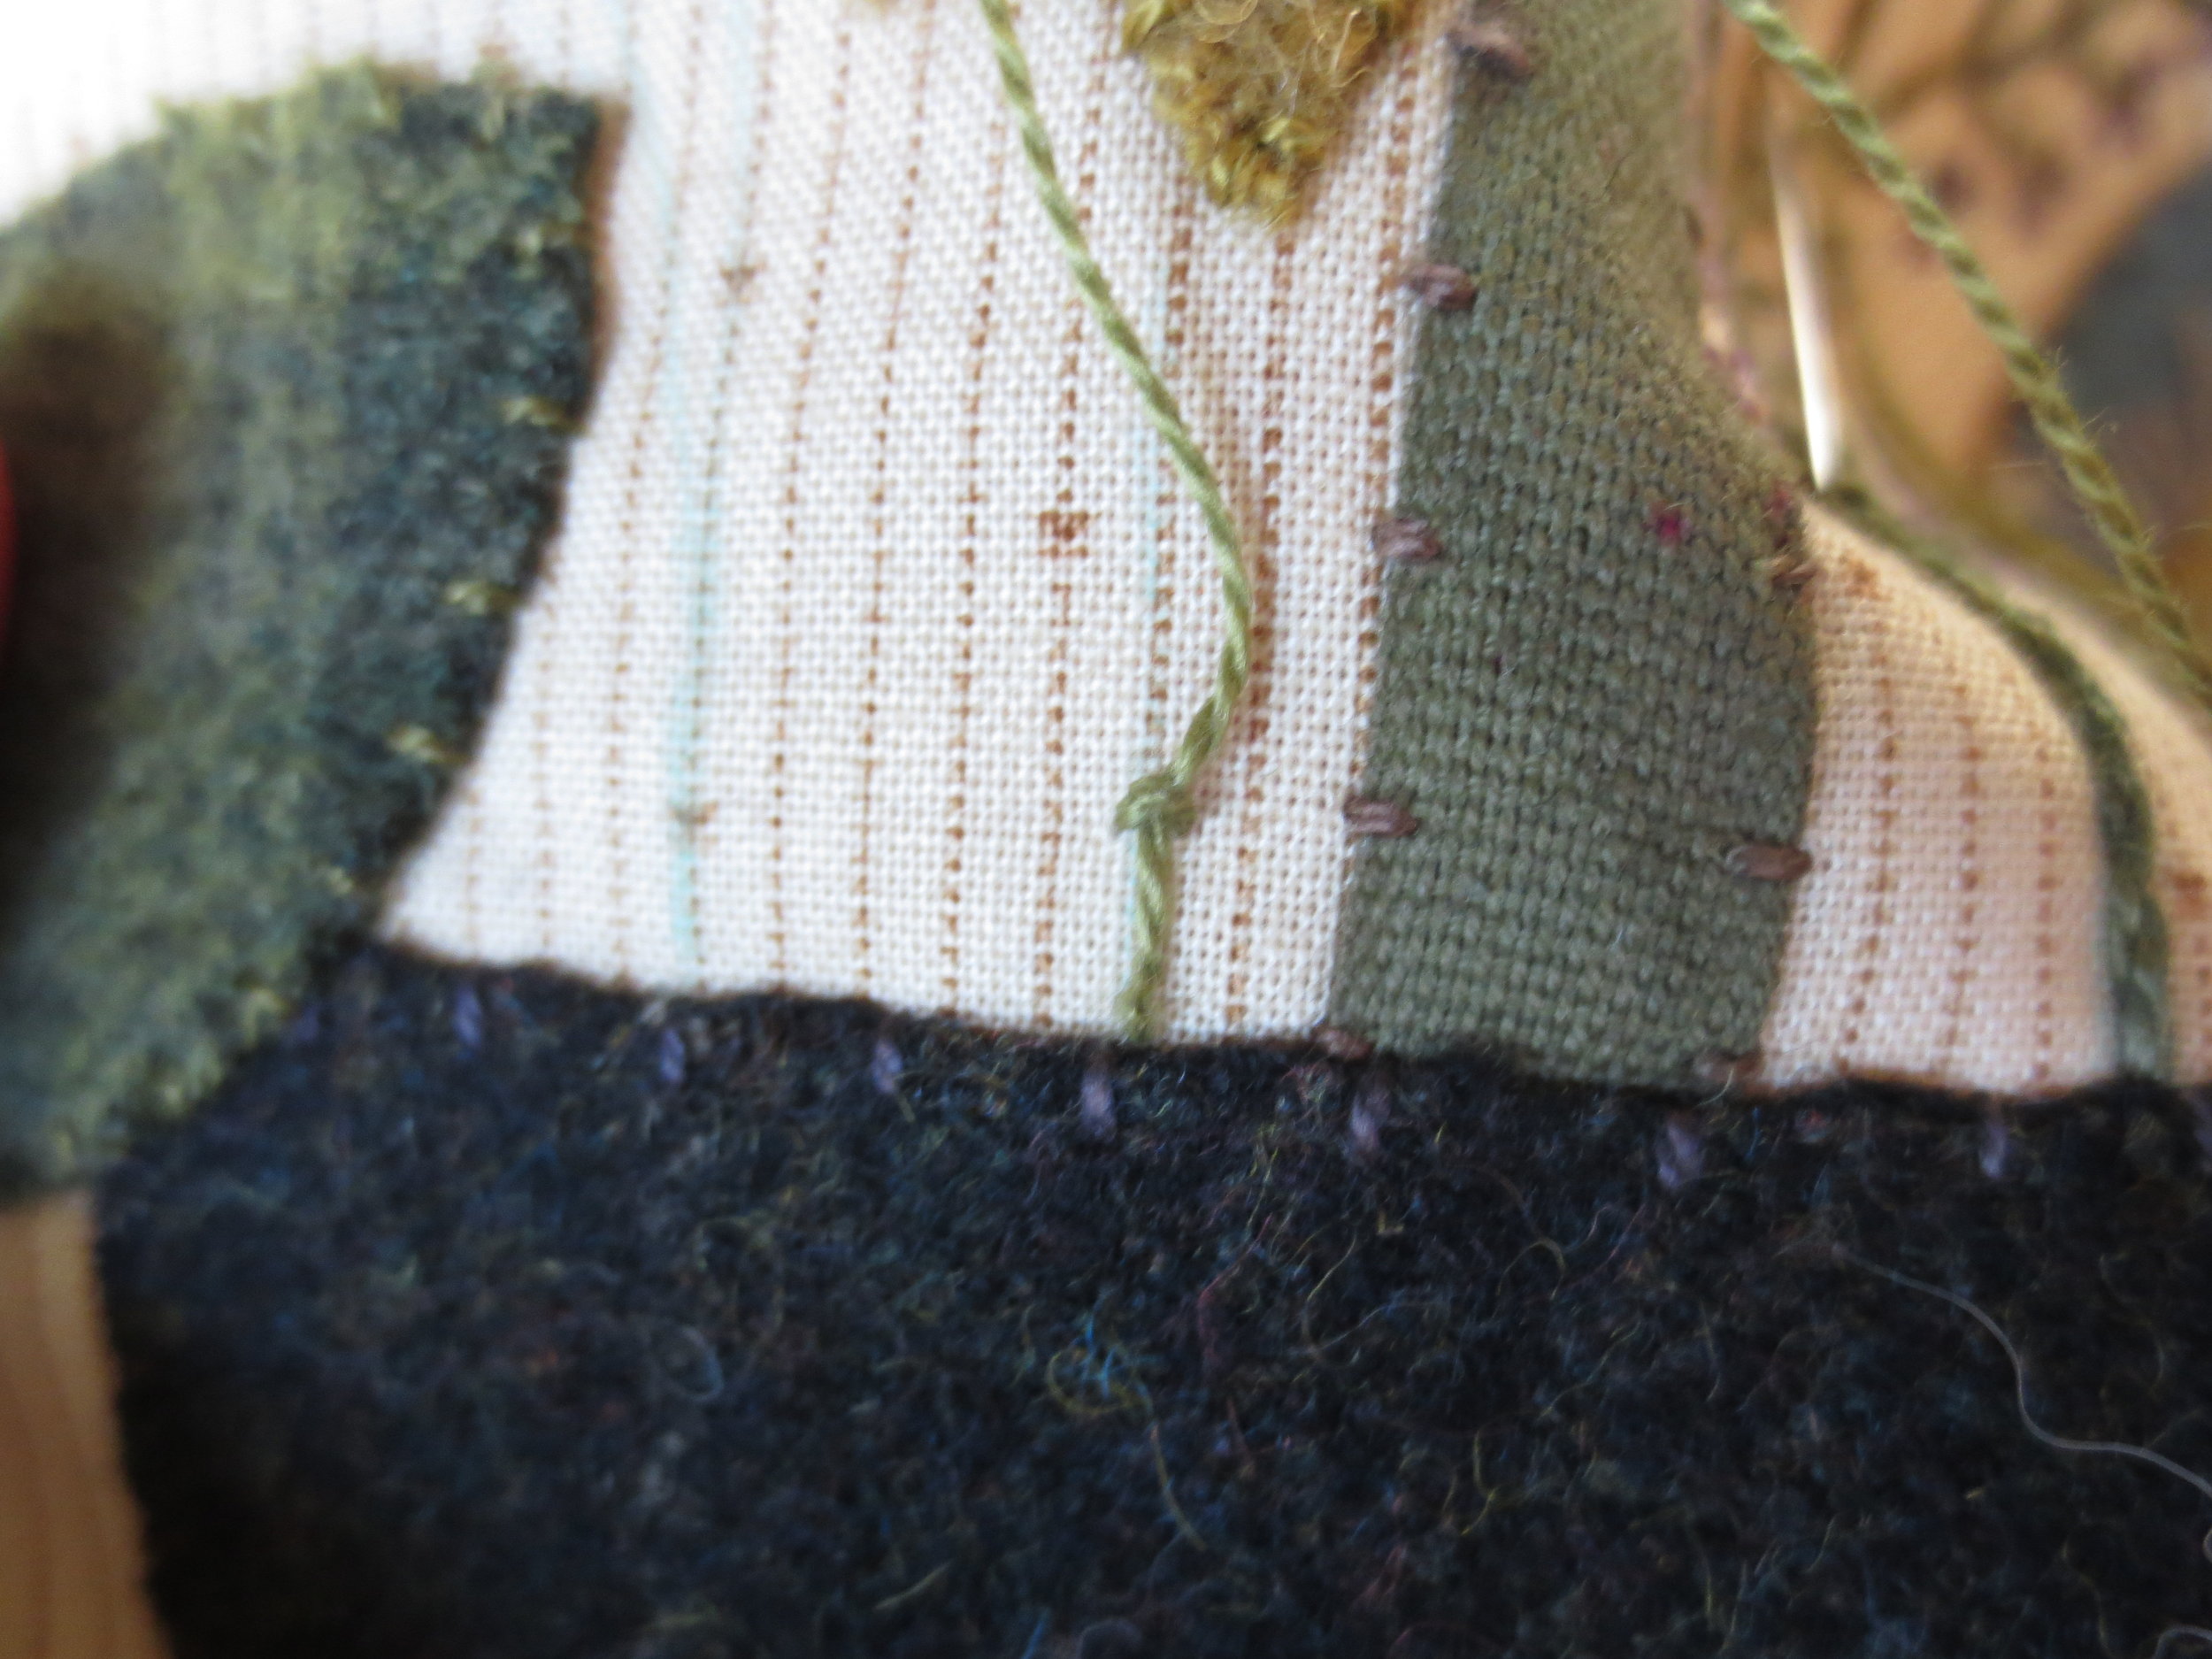
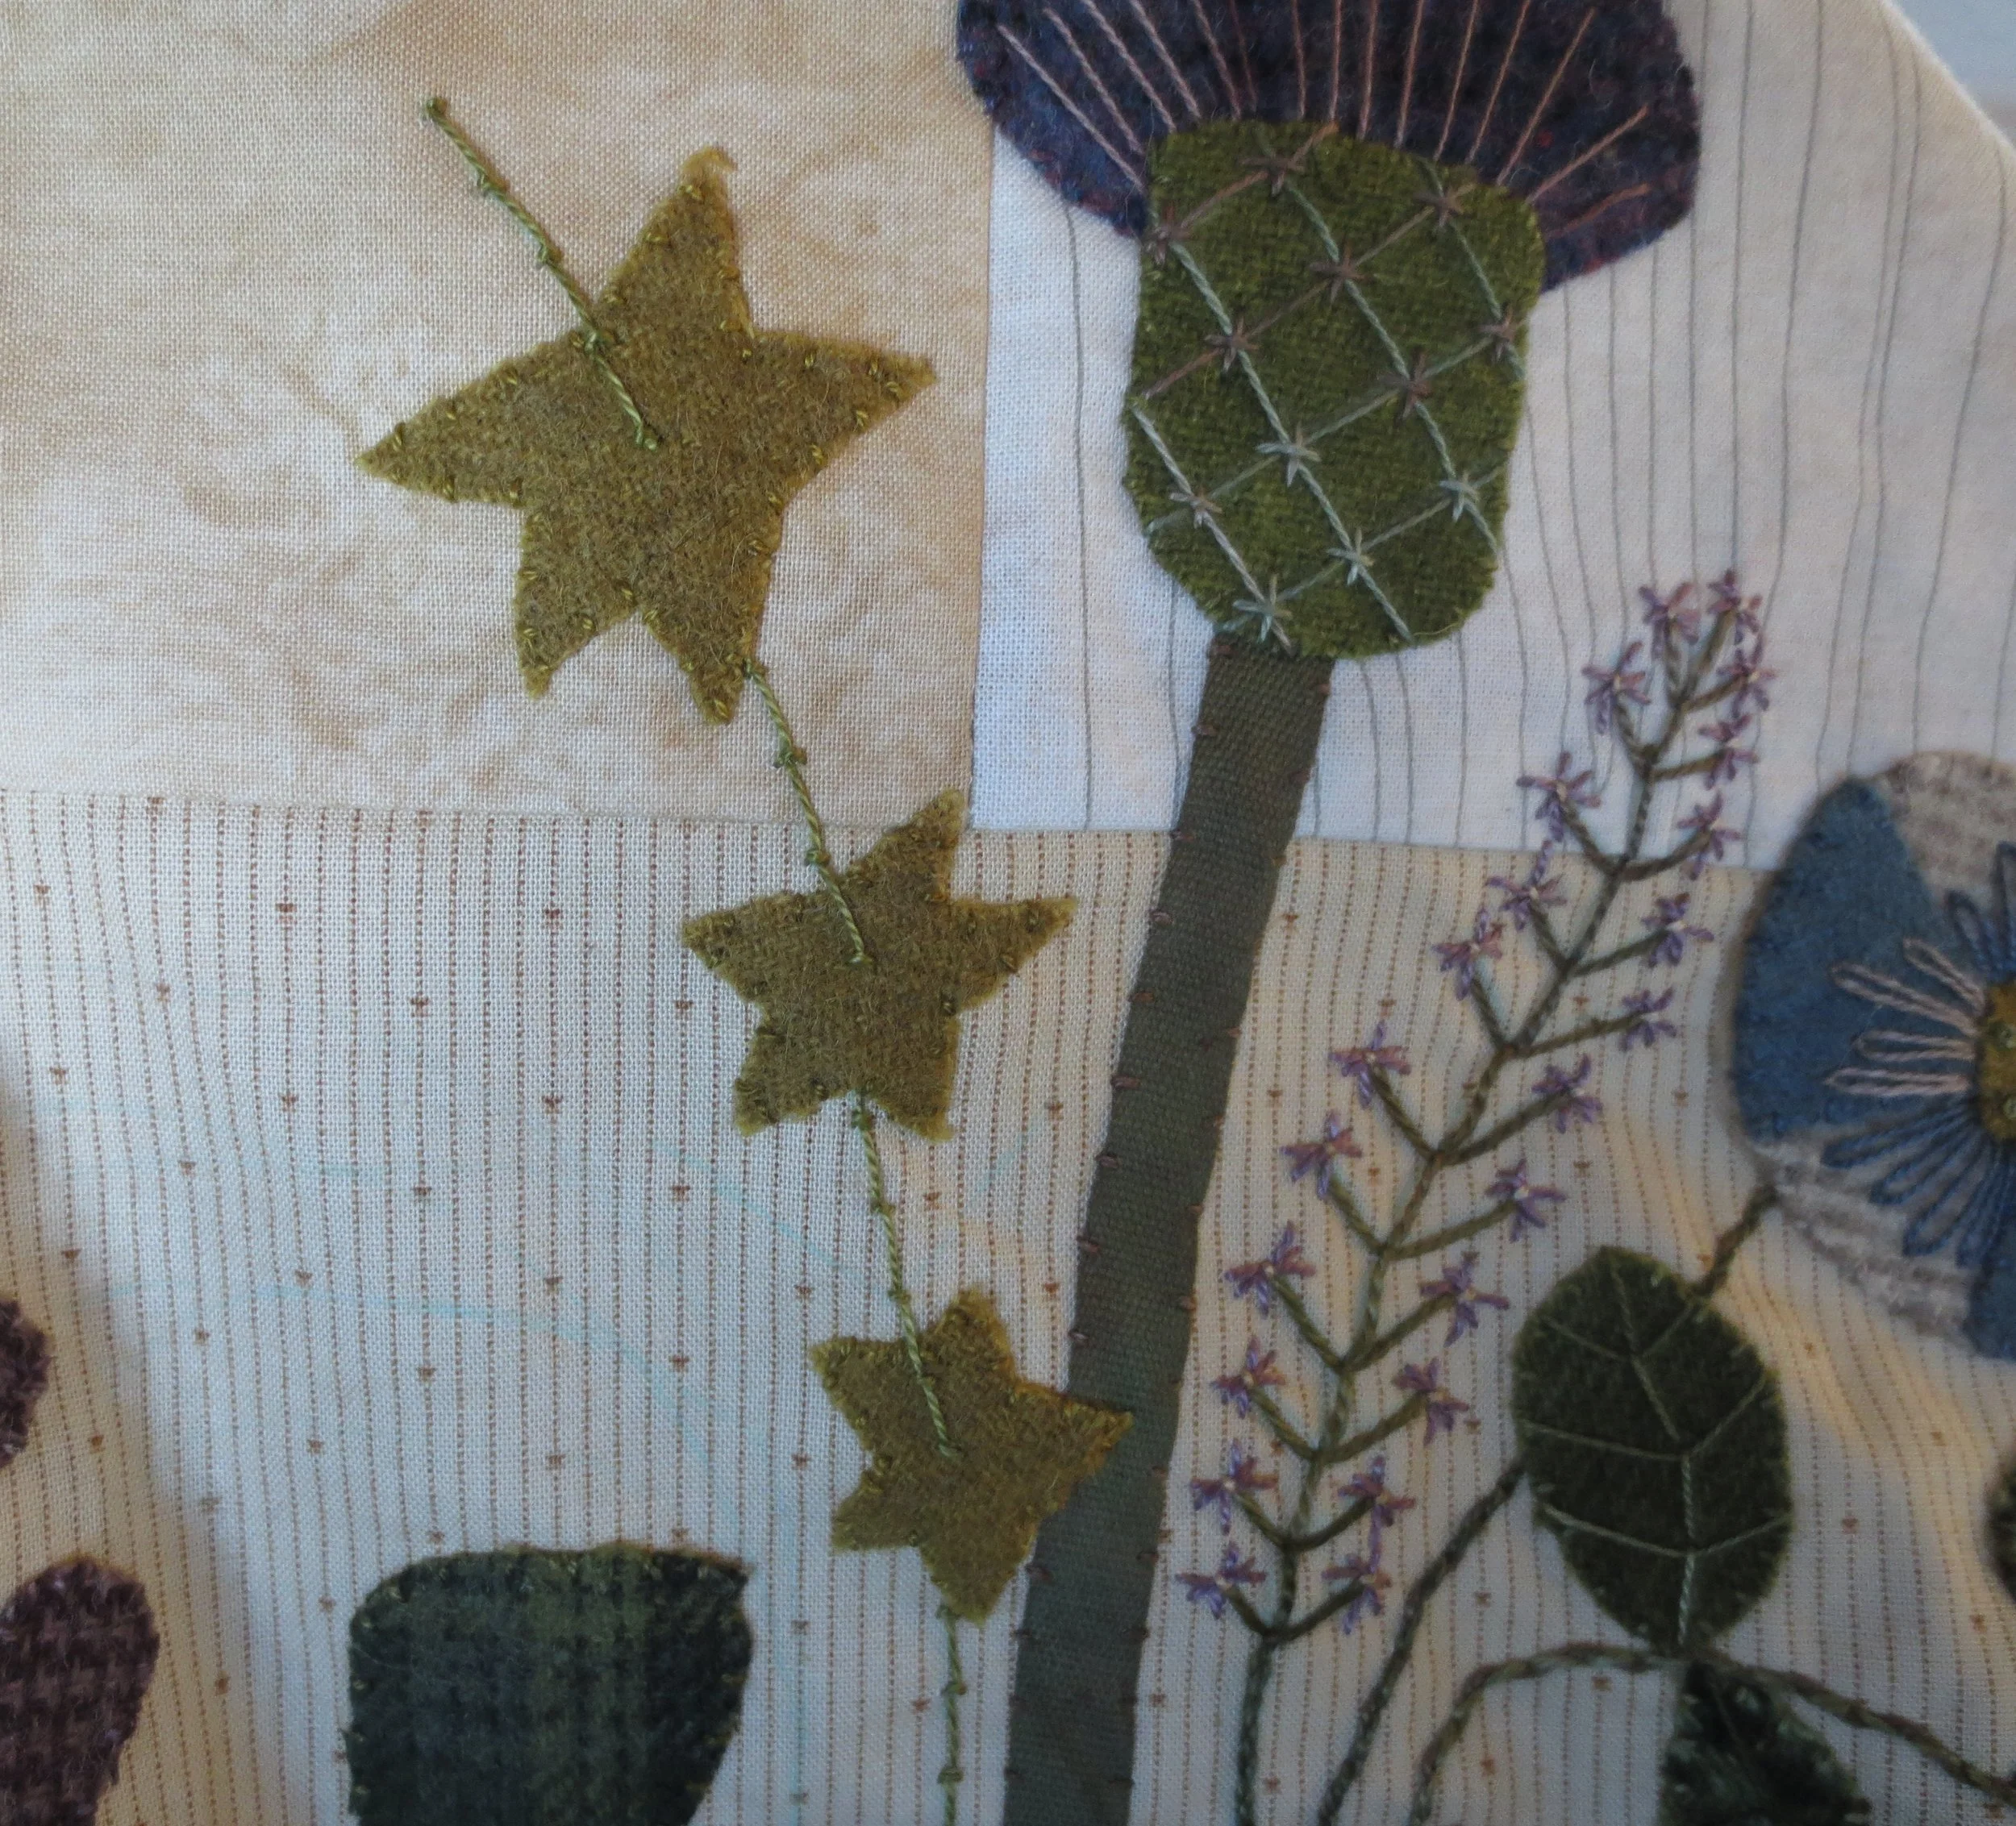
- Using the same thread, make a lazy daisy stitch at the top end of the stem.
- Repeat the lazy daisy stitches on each side of the second and third knots.
- Stitch the side branches using a coral stitch. Each side branch should contain four knots.
- Stitch lazy daisy leaves according to the layout.
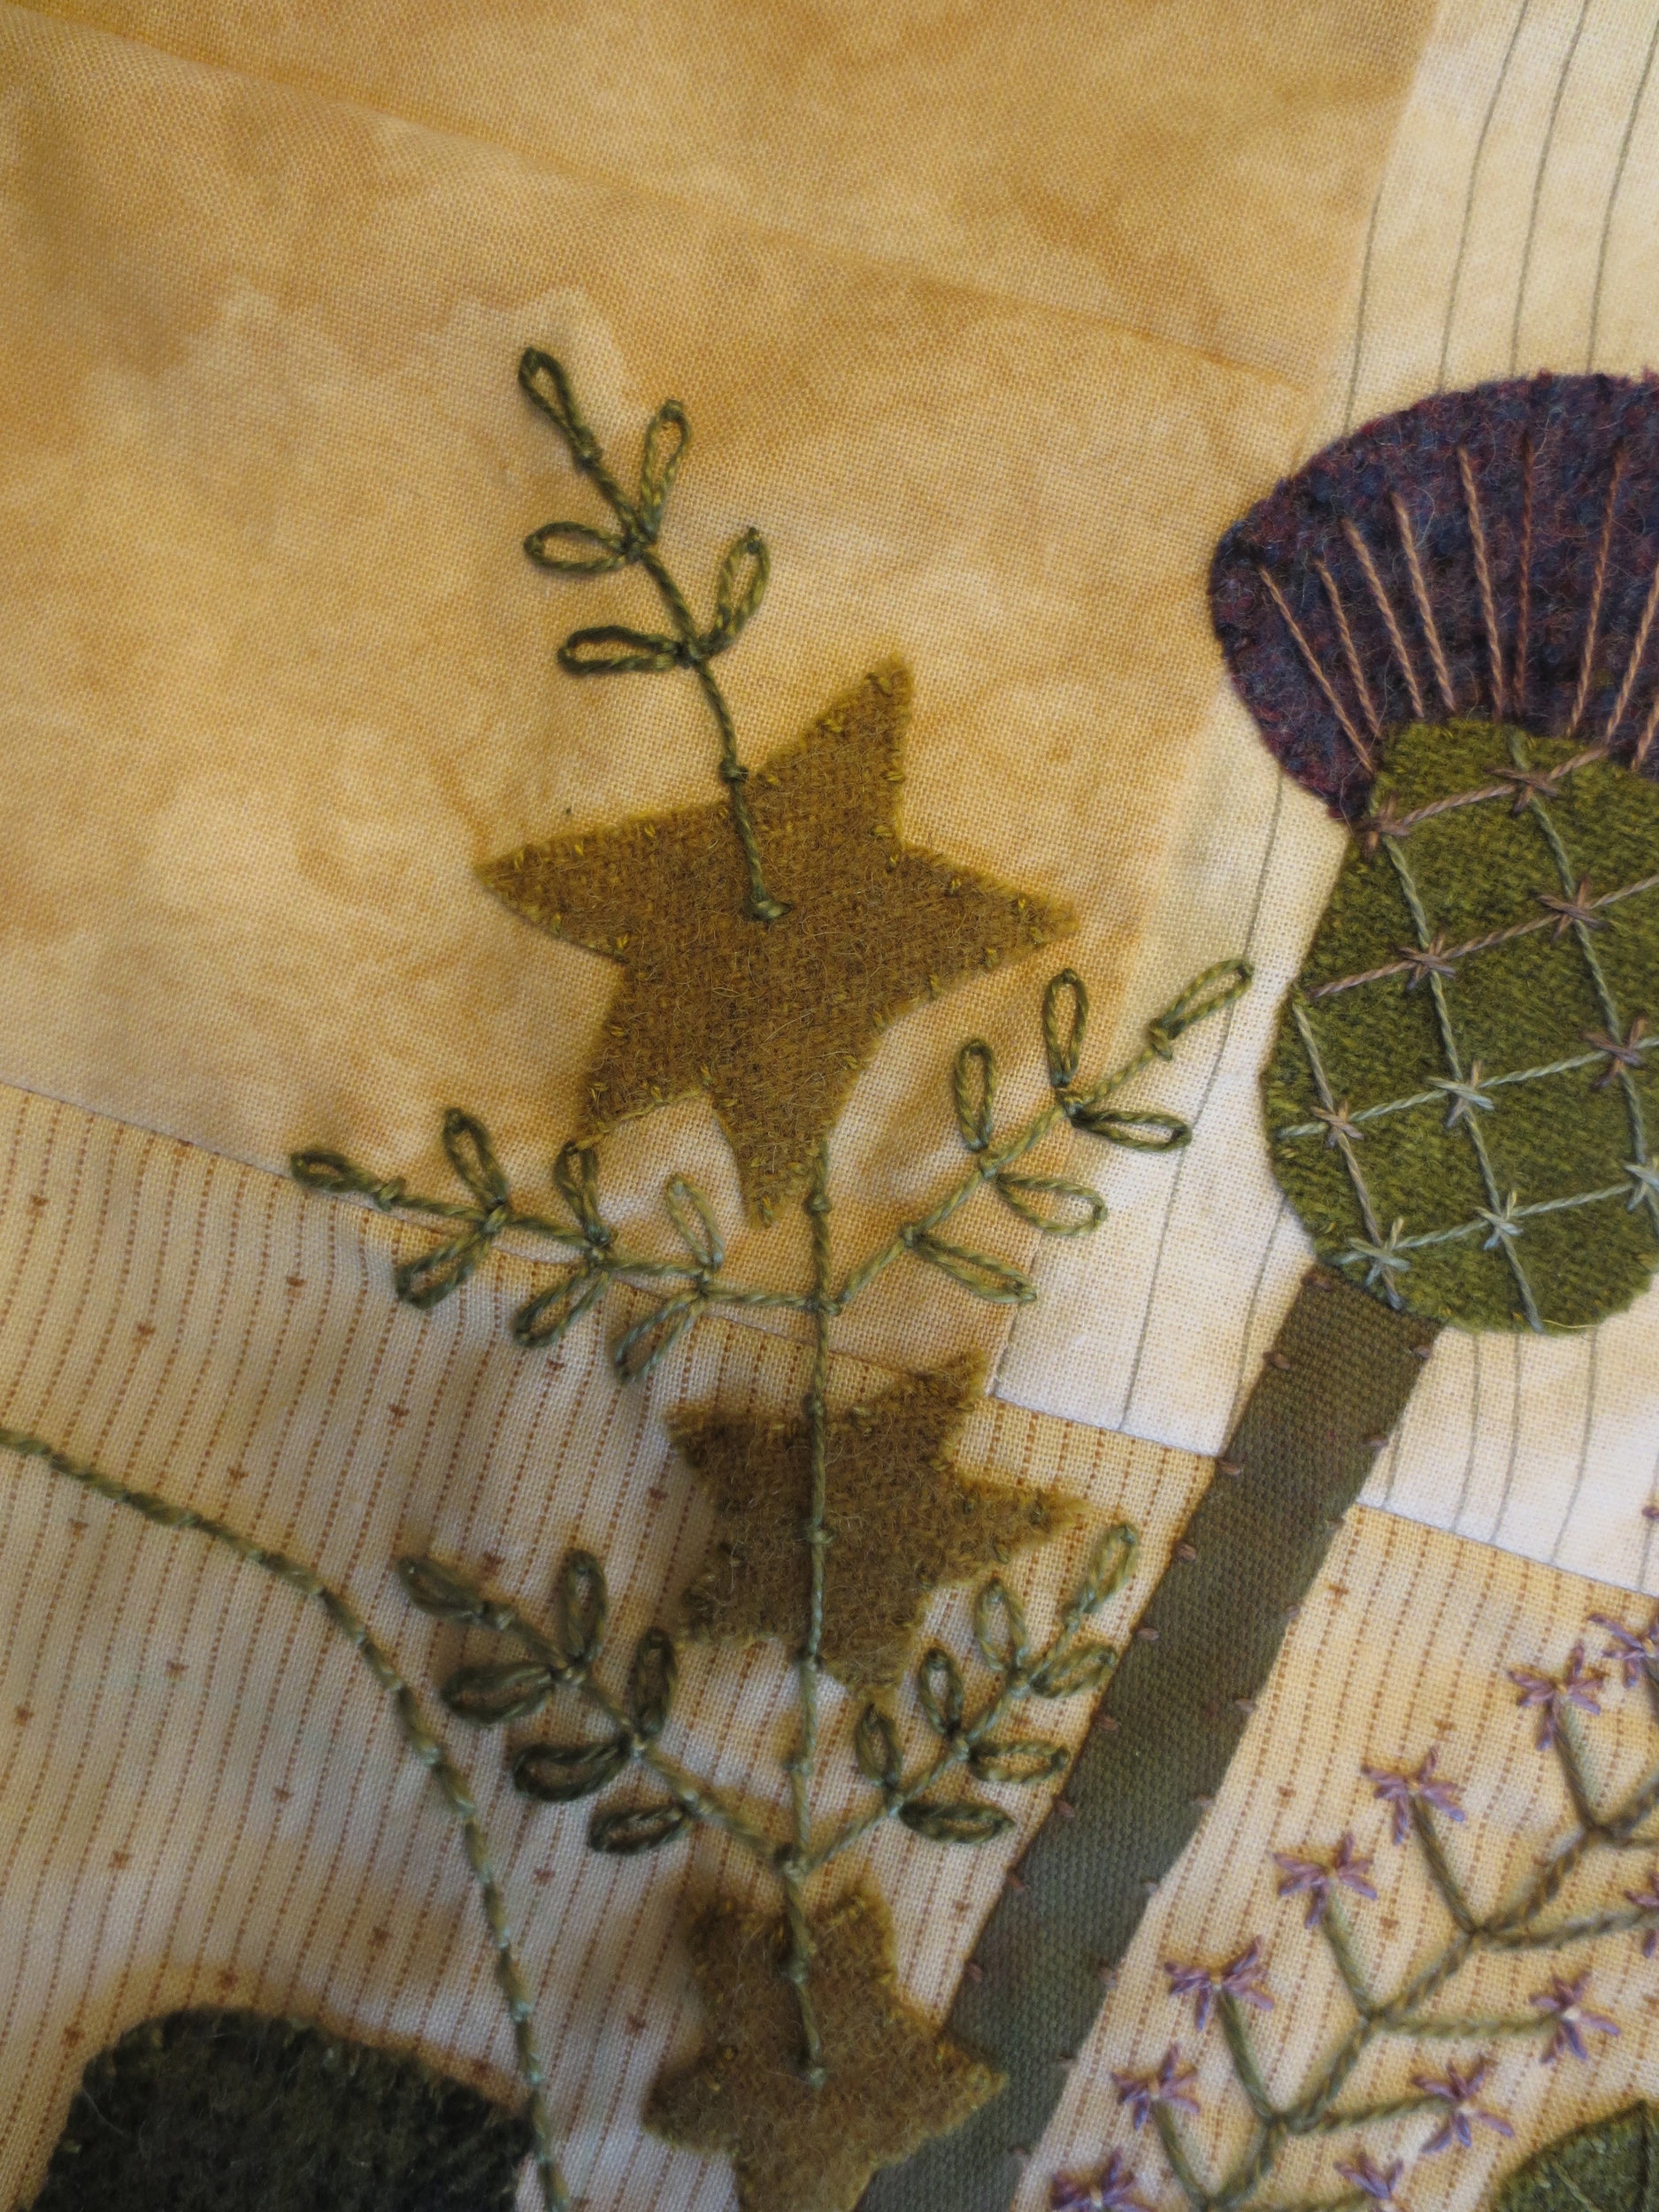
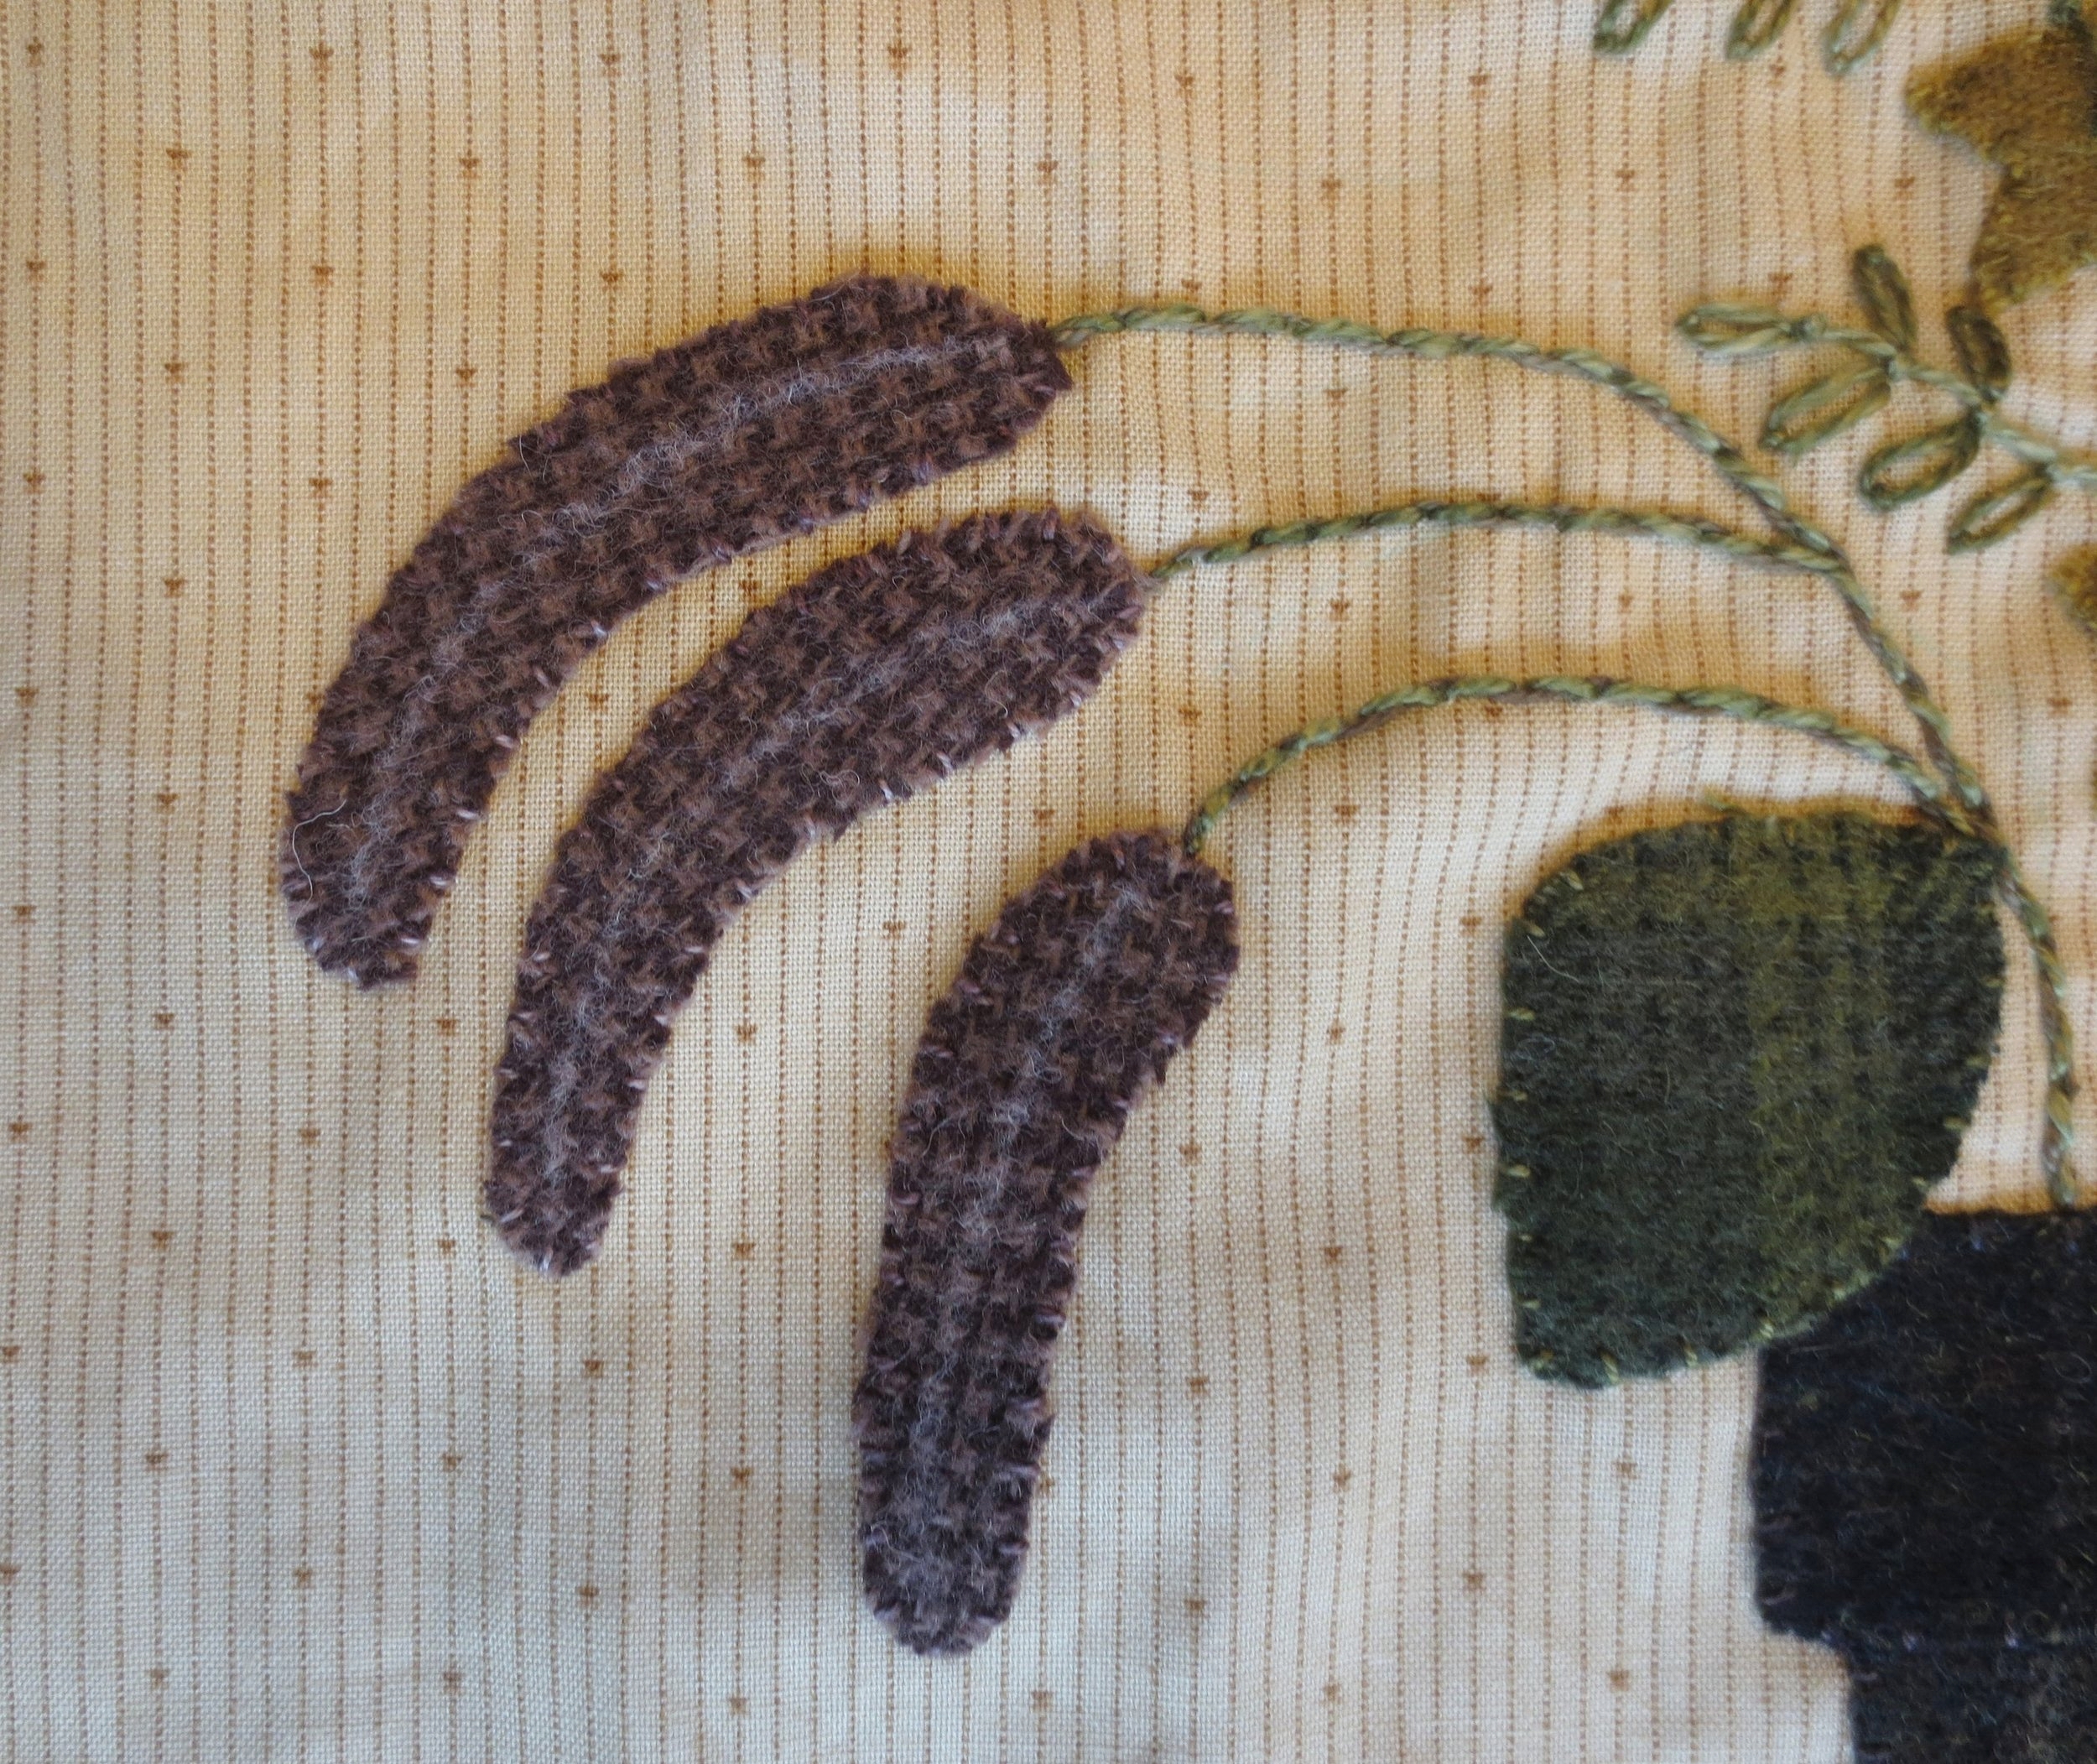
6. Long flowers
- Use perle cotton, size 8 to stitch threaded back stitched stems. I used Valdani #O519 for the back stitch and #O518 for the threading. Remember that stitch? It's the same one we did for the stems of leaves 2-7 in the last post.
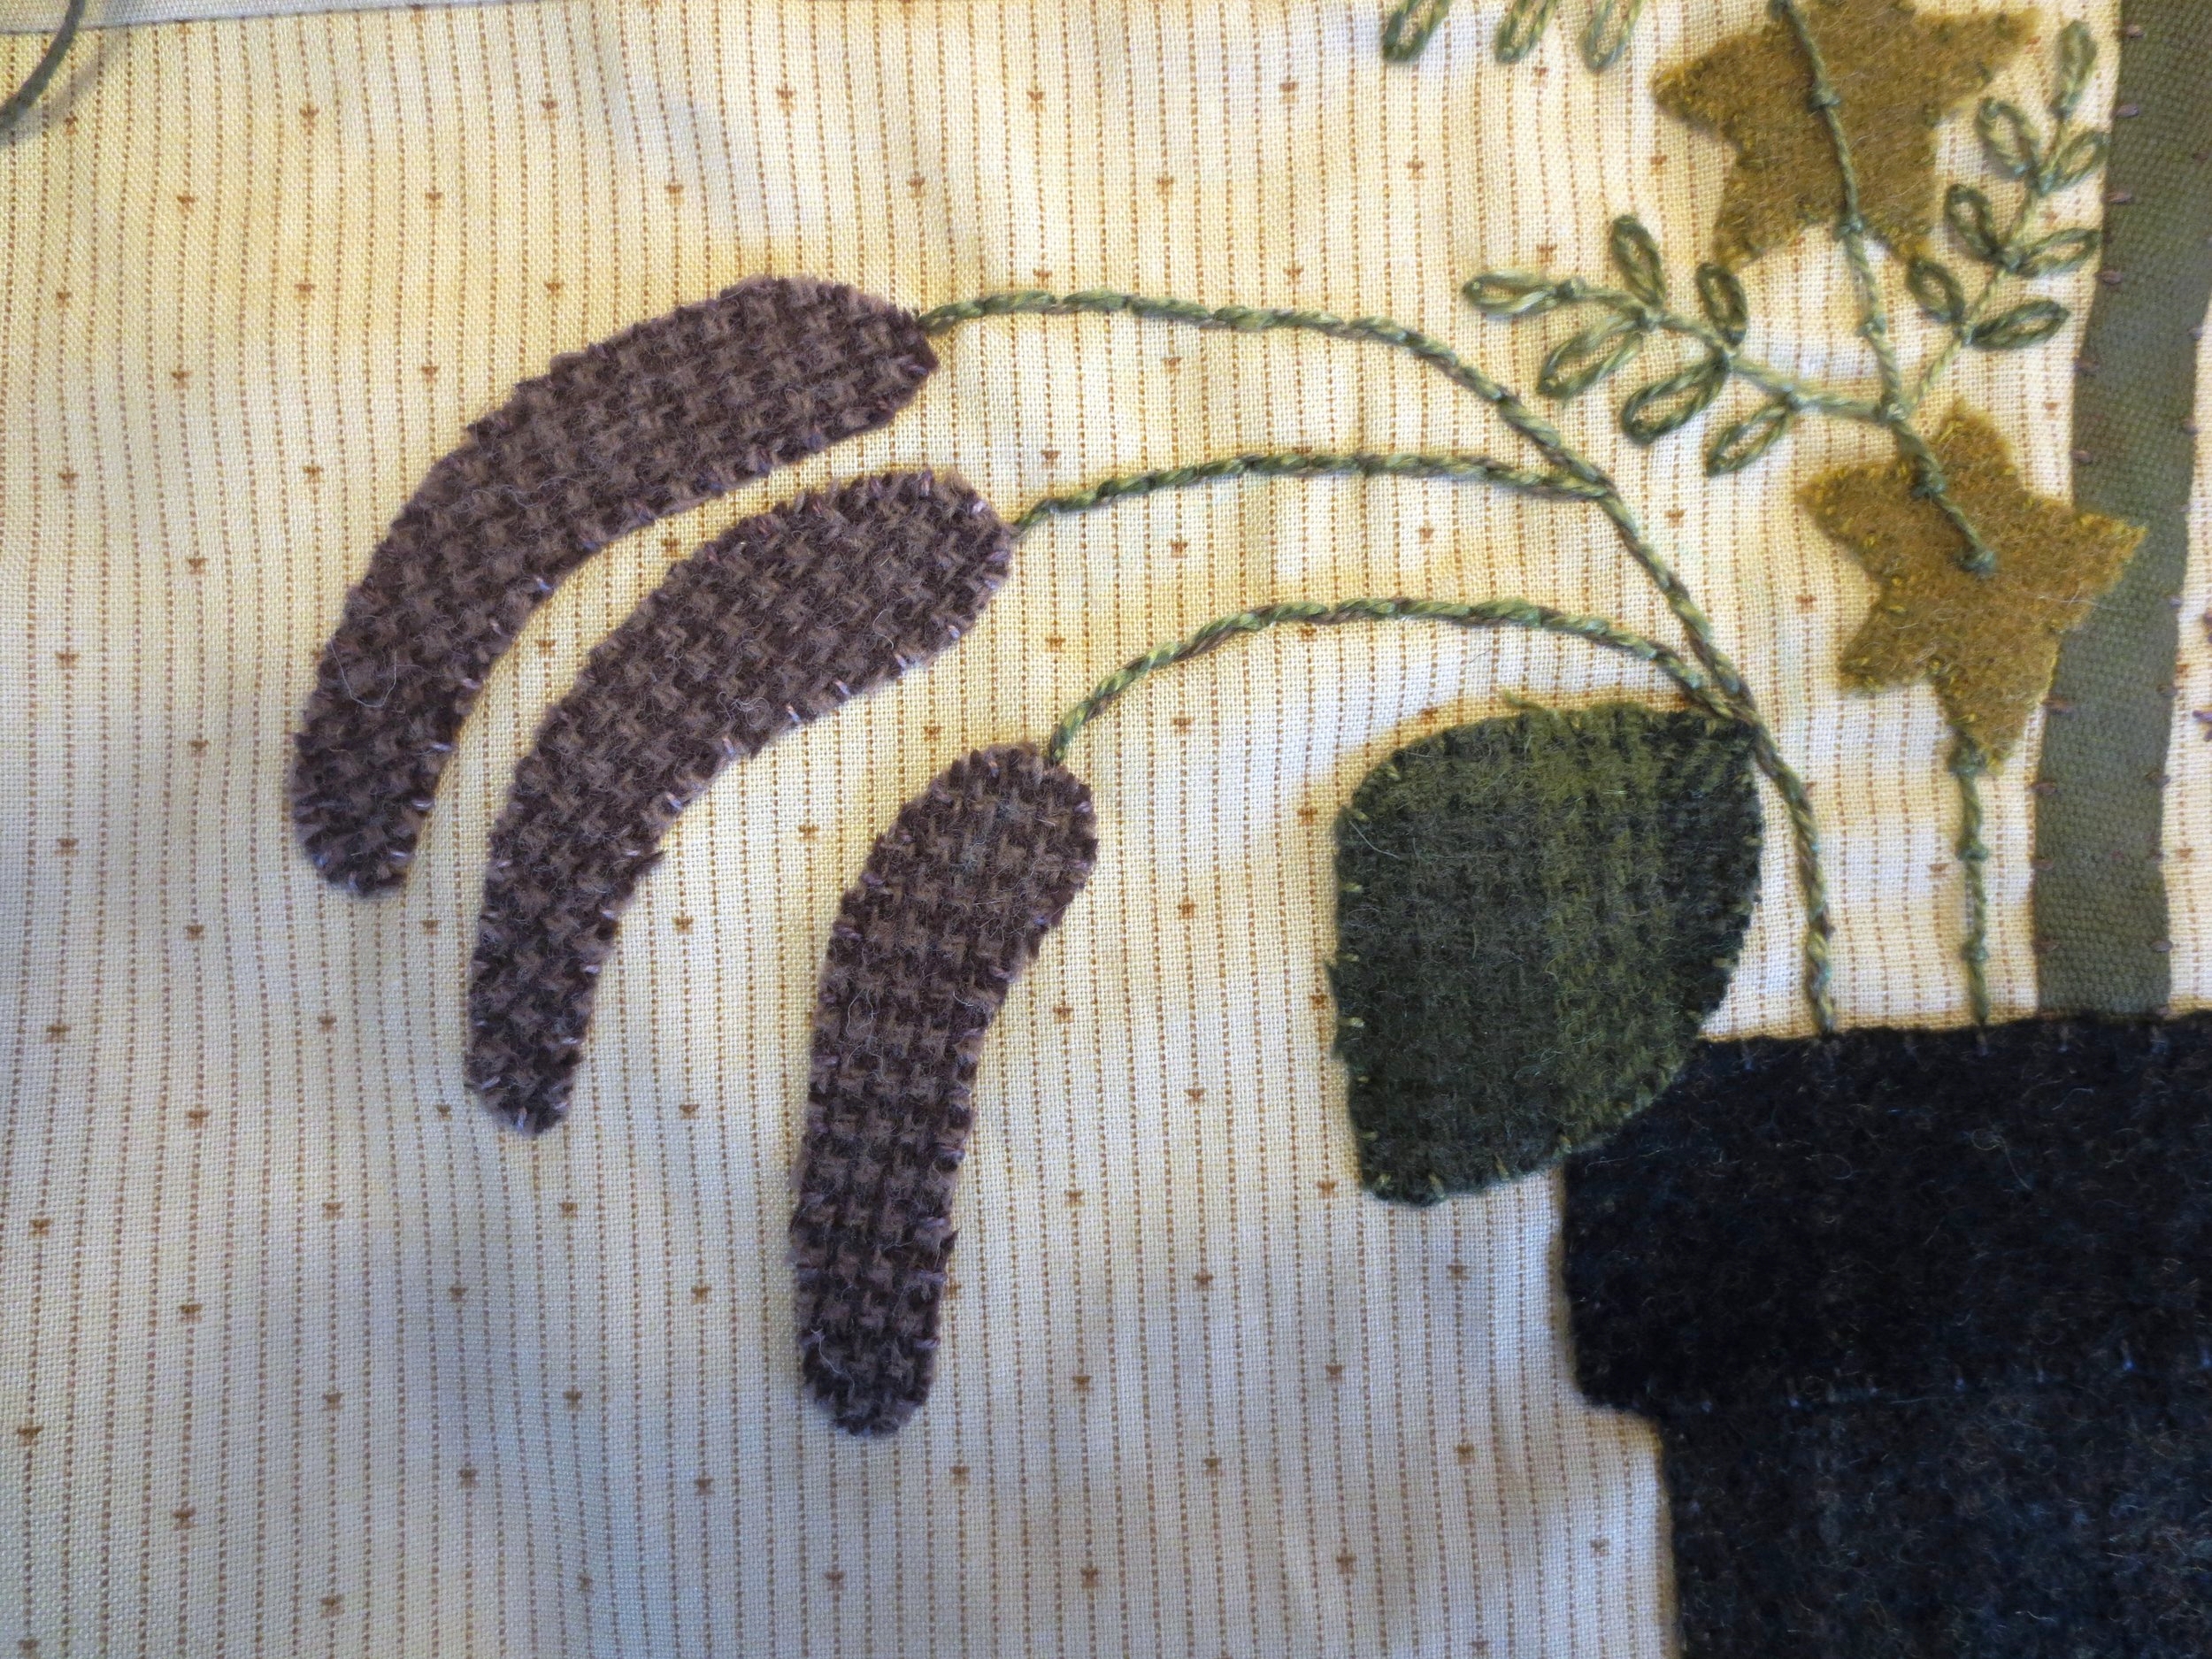
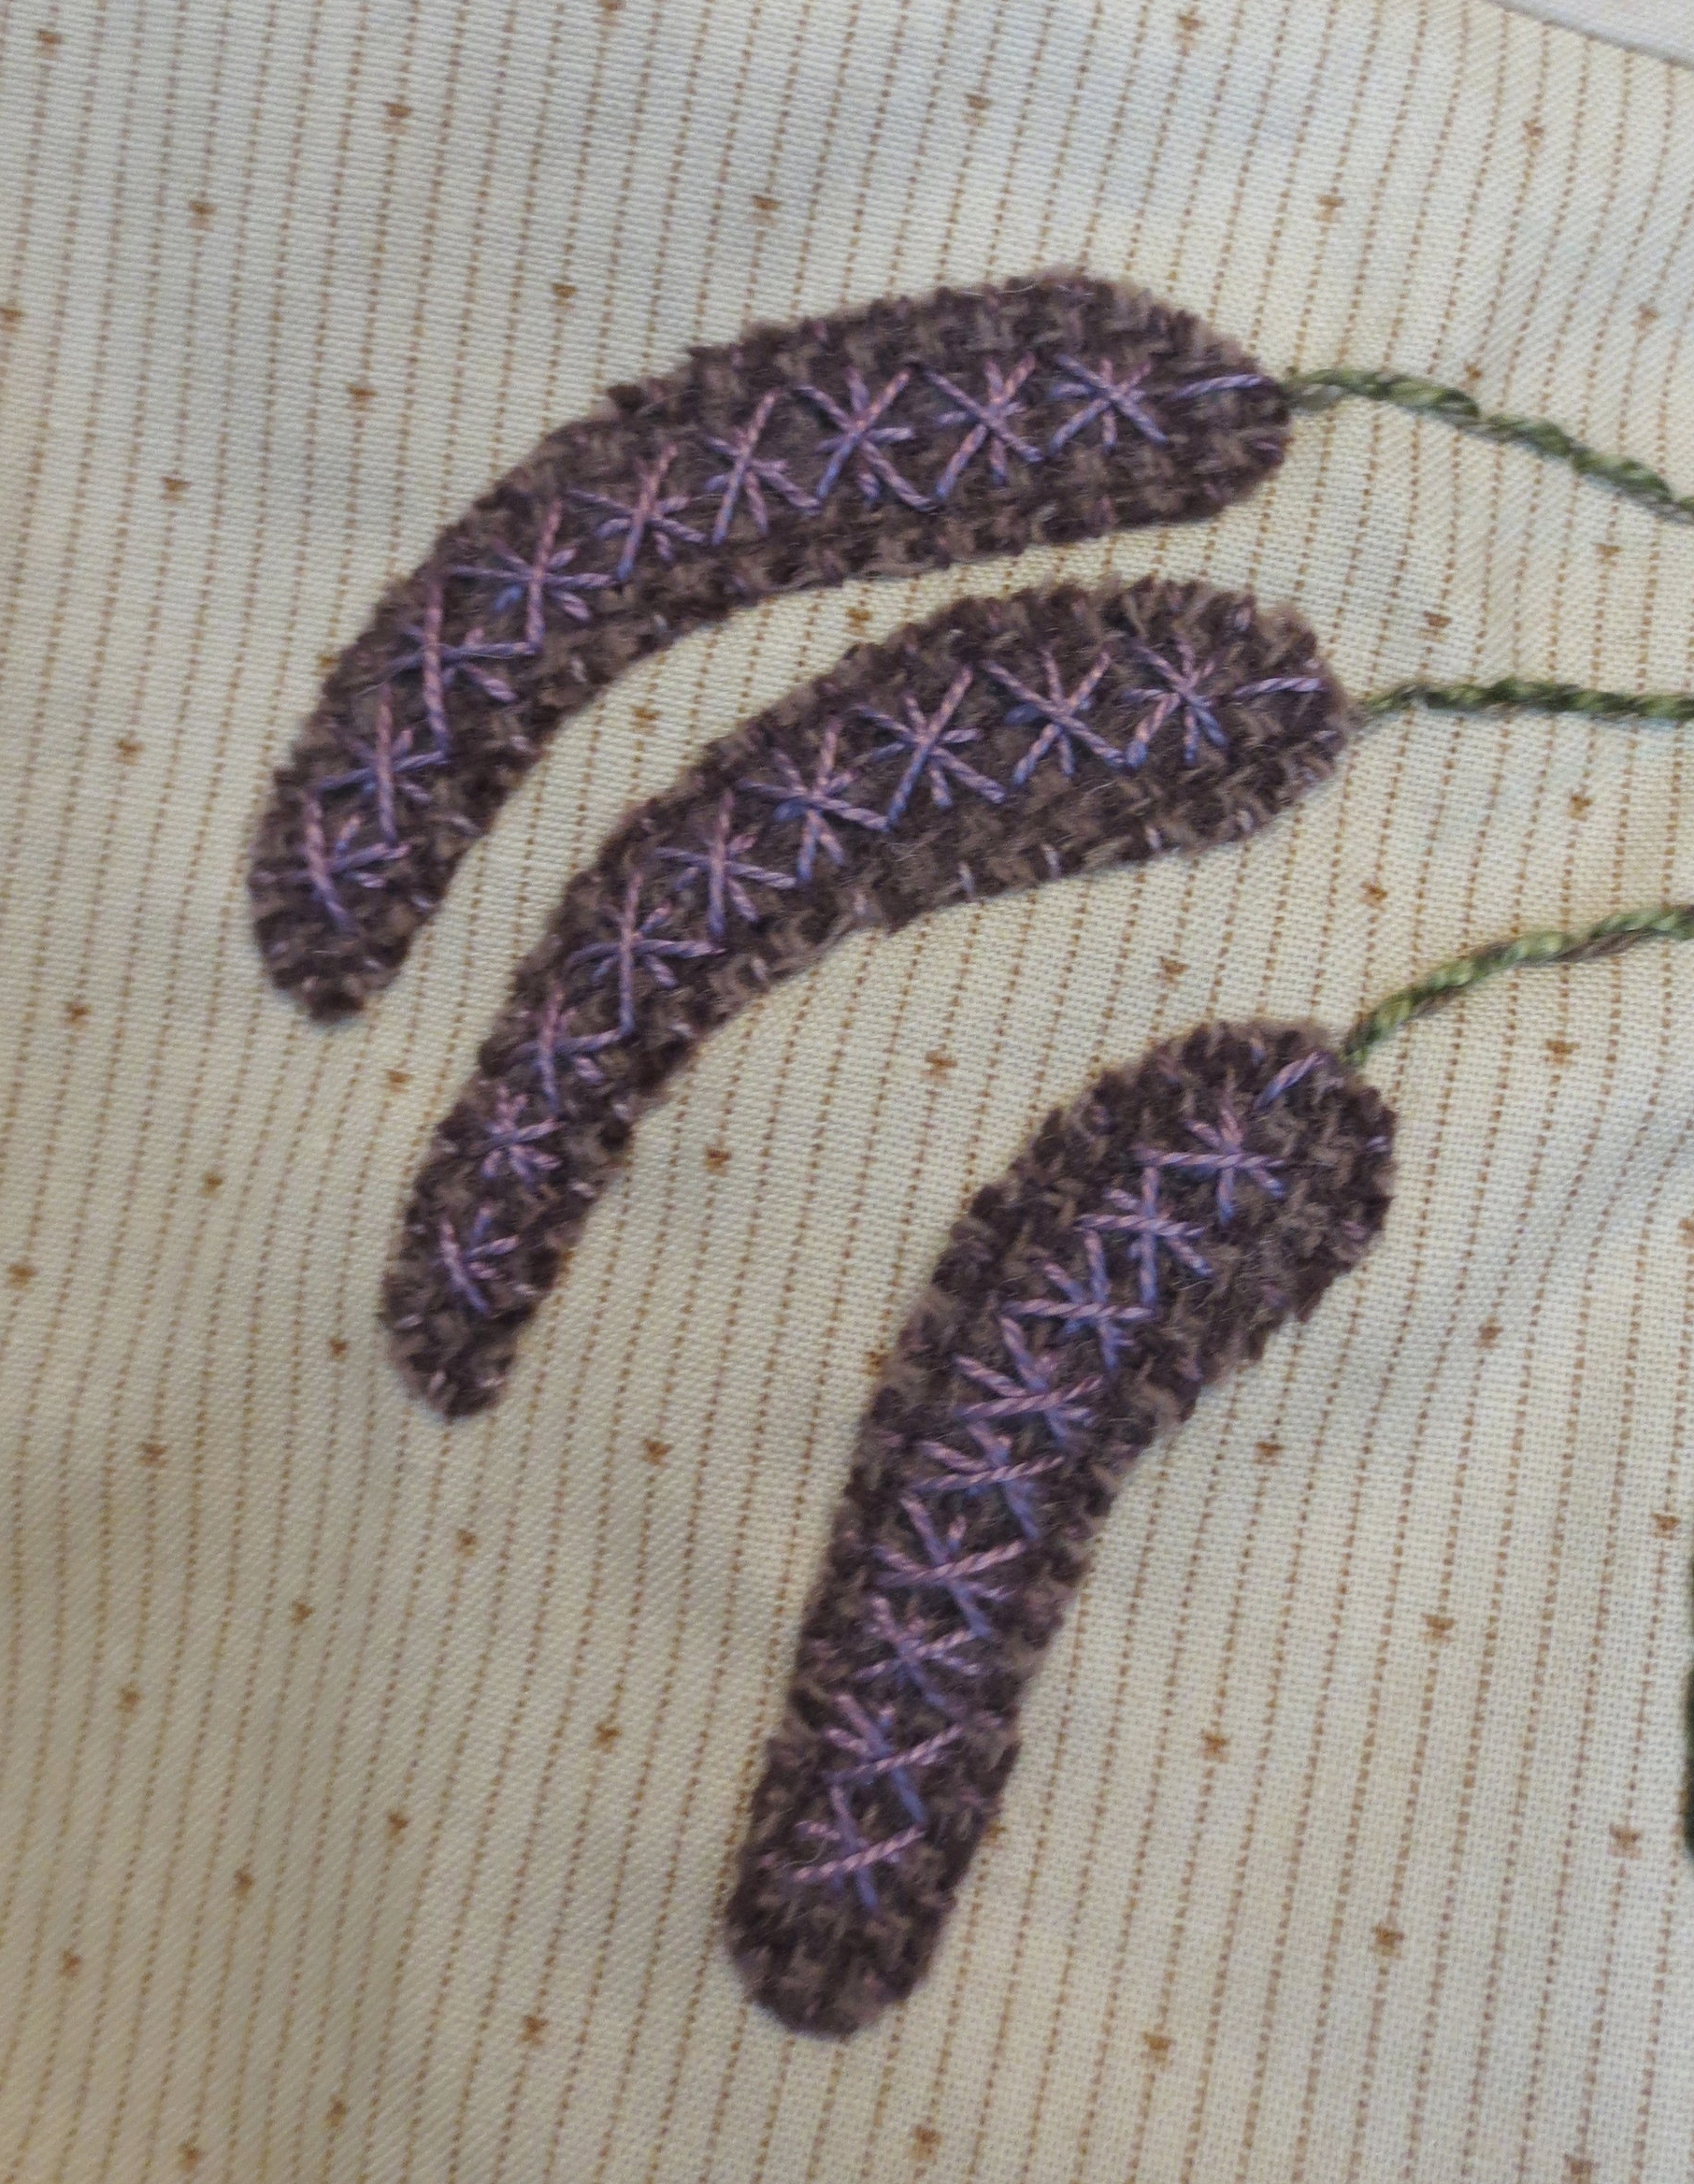
- Use a chalk pencil to extend the lines from the stems onto the long flowers.
- Use perle cotton, size 12 to make star stitches along the chalk lines (I used the same color as the small star flowers in the last post, DMC #3041). I made nine star stitches in each flower, but don't stress if you can't make nine. It's not a mistake if you make more or less. It's the same stitch that you used on the small flowers on the right of the thistle, minus the tacking stitch. Use the stitch guide if you need help.
- Begin a the base of the flower where the stem ends. Make nine back stitches that extend to about a quarter inch from the end. This is the first stitch of your double cross.
- Now, beginning with the last back stitch, make a stitch perpendicular to the back stitch. This is the first cross stitch.
- Finish the star stitch with another set of crossed stitches over the first crossed stitch.
- Continue making double crosses over all of the back stitches.
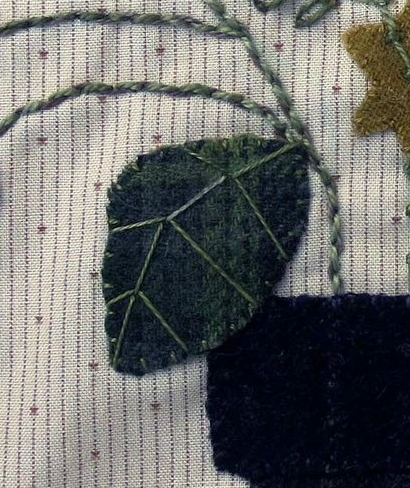
7. Leaf #1
- Draw the center vein of the leaf.
- Use perle cotton, size 12 to make a closed fly stitch with three branches over the line. I used the same green (#O519) that I used on leaves 2-9.
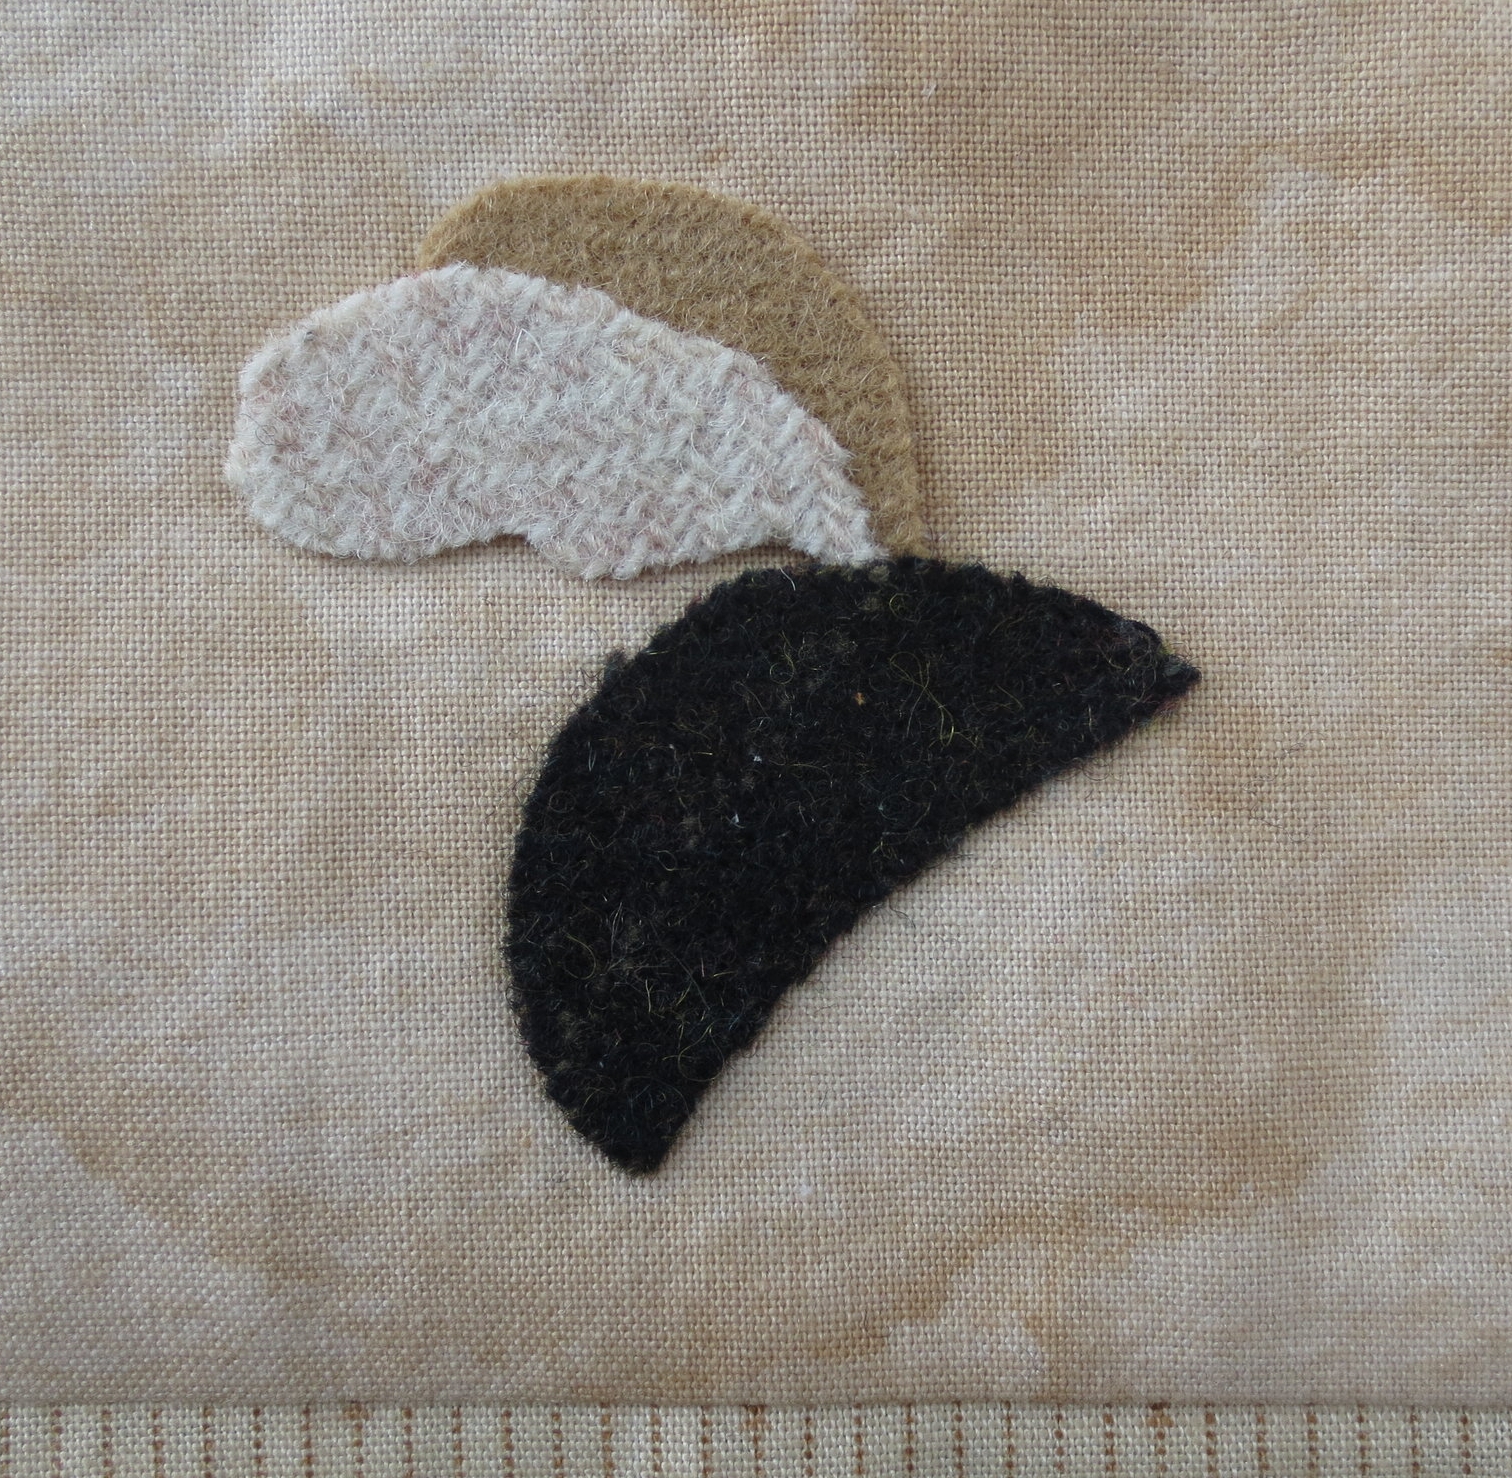
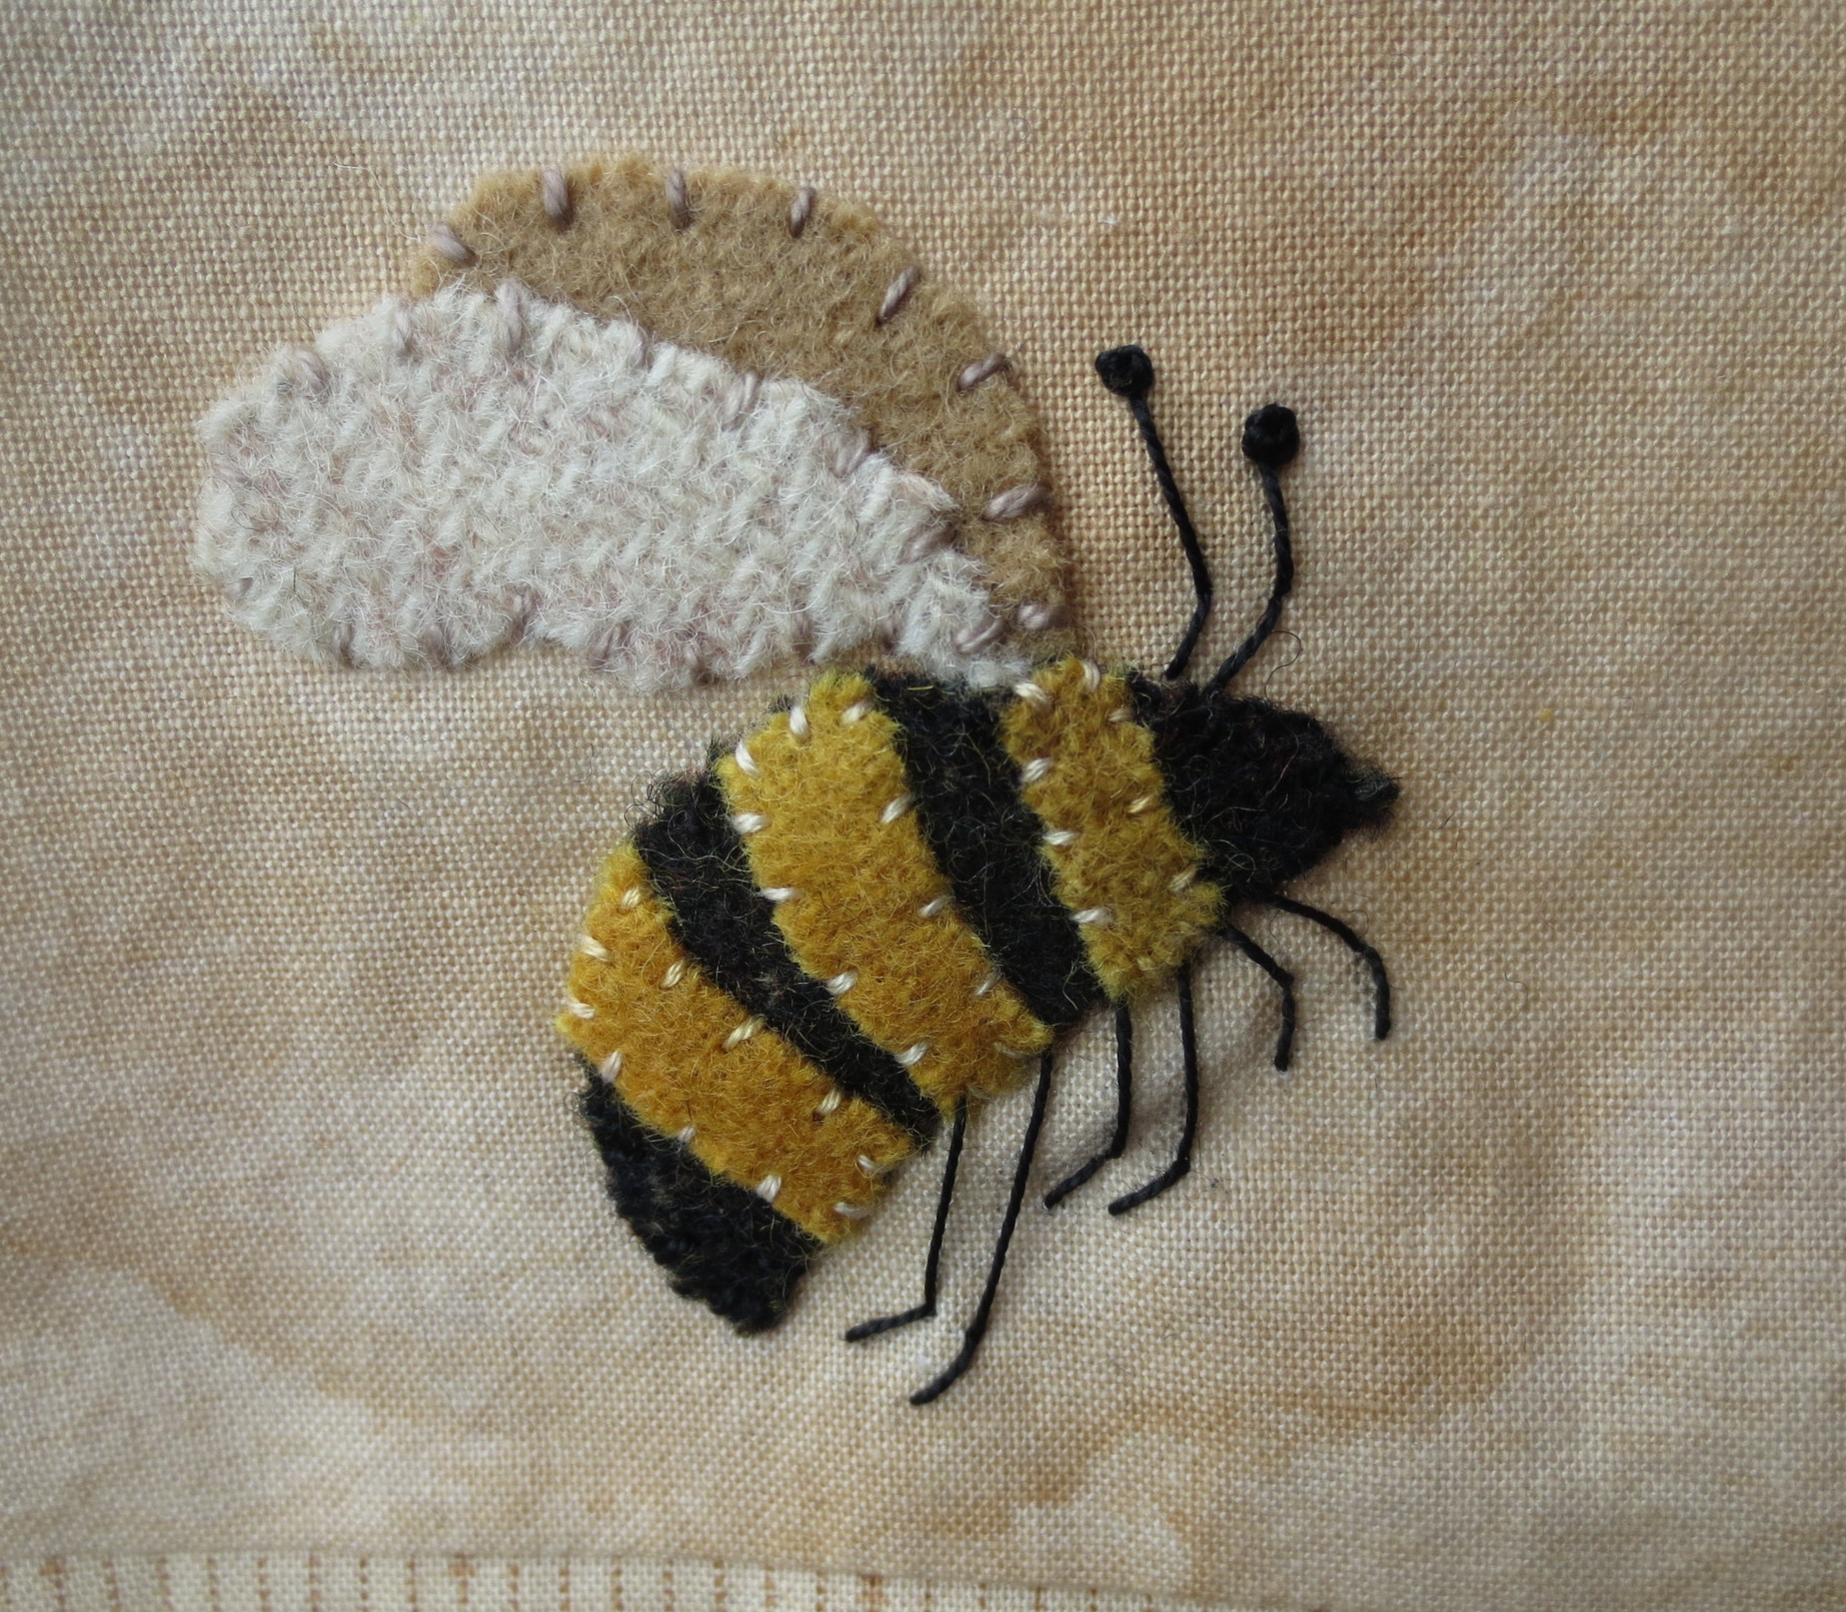
8. Bee
- Position the bee body and wings according to the layout.
- Fuse in place using steam.
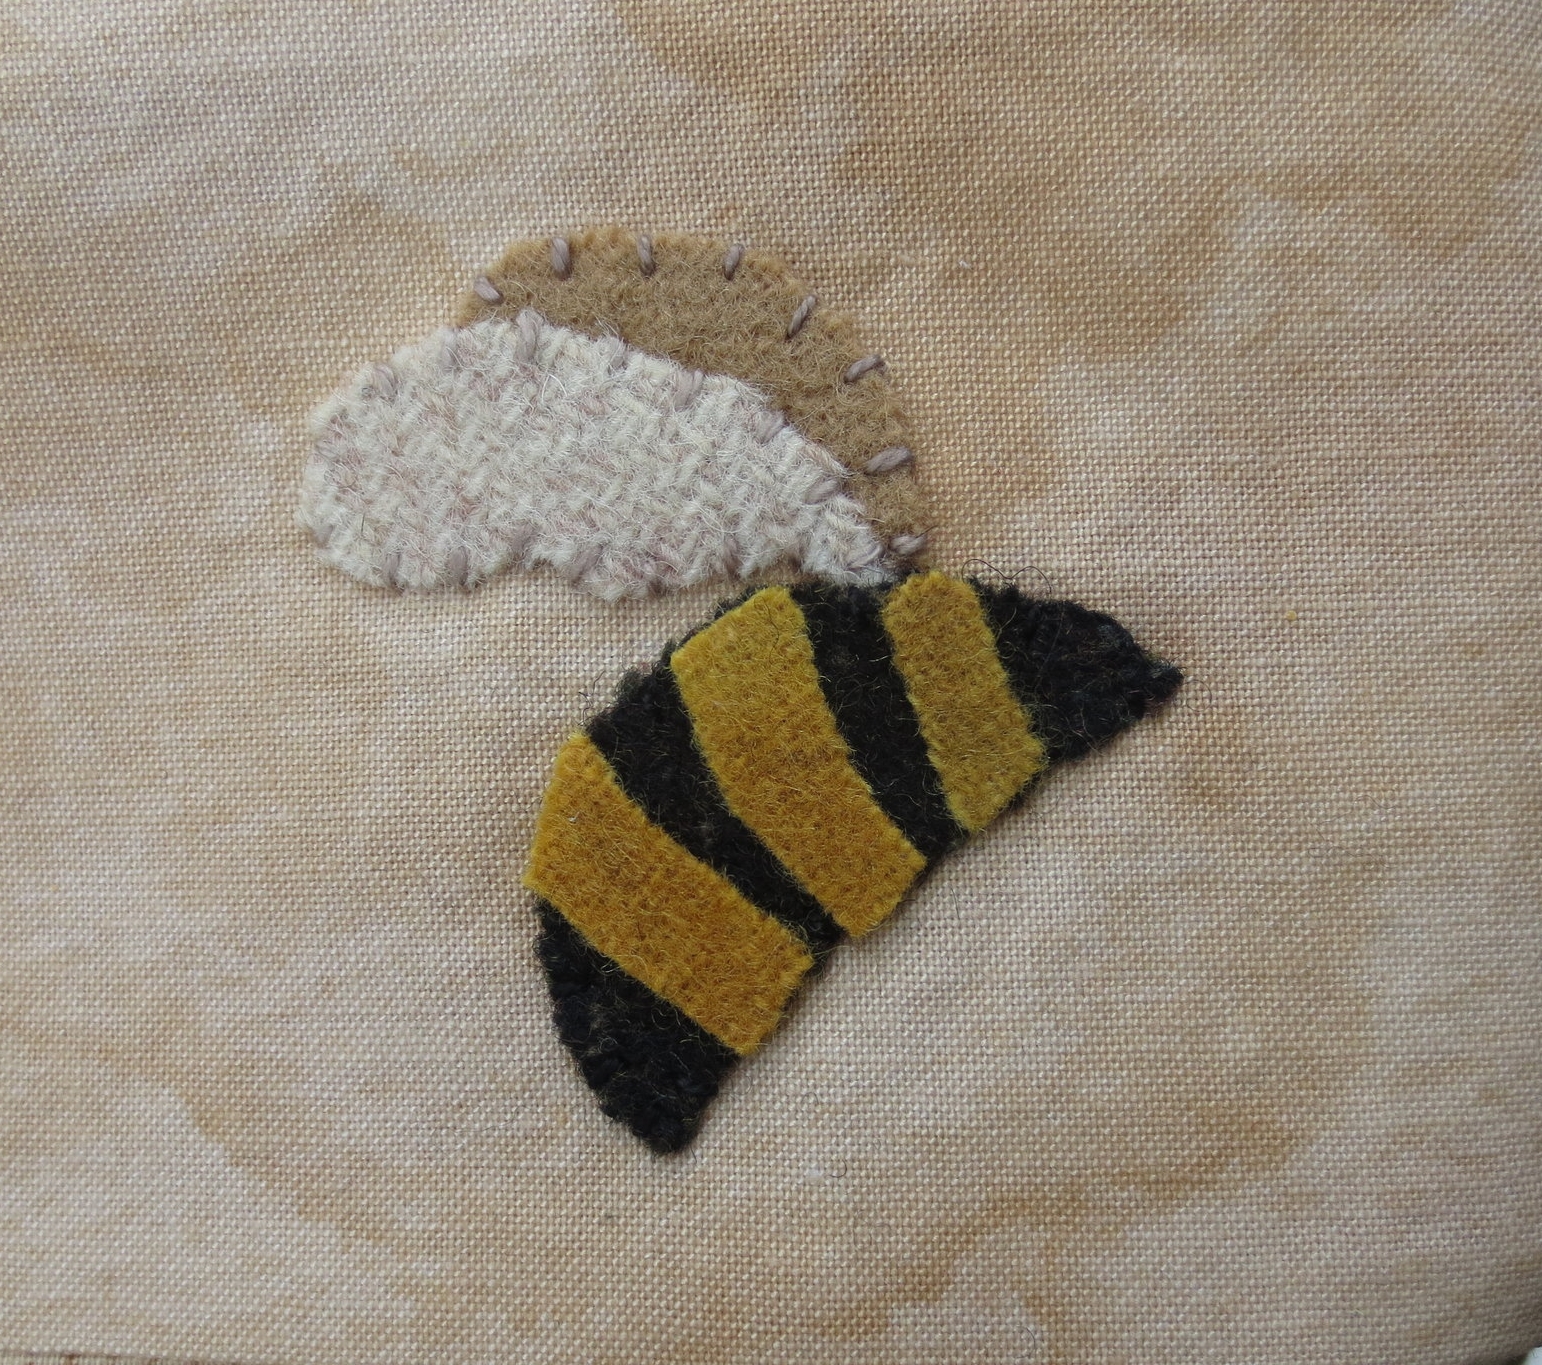
- Whip stitch the body and wings with perle cotton, size 12.
- Position the stripes on the bee body according to the layout.
- Fuse in place using steam.
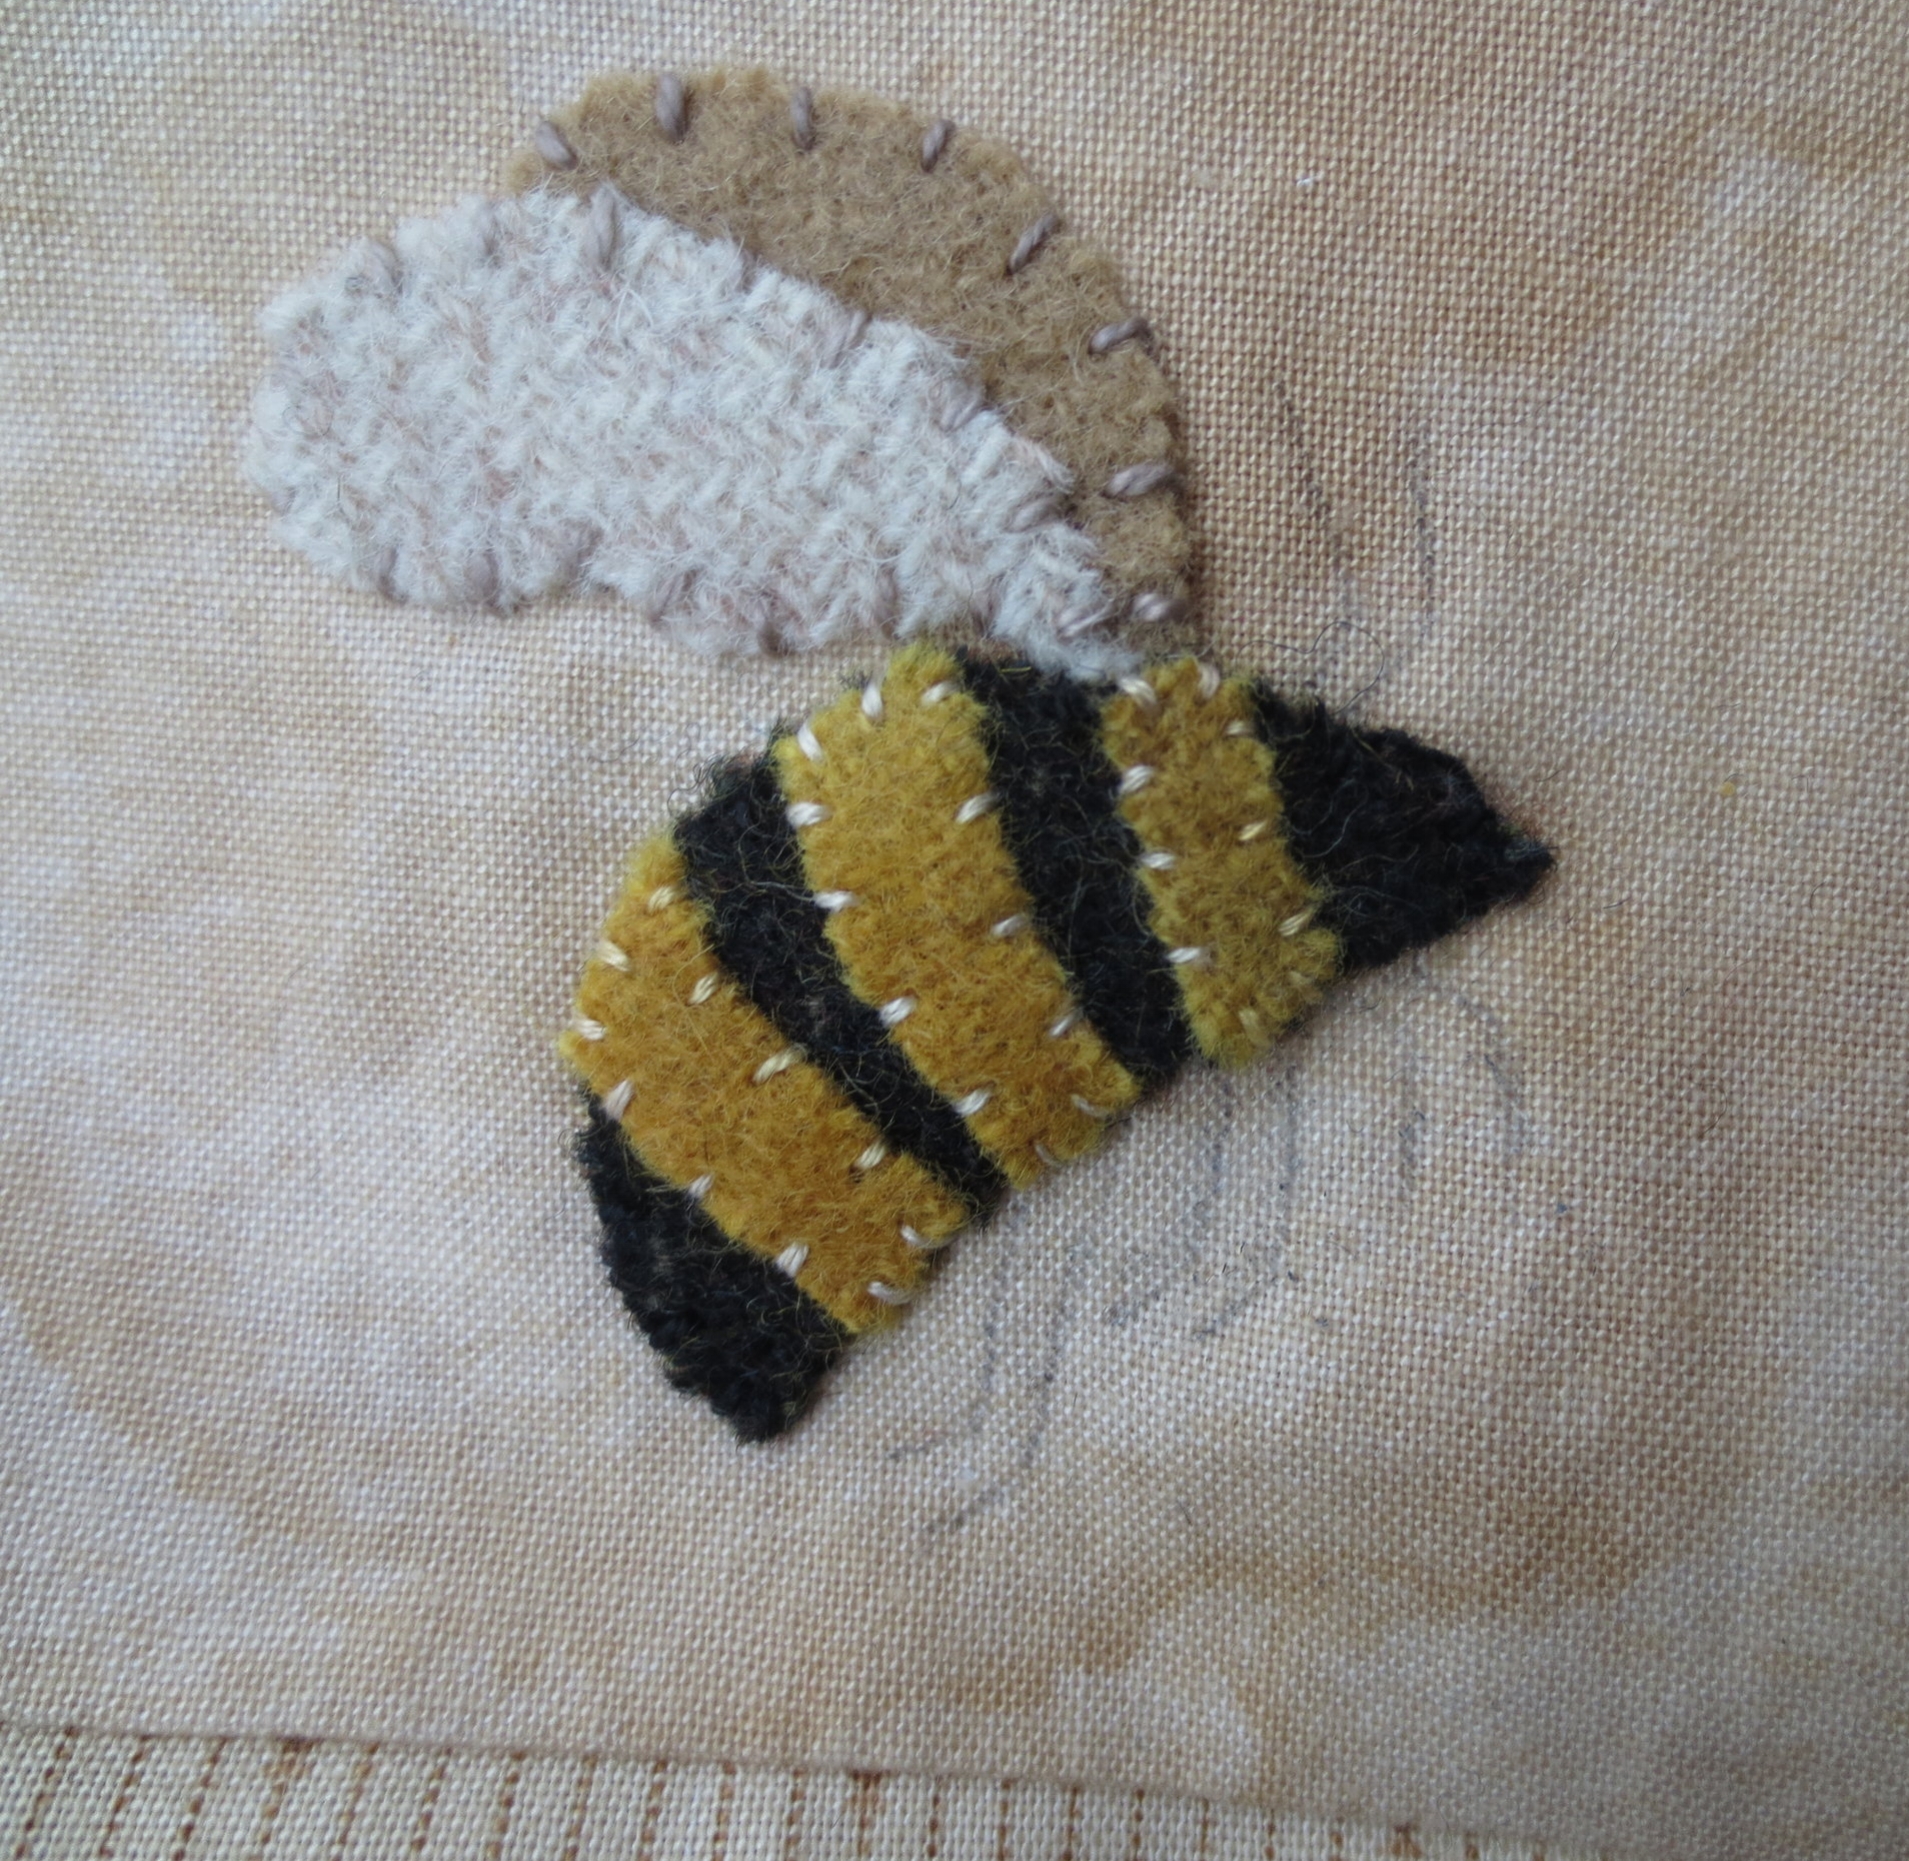
- Use two strands of embroidery floss to whip stitch the bee stripes.
- Draw the legs and antennae.
- Back stitch legs and antennae with black perle cotton, size 12.
- Use the same thread to stitch a single french or colonial knot on the end of each antennae.
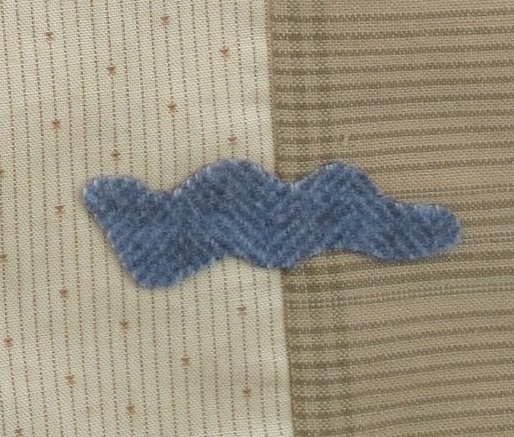
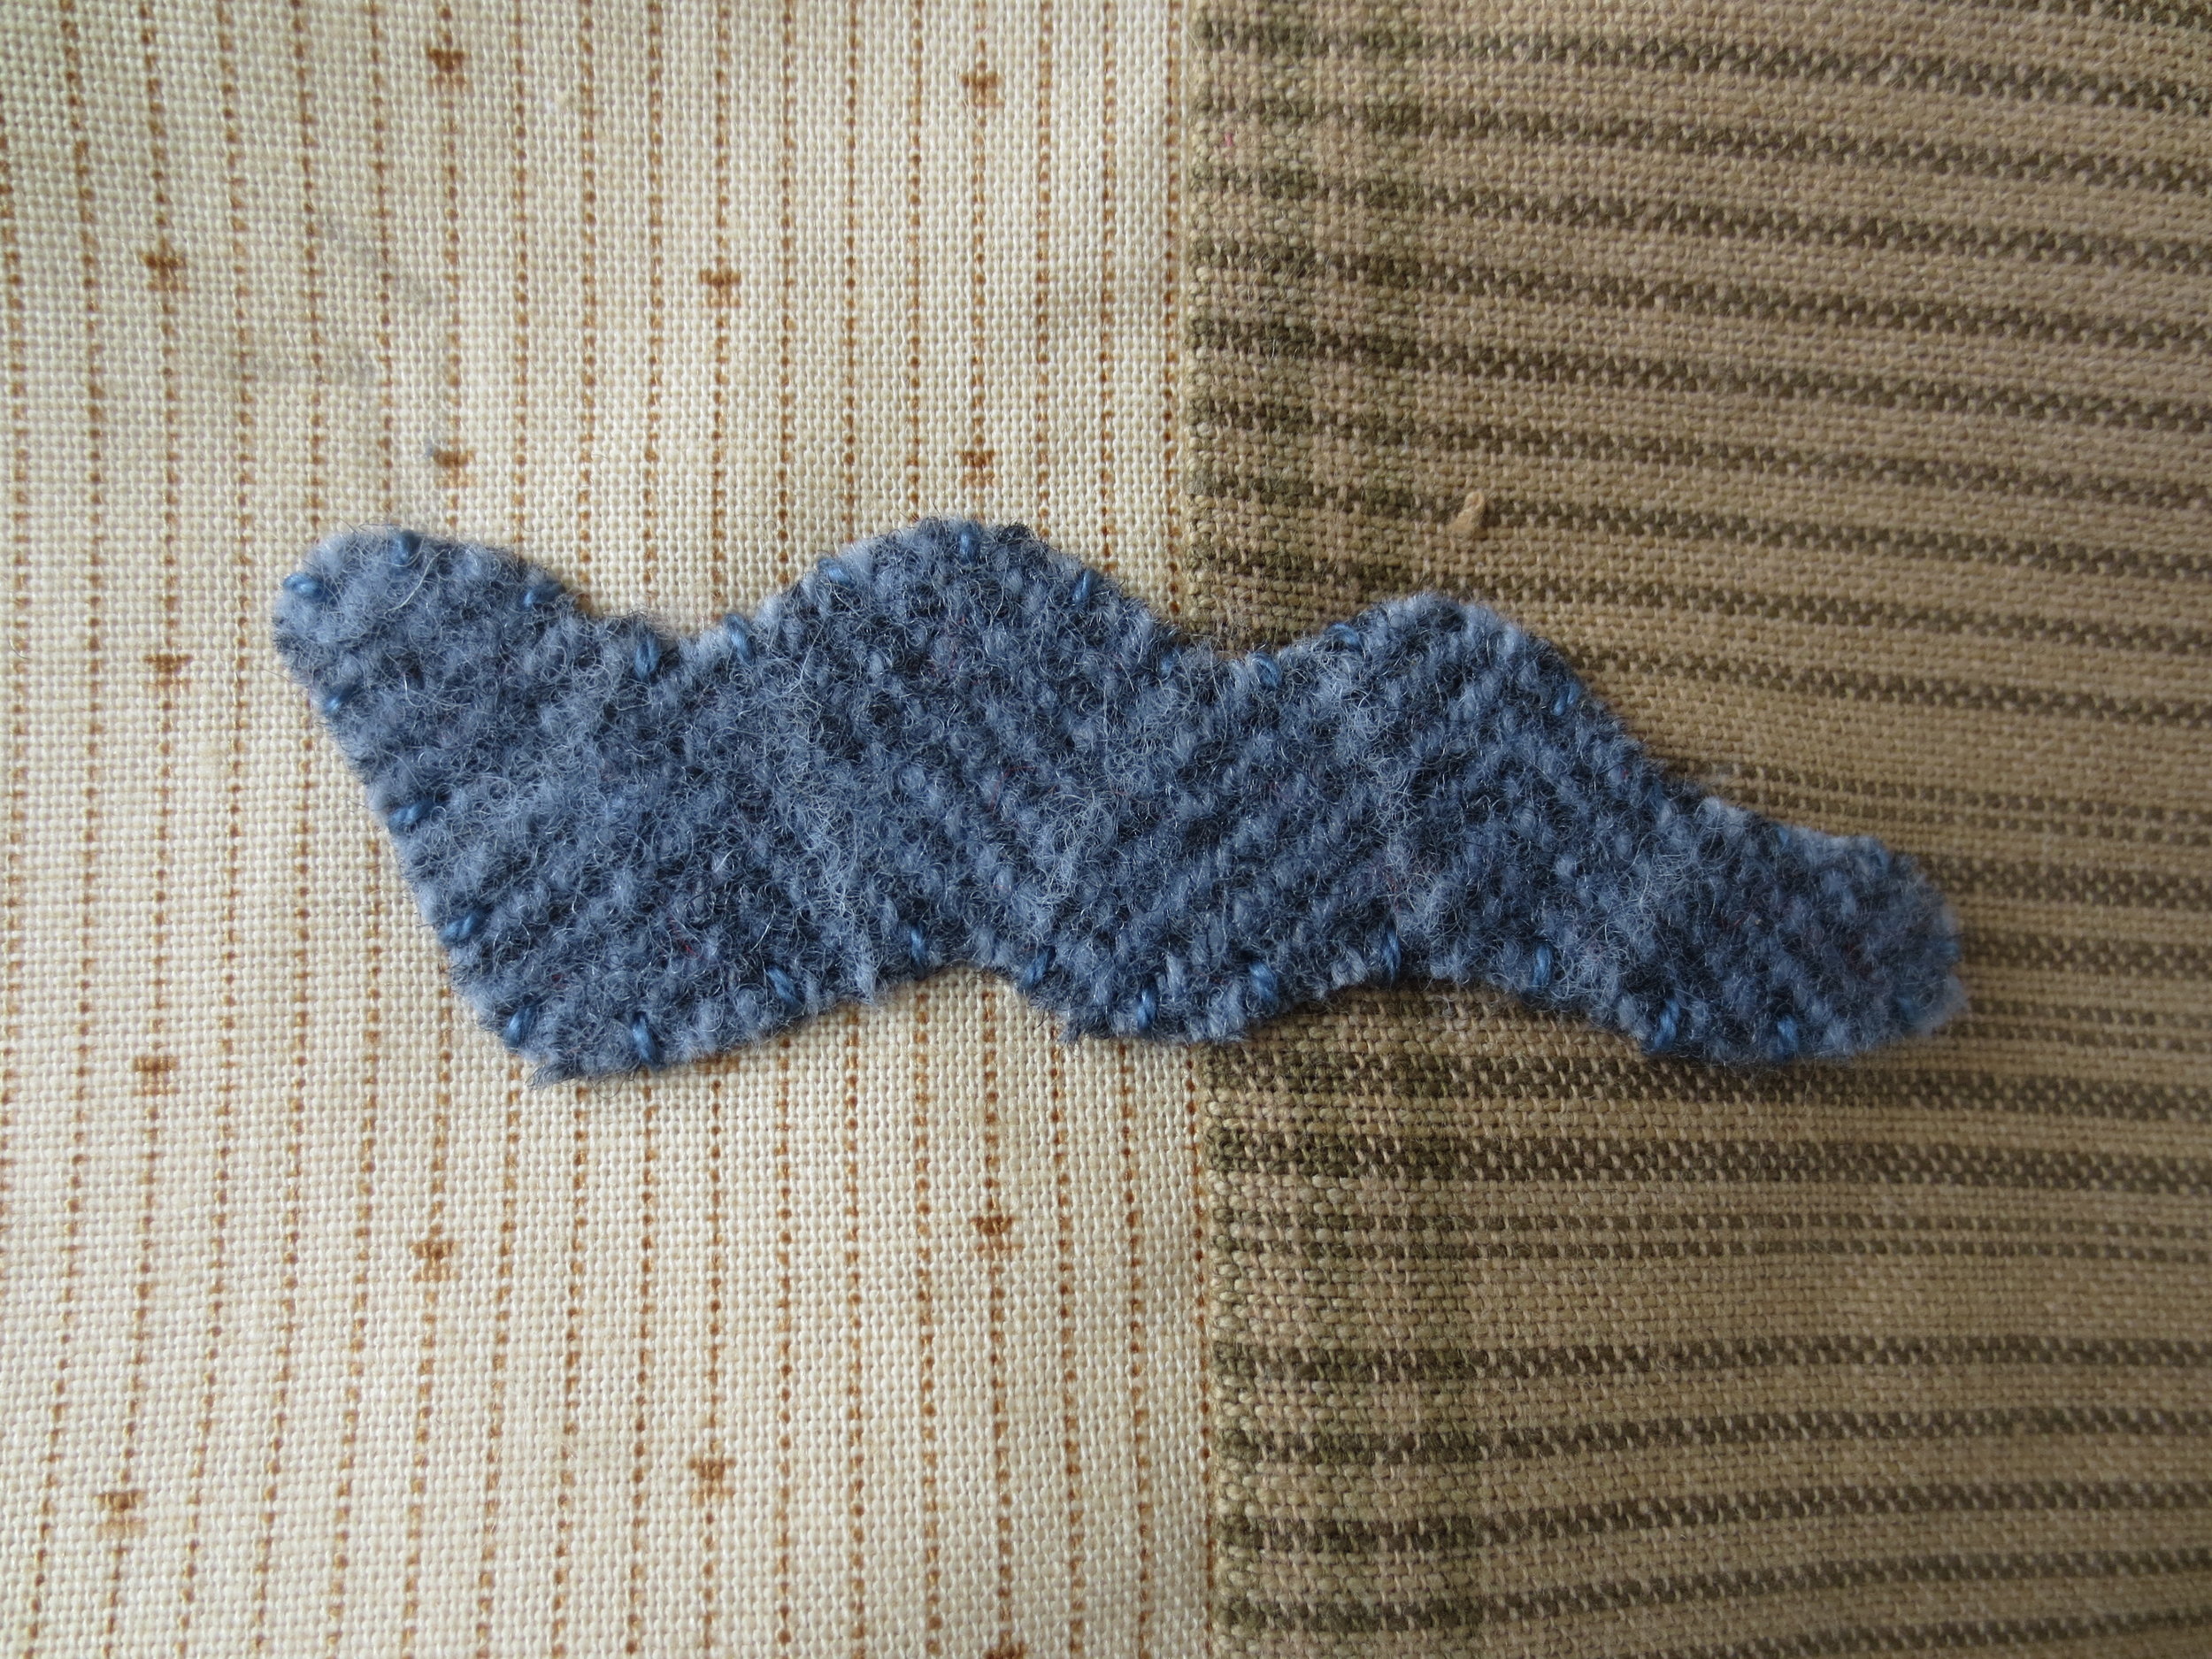
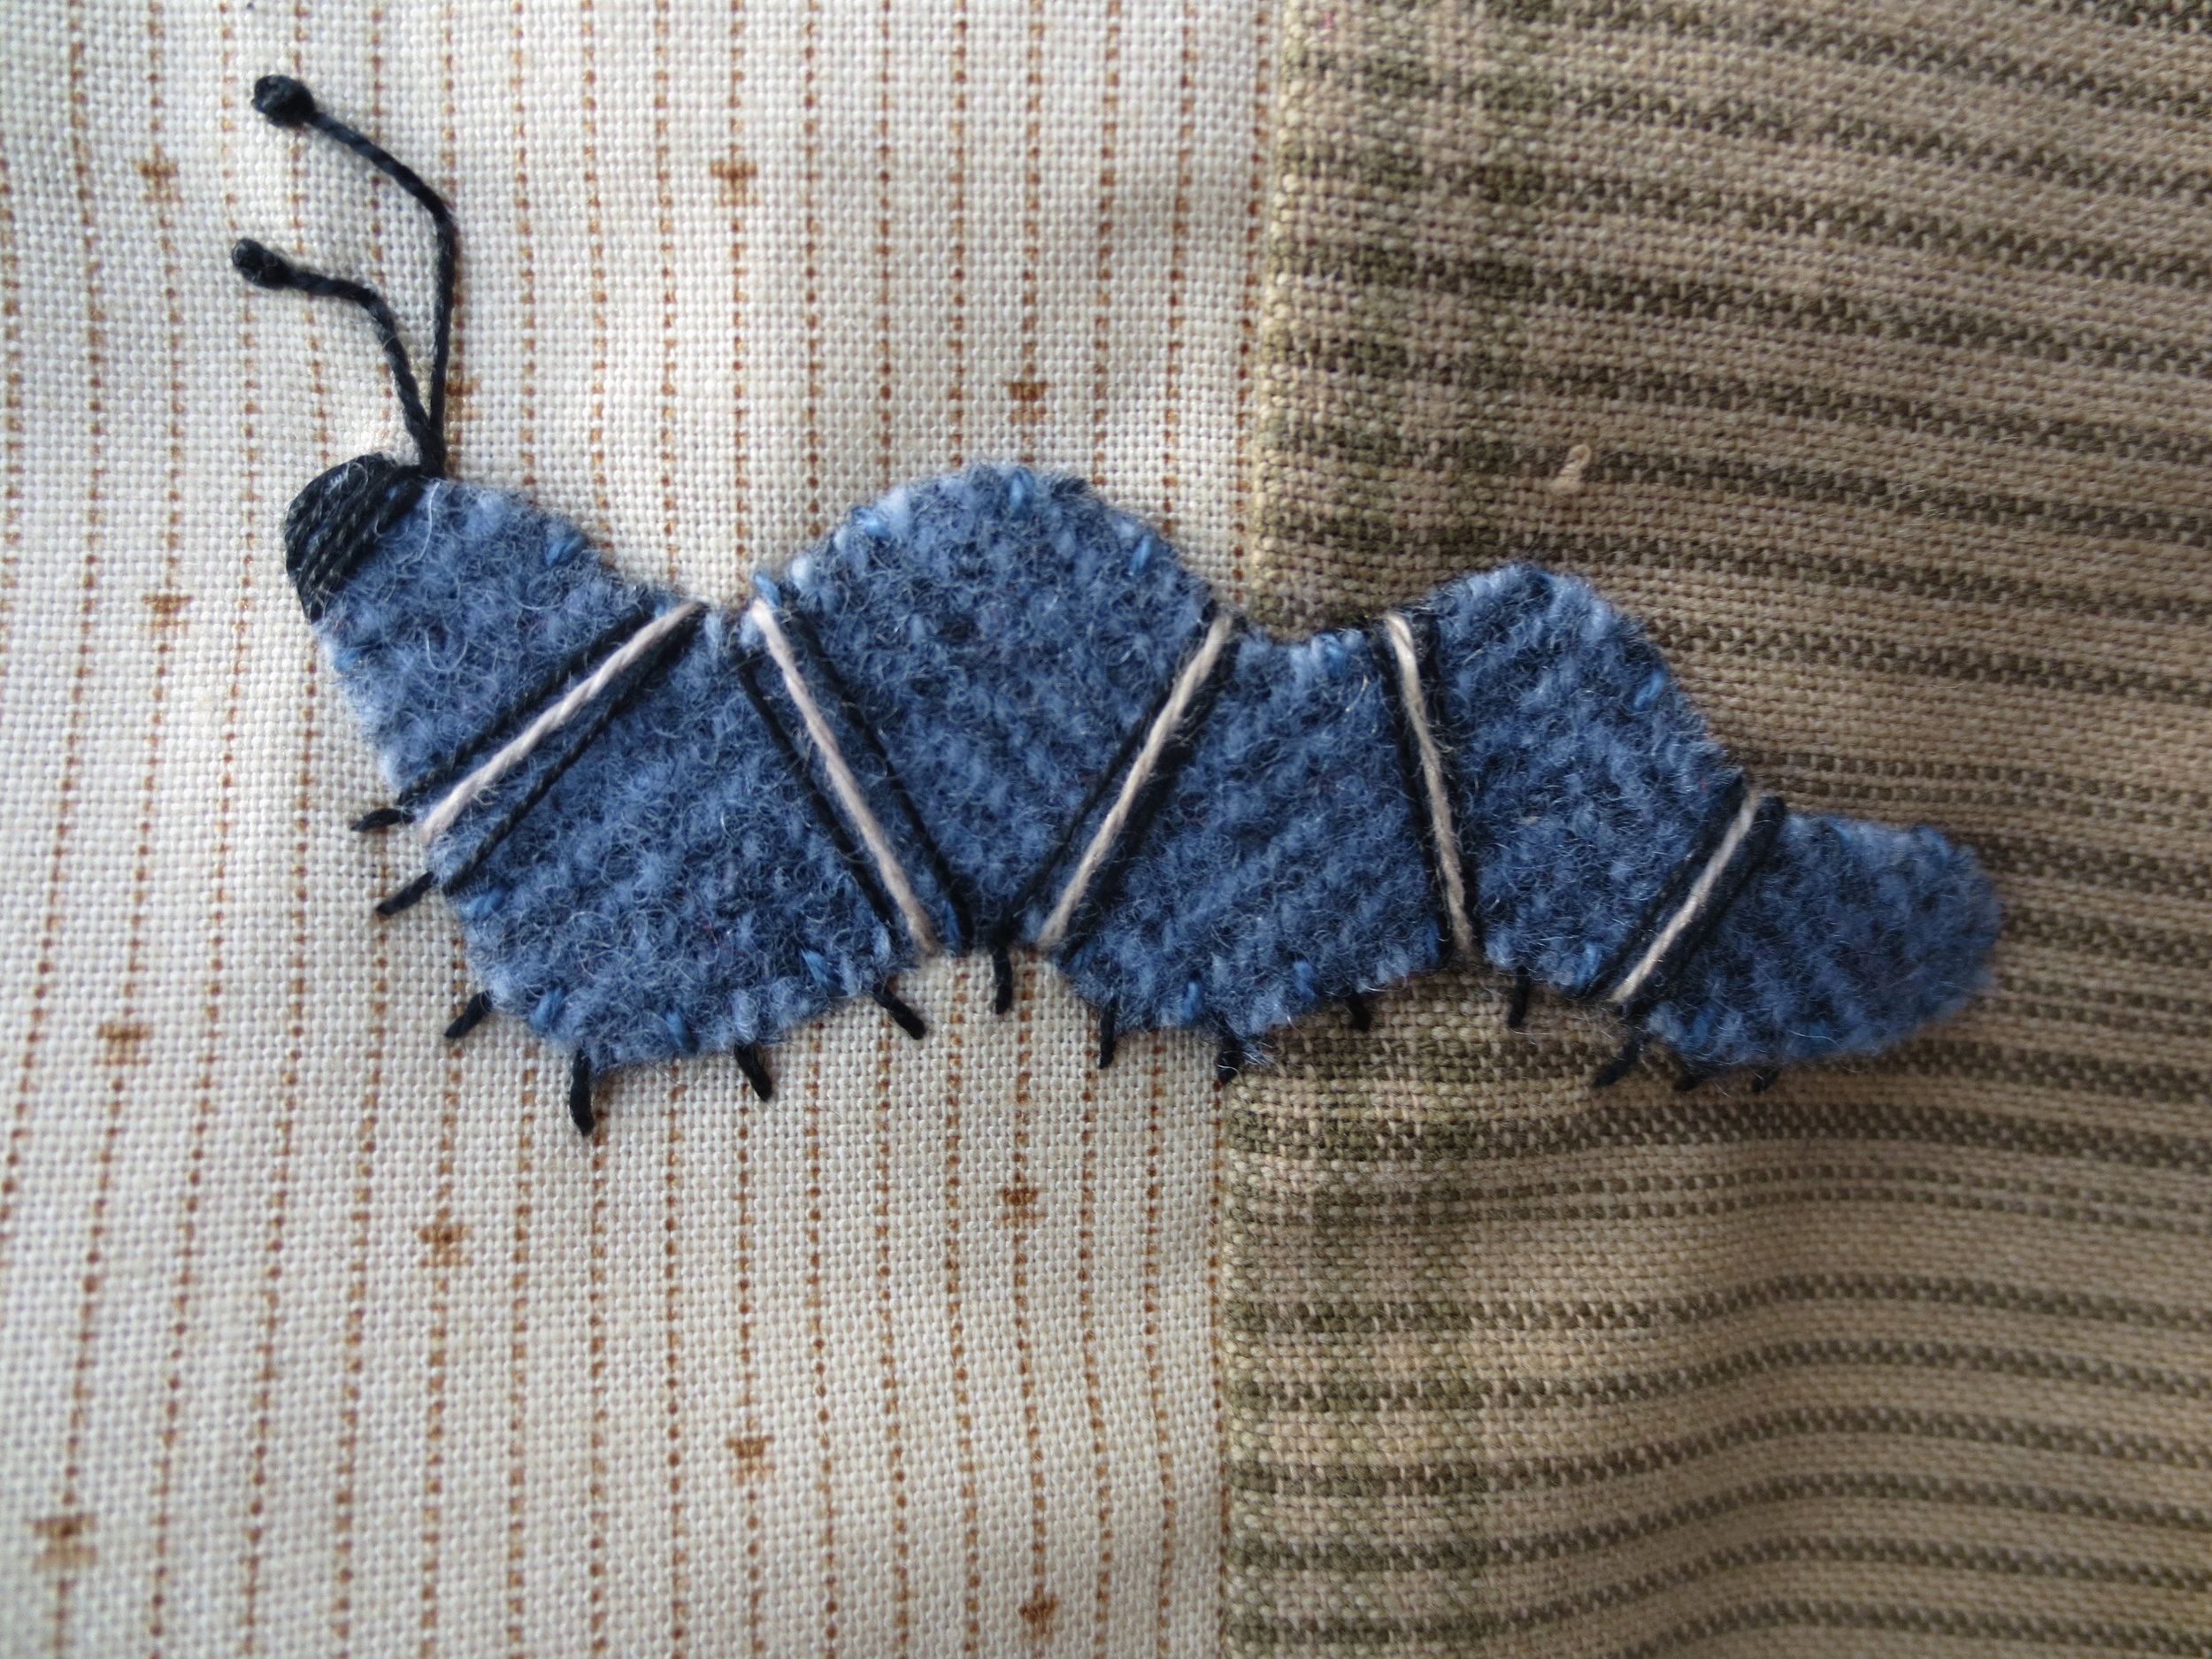
9. Worm
- Position the worm according to the layout and fuse in place using steam.
- Whip stitch using perle cotton, size 12.
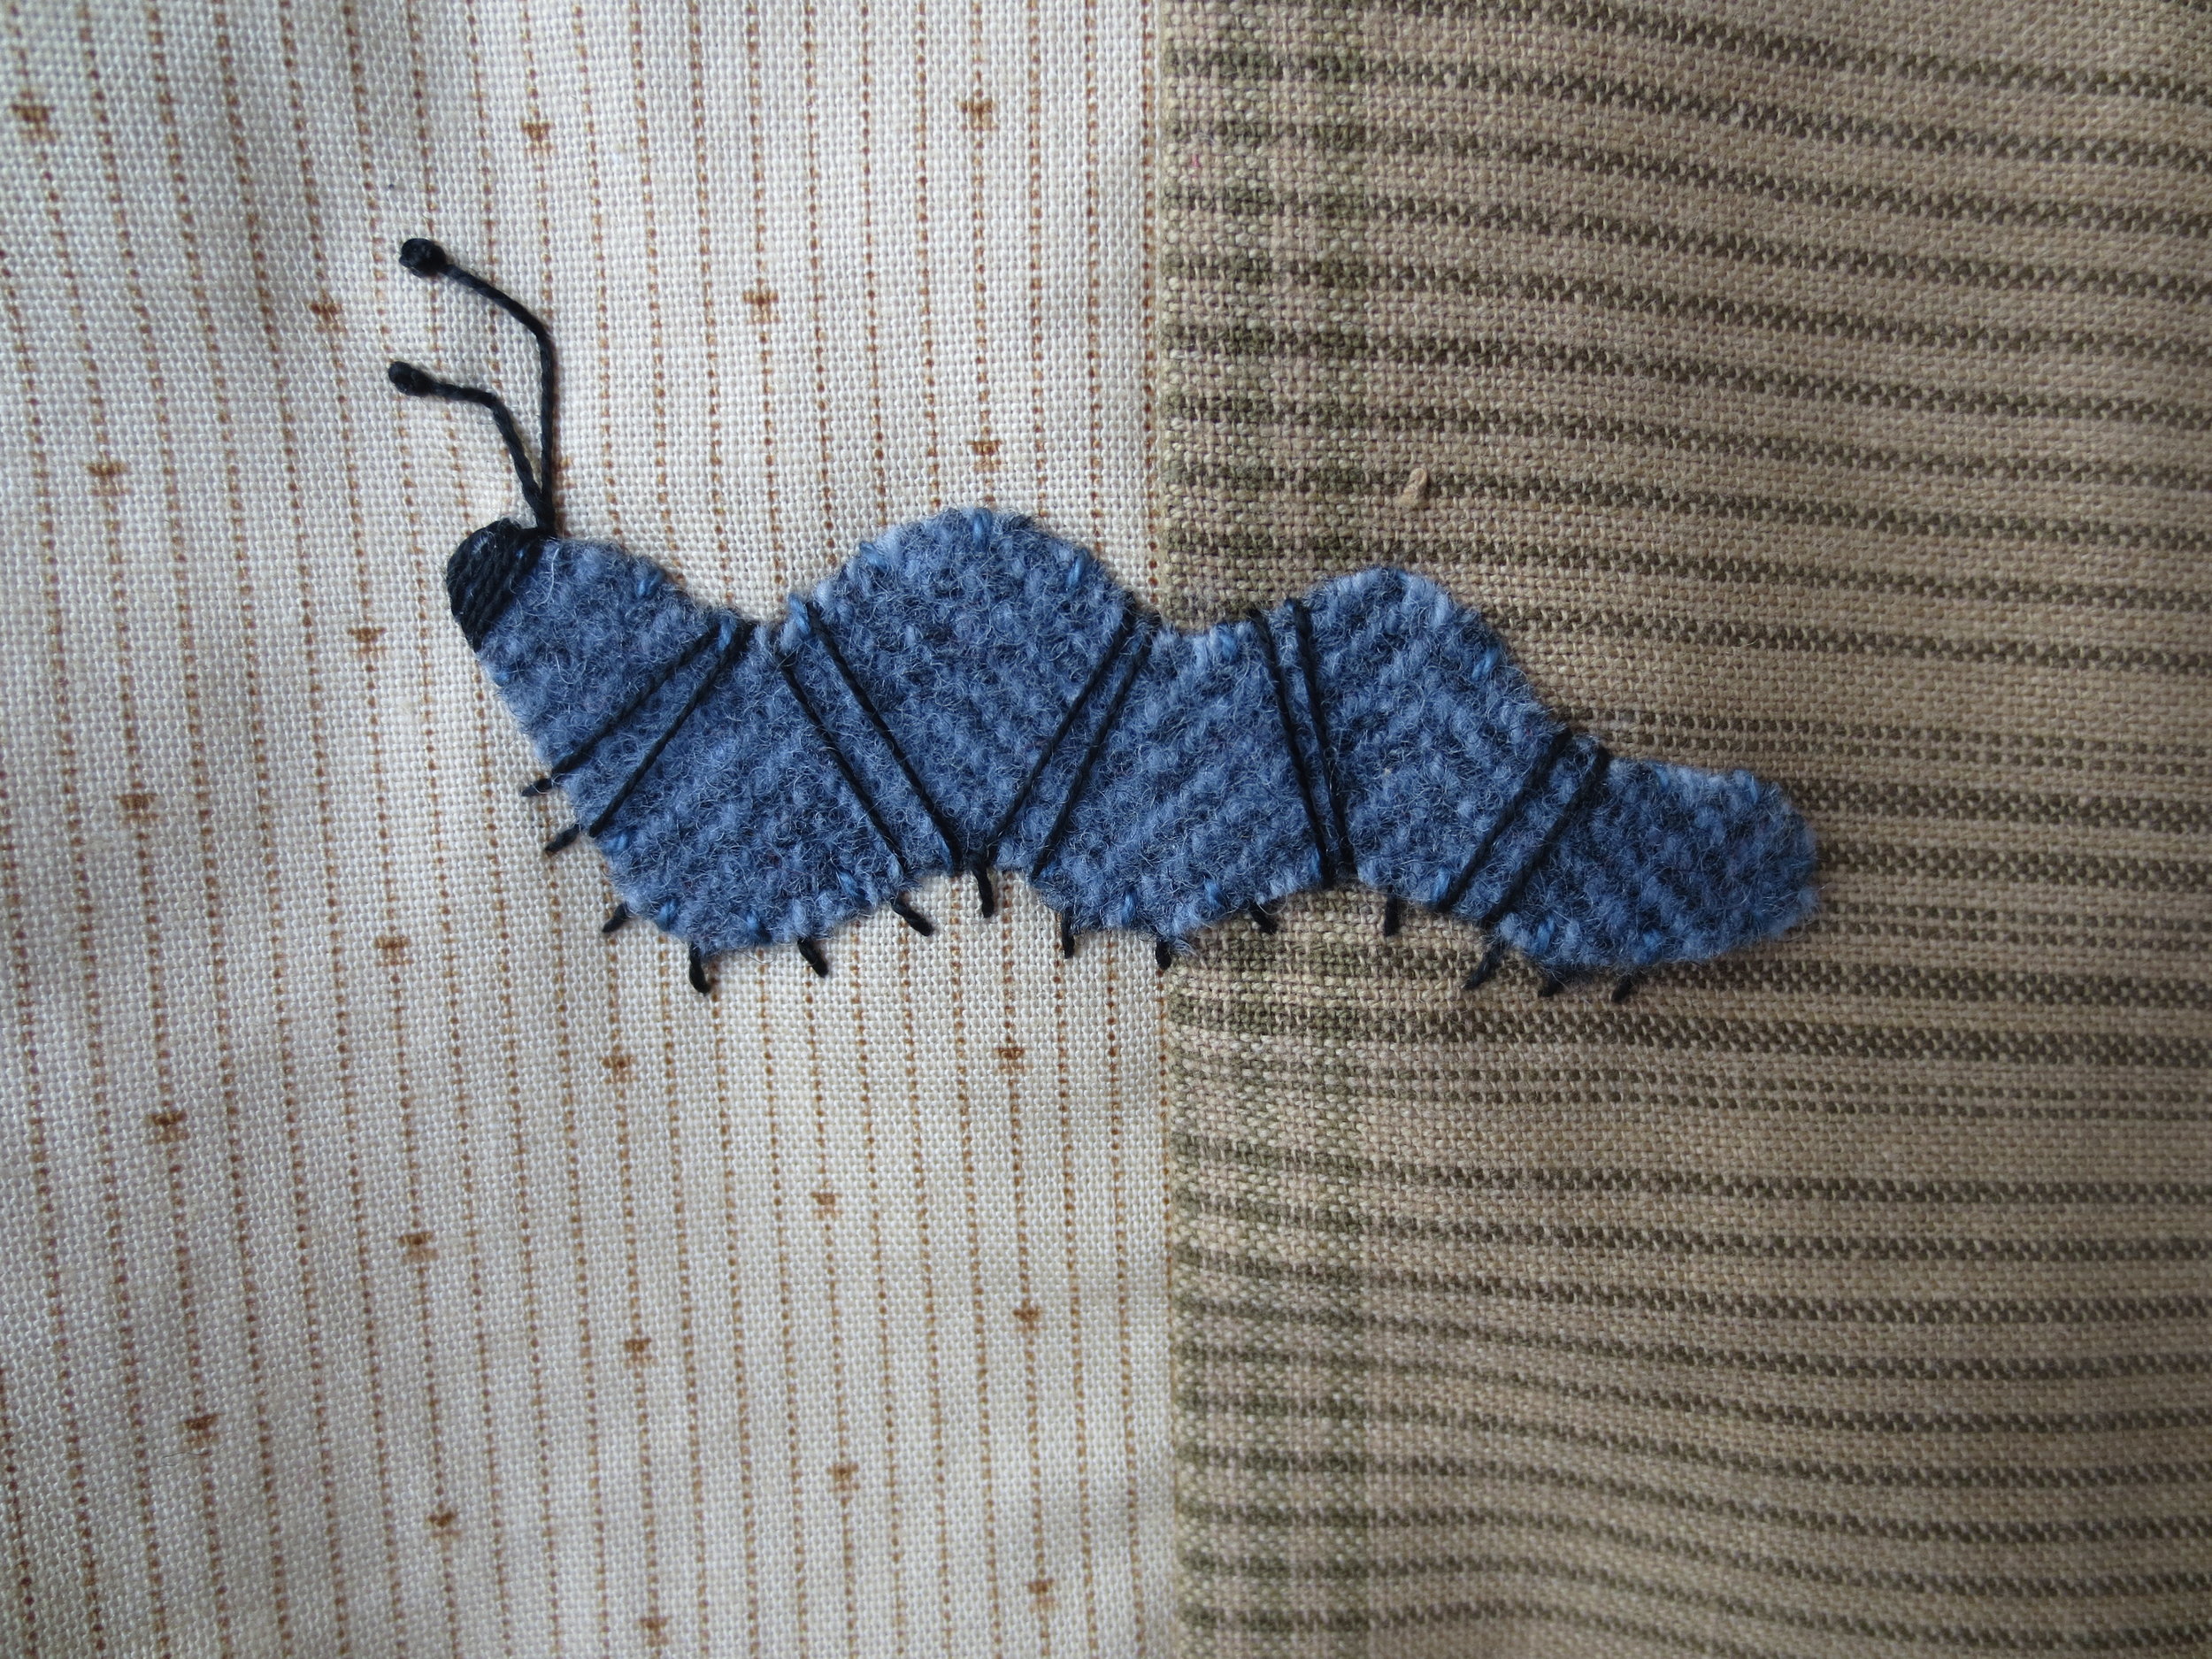
- Draw chalk guide lines for the stripes.
- Use black perle cotton, size 12 to stitch two parallel straight stitches on each side of the chalk line.
- Use the same black thread to satin stitch the head (about six stitches).
- Draw the antennae and back stitch over the lines with the same black thread.
- Stitch a single french knot on the end of each antennae.
- Stitch fourteen small straight stitches for the legs.
- Use off-white or beige perle cotton, size 12 (Valdani #O178) to stitch a single straight stitch between each pair of black stripes.
Voila!
Happy Stitching!