
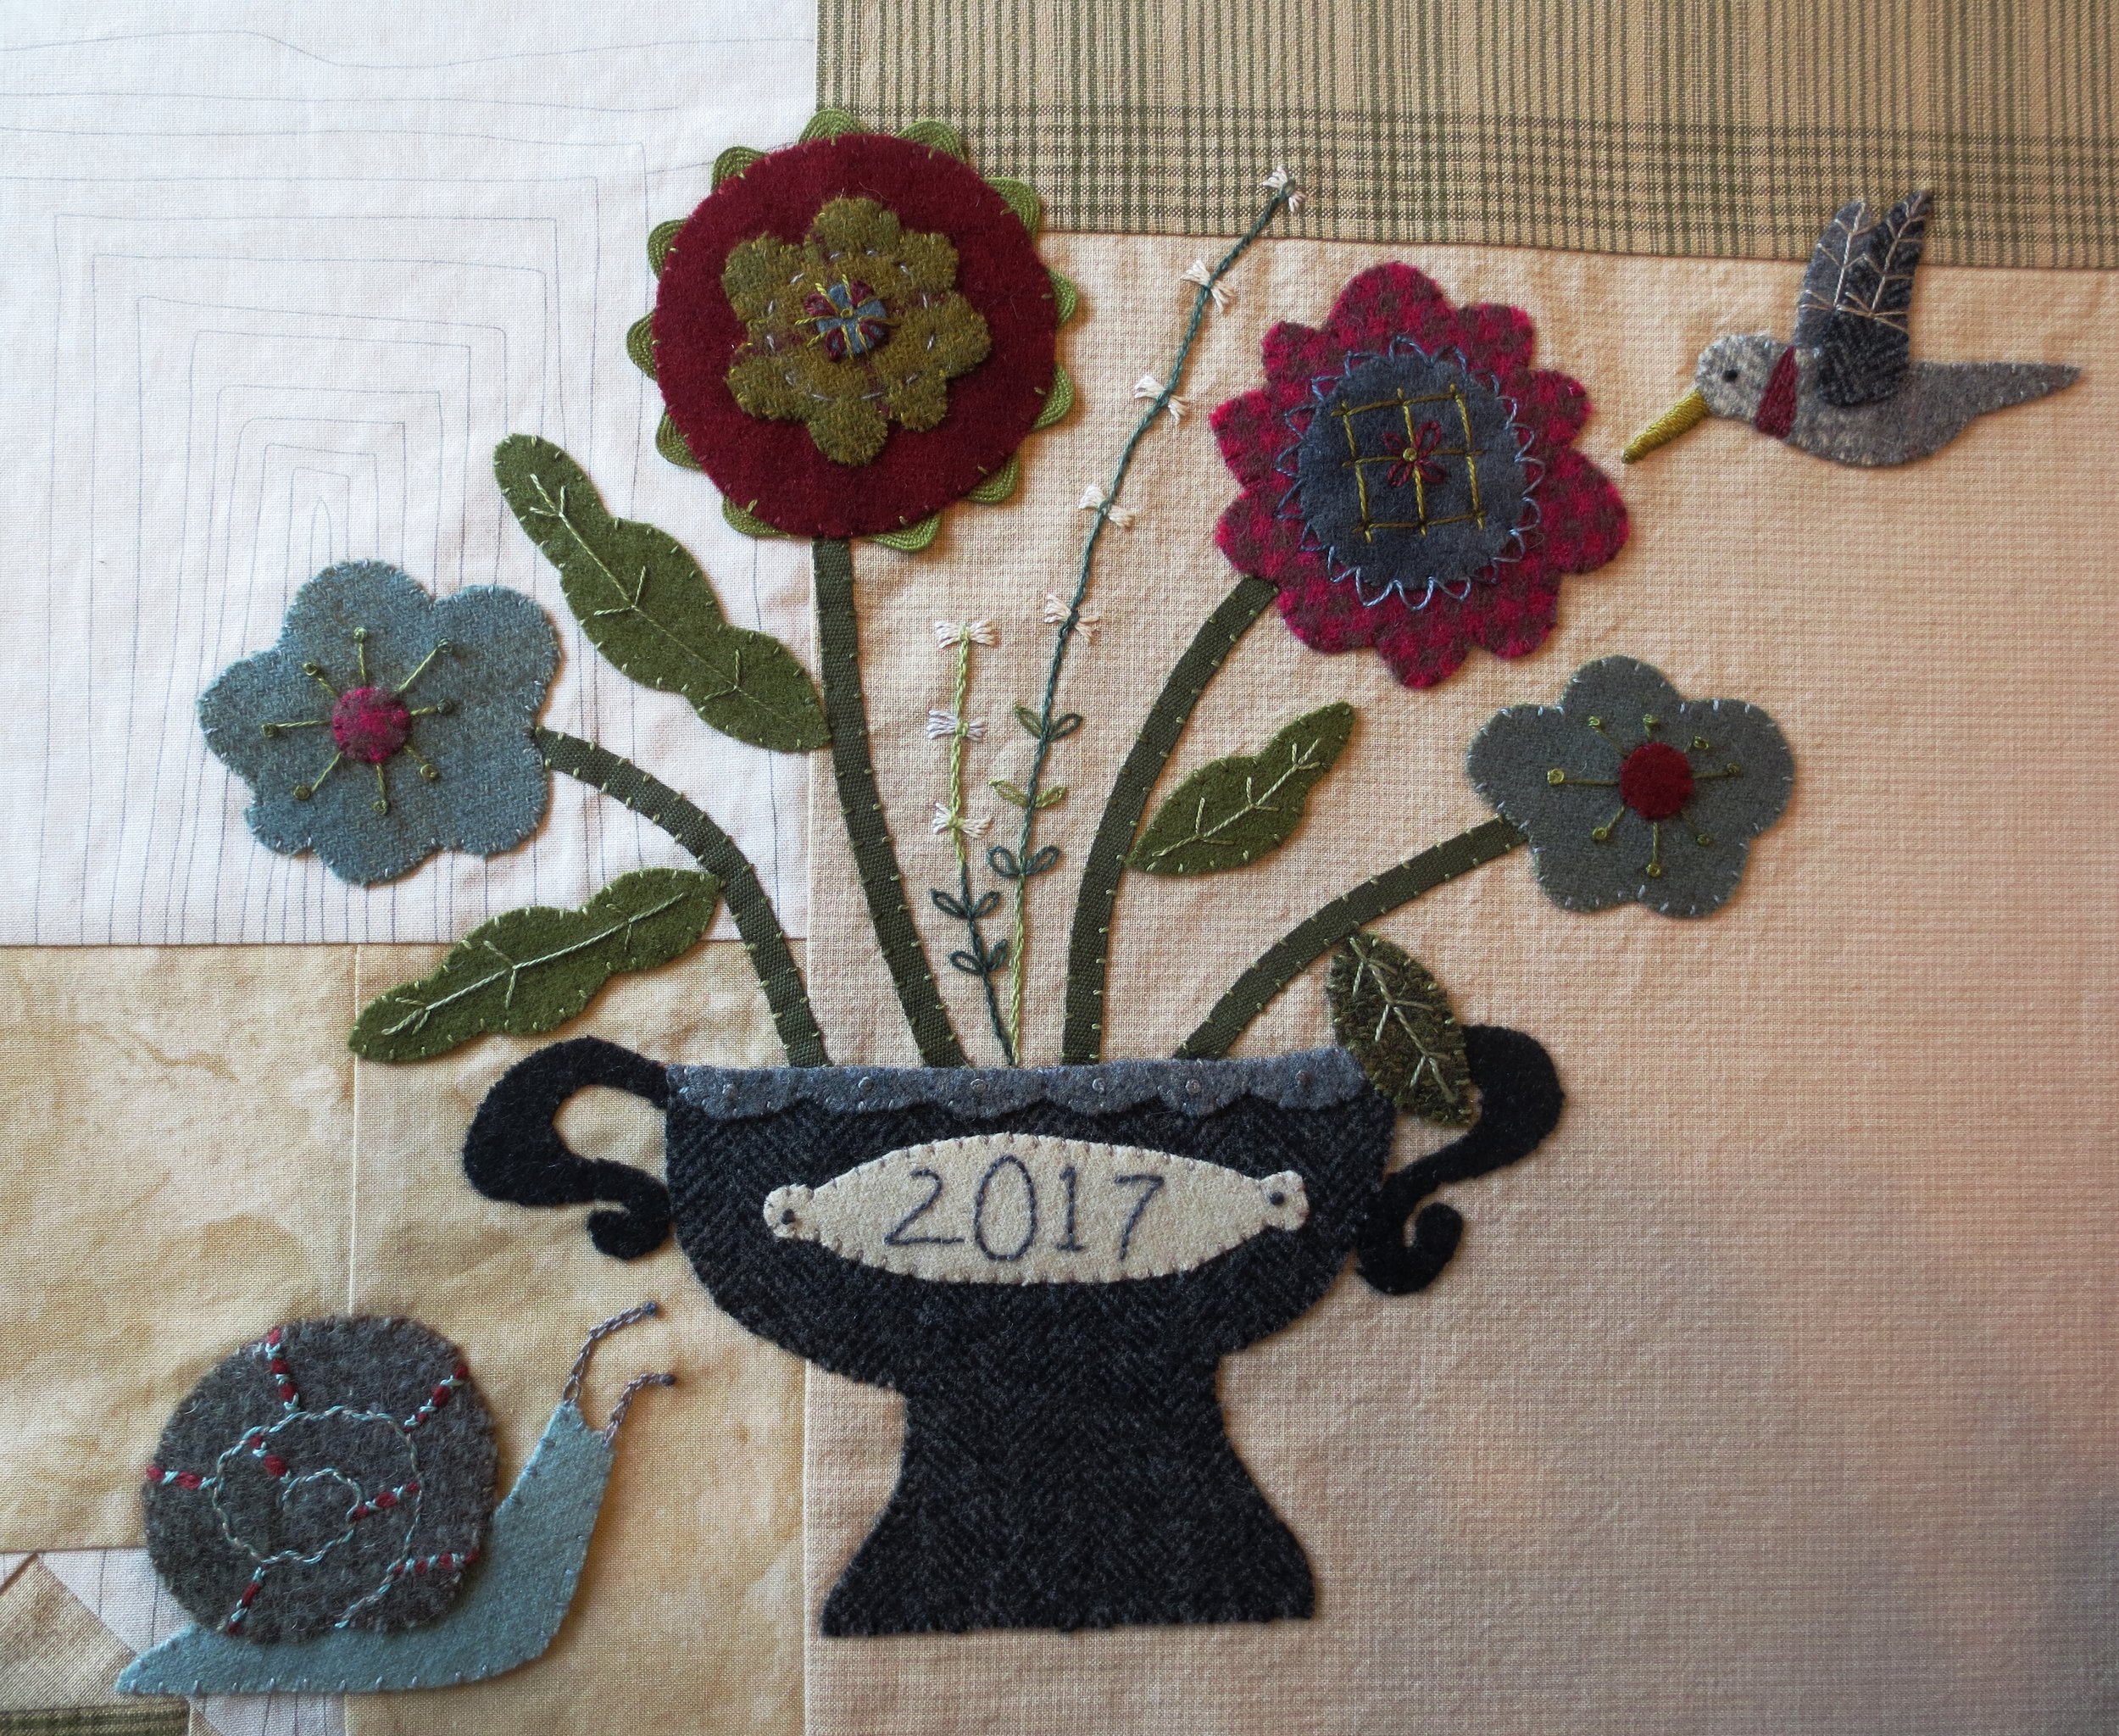
Flowers From My Garden Block #3 - Part I
This is the third block of the Flowers From My Garden Mystery Quilt.
We've had a very wet winter this year (thankfully), but that translates into lots of weeds and snails. The plus side is that my garden is full of flowers (lucky me). The negative side is that I've been busy with my real garden this spring which makes less time for stitching flowers. However, I did get it done, with a few extra stitches that you won't find on your stitch guide. I tried my best to illustrate the stitches and provided links to tutorials for extra backup. I hope you like the final product. Happy stitching!
You will need:
Fabric background - If you haven't been following the quilt along please see the first post titled "Flowers From My Garden Mystery Quilt." The instructions on how to piece the block will be there.
Wool (felted)
- Vase & hummingbird wing B - 6" square black & gray herringbone
- Vase handles - 2" x 2 1/2" black tweed
- Vase label - 2 1/2" x 4" dirty white
- Vase ruffle & hummingbird wing A - 1" x 7" grey heather
- Snail shell - 2 1/2" x 3" brown & light teal tweed
- Snail body - 2 1/2" x 4" light teal
- Hummingbird body - 1 1/2" x 3 1/2" gray & white plaid
- Flower #1 - 3" square muted teal/gold plaid
- Flower #2 & #4A - 3 1/2" square burgundy
- Flower #3 & #1A - fushia/grey houndstooth
- Flower #4 - 2 1/2" x 3" muted teal
- Leaves A, B & C - 3 1/2" x 4" olive green
- Leaf D - 1 1/2" x 2" green tweed
Thread
- Perle cotton thread, size 12 - I used colors that matched or complimented the colors of my wool. Your colors may vary.
- Wildflowers by Caron #151 Pewter - flowers #1 & #4, #2A embellishment, snail shell spiral, snail antennae, hummingbird body, wing A, vase ruffle and ruffle embellishment, vase plate
- Wildflowers by Caron #215 Cilantro - rick rack, veins of leaves
- Valdani #78 Rusty burgundy - flowers #1A, #2, #2B embellishment, #3, #3B & #4A
- Valdani #O578 - flower #3A
- Valdani #O153 - flower #2 rick rack, #2A, #3A embellishment, hummingbird beak
- Valdani #O519 - flowers #1 & #4 embellishment, stems of flowers 1-4, leaves
- Valdani #O578 - snail shell
- Valdani #135 - snail antennae, date on vase
- Valdani #O538 - butterfly stitch flowers
- DMC Ecru - butterfly stitch flowers
- Valdani #M19 - butterfly stitch flower stem
- DMC #310 - Vase & vase handles, hummingbird wing B
- Finca #4379 - snail shell embellishment, snail body
- Tapestry thread - This is a wool 2-ply yarn used for needlepoint. You will use two strands of it. A good alternative would be a single strand of worsted weight yarn.
- rusty burgundy - snail shell embellishment
Miscellaneous
- Flower stems - 18" of olive green 1/4" wide ribbon
- Flower #2 petals - 10" length of yellow- green 5/8" wide rick rack
- Chenille needles - size 22 & 24
- Chalk pencil
- Mechanical pencil
- Feather weight fusible web
- Steam iron
Instructions - Use one strand of thread unless otherwise noted.
- Download the Layout, Pattern, and Stitch Guide (if needed). The layout is 64% of actual size.
- Trace patterns onto fusible web (images are reversed for use with fusible web) and cut out, leaving about 1/8" border.
- Fuse onto designated wool and cut out along outline. Set aside.
- Cut ribbon stems
- Two 4" lengths
- Two 4 1/2" lengths
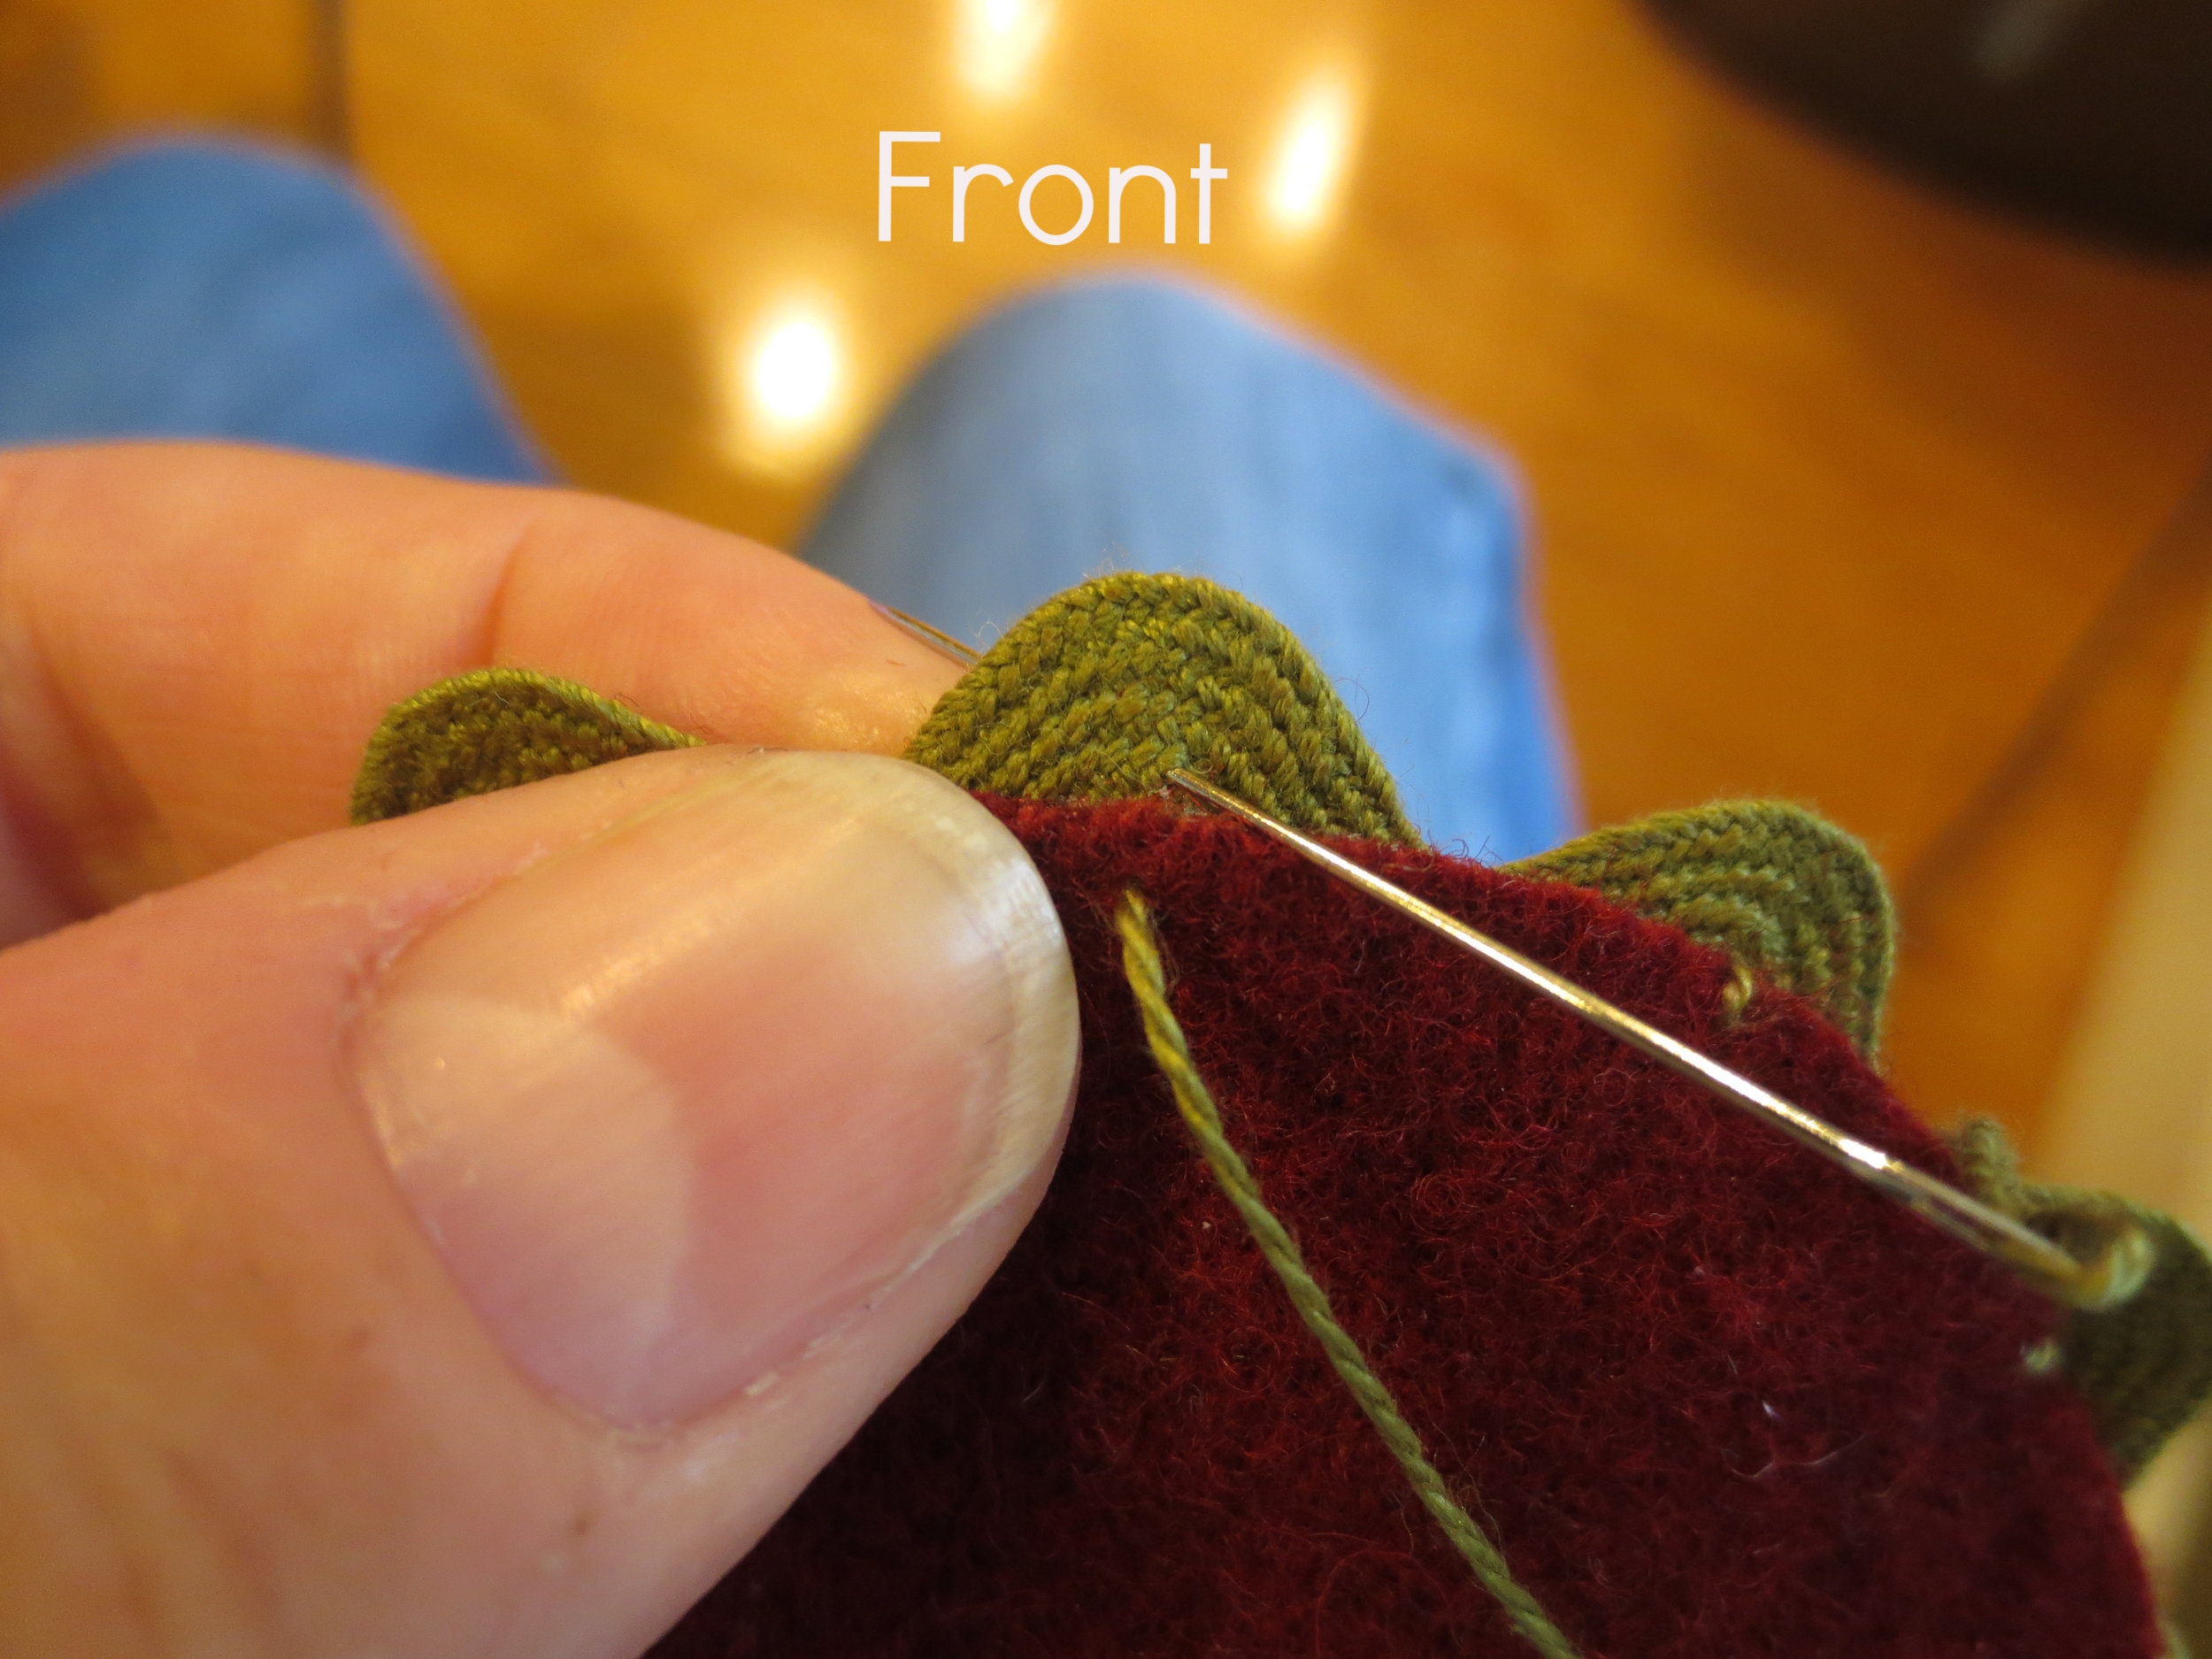
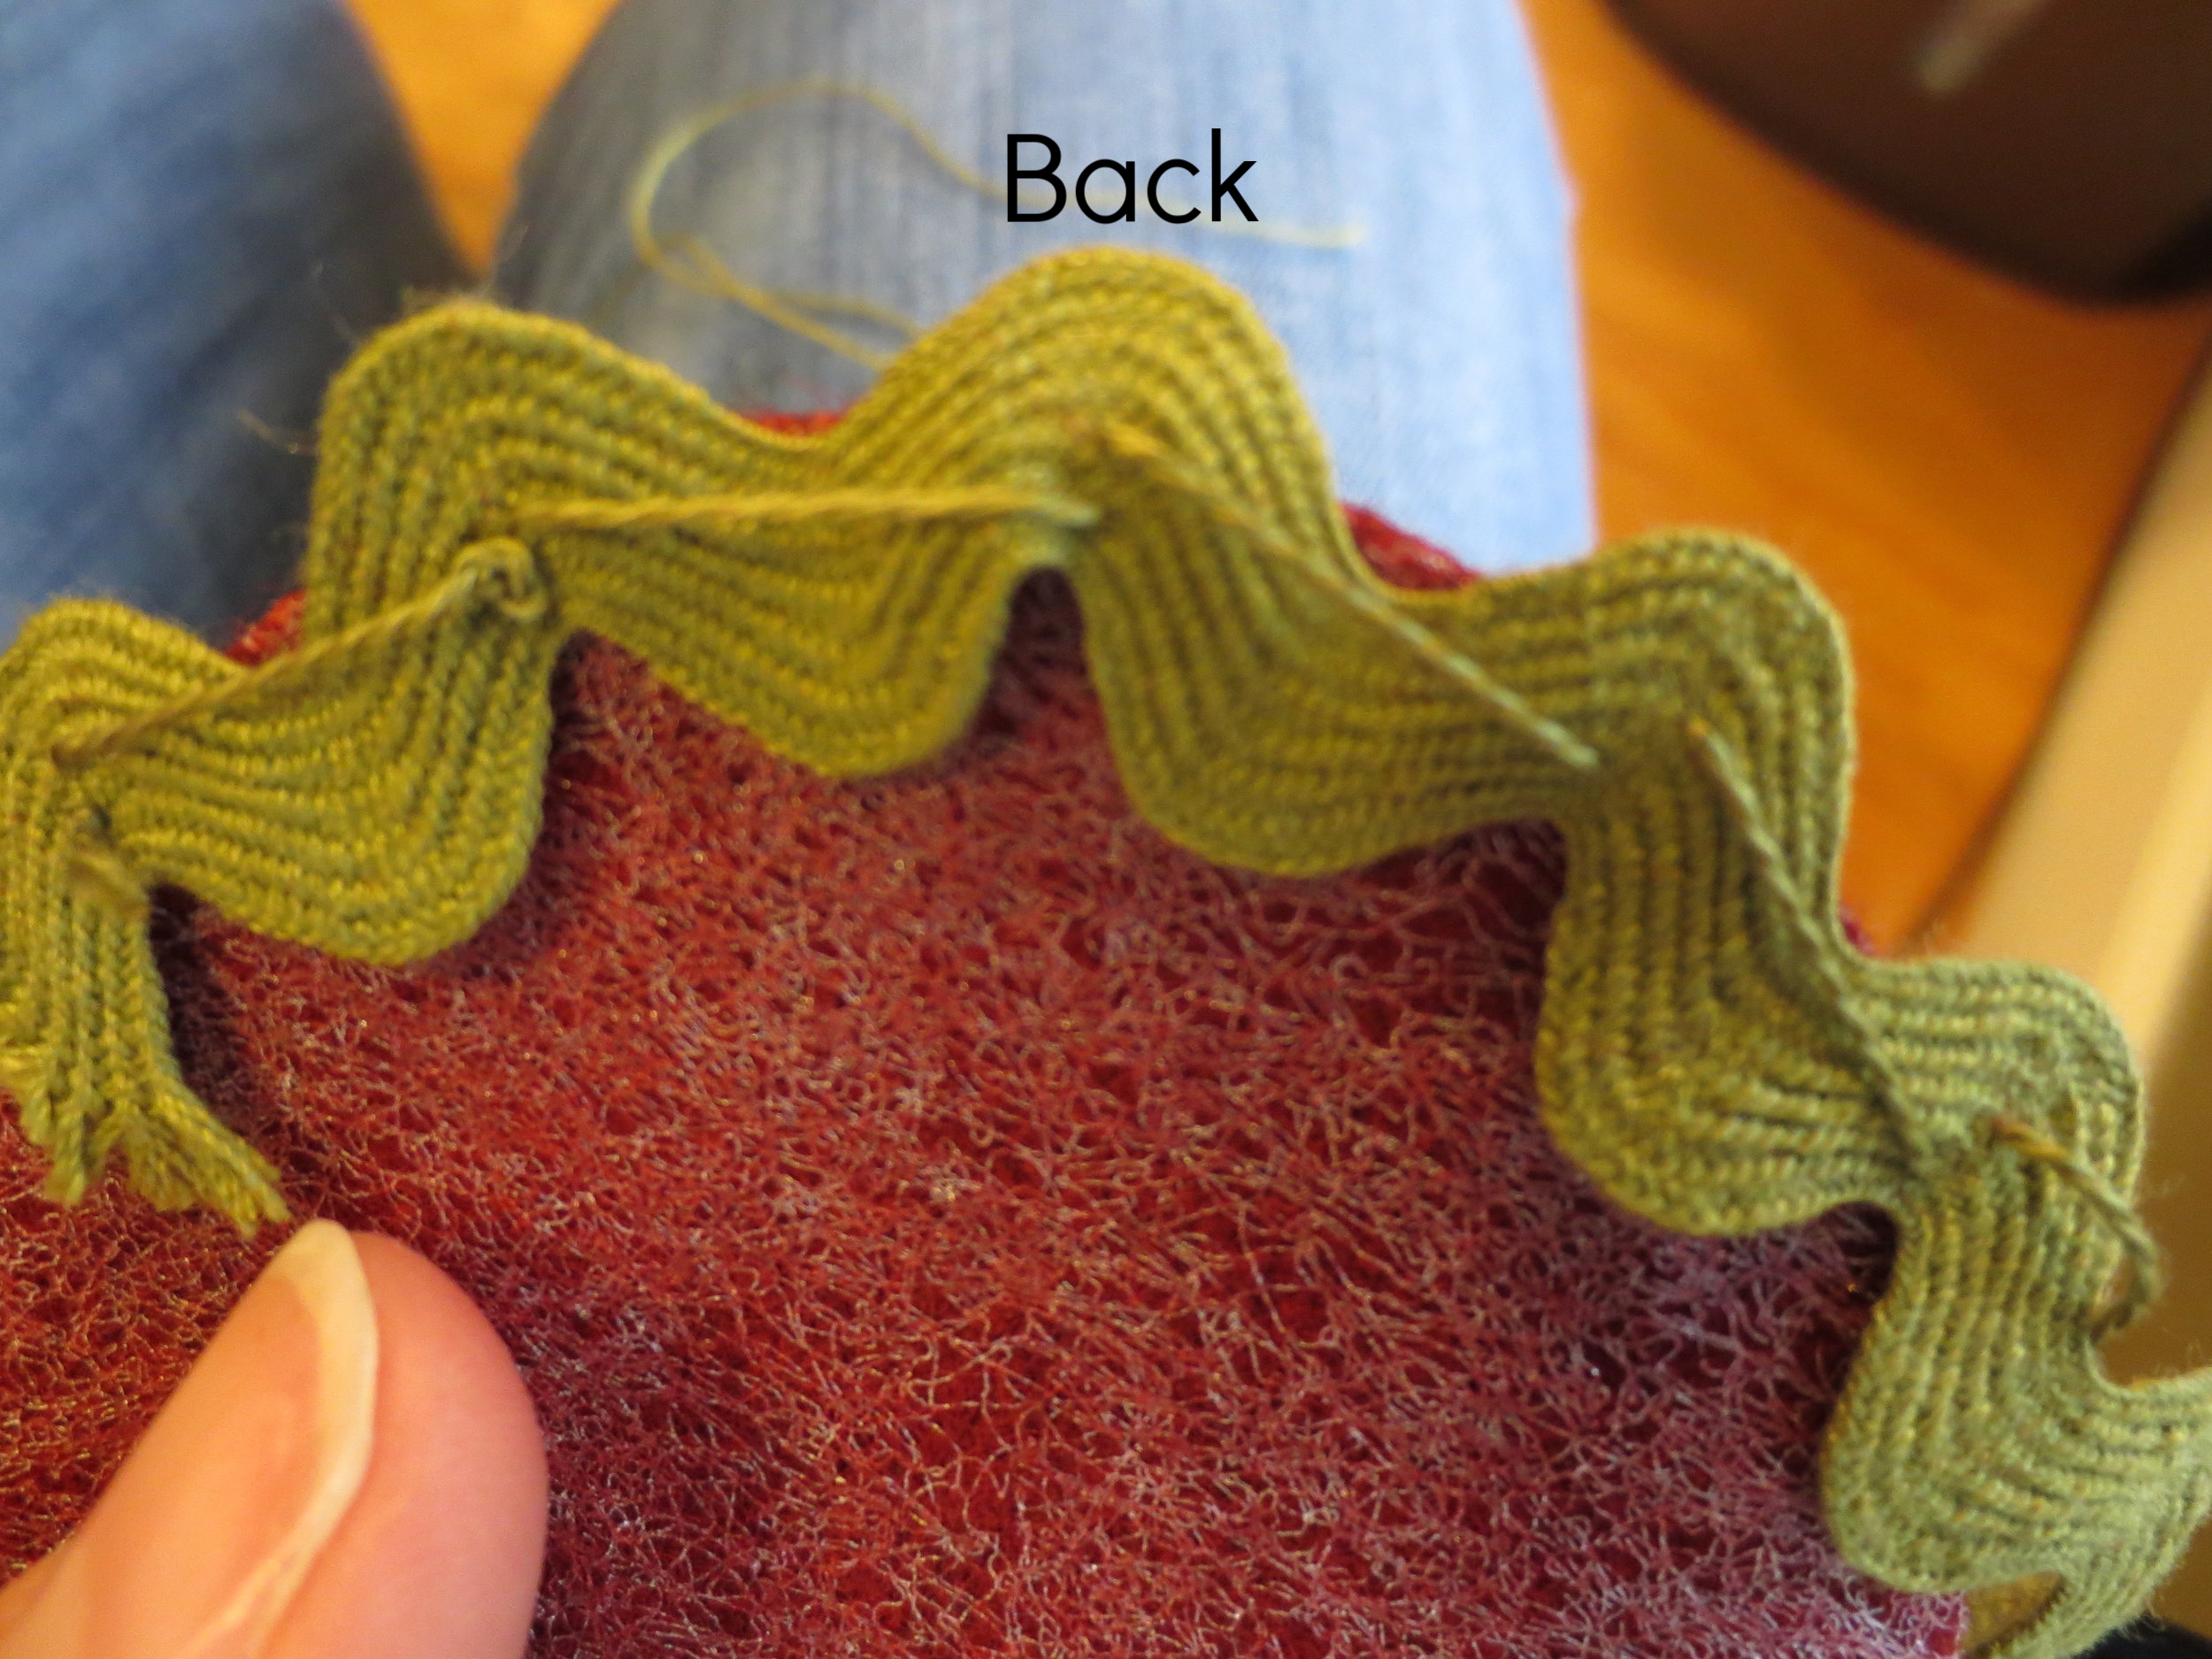
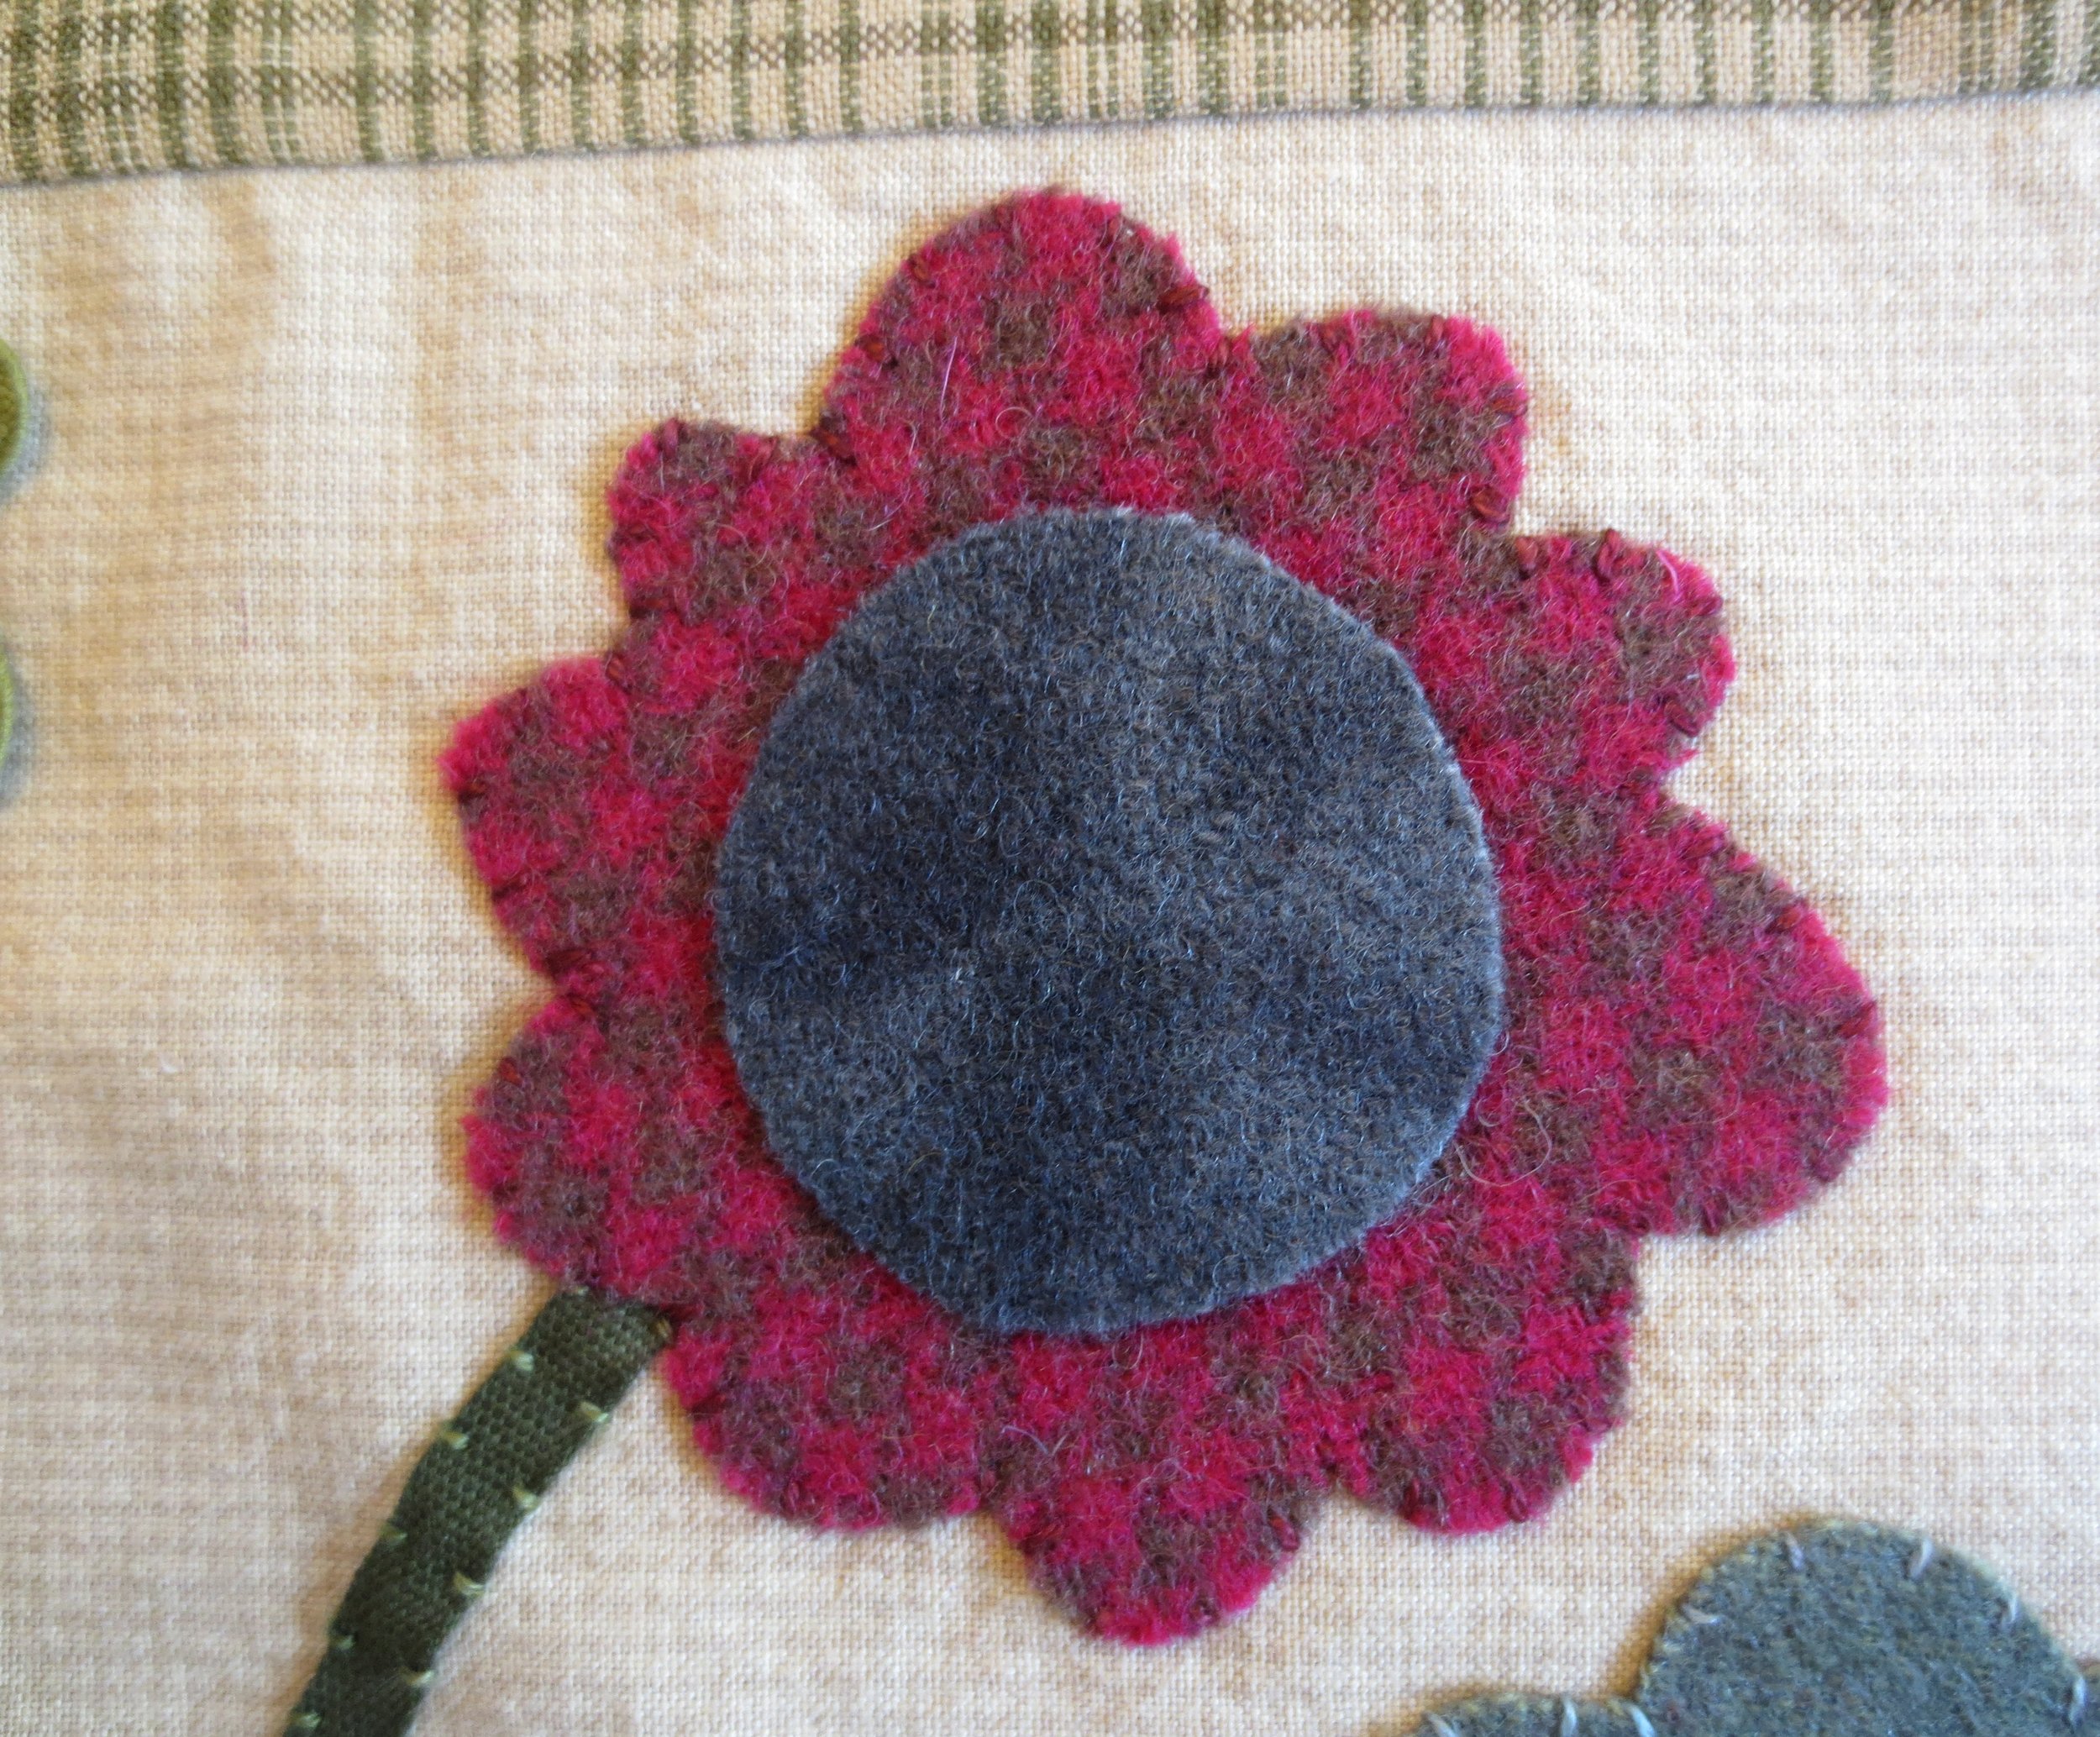
5. Sew rick rack to edge of flower #2 (see below). Trim excess. Notice the wider space between the beginning and end of the rick rack? This will be the bottom where the stem extends from the flower.

6. Position flowers, stems, vase, leaves, snail, and hummingbird on fabric background. Remember to tuck the ends of the ribbon under the lip of the vase and flowers. Pin ribbon stems in place.
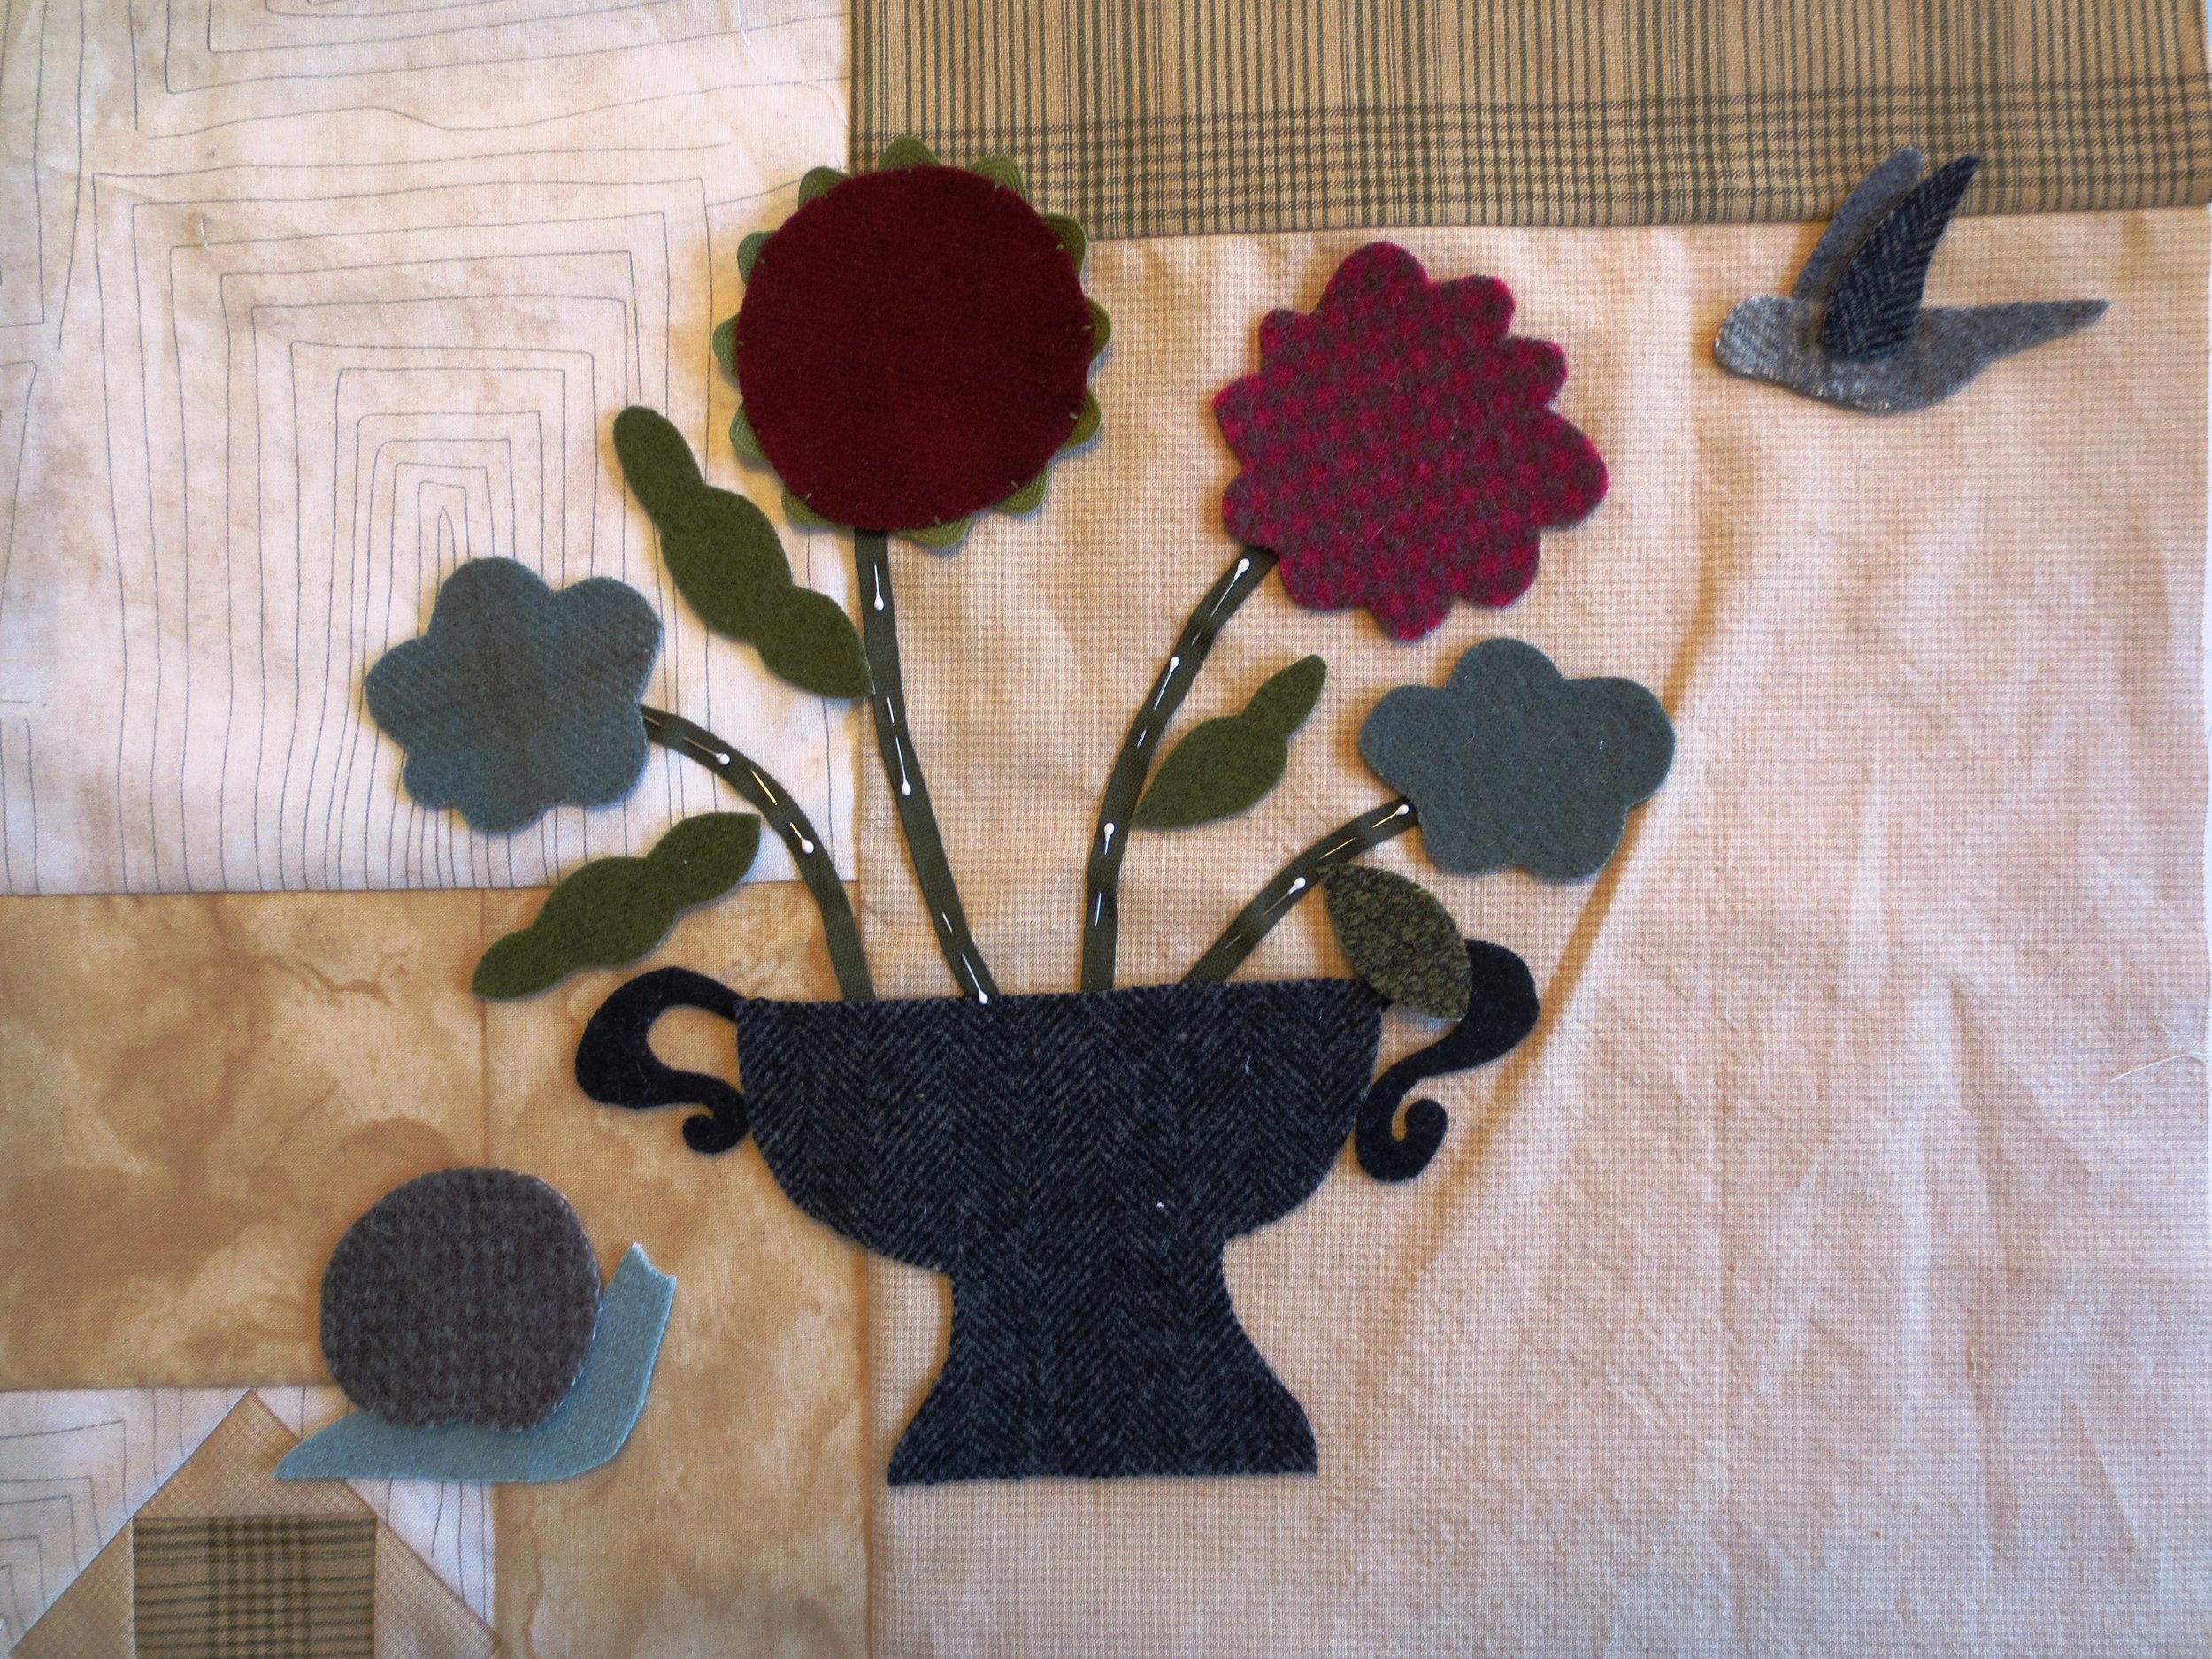
7. Remove leaves, hummingbird, and snail. Fuse the flowers, vase and vase handles in place using steam. This will partially secure the ribbon stems.
8. Whip stitch the ribbon stems.
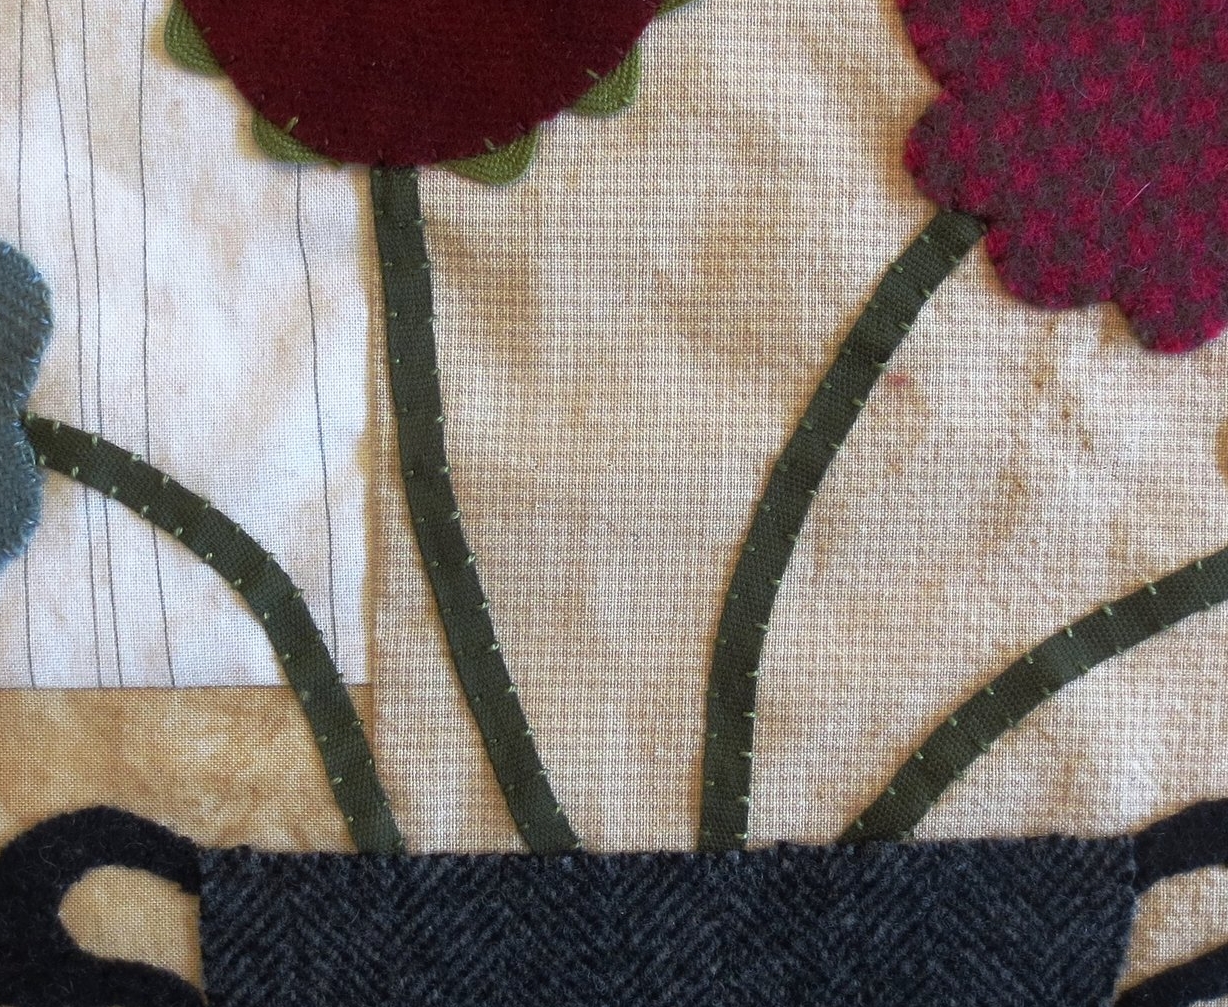
9. Whip stitch flowers, vase, and vase handles with thread that matches the wool colors.
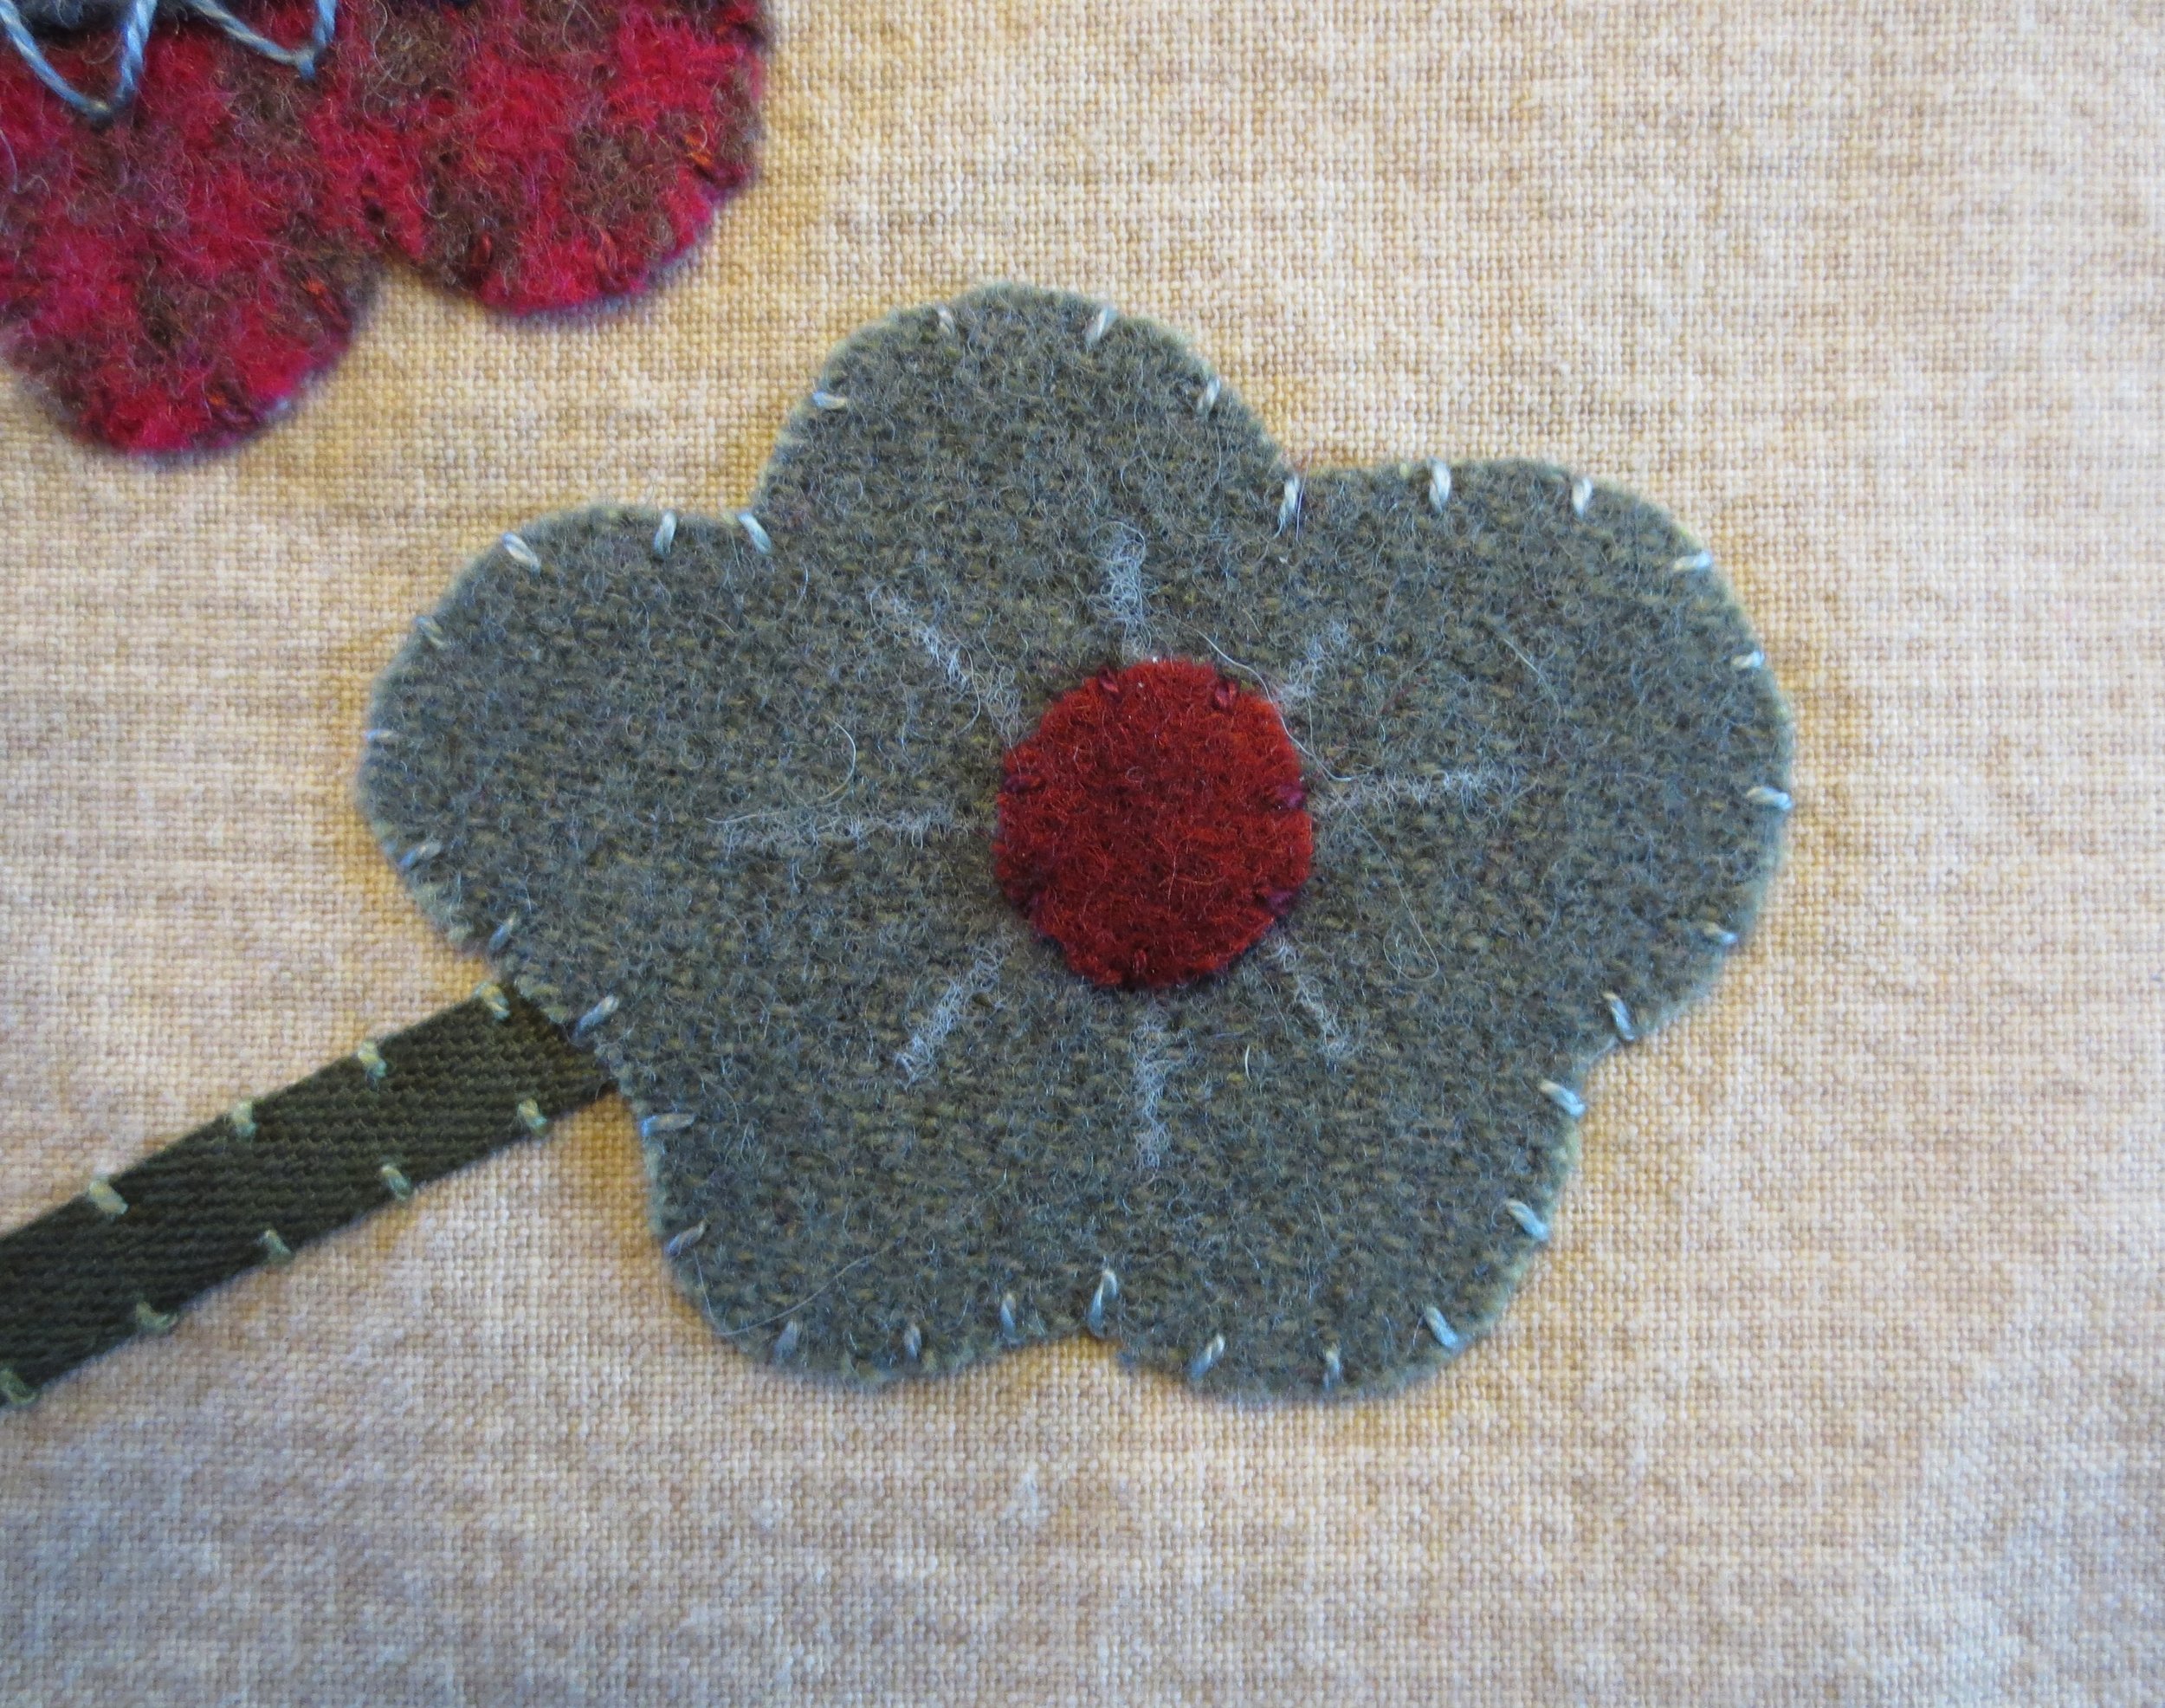
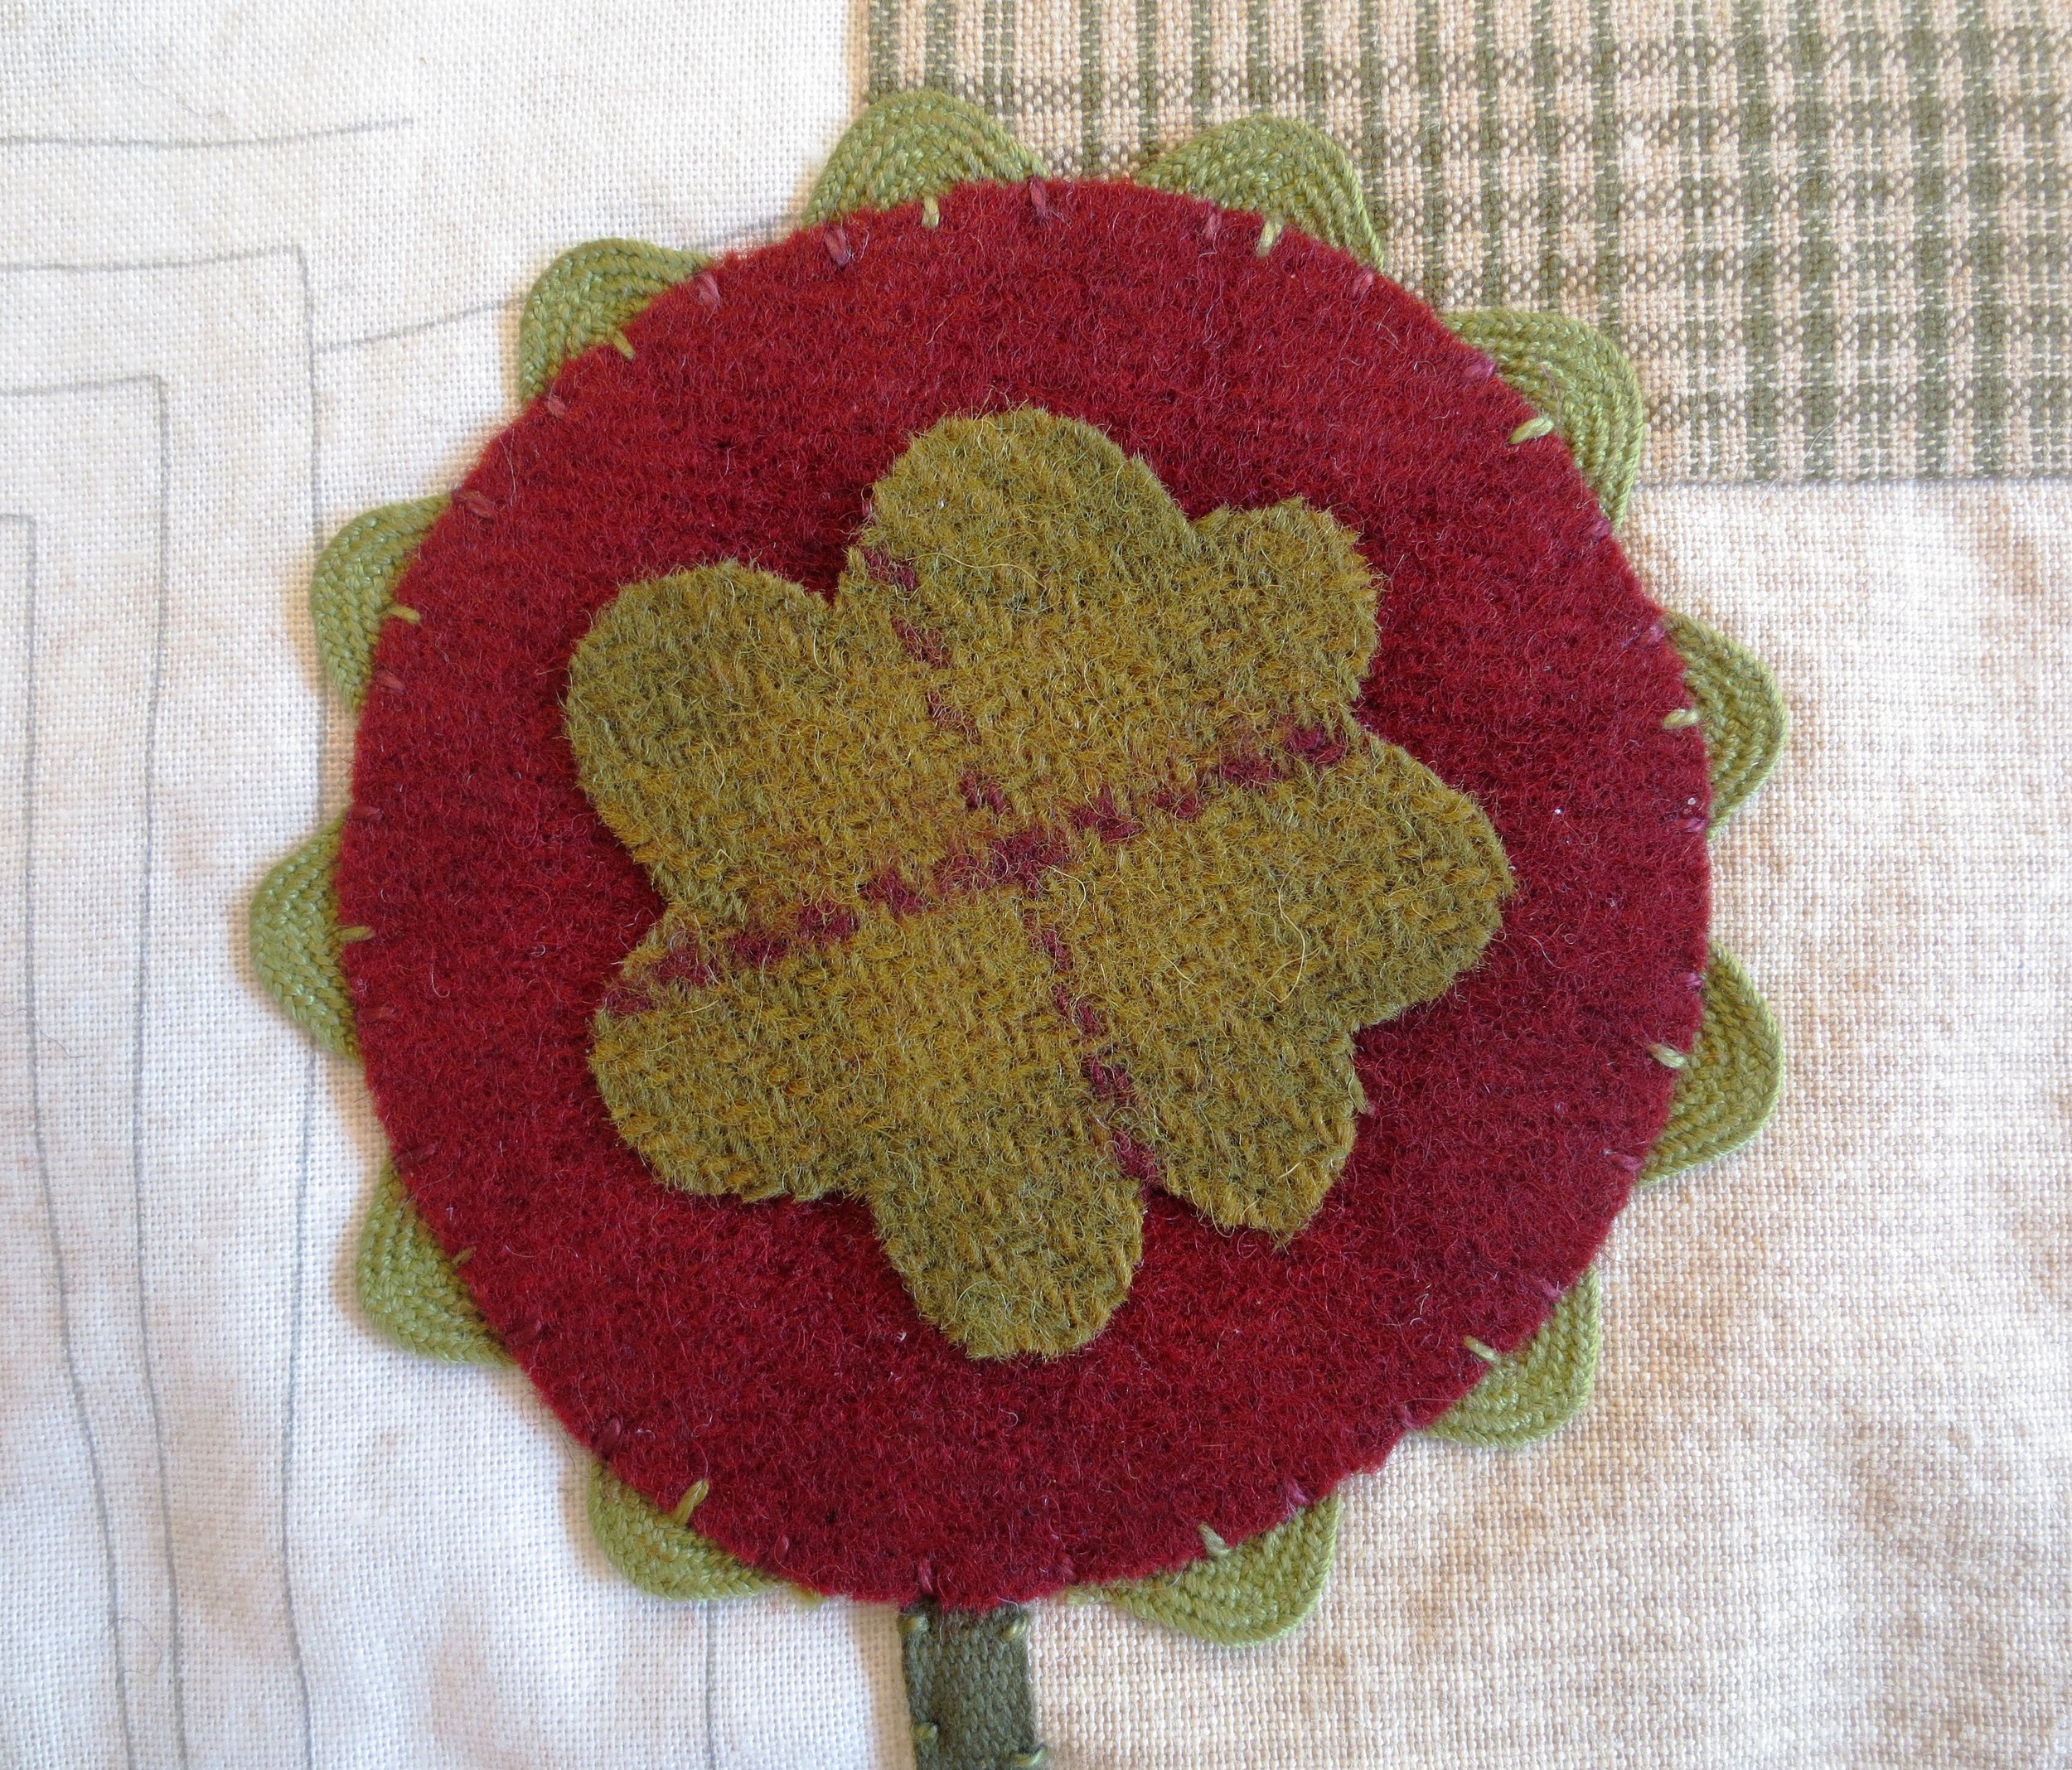
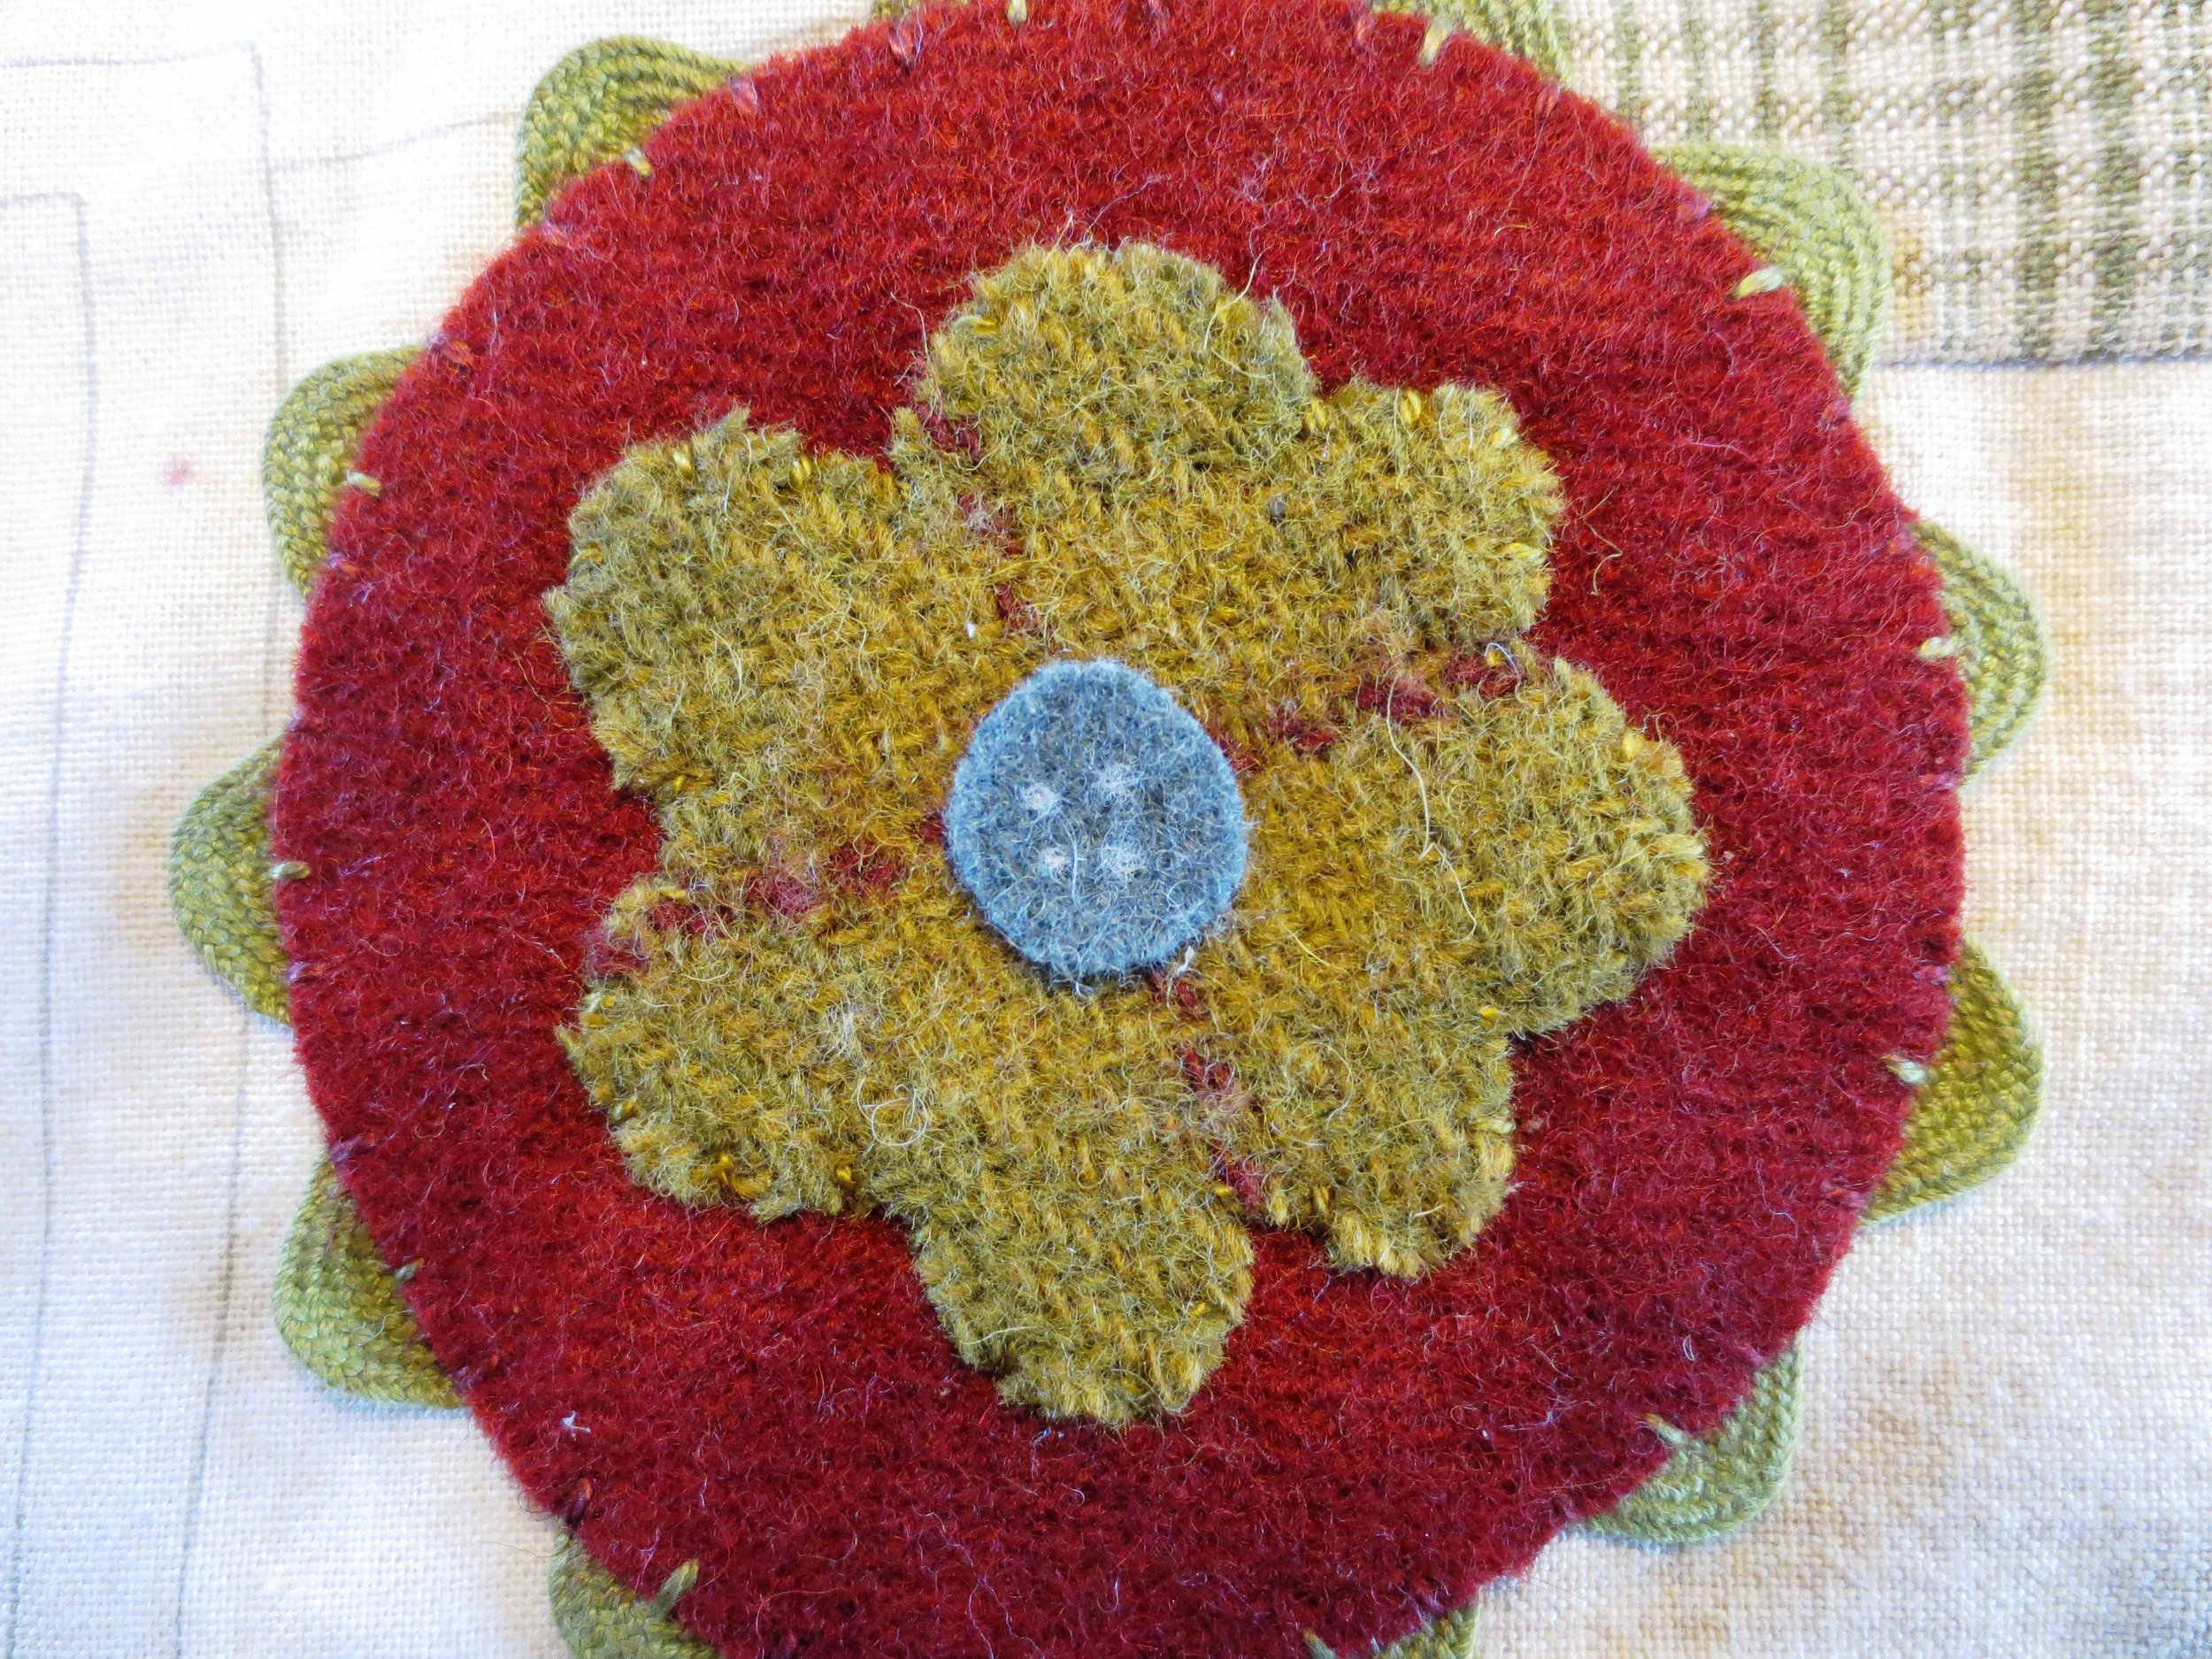
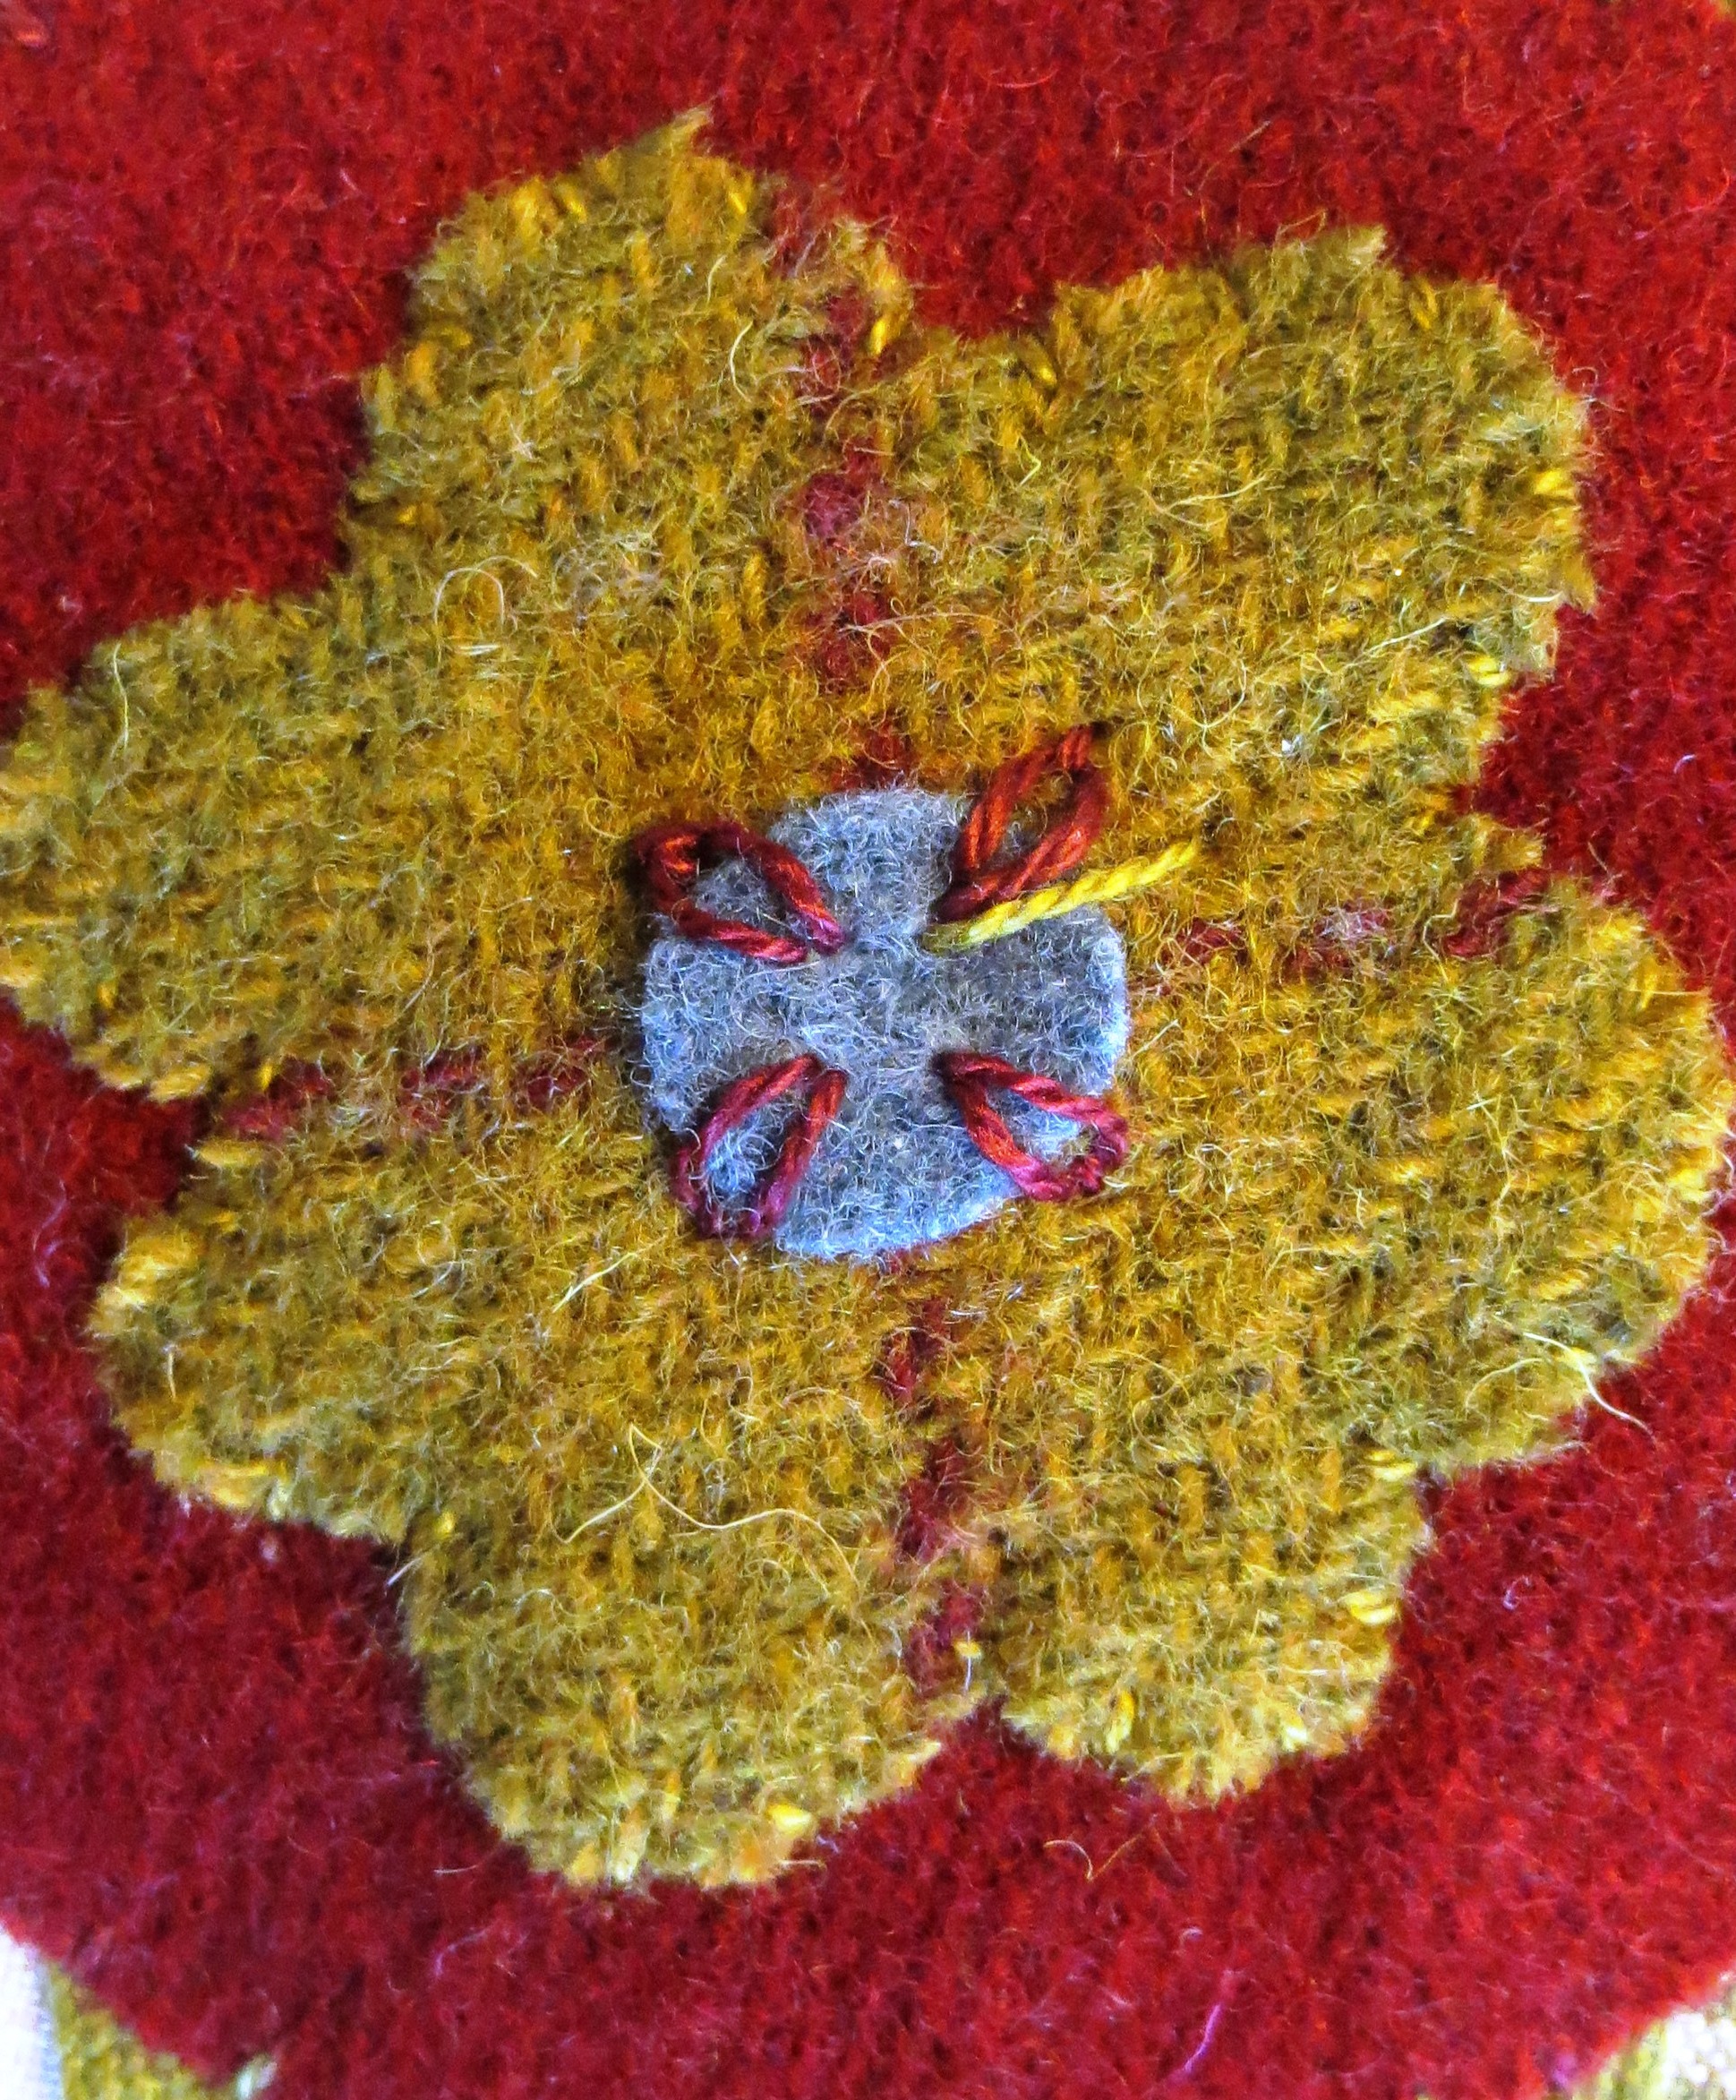
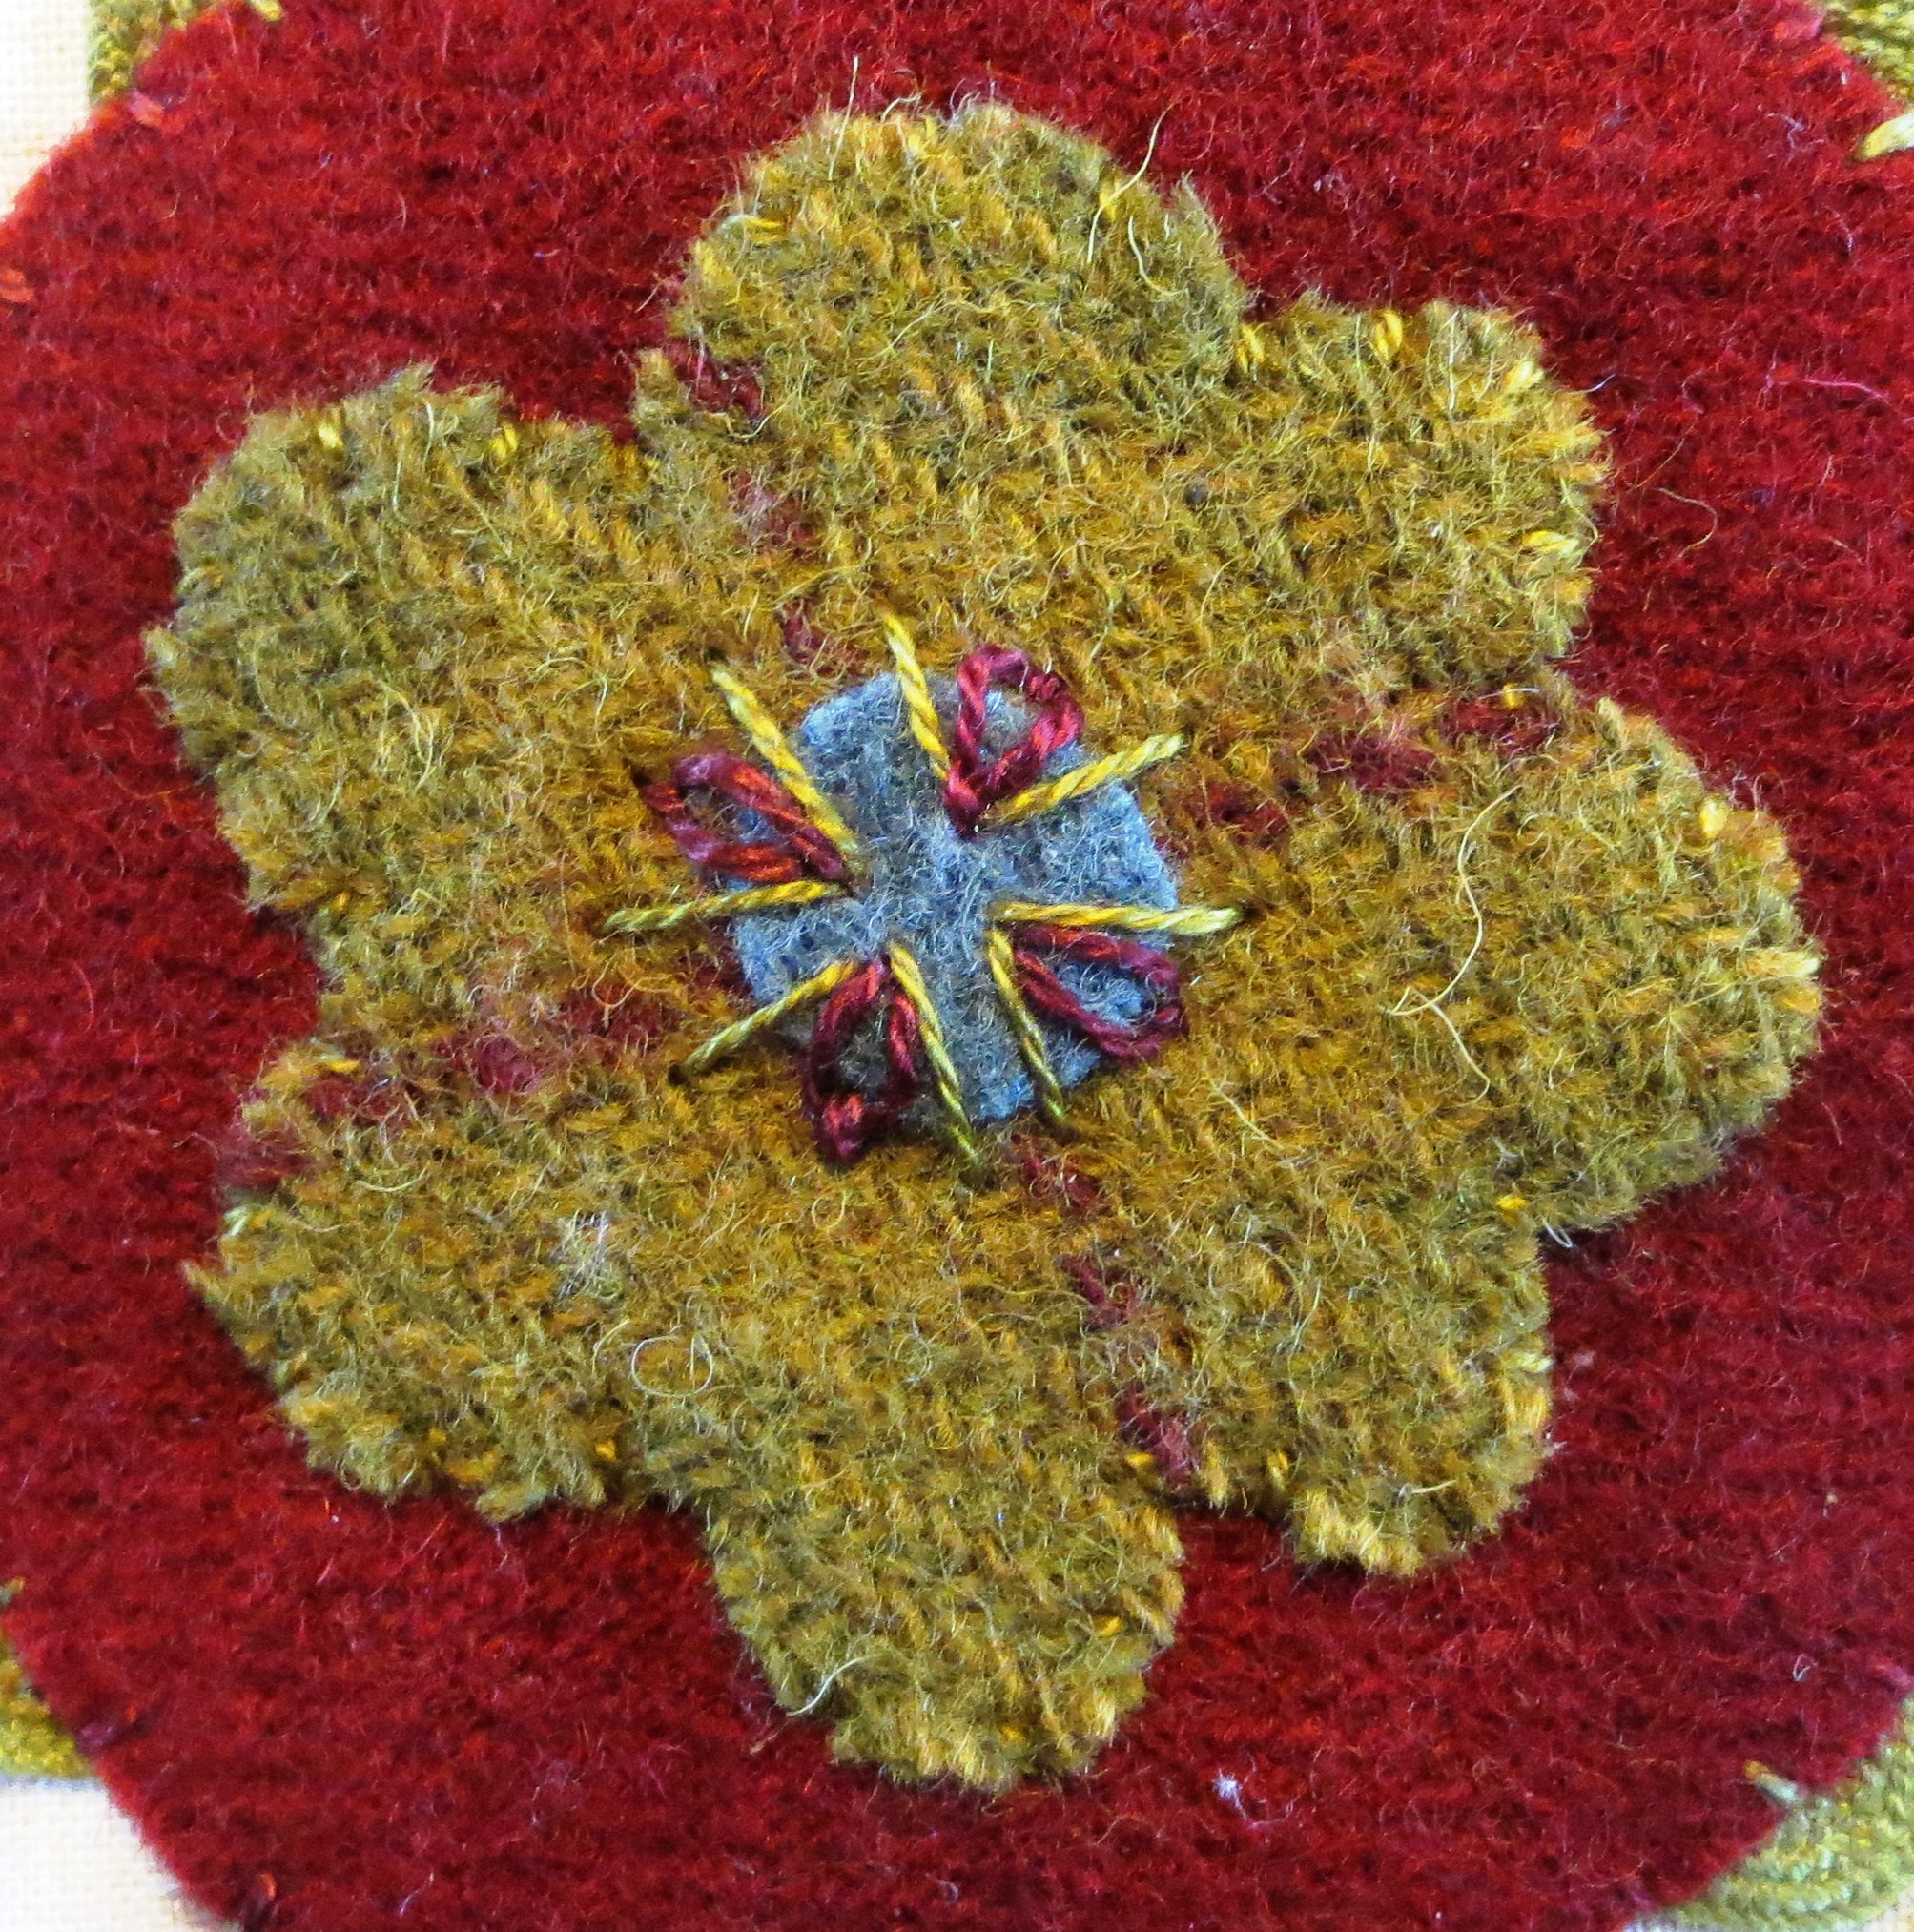
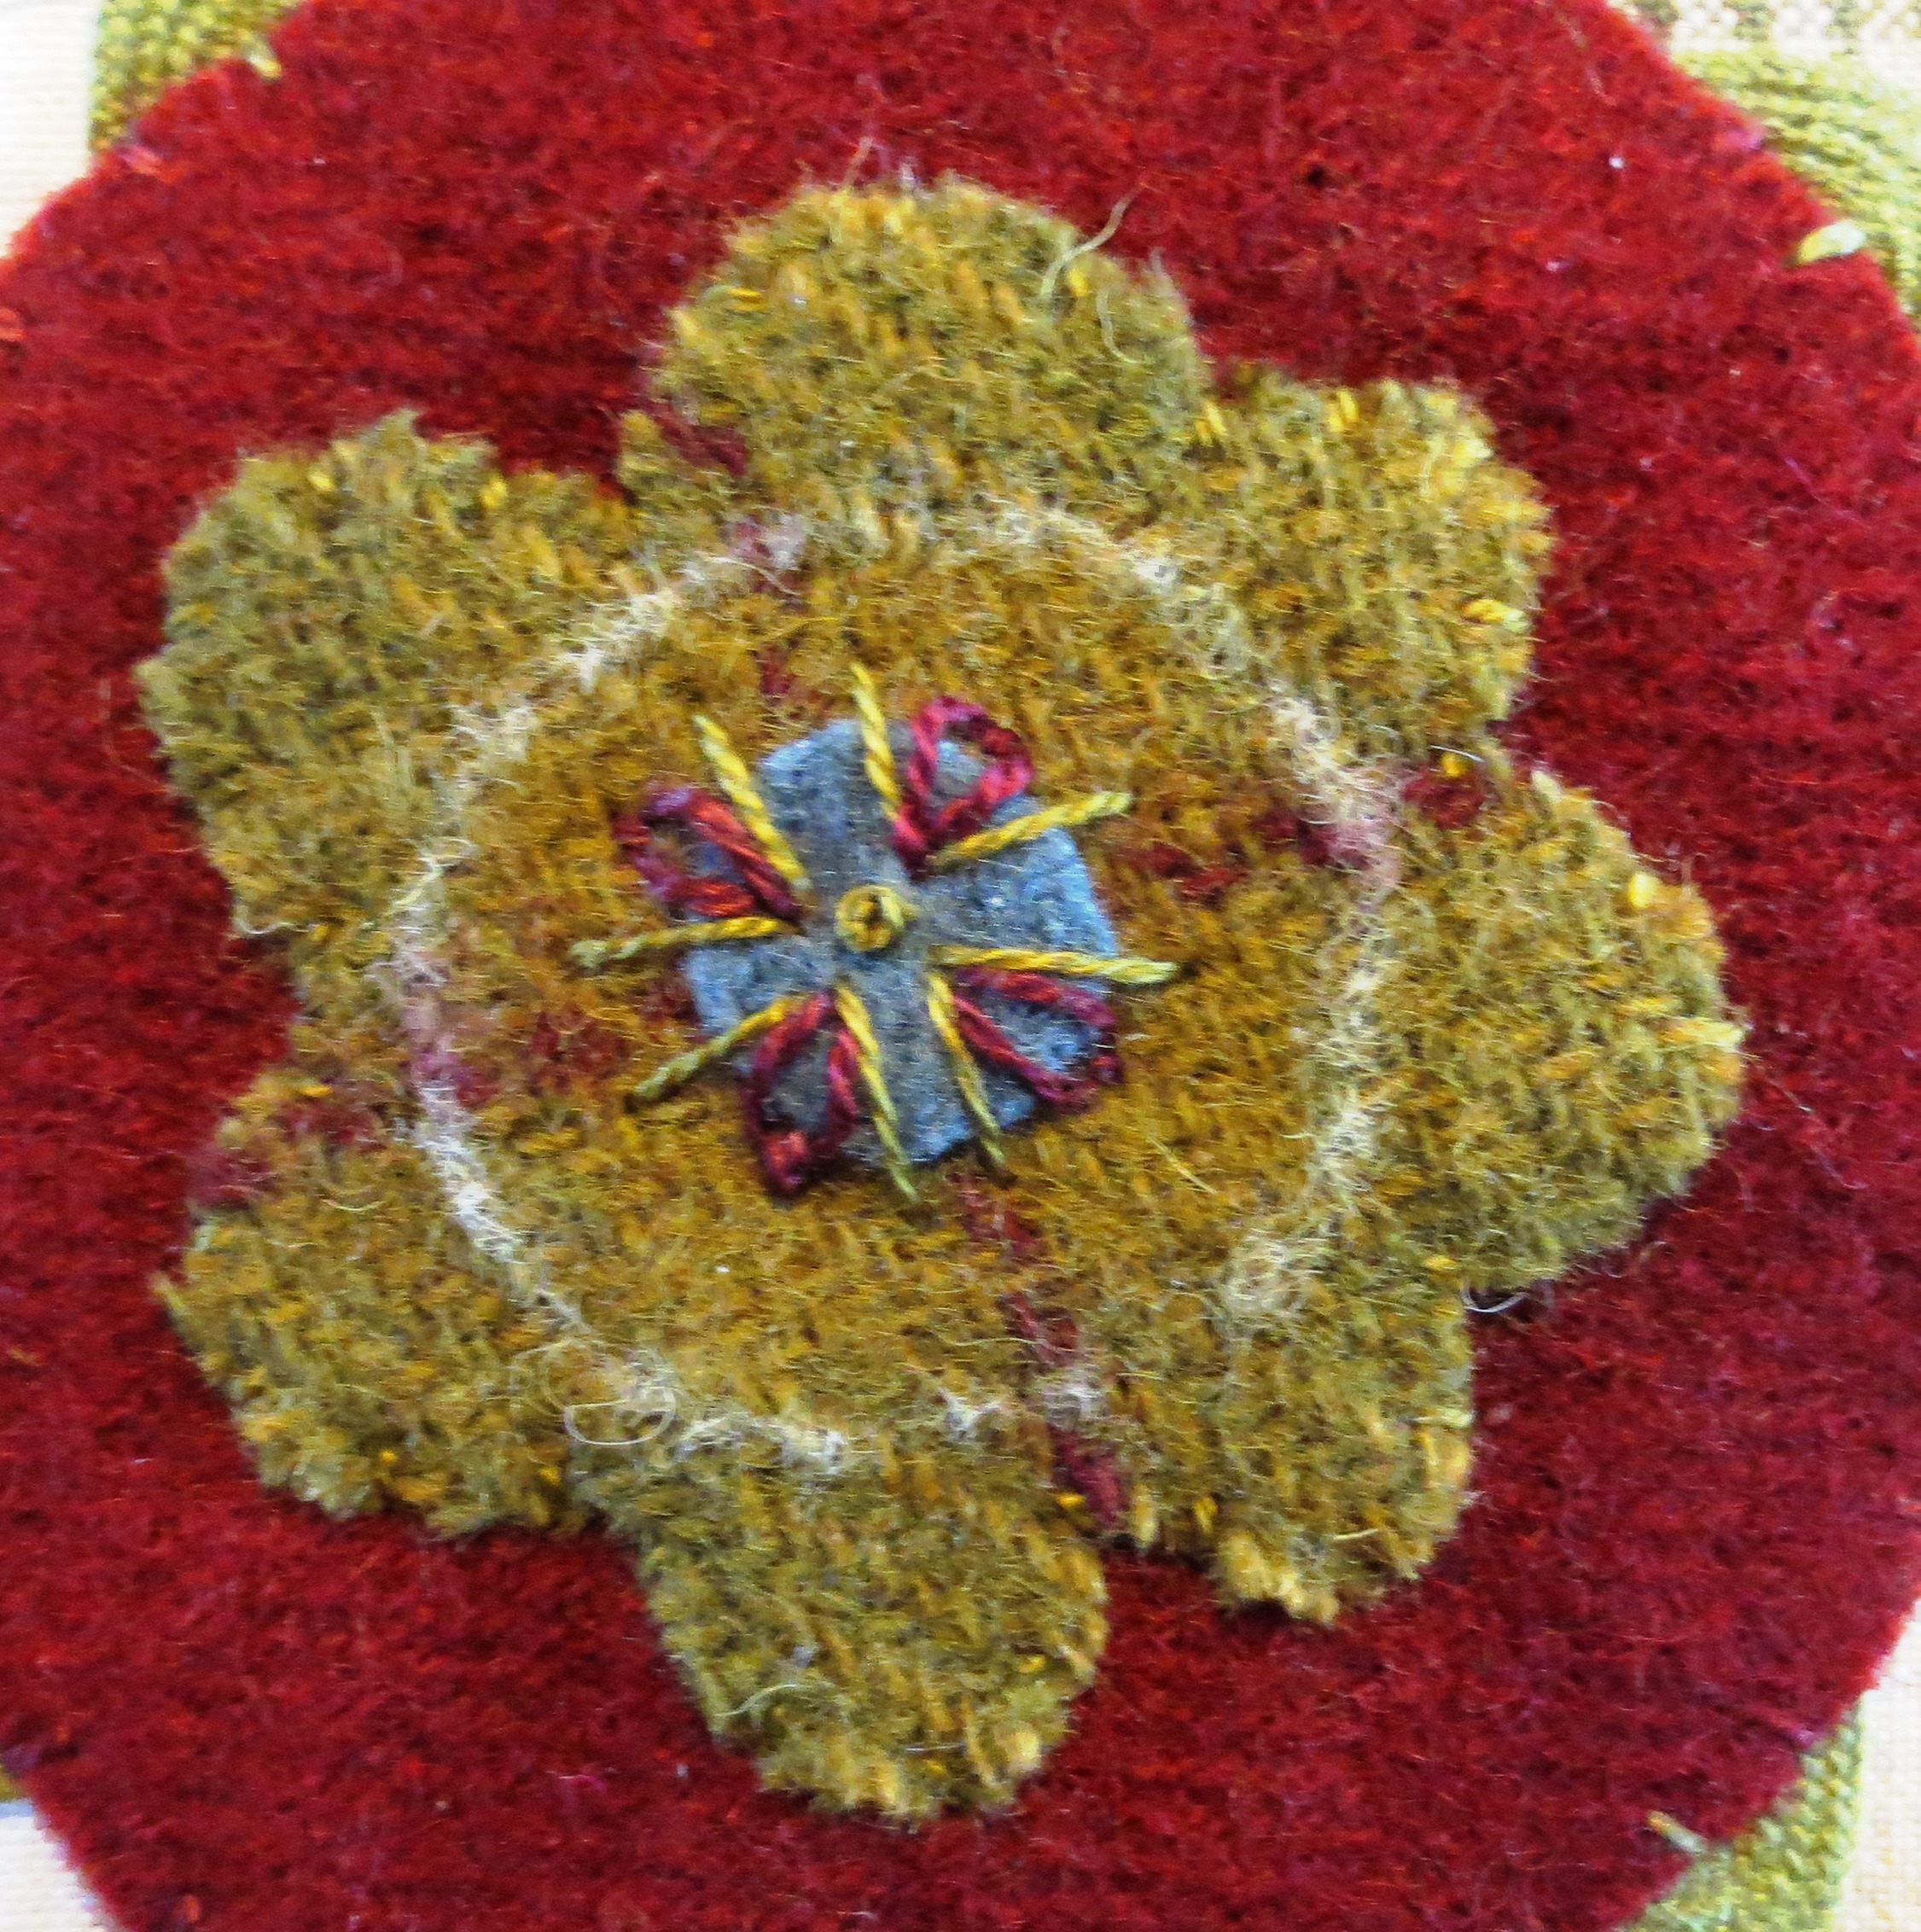
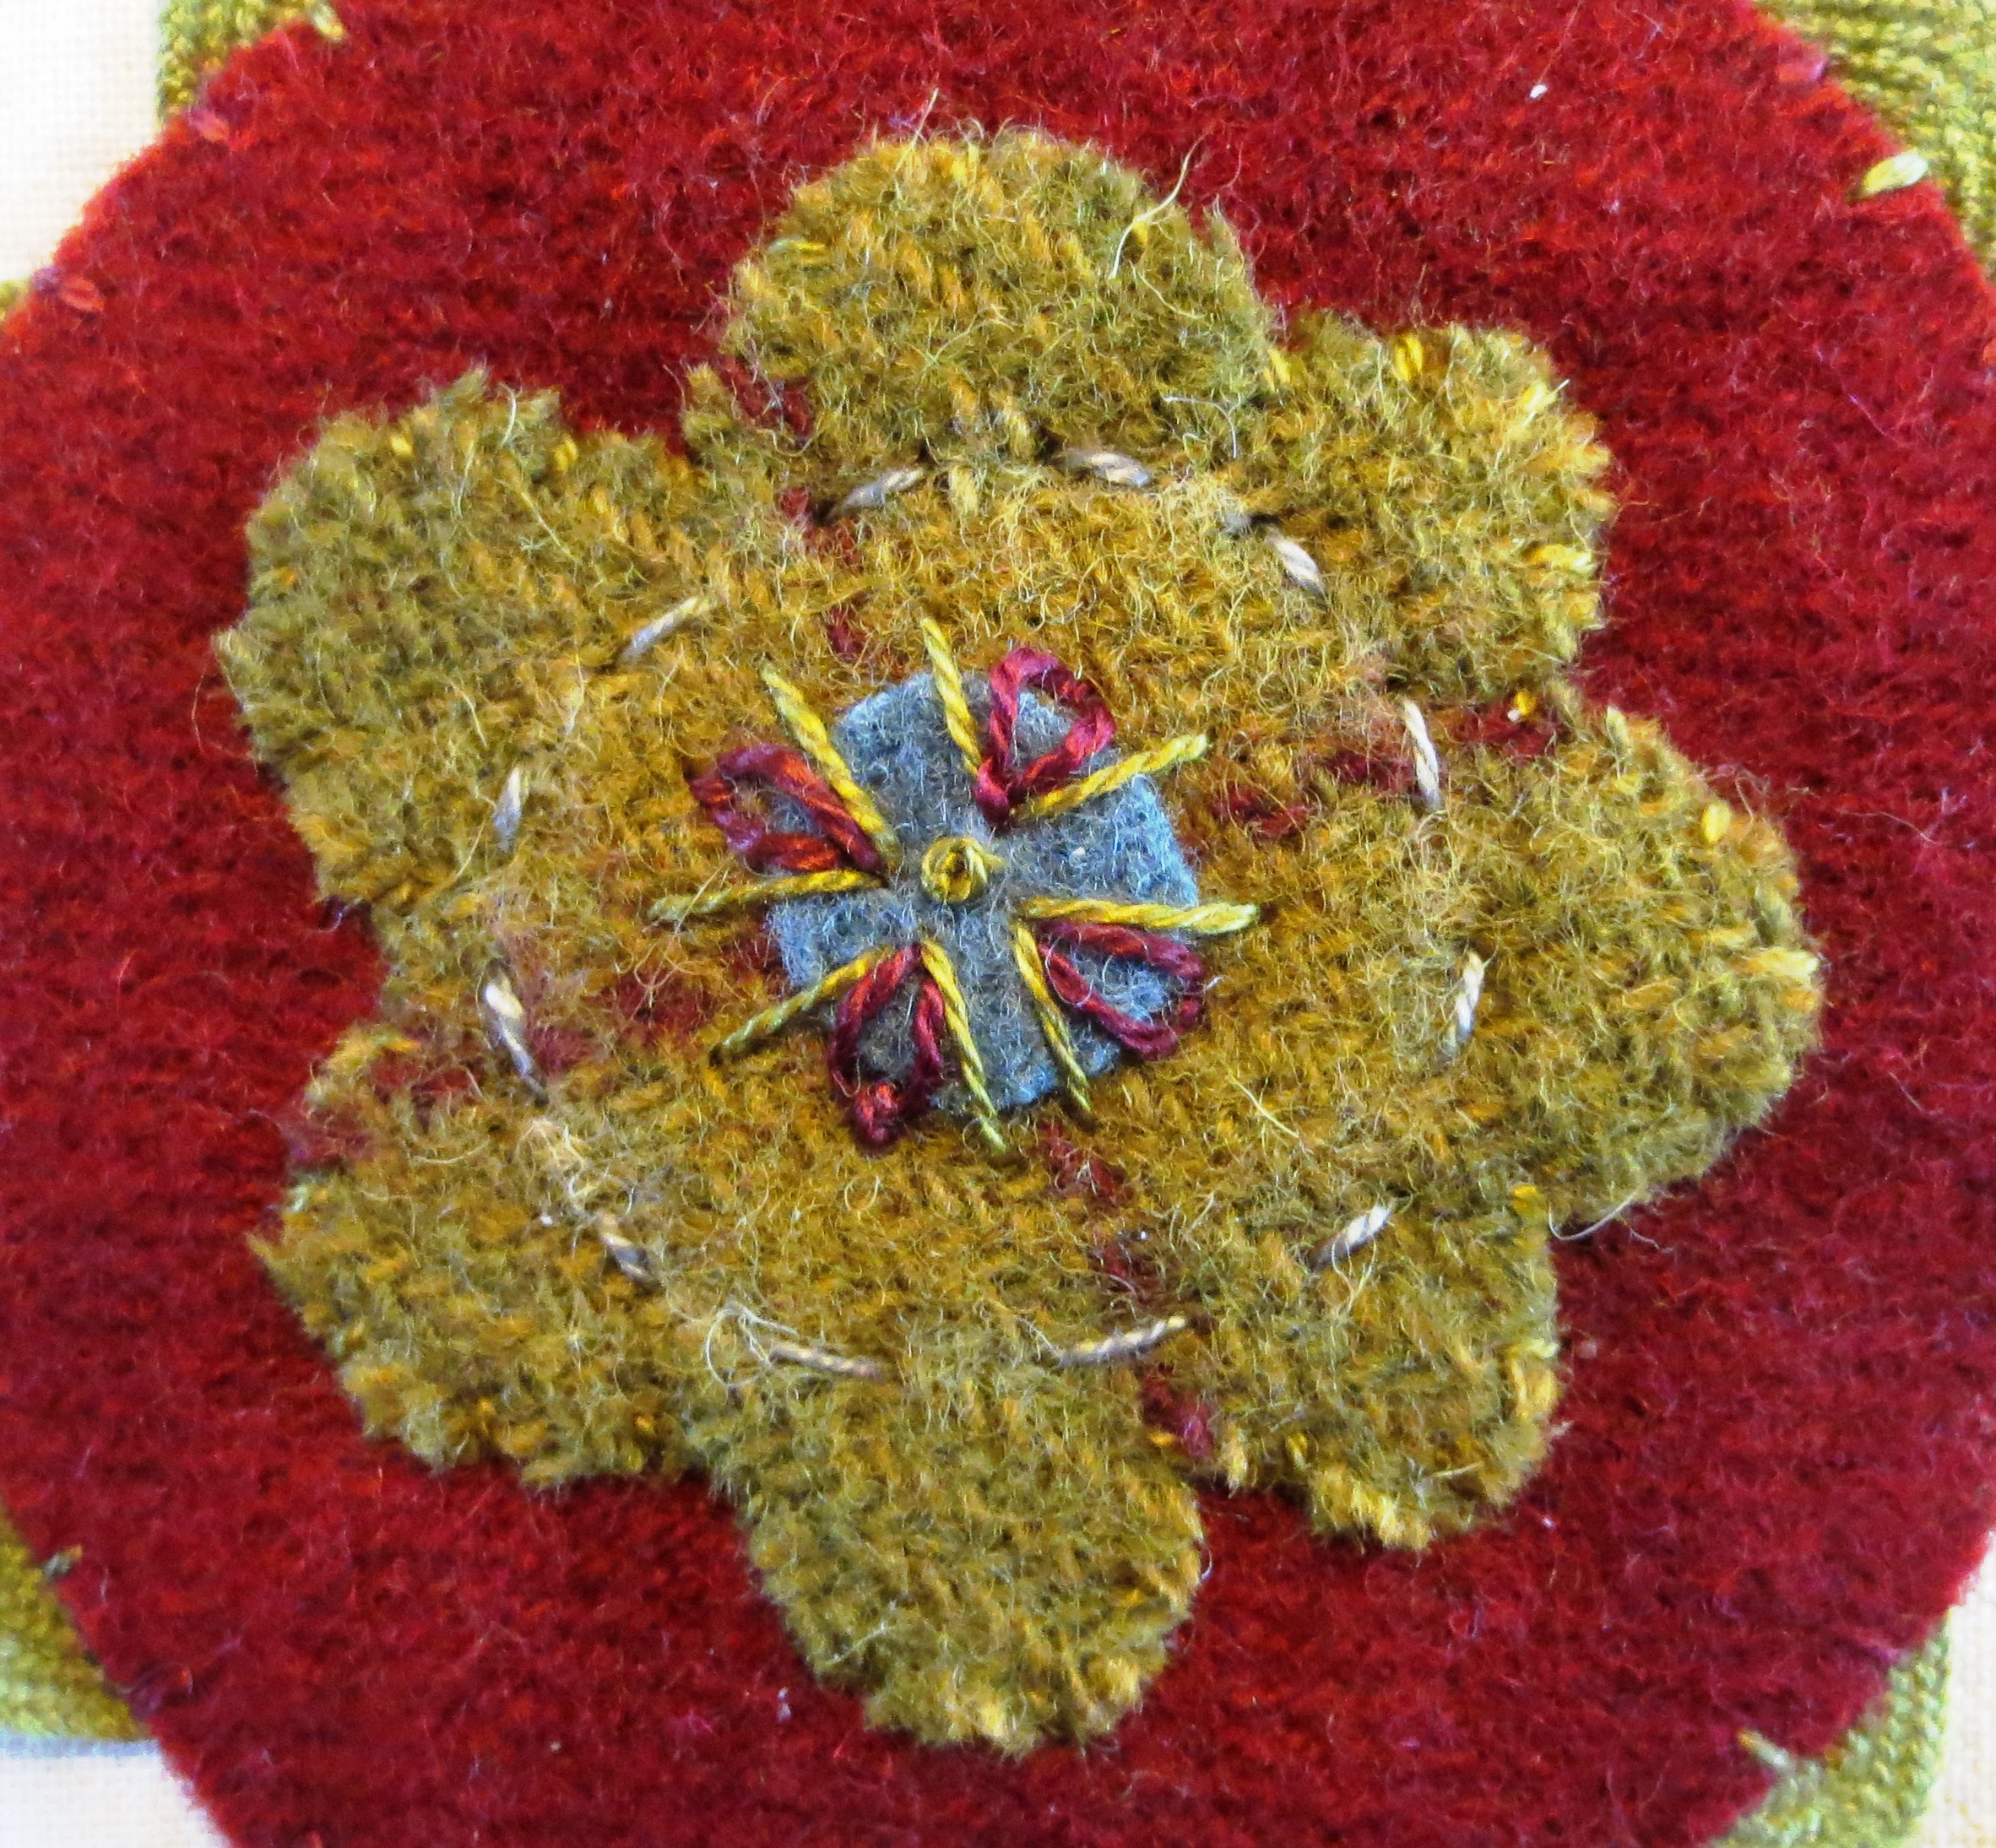
10. Flower #1 and #4
- Fuse flower #1A to flower #1.
- Fuse flower #4A to flower #4.
- Whip stitch #1A and #4A with thread that matches wool colors.
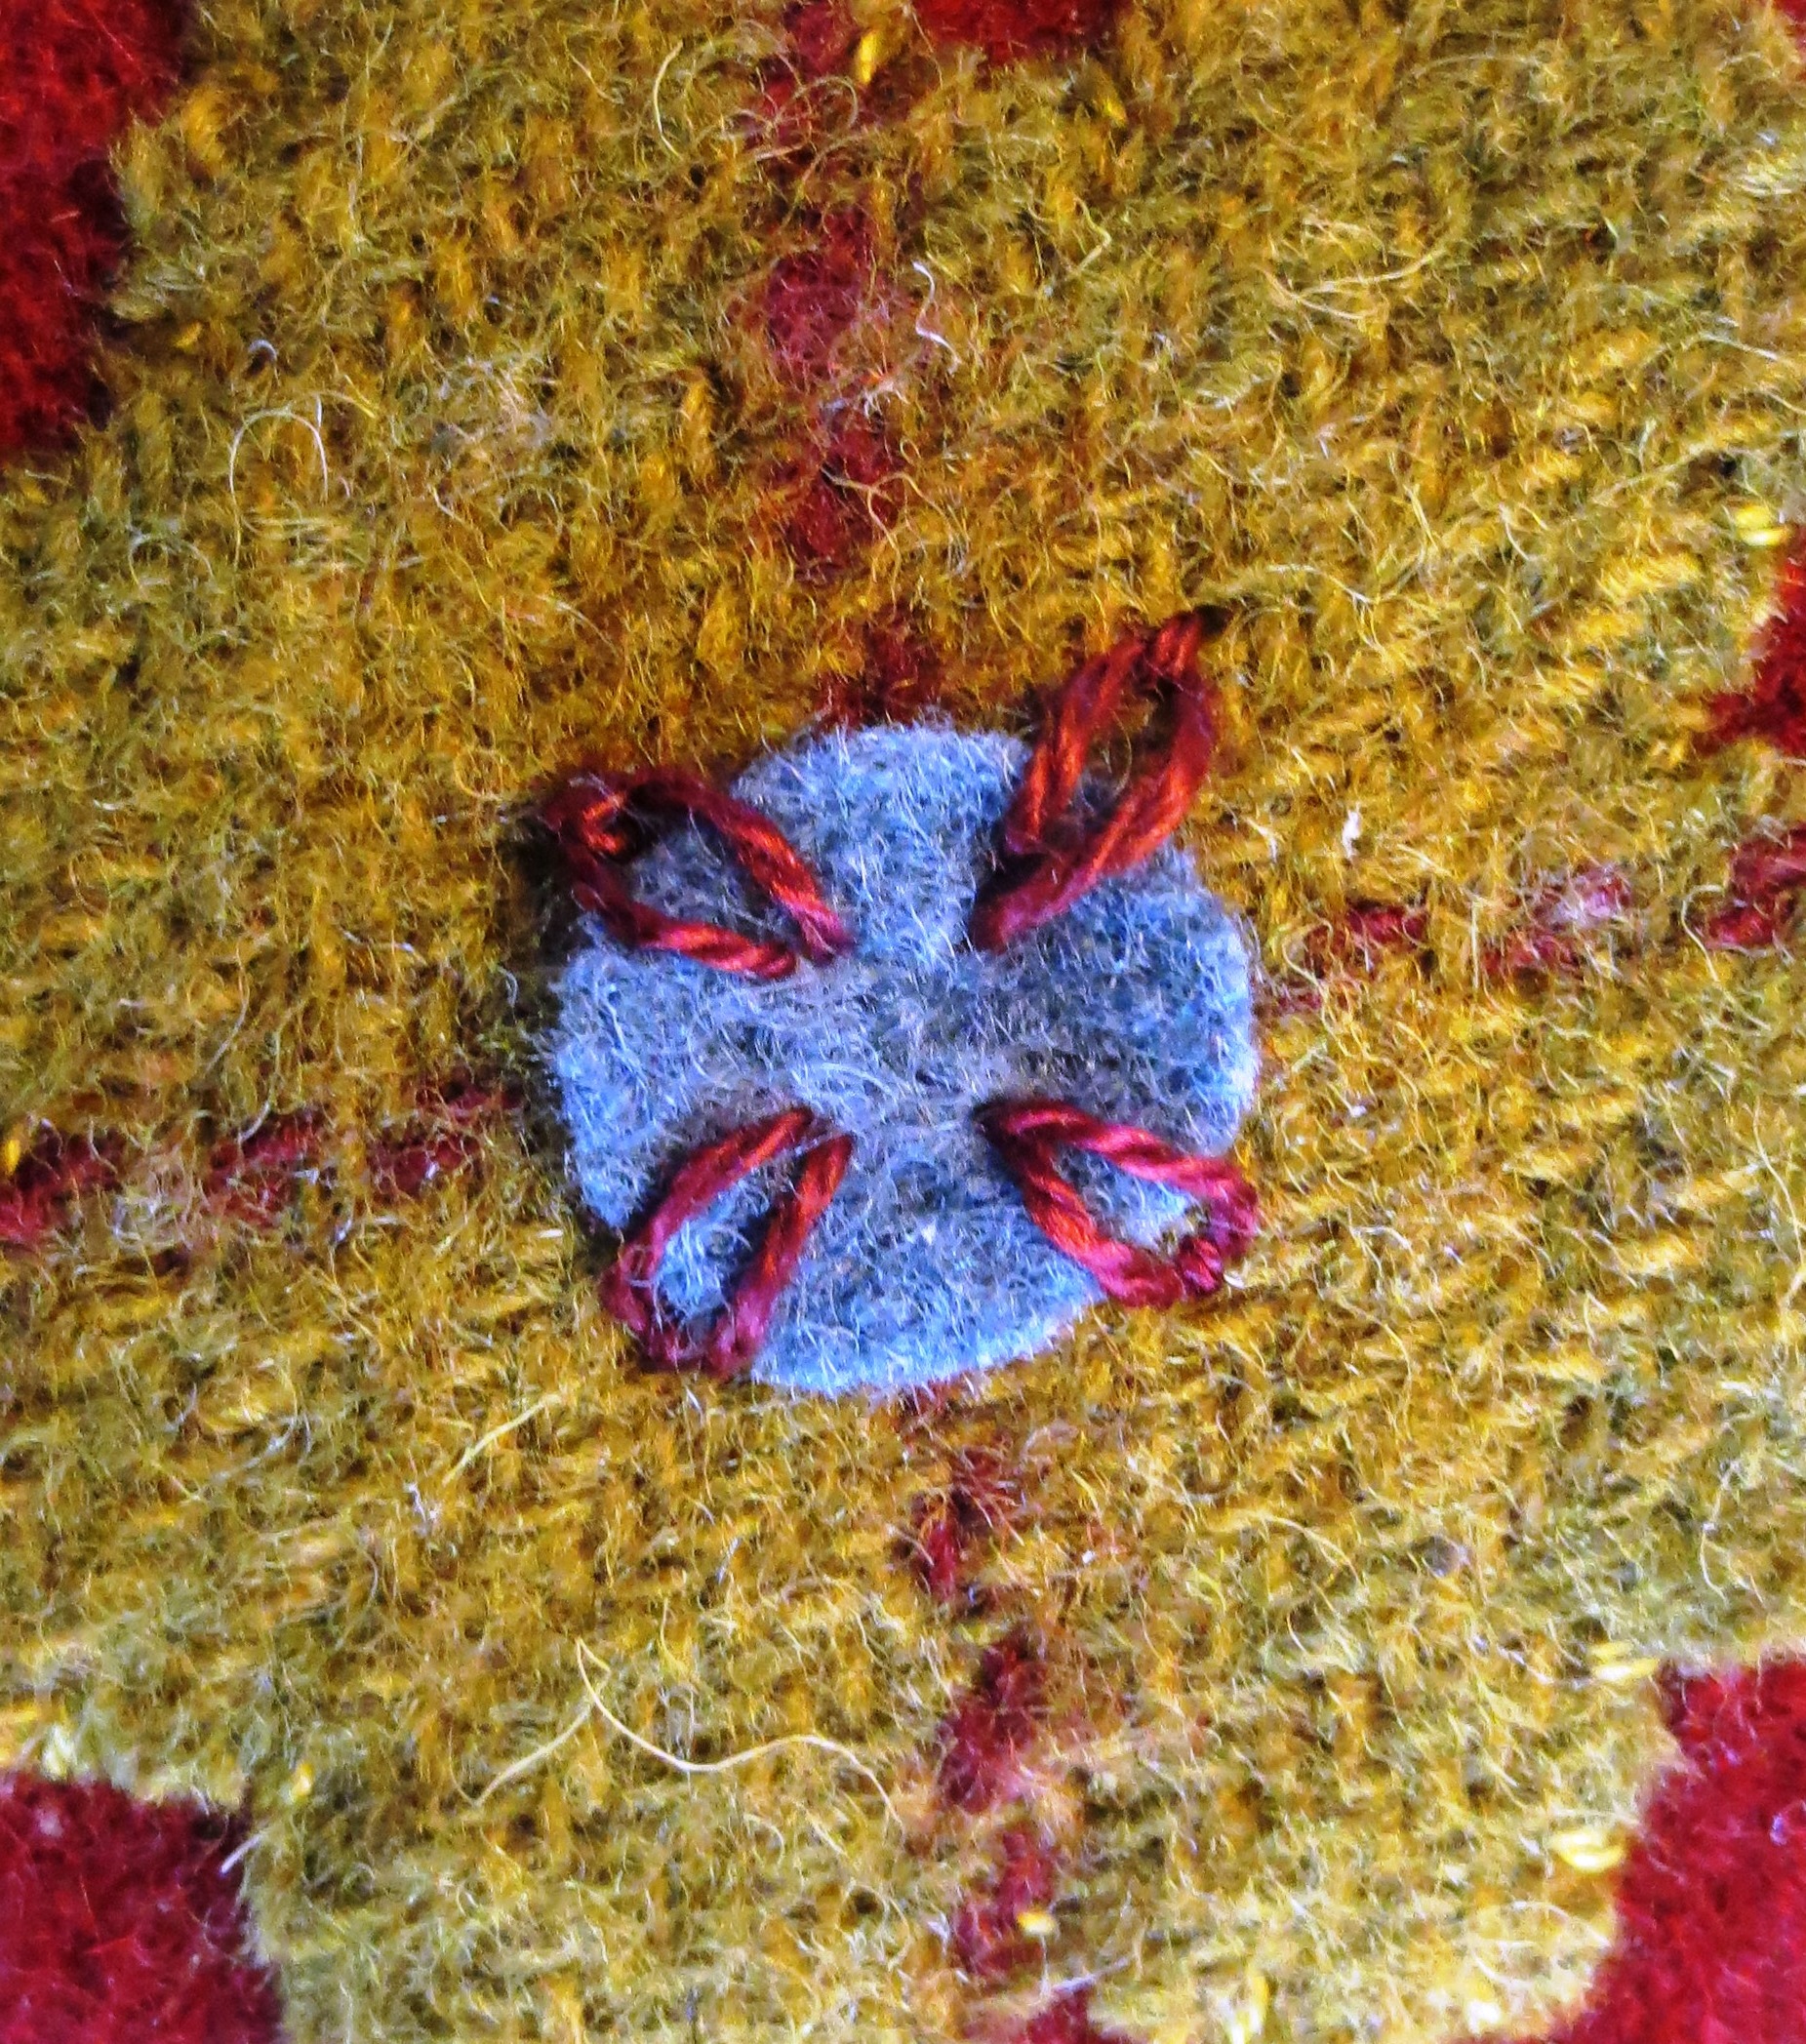
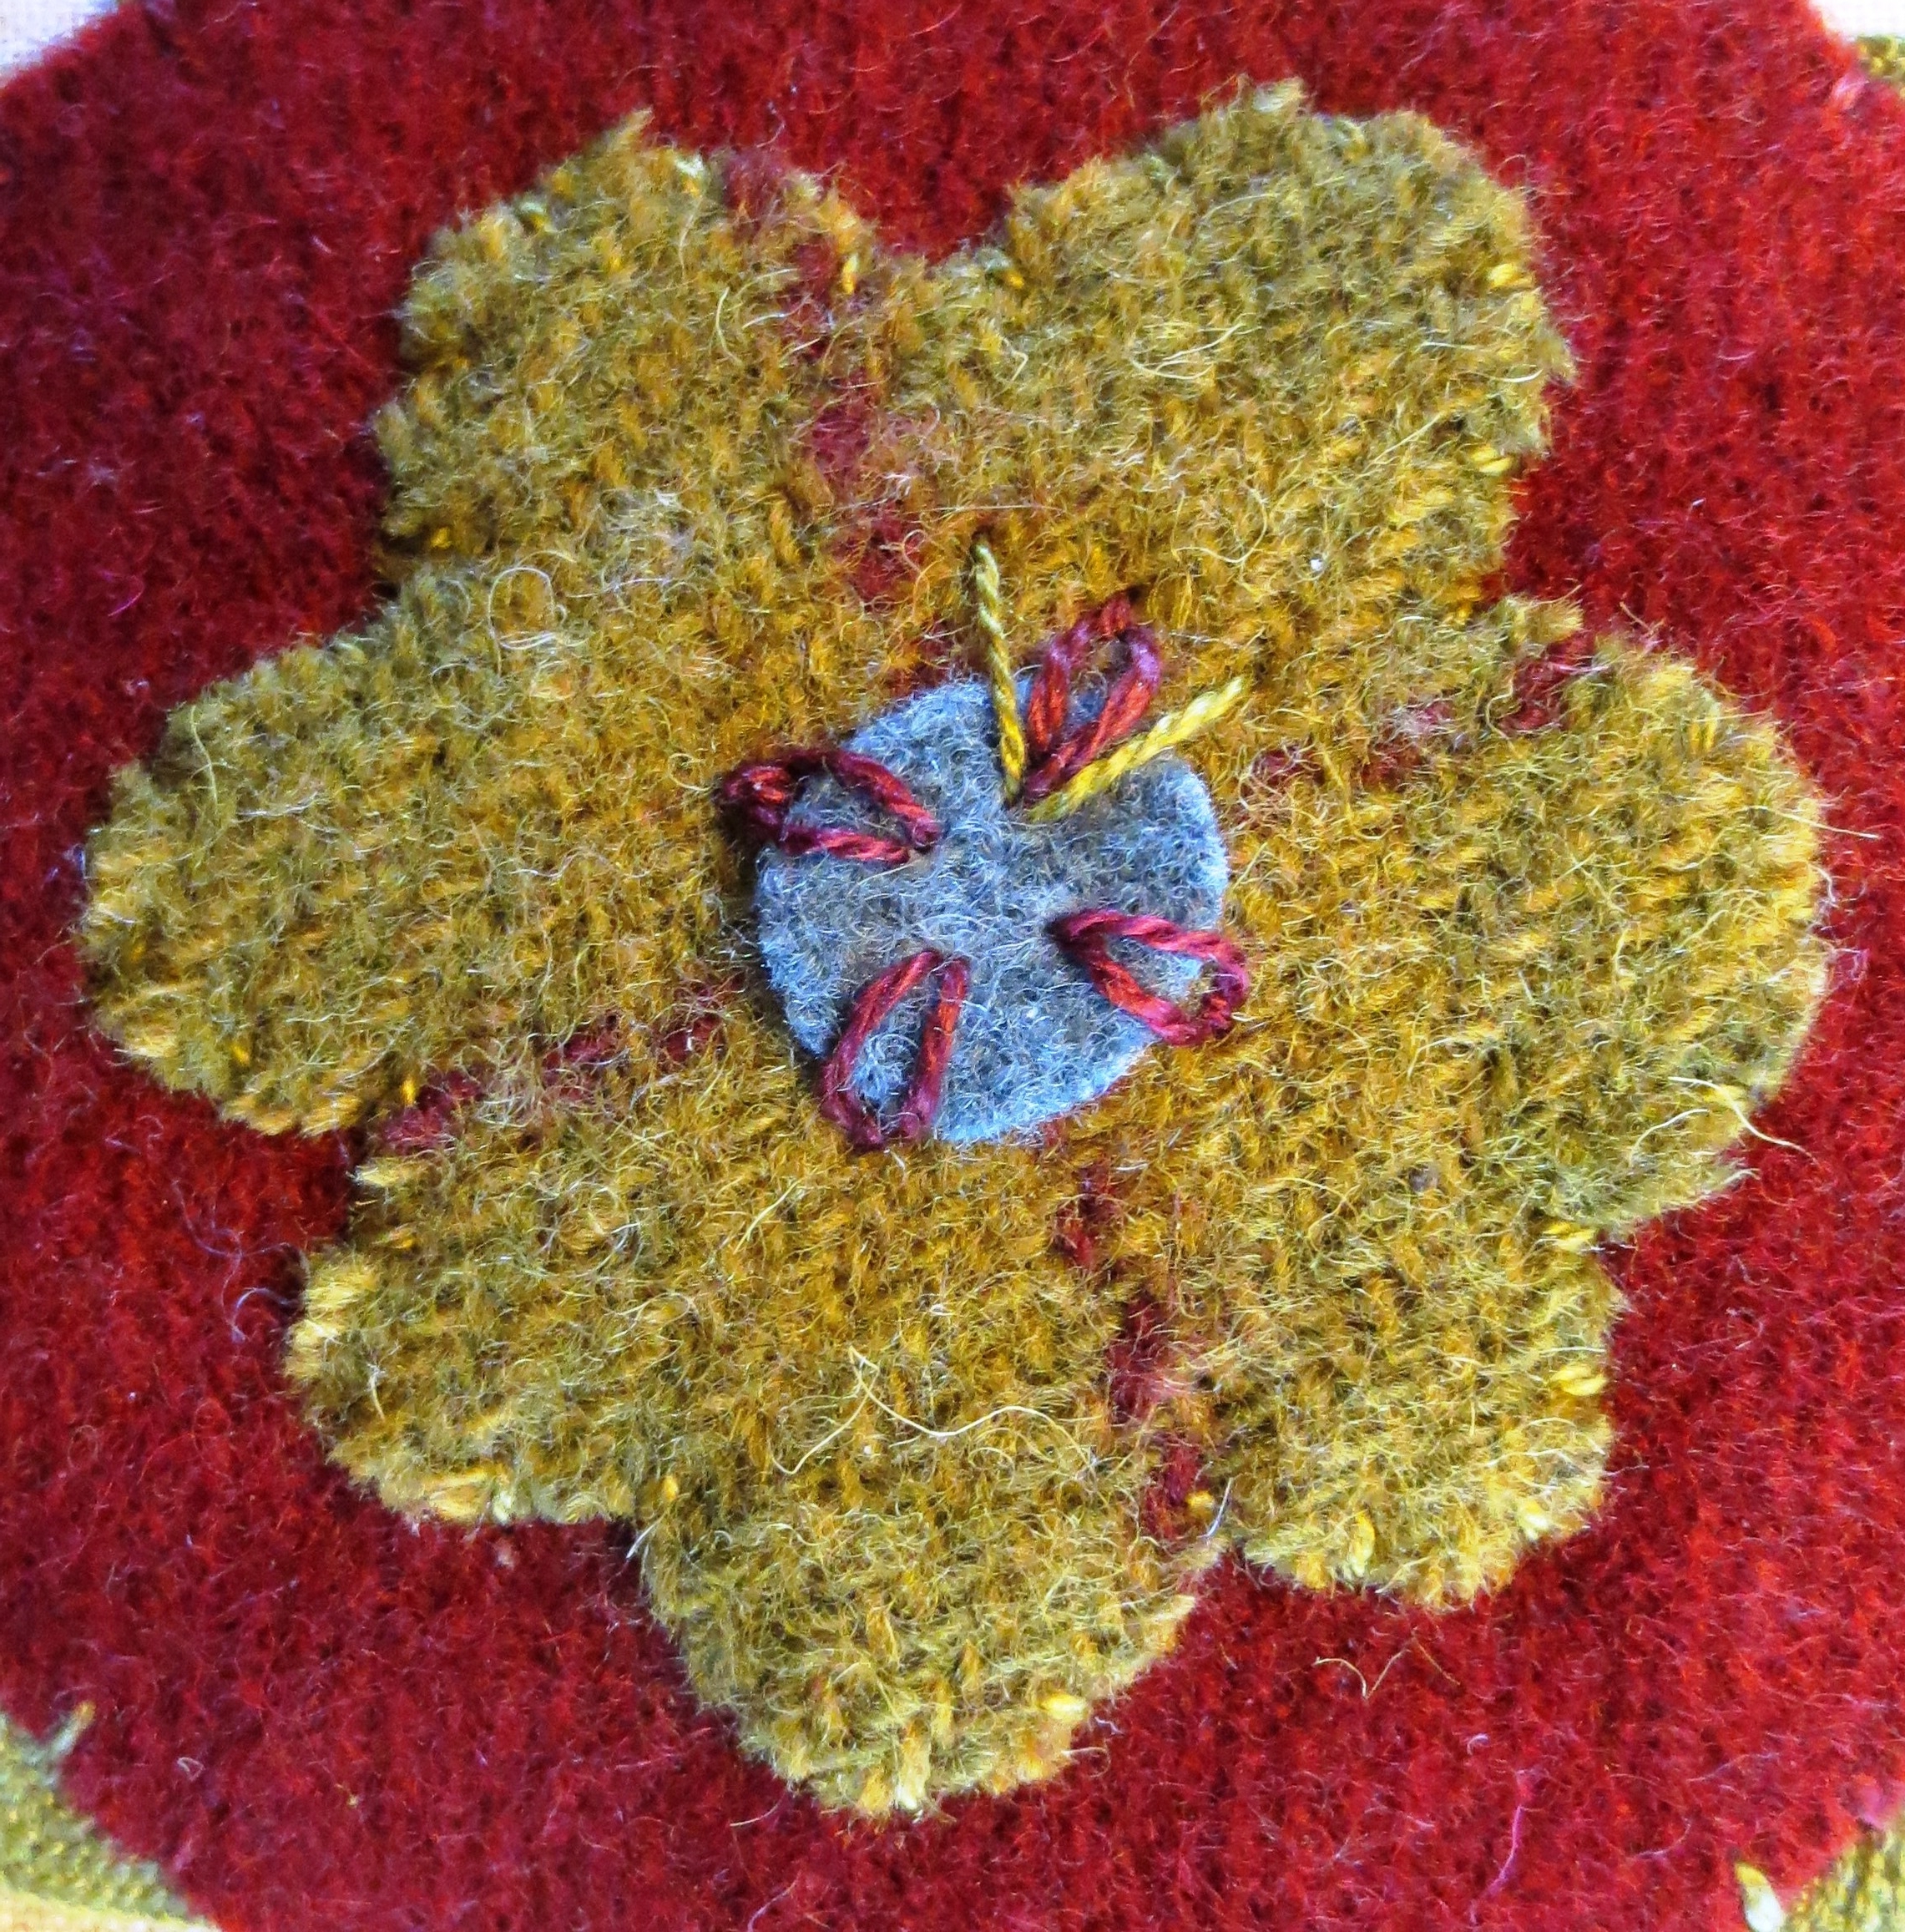
- Use a chalk pencil to draw eight lines radiating out from the center of each flower center (see layout for placement).
- Use #O519 to make eight straight stitches
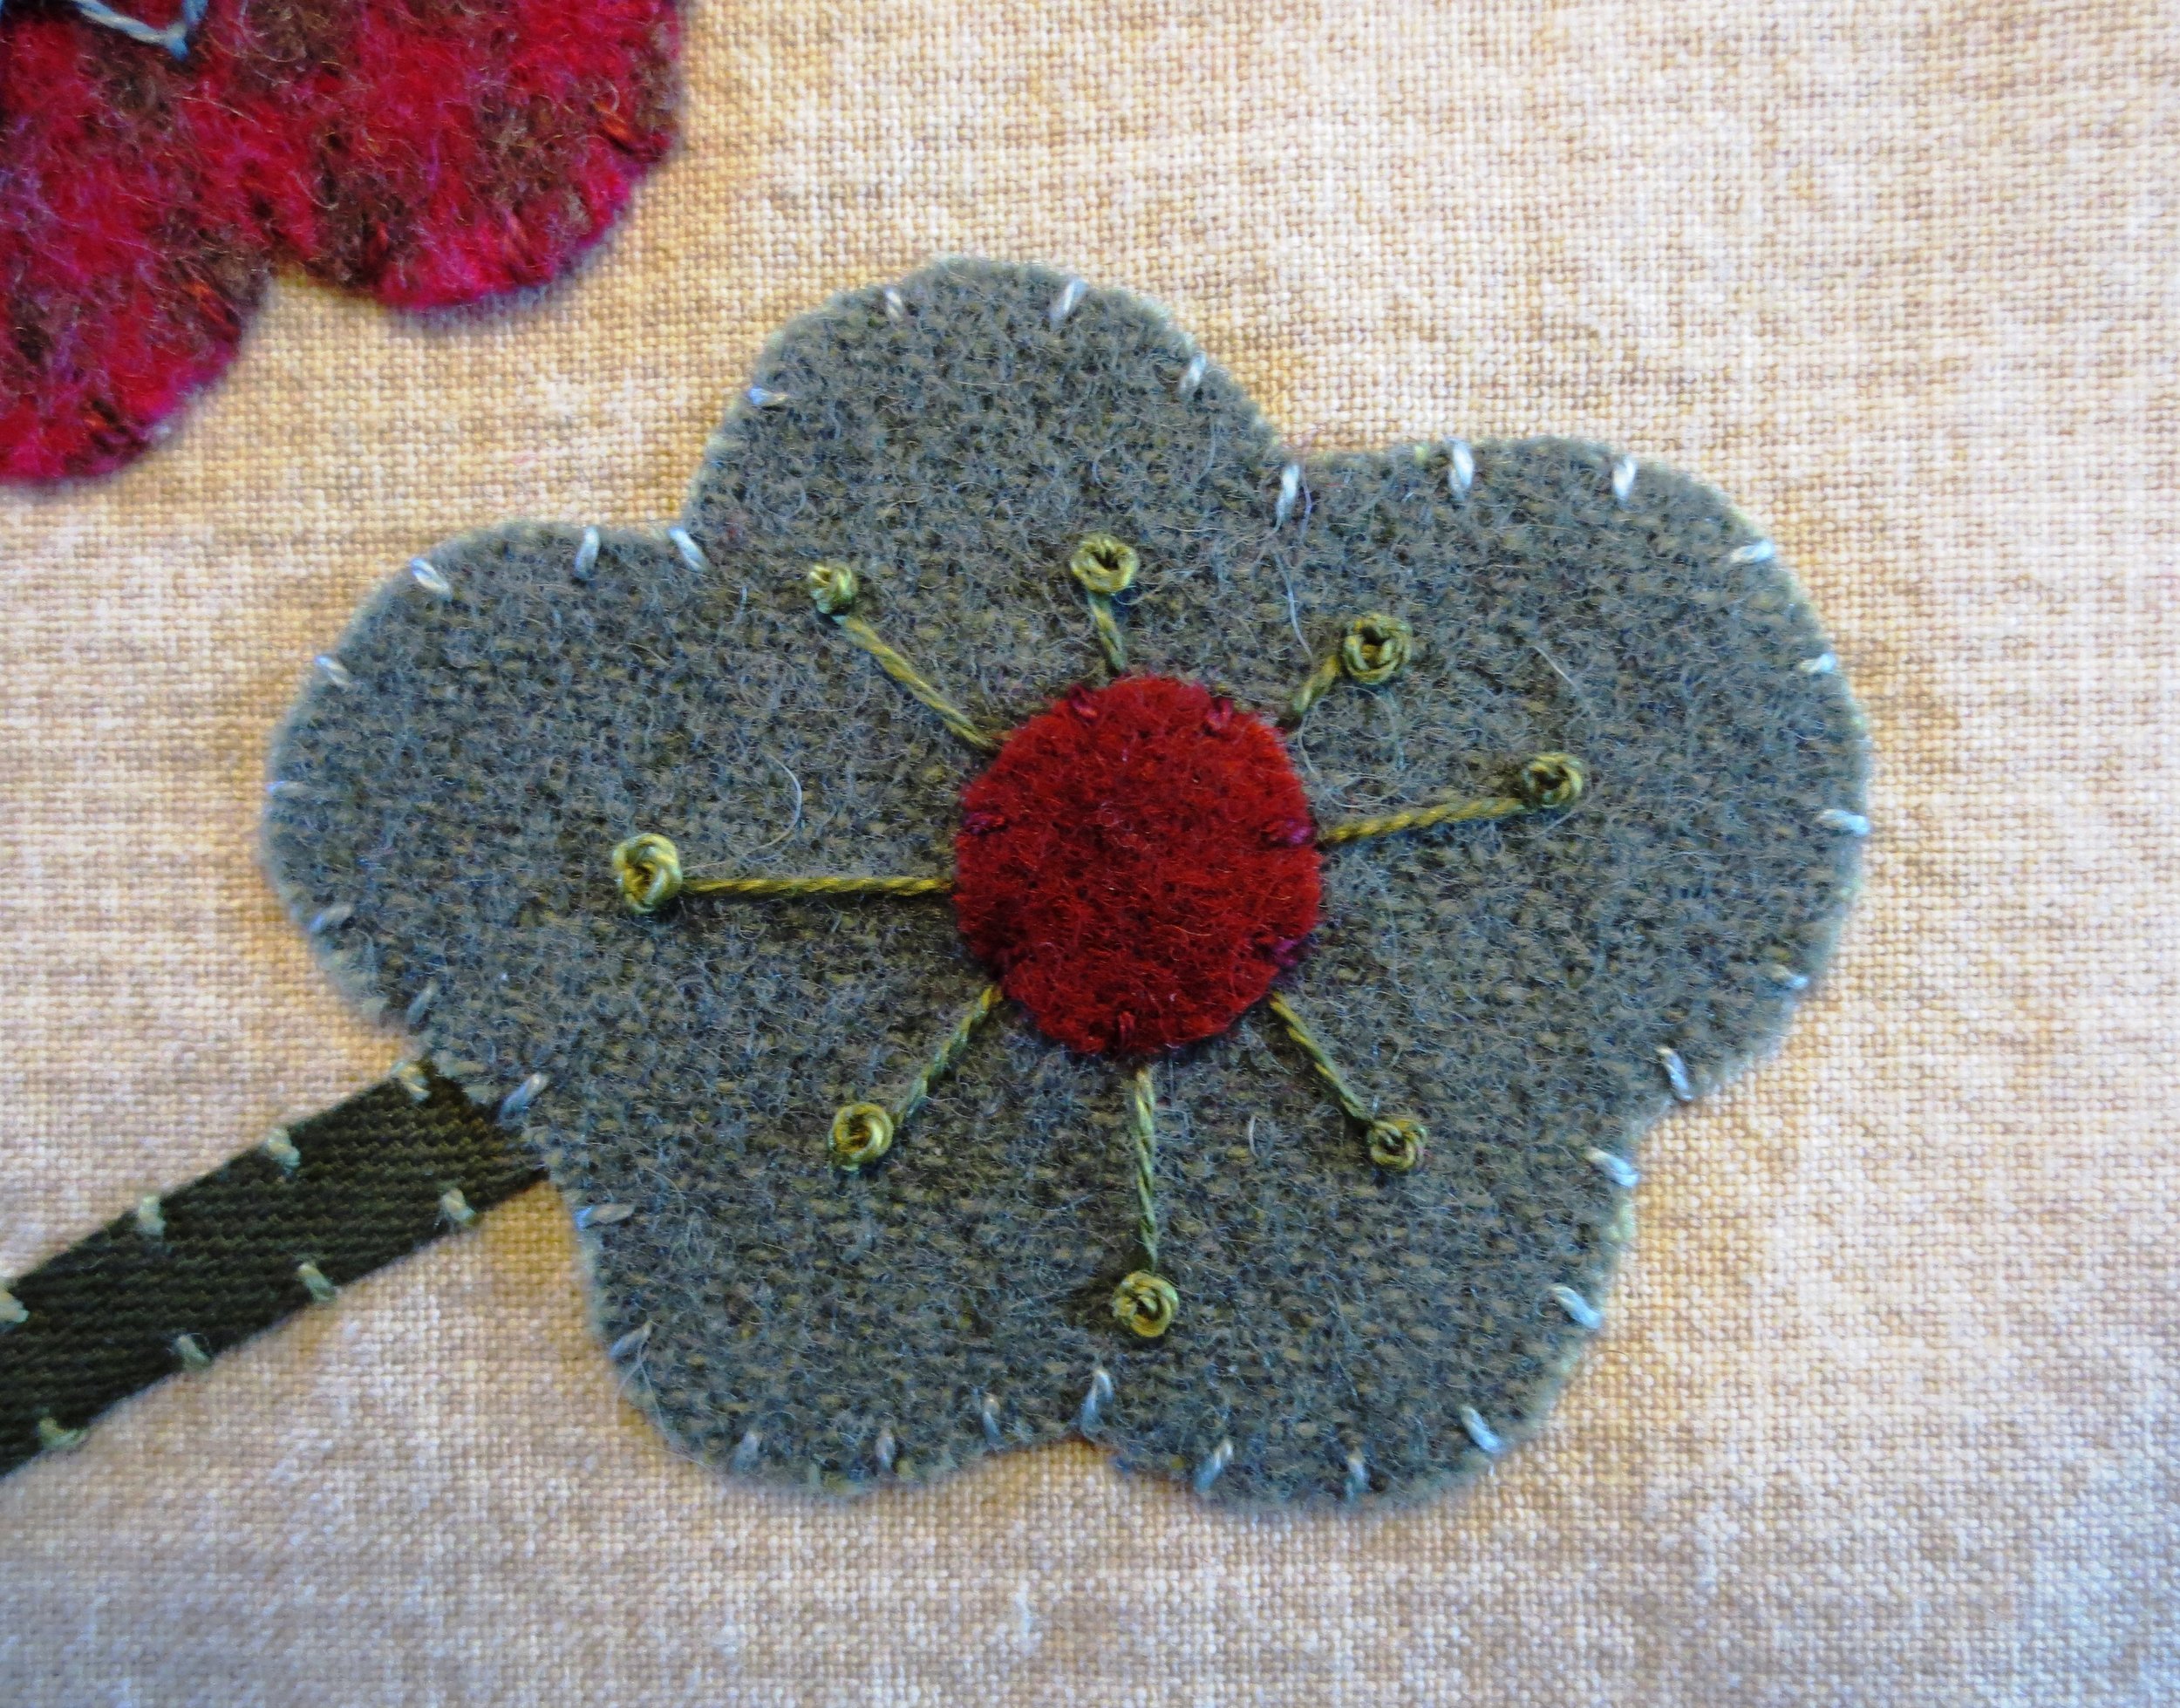
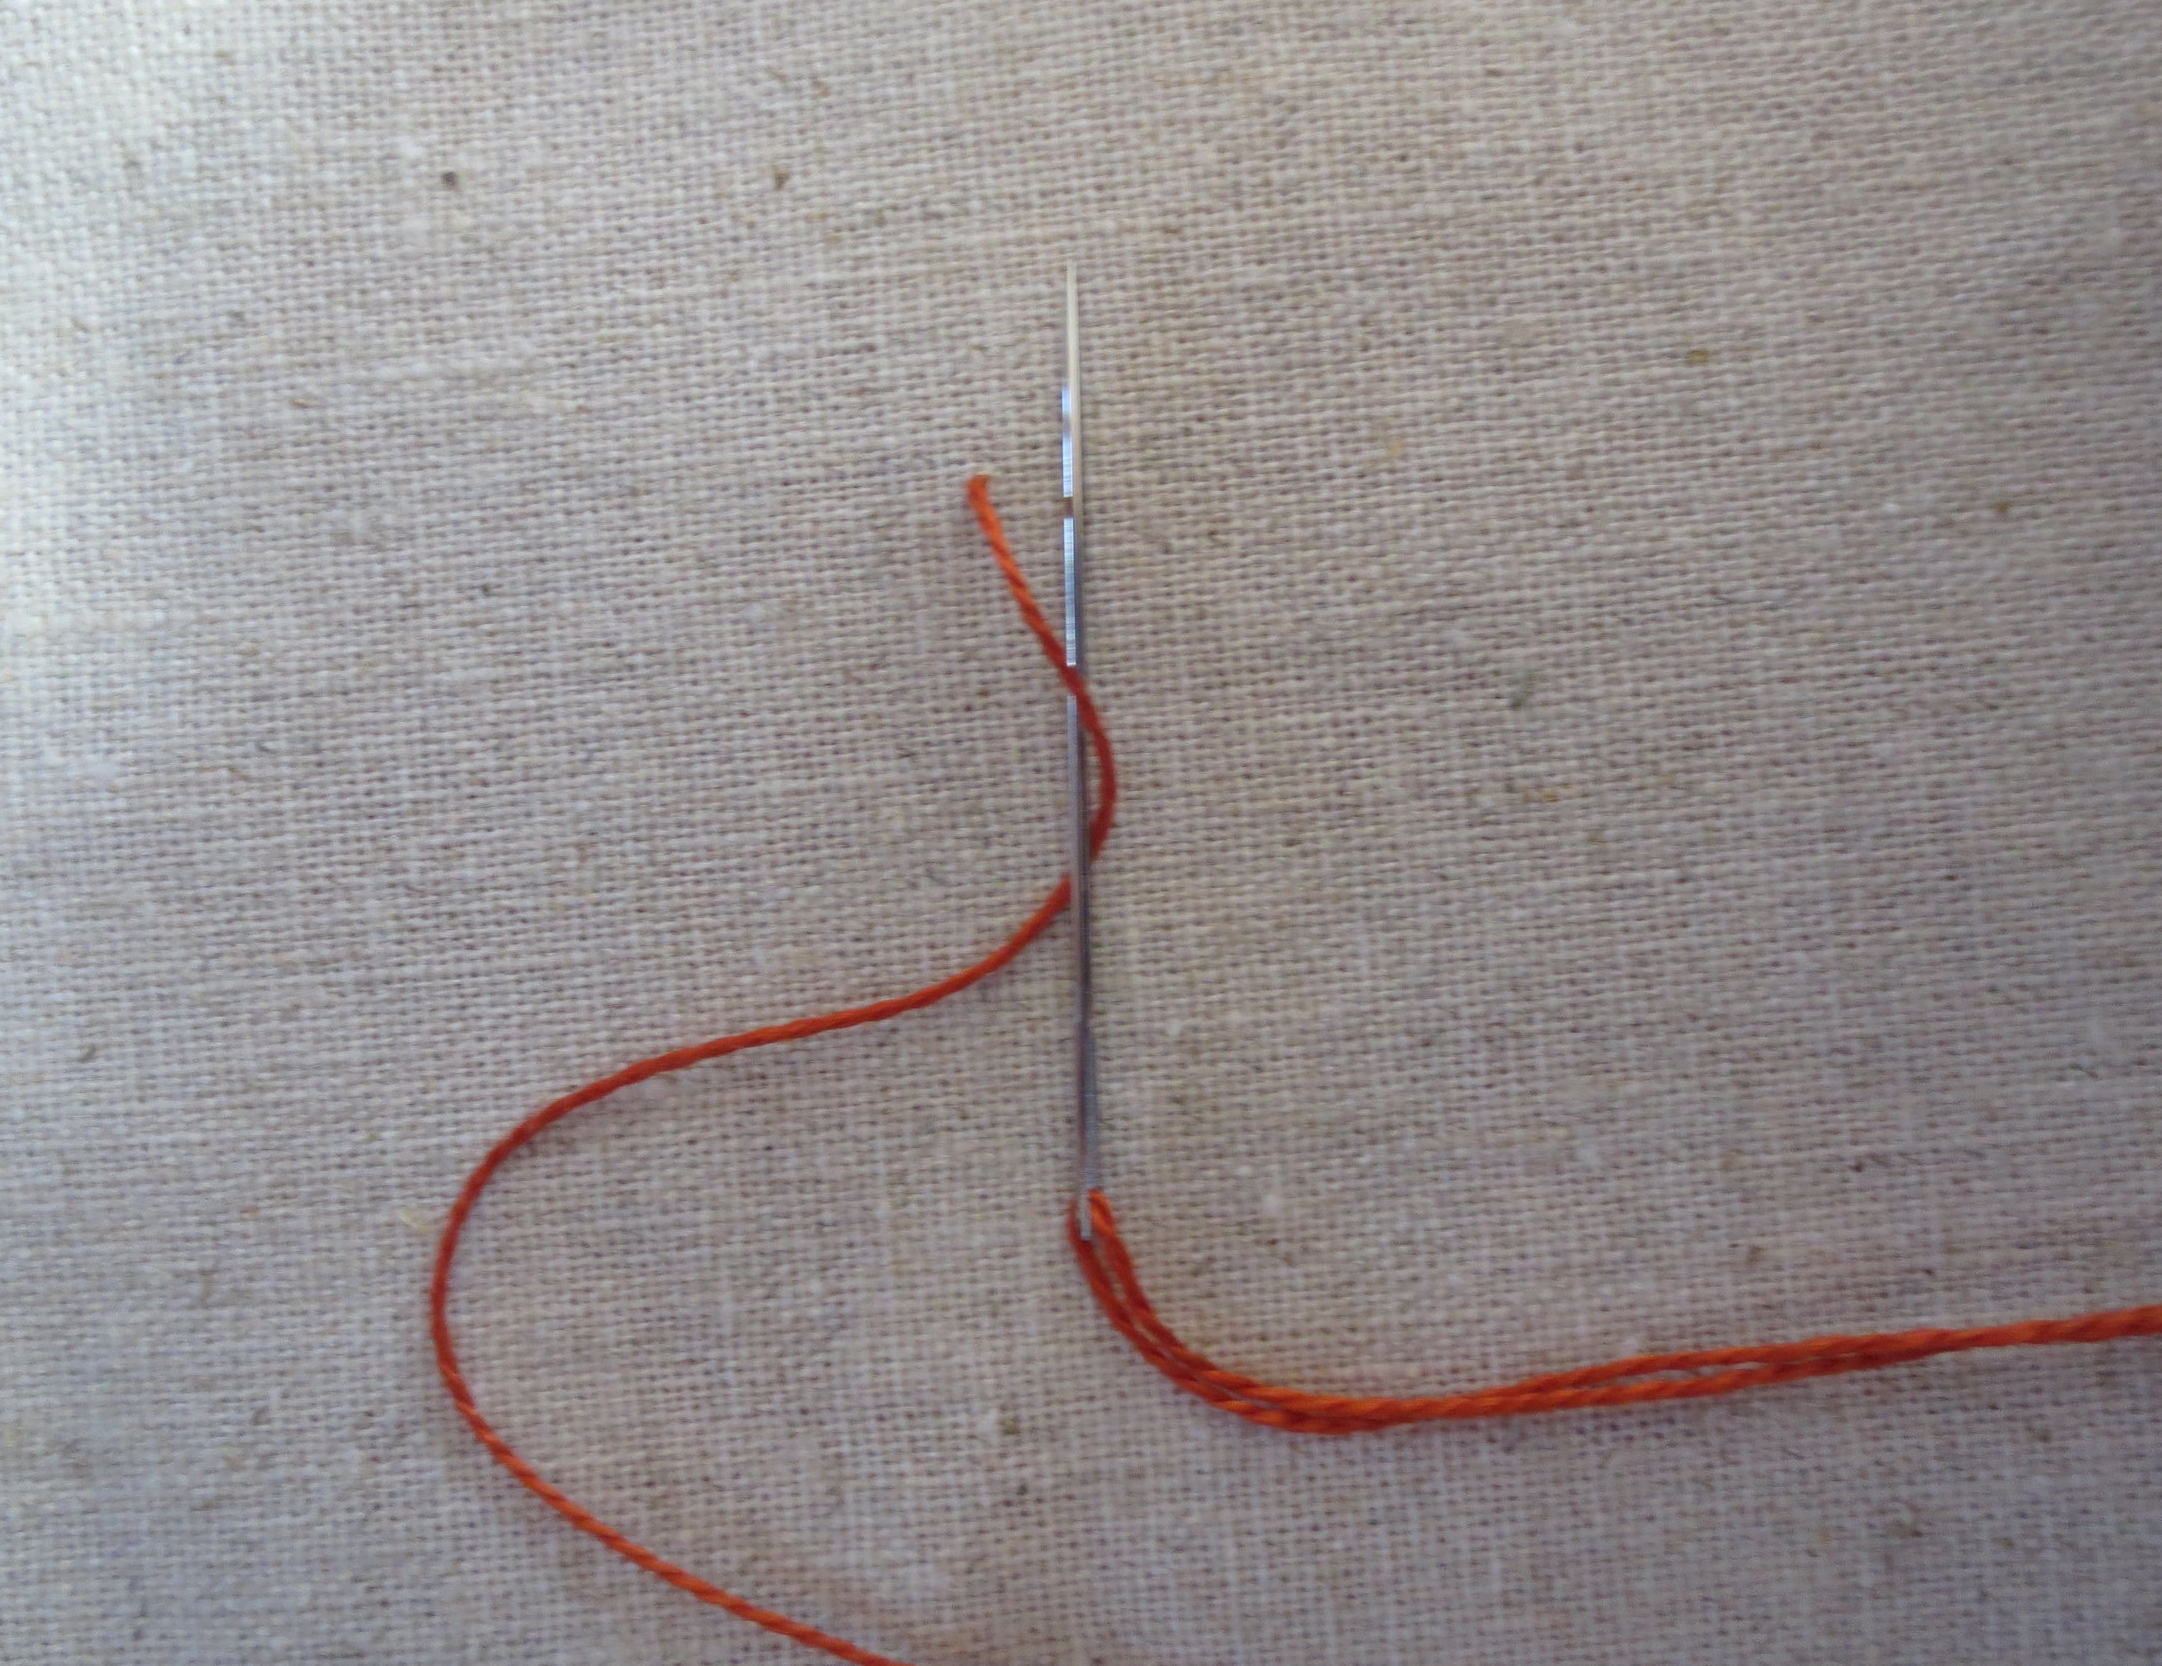
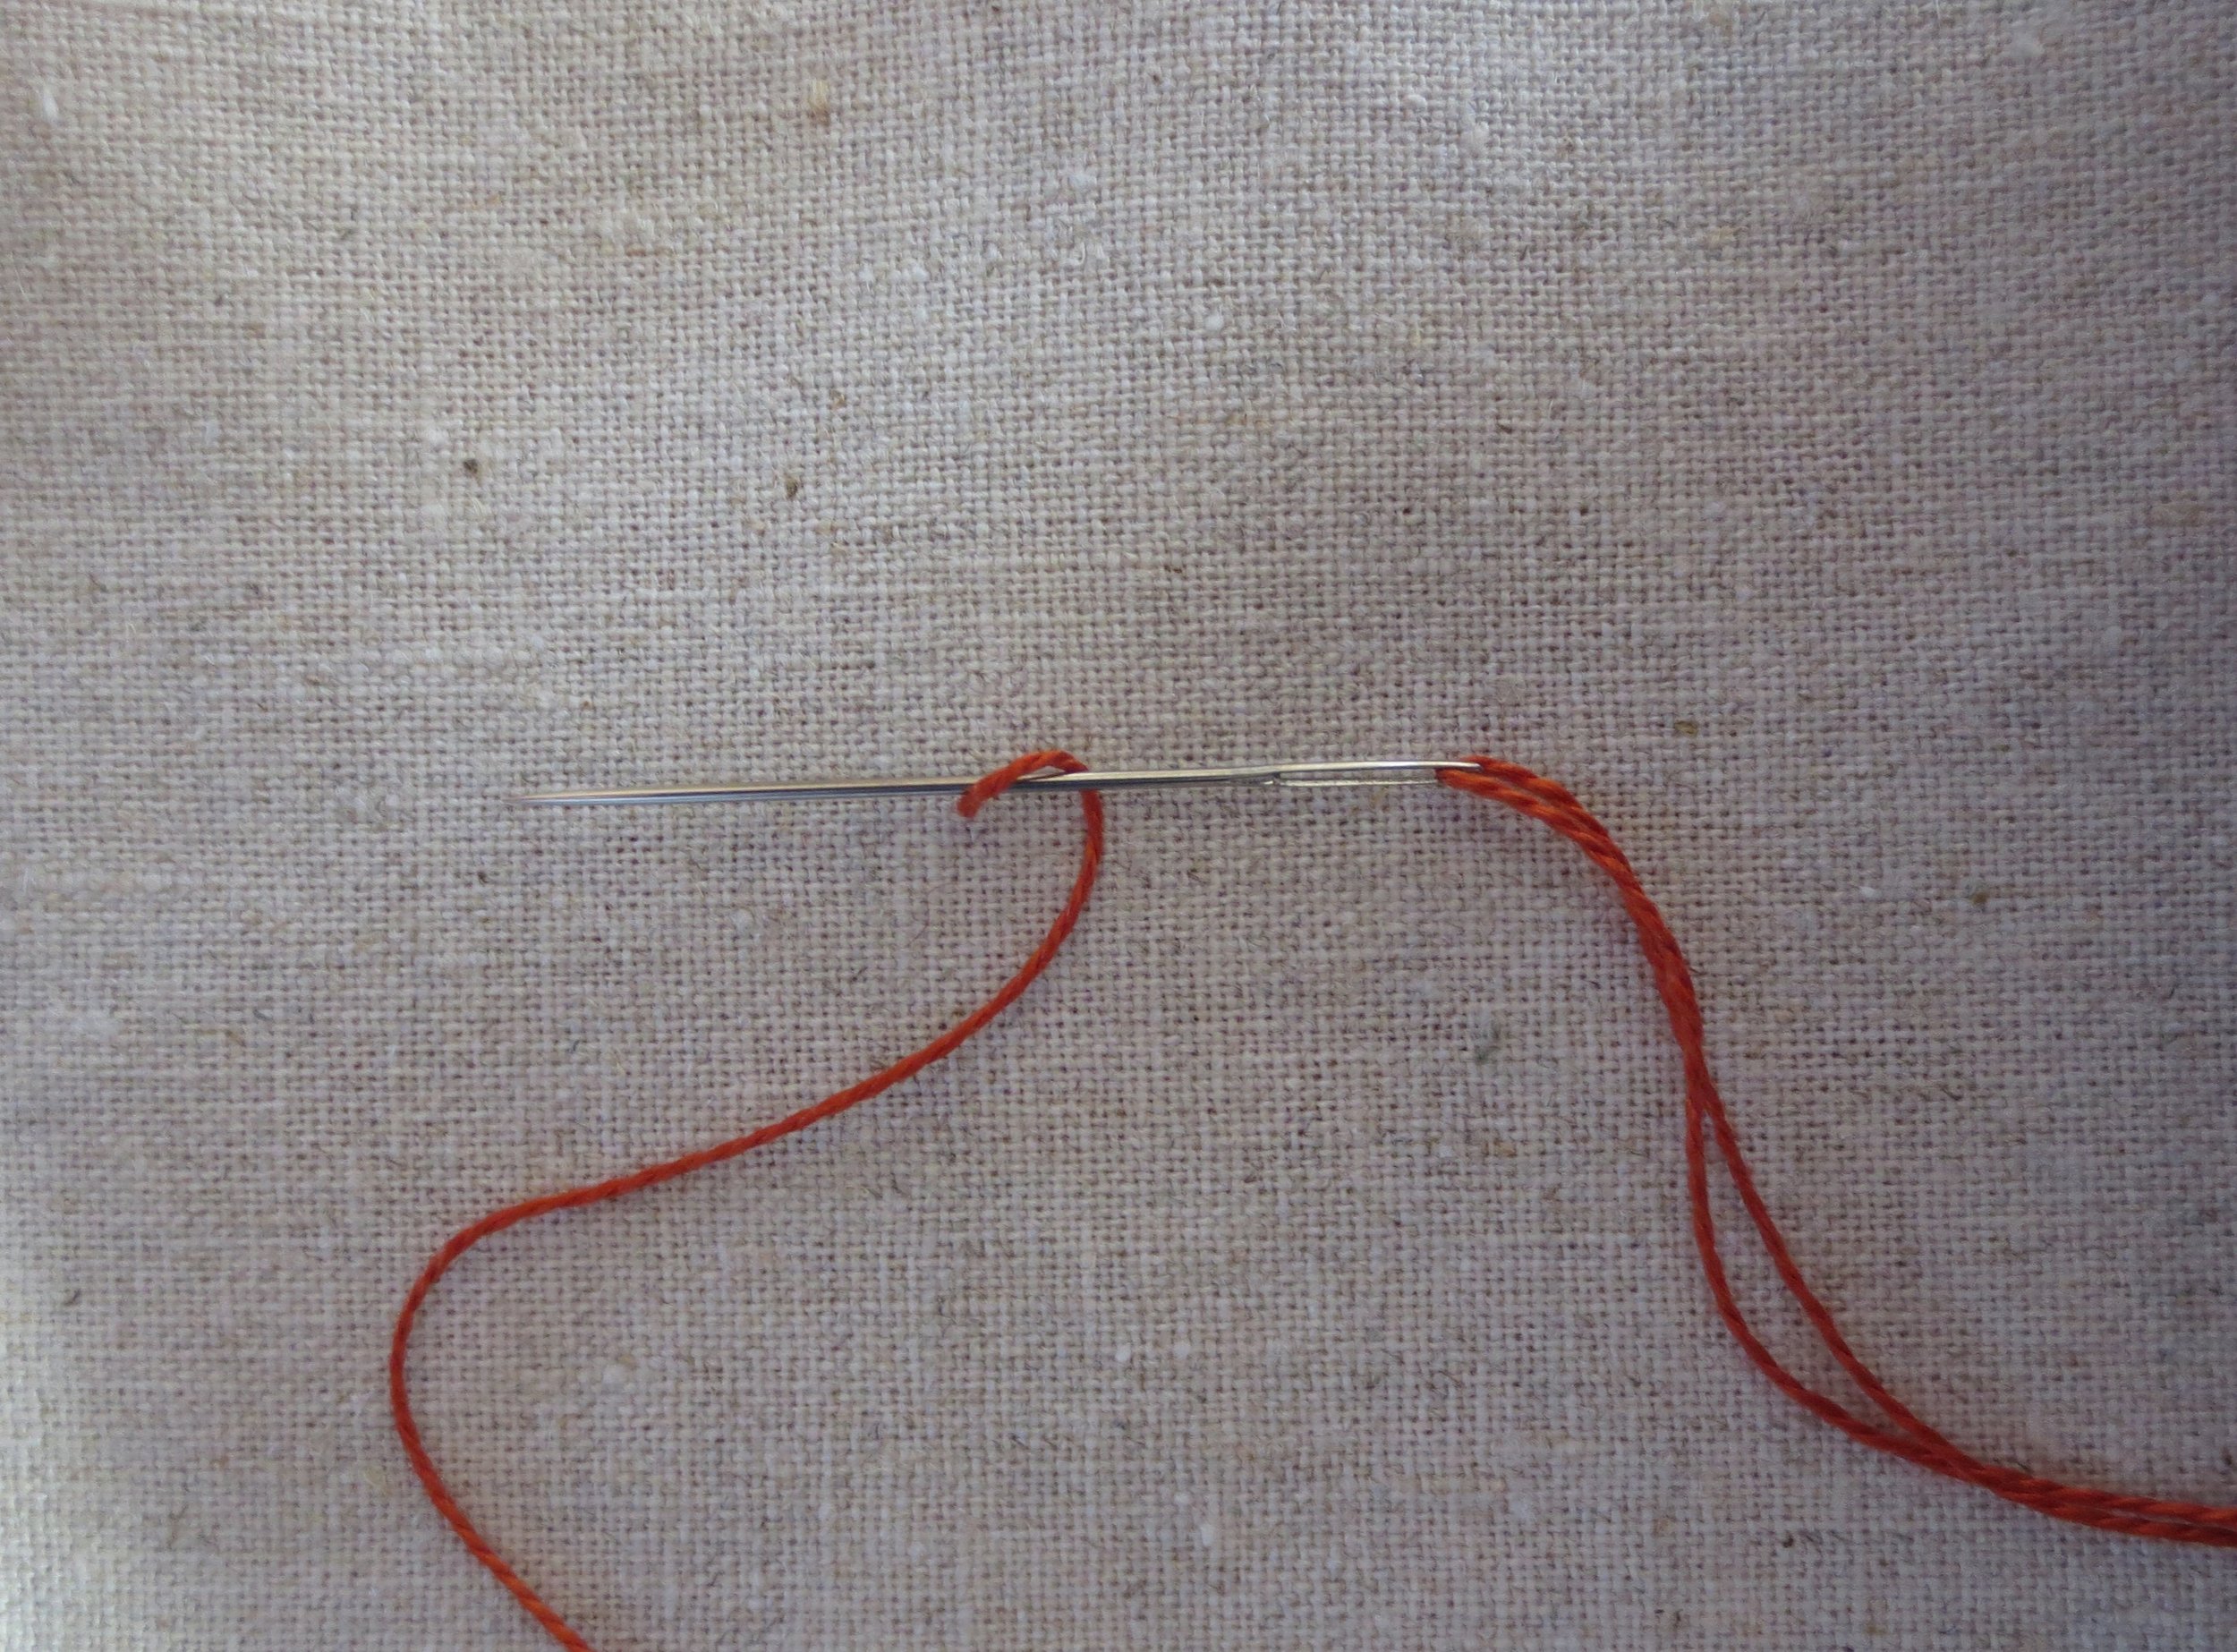
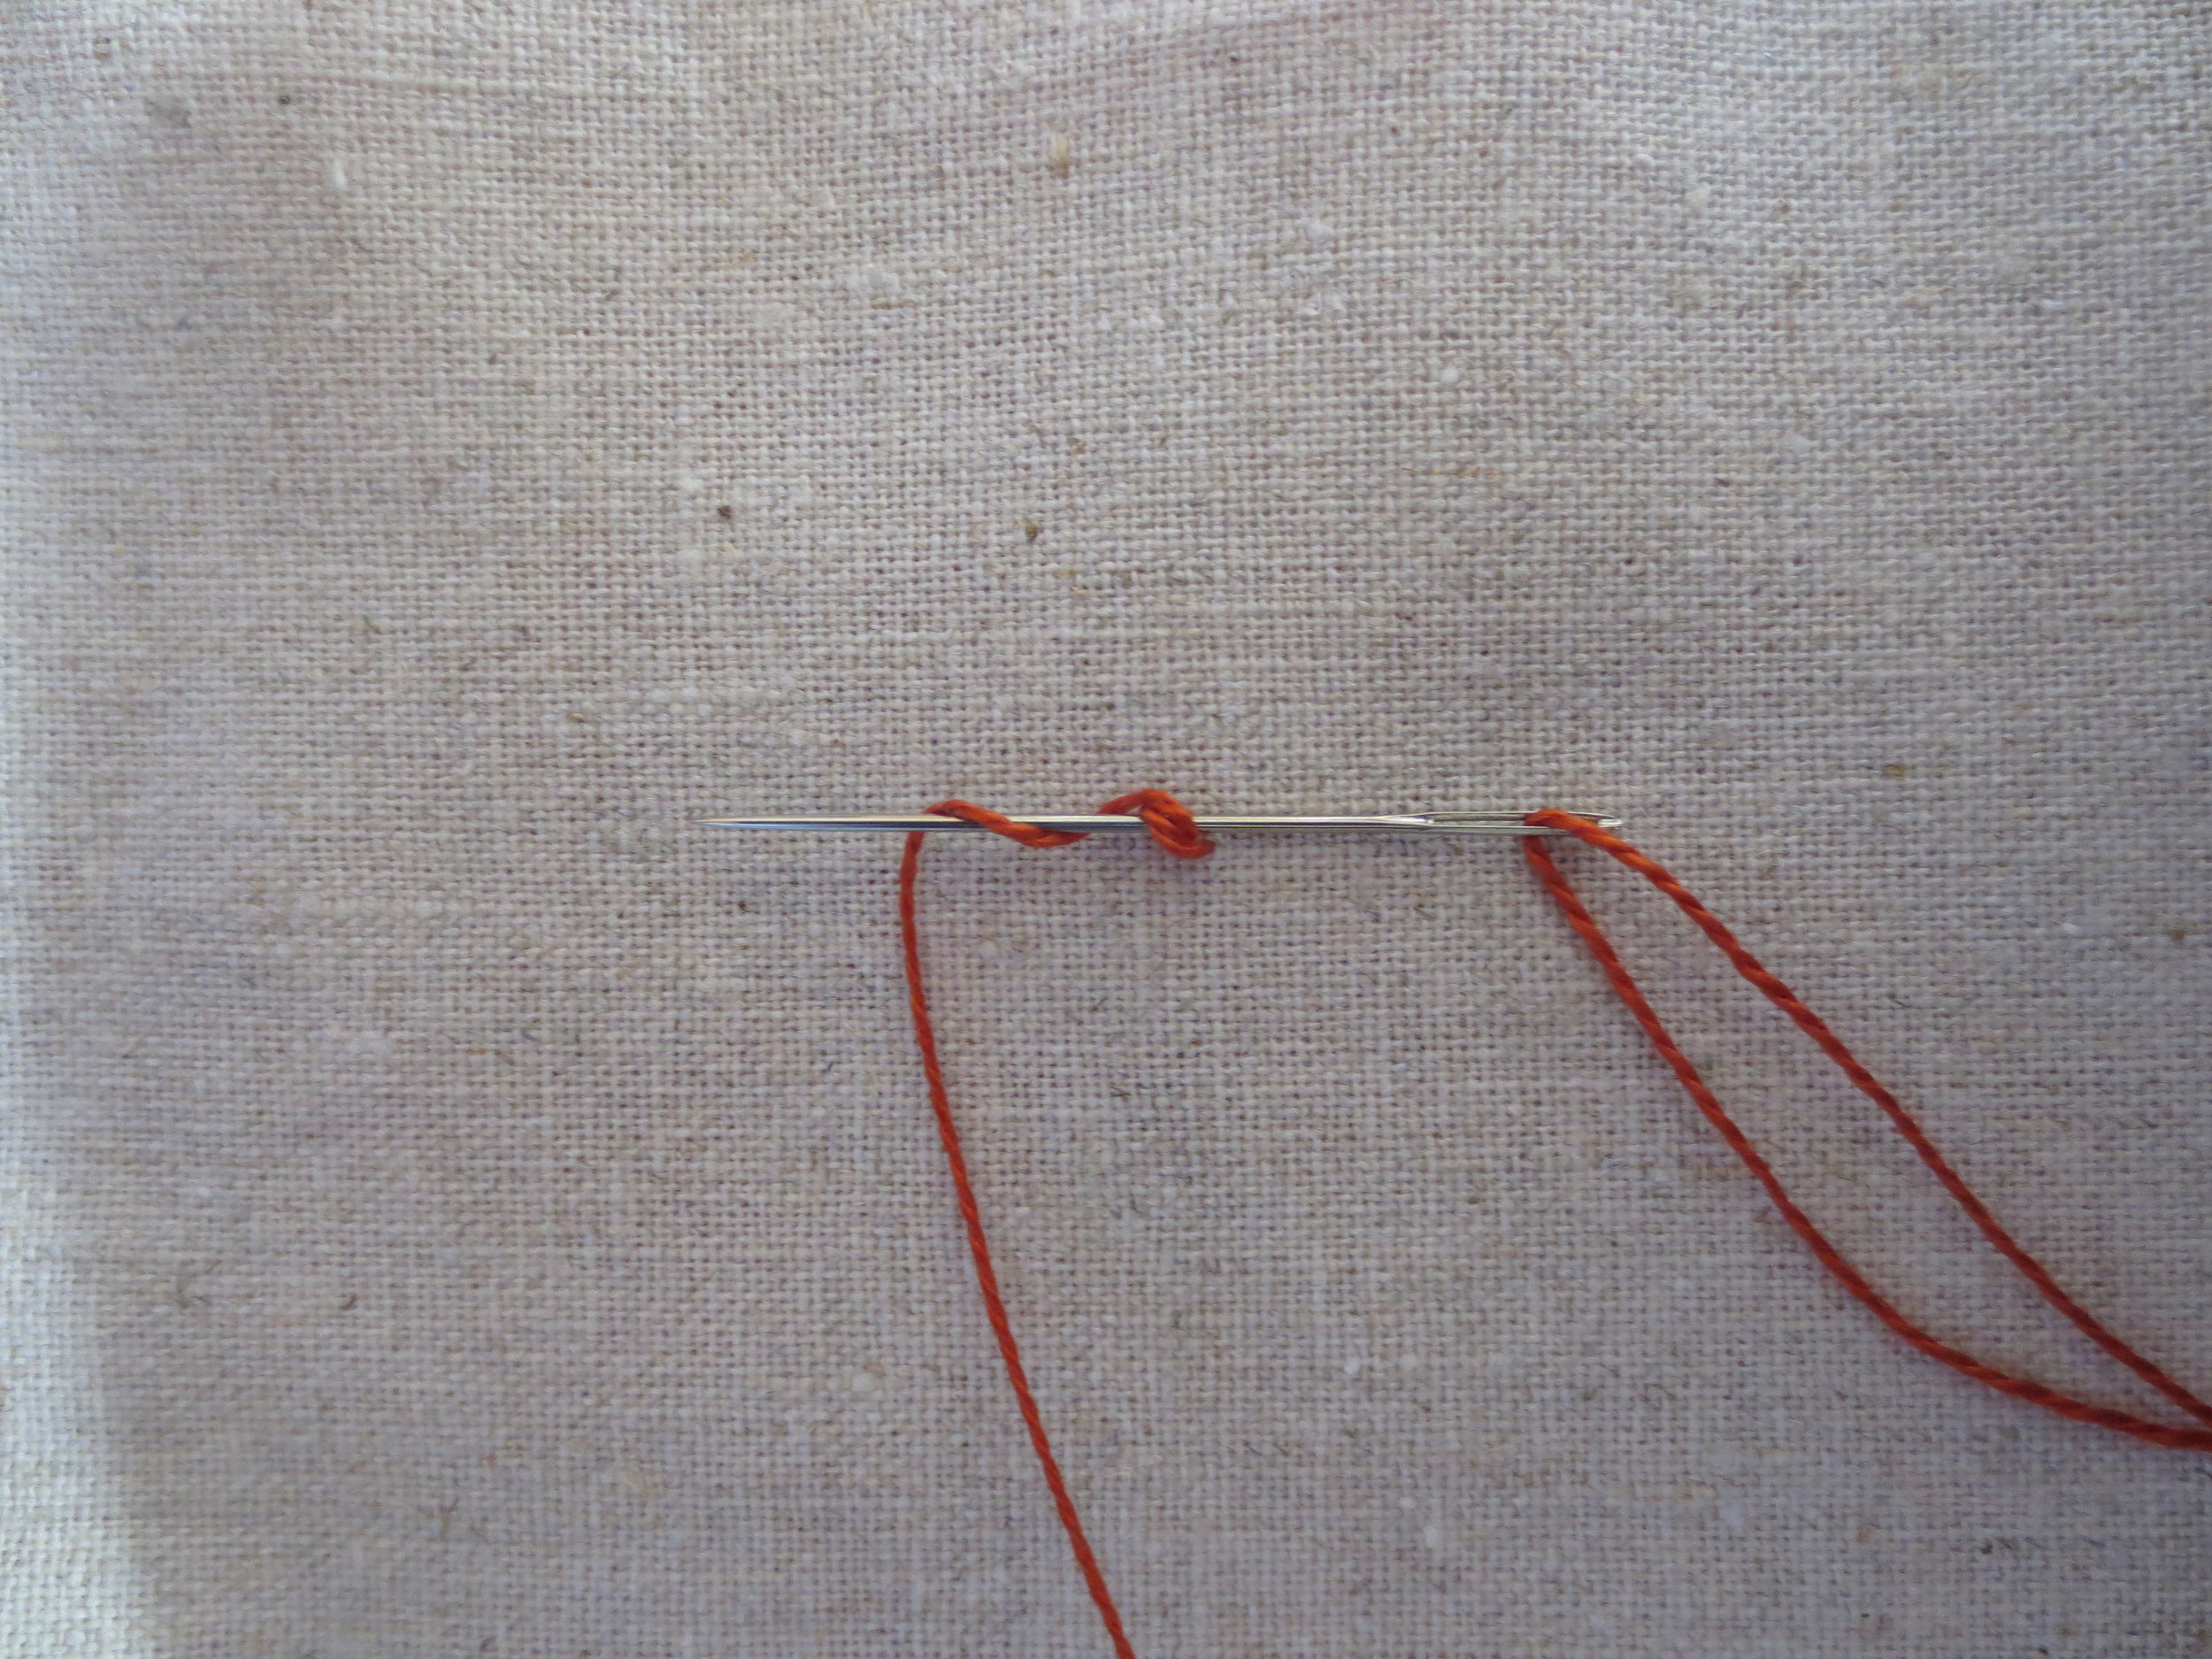
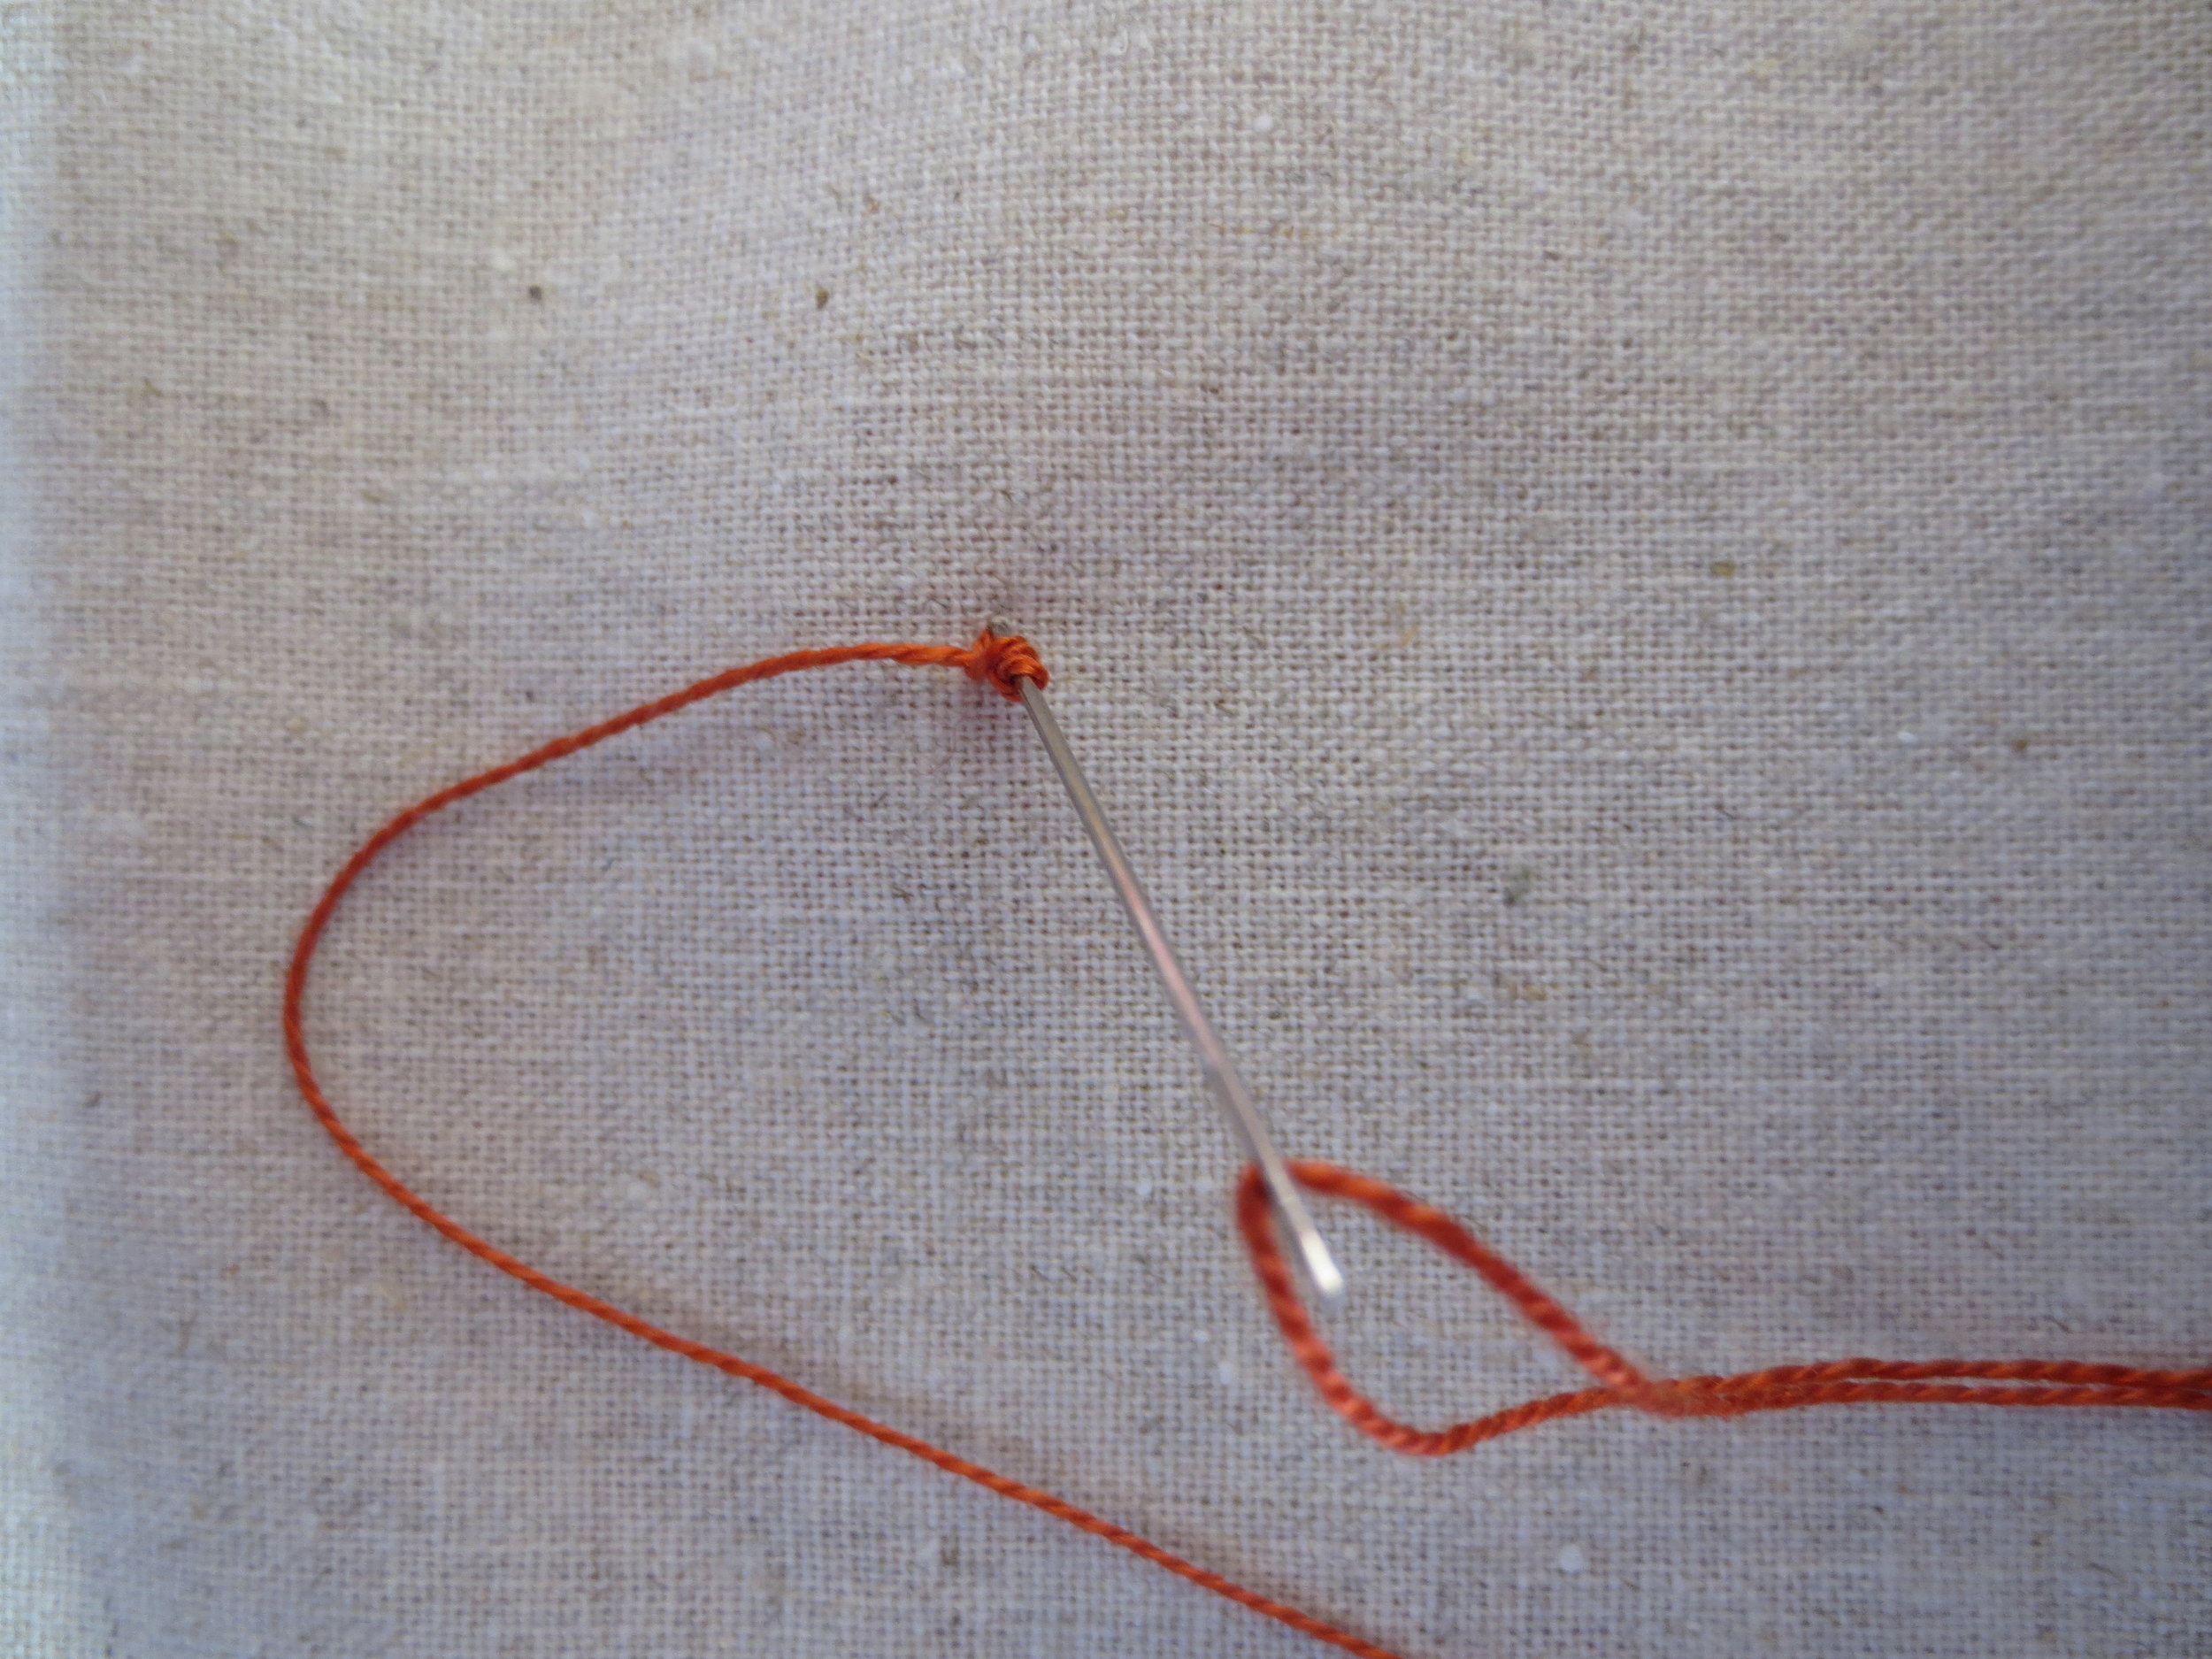
- Stitch a single colonial knot on the ends of each straight stitches. See diagram below for colonial knot instructions.

11. Flower #2
- Fuse Flower #2A to Flower #2 using steam.
- Whip stitch #2A with thread that matches wool color.
- Fuse Flower #2B to #2A.
- Draw four dots (like a button) in the center of #2B.
- Stitch lazy daisy stitches that radiate outward from each dot. Use a color that matches Flower #2.
- Stitch a single straight stitch on each side of the lazy daisy stitch, radiating out from the base of the lazy daisy. Use a color that matches #2A.
- Stitch a single colonial knot in the center of #2B, using the same thread as the lazy daisies.
- Draw a circle around #2B with a chalk pencil (use layout as your guide).
- Stitch a running stitch over the chalk line. I used a pewter colored thread here.
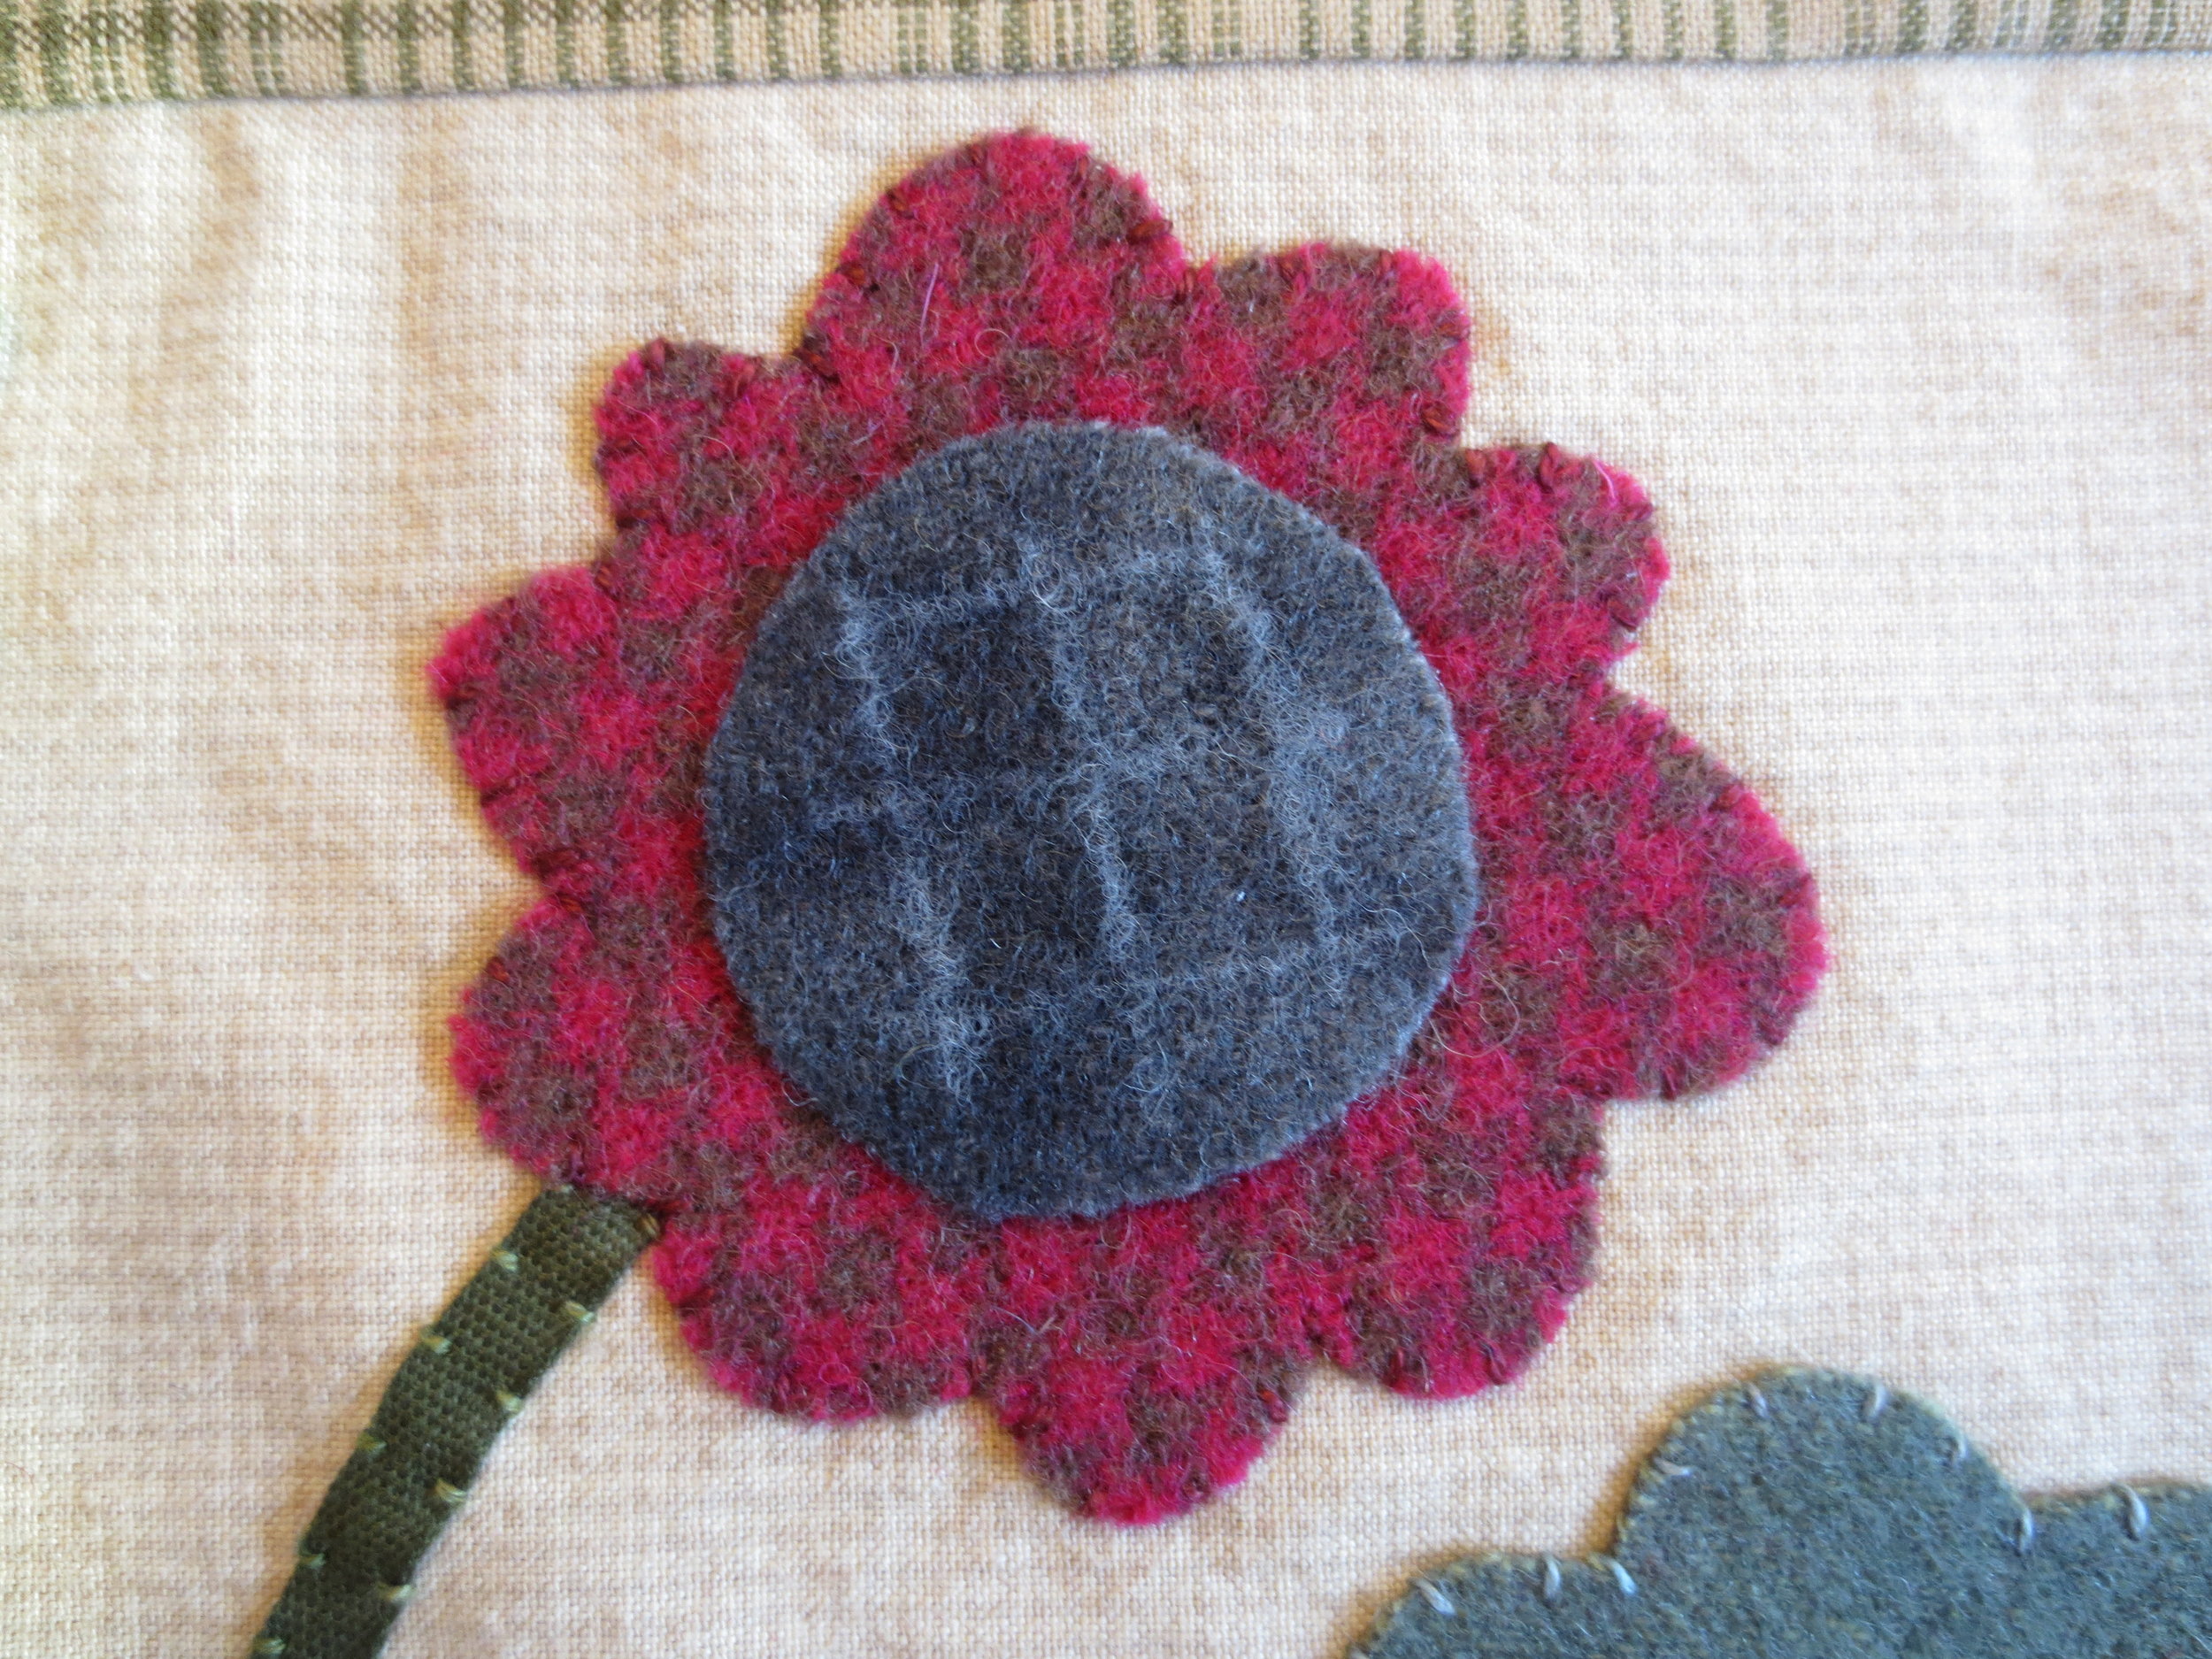
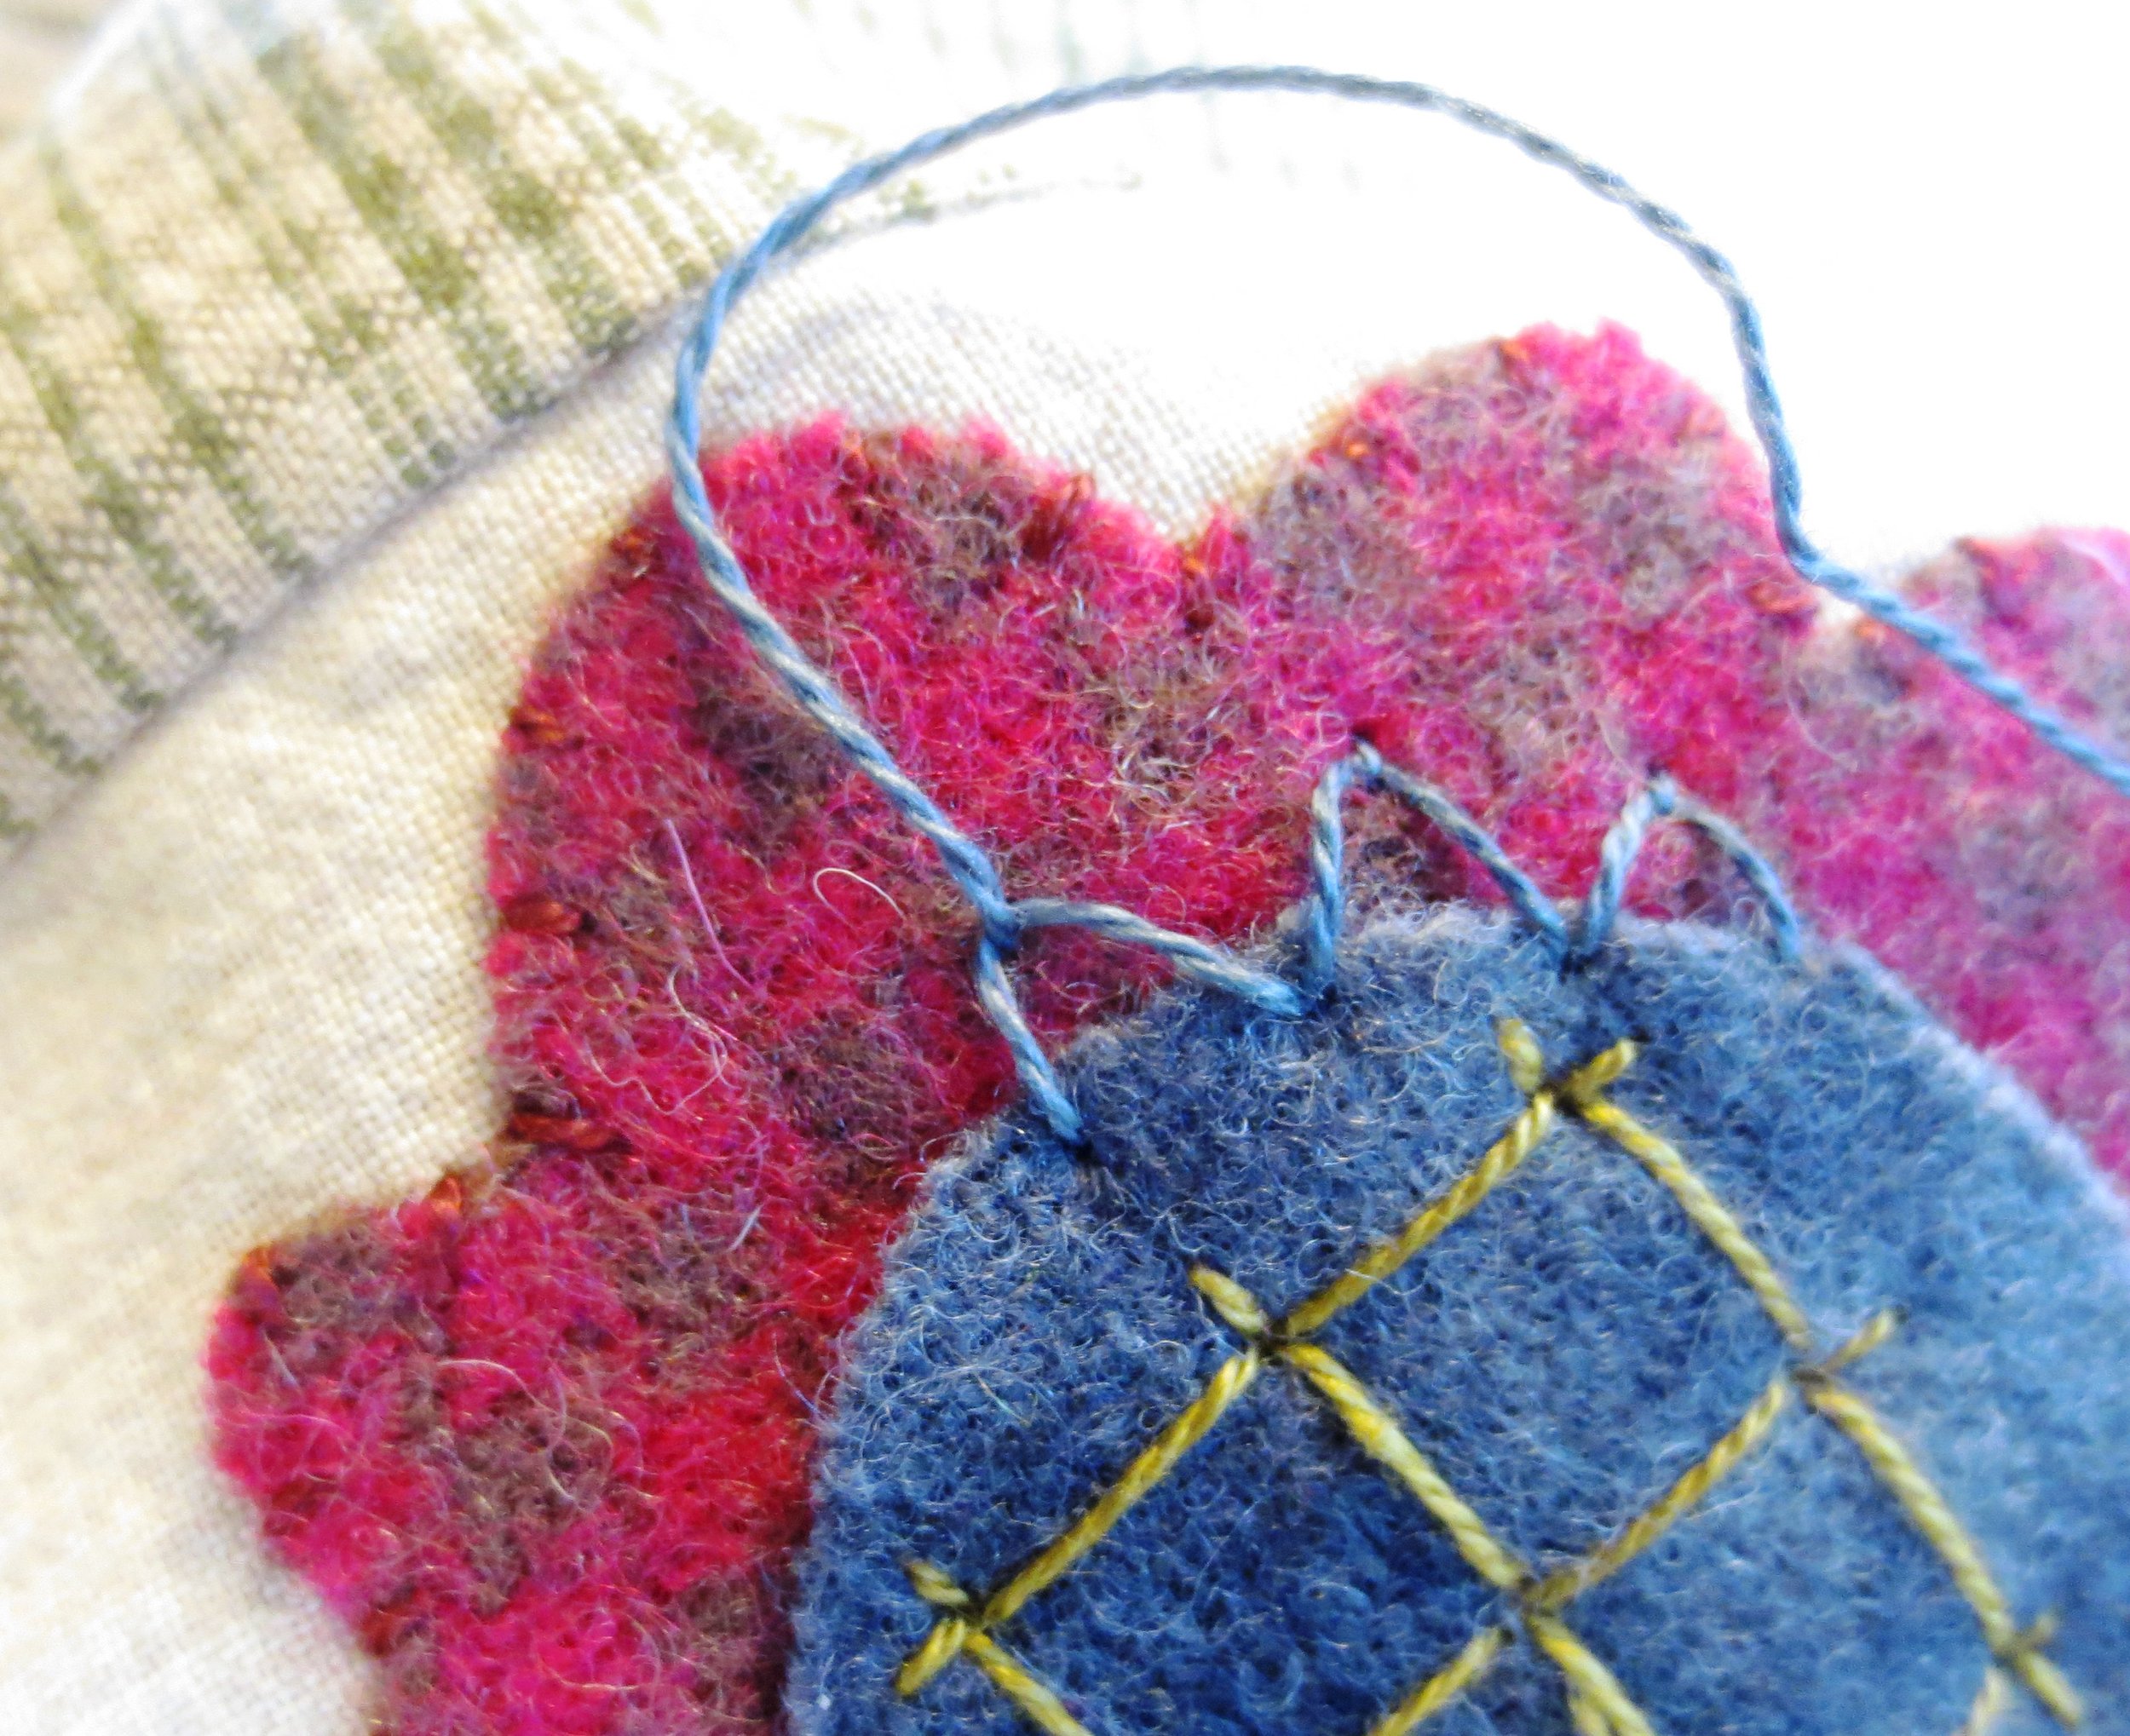
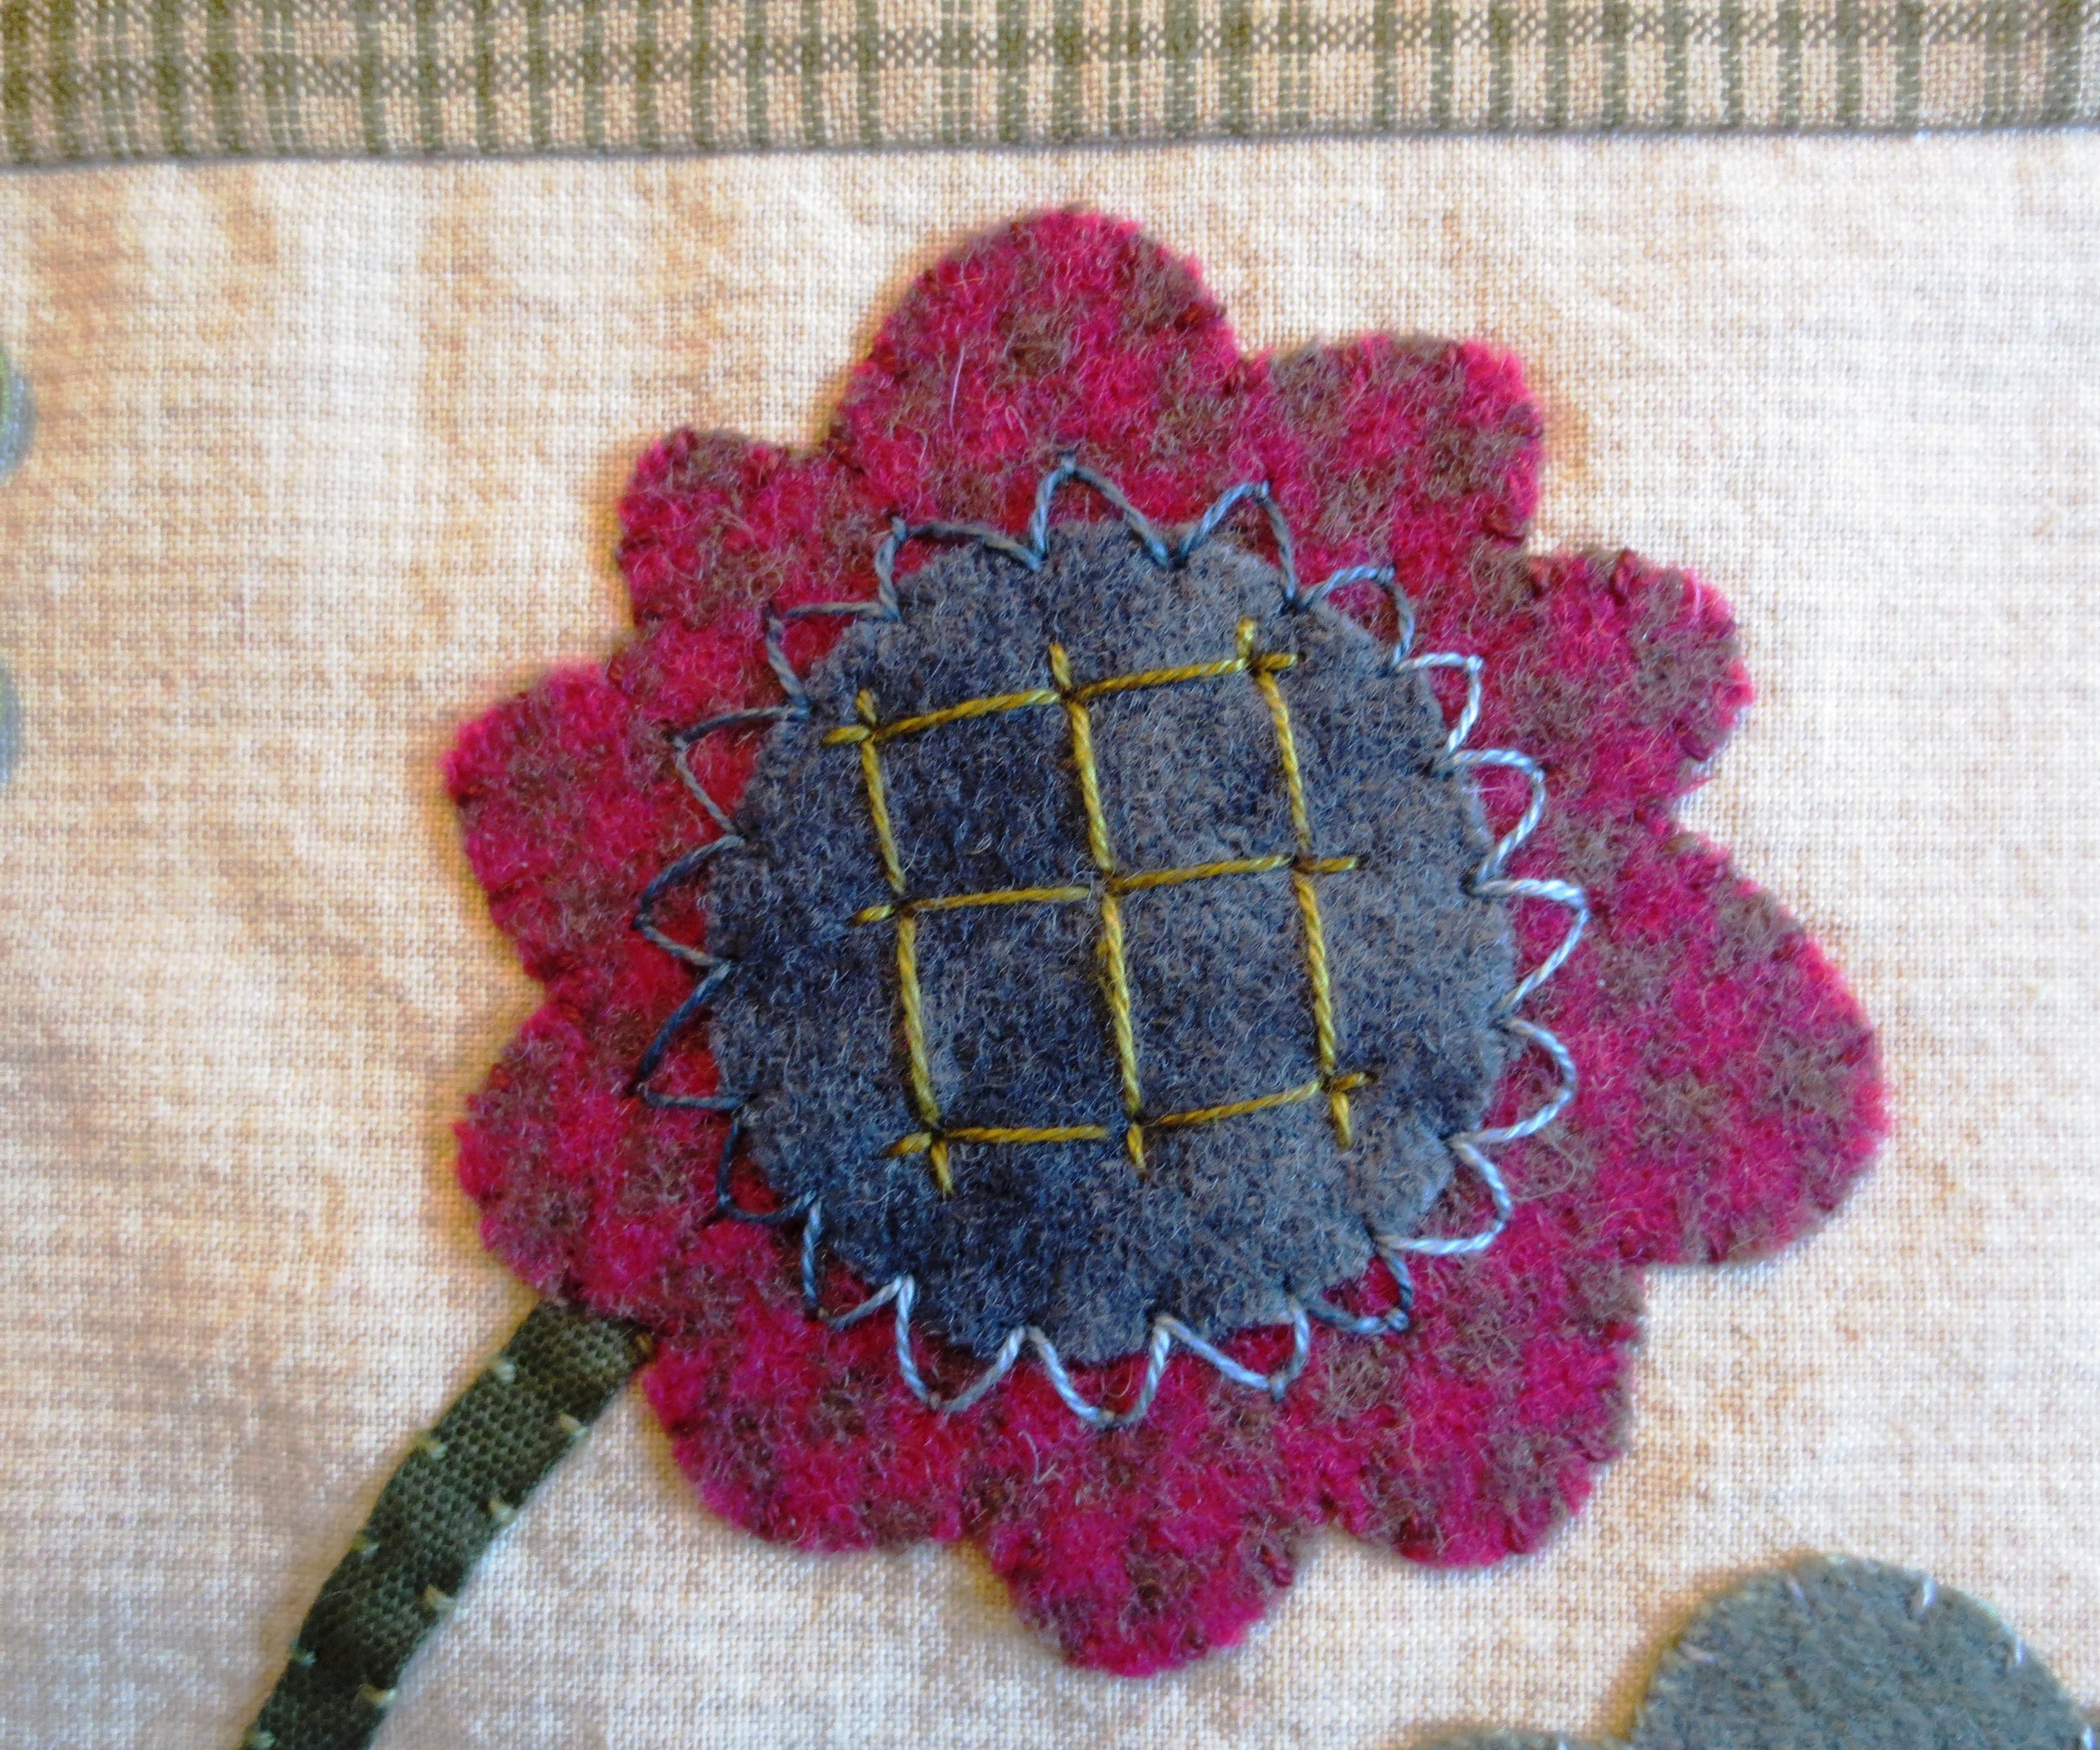
12. Flower #3
- Fuse #3A onto Flower #3 using steam.
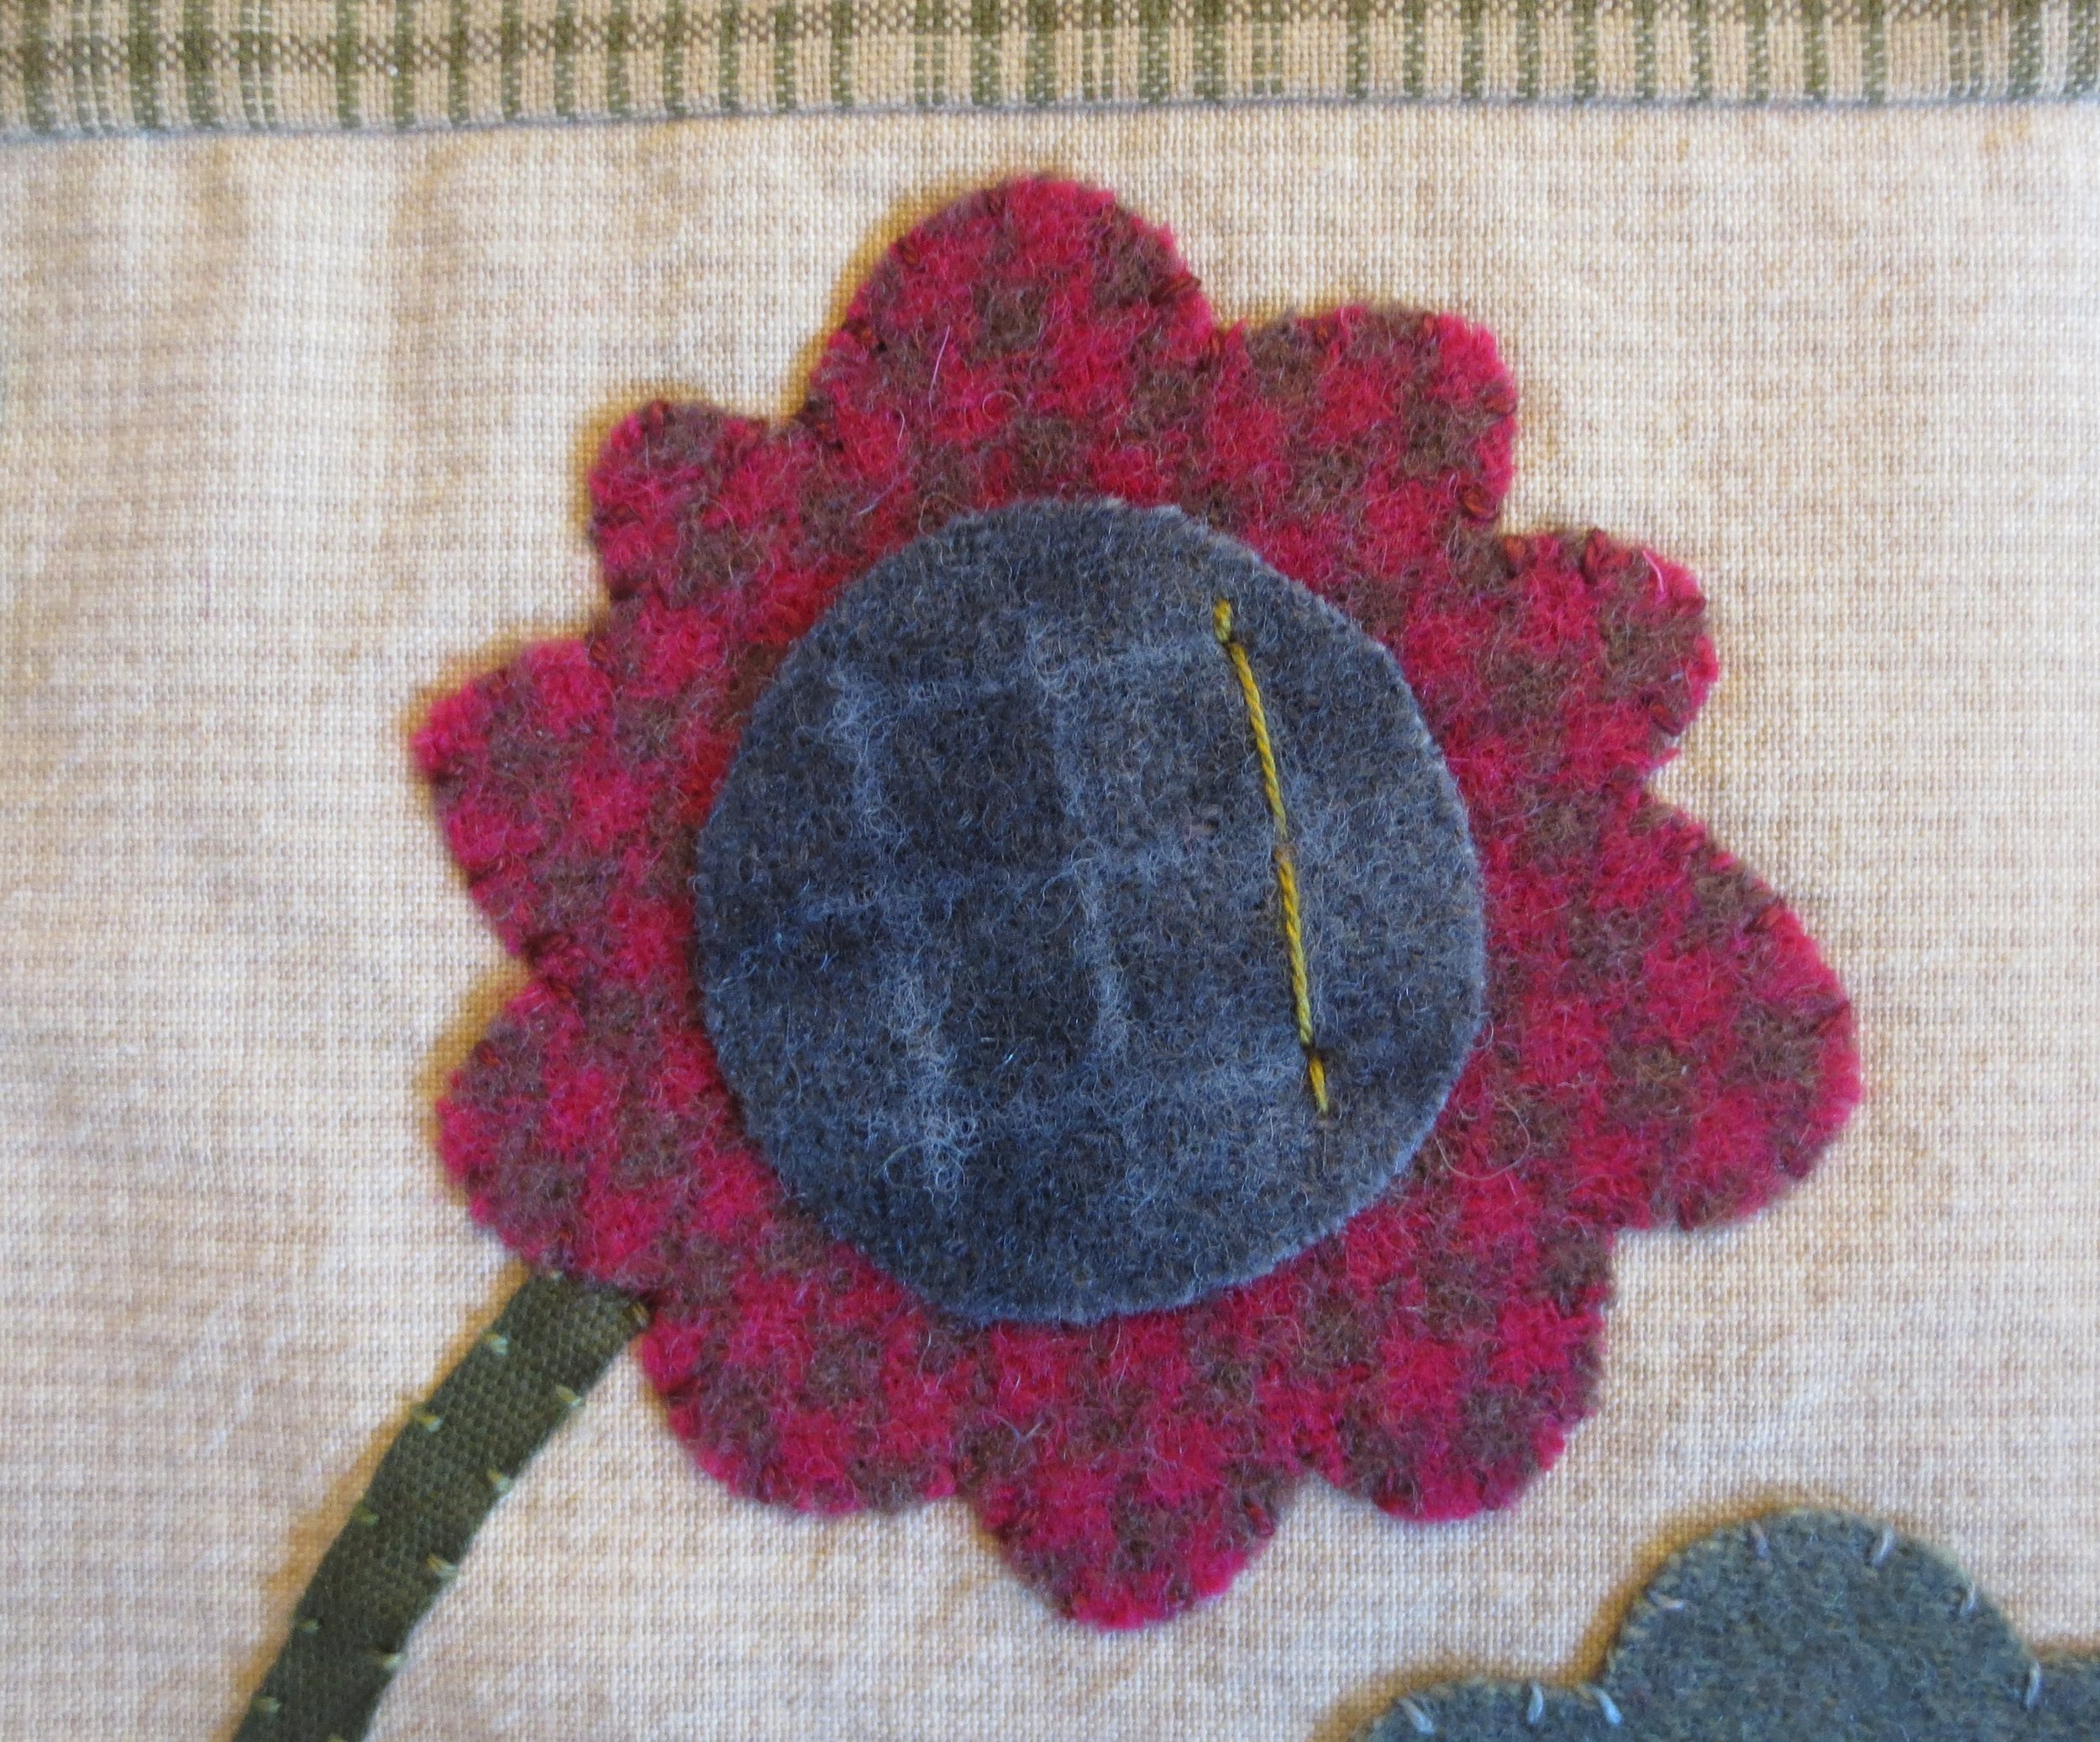
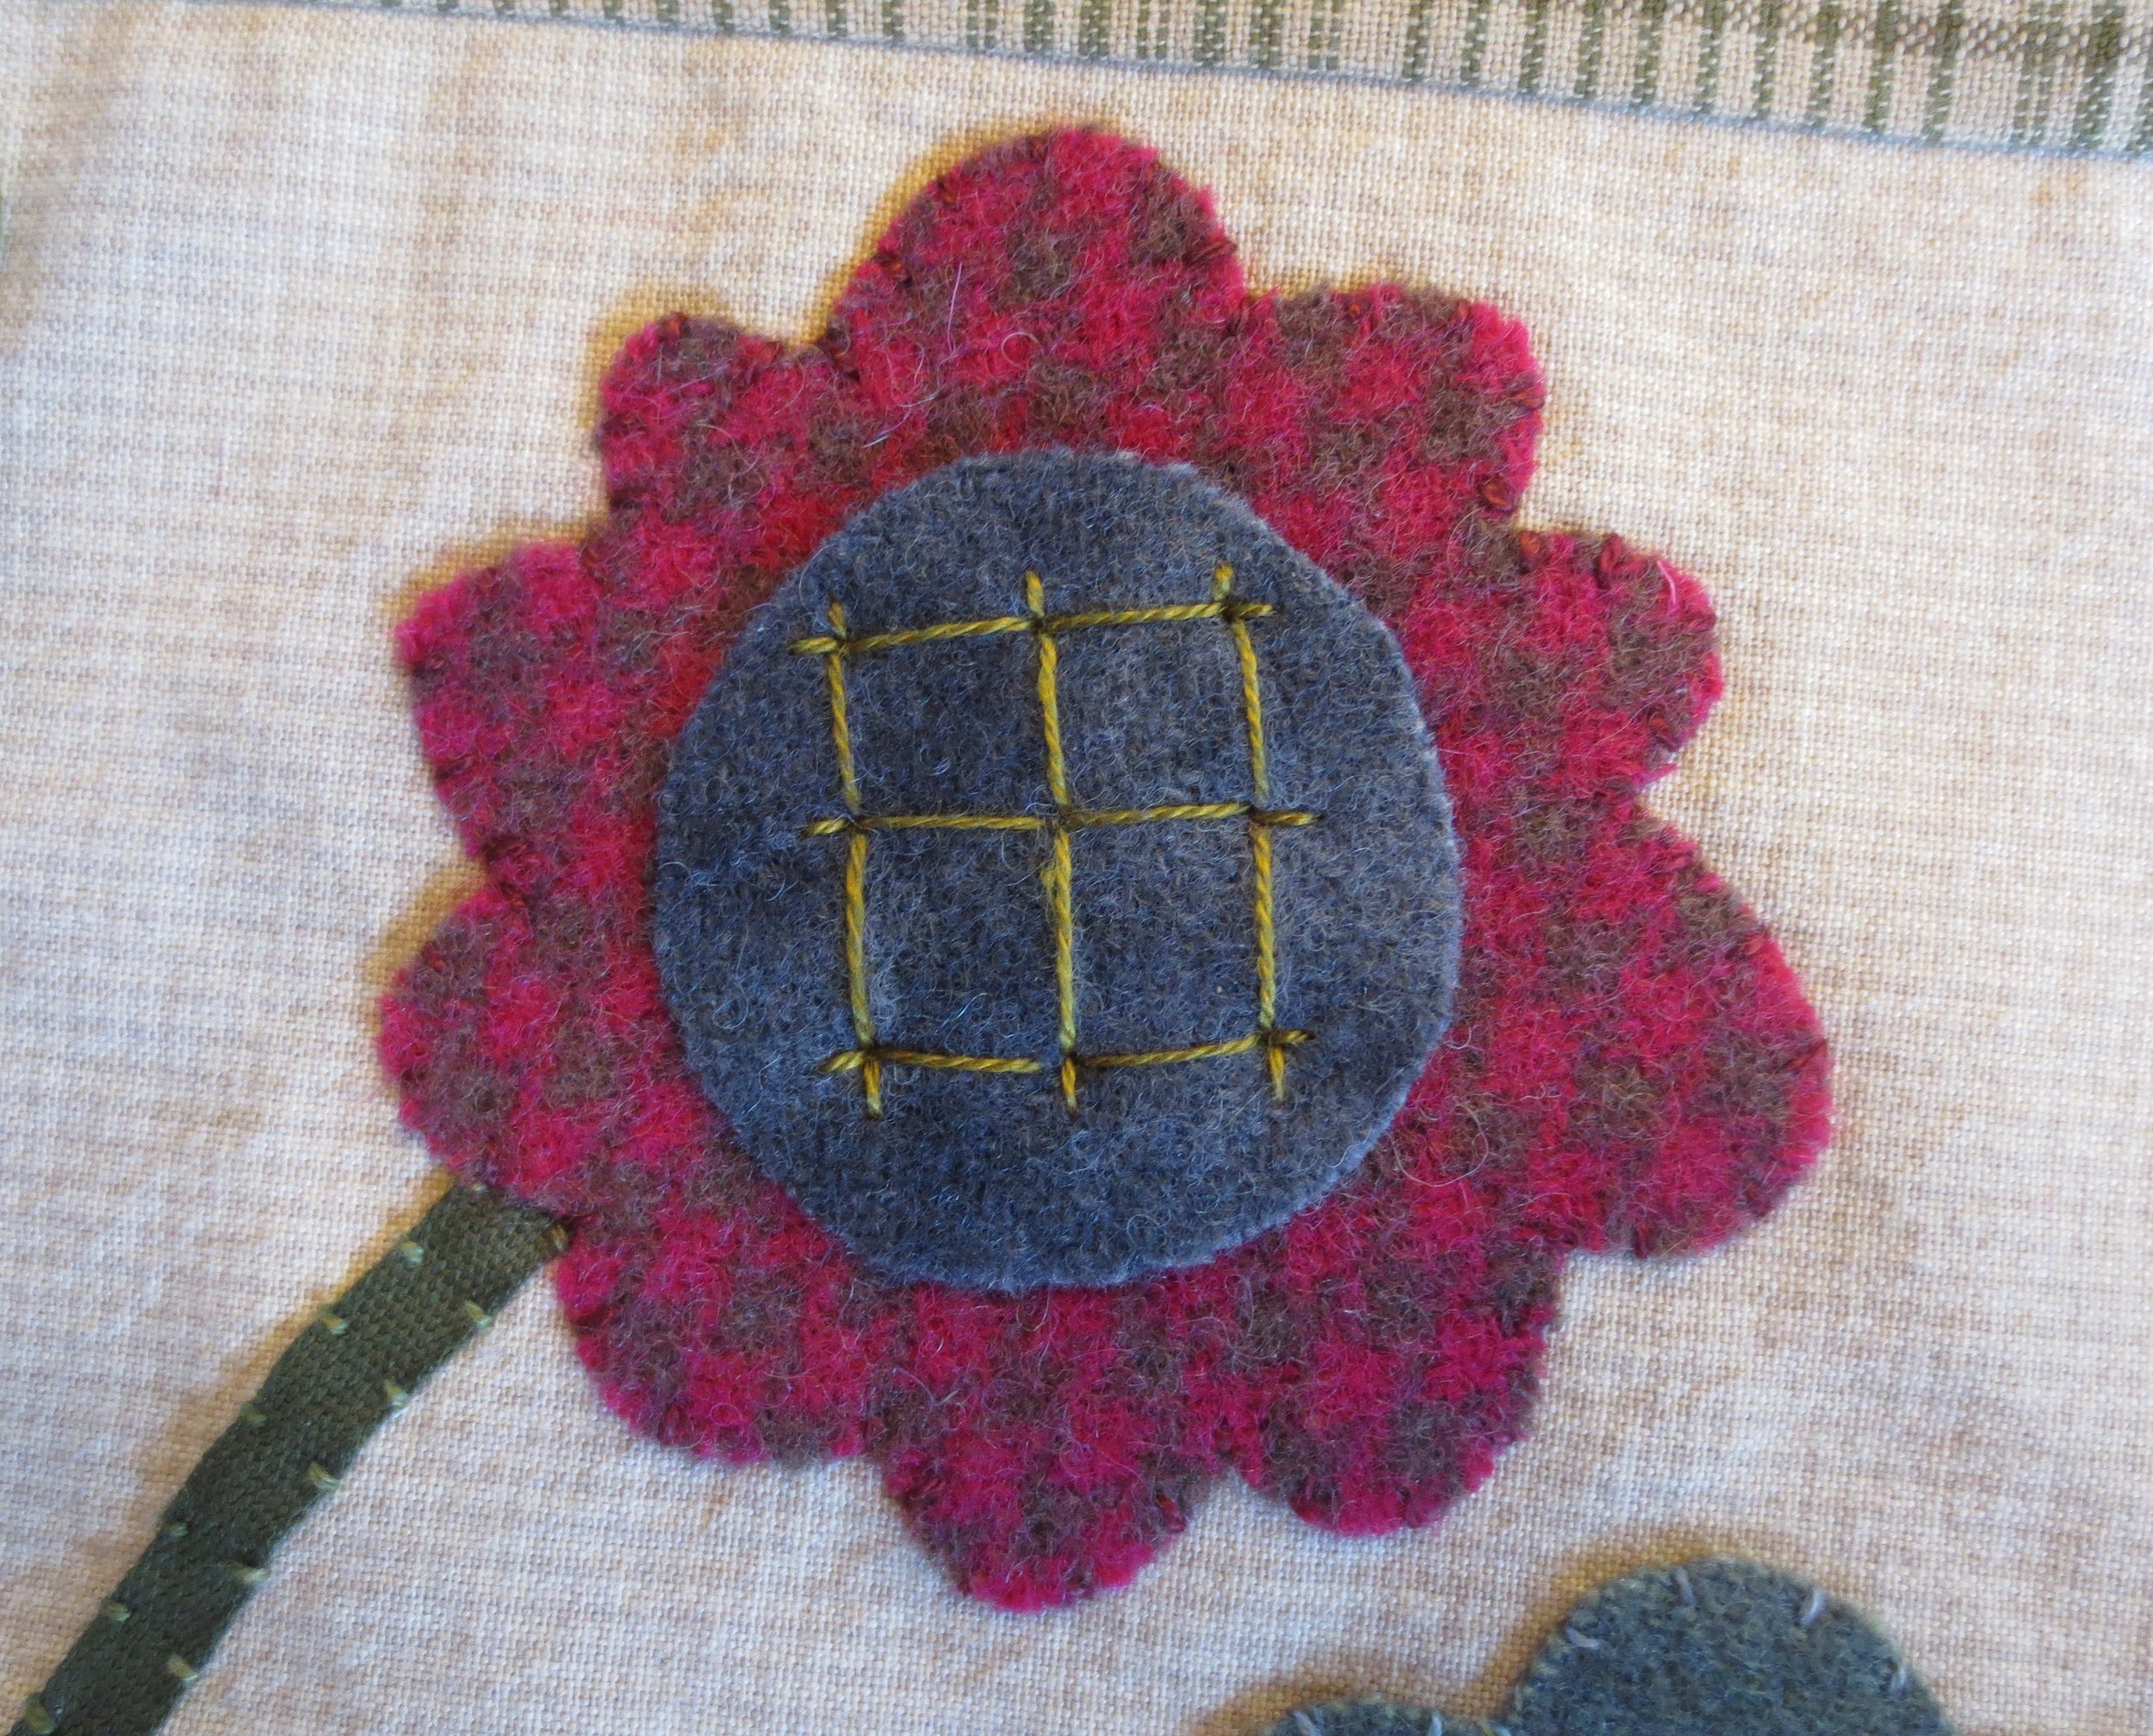
- Draw a grid pattern on #3A using the layout as your guide.
- Back stitch over the lines using the same thread used to make the straight stitches on #2B. I used #O153.
- Use #O578 to make a series of fly stitches around the perimeter of #3A.
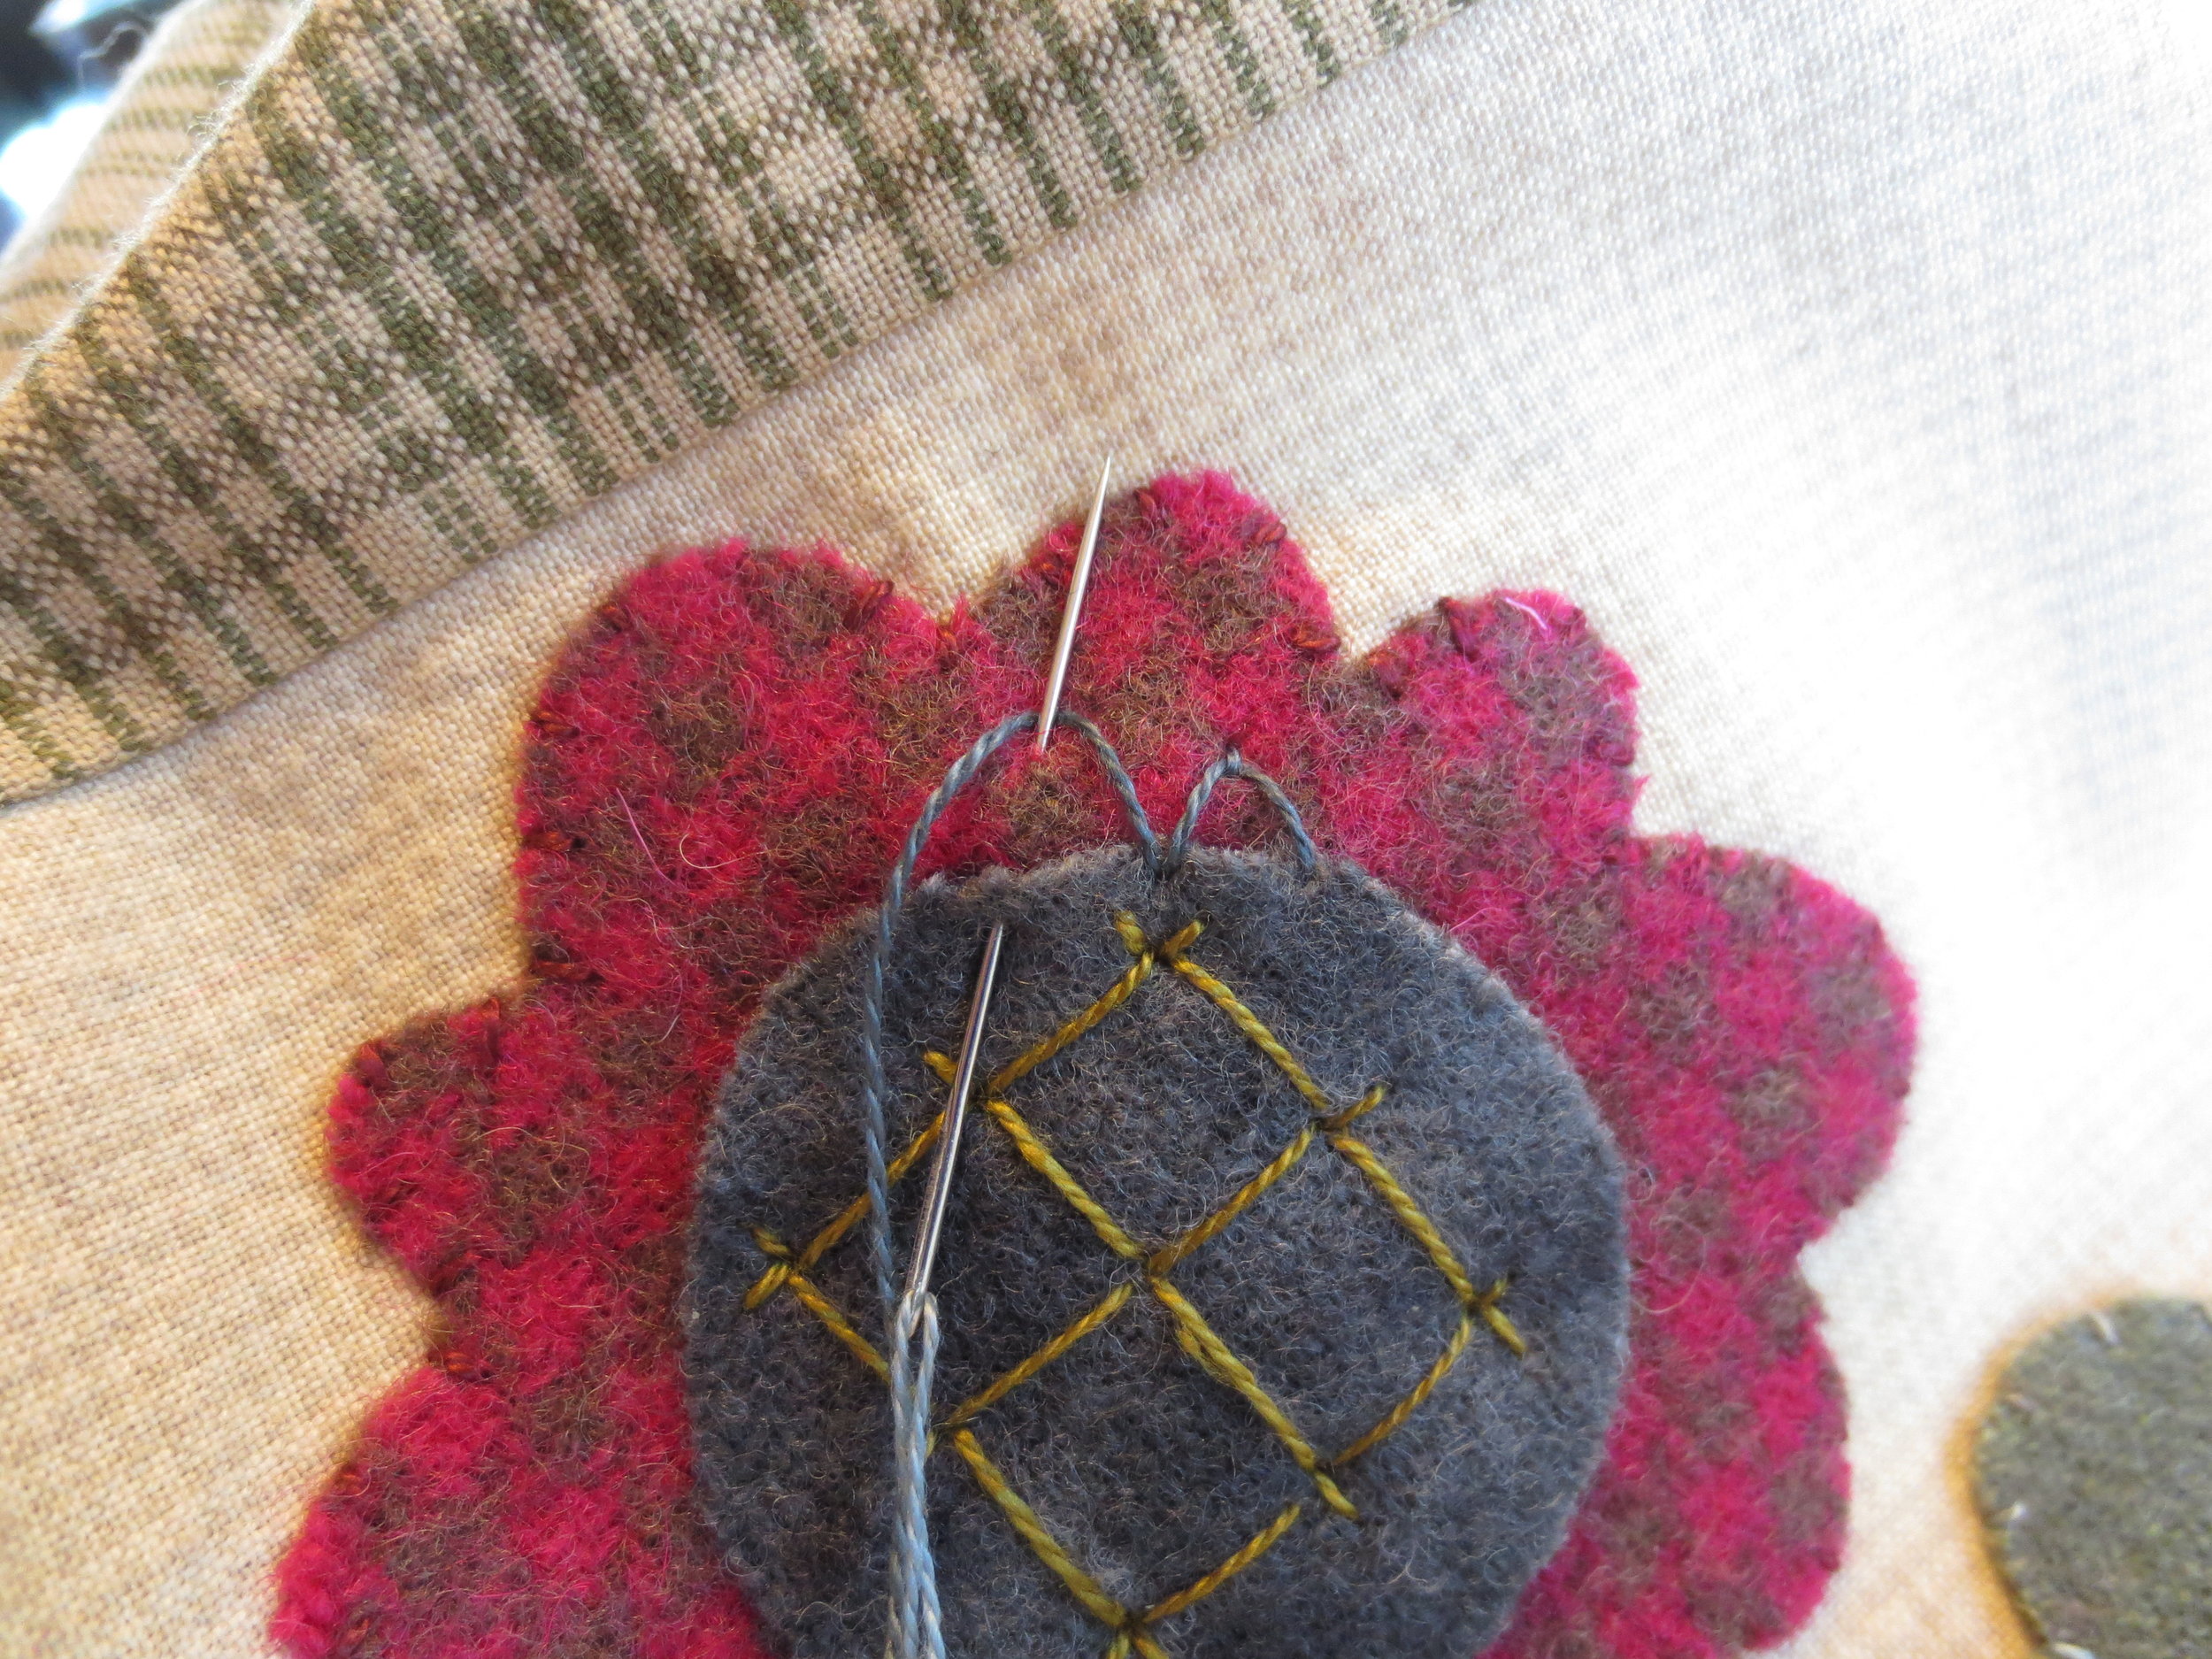
- Stitch four lazy daisy stitches radiating out from the center of the grid. Use the same color you used for whip stitching Flower #3. I used #78 (rusty burgundy).
- Stitch a single colonial knot in the center of the lazy daisies. I used #O153.
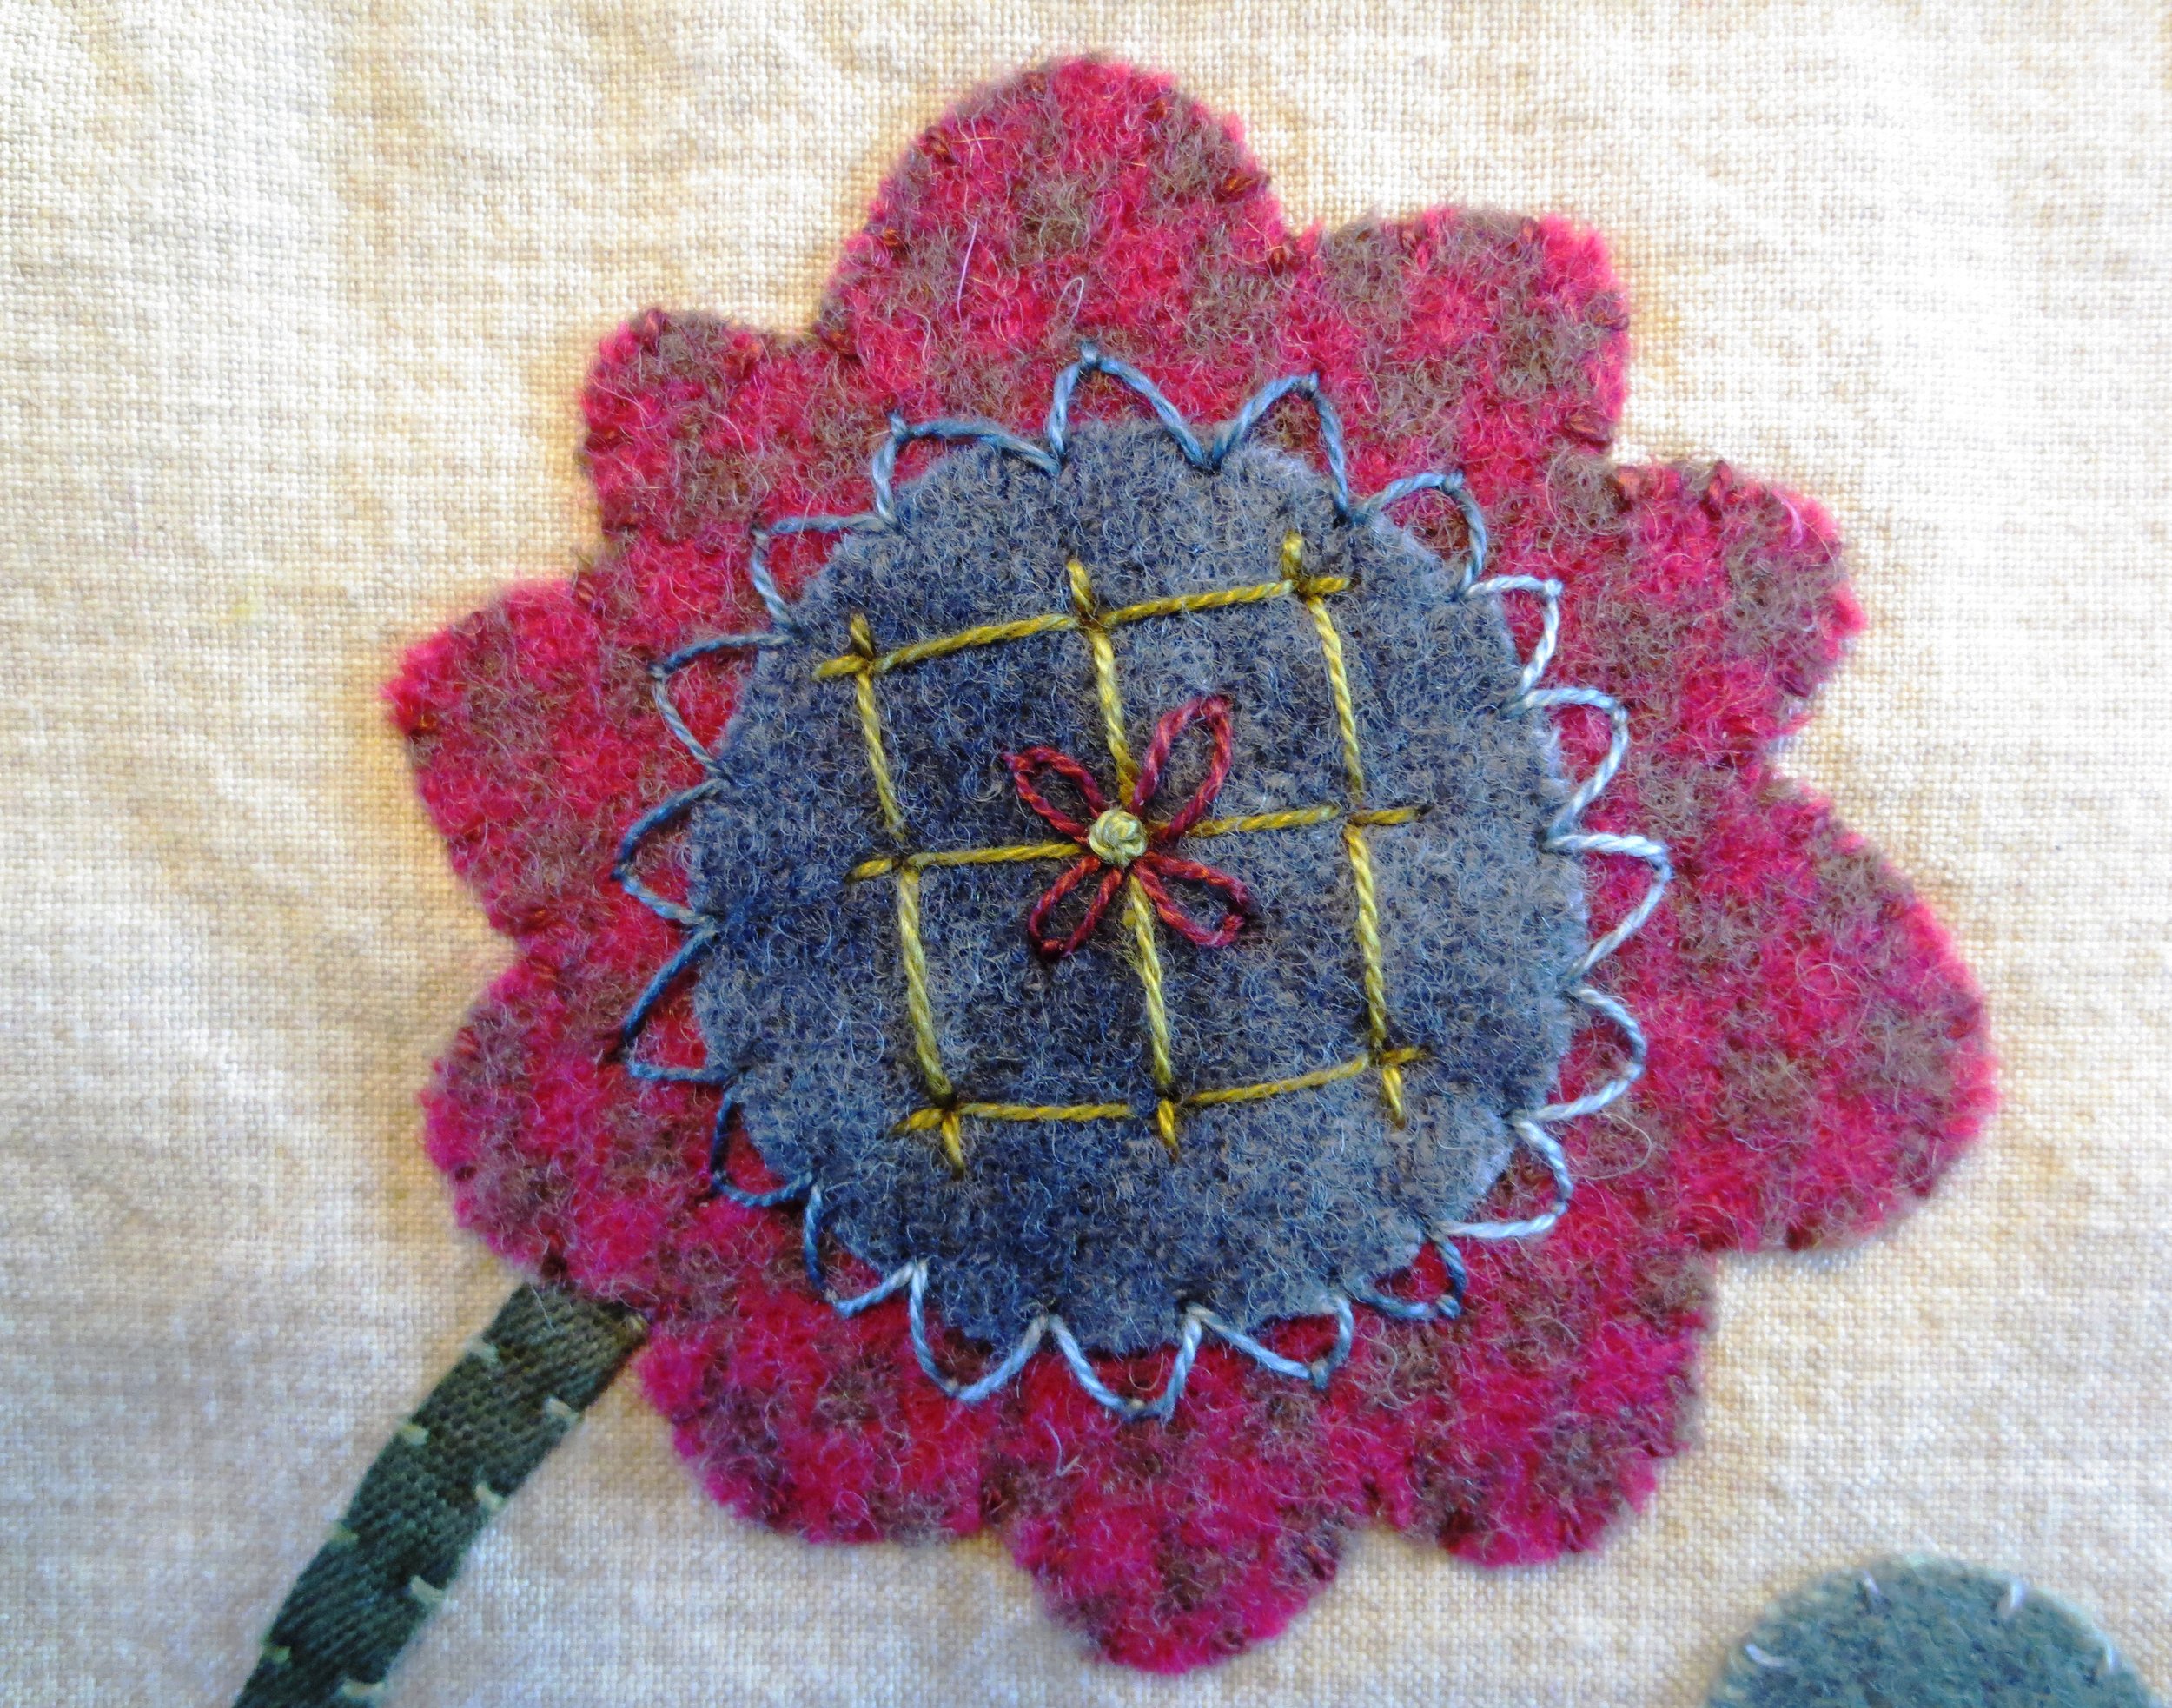
Four flowers complete! Well done. Stay tuned for part II.
Happy Stitching!