
Flowers From My Garden Block #3 Part II
SNAILS!! I have too many in my yard now and they have a particular fondness for my flowers buds and lettuces. I'm not fond of them in my garden, but I'm pretty partial to this wool applique snail.
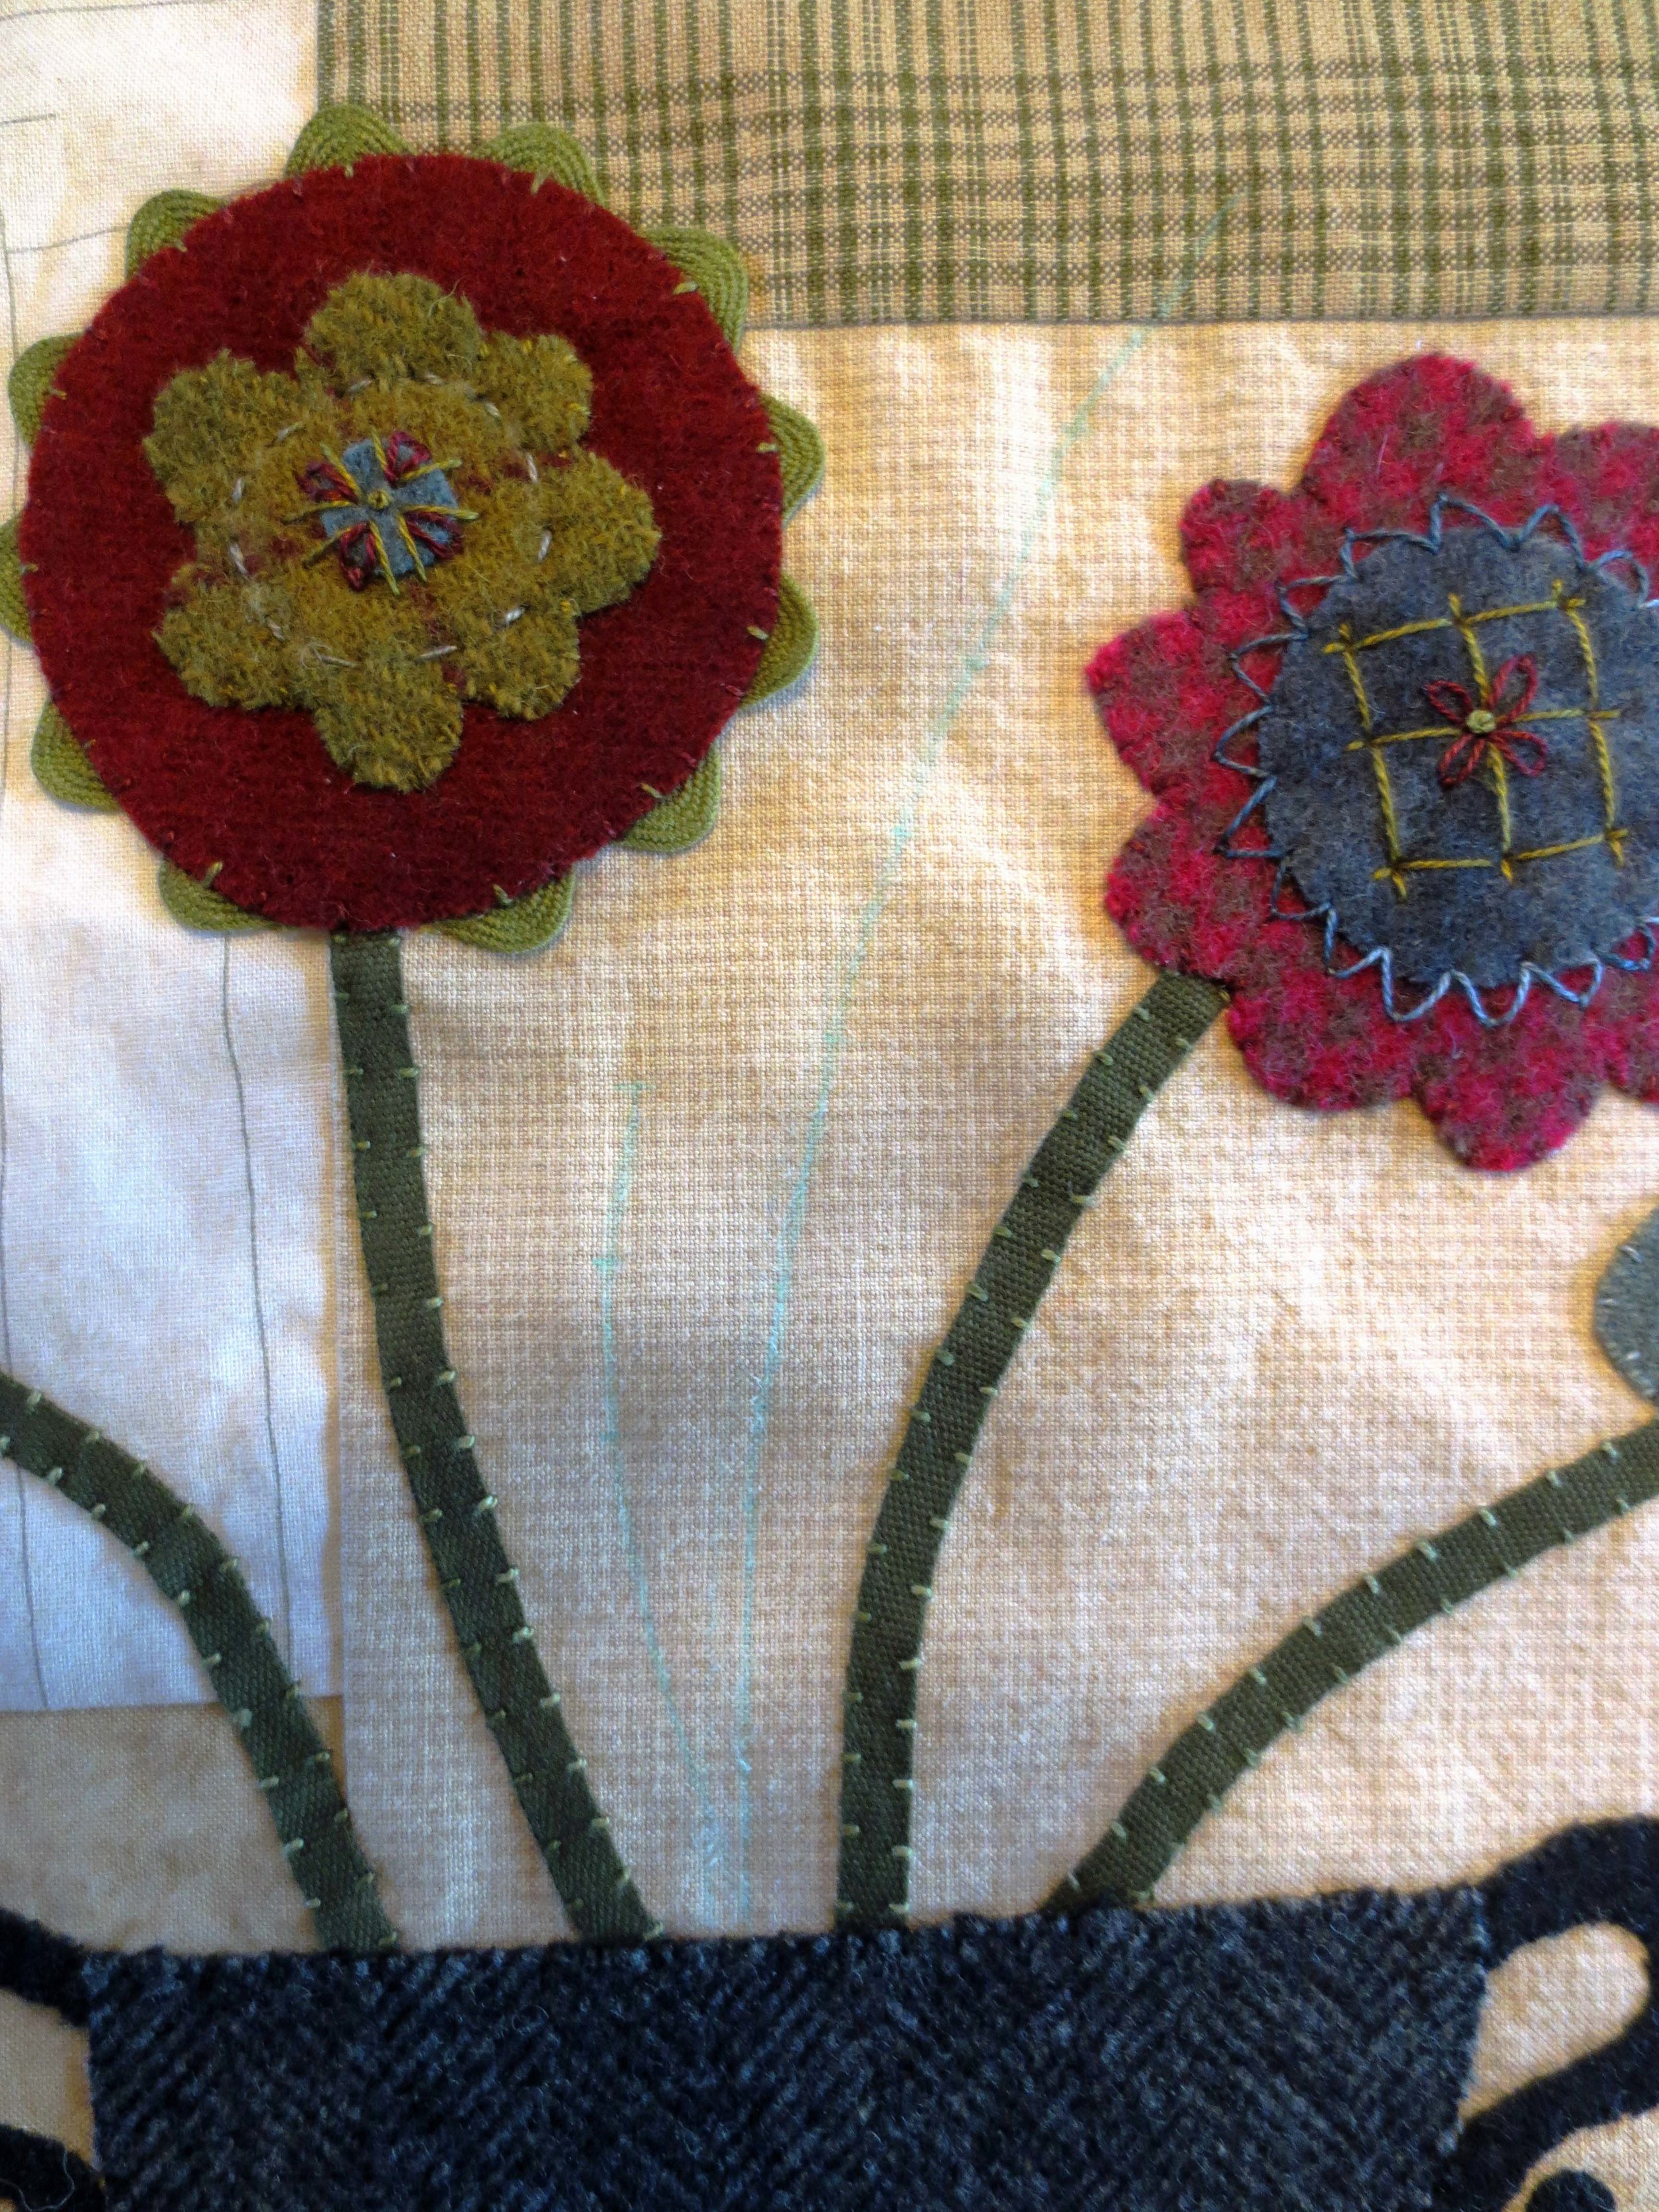
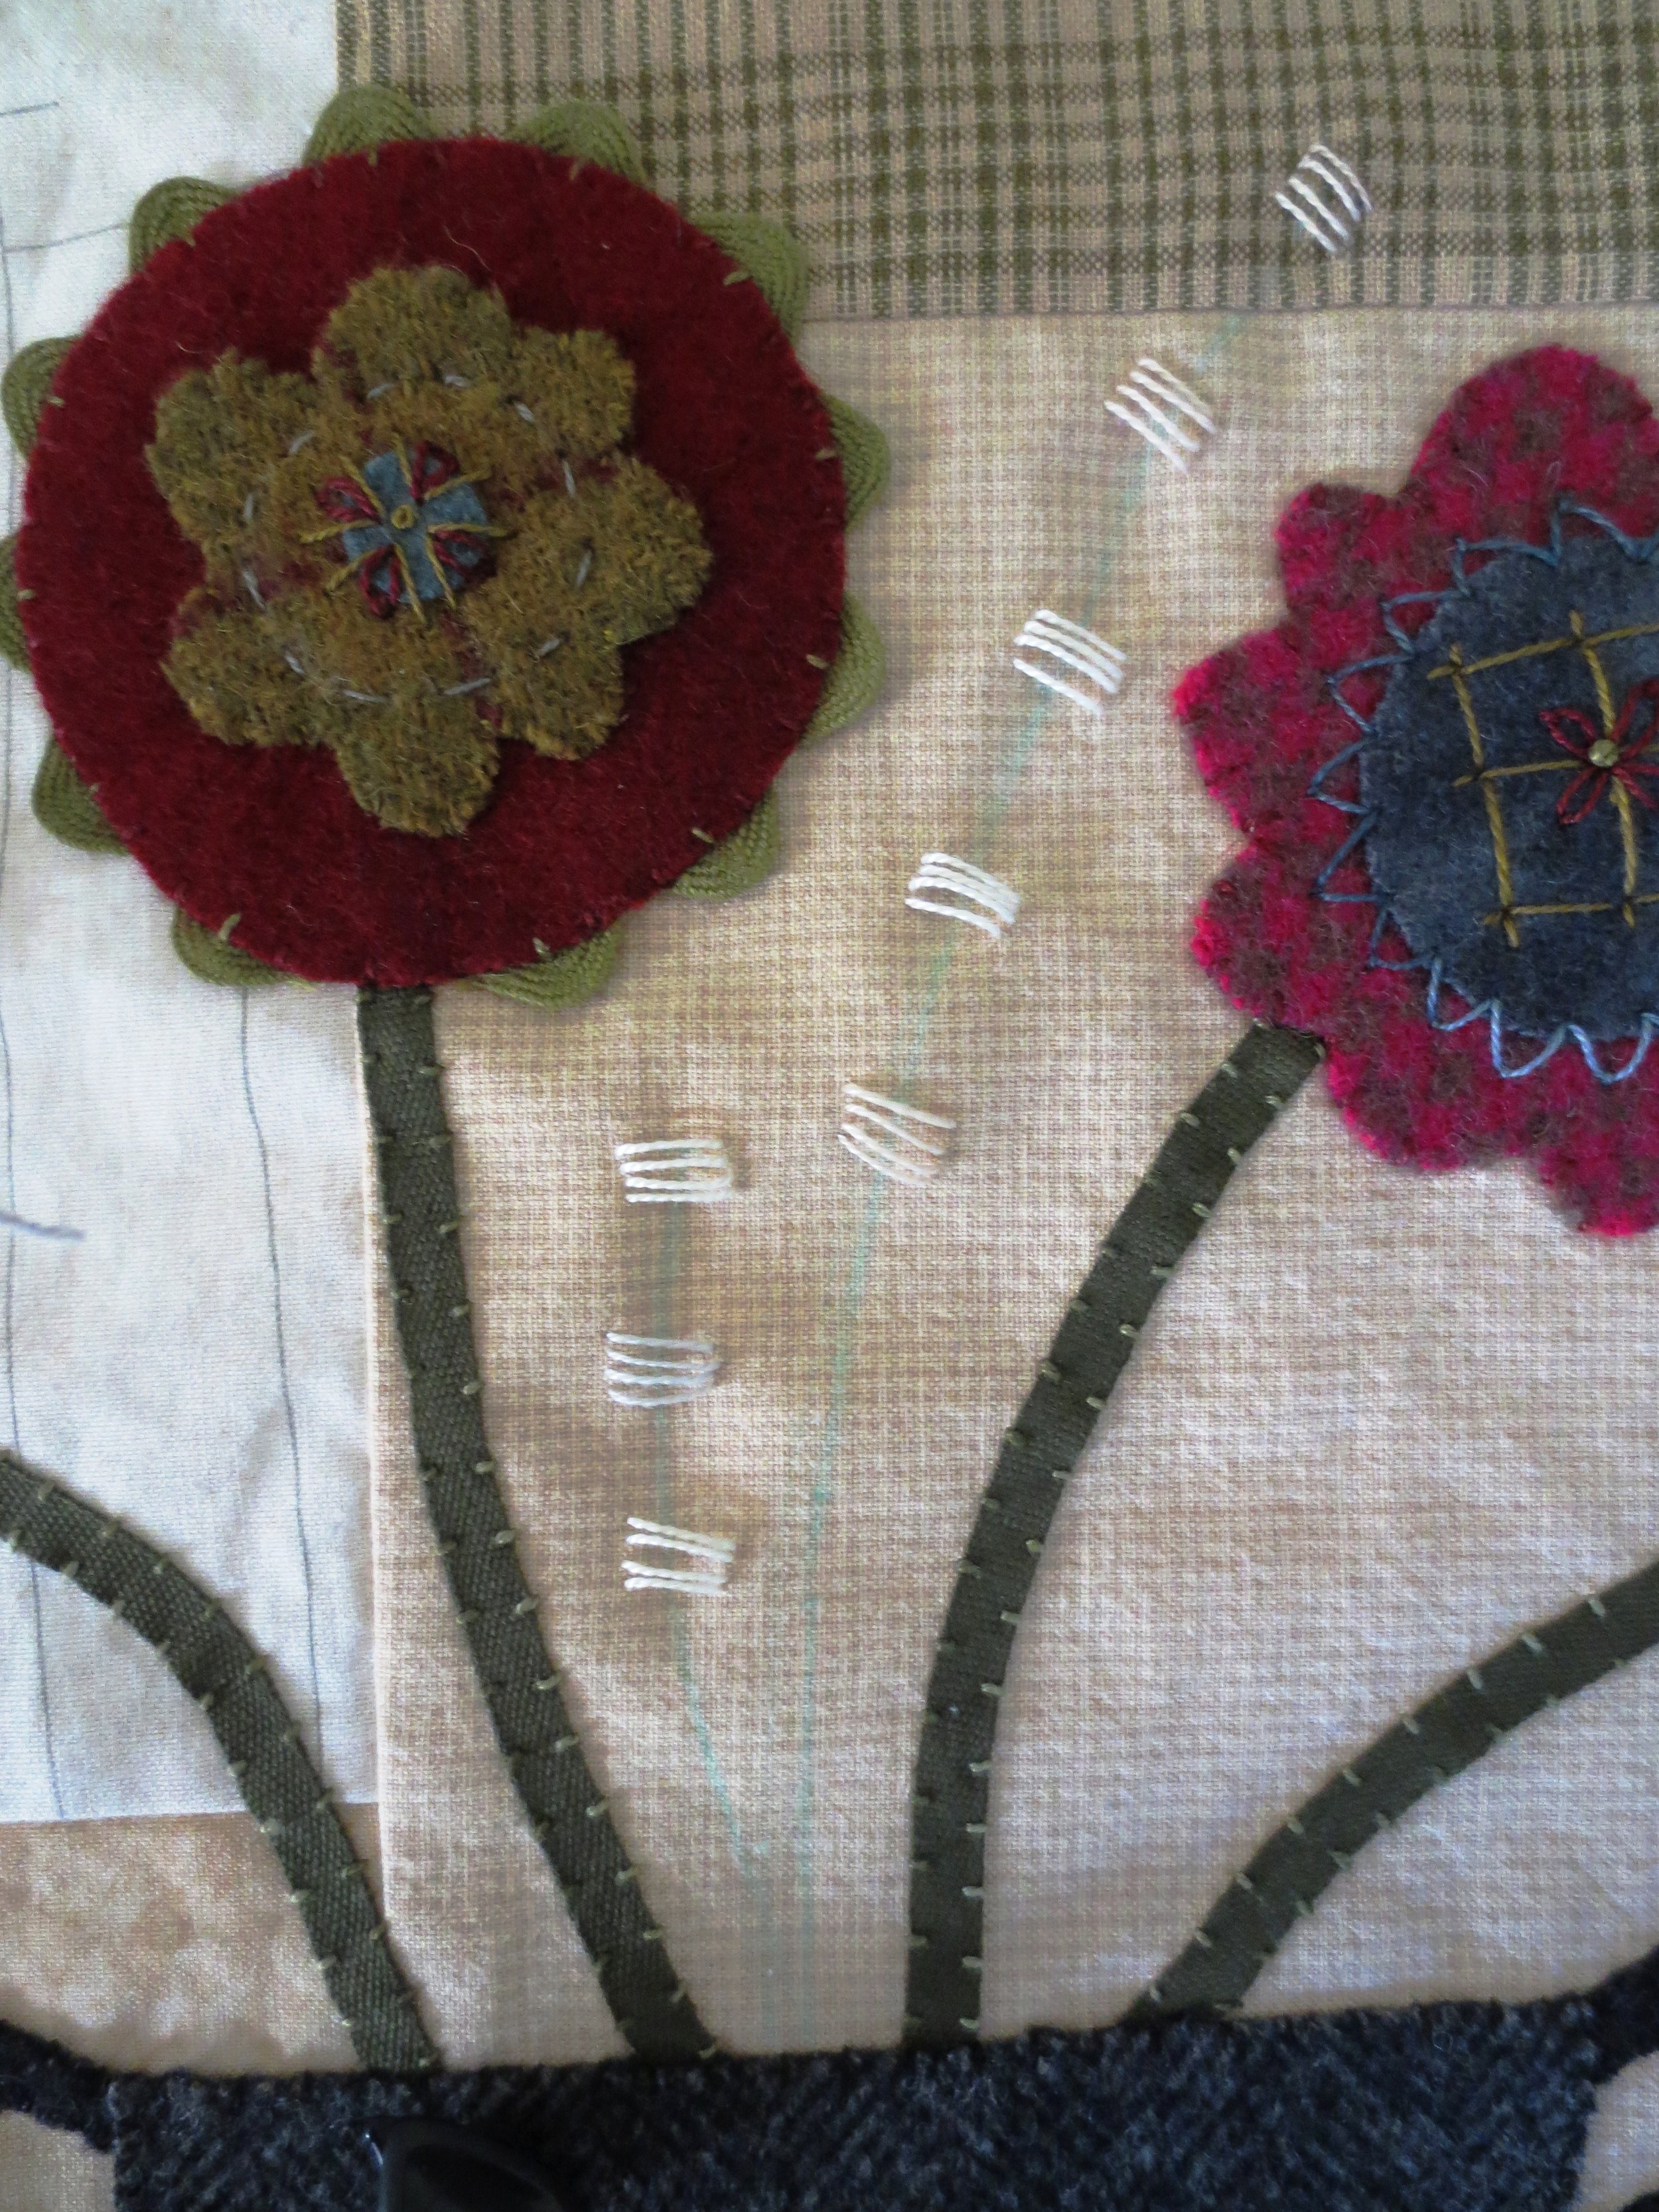
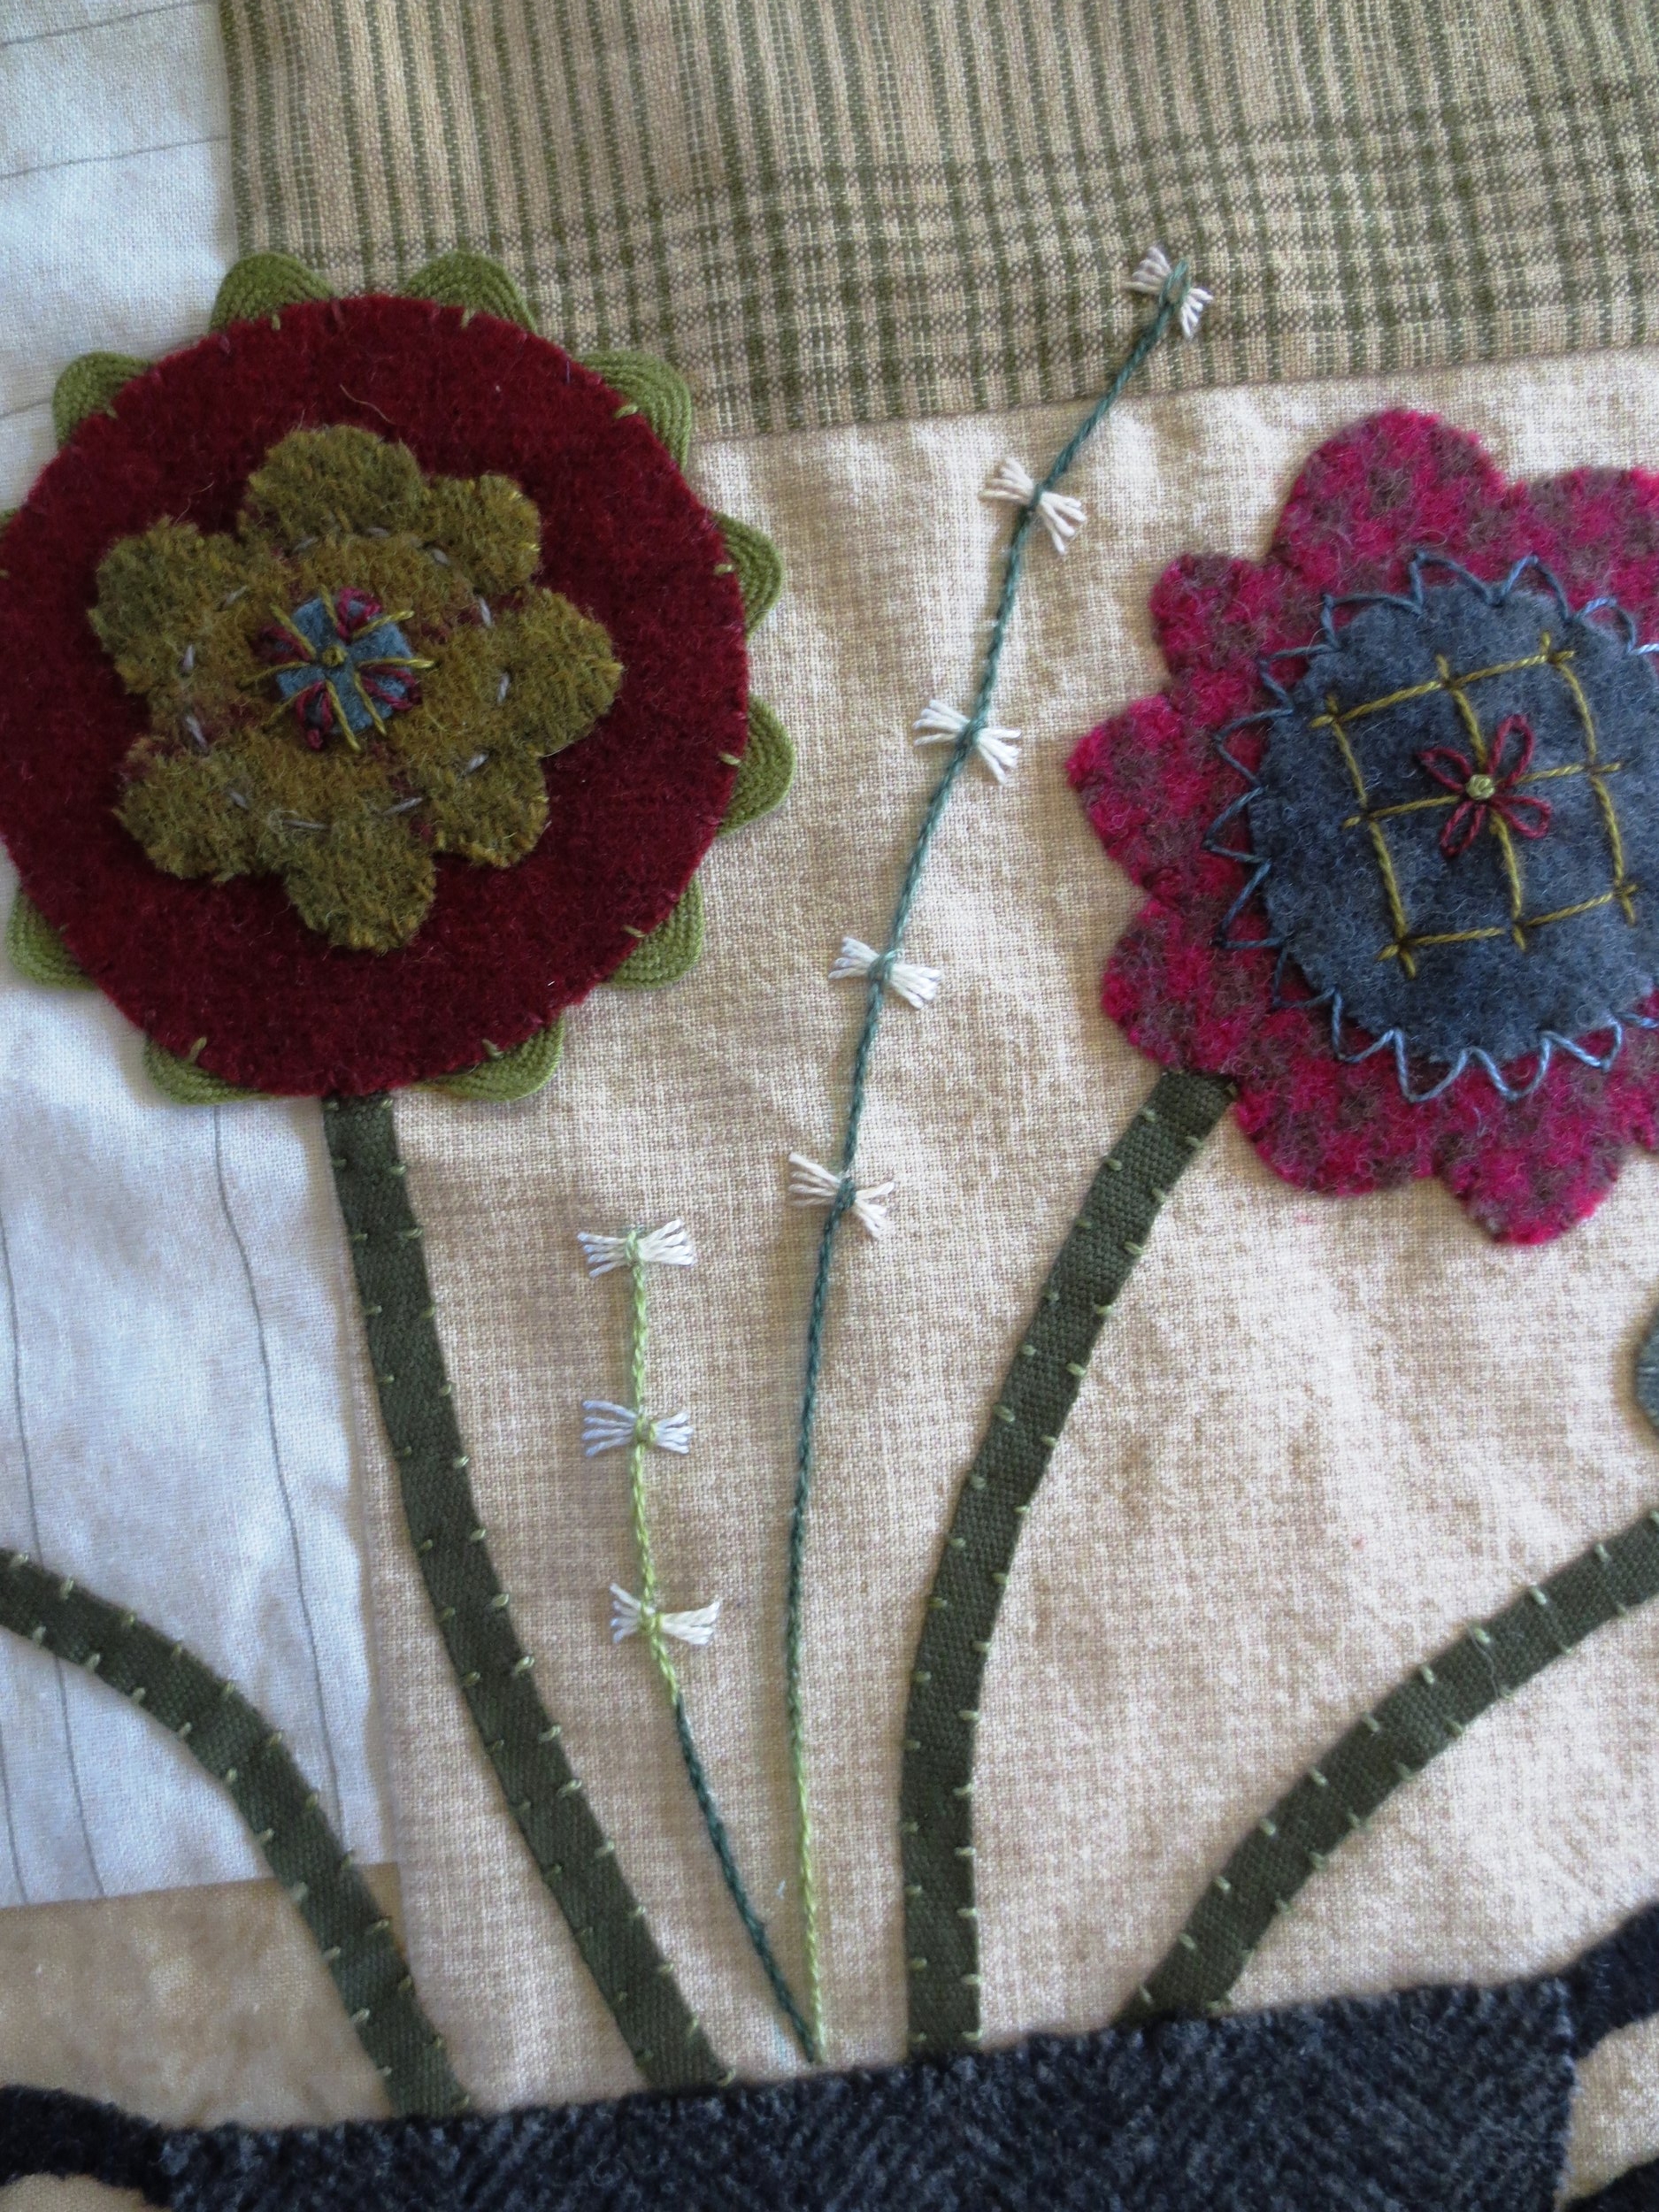
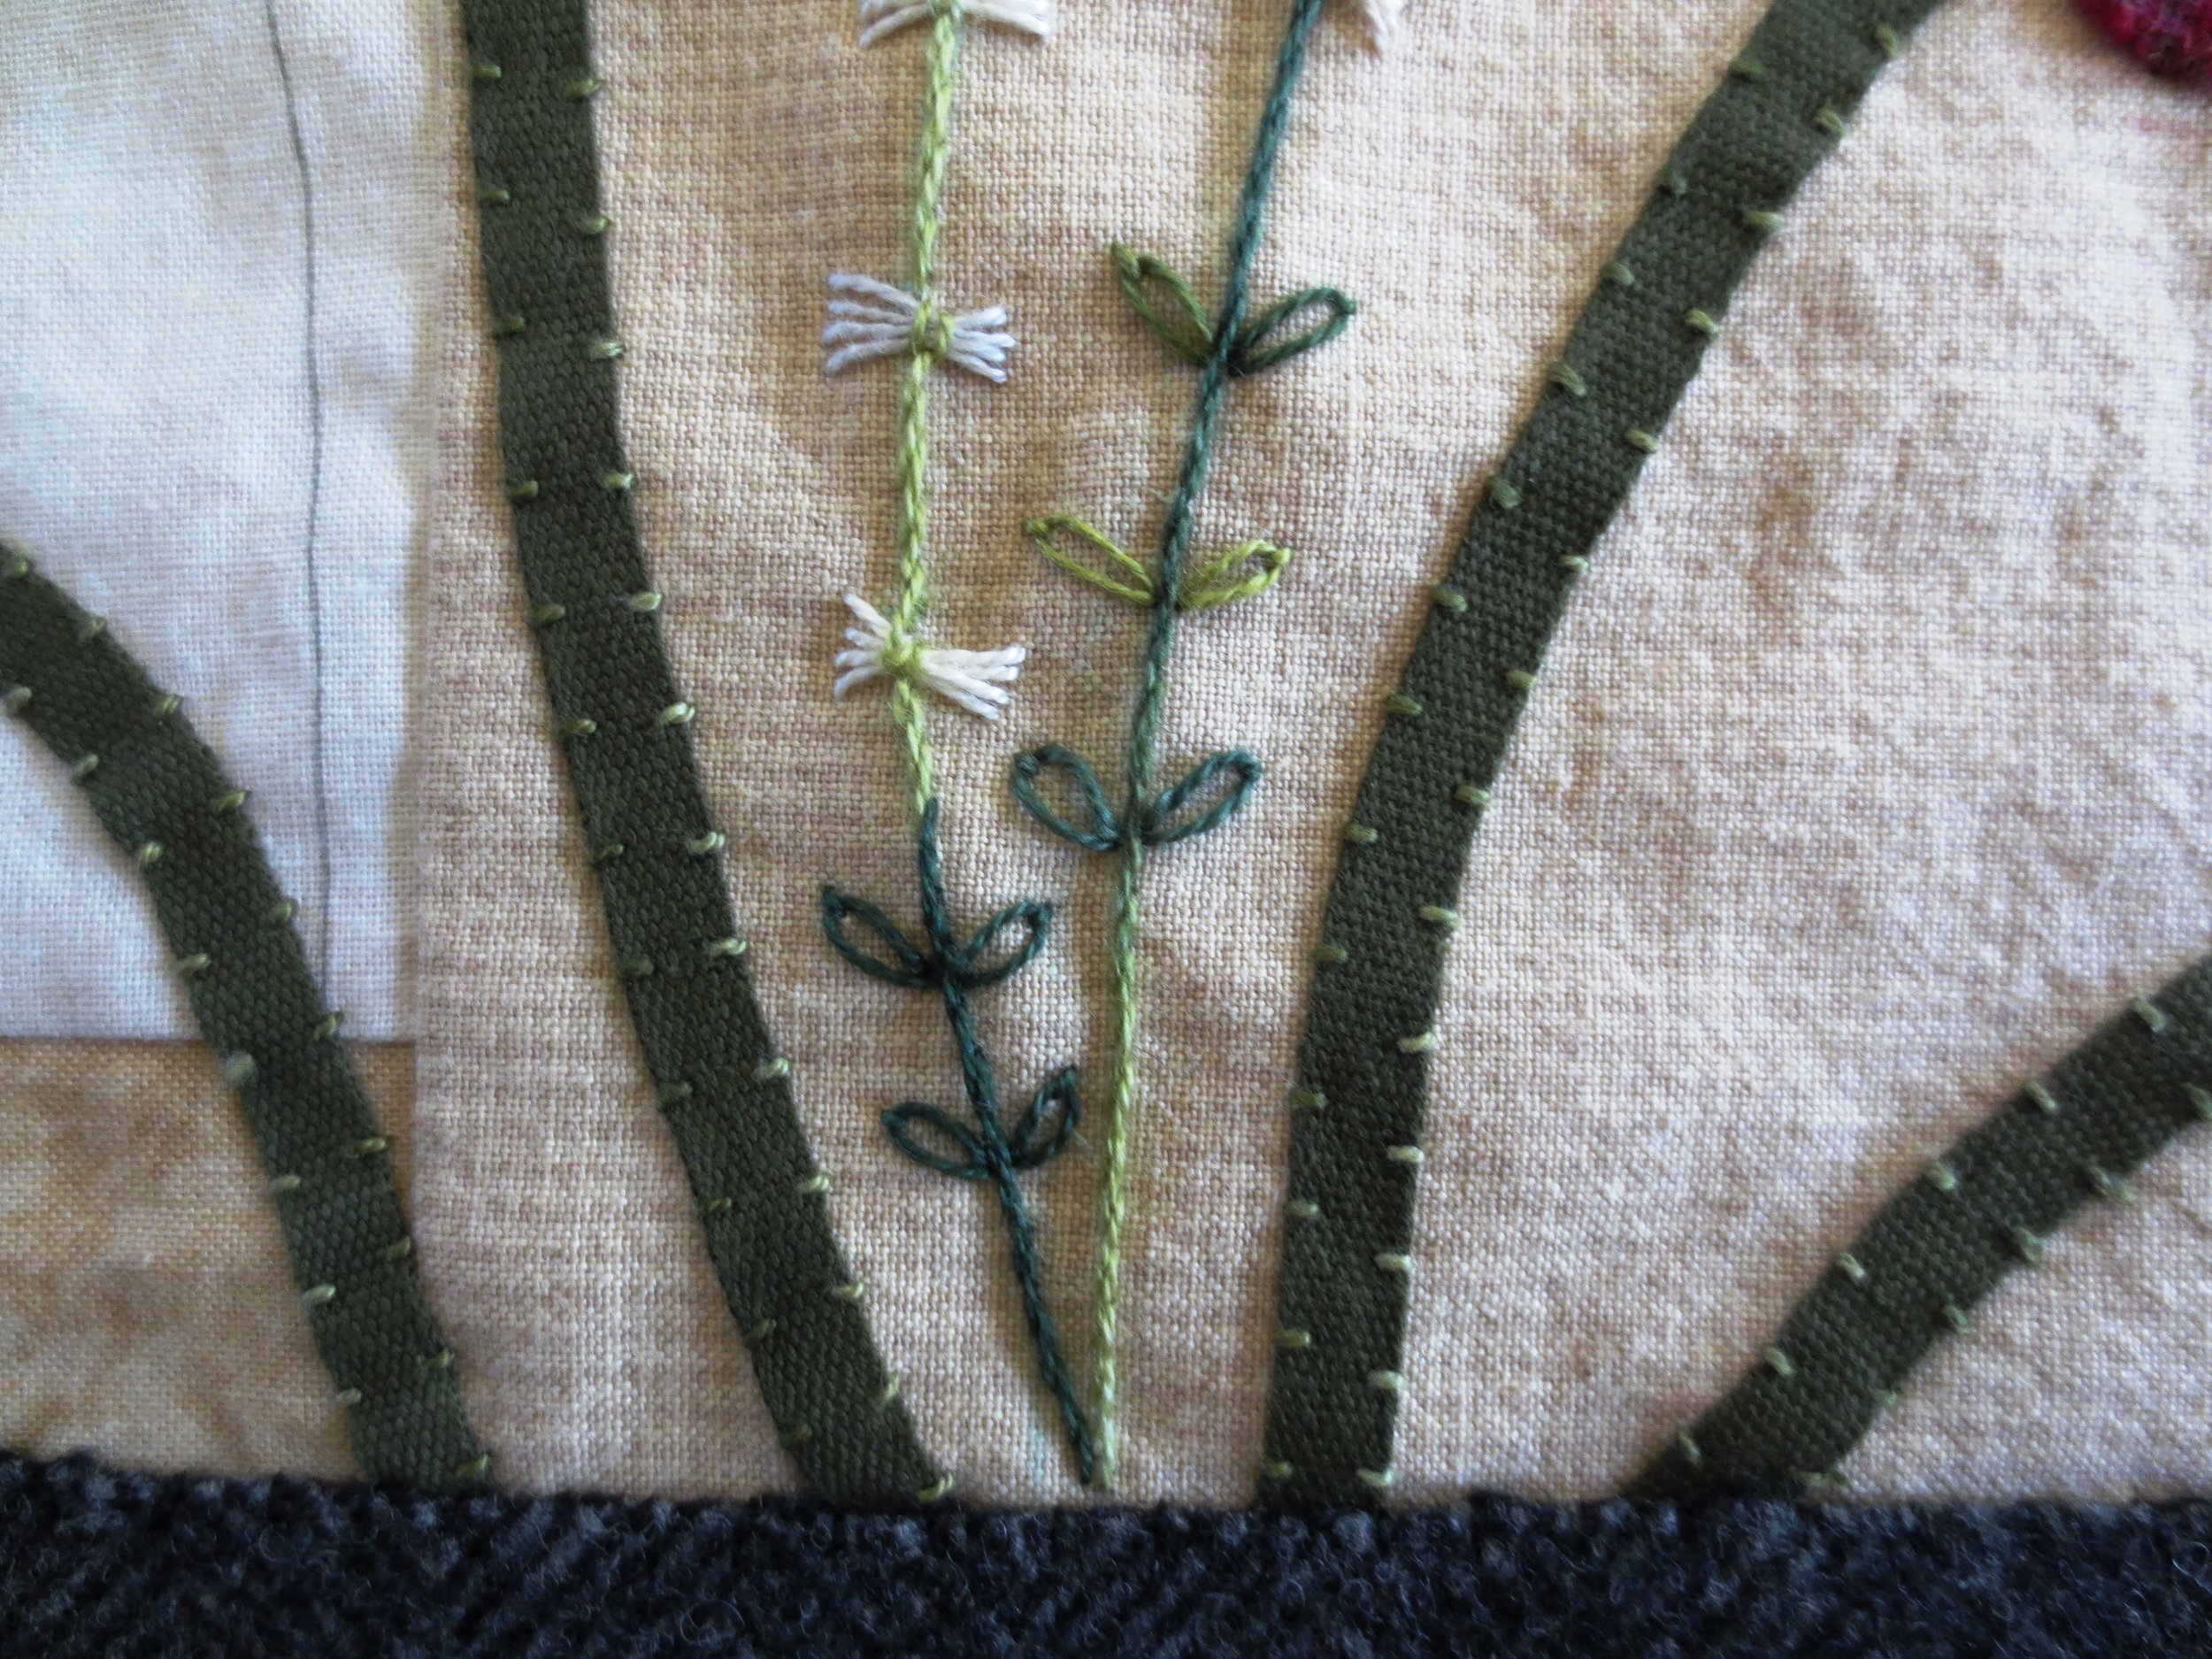
Let's finish up block #3 beginning with the butterfly stitch flowers located between flowers #2 and #3.
- Using a chalk pencil, draw the stems of the butterfly flowers and mark the position of each flower. Use the layout as a guide.
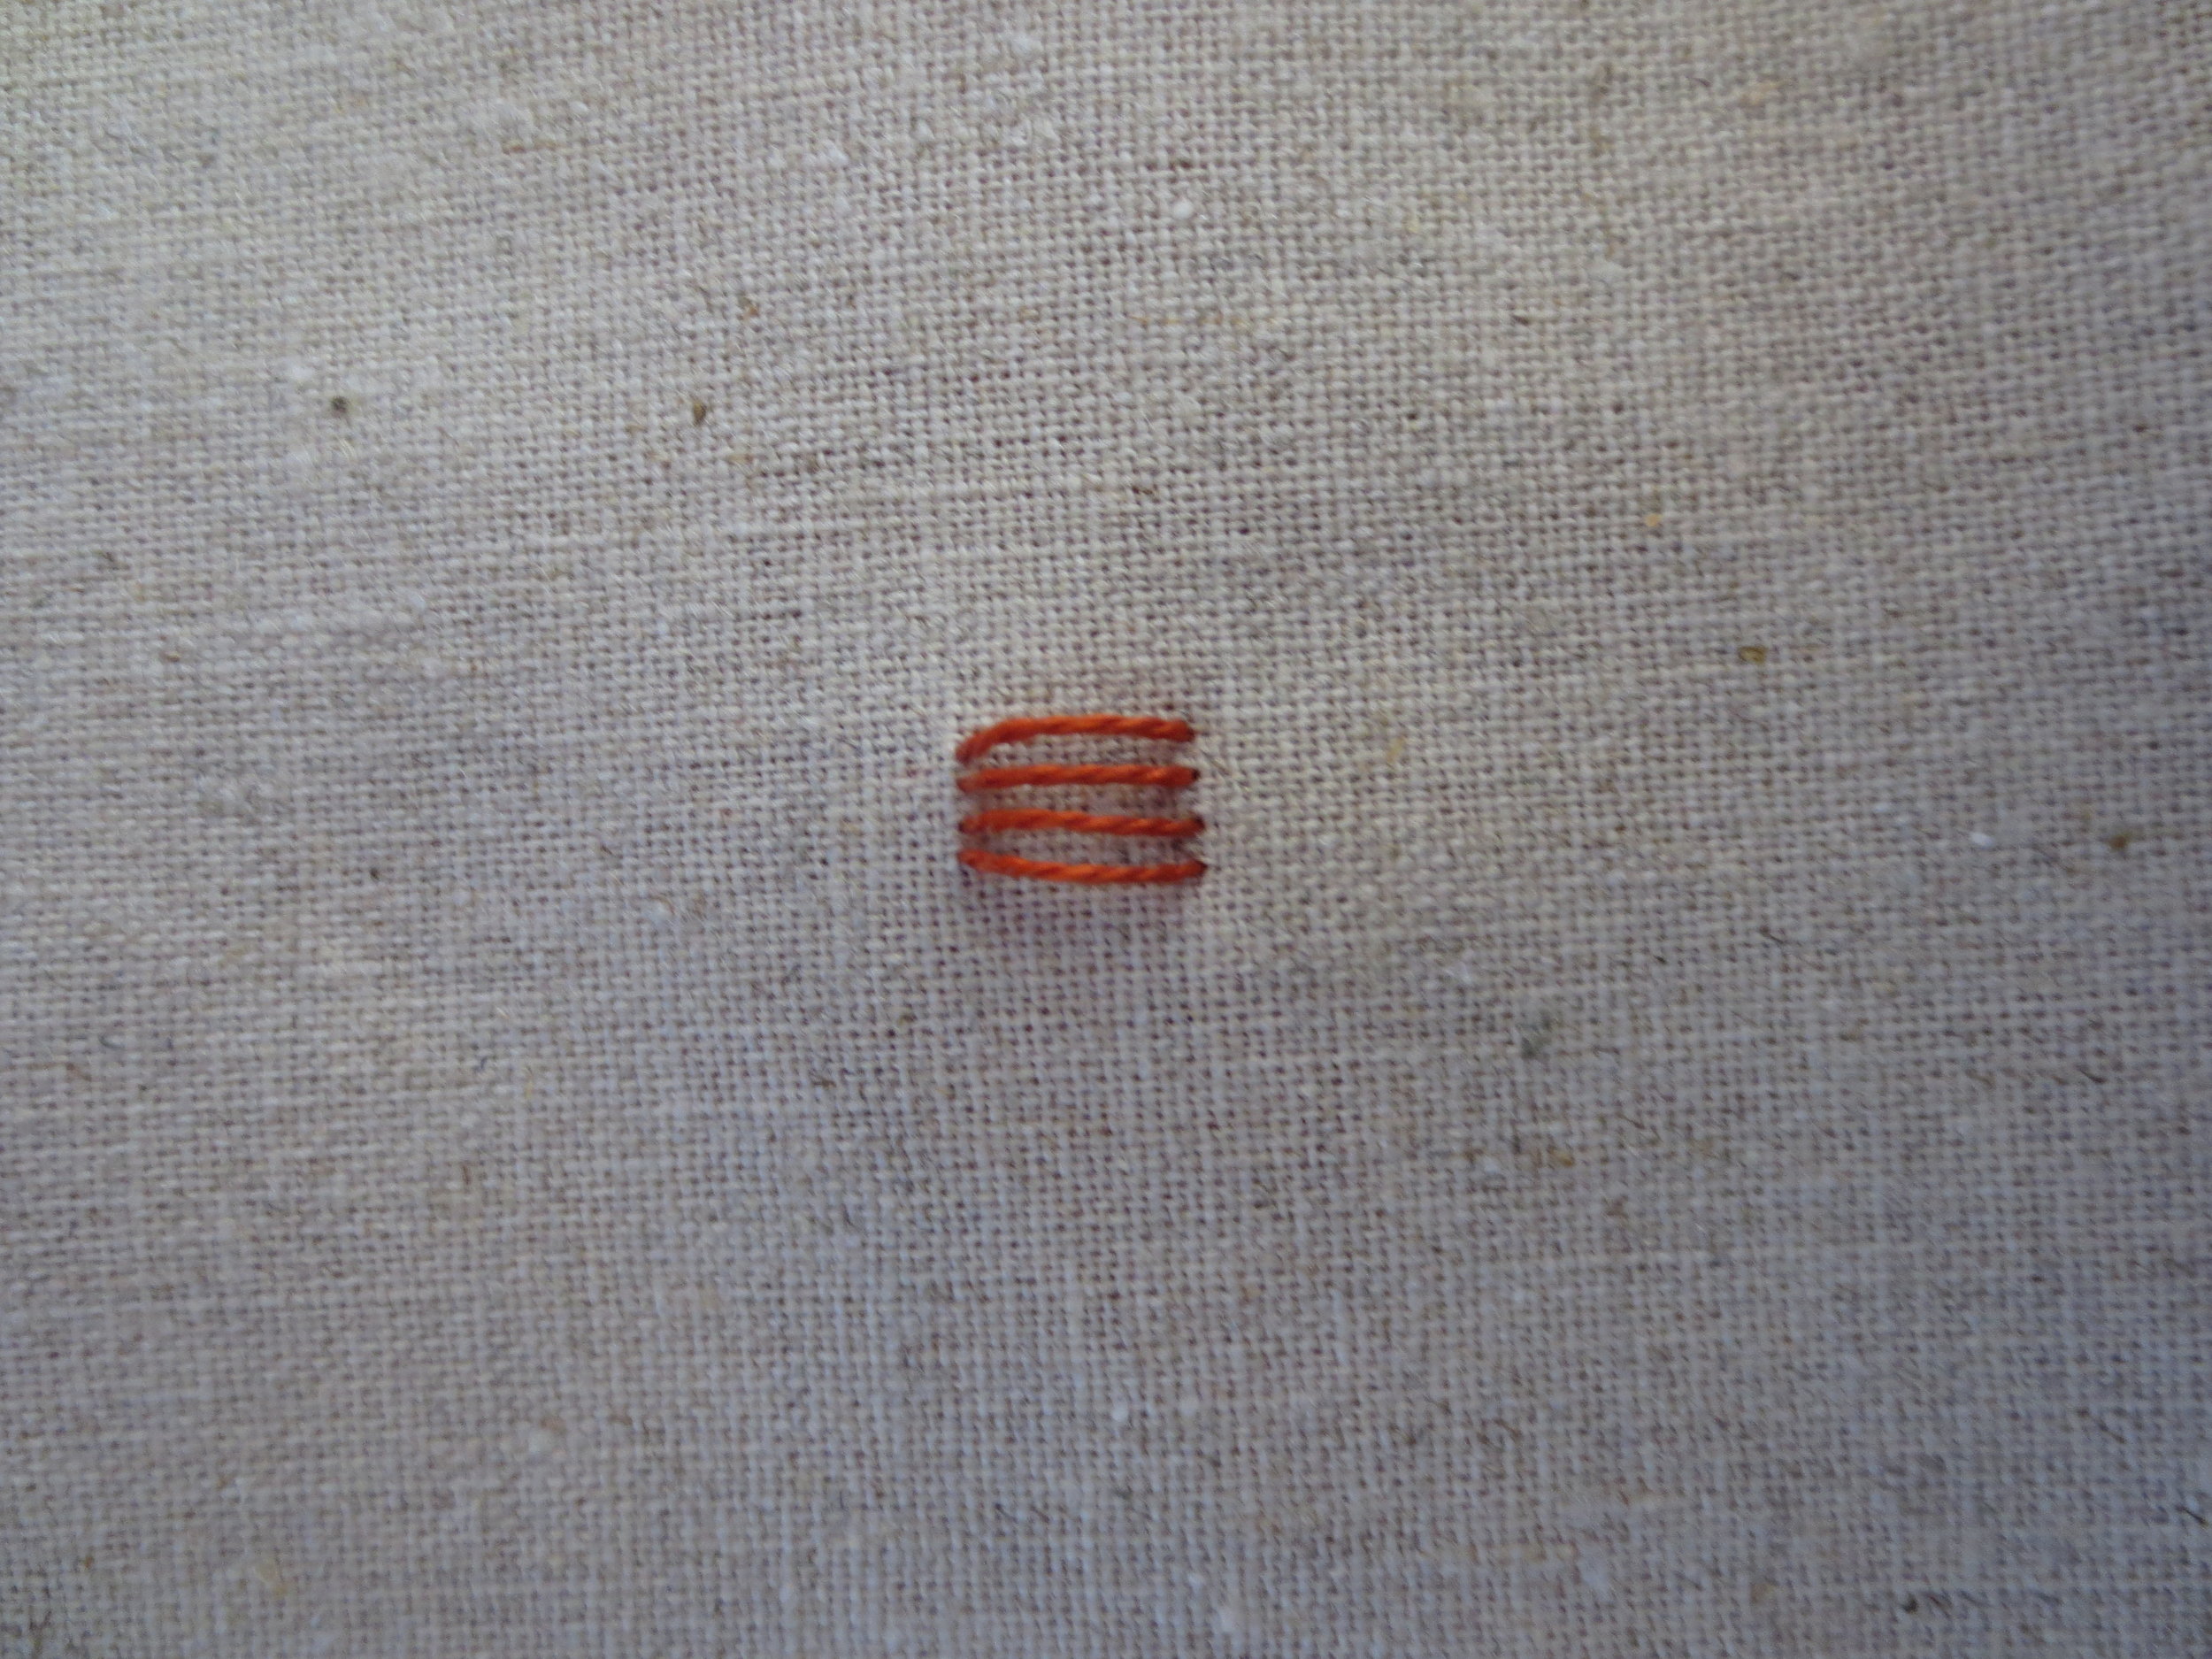
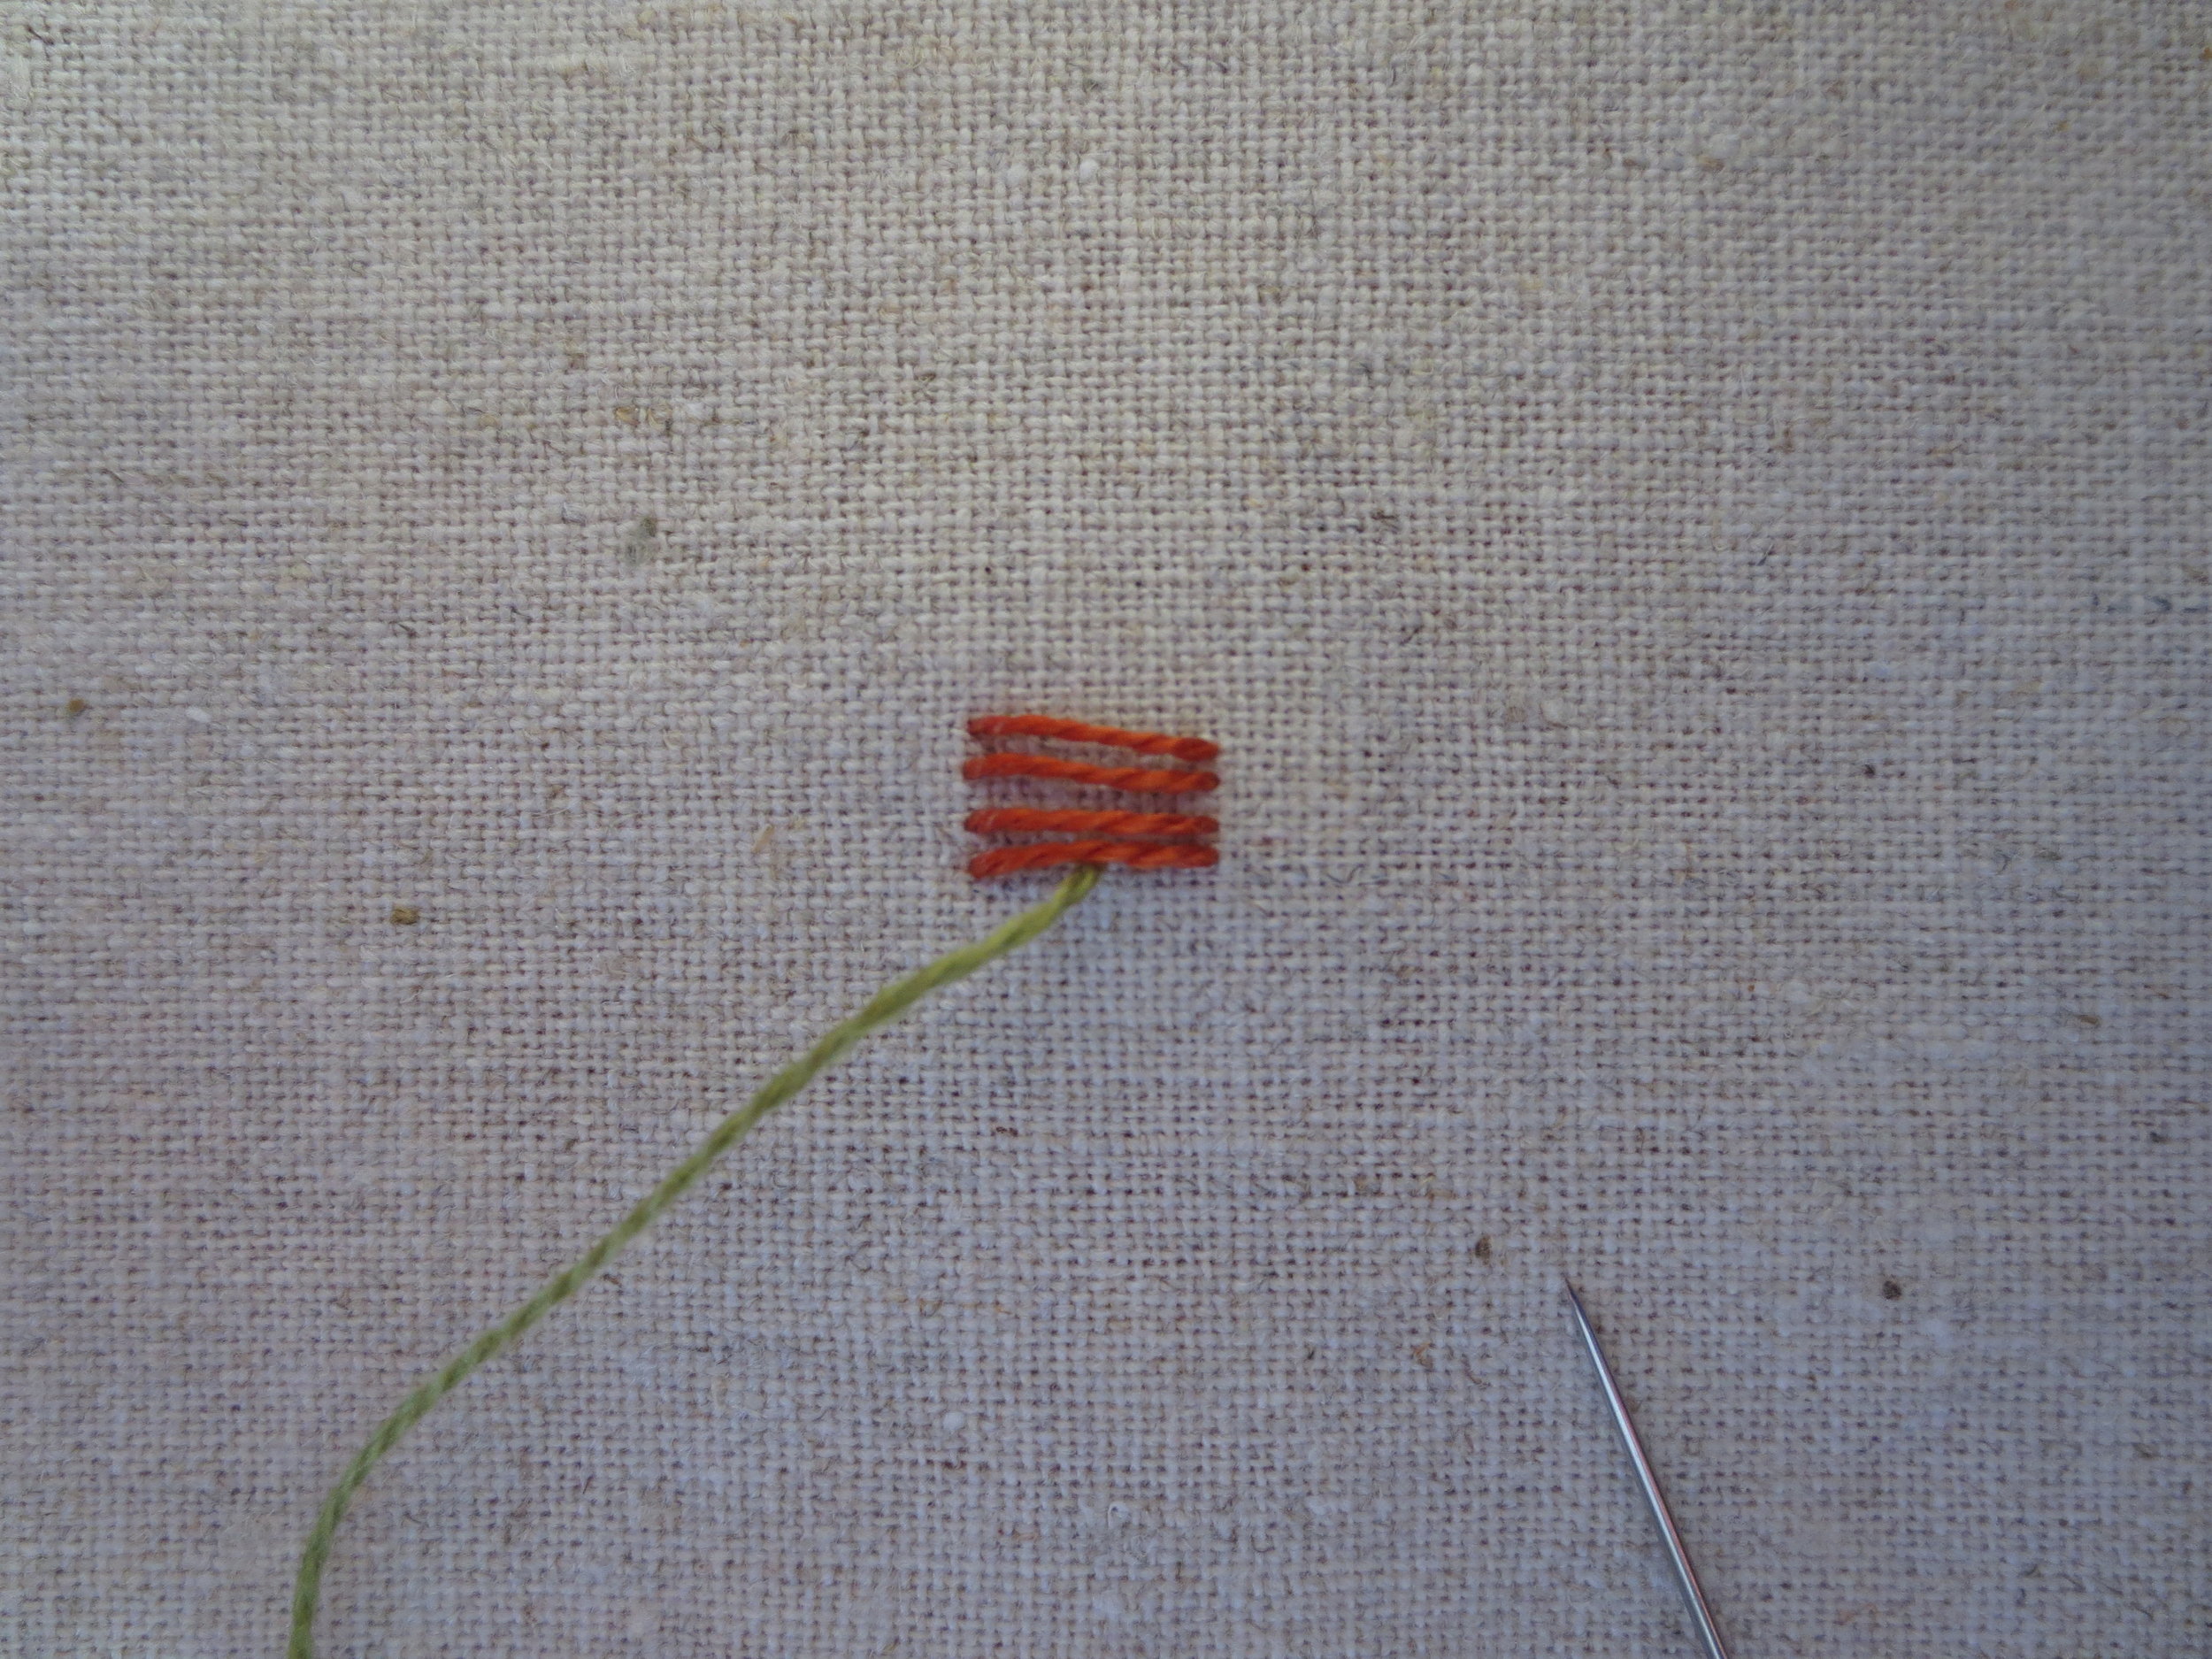
2. Stitch four parallel lines at each flower mark. The stitches should be loose, not snug. They don't need to be exactly the same length, just close to same length. I used DMC Ecru and Valdani #O538. The variation between the two threads is not visable in the photograph, but it is in real life. I liked the subtle change in color.
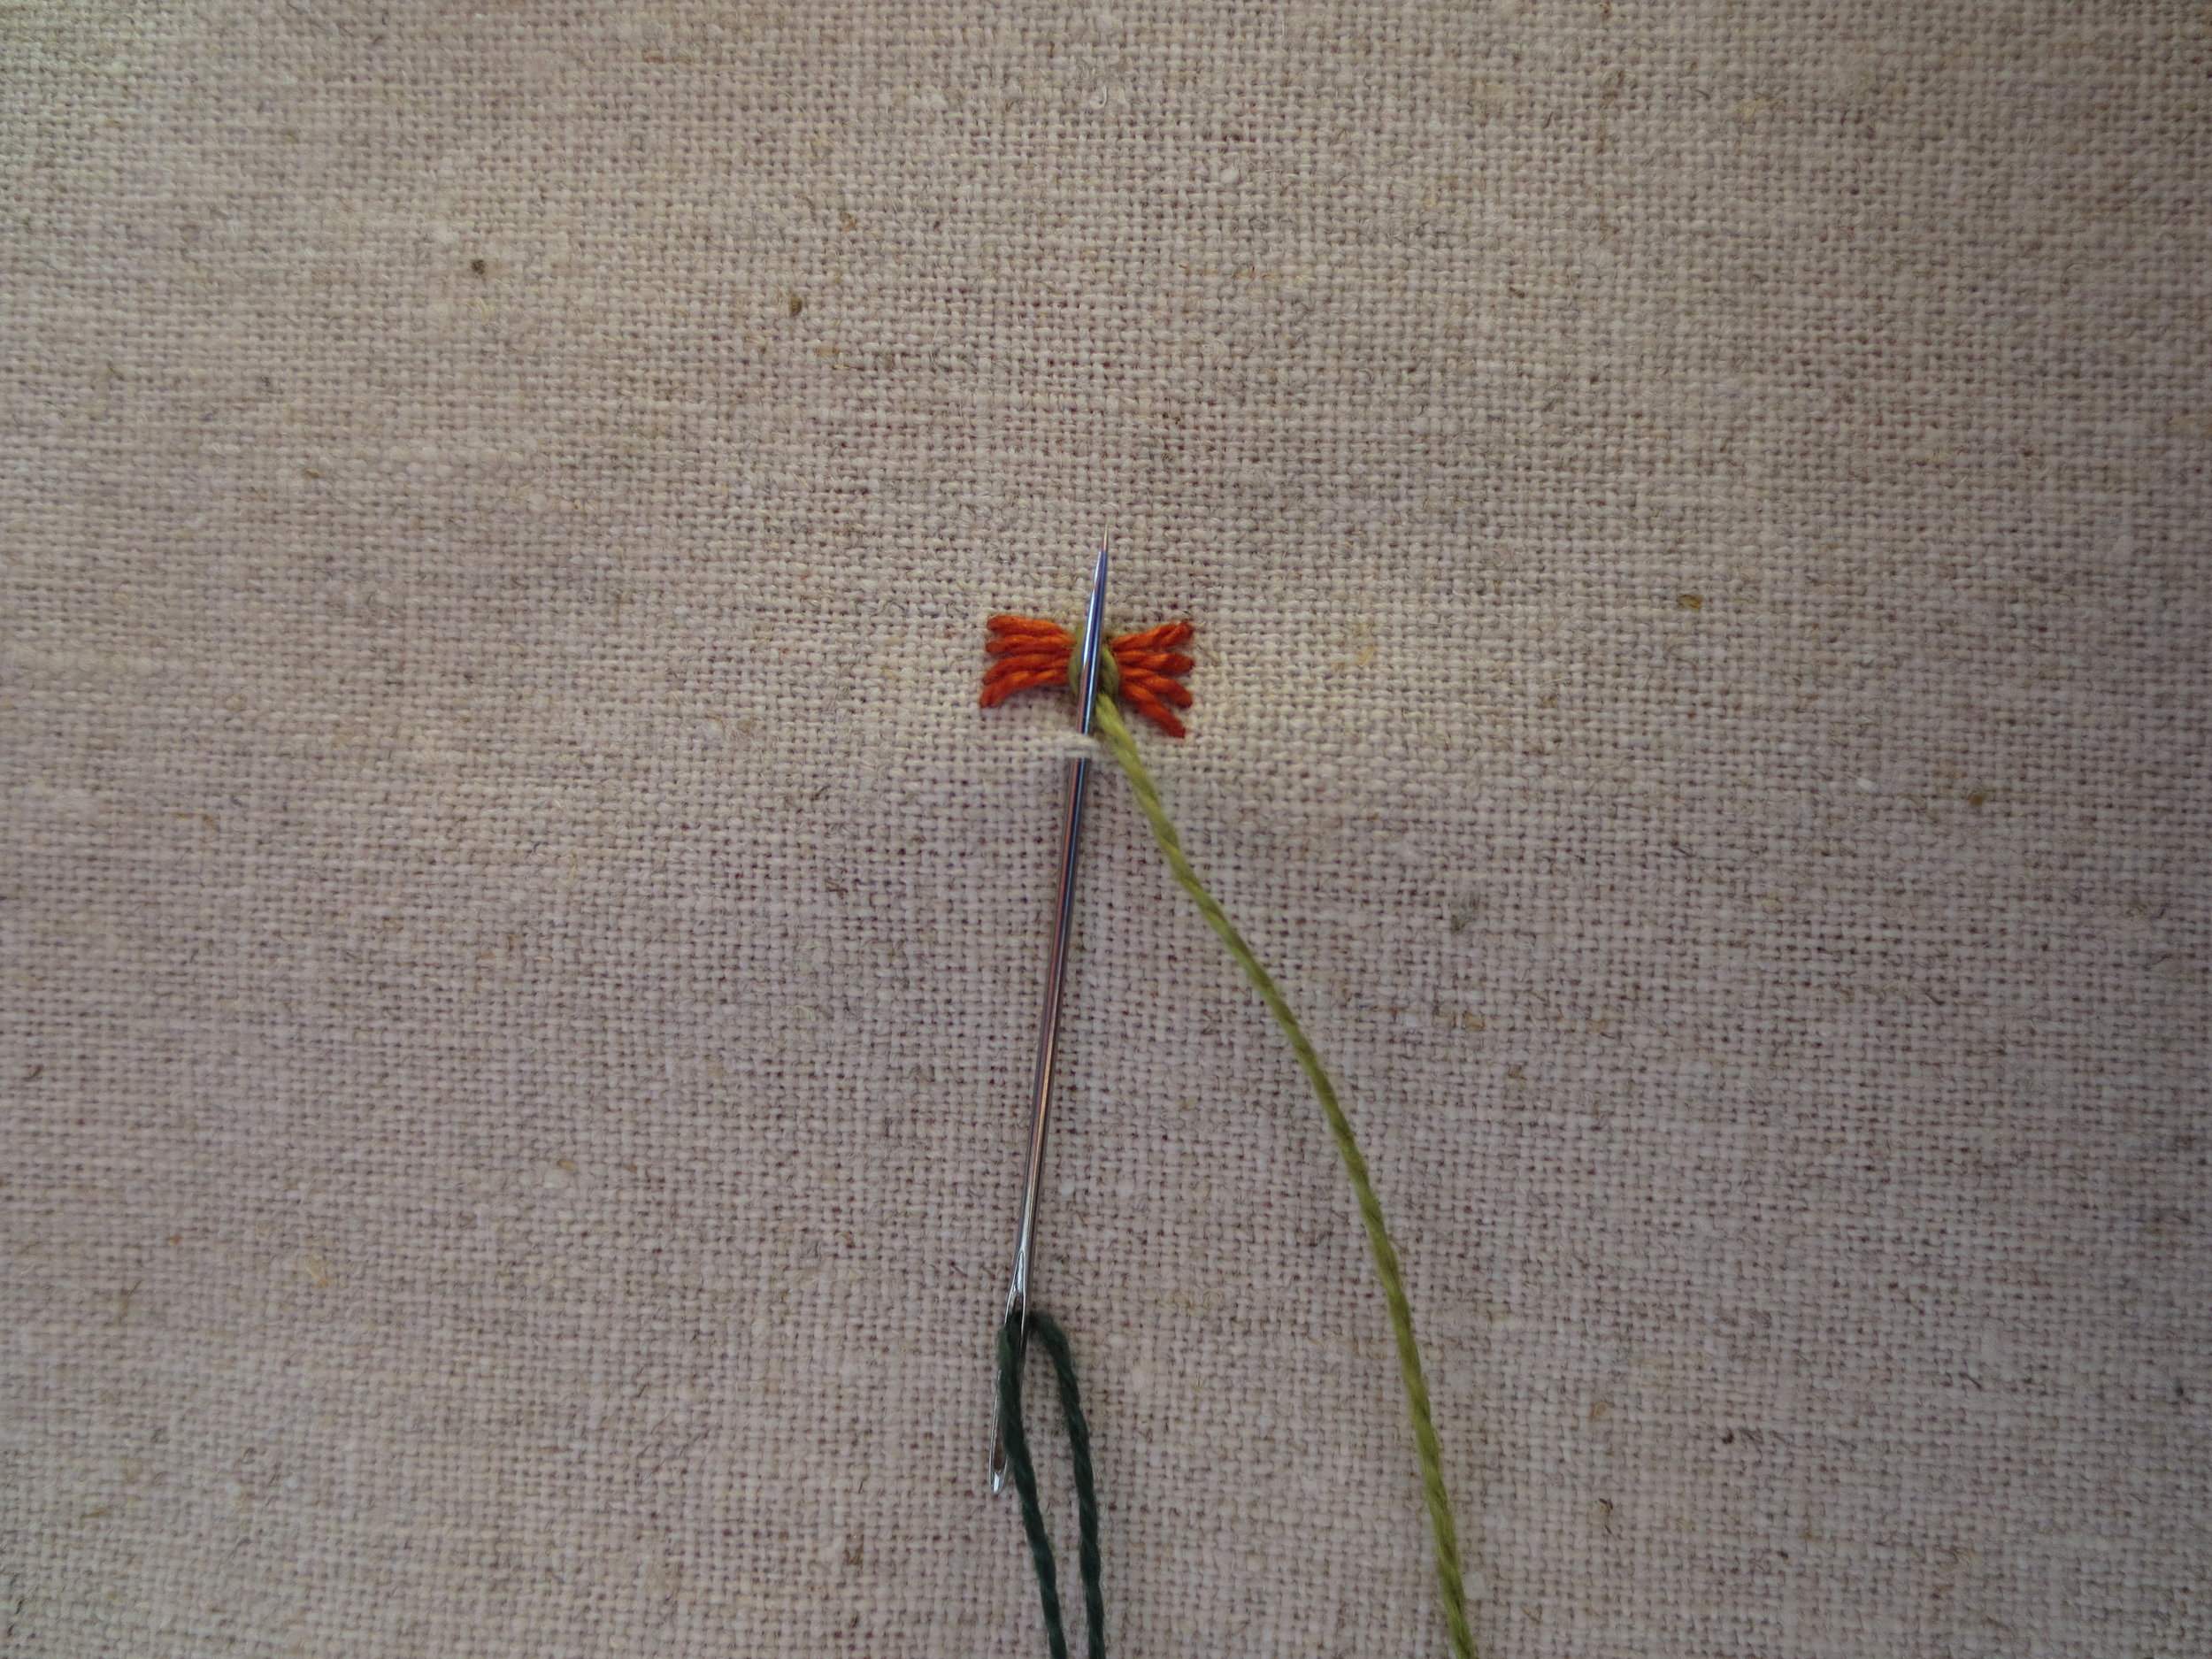
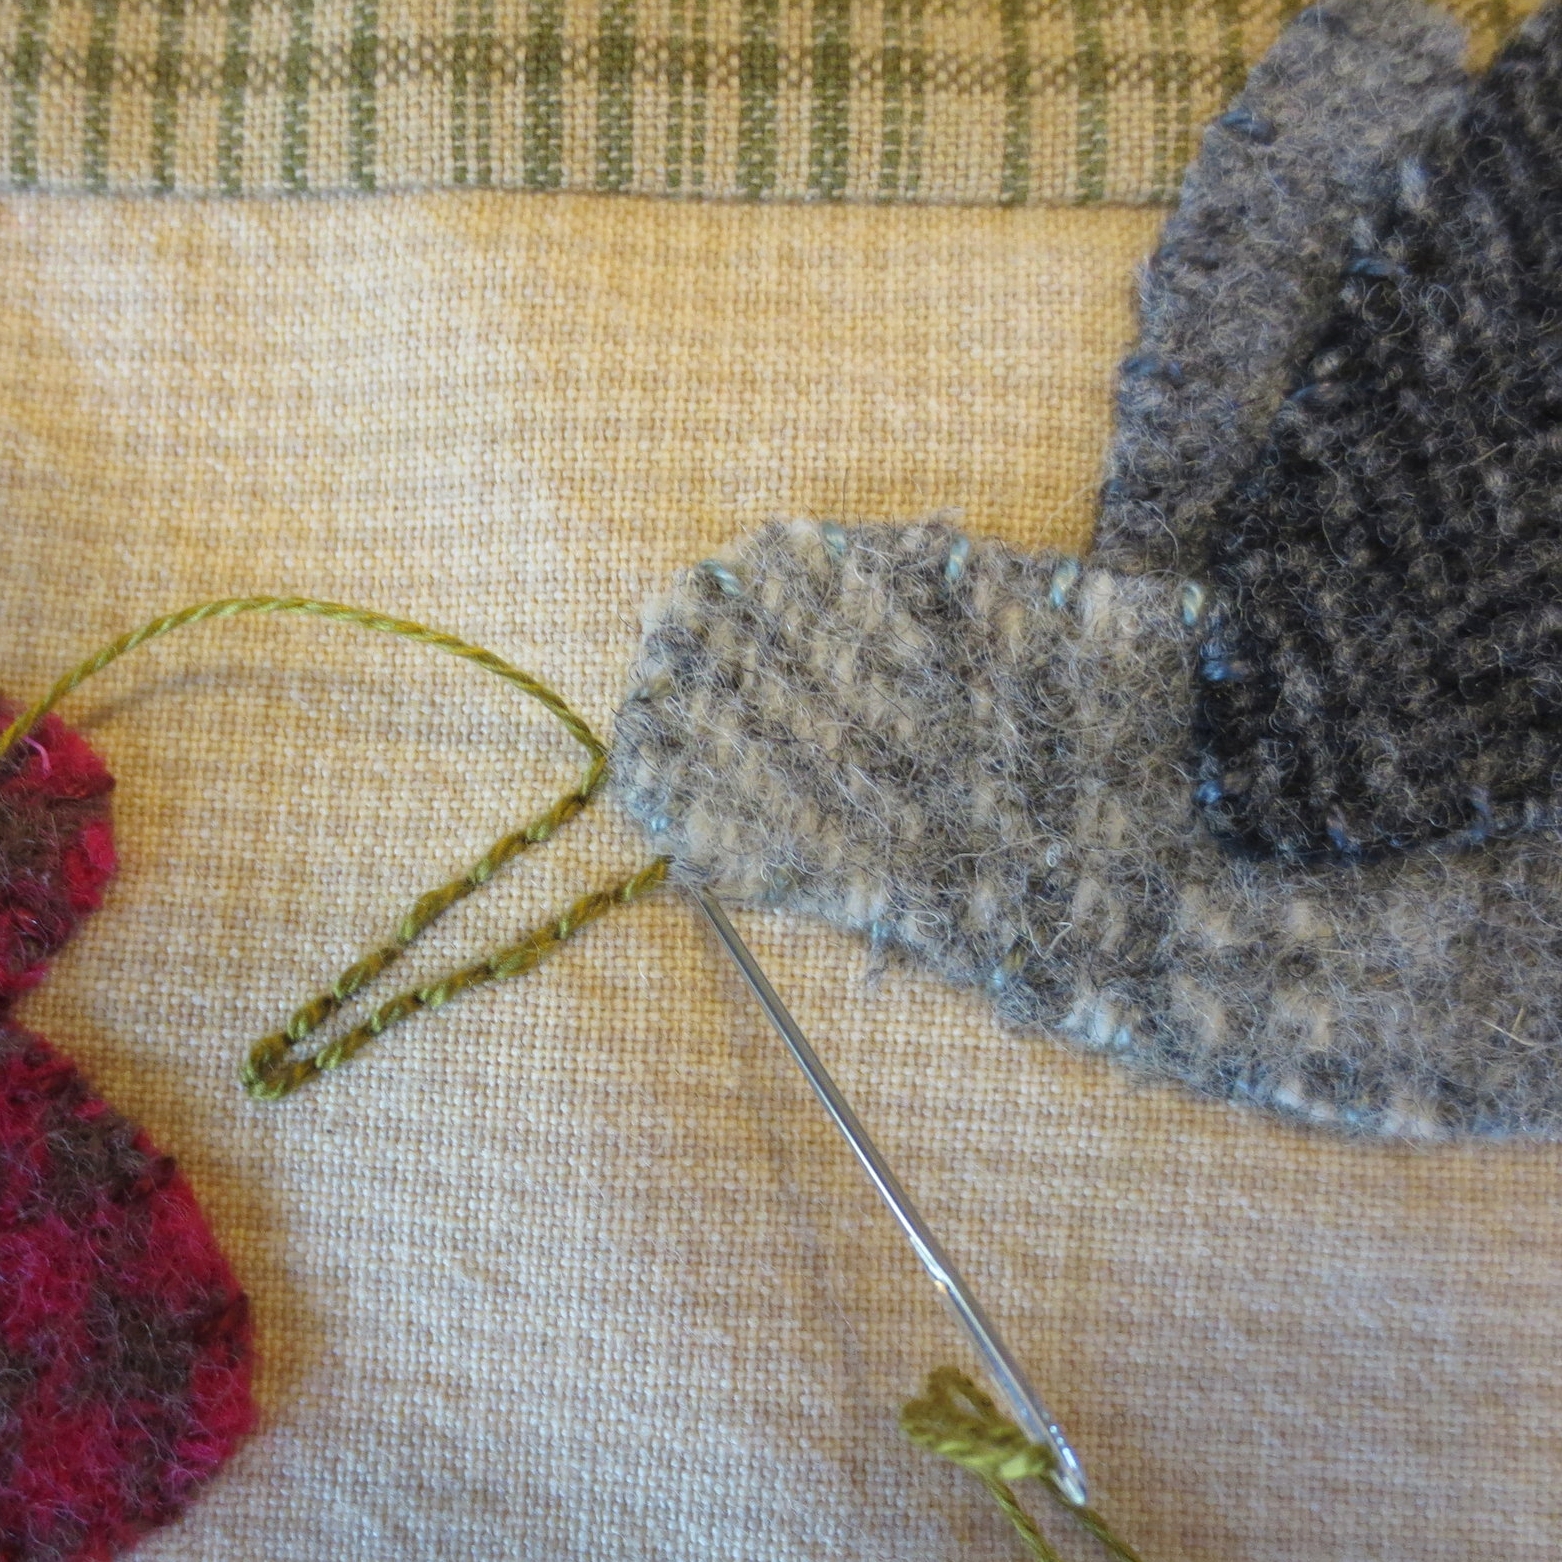
3. You are going to begin the next stitch at the top of the longest stem (The photos below illustrate the steps of a butterfly stitch). Thread your needle with your stem color (I used Valdani #M19). Now flip the block upside down. Bring the needle up in the center of the four parallel stitches, but don't pull your thread up between the stitches. Pull the thread through the bottom of the stitches.
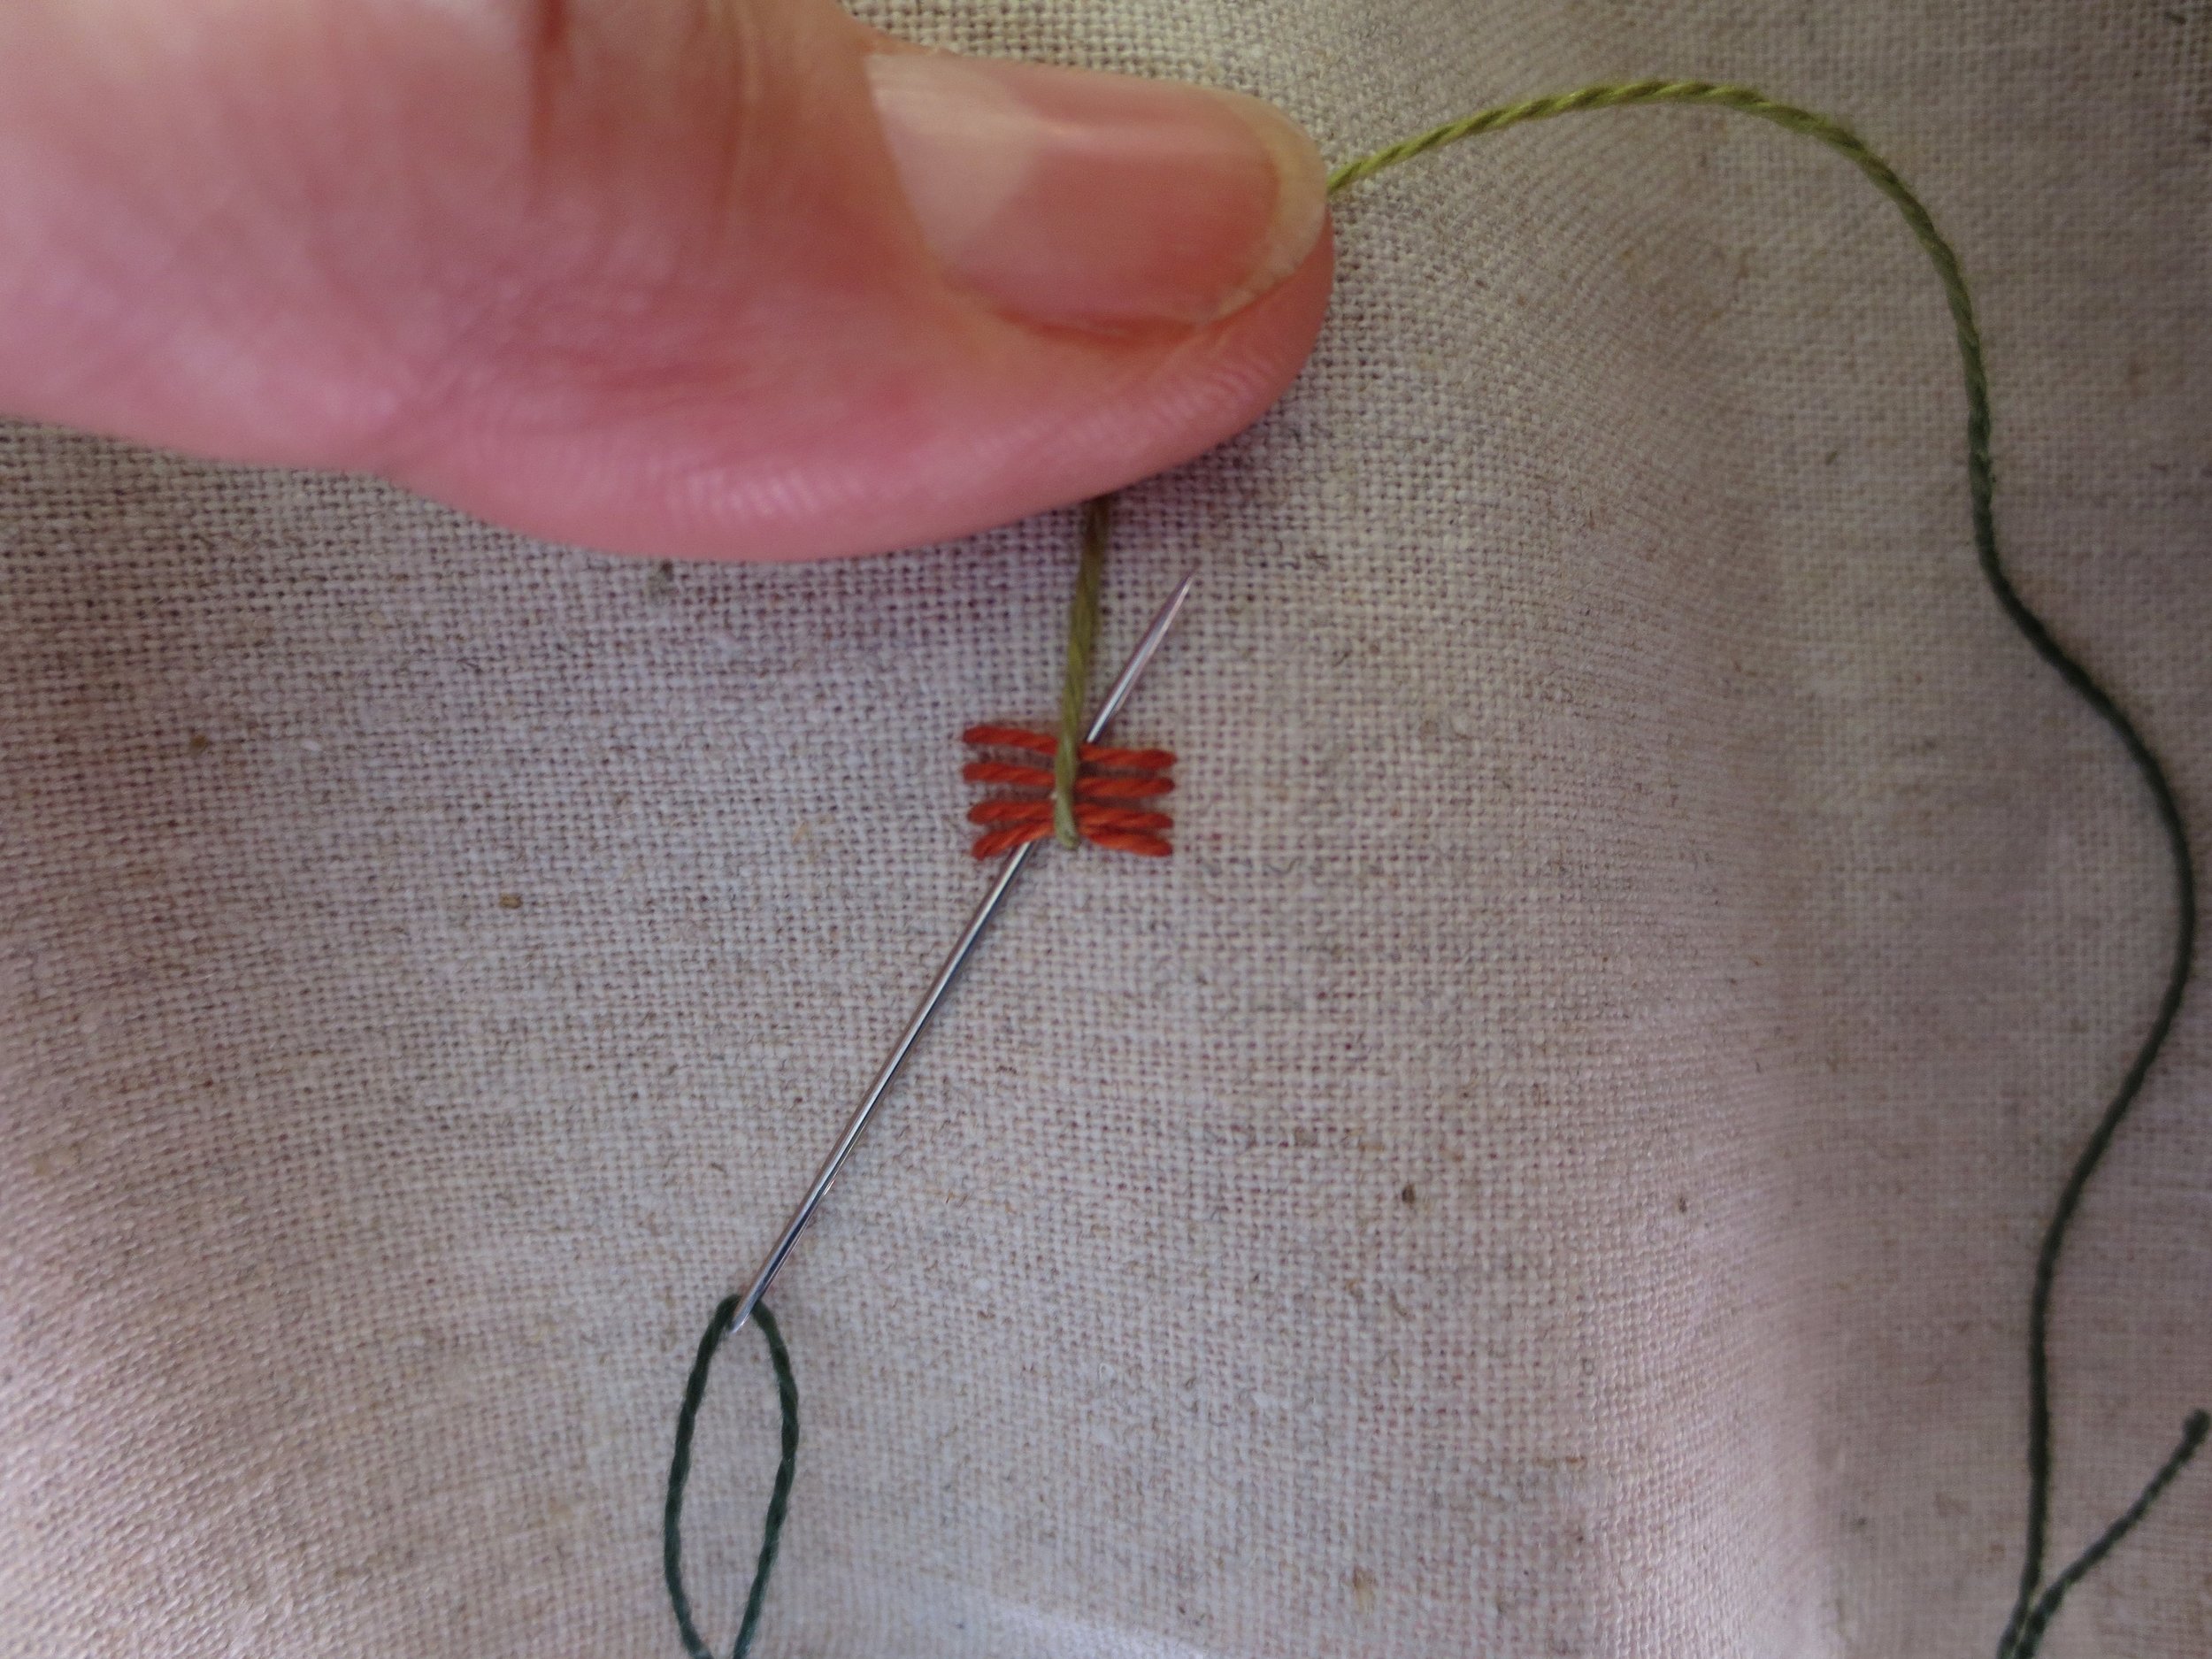
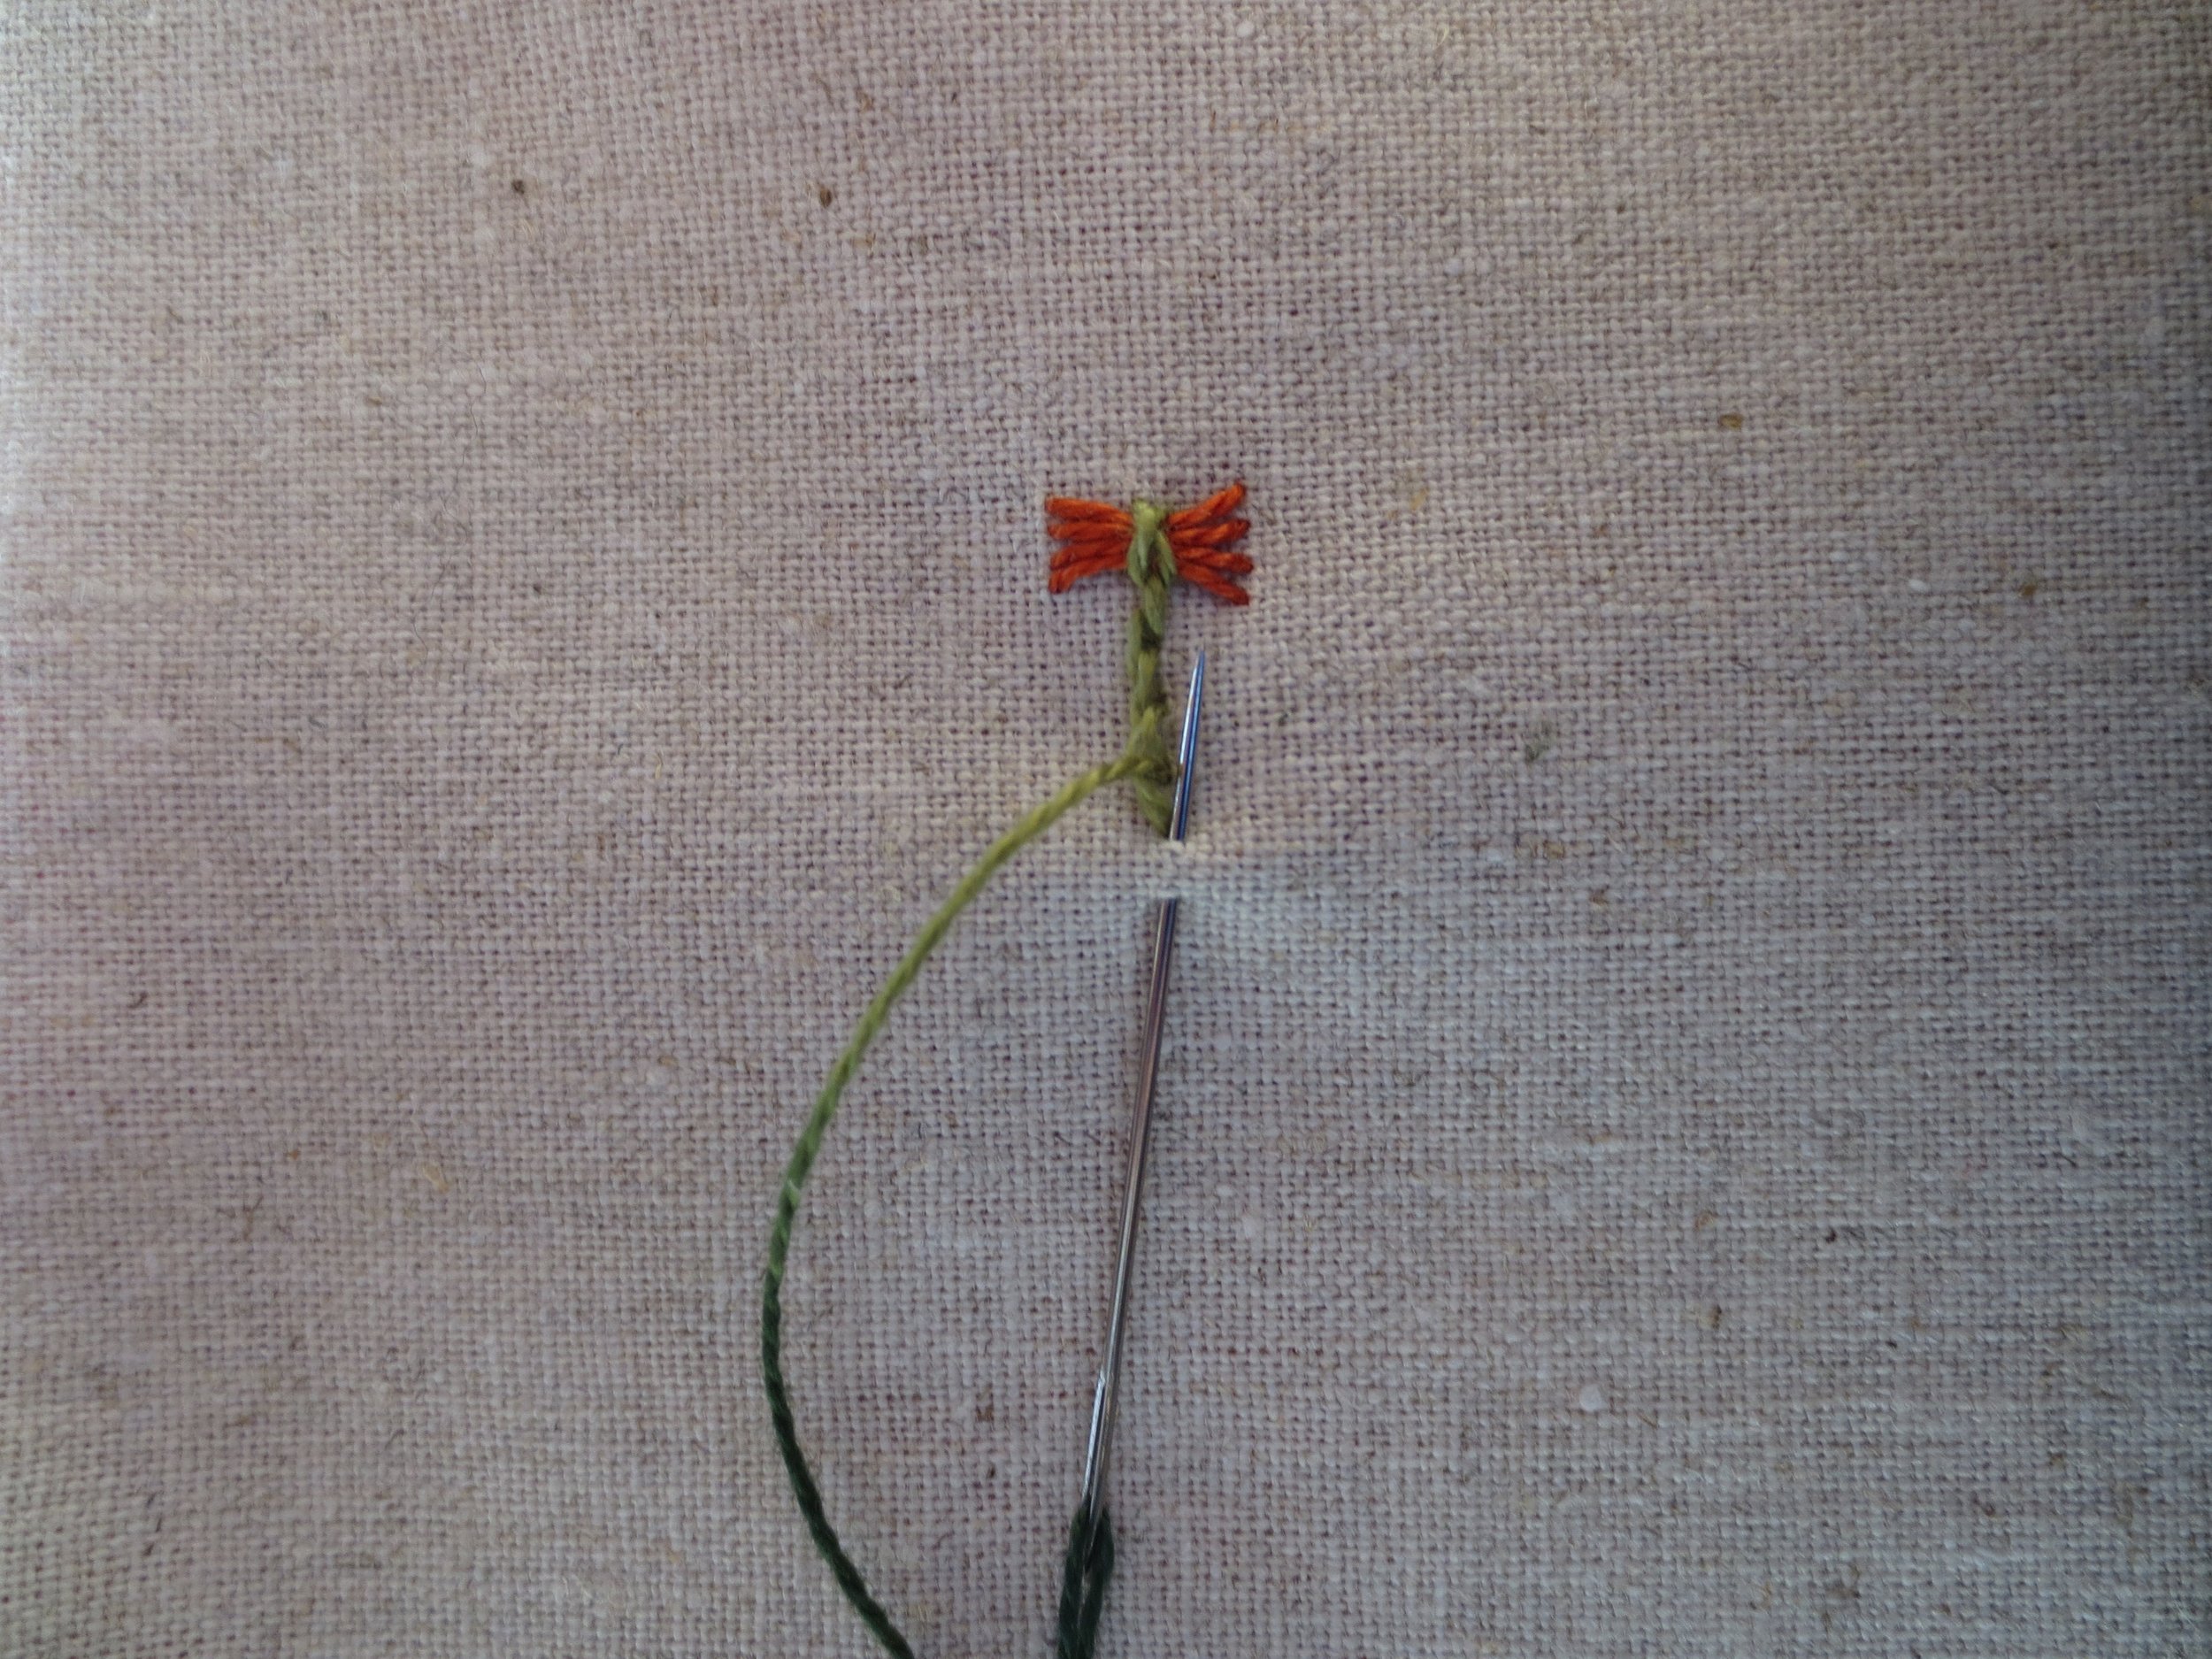
4. Lay the thread perpendicular to the parallel stitches and place your needle at an angle under the parallel stitches. Now wrap the thread around the back of the needle and hold it in place while you pull the needle and thread through.
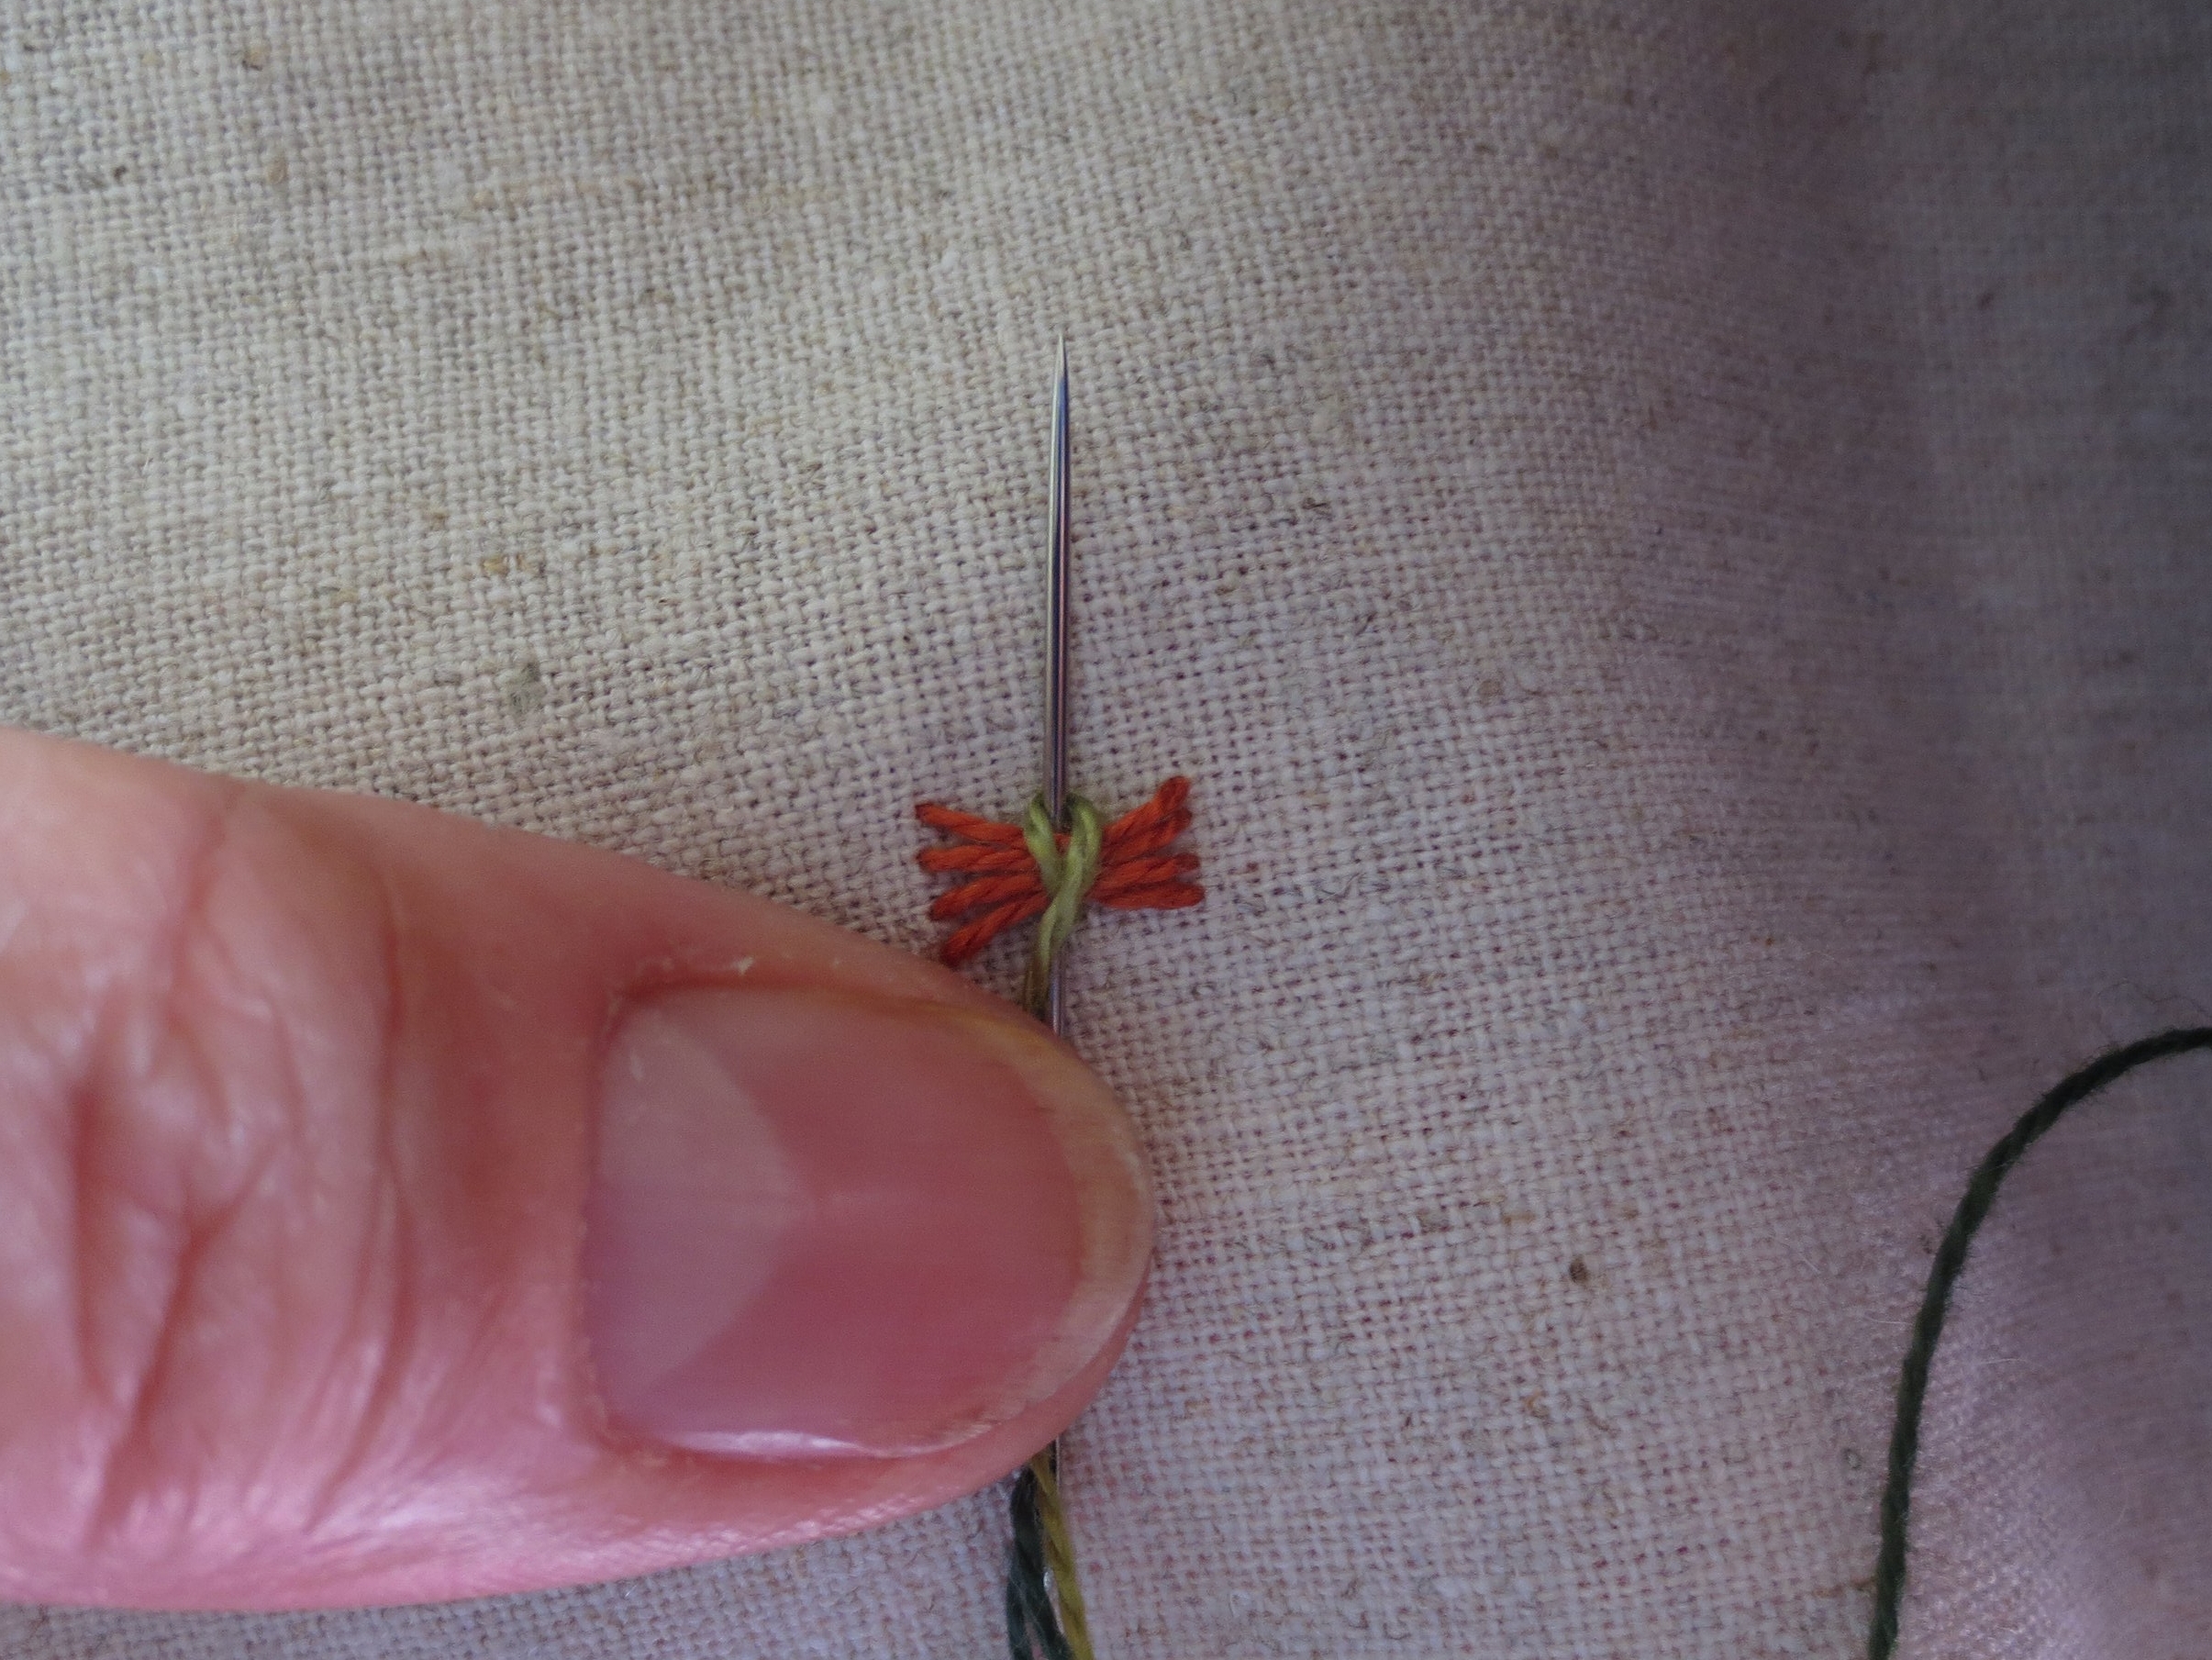
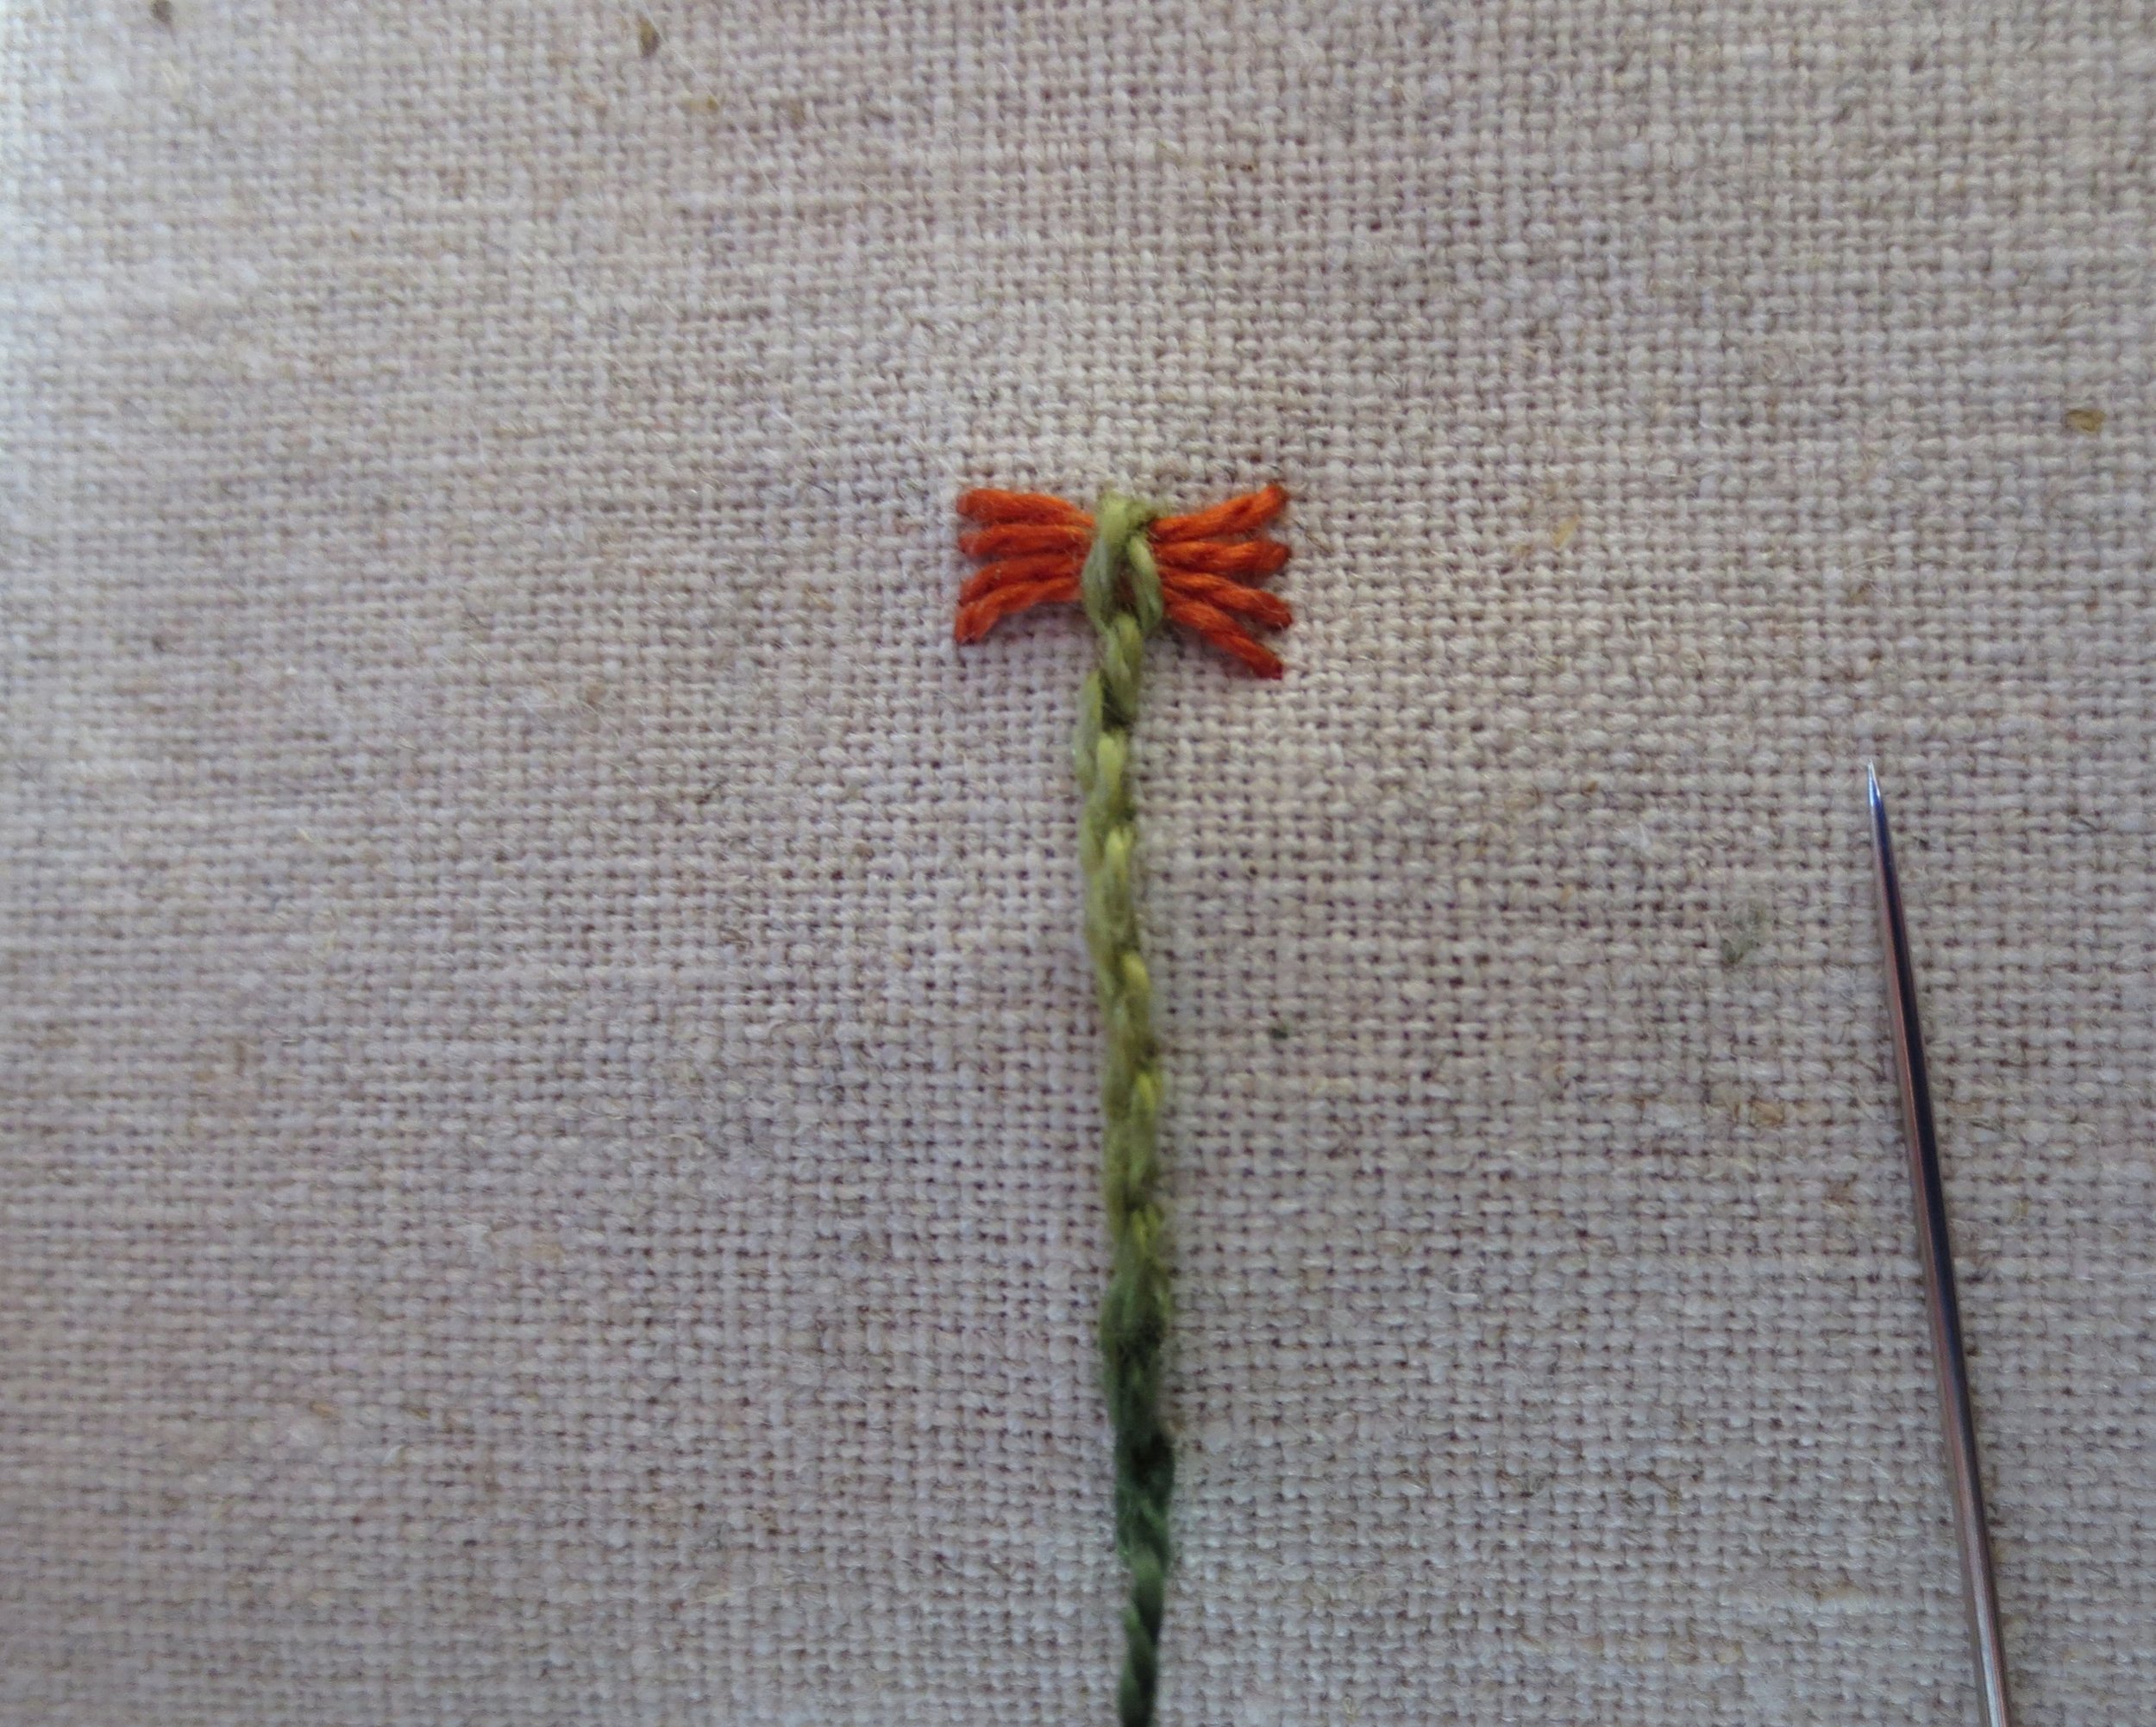
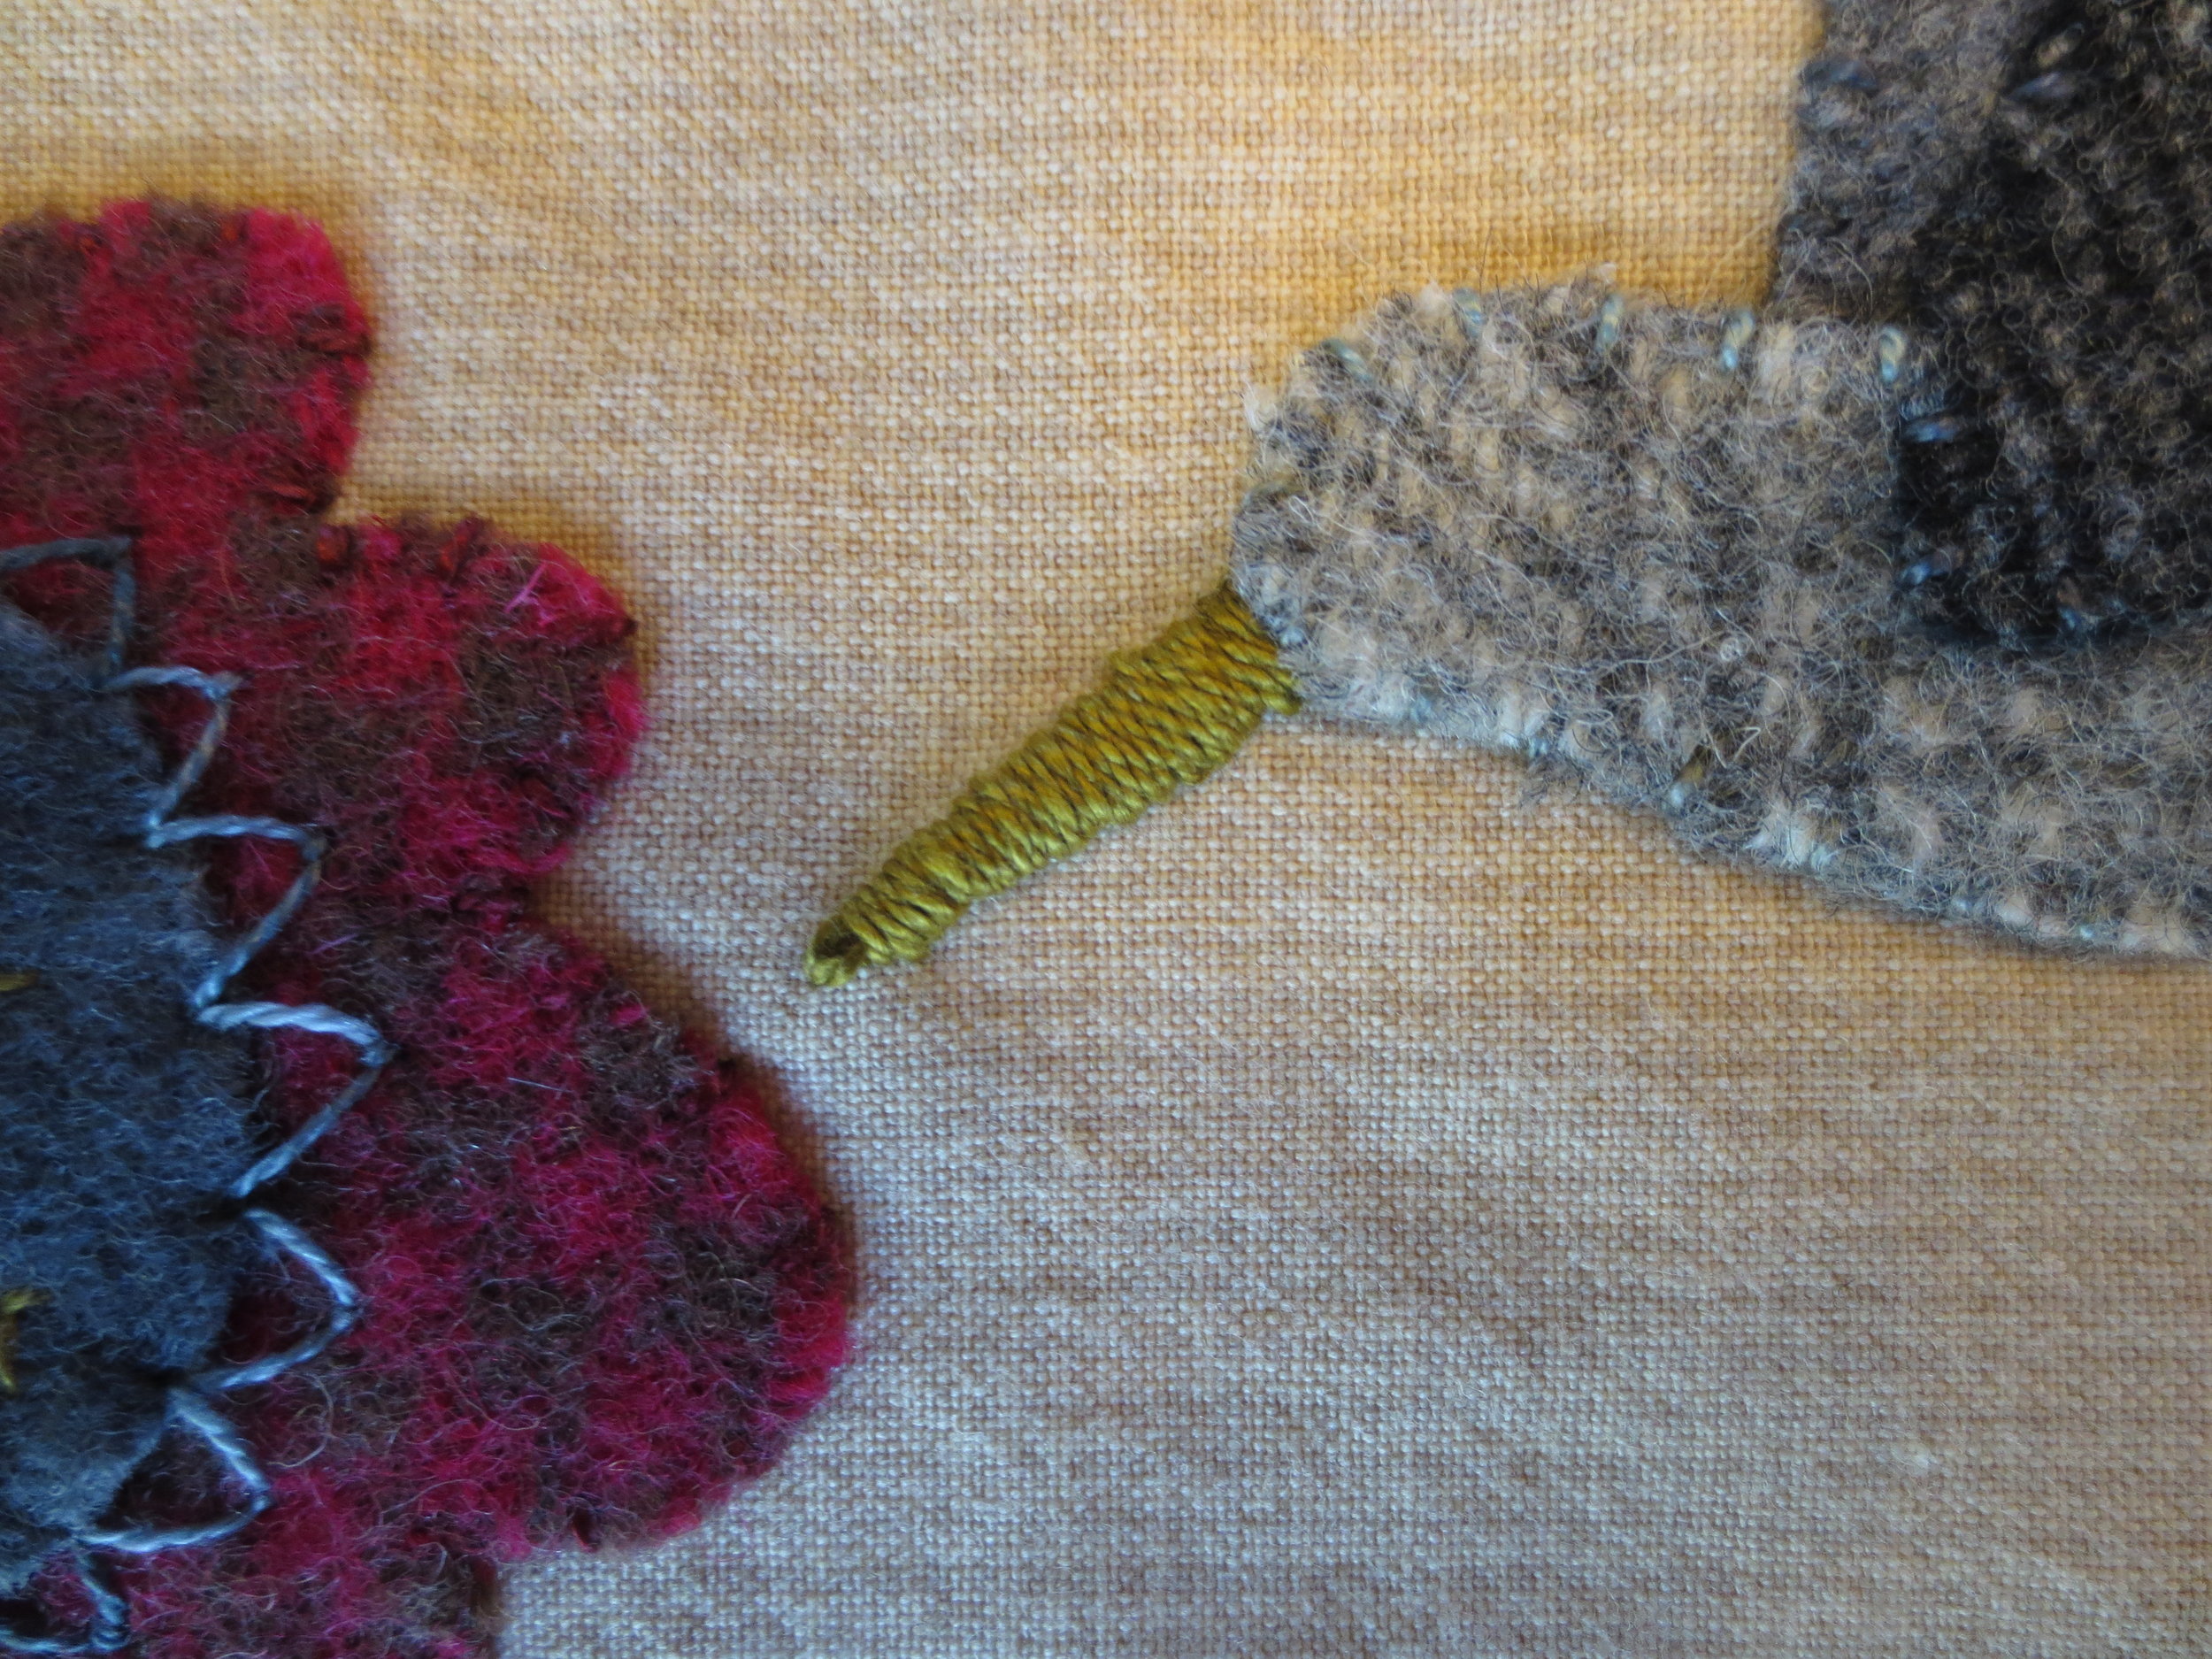
5. It should look like this when your done.
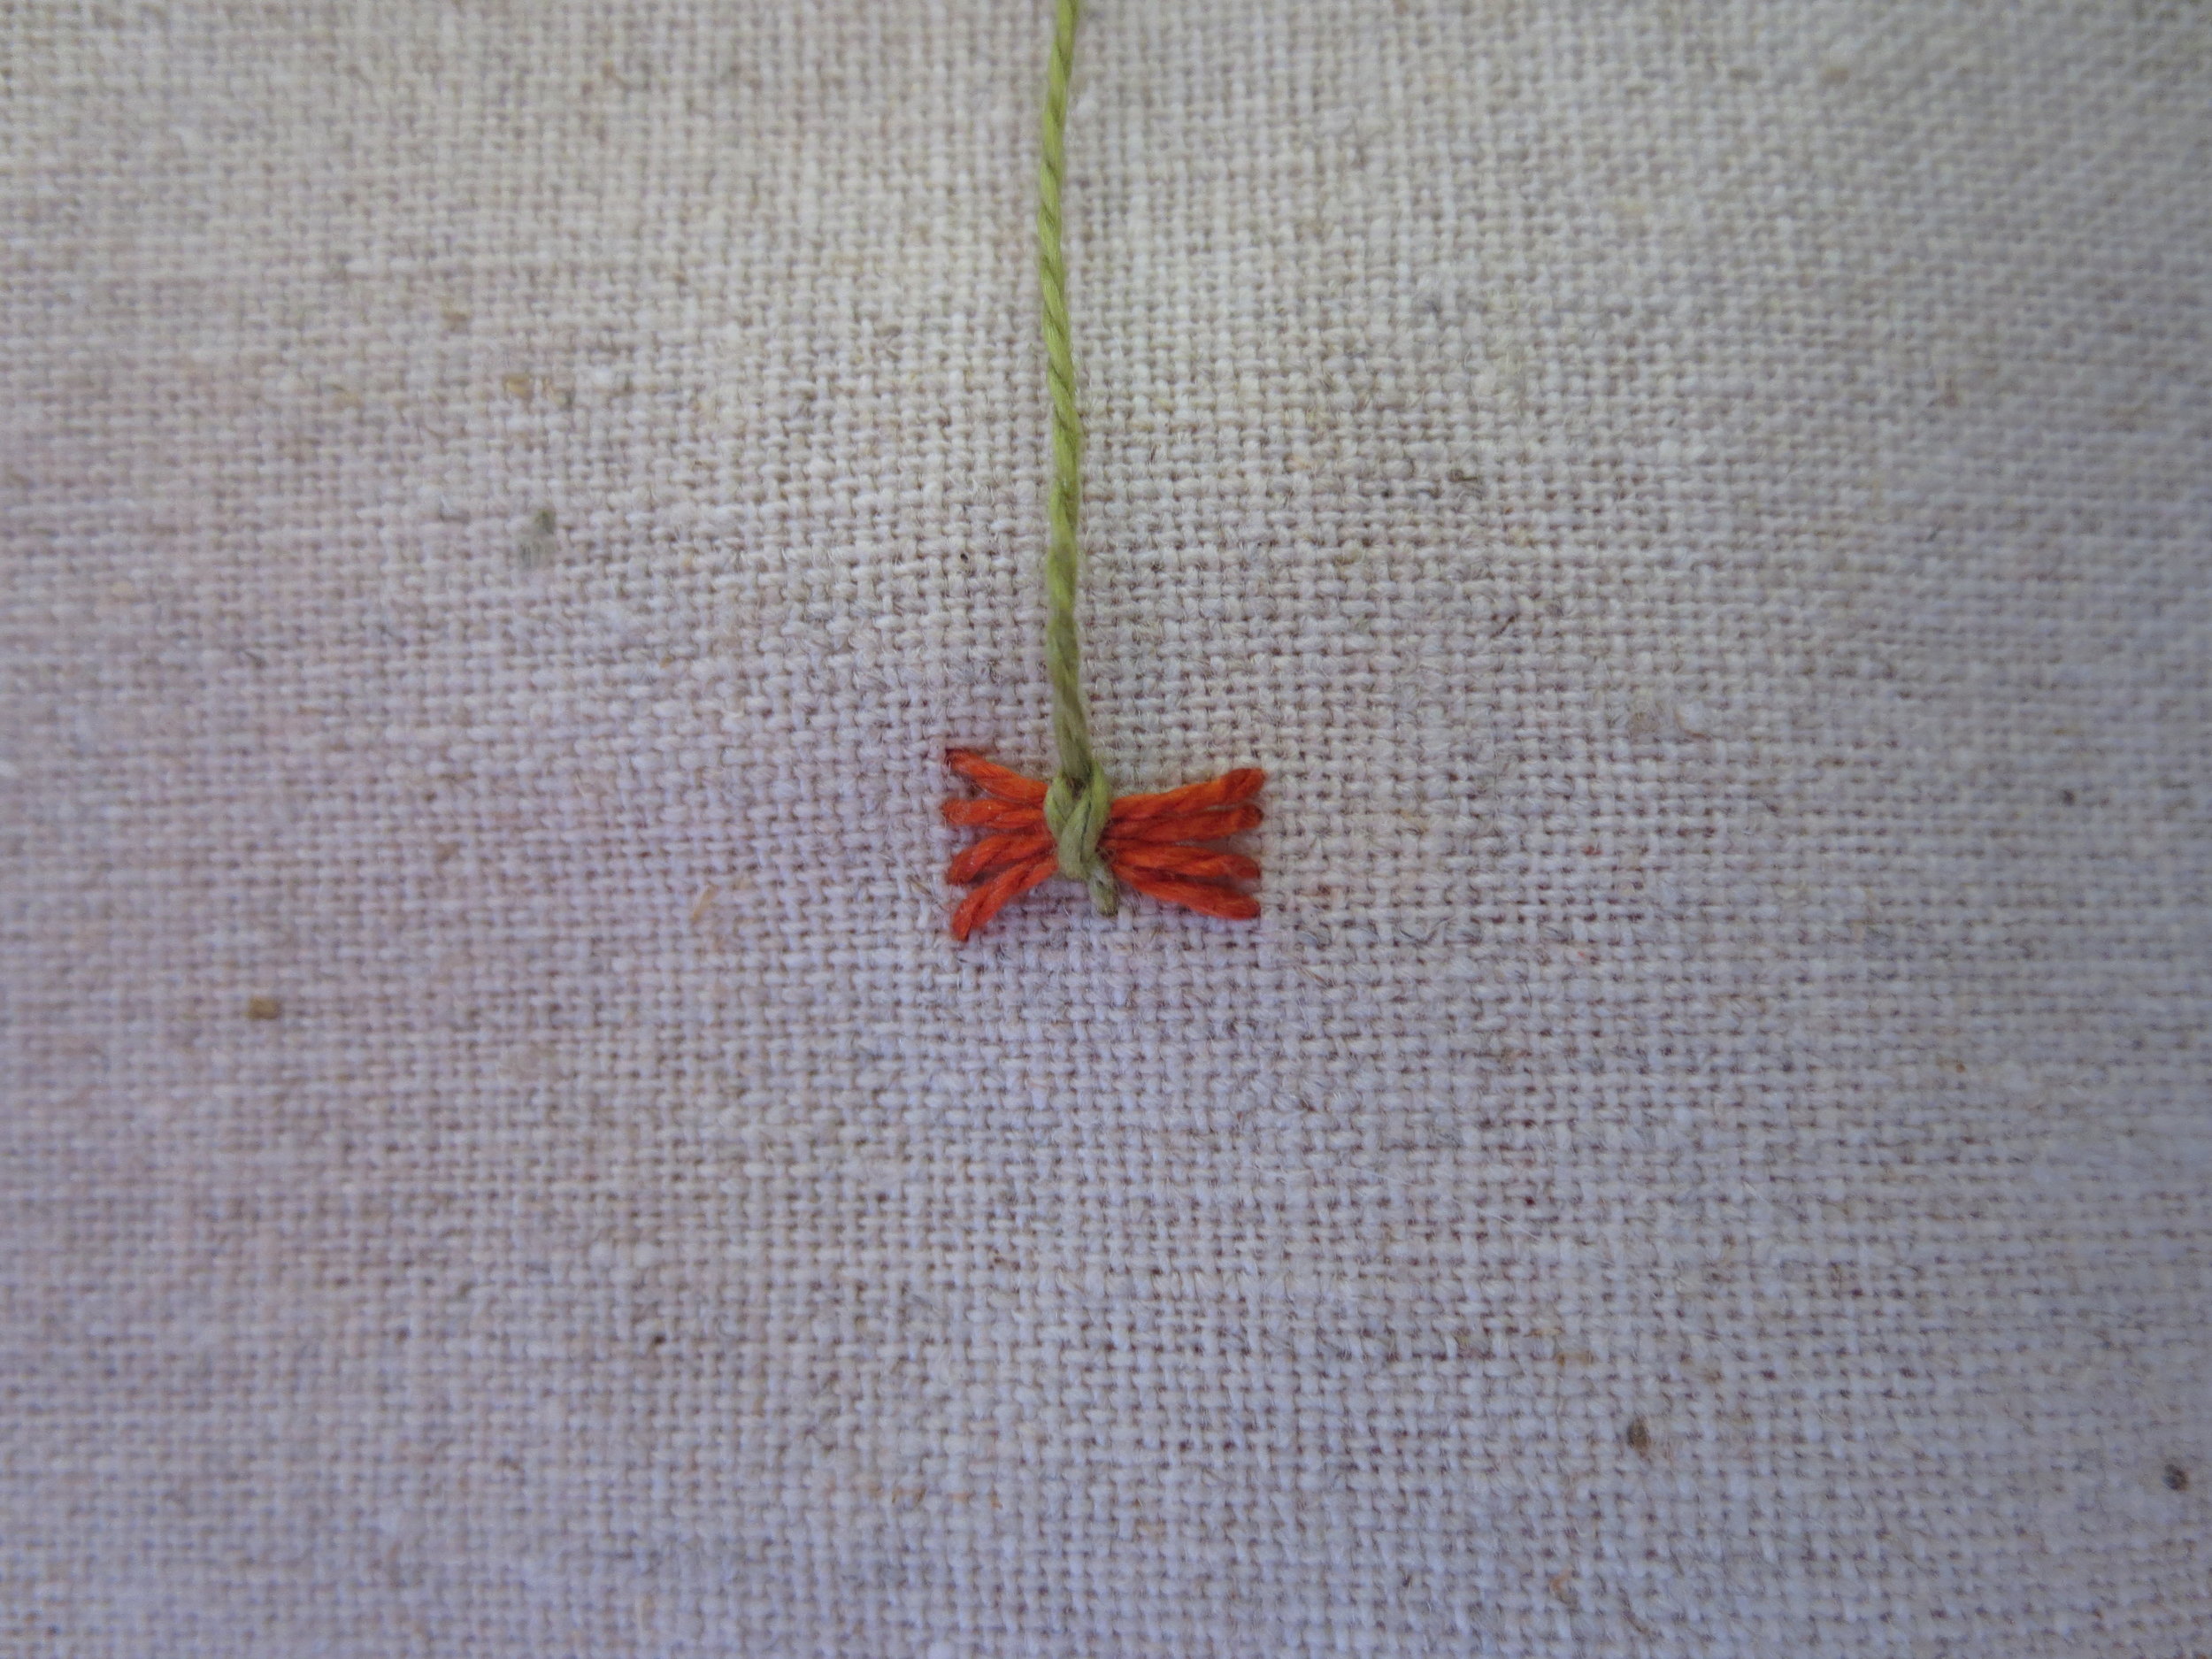
6. Now flip the block right side up. You are going to make the stem with a stem stitch (see stitch guide).
7. Repeat steps 3-6 for each flower.
8. Stitch lazy daisy leaves on each stem using the same thread (see layout for placement tips).
9. Position leaves A-C on stems and fuse using steam.
10. Position vase ruffle and leaf D. The ruffle goes under leaf D. Fuse using steam
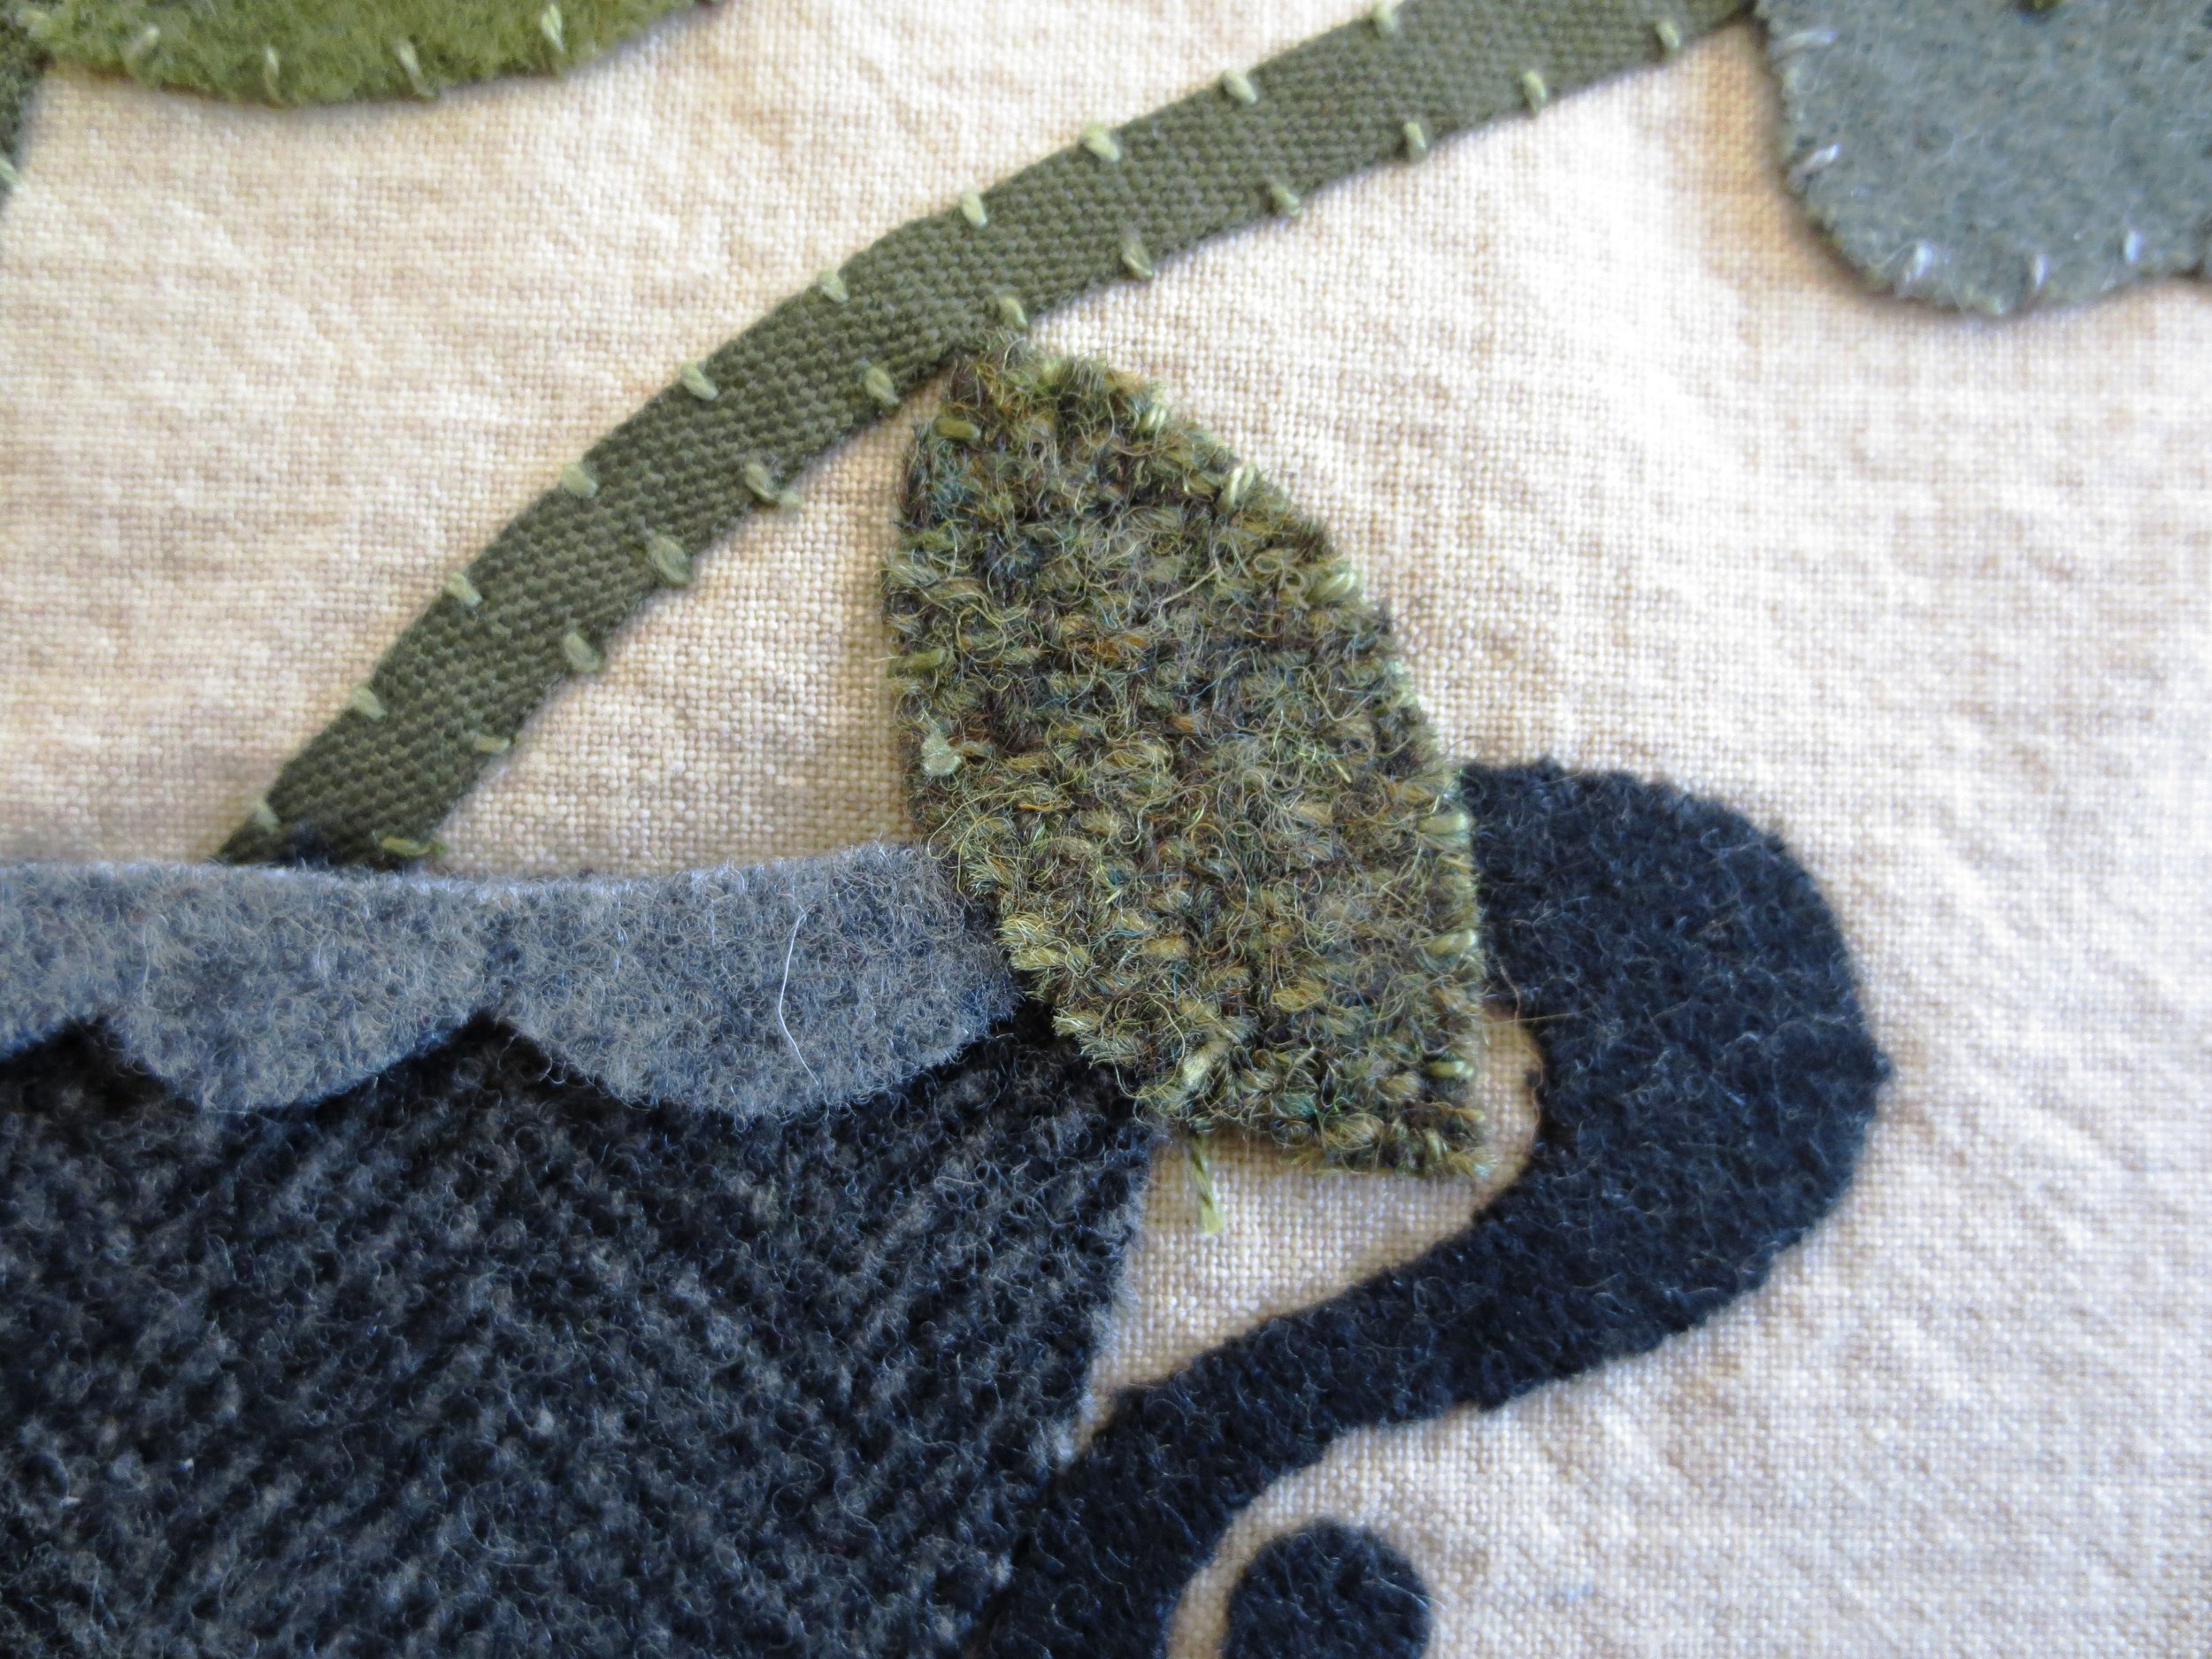
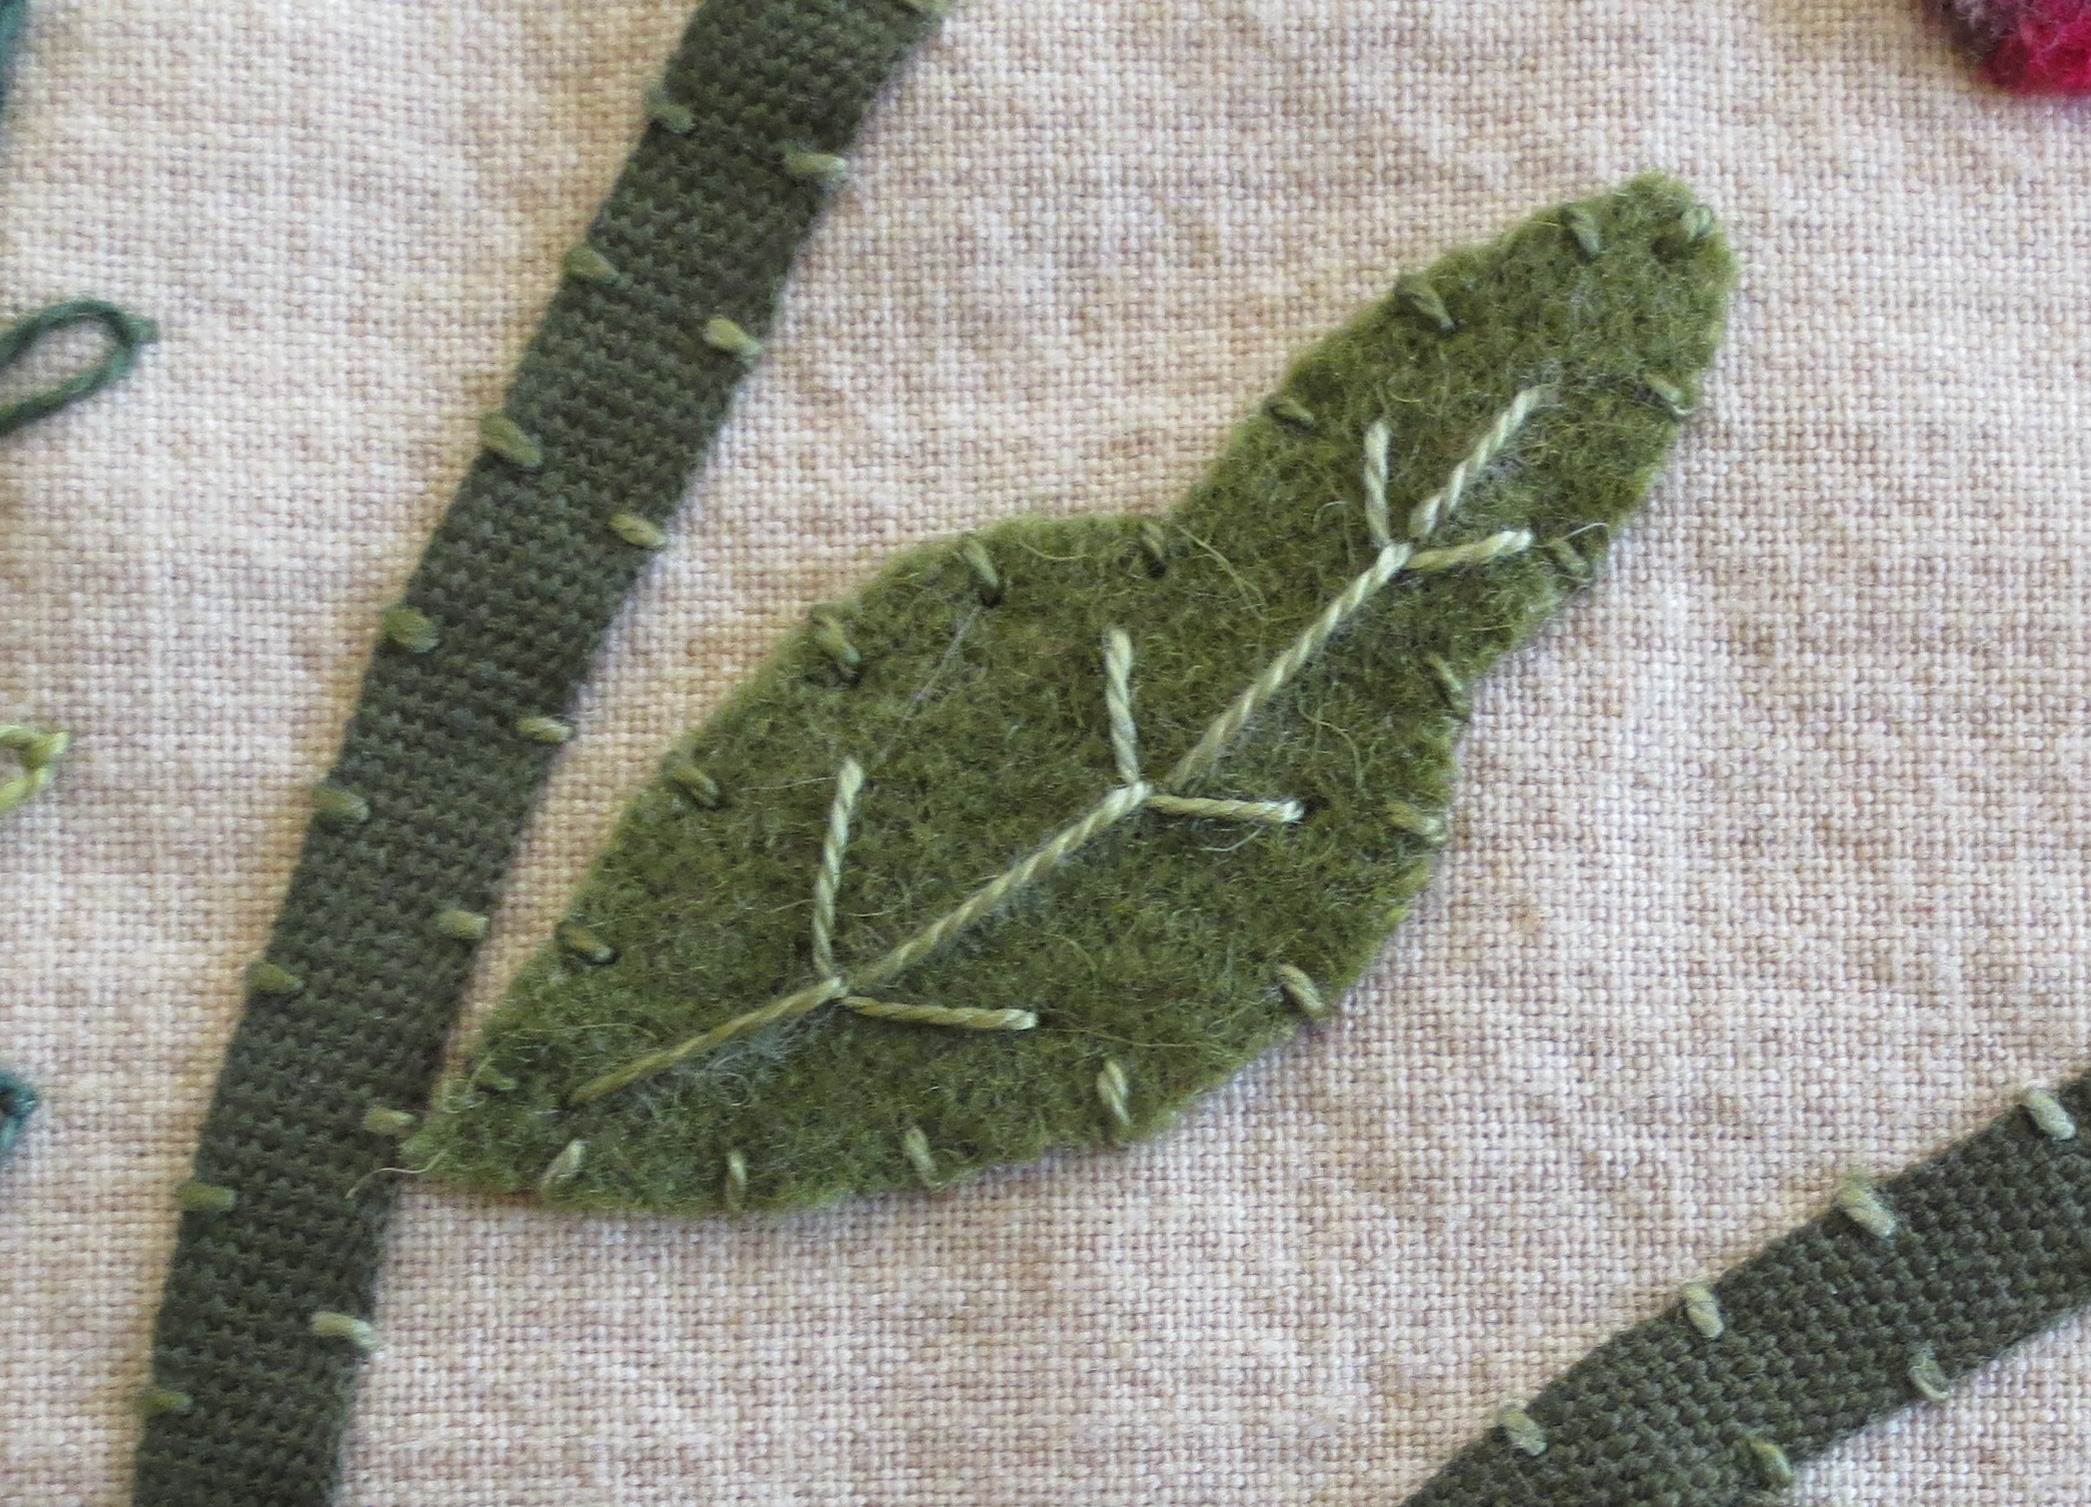
11. Whip stitch leaves and ruffle with thread that compliments wool.
12. Draw veins of leaves with a chalk pencil.
13. Stitch a closed fly stitch over the chalk lines to create the veins.
14. Stitch a colonial knot in the center of each "hump" of the vase ruffle. I used Caron Wildflowers #151.

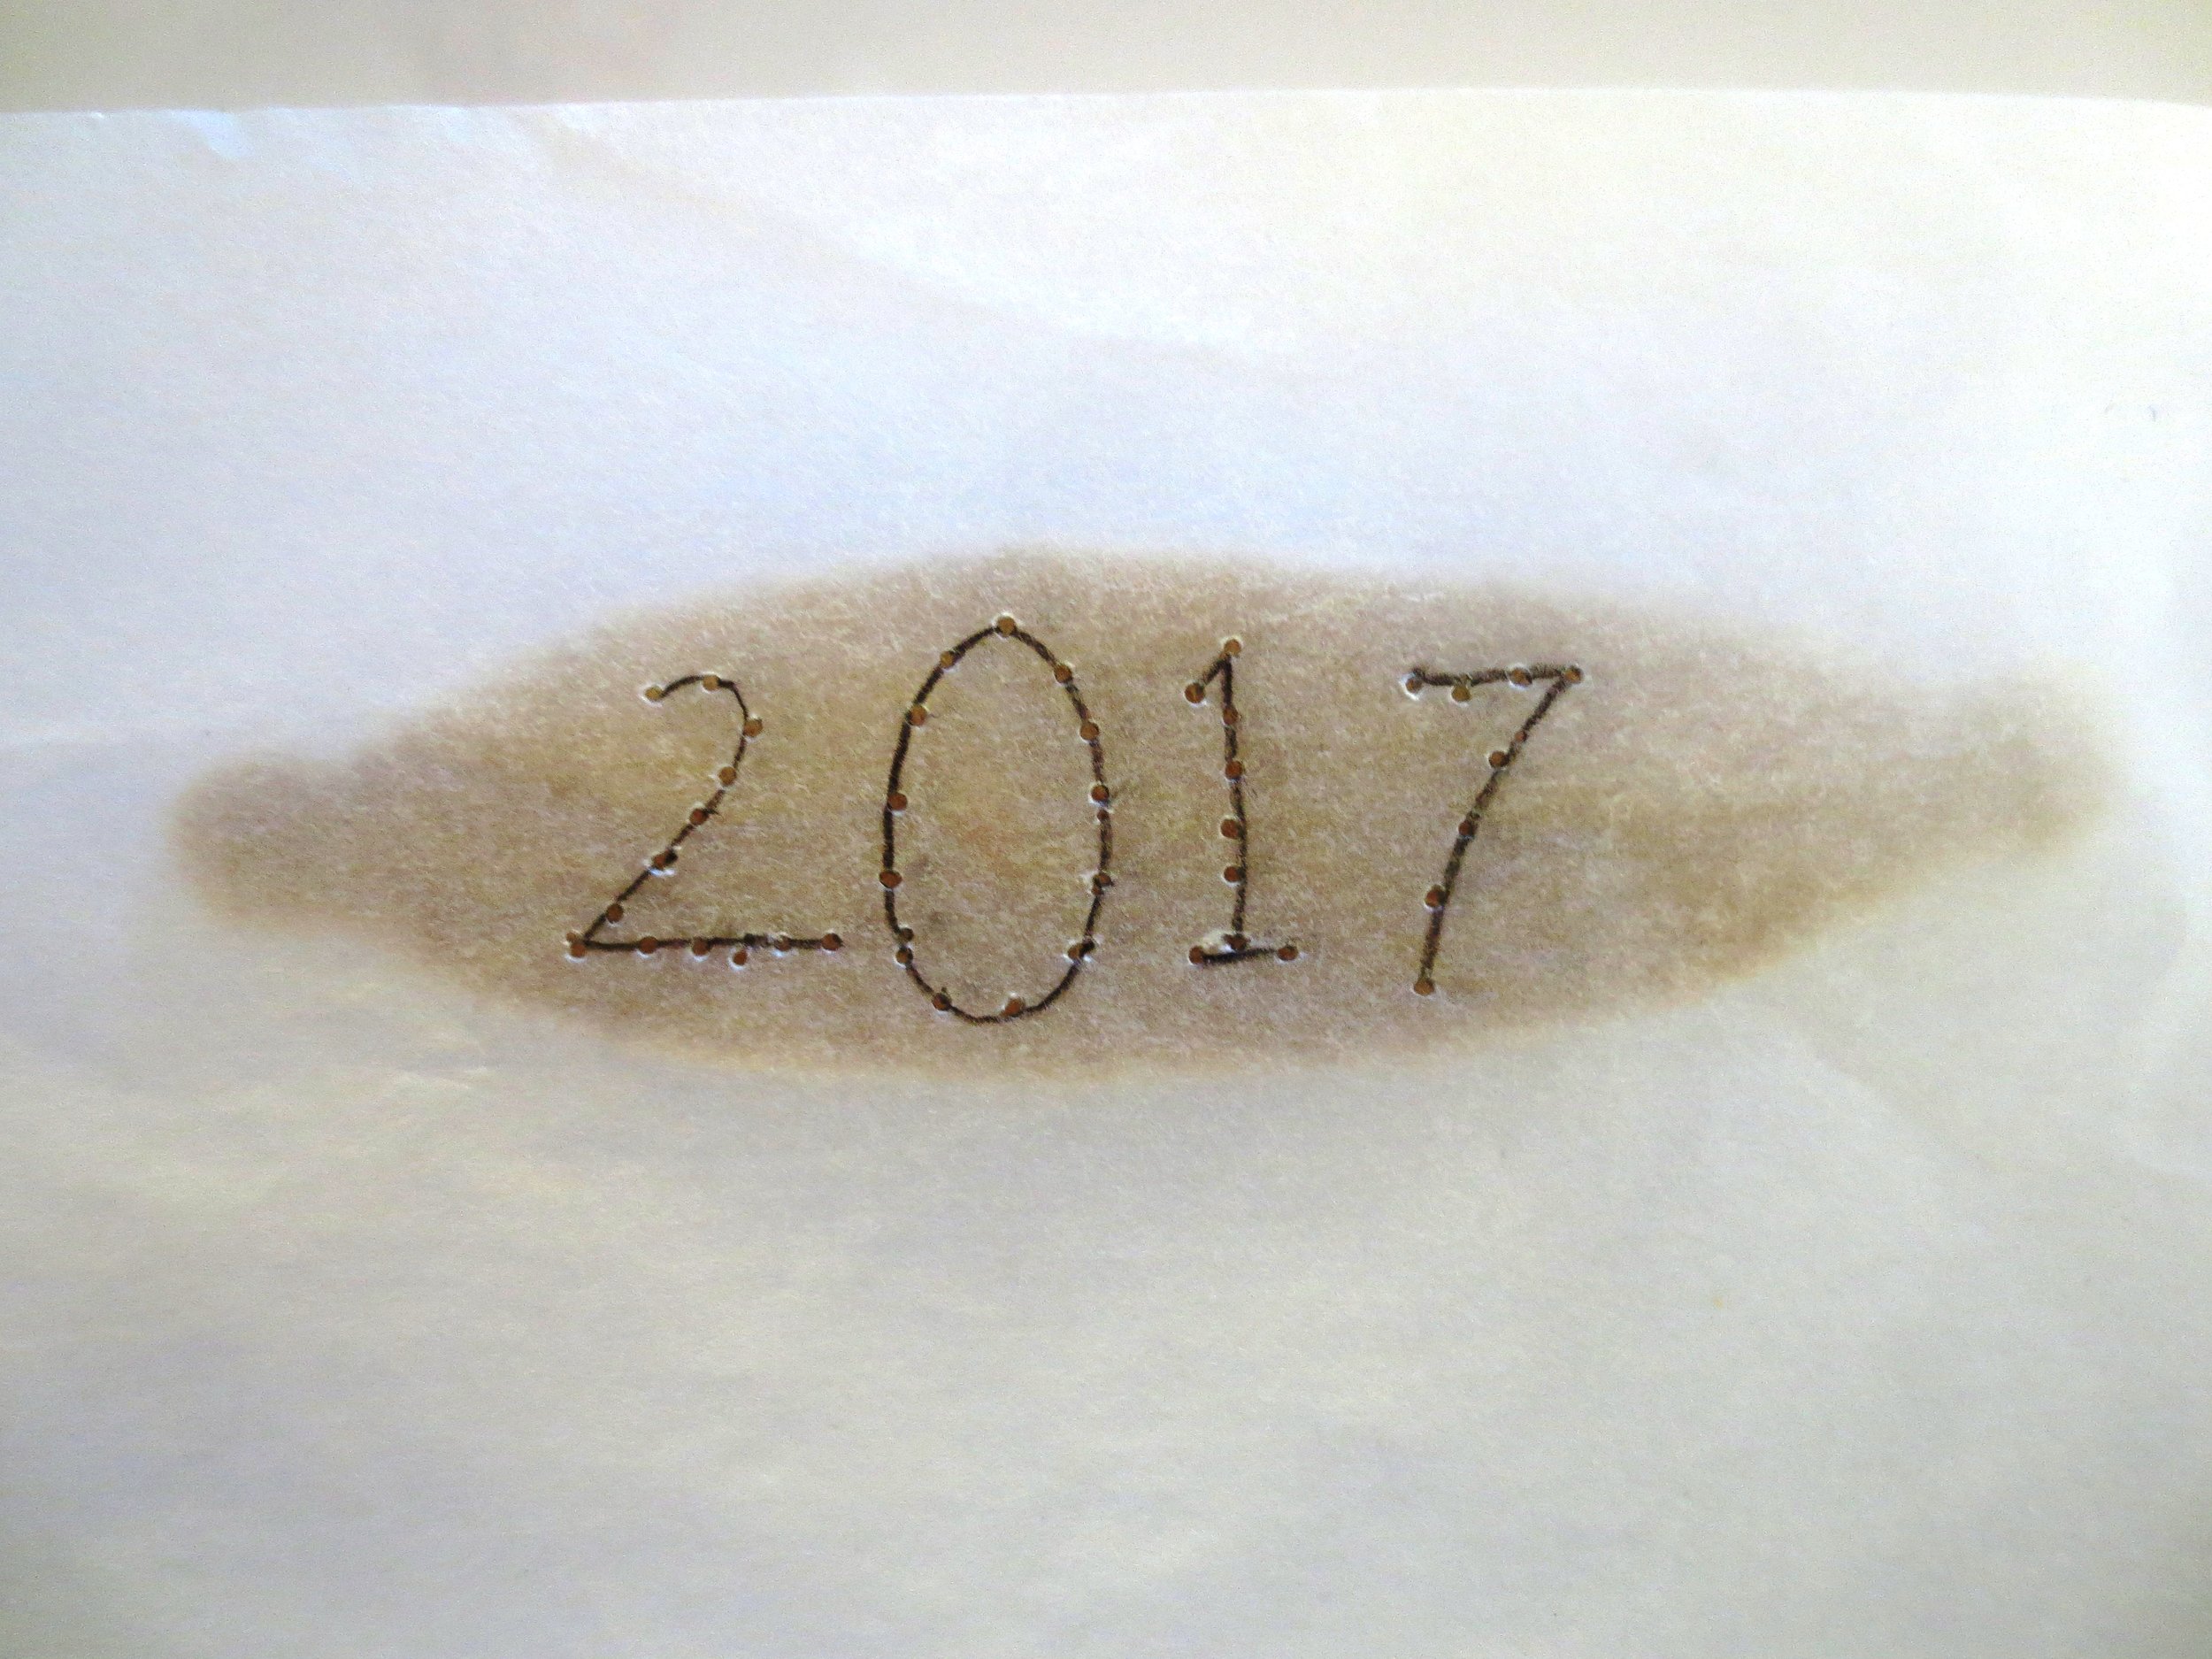
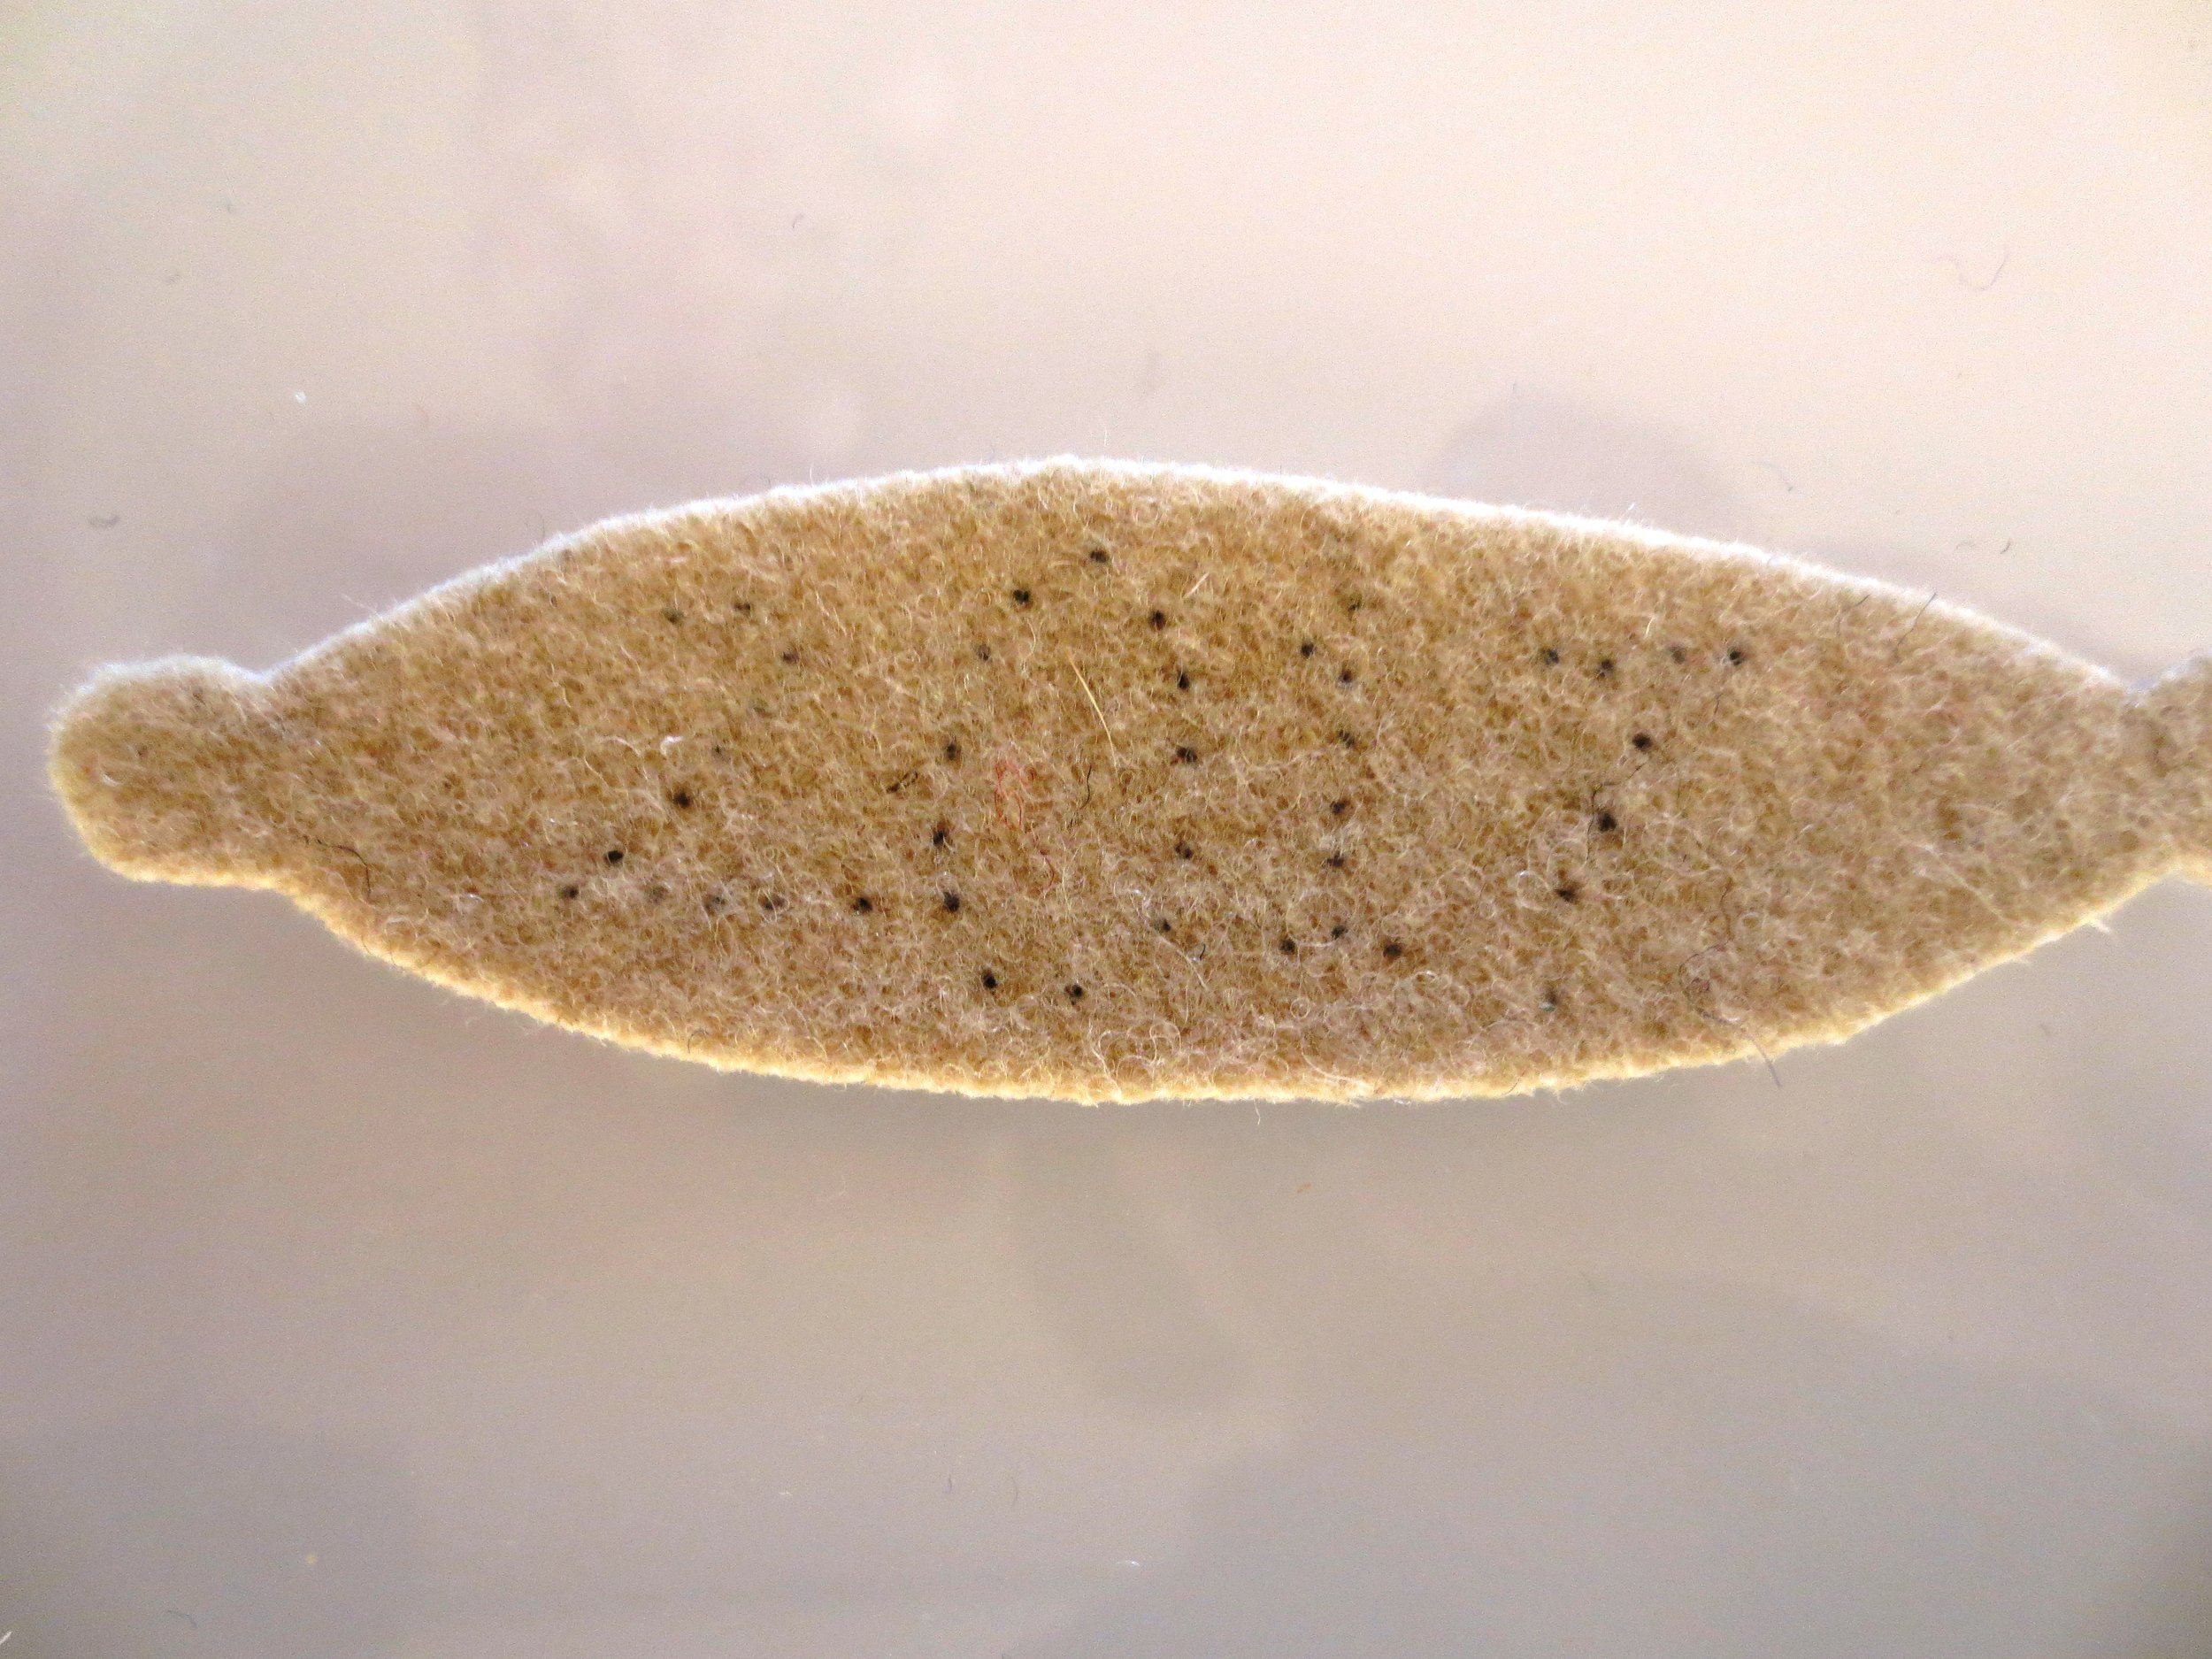
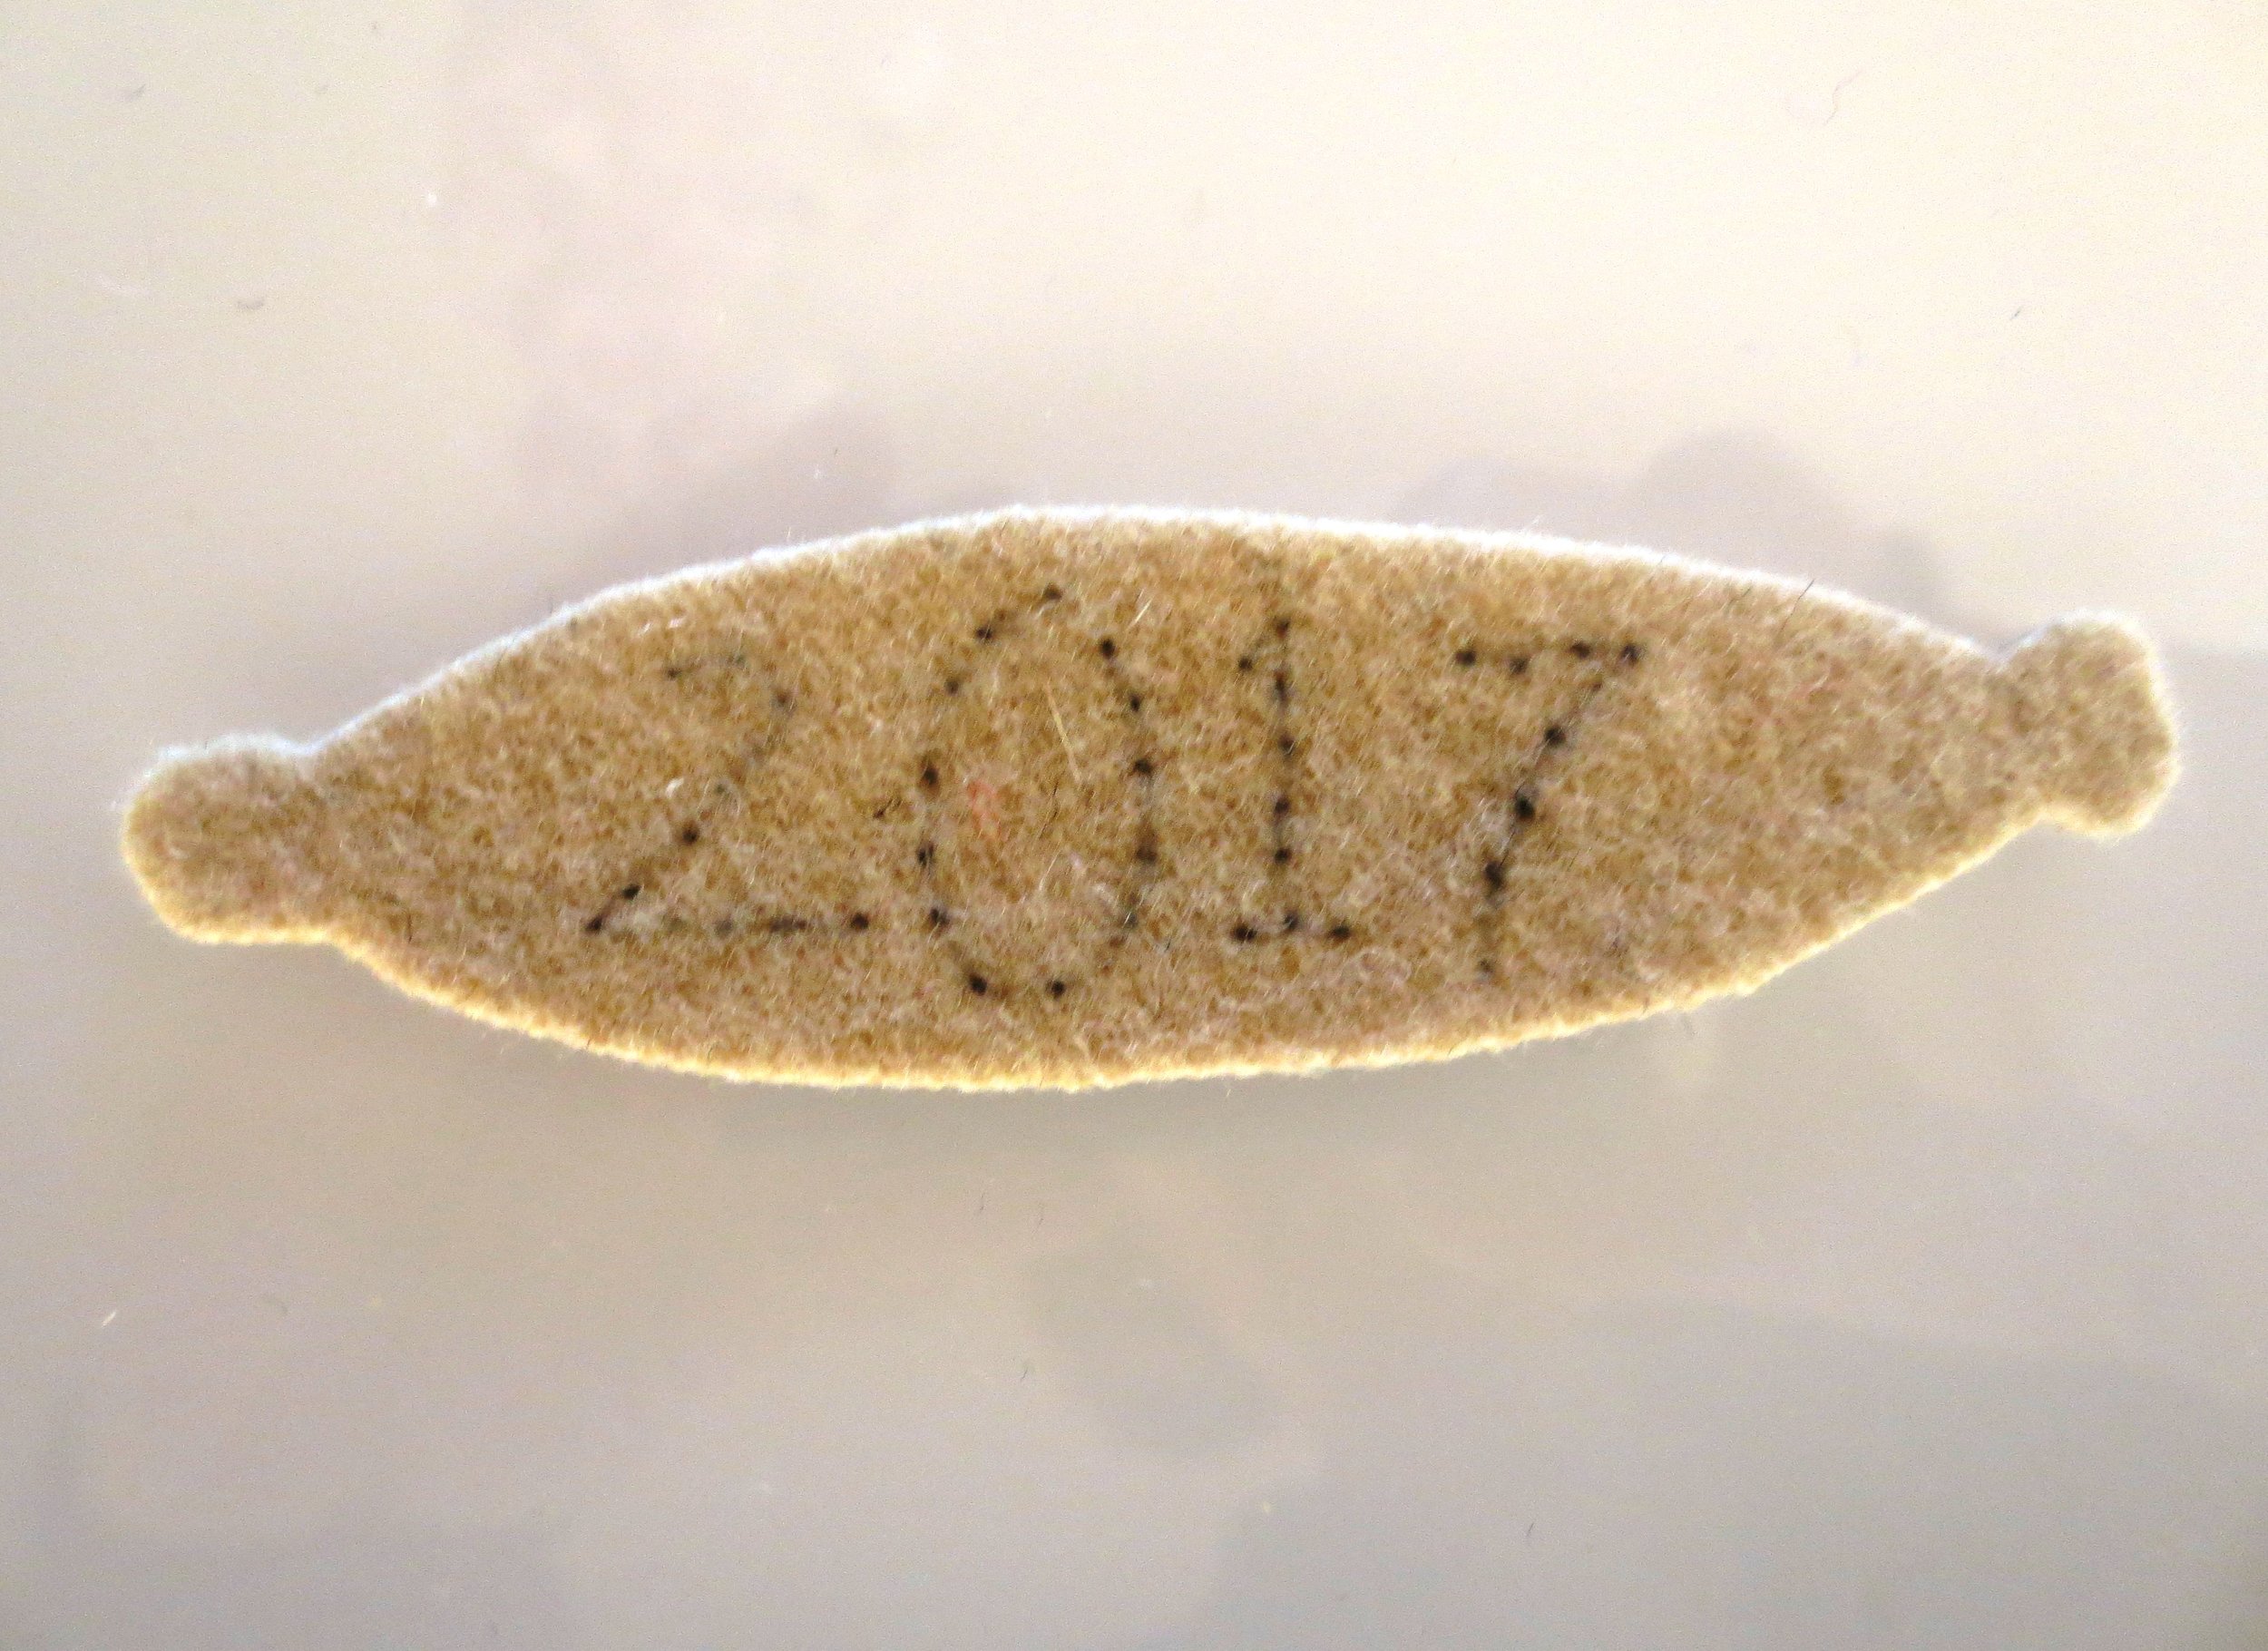
15. Draw the date (or your initals) on the vase plate.
Hint: Trace the date onto tracing paper. Center the traced date onto the wool vase plate. Use a mechanical pencil to poke through the paper making a dot outline of the pattern onto the wool.
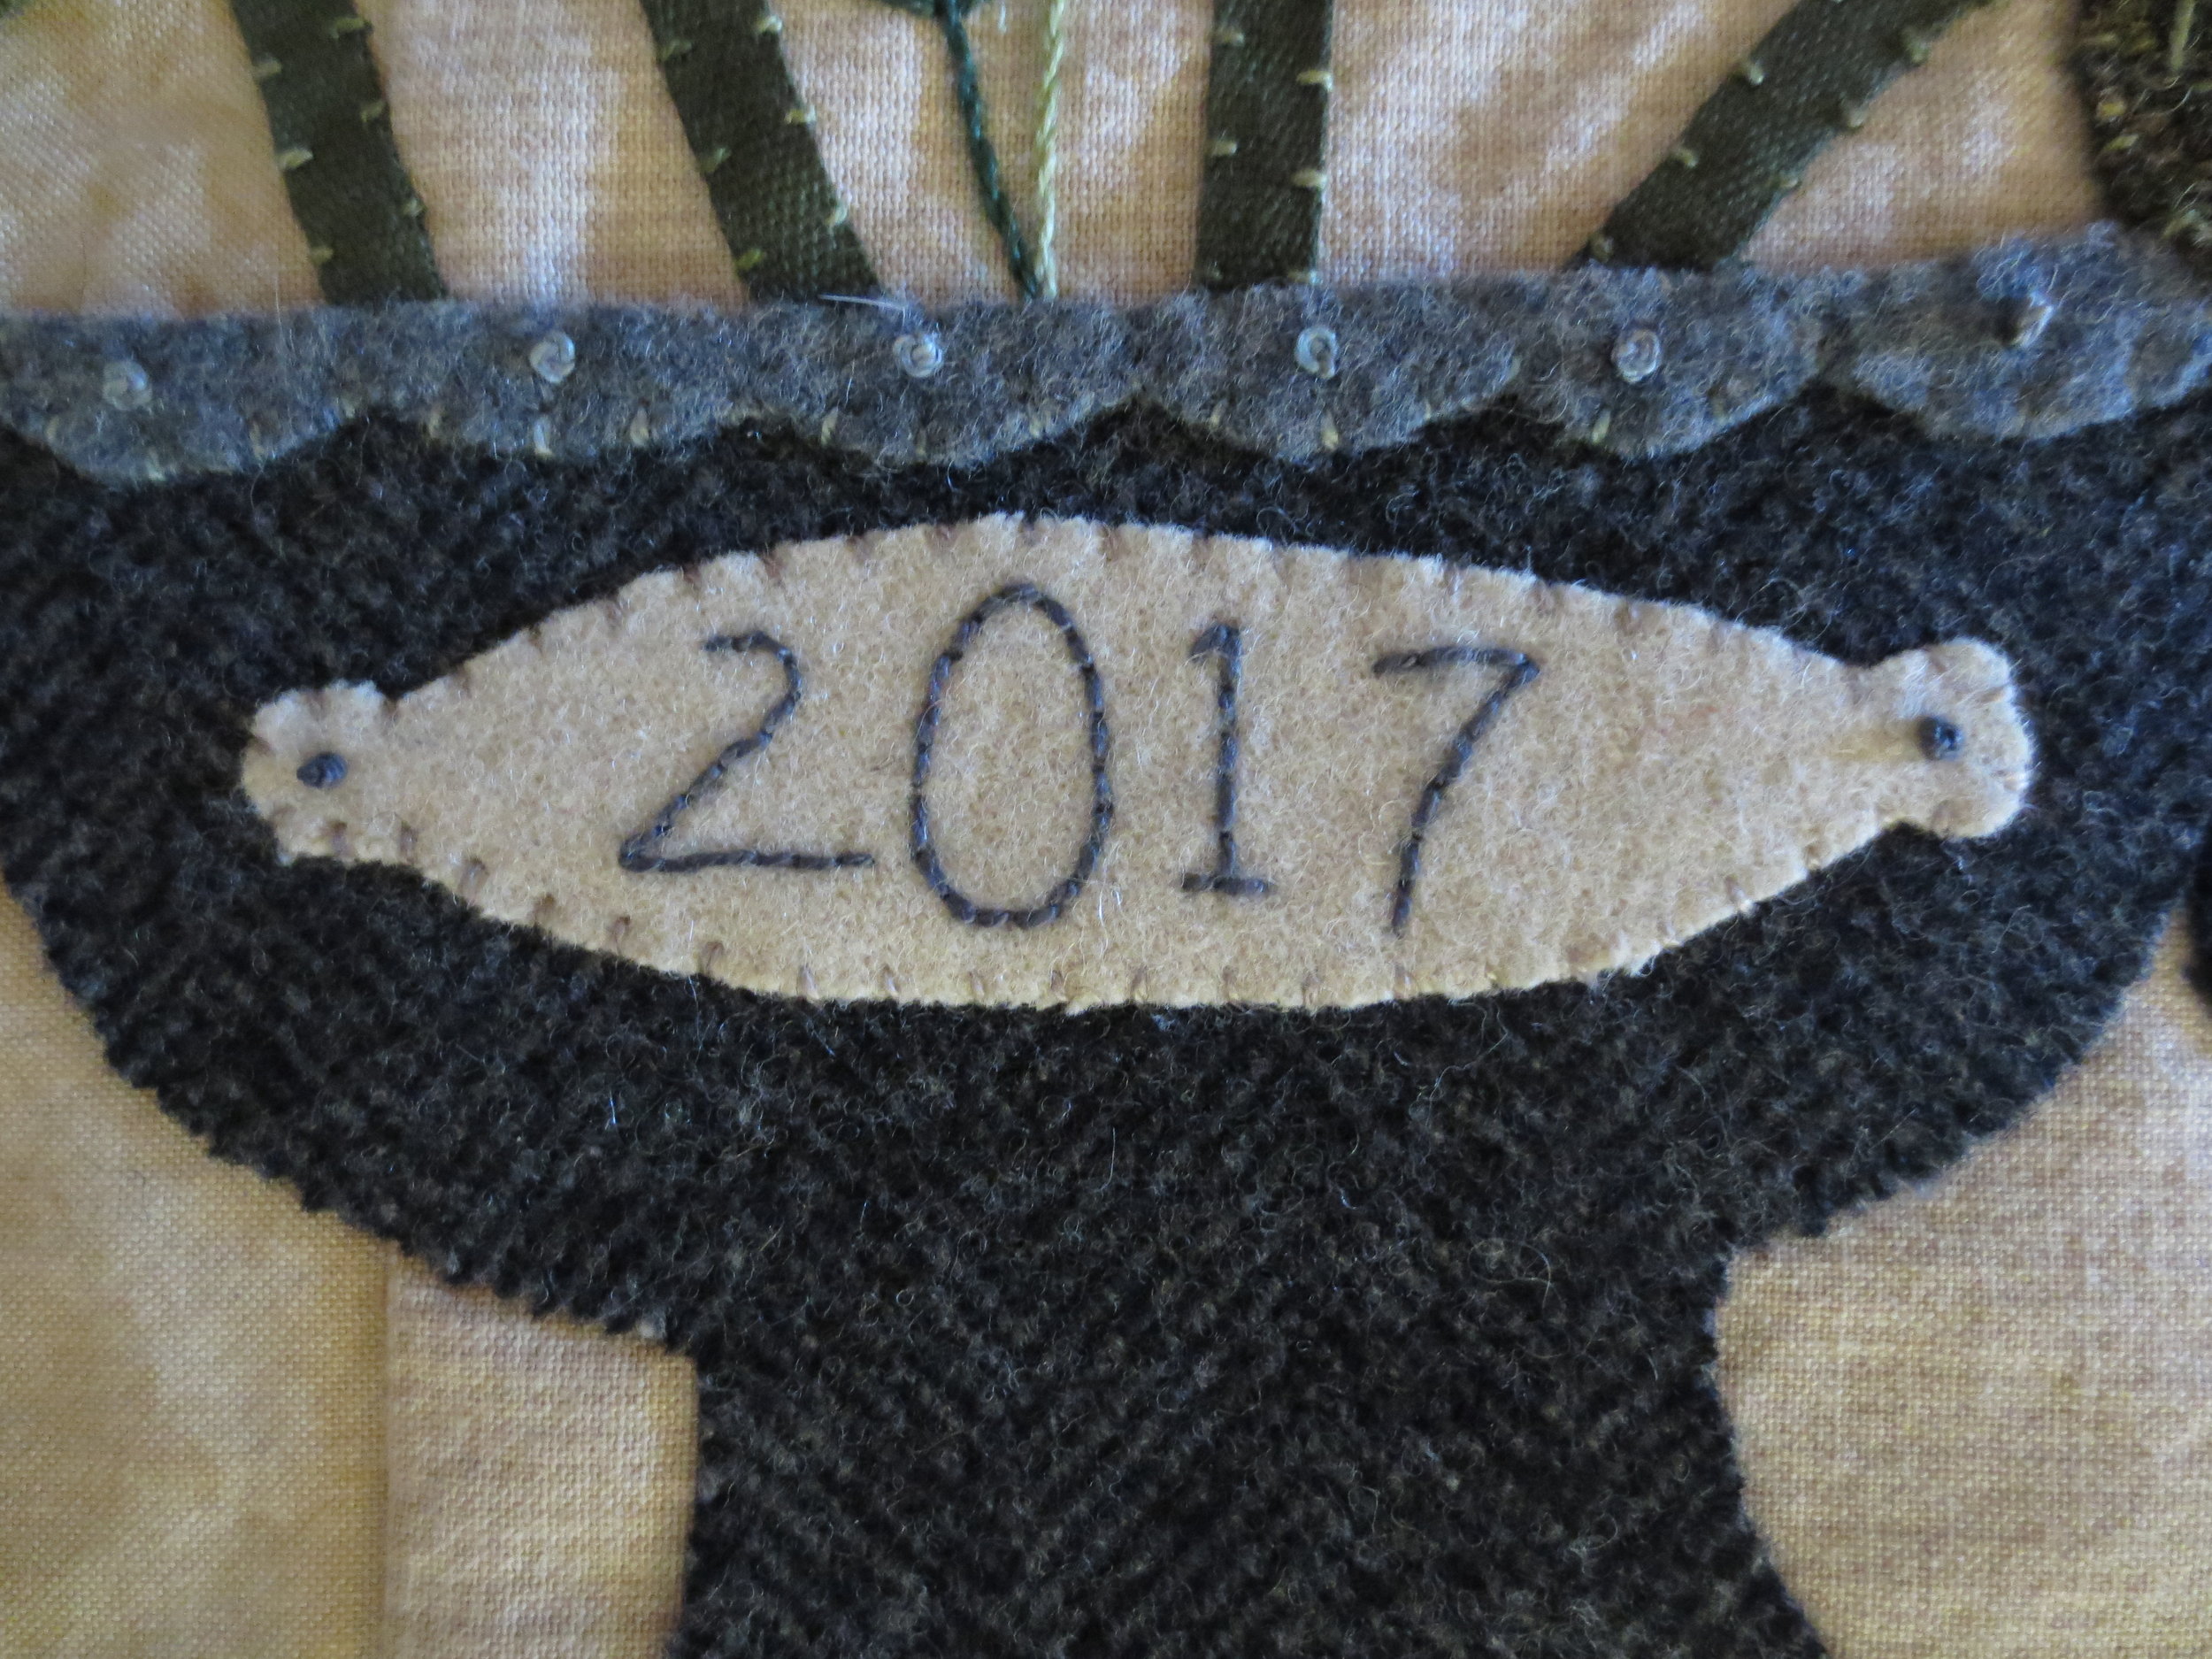
16. Position the vase plate on the vase. Fuse with steam.
17. Whip stitch in place.
18. Back stitch the date using Valdani #135.
19. Stitch a single colonial knot, using the same thread, in the center of each of the side "knobs."
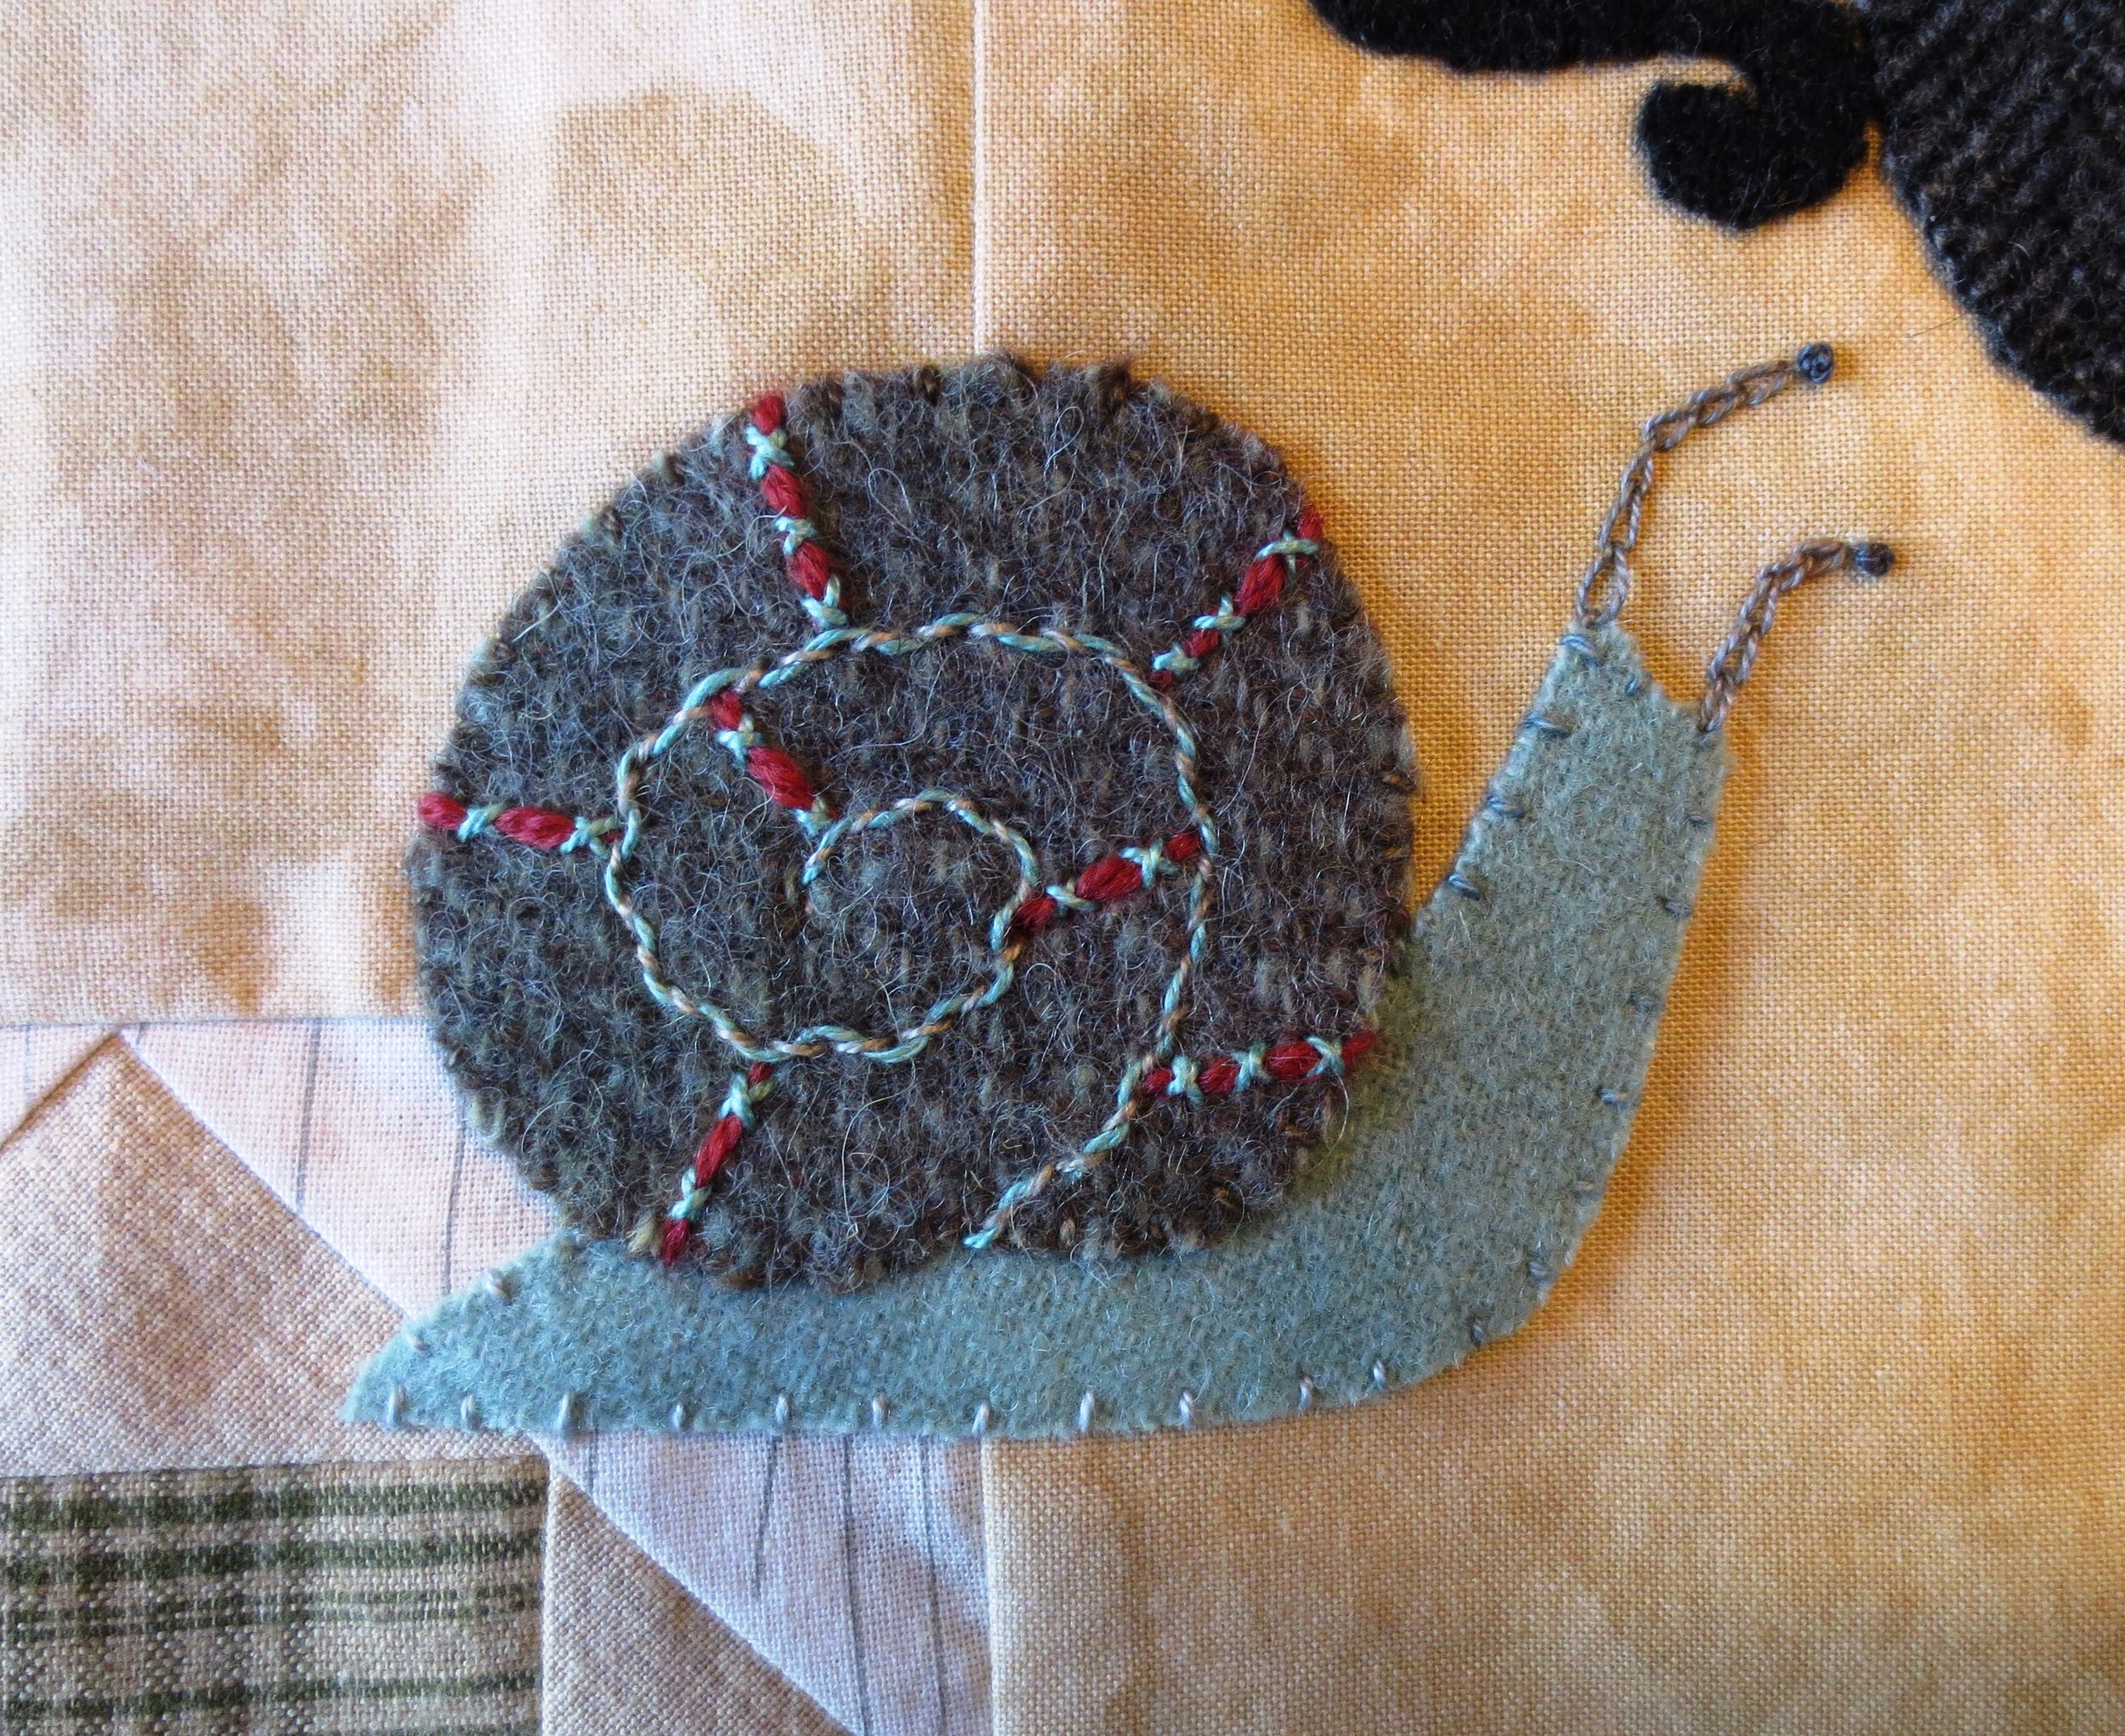
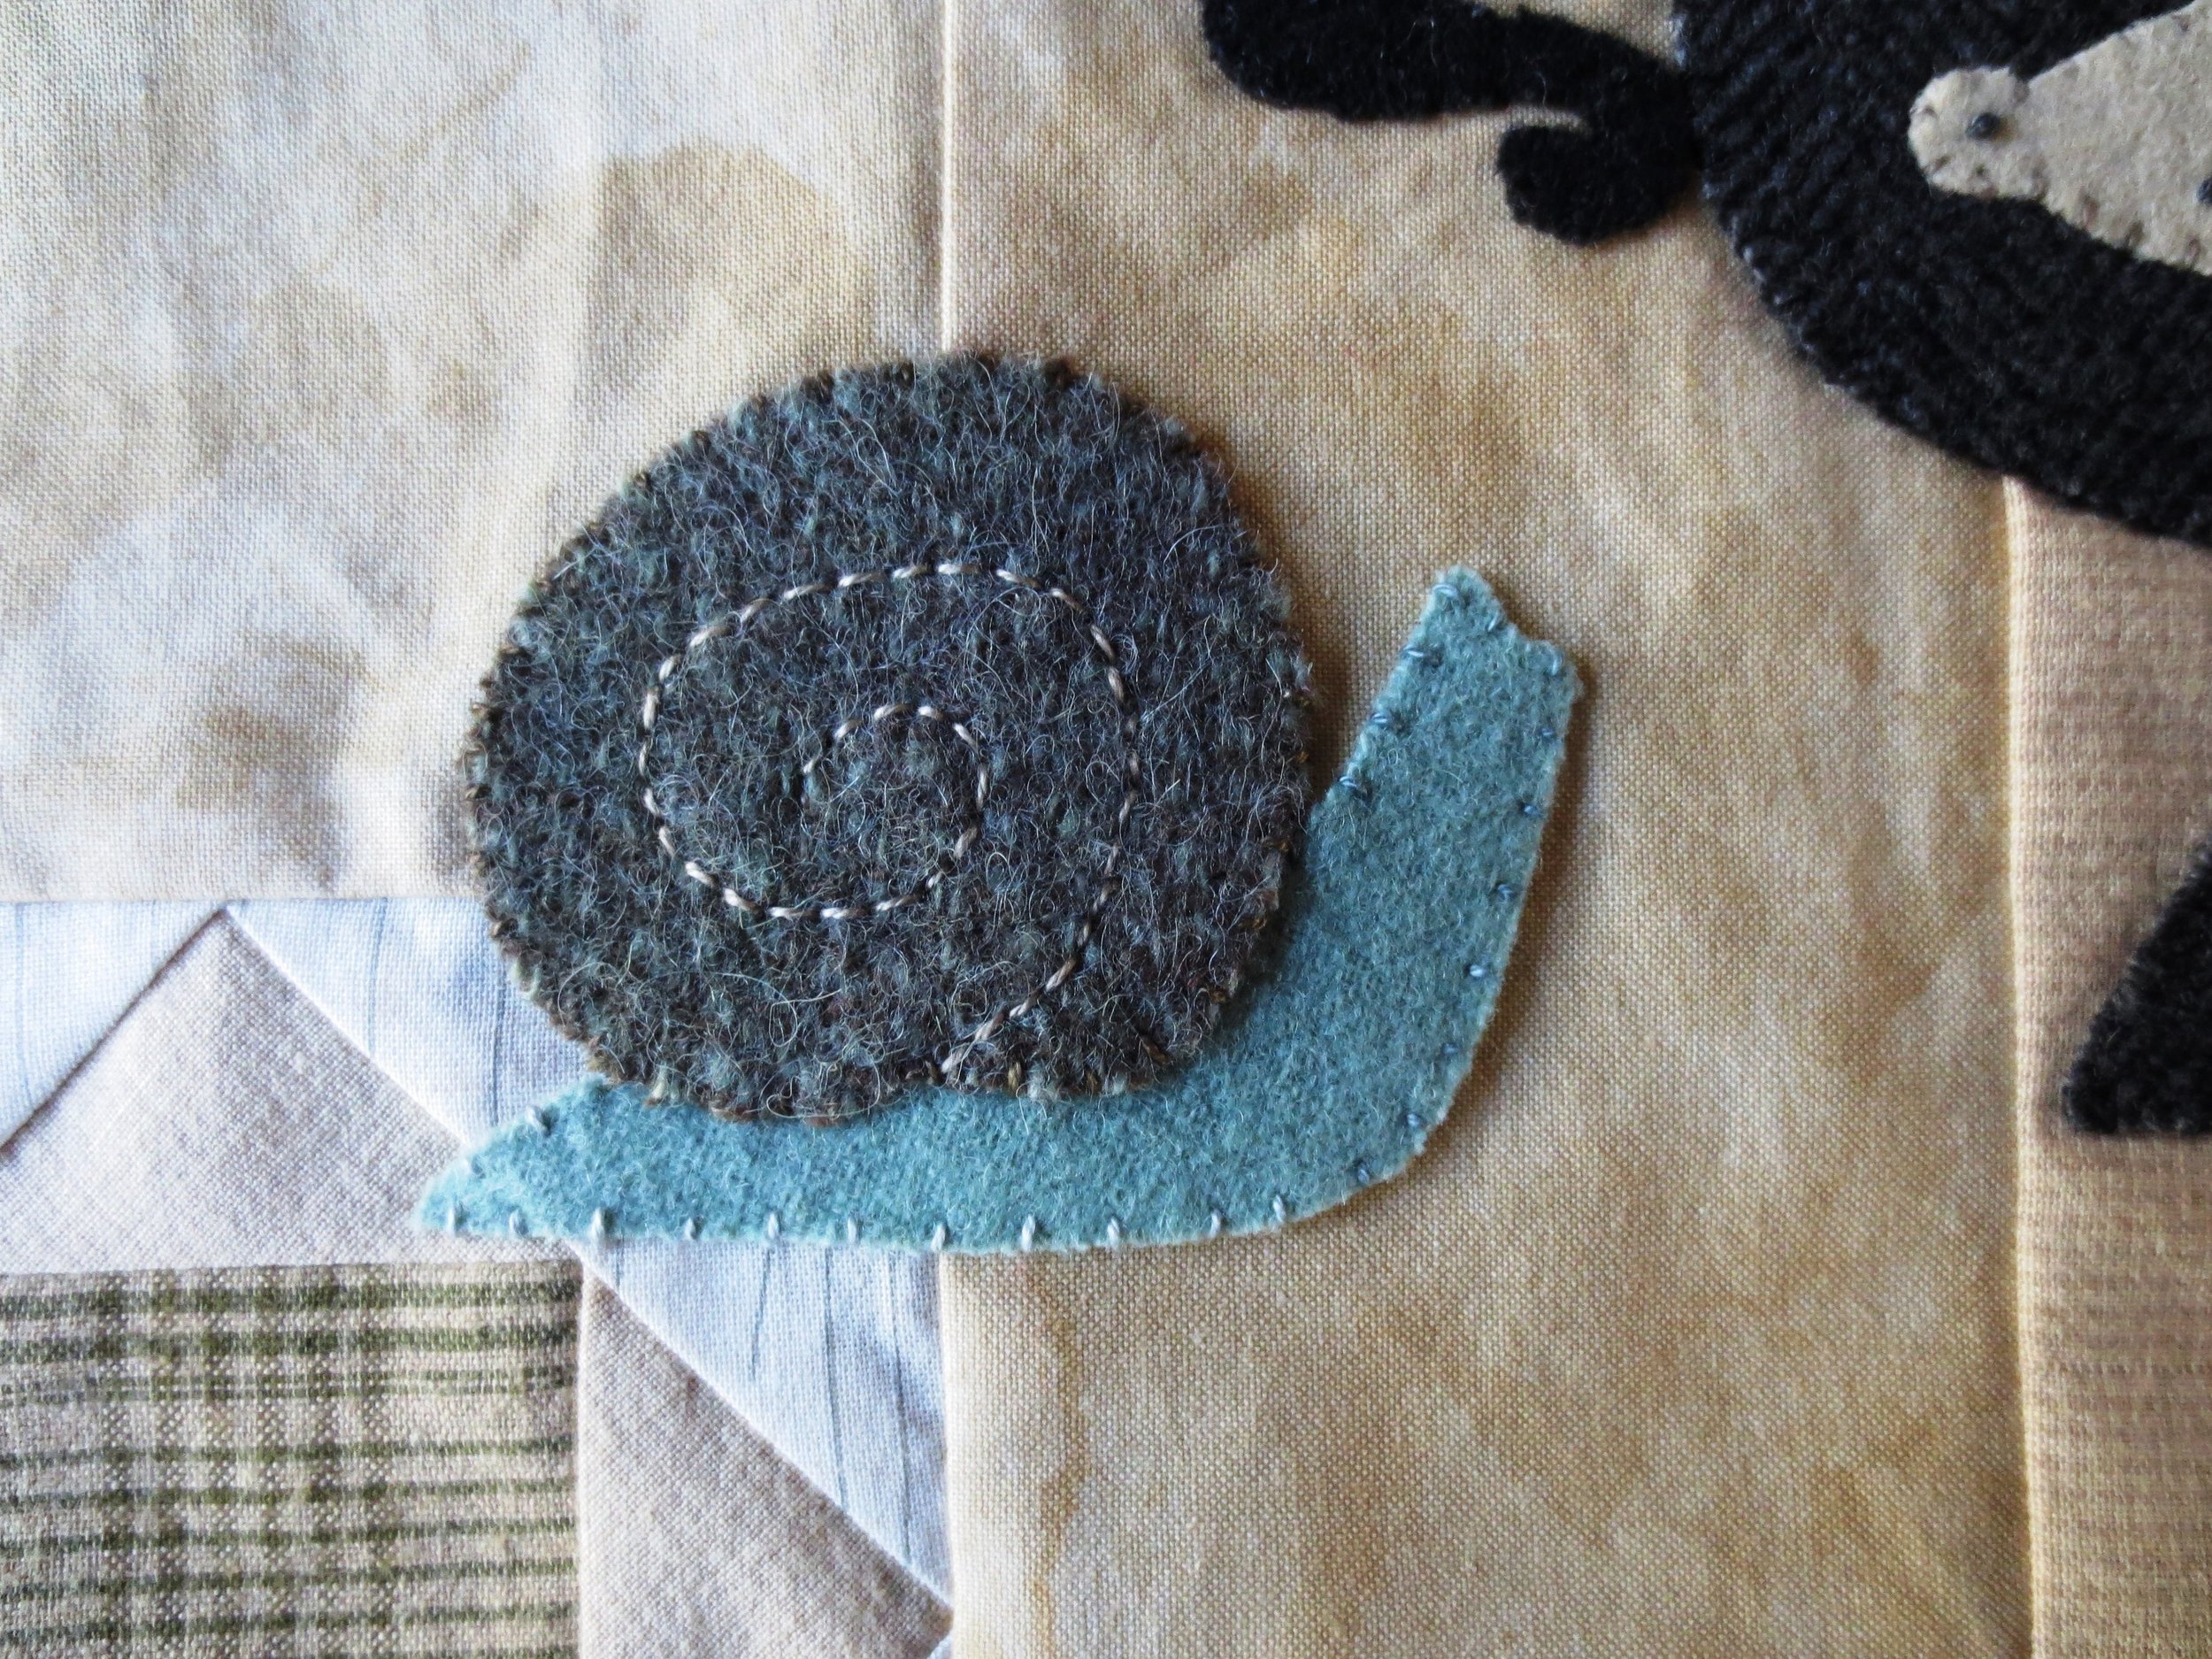
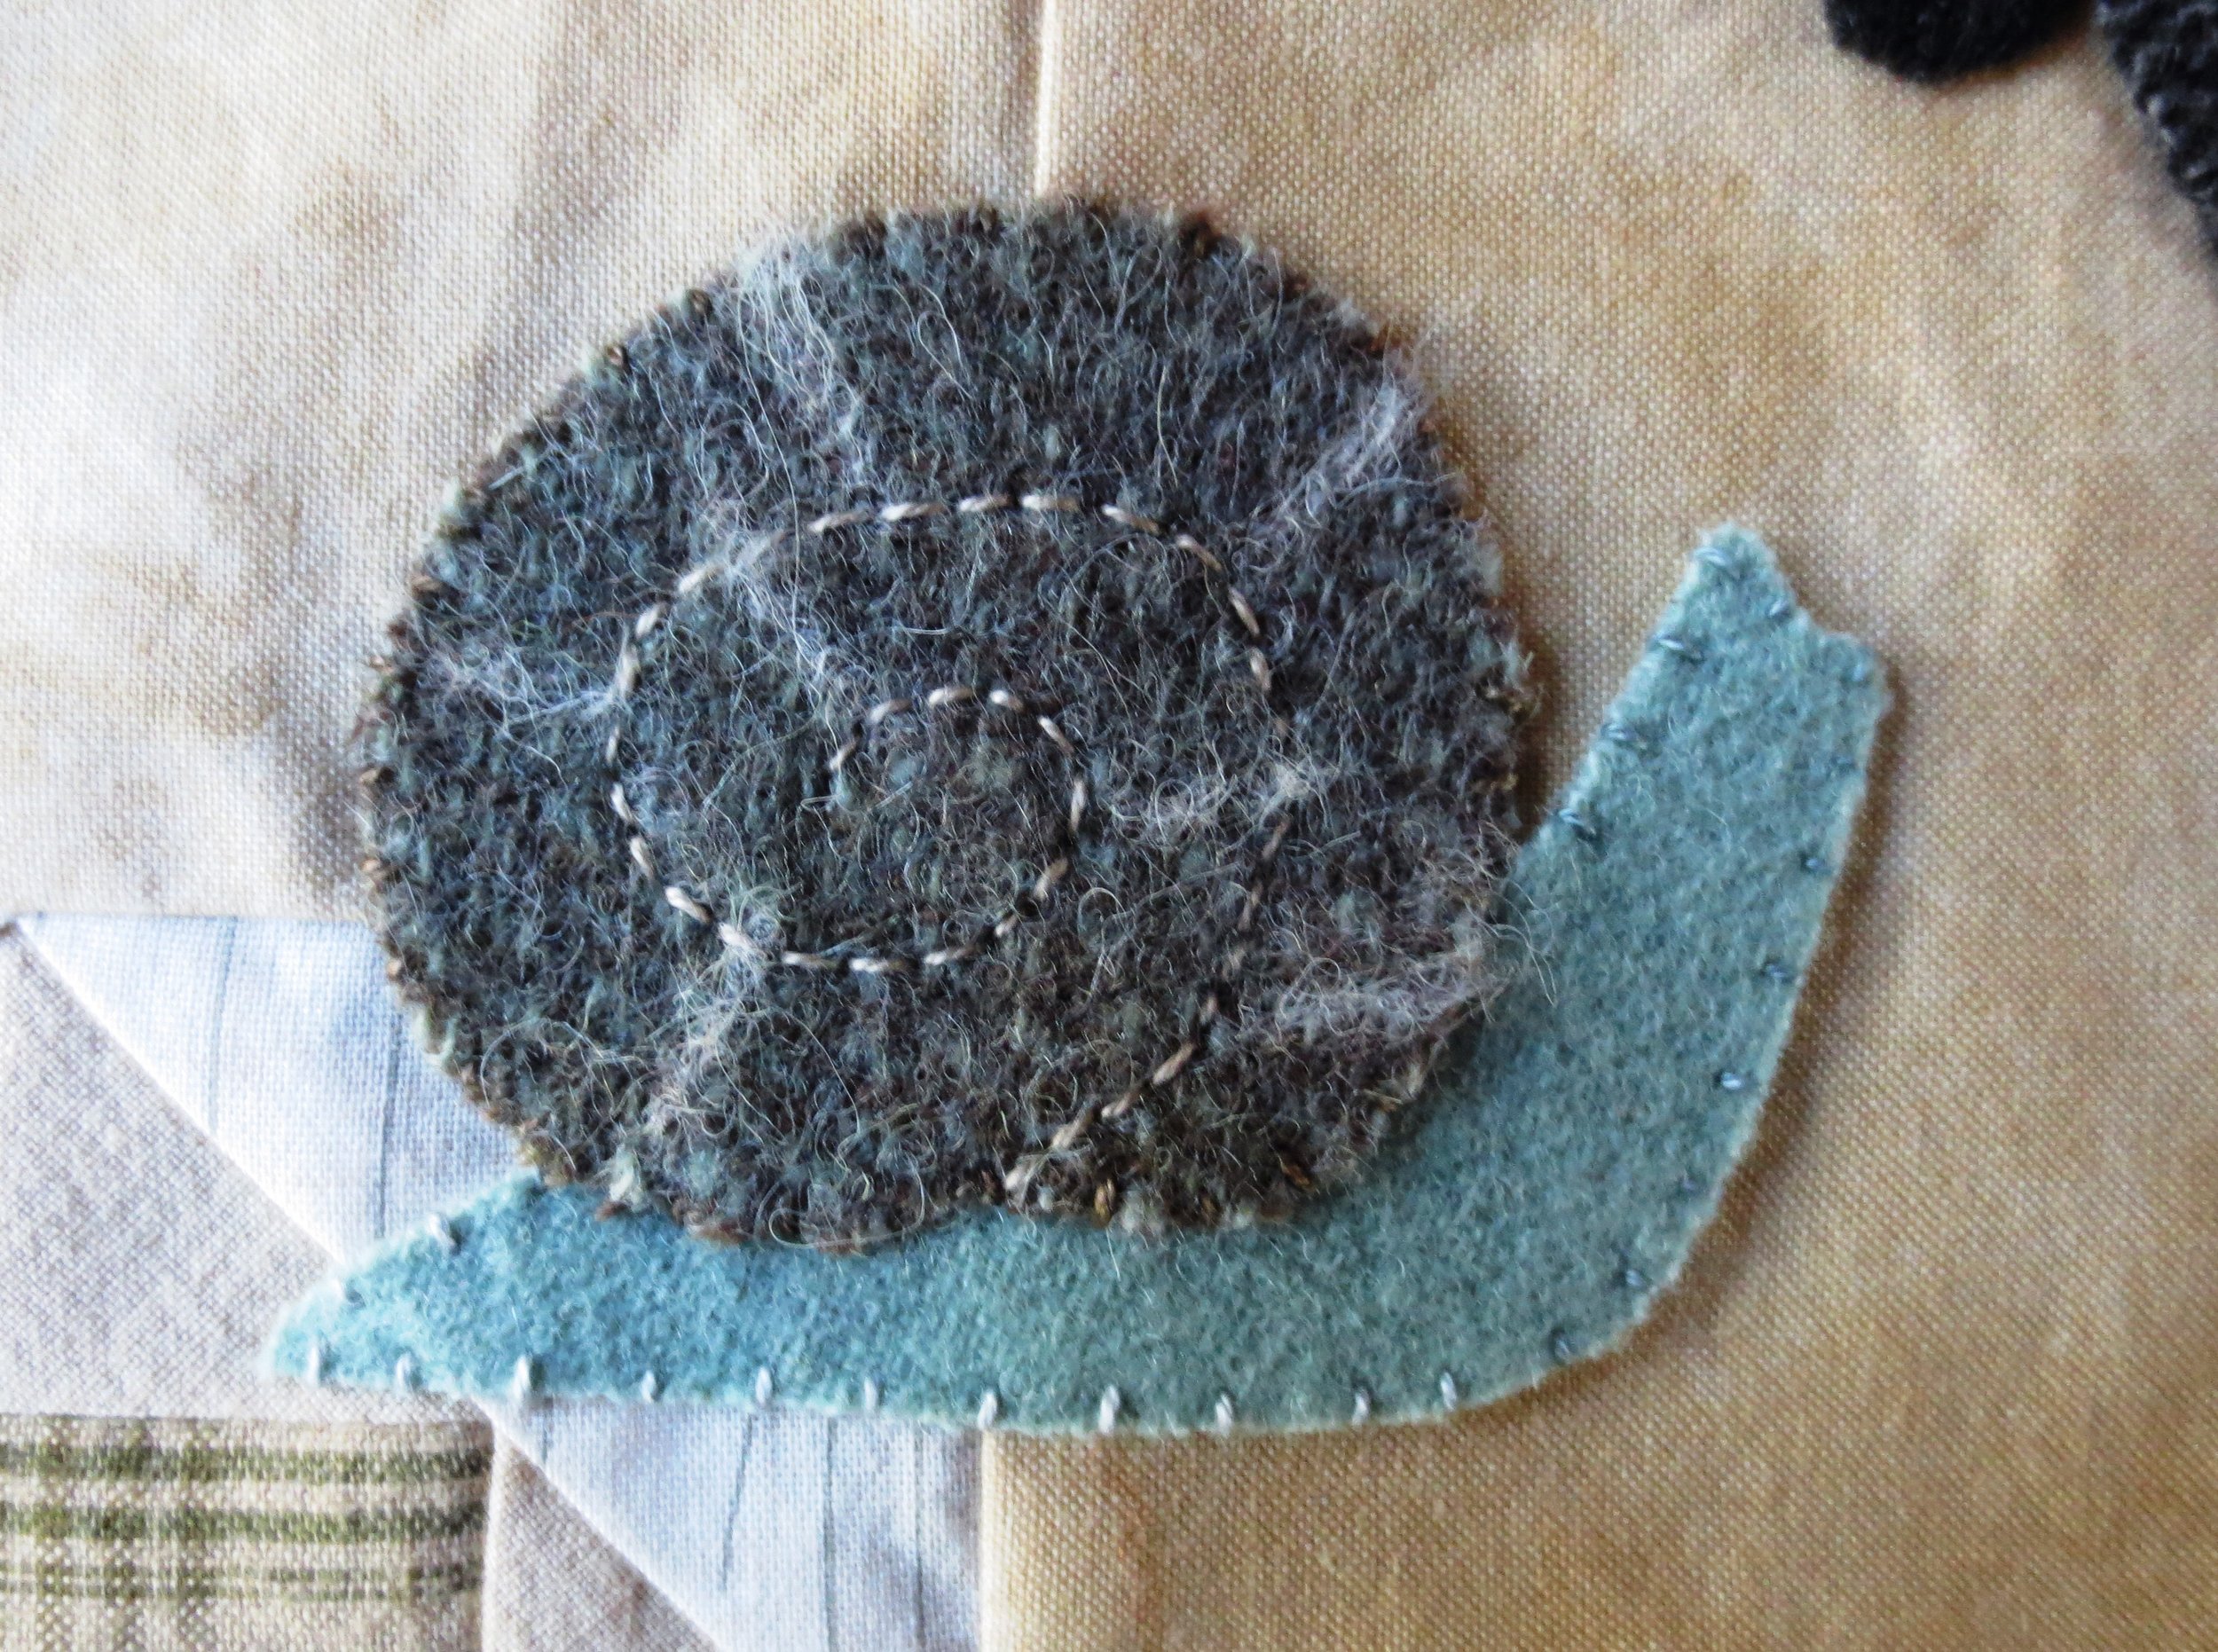
20. Snail
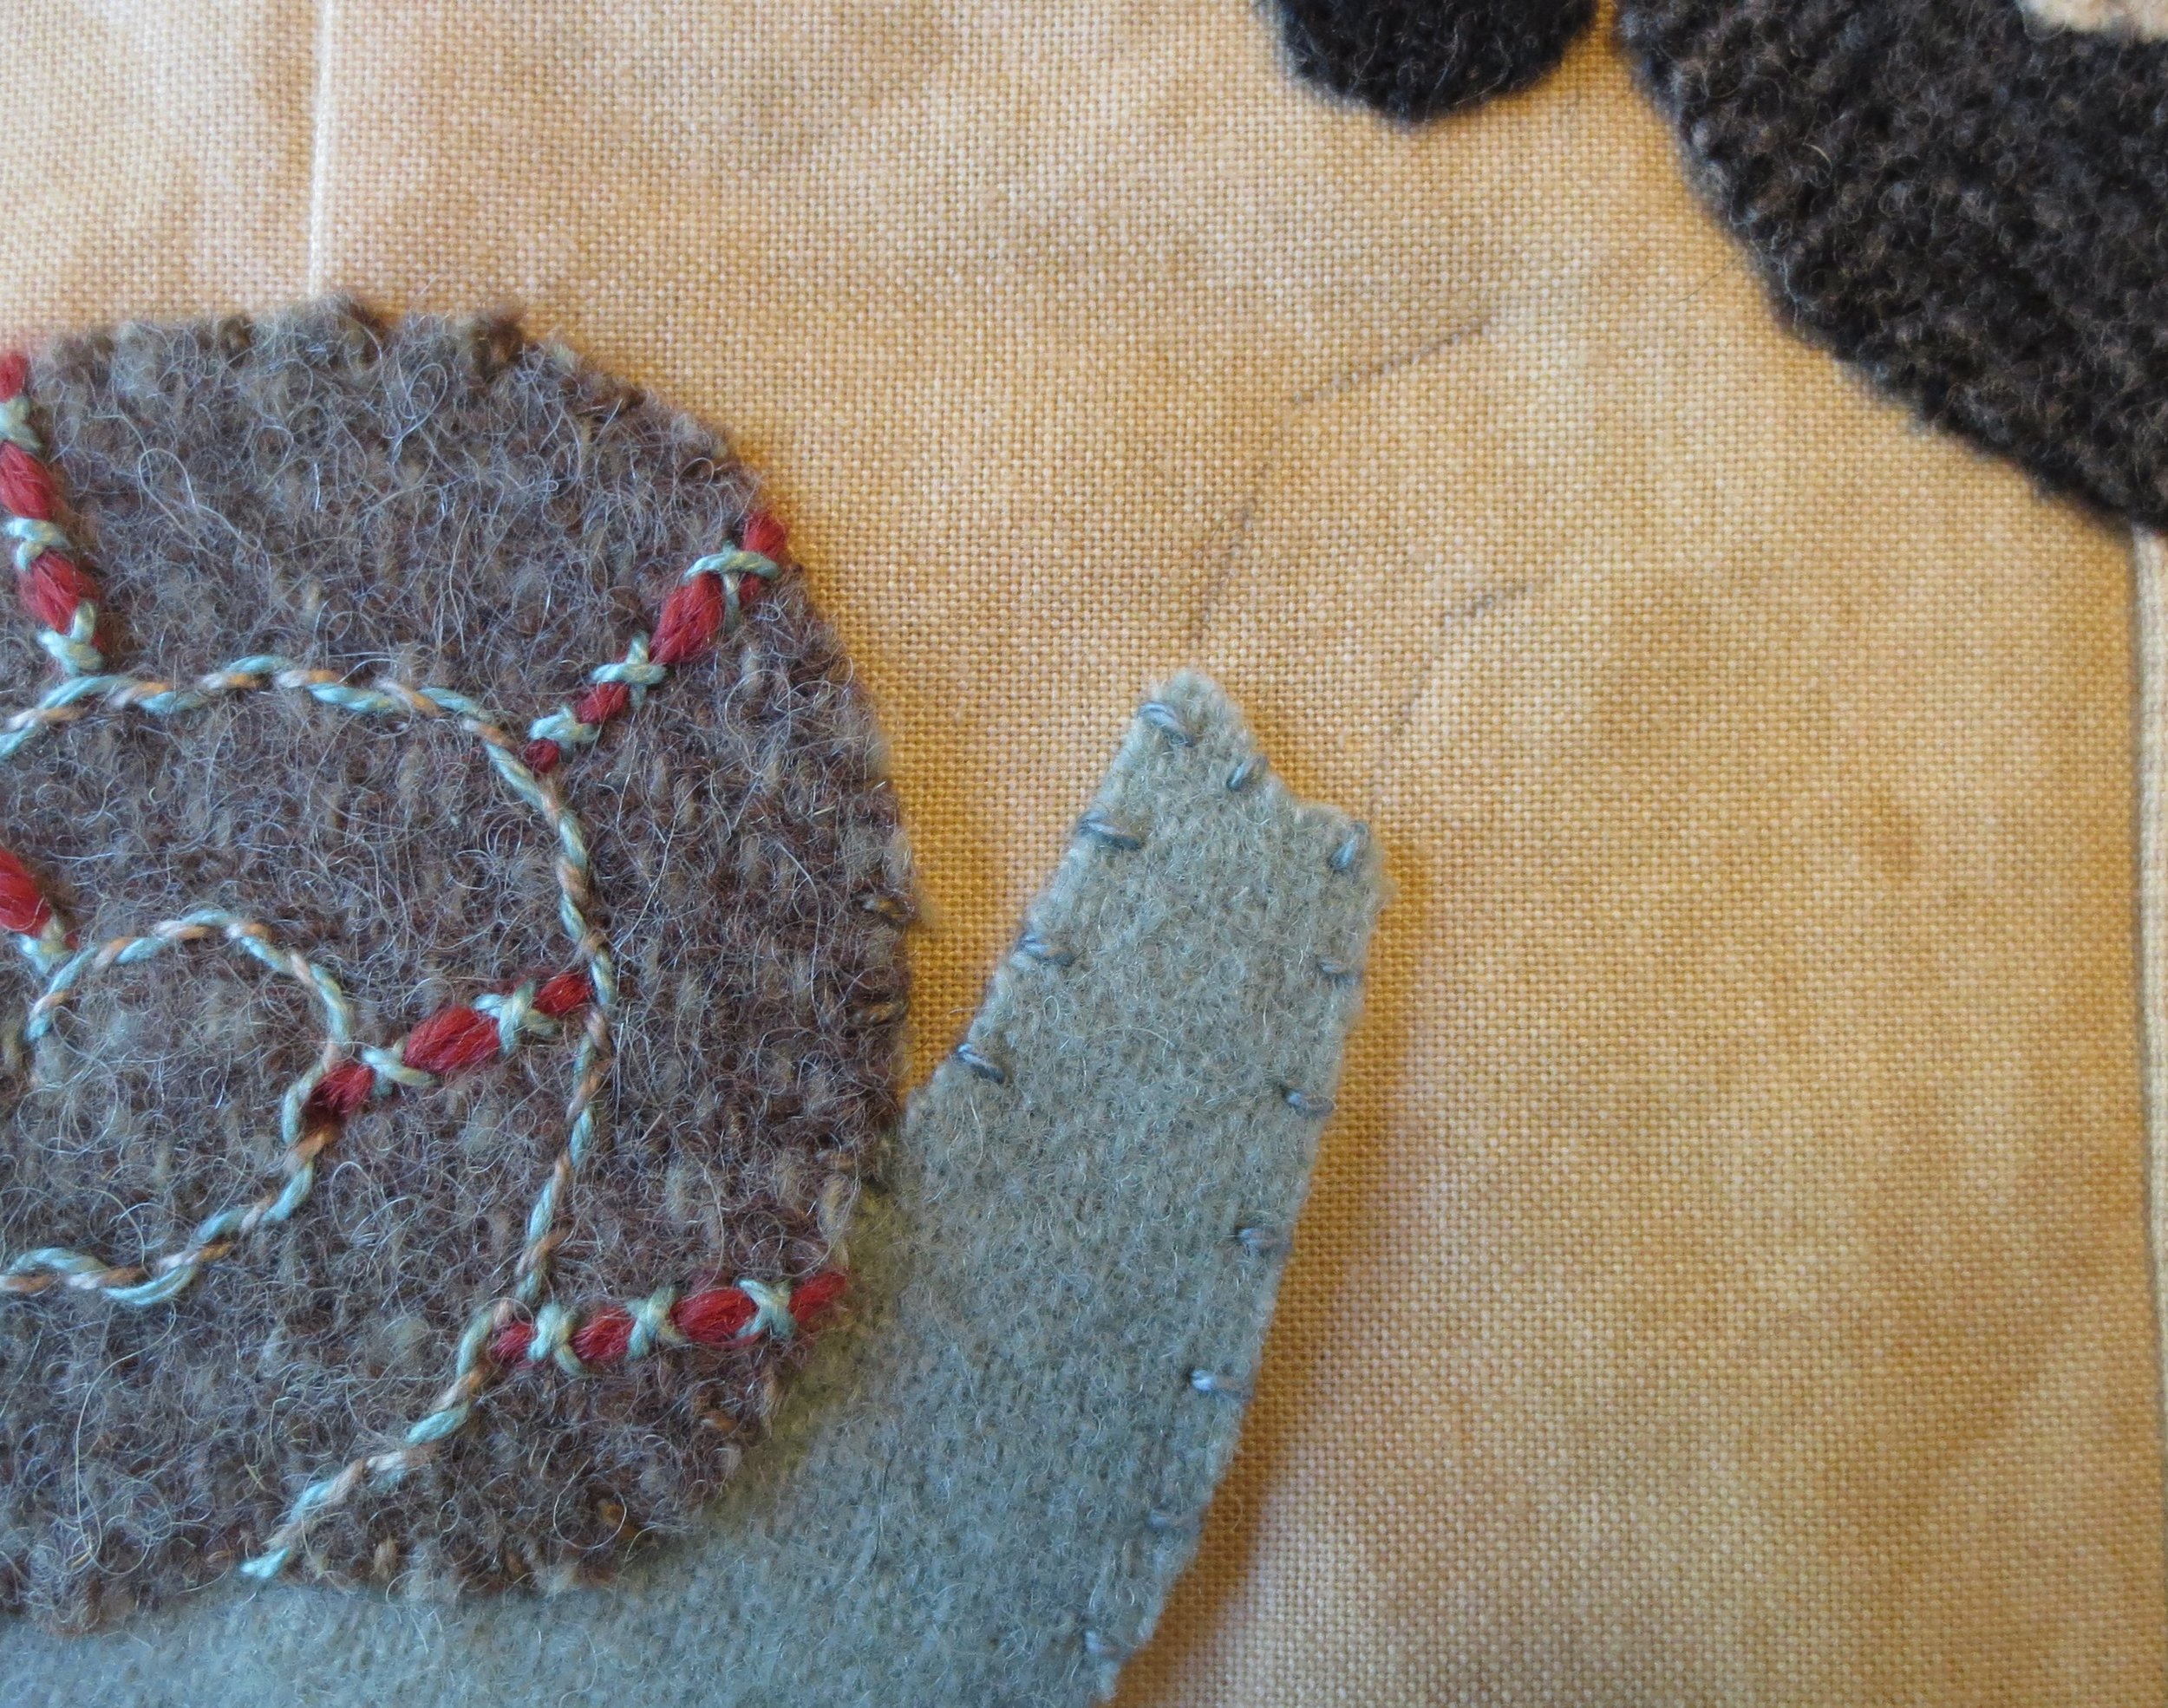
- Position the snail body and shell to the left of the vase using the layout as a guide.
- Fuse in place using steam.
- Whip stitch the body and shell using thread that matches wool colors. I used Finca #4379 and Valdani #O518.
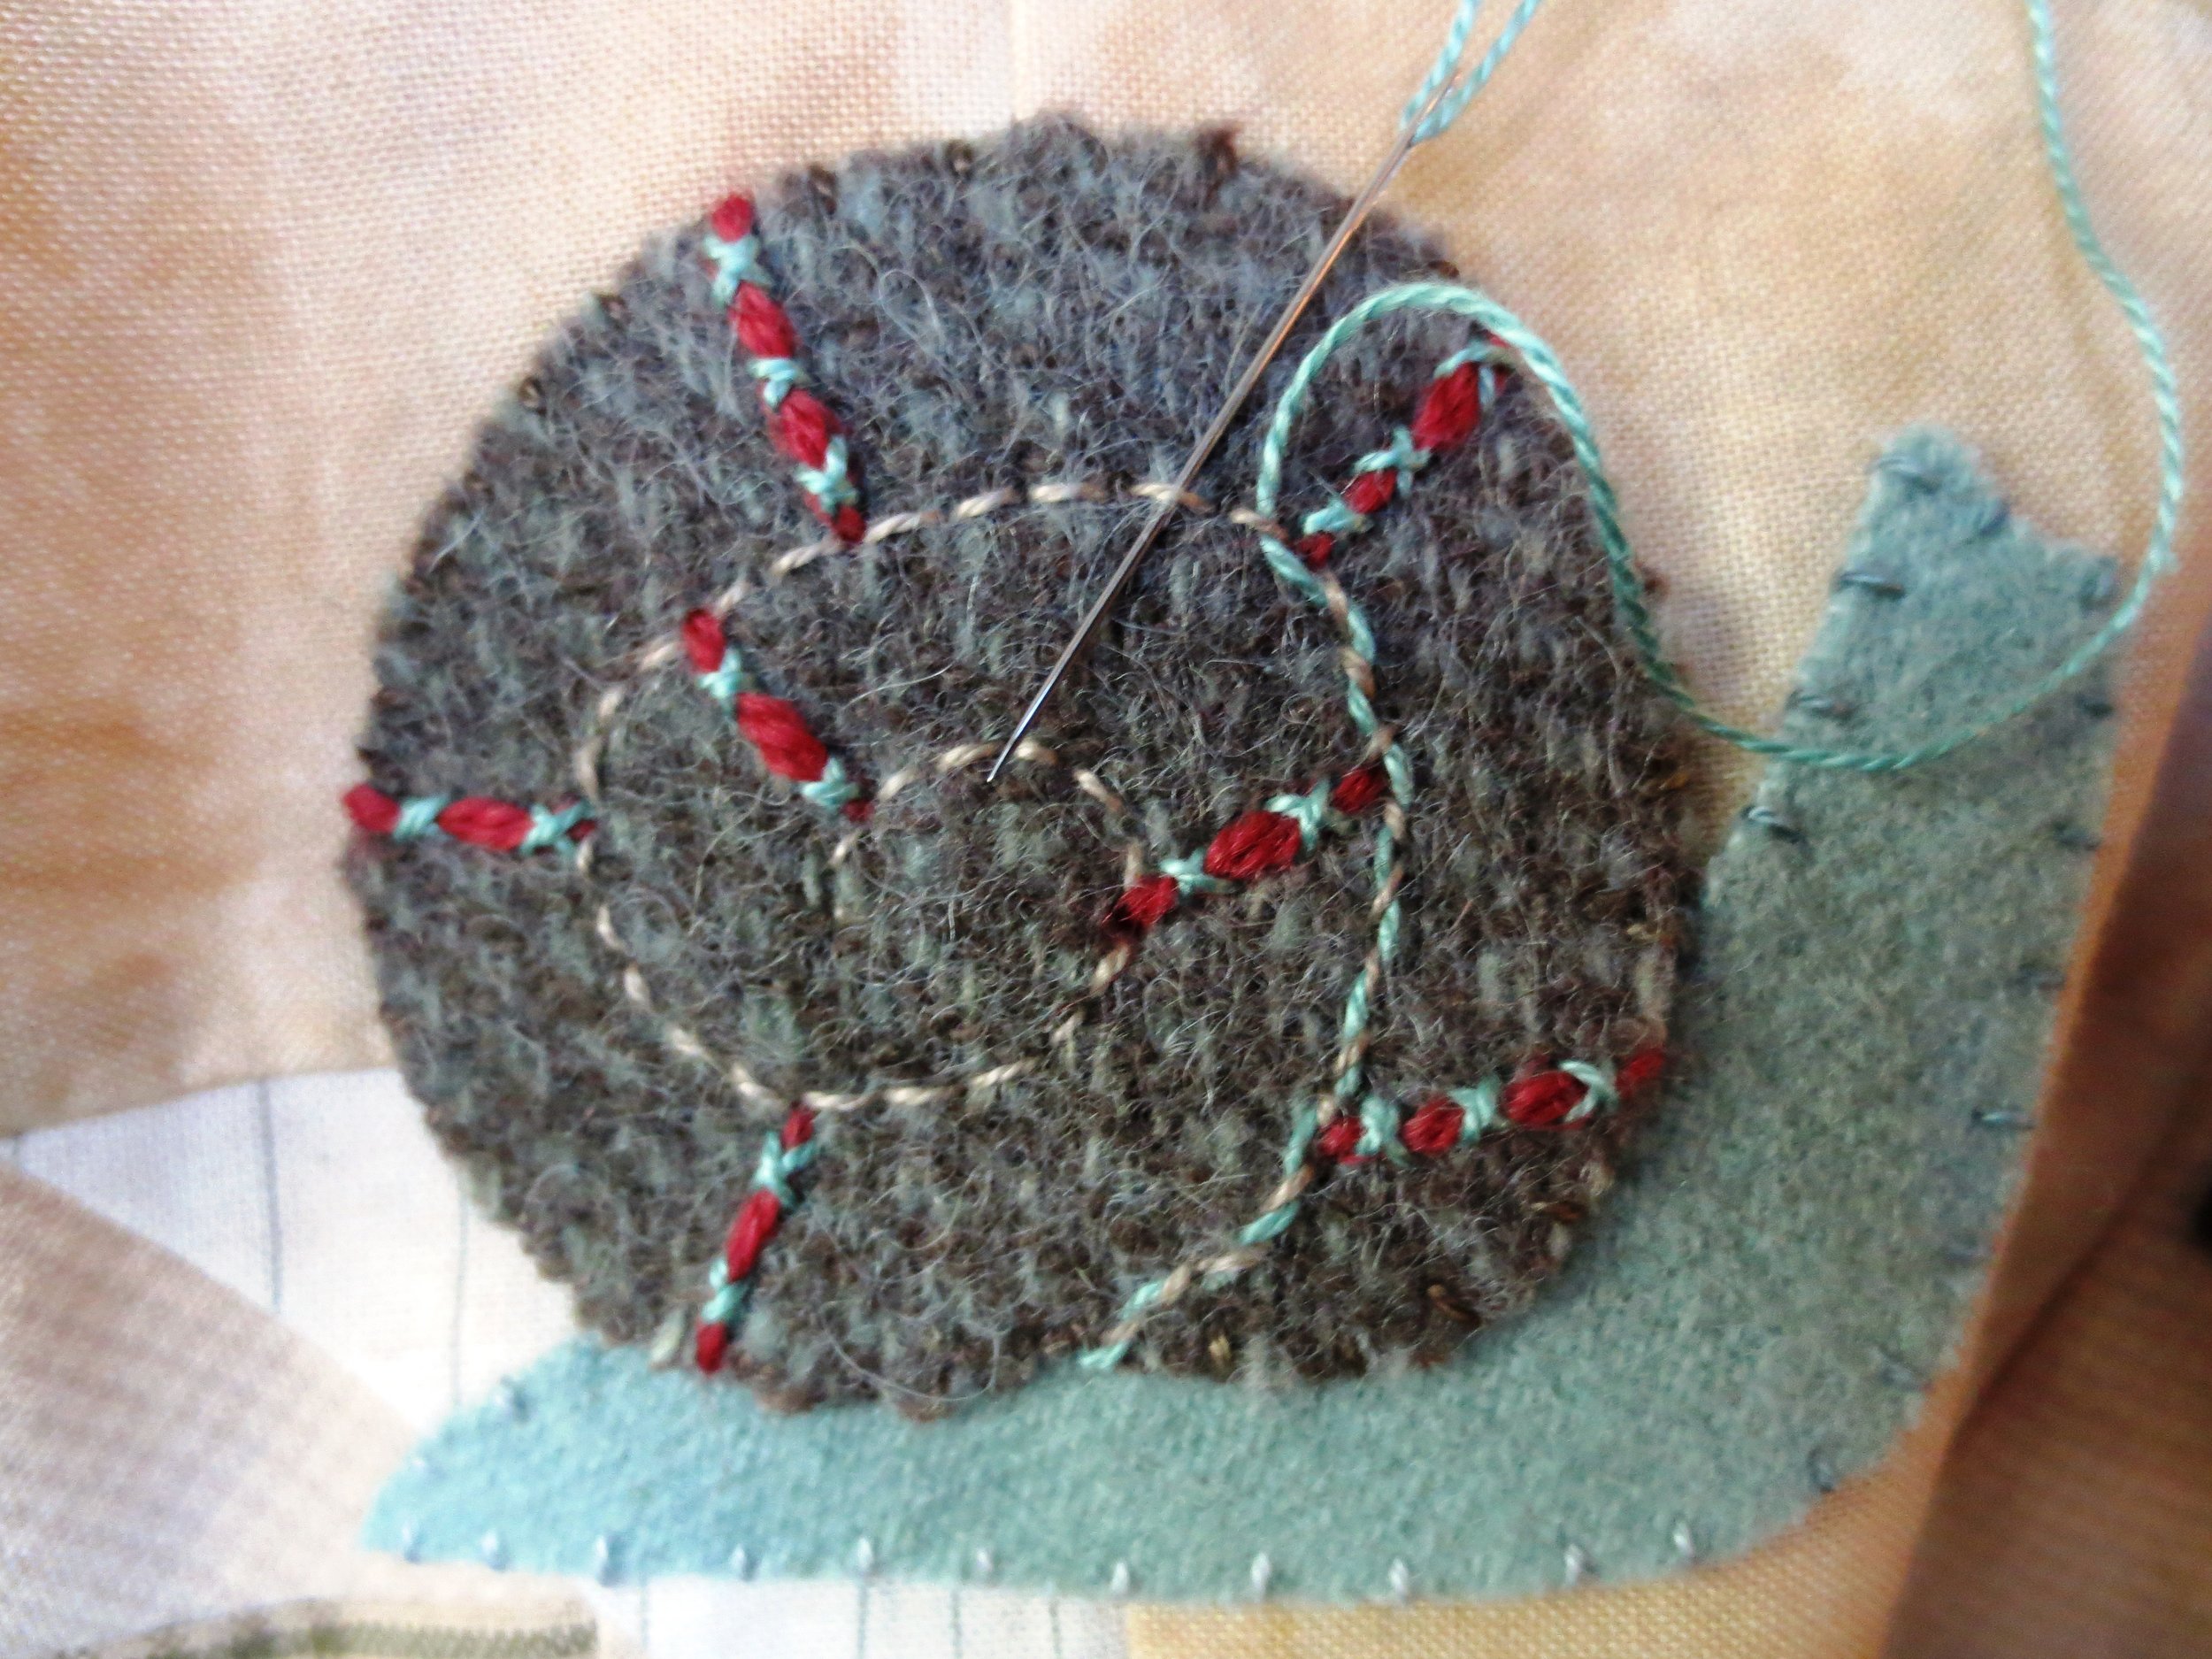
- Draw the shell spiral using the layout as a guide.
- Back stitch over the line using a thread that will contrast nicely with the snail shell color. I used Caron Wildflowers #151.
- Draw guide lines for the shell stripes.
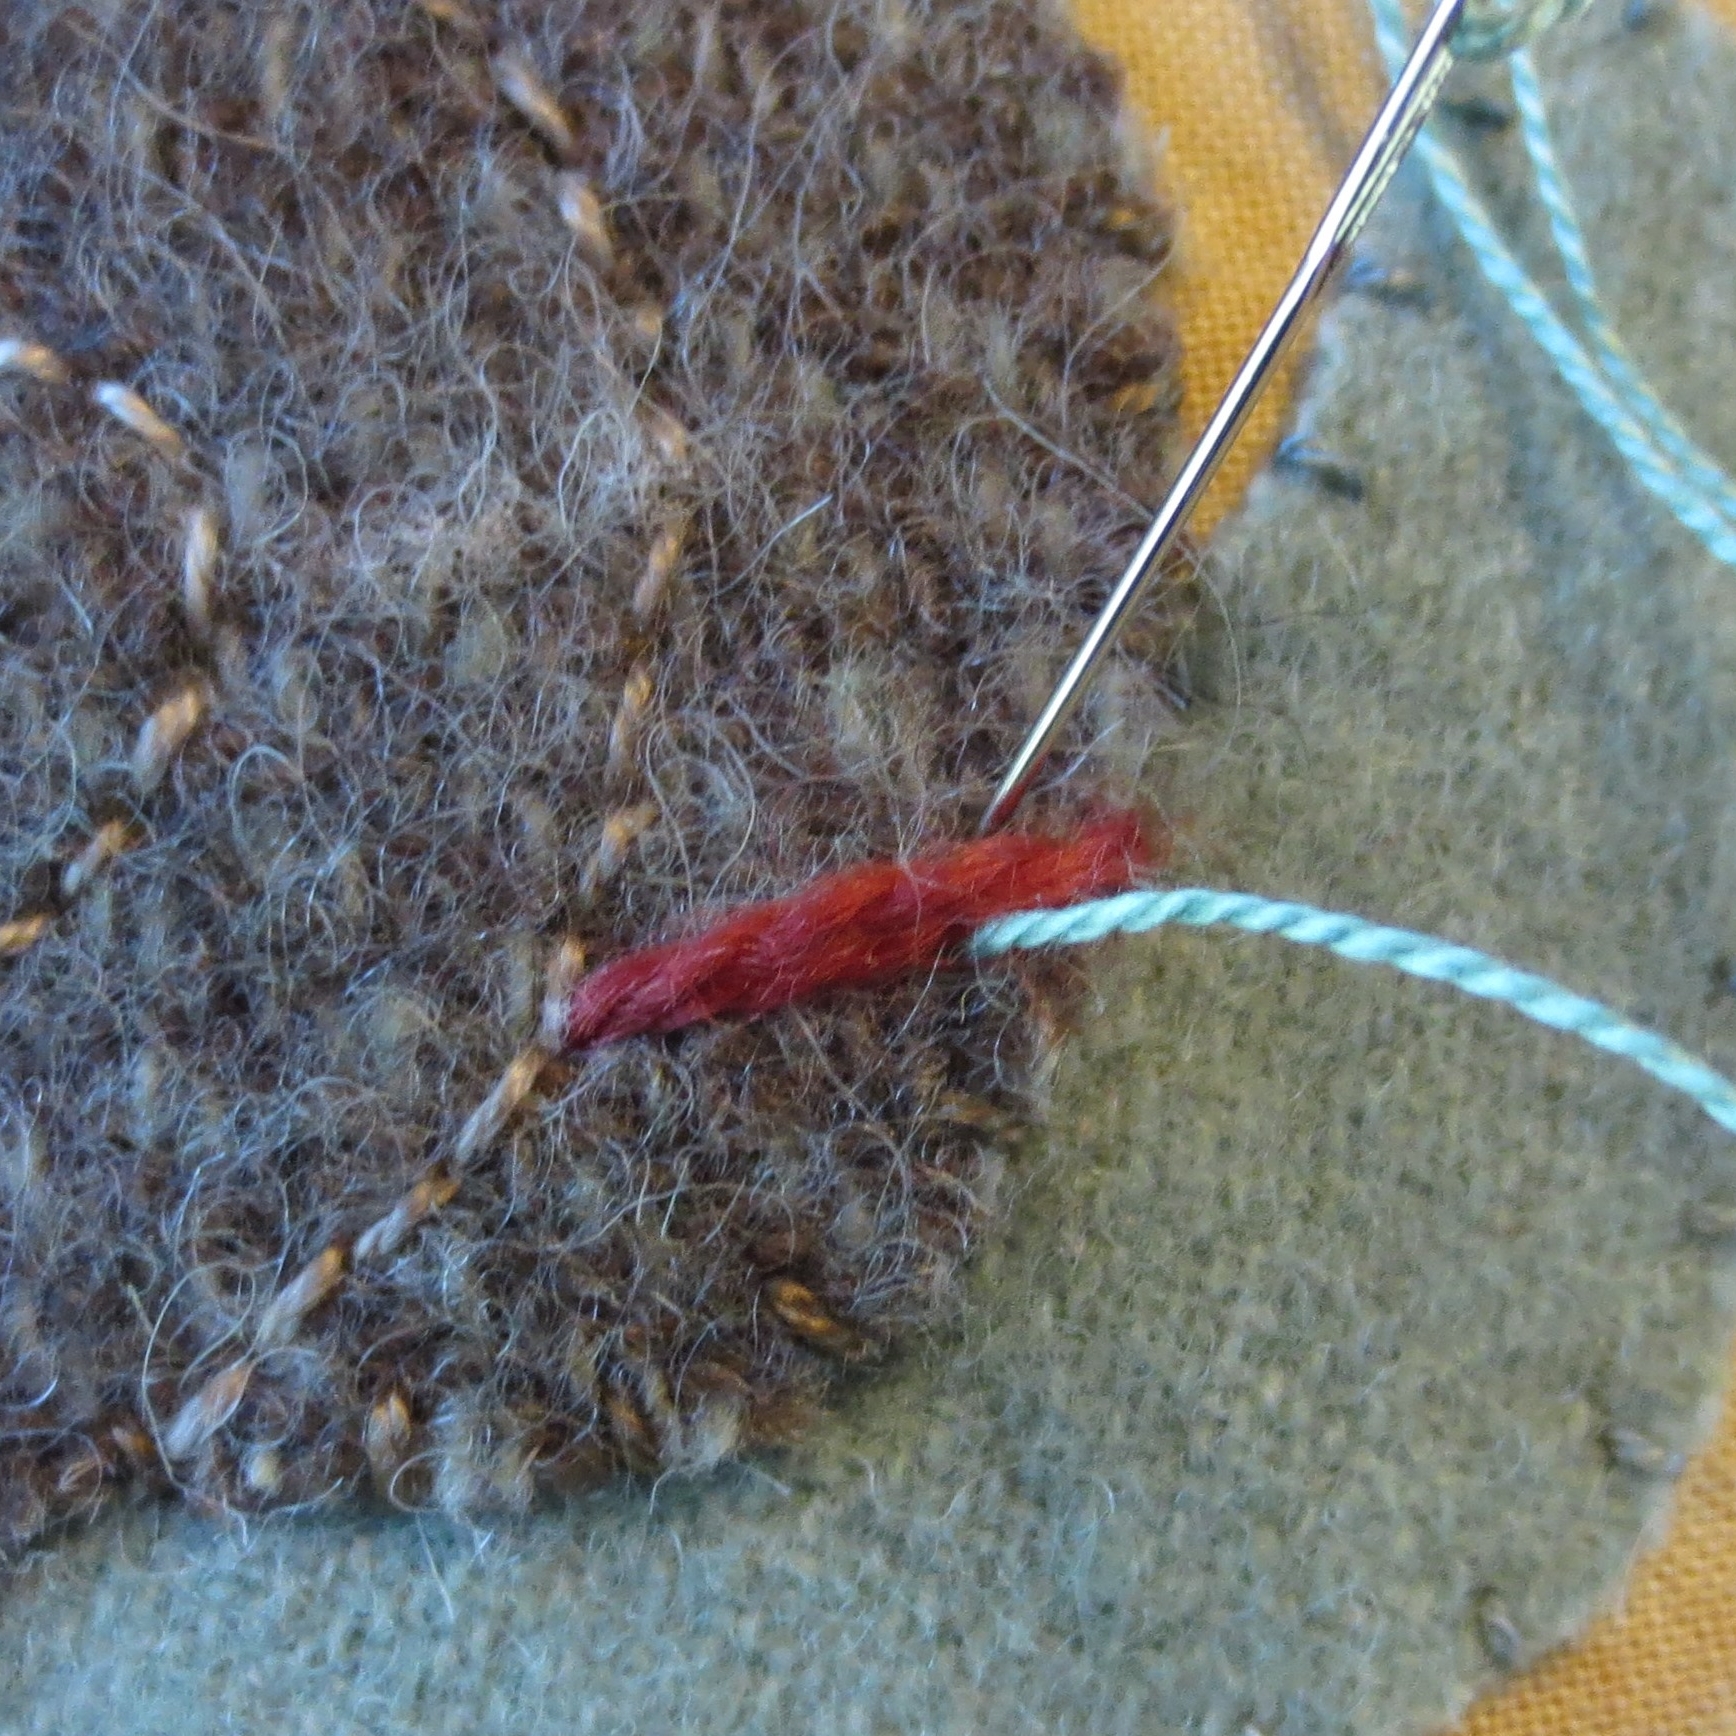
- The shell stripes are made using a couching stitch. Use two strands of tapestry thread (needle size #22) to make straight stitches over the chalk lines. Begin at the closest stitch intersection and end at the perimeter of the shell.
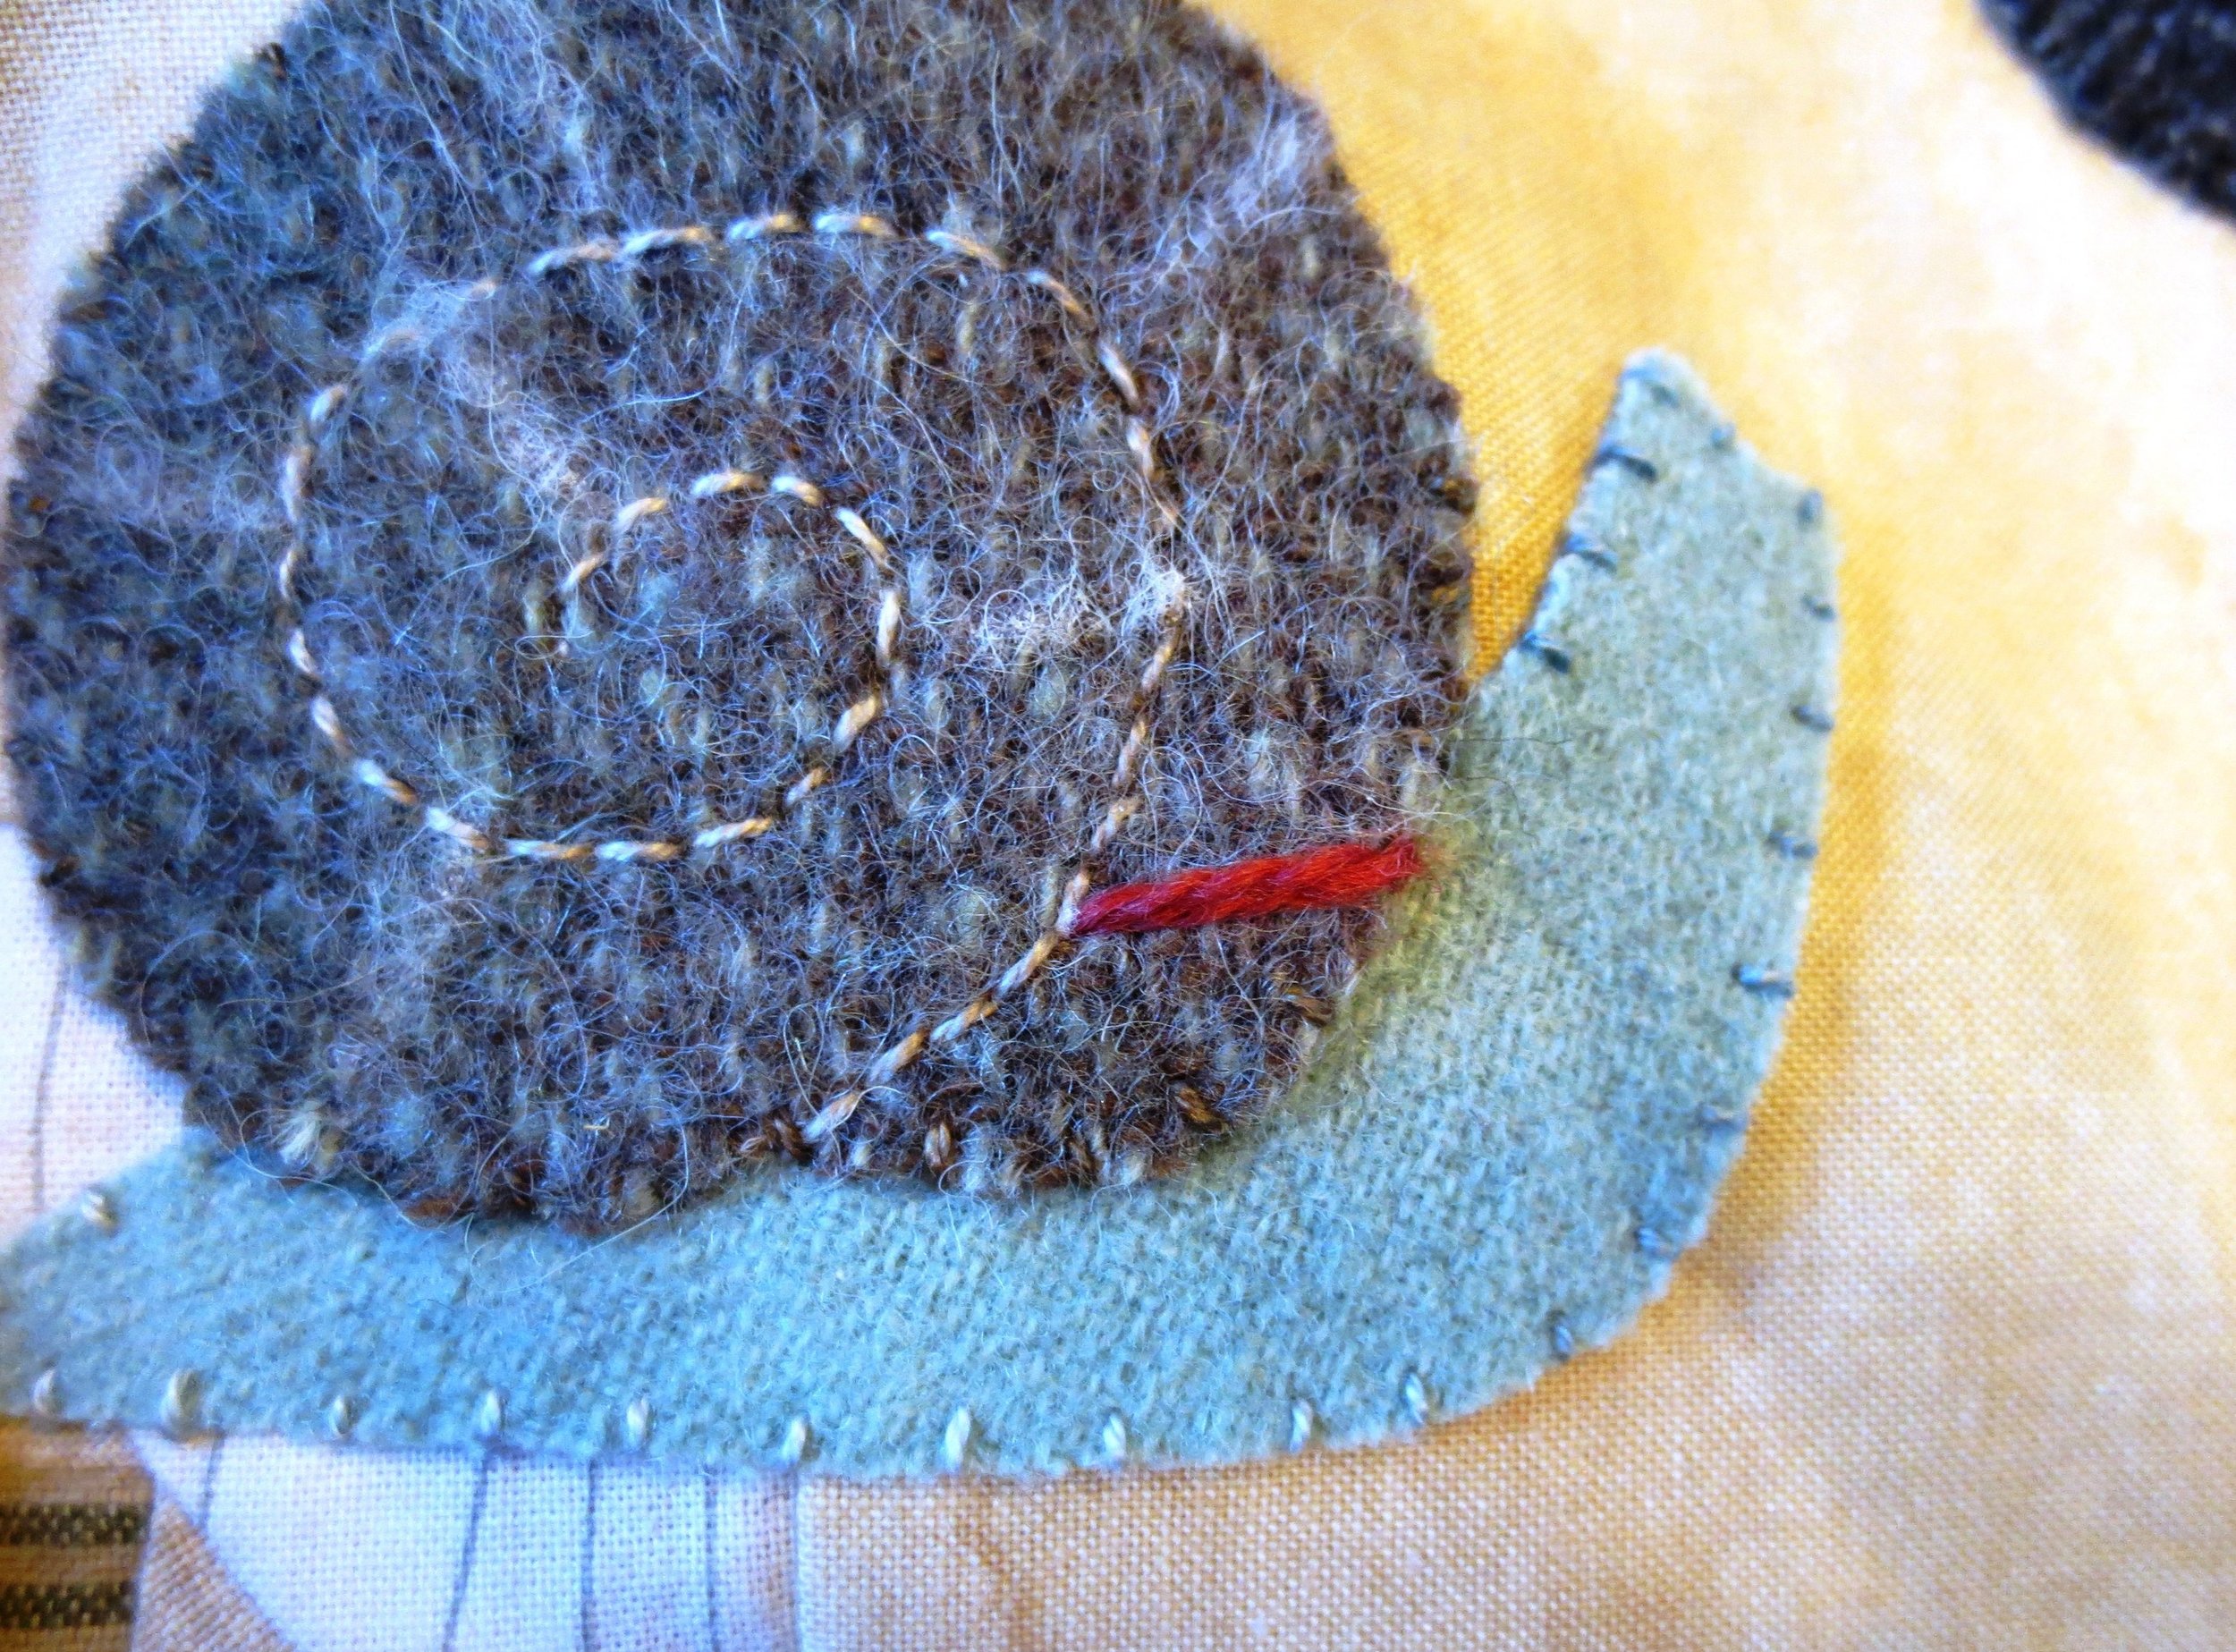
- Use a contrasting thread (a color that matches the body color work well) to make little cross stitches over the tapestry thread. See Layout for placement hints.
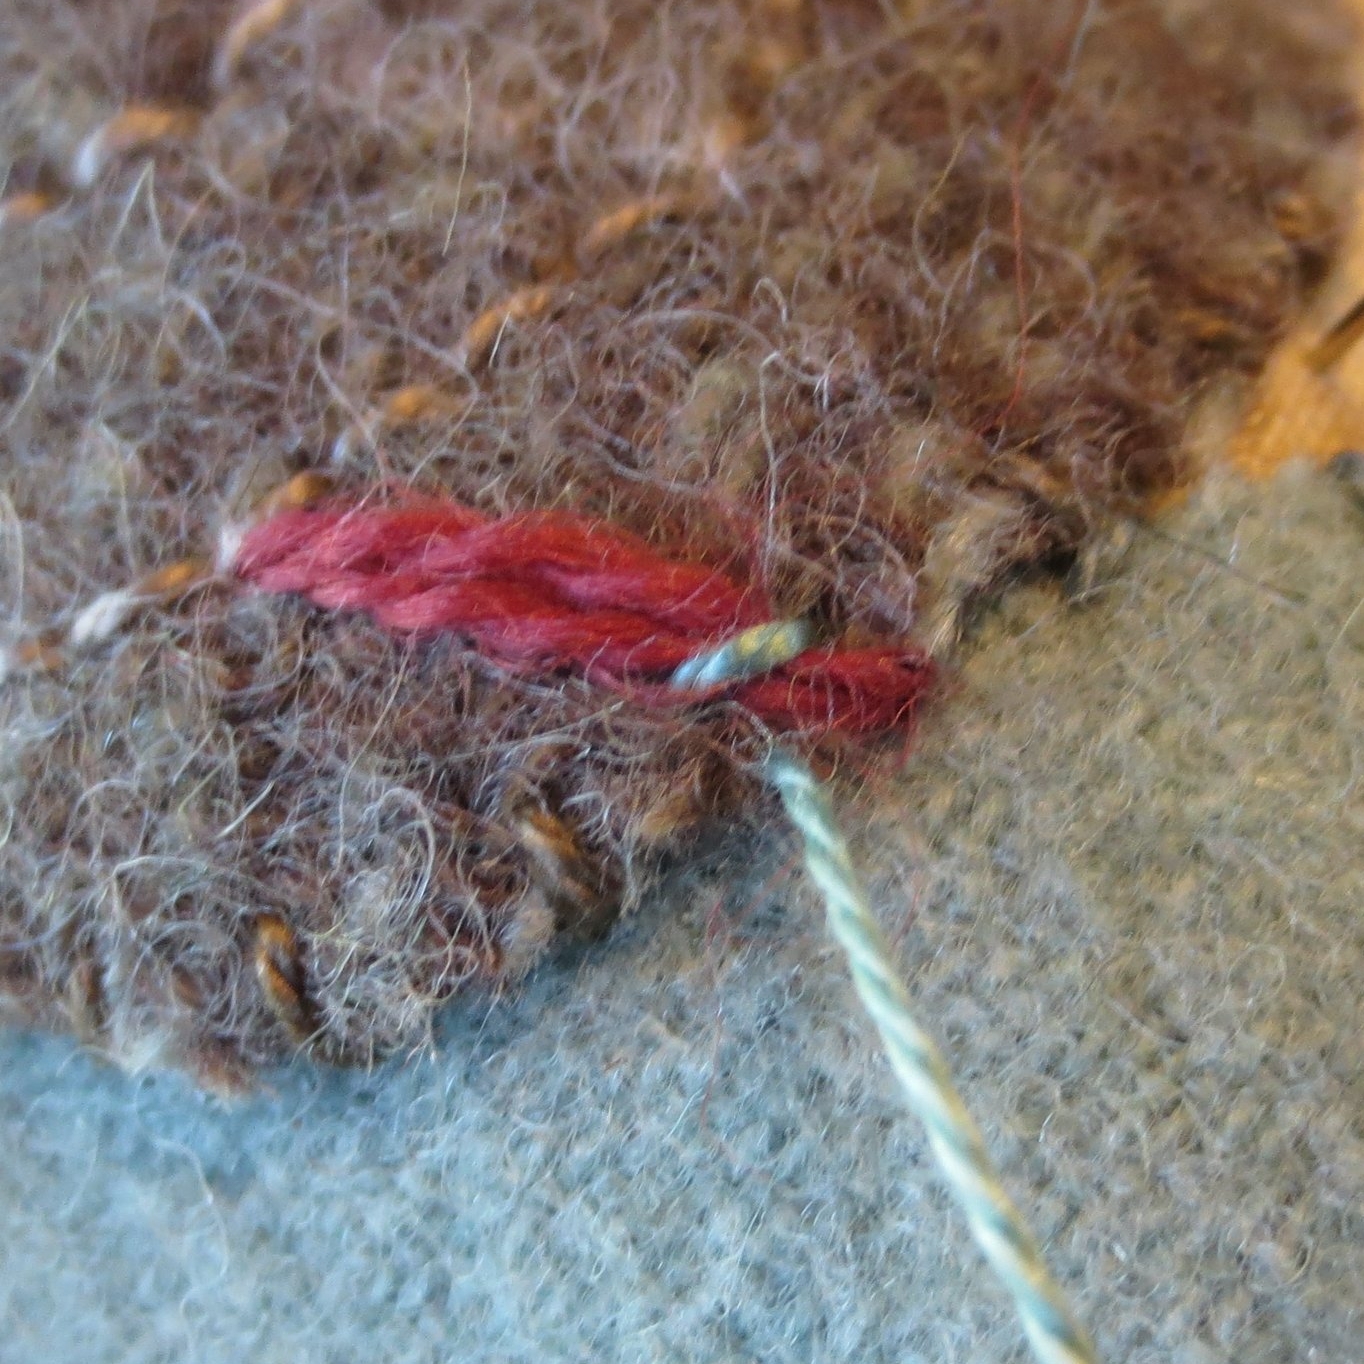
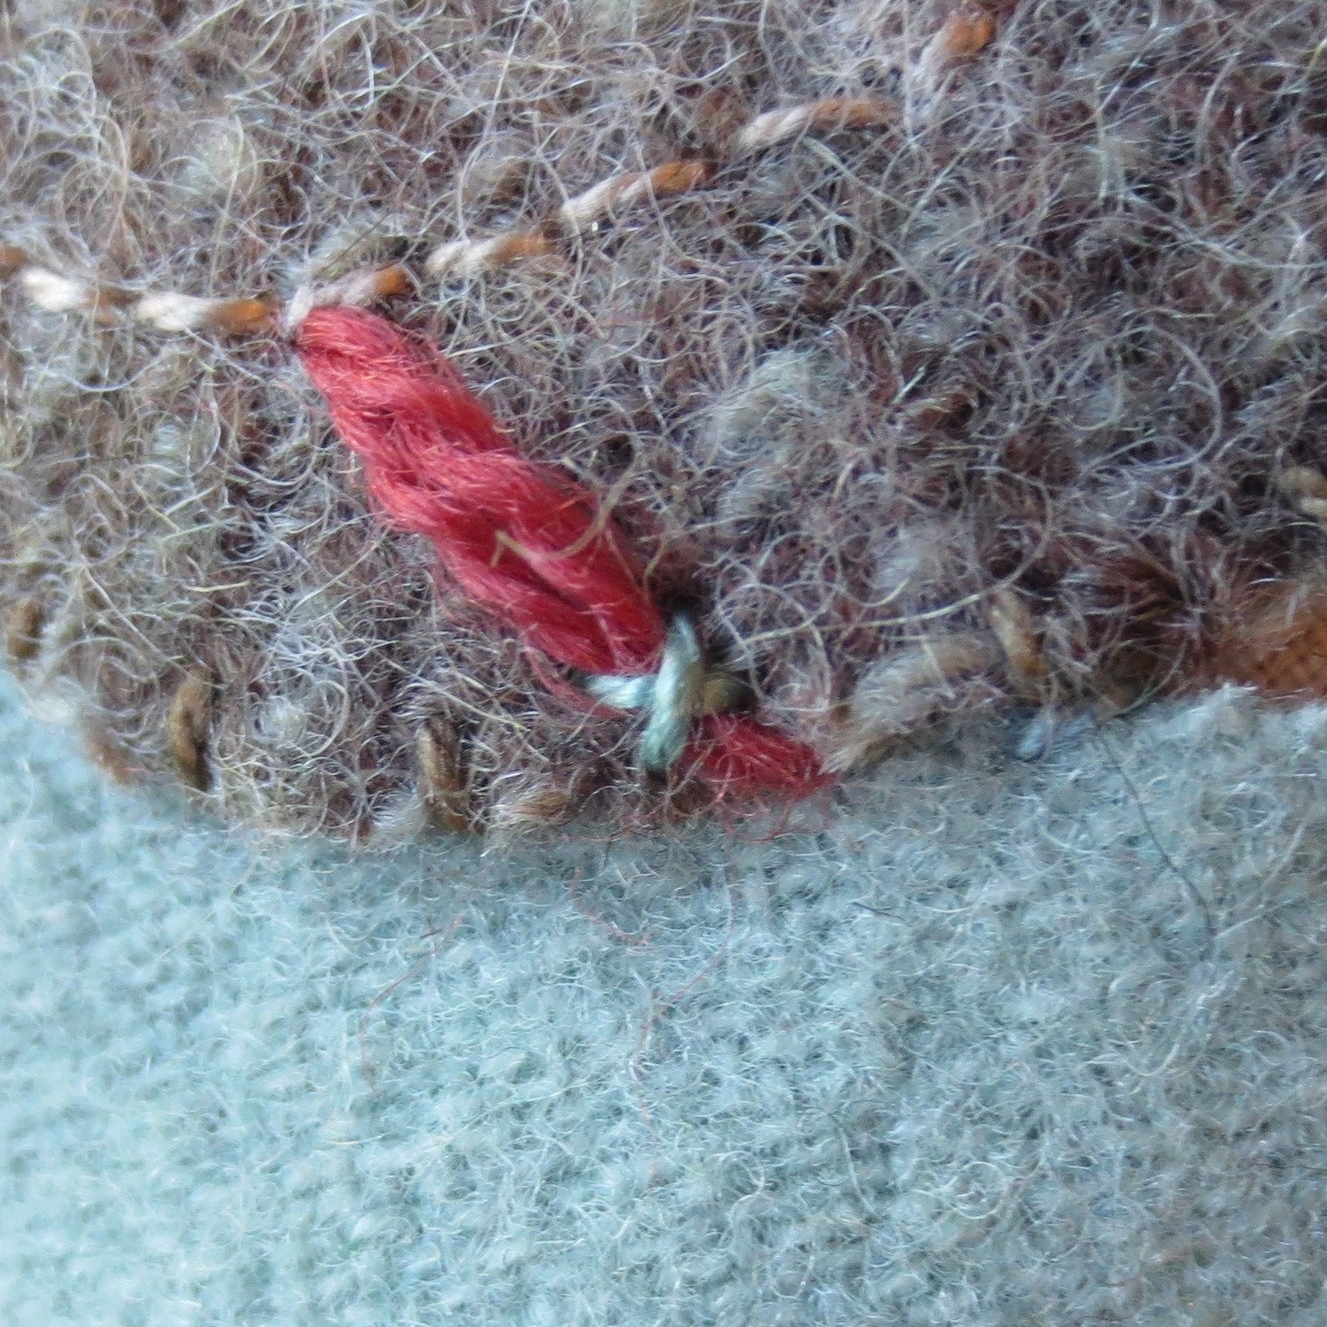
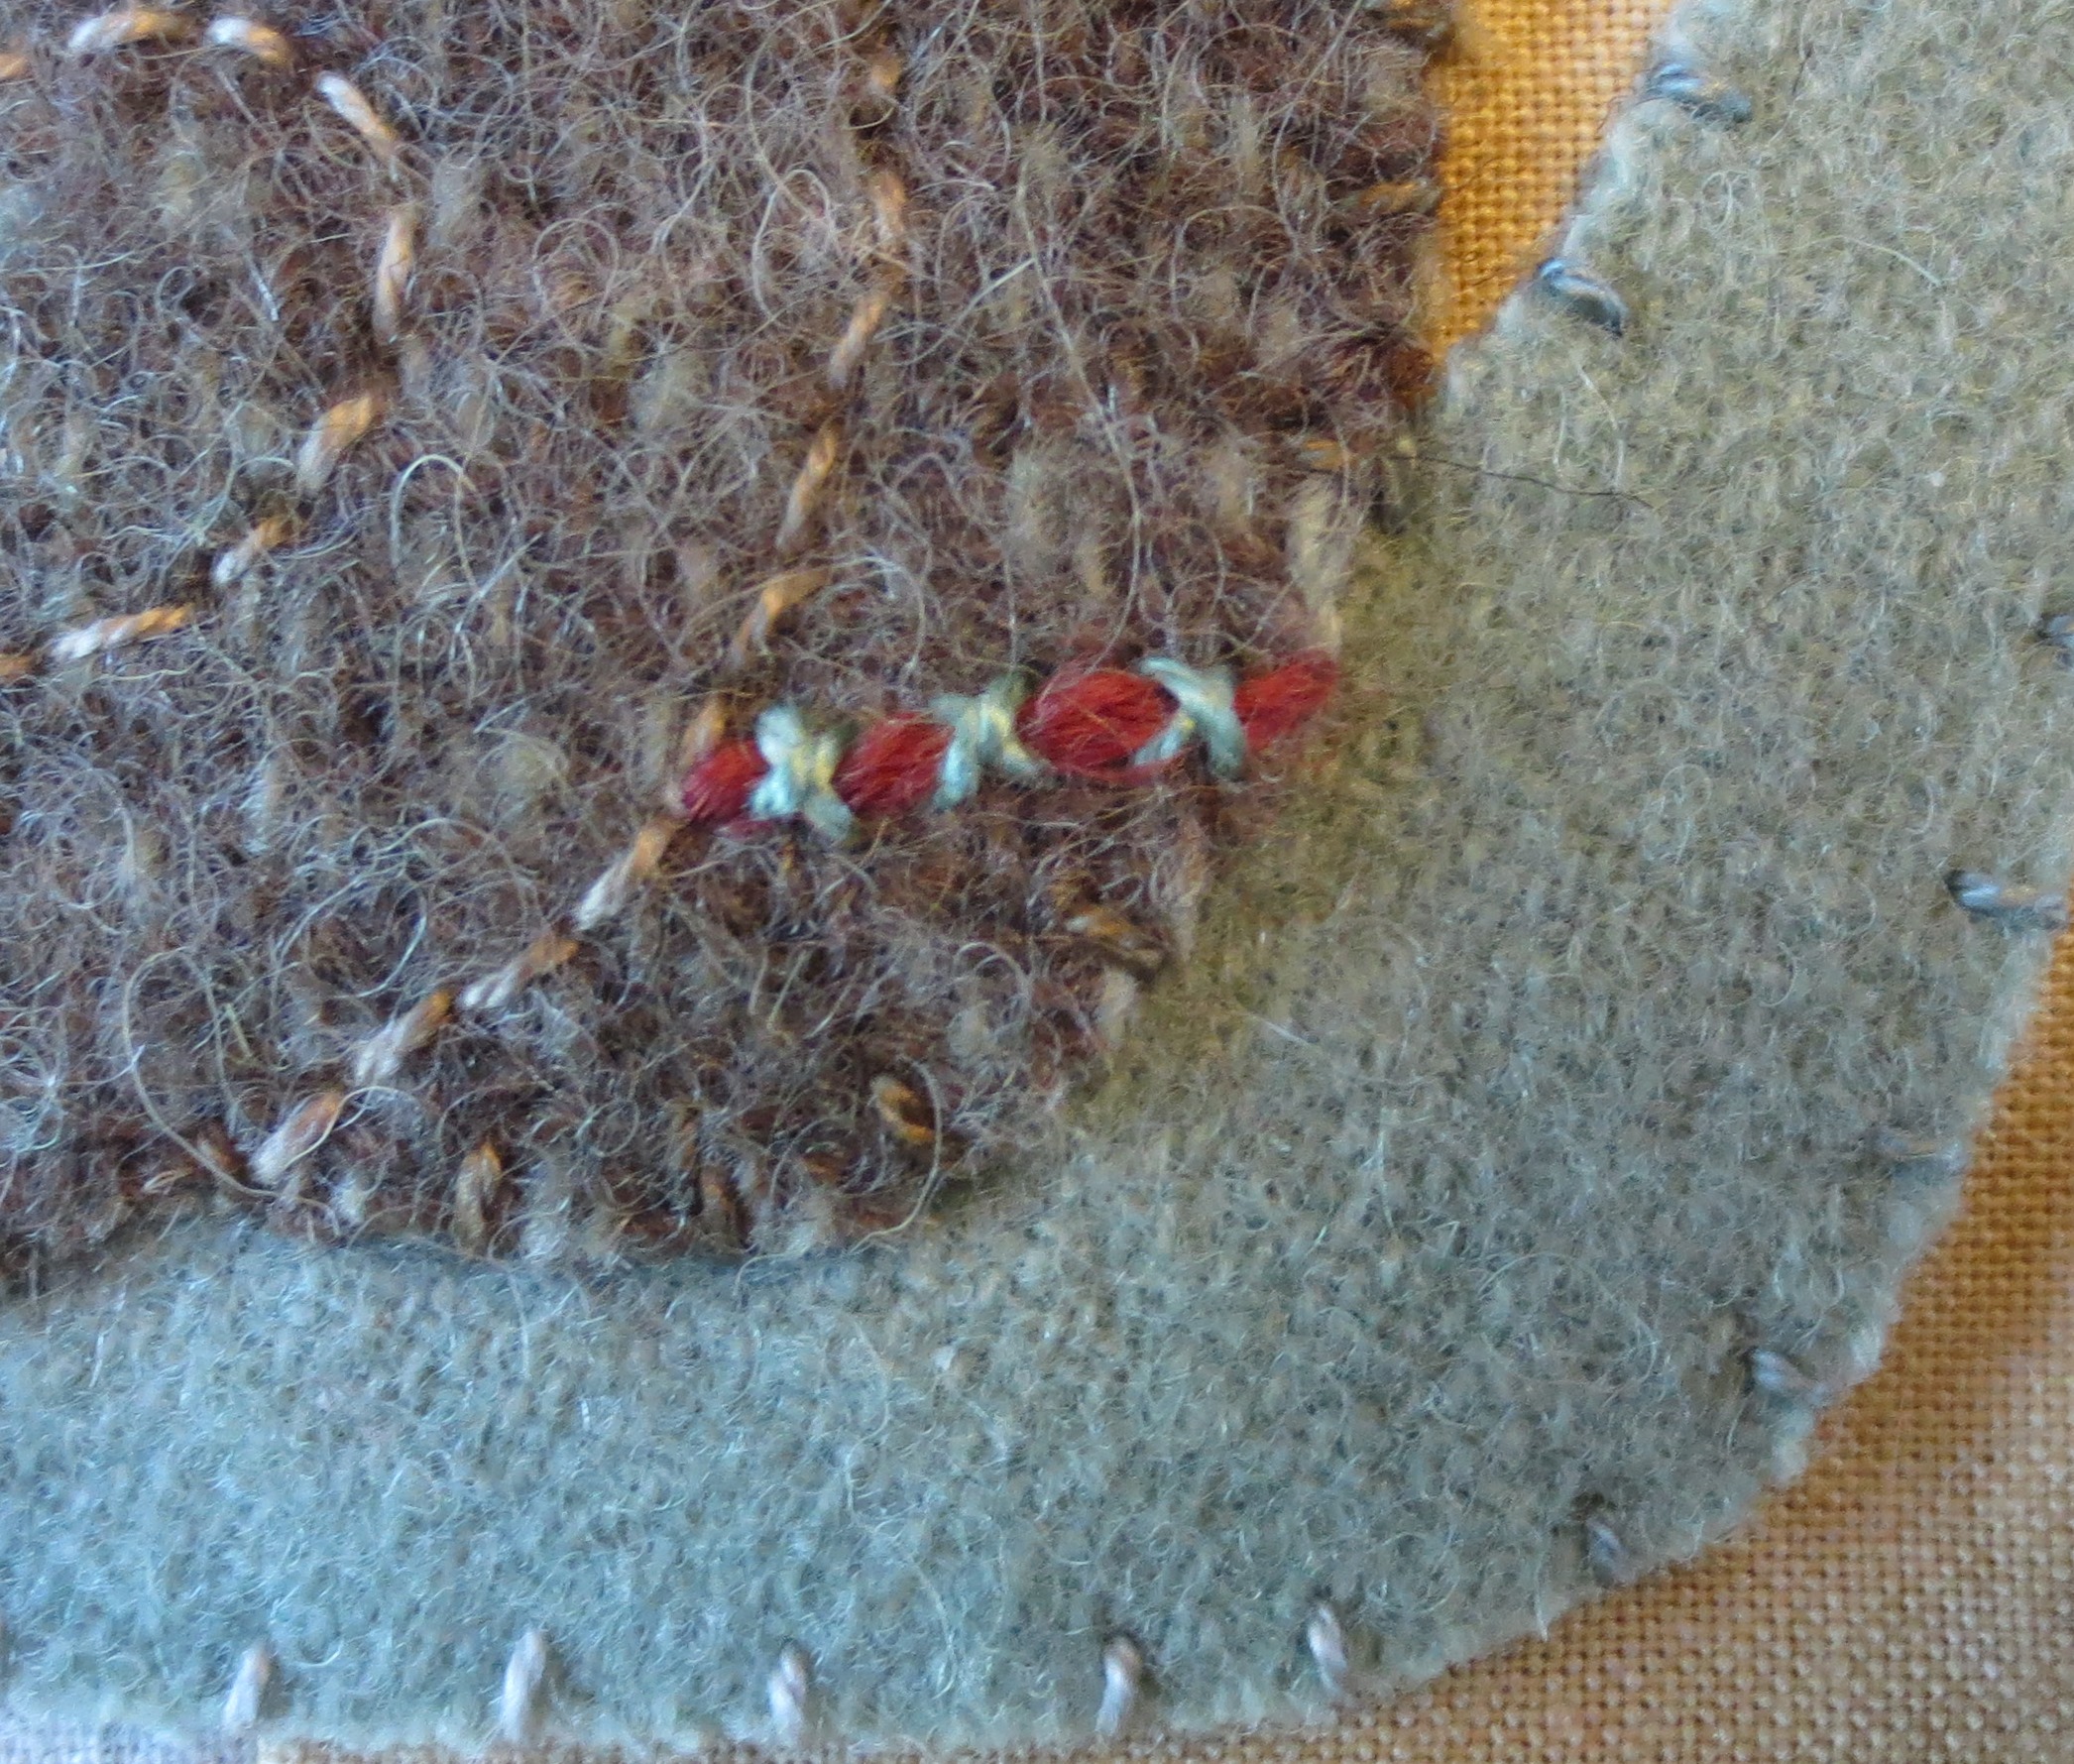
- Use the same thread that you used for the X's to weave through the spiral back stitch to make a woven back stitch.
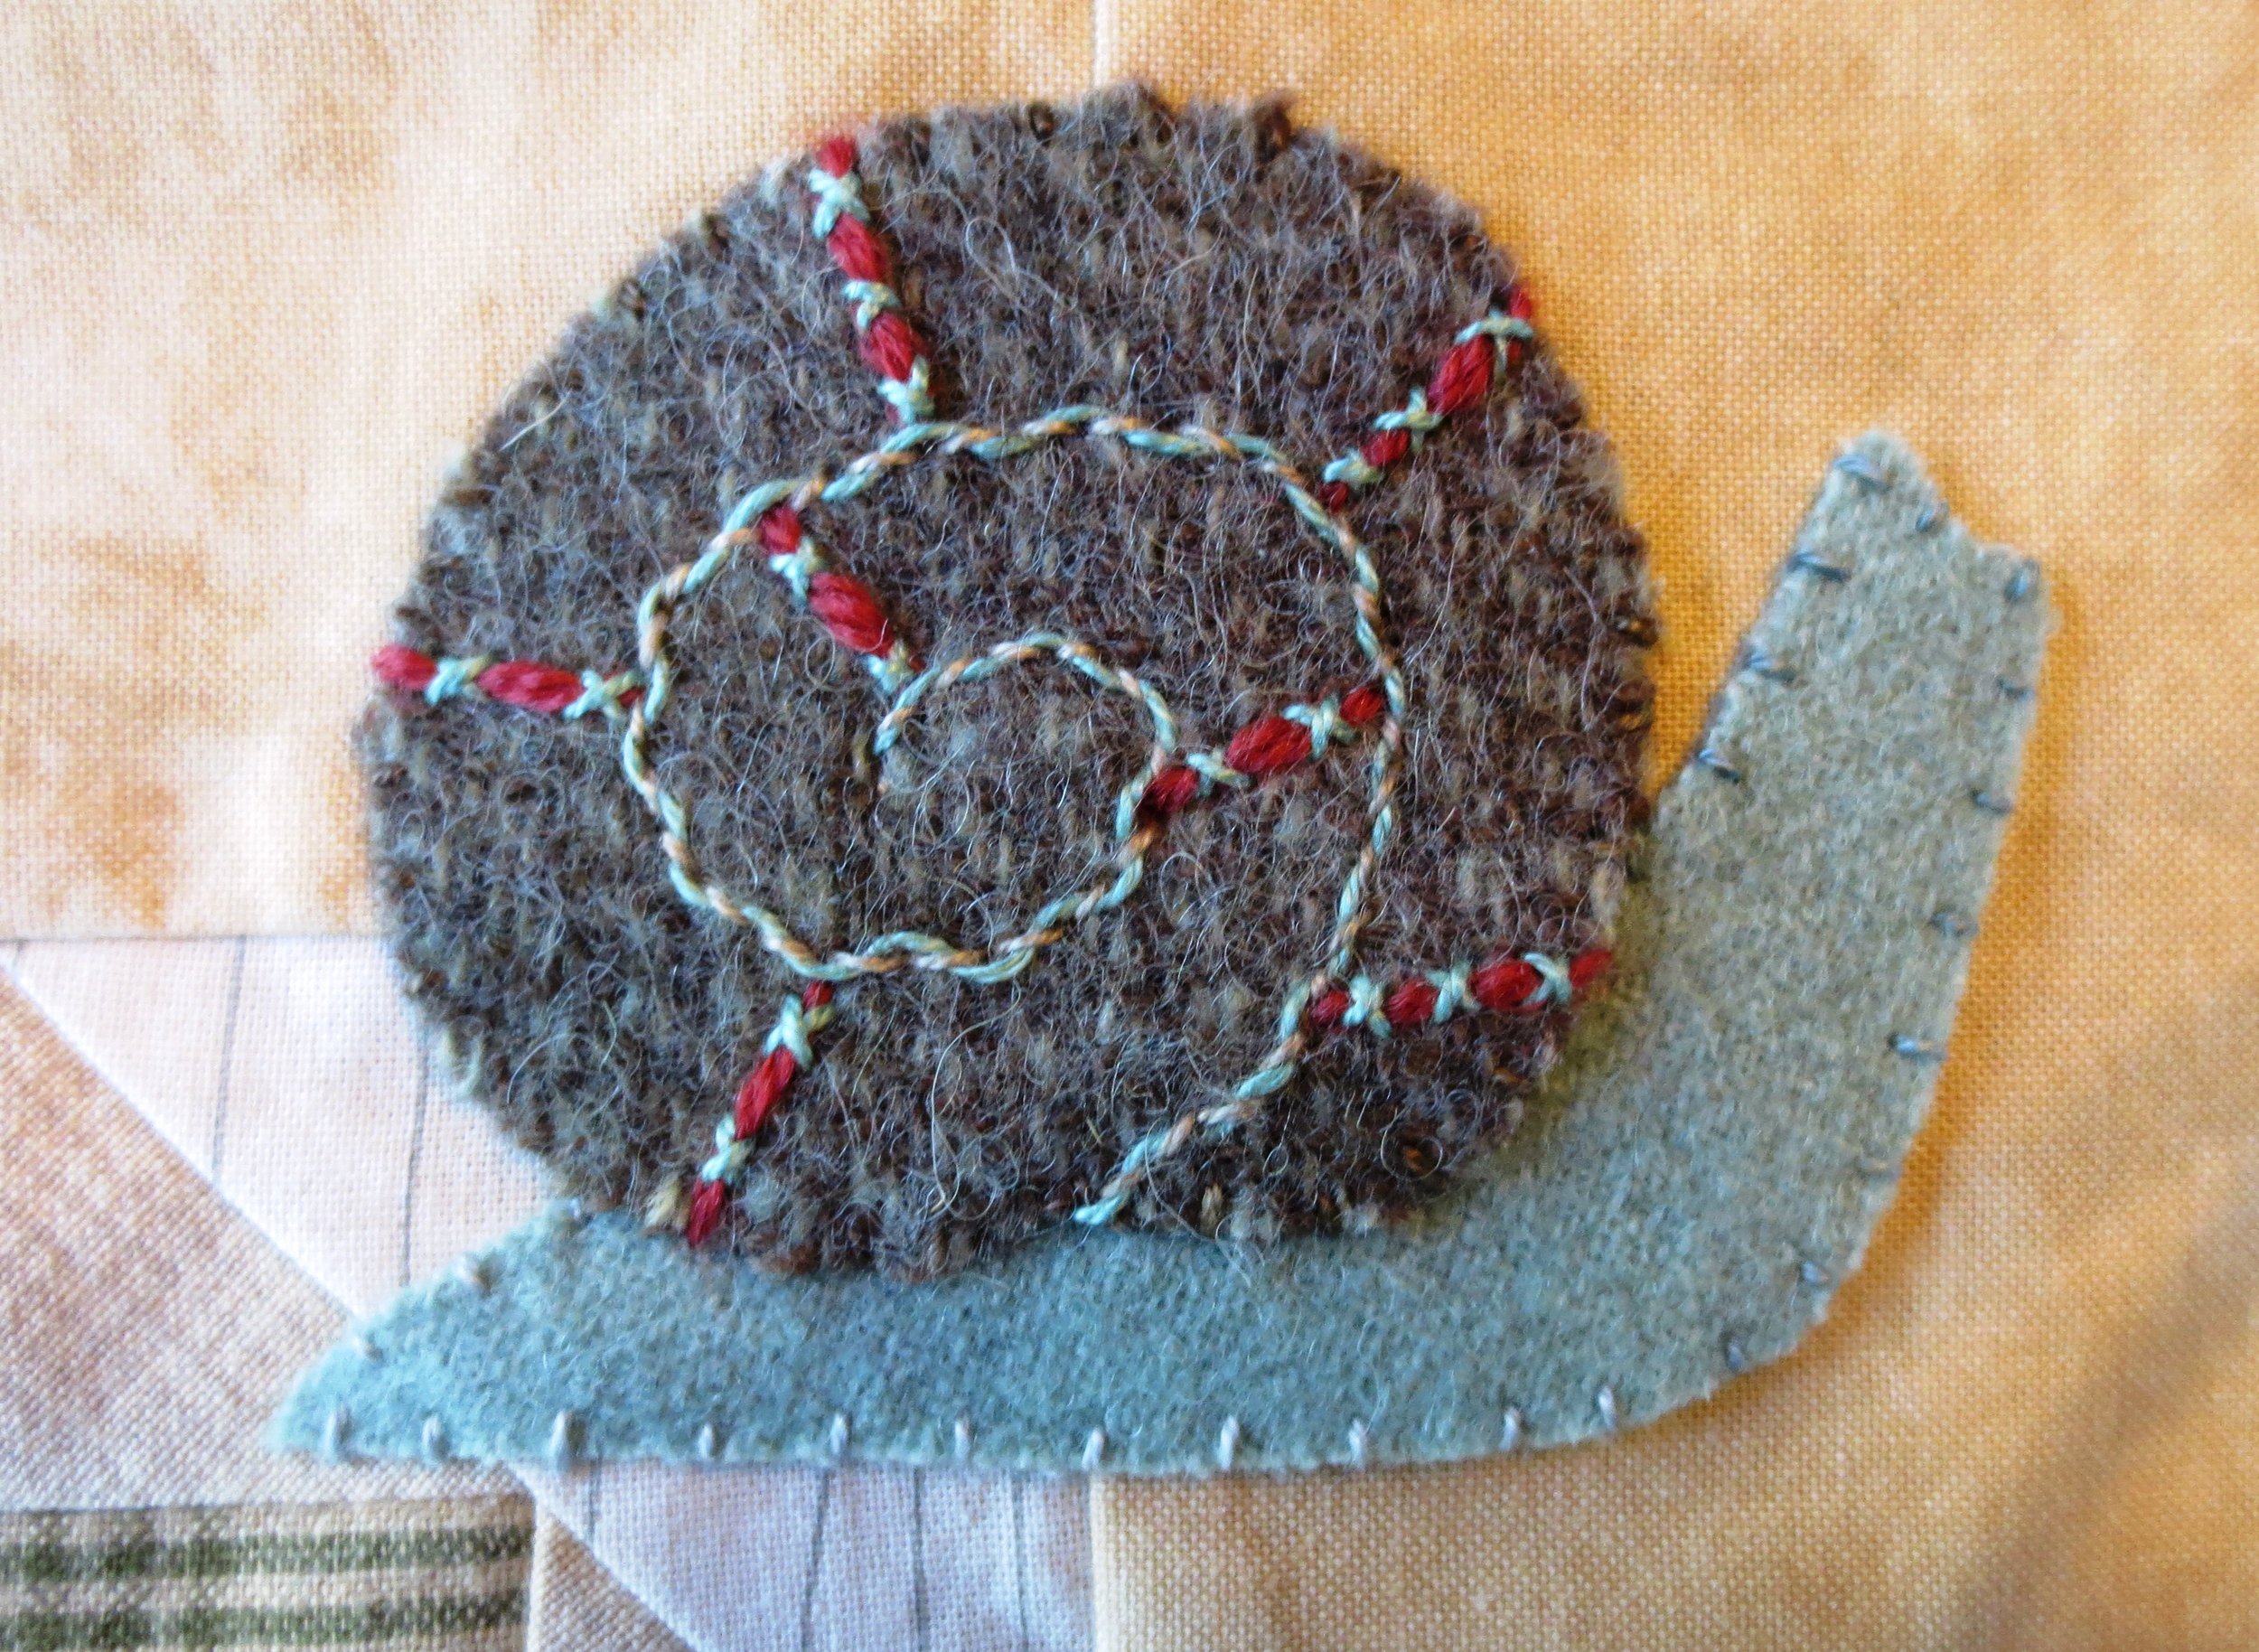
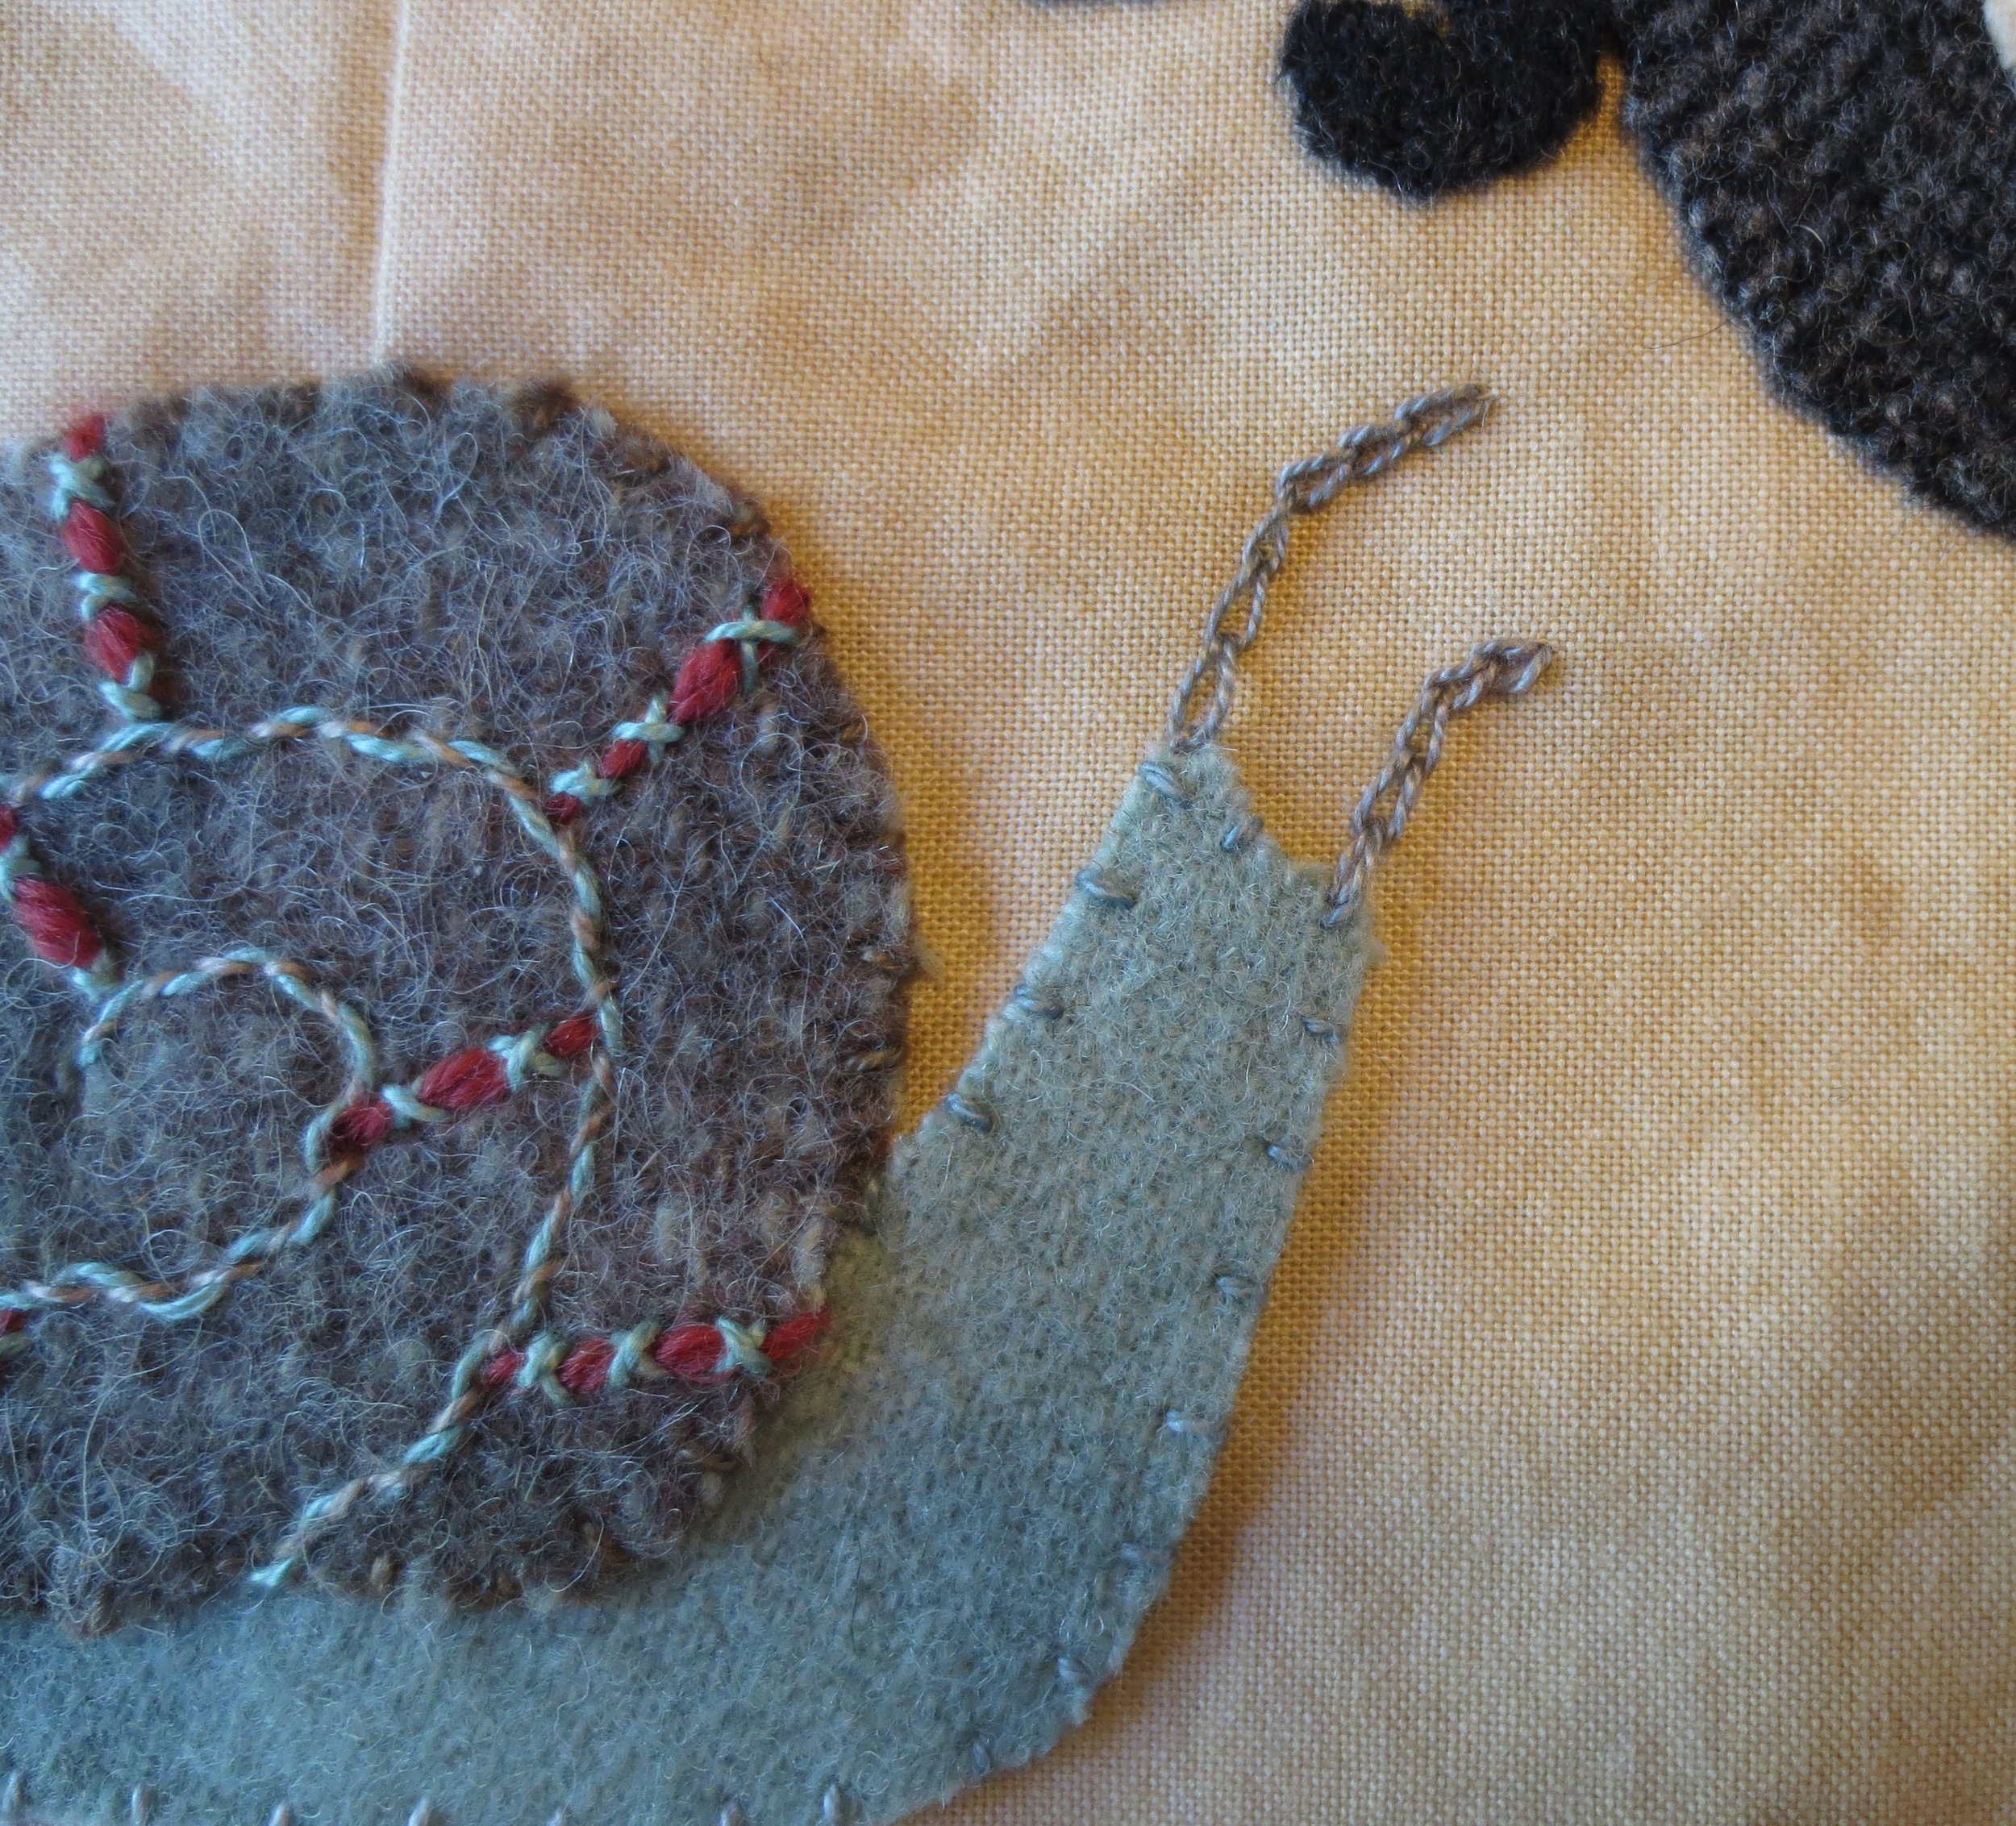
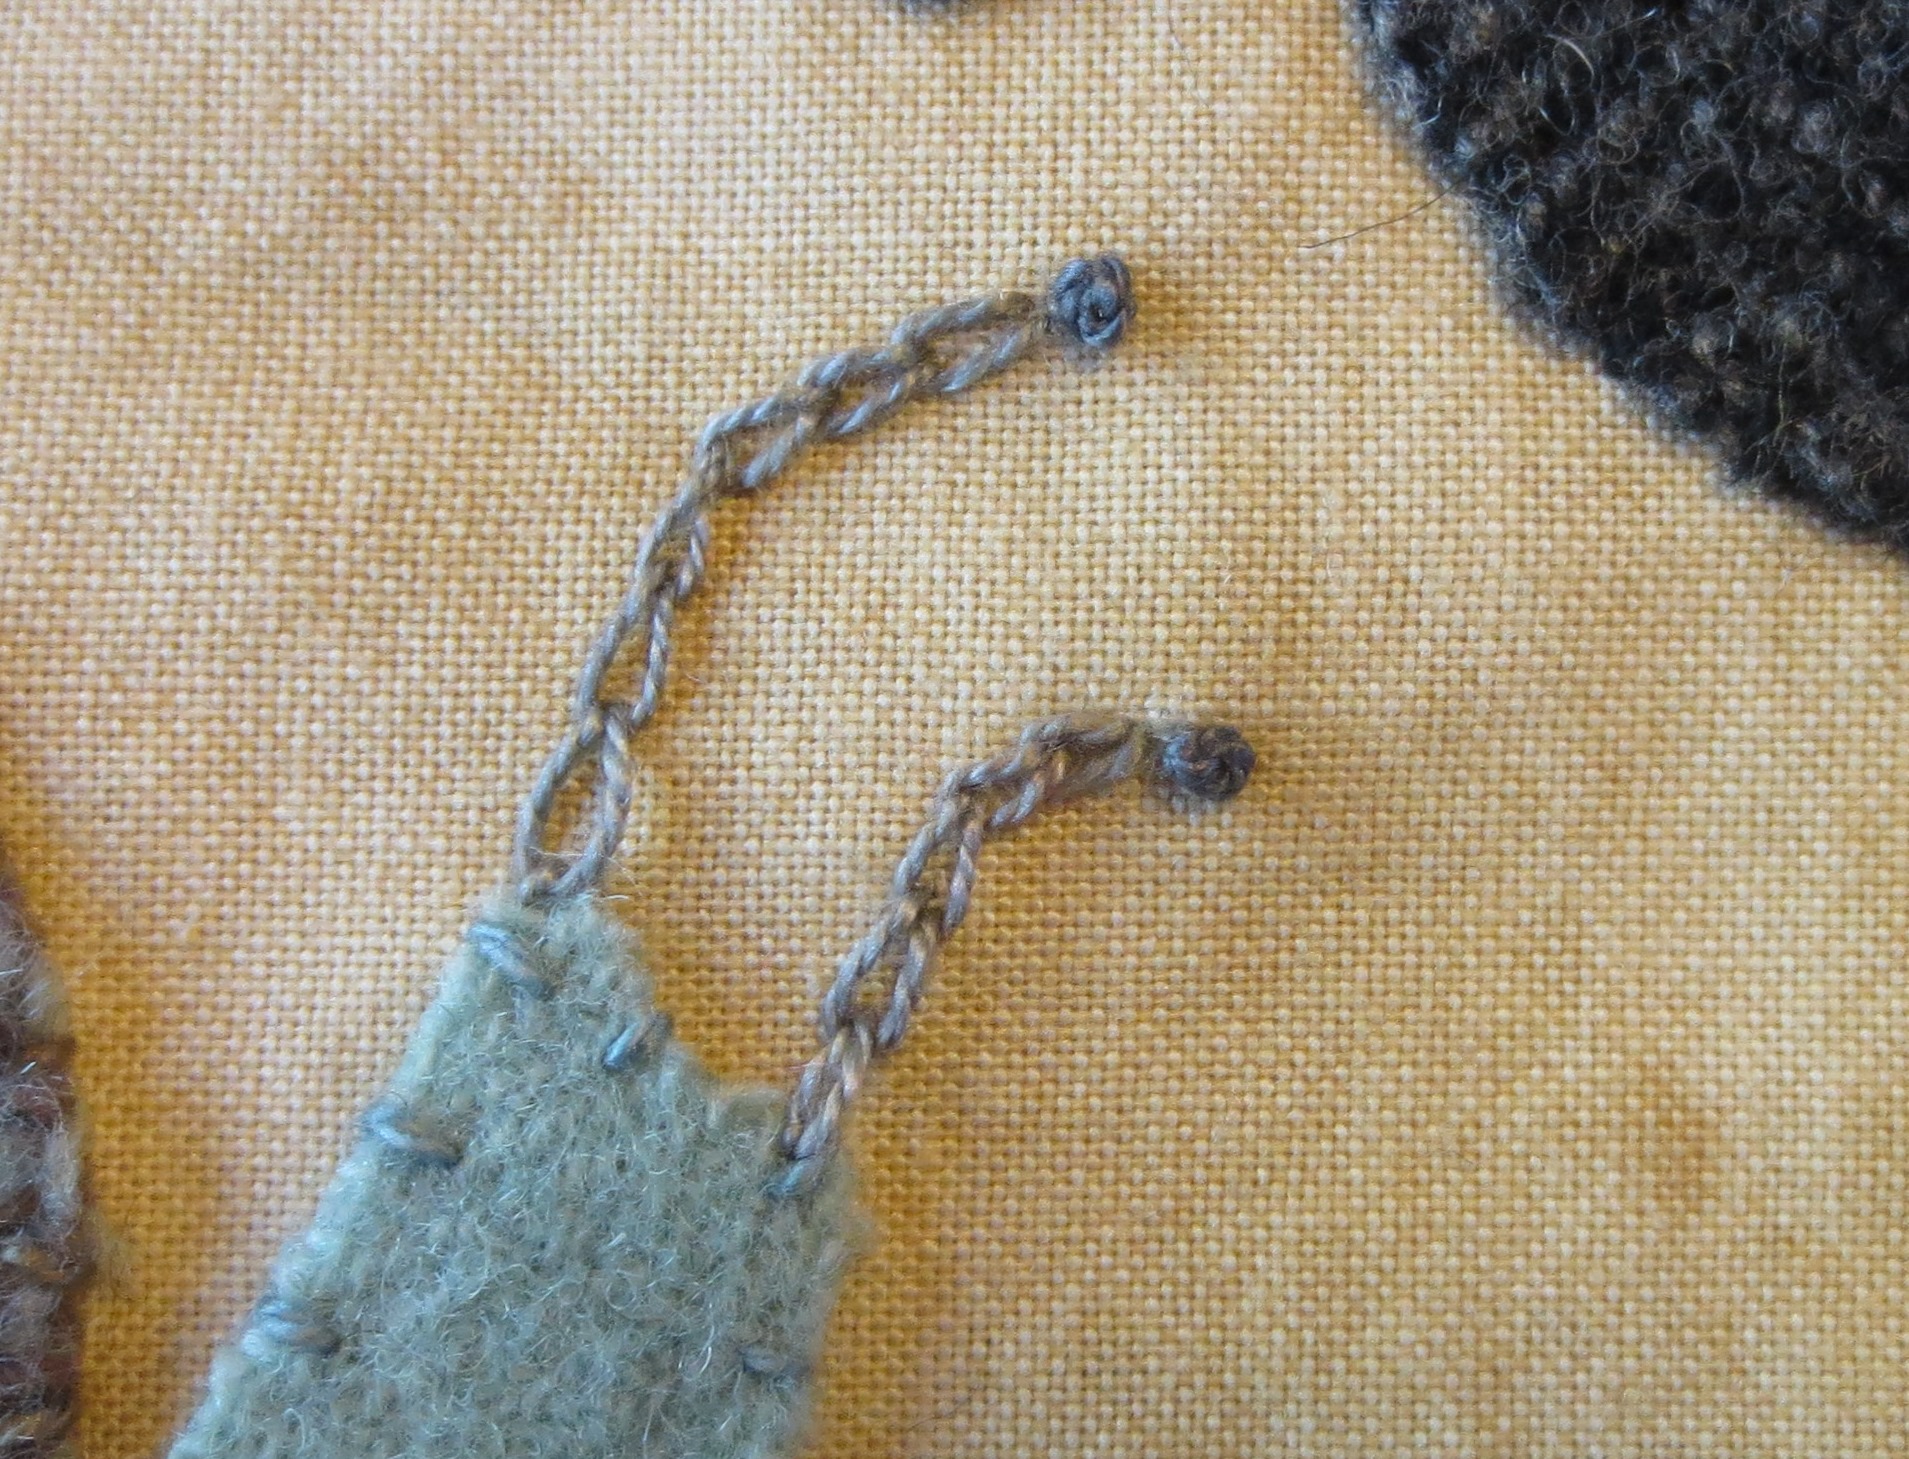
- Draw the antennae on the head of the snail using the layout as a guide for placement.
- Chain stitch over the lines. I used Caron Wildflowers #151.
- Stitch a single colonial knot on the end of each antennae. I used Valdani #135.
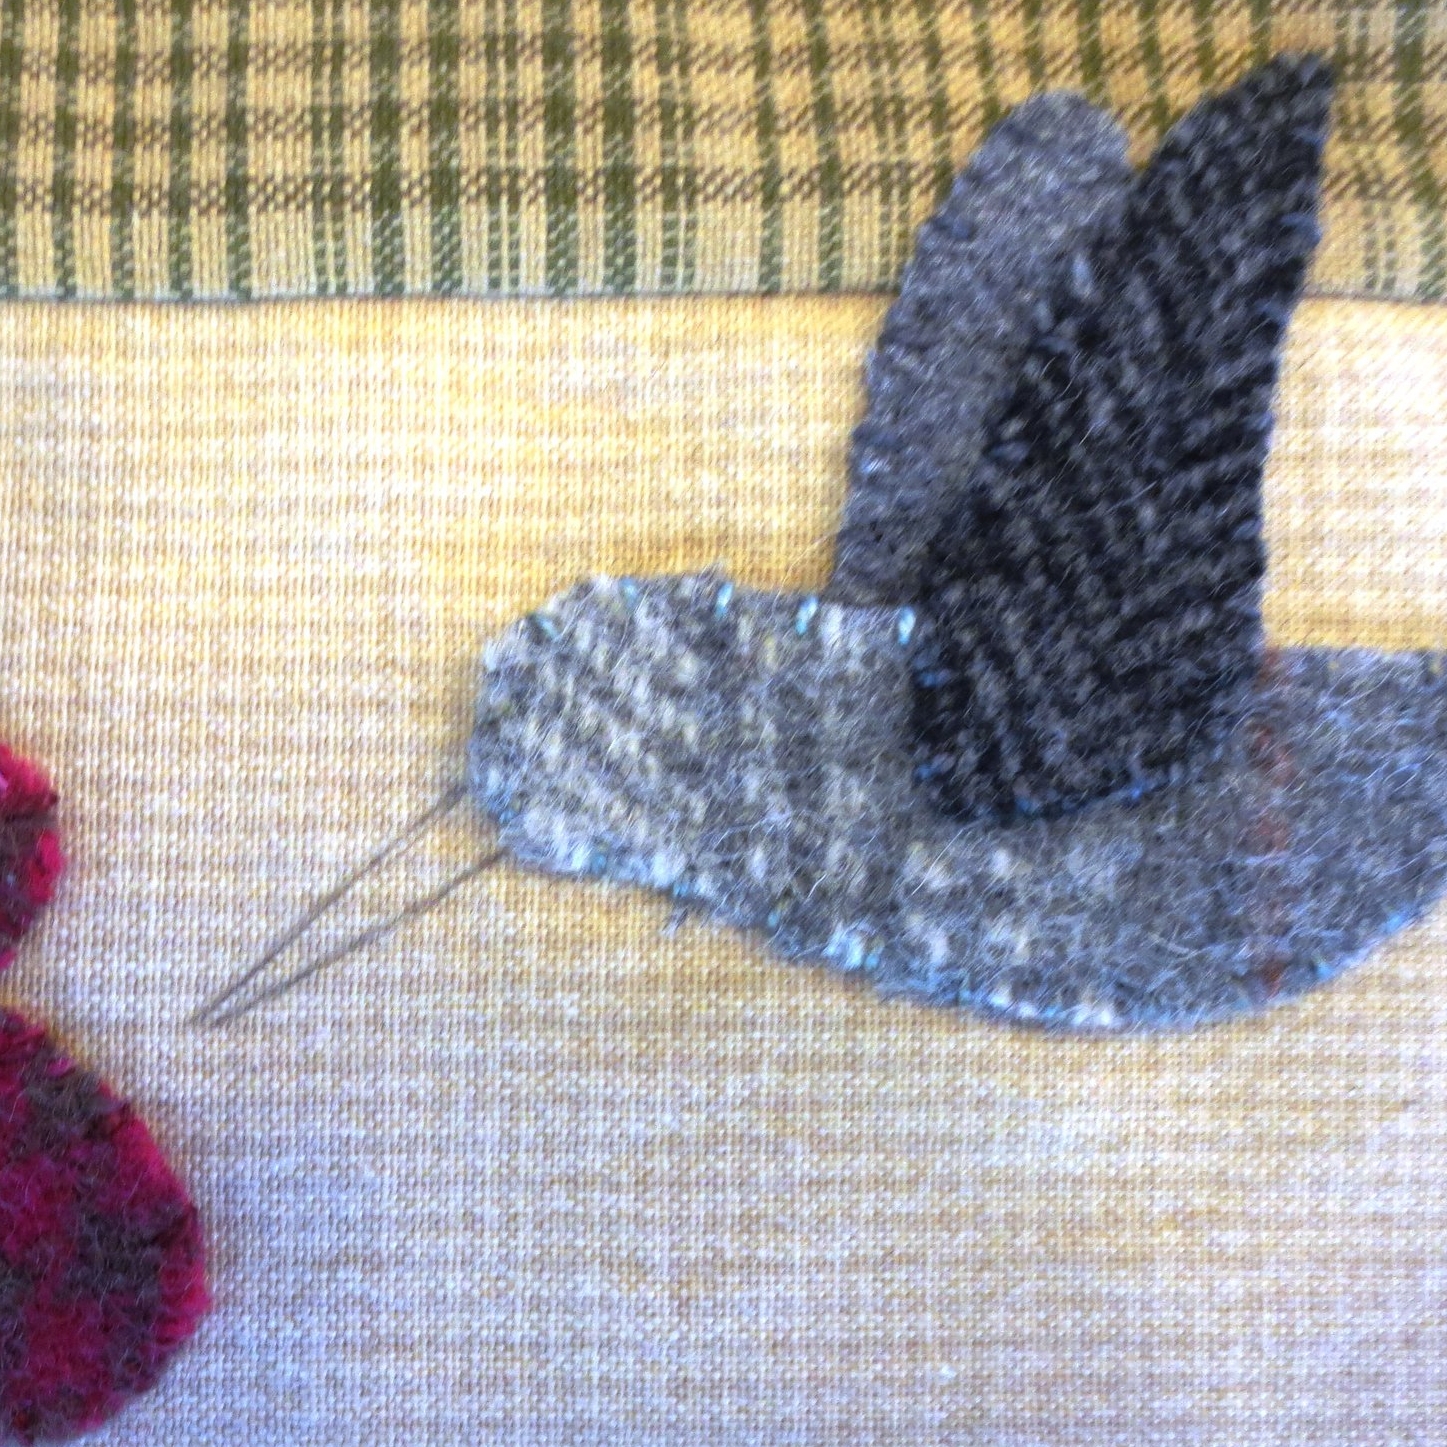
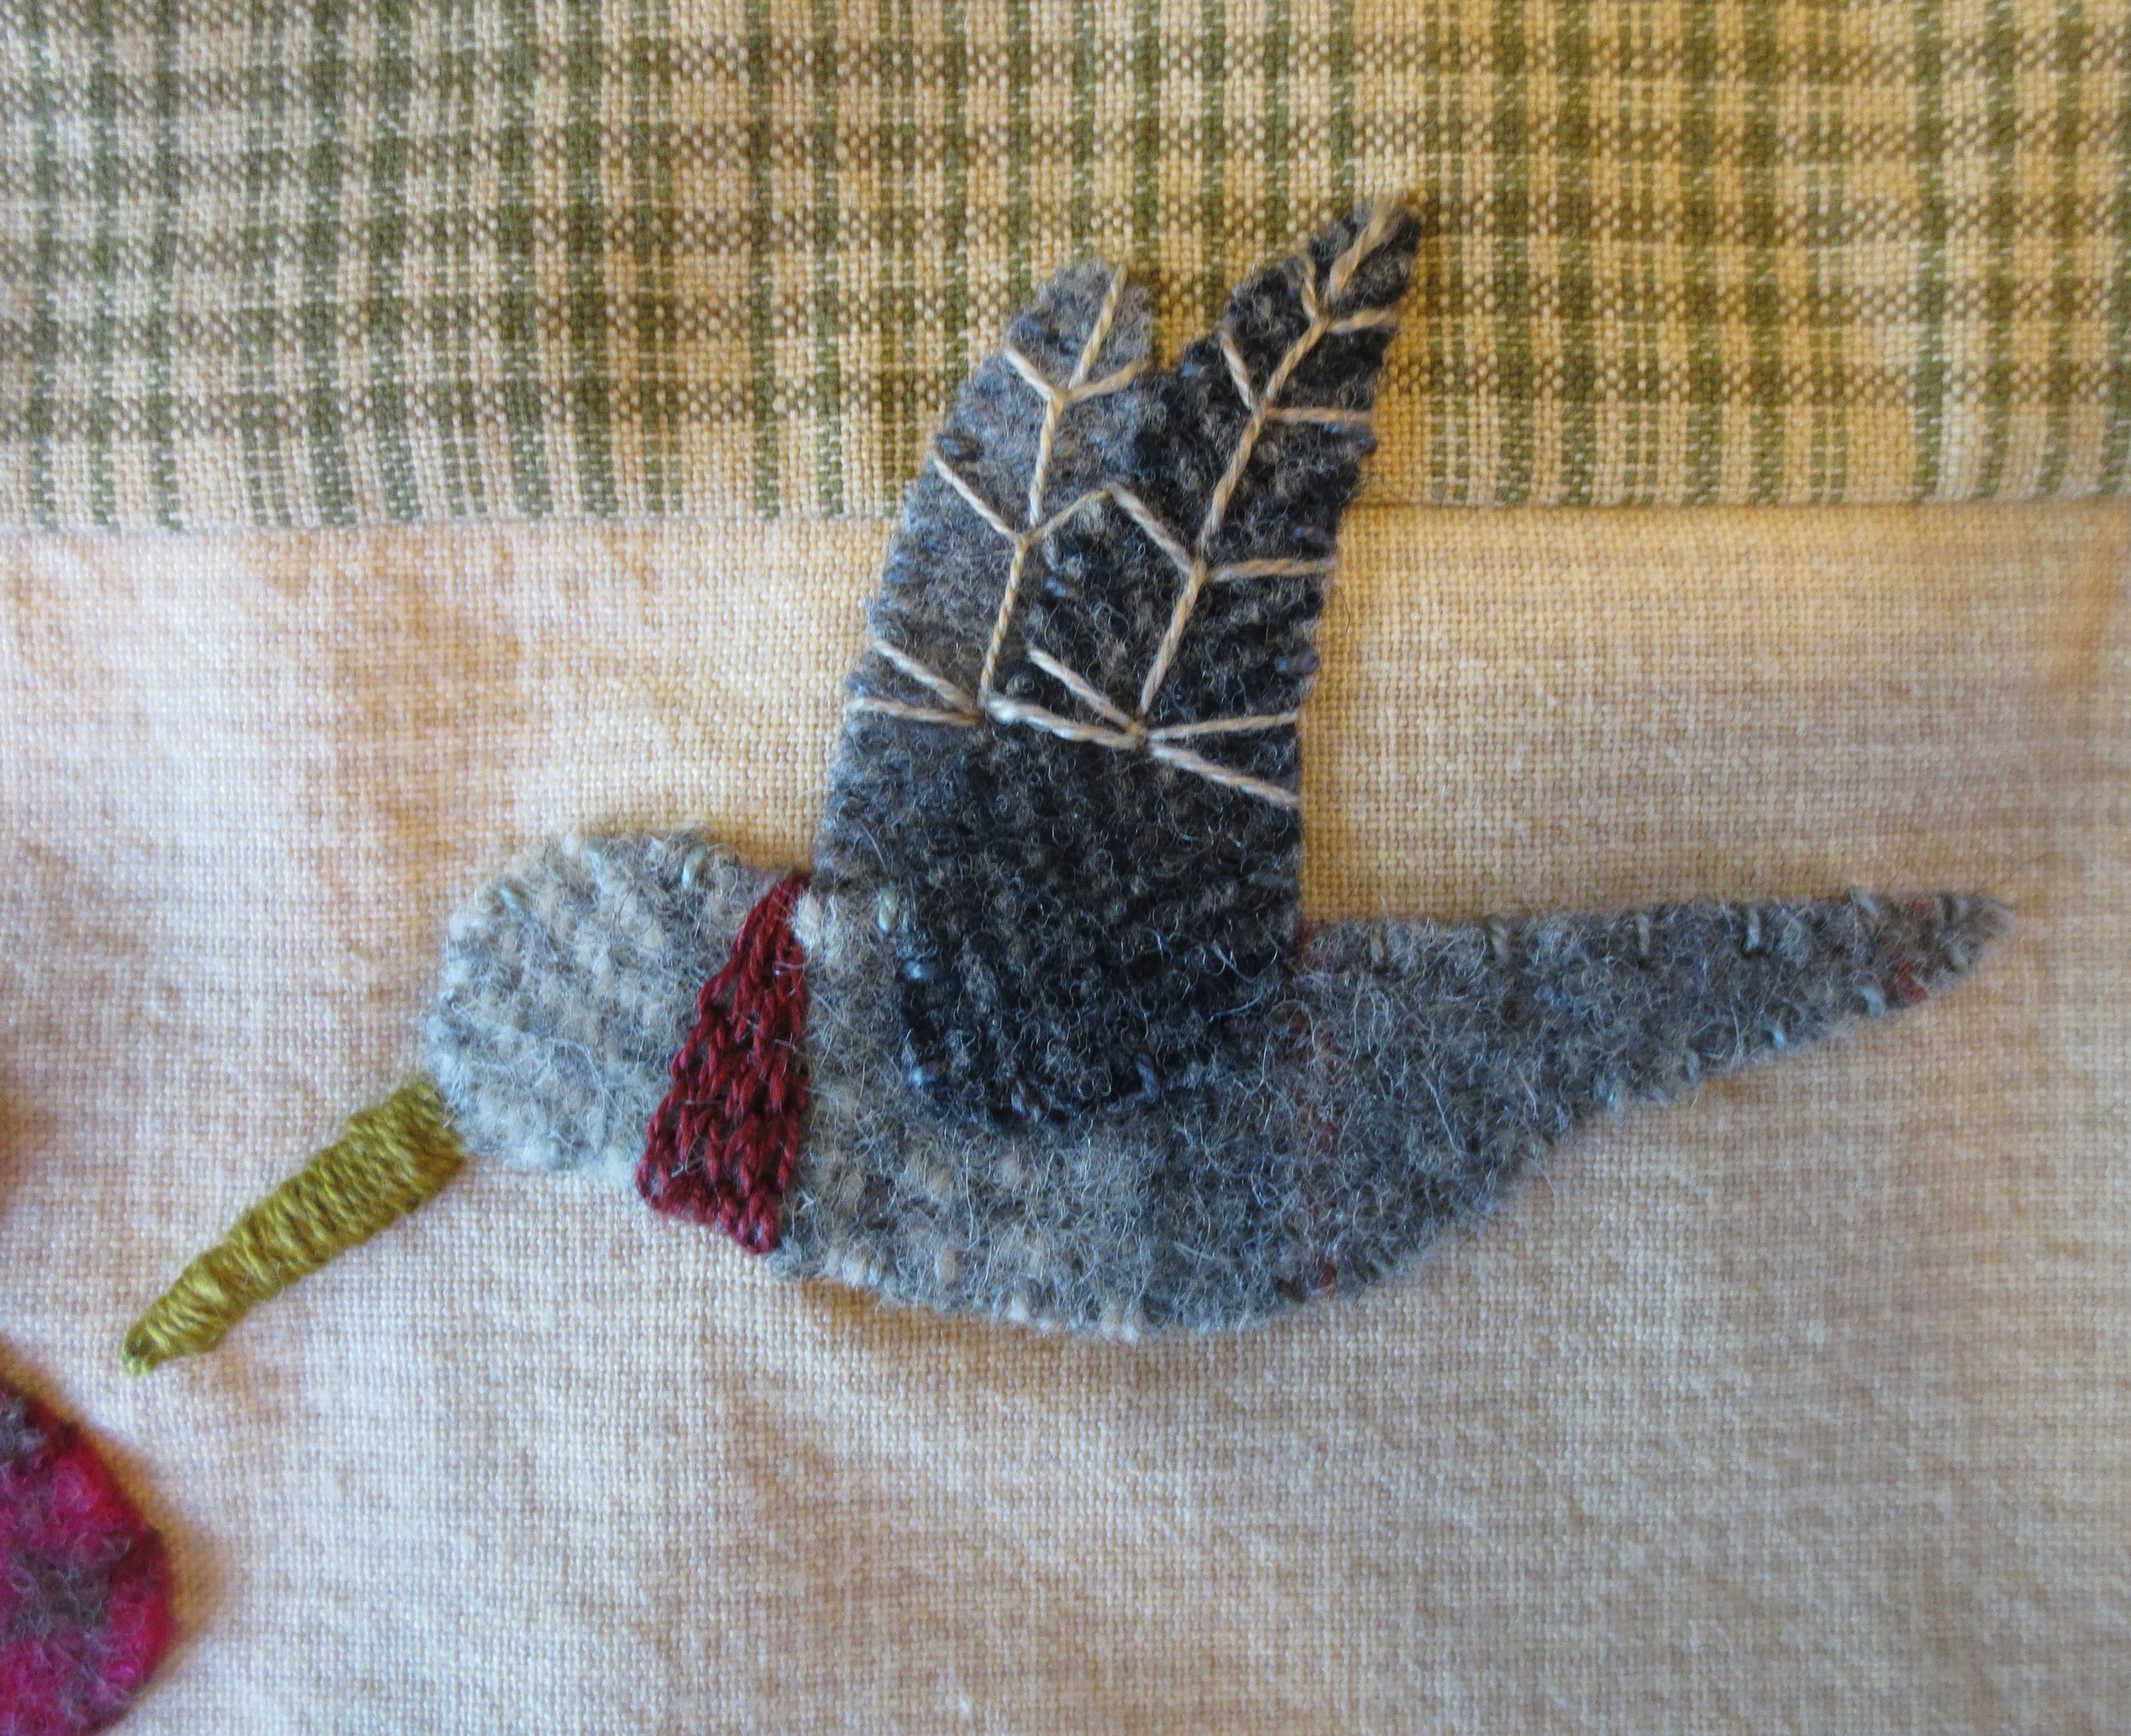
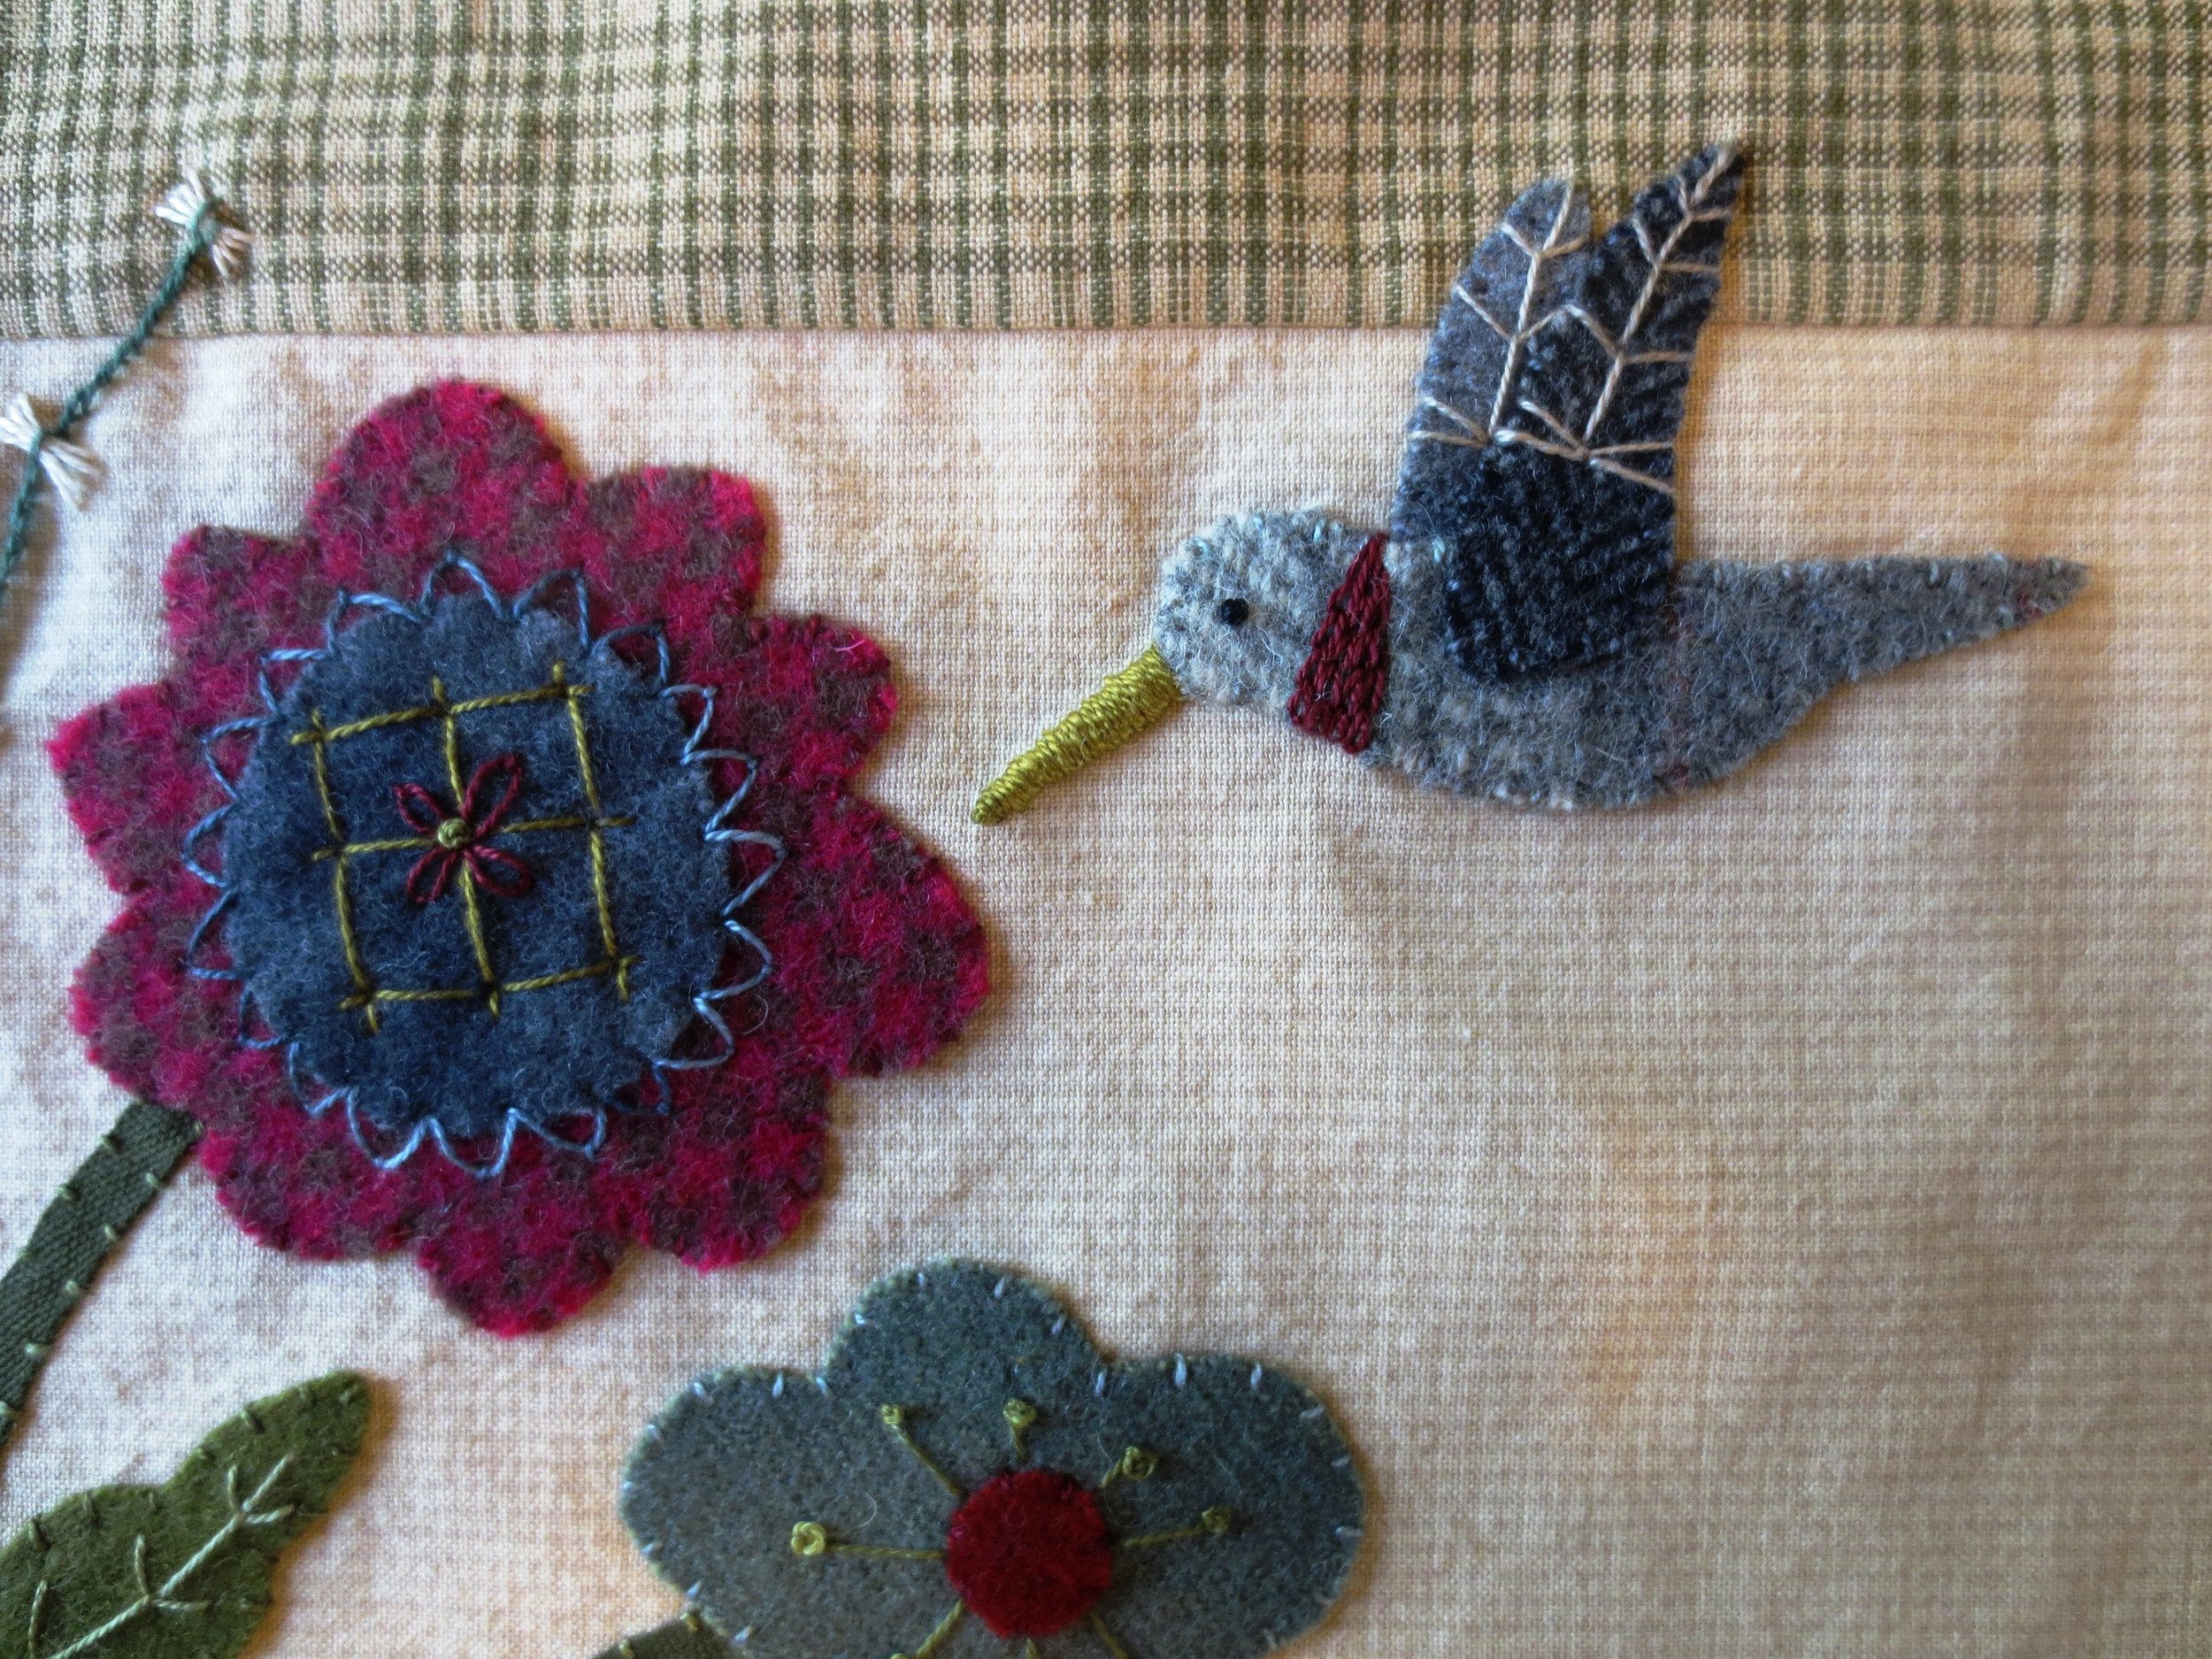
21. Hummingbird
- Position hummingbird body and wings to the right of flower #3. Fuse in place.
- Whip stitch with colors that match wool.
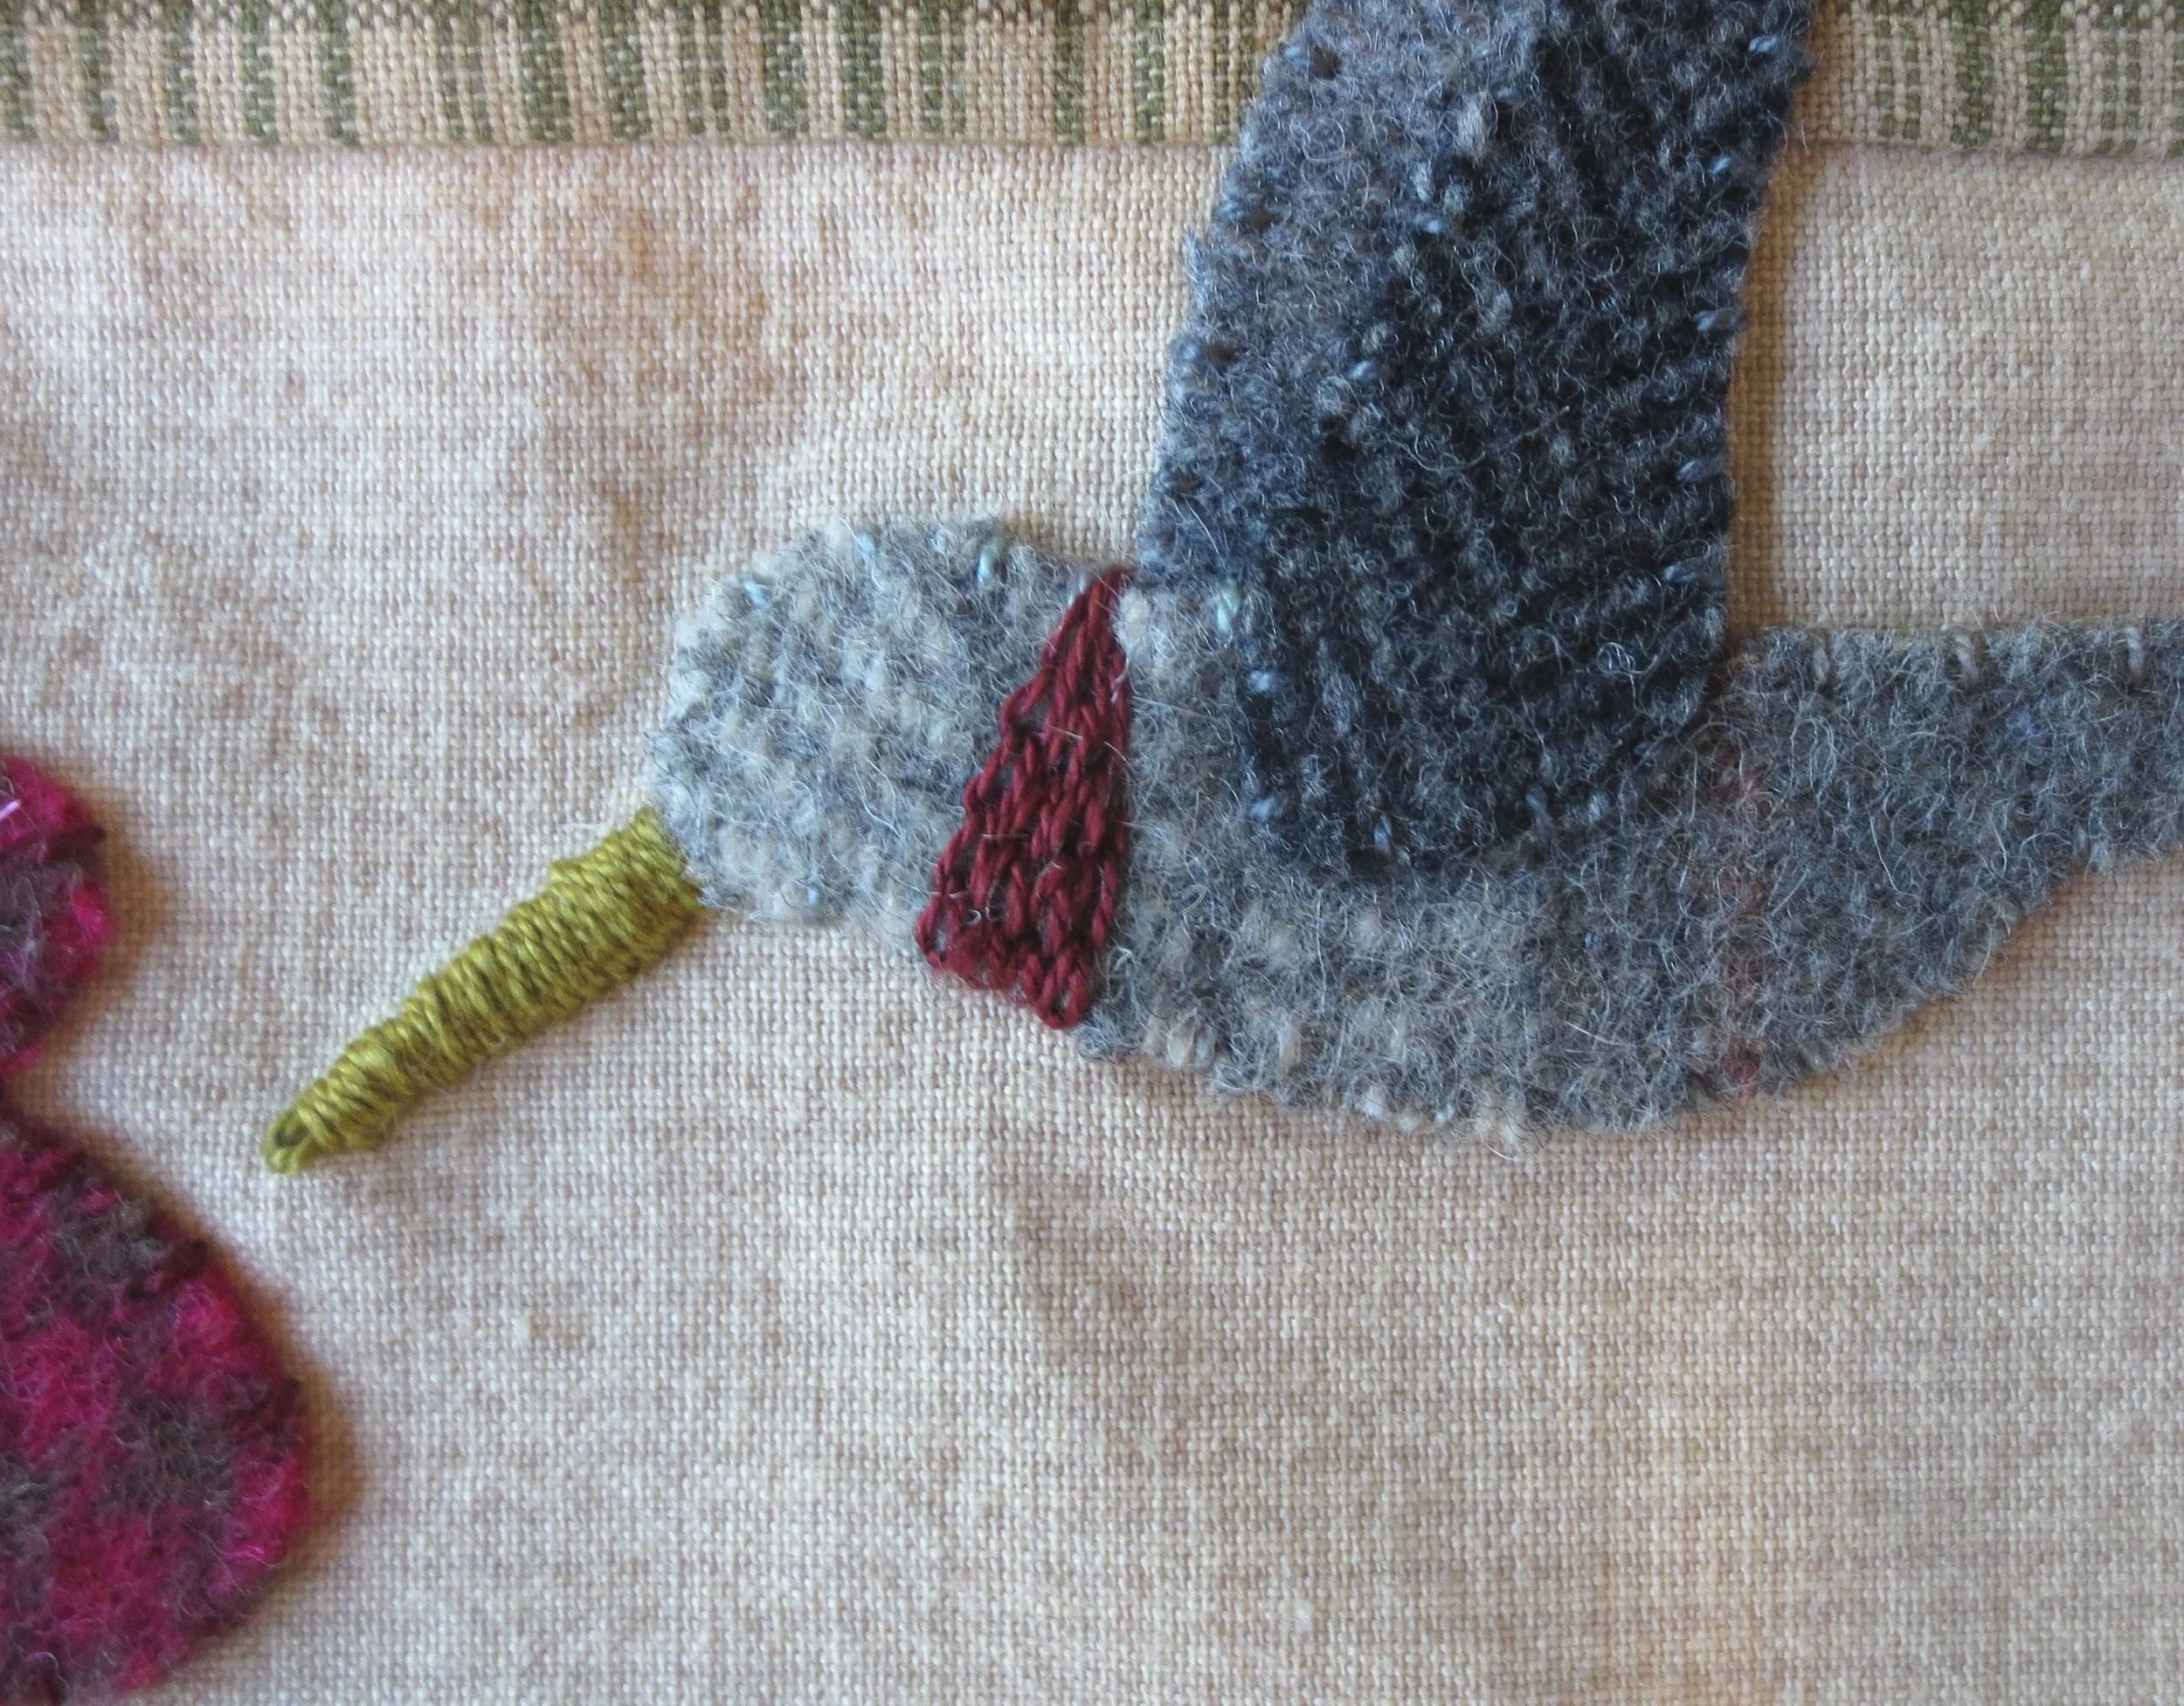
- Draw beak.
- Satin stitch beak using antique gold, Valdani #O153.
- Begin by outlining the beak with a back stitch.
- Then fill in the beak with a satin stitch. Begin and end each stitch on the outside of the outline.

- Draw guide lines for the band of neck color.
- Fill the area in with a chain stitch. Hint: Stitch each row of chain in the same direction.
- Stitch a closed fly stitch with four sets of side branches on wing B. I used Valdani #O178.
- Stitch two back stitches at base of the last branch.
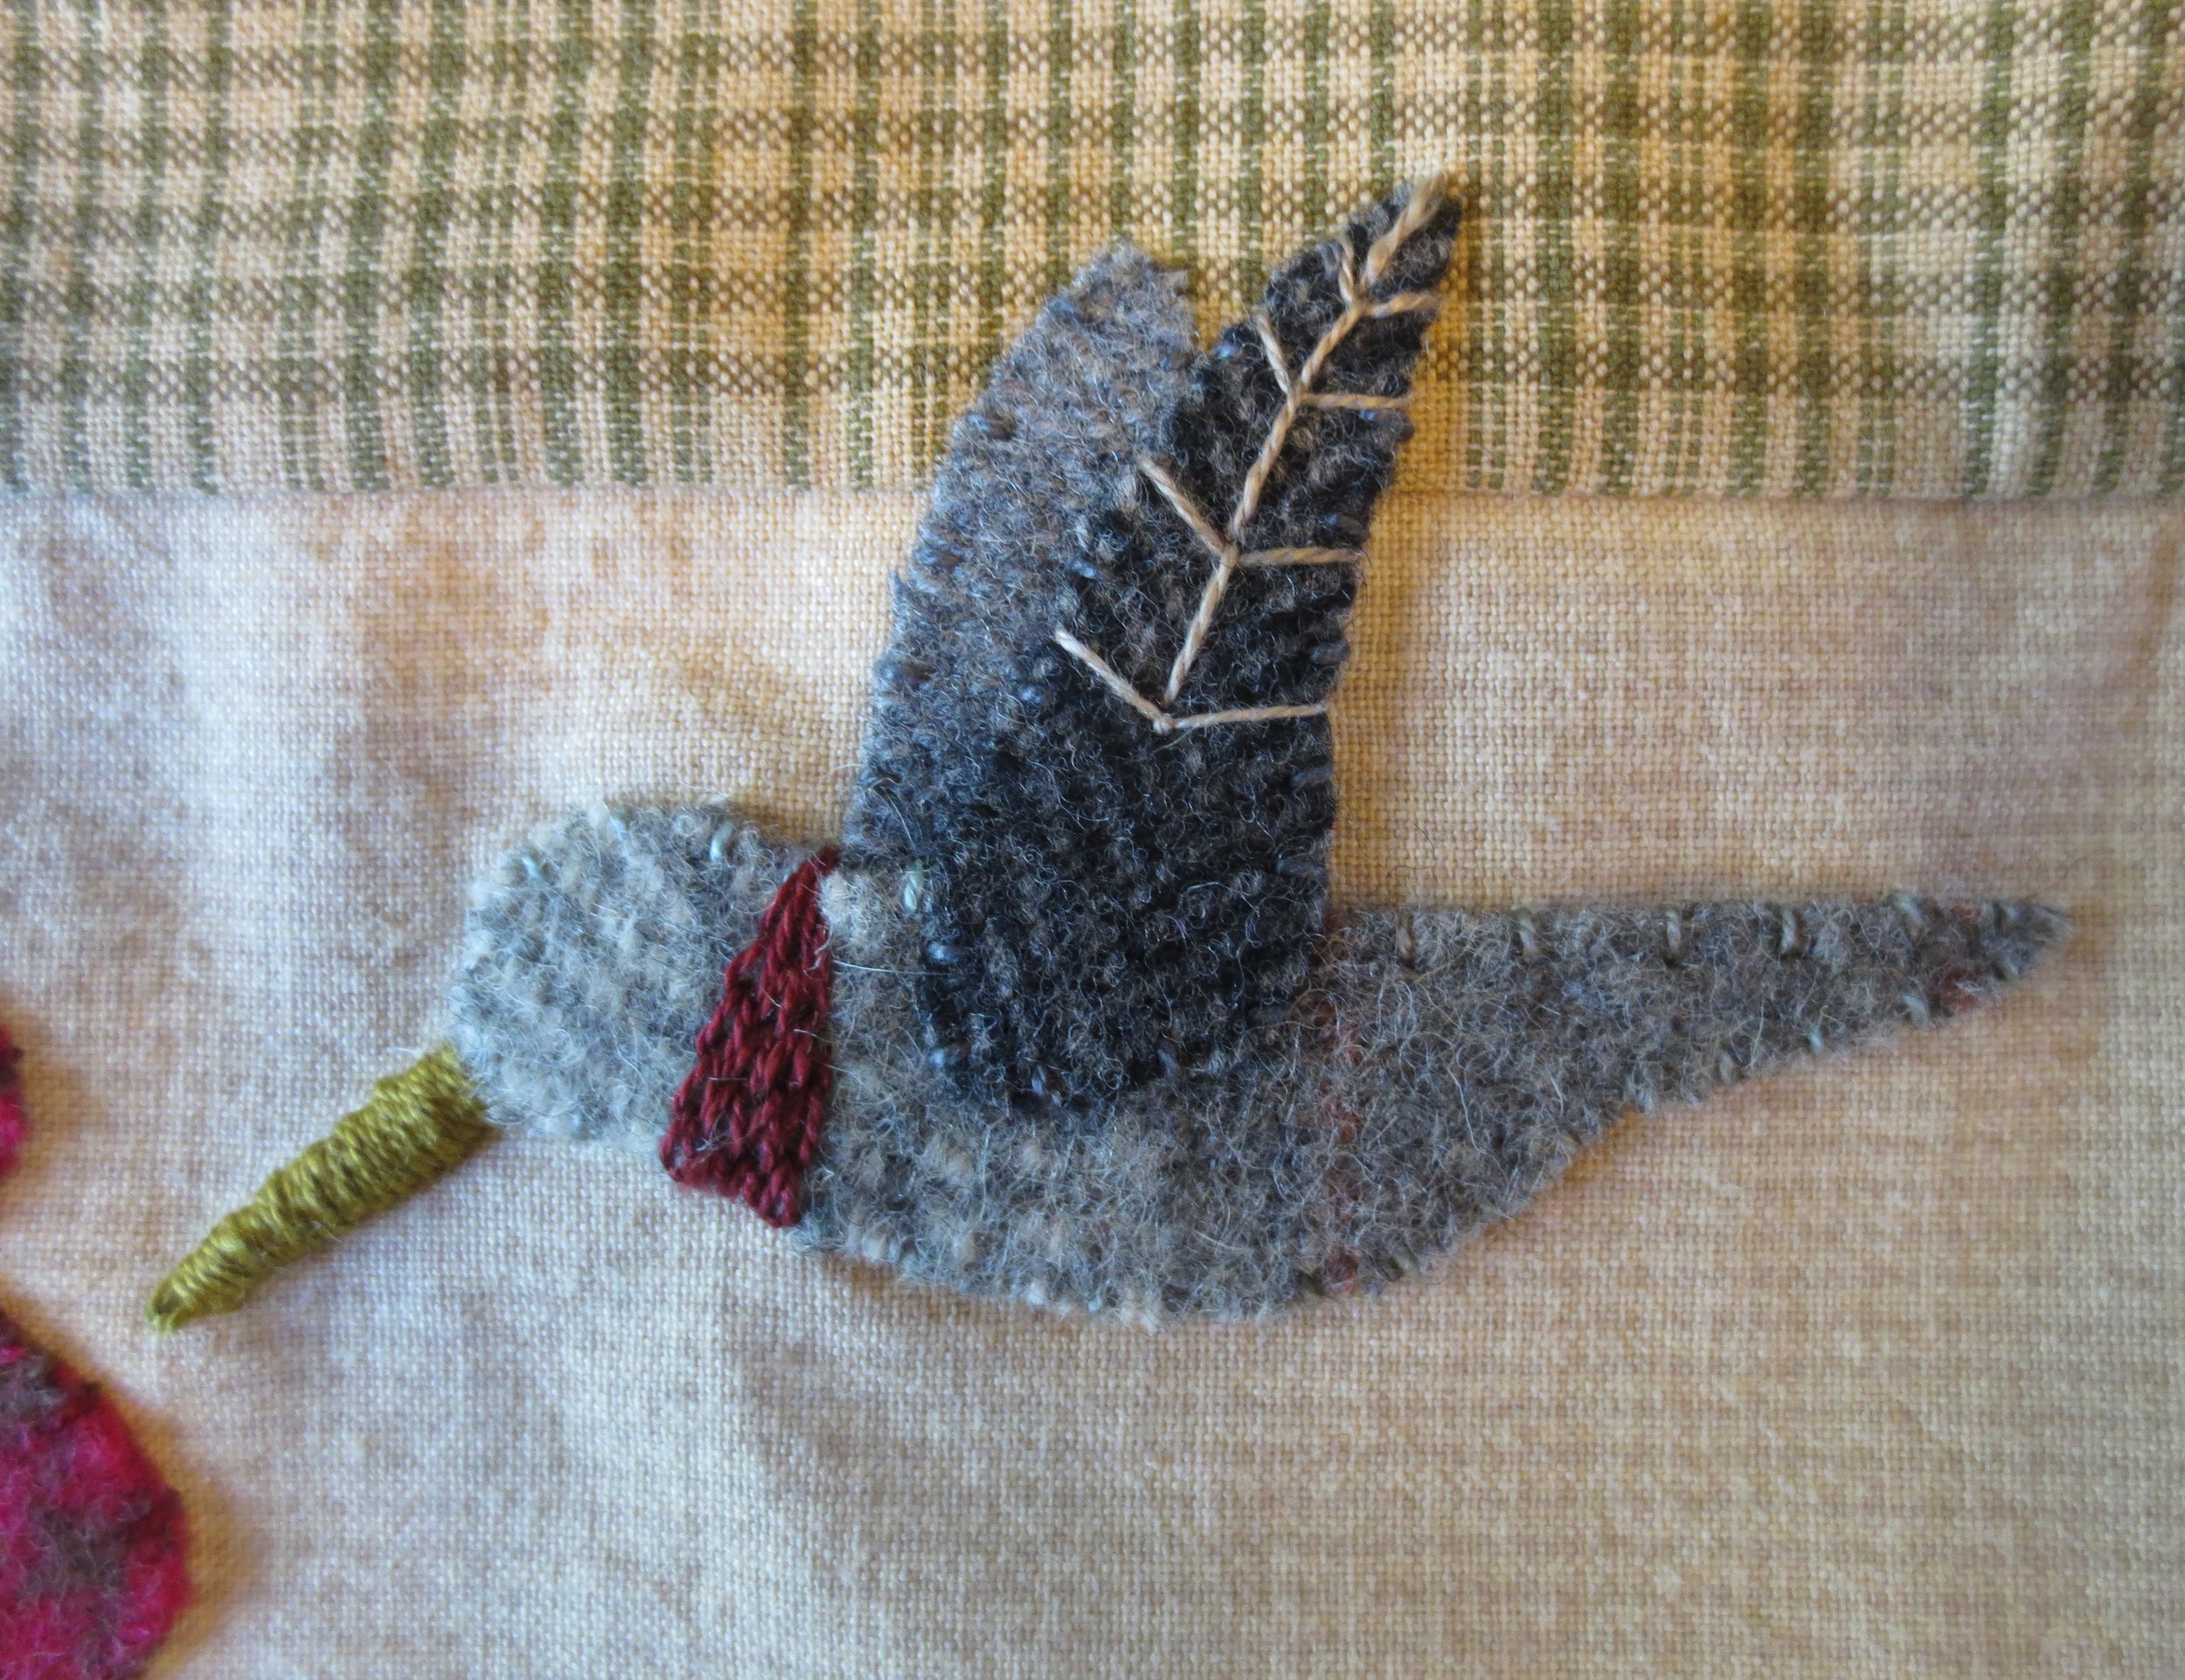
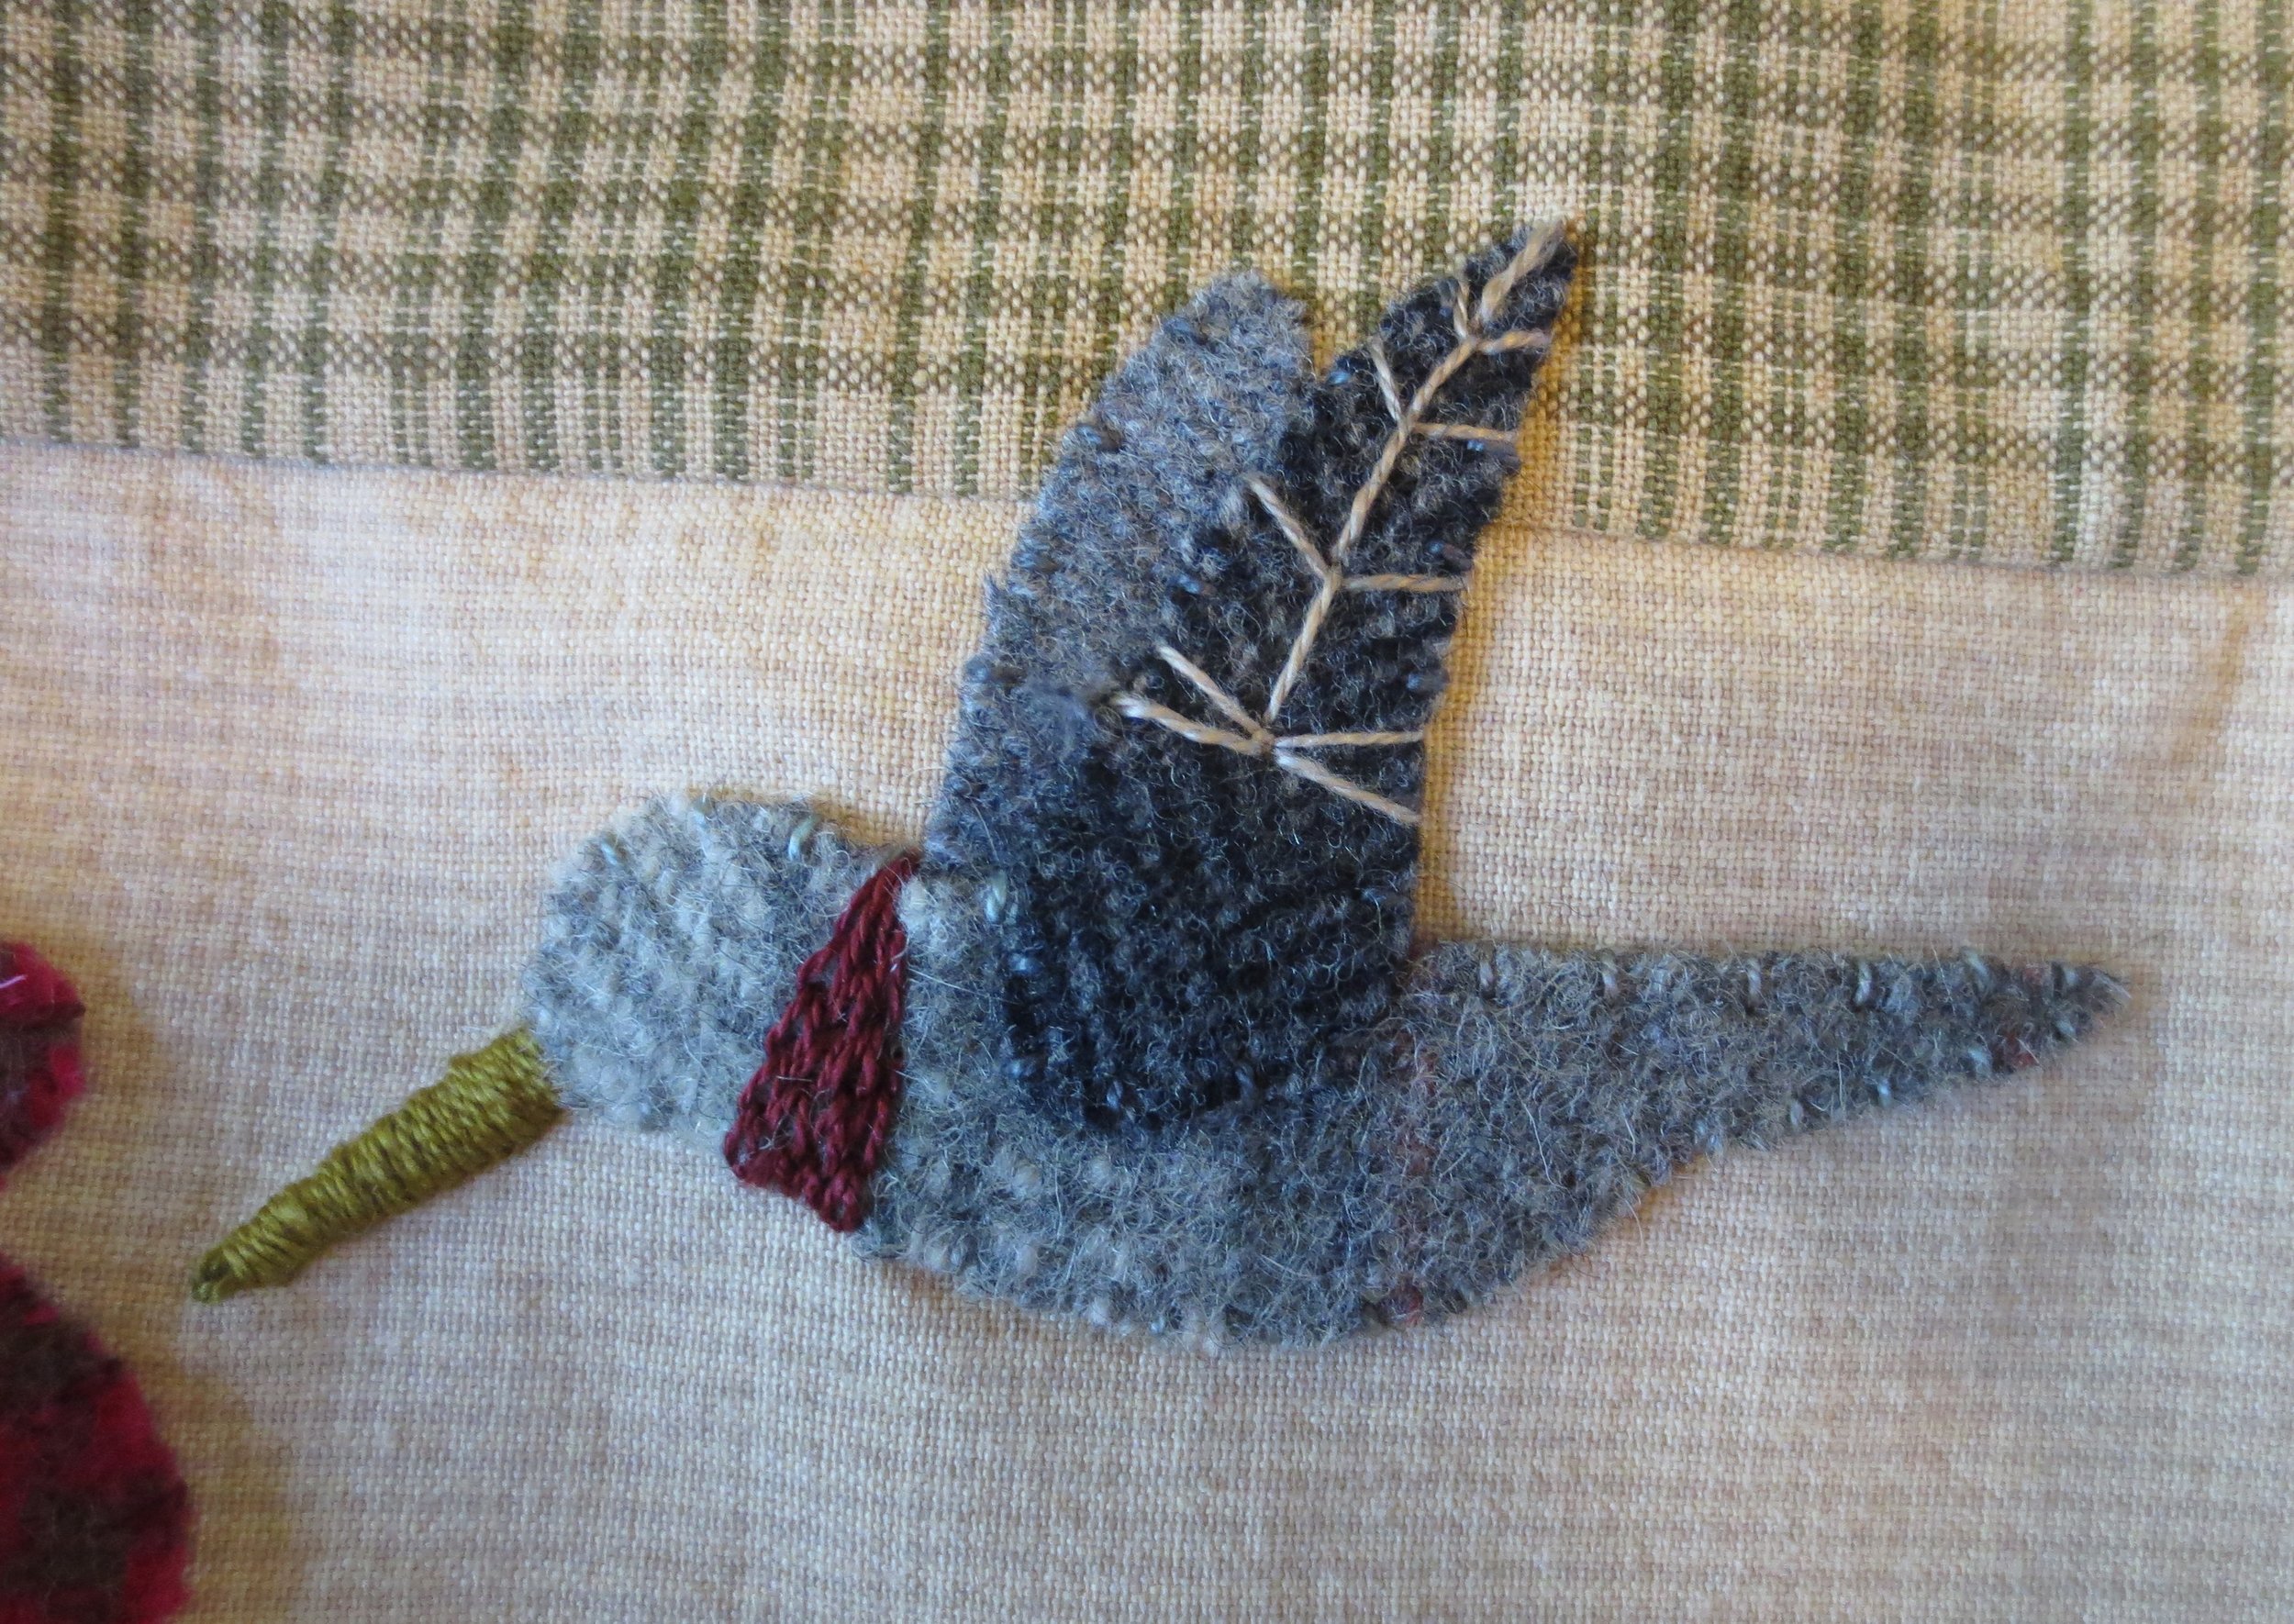
- Repeat steps for wing A.
- Stitch a colonial knot eye using Valdani #135.
Block #3 is complete!
Happy Stitching!