
Hands To Work - Small Pouch
Sometimes we get little reminders in our lives that teach us about worth. We are so often unmindful of the value of people and things in our everyday lives that we fail to see their worth until we lose them or are faced with the potential loss of them.
I have always taken the use of my fingers for granted. So when I temporarily lost the use of my left forefinger for a couple of months I realized how essential a forefinger was for a maker. I will probably never obtain full feeling in the finger, but I am so grateful that the outcome was not more serious and for the return of at least partial use which has allowed me to sew again and that brings me great joy.
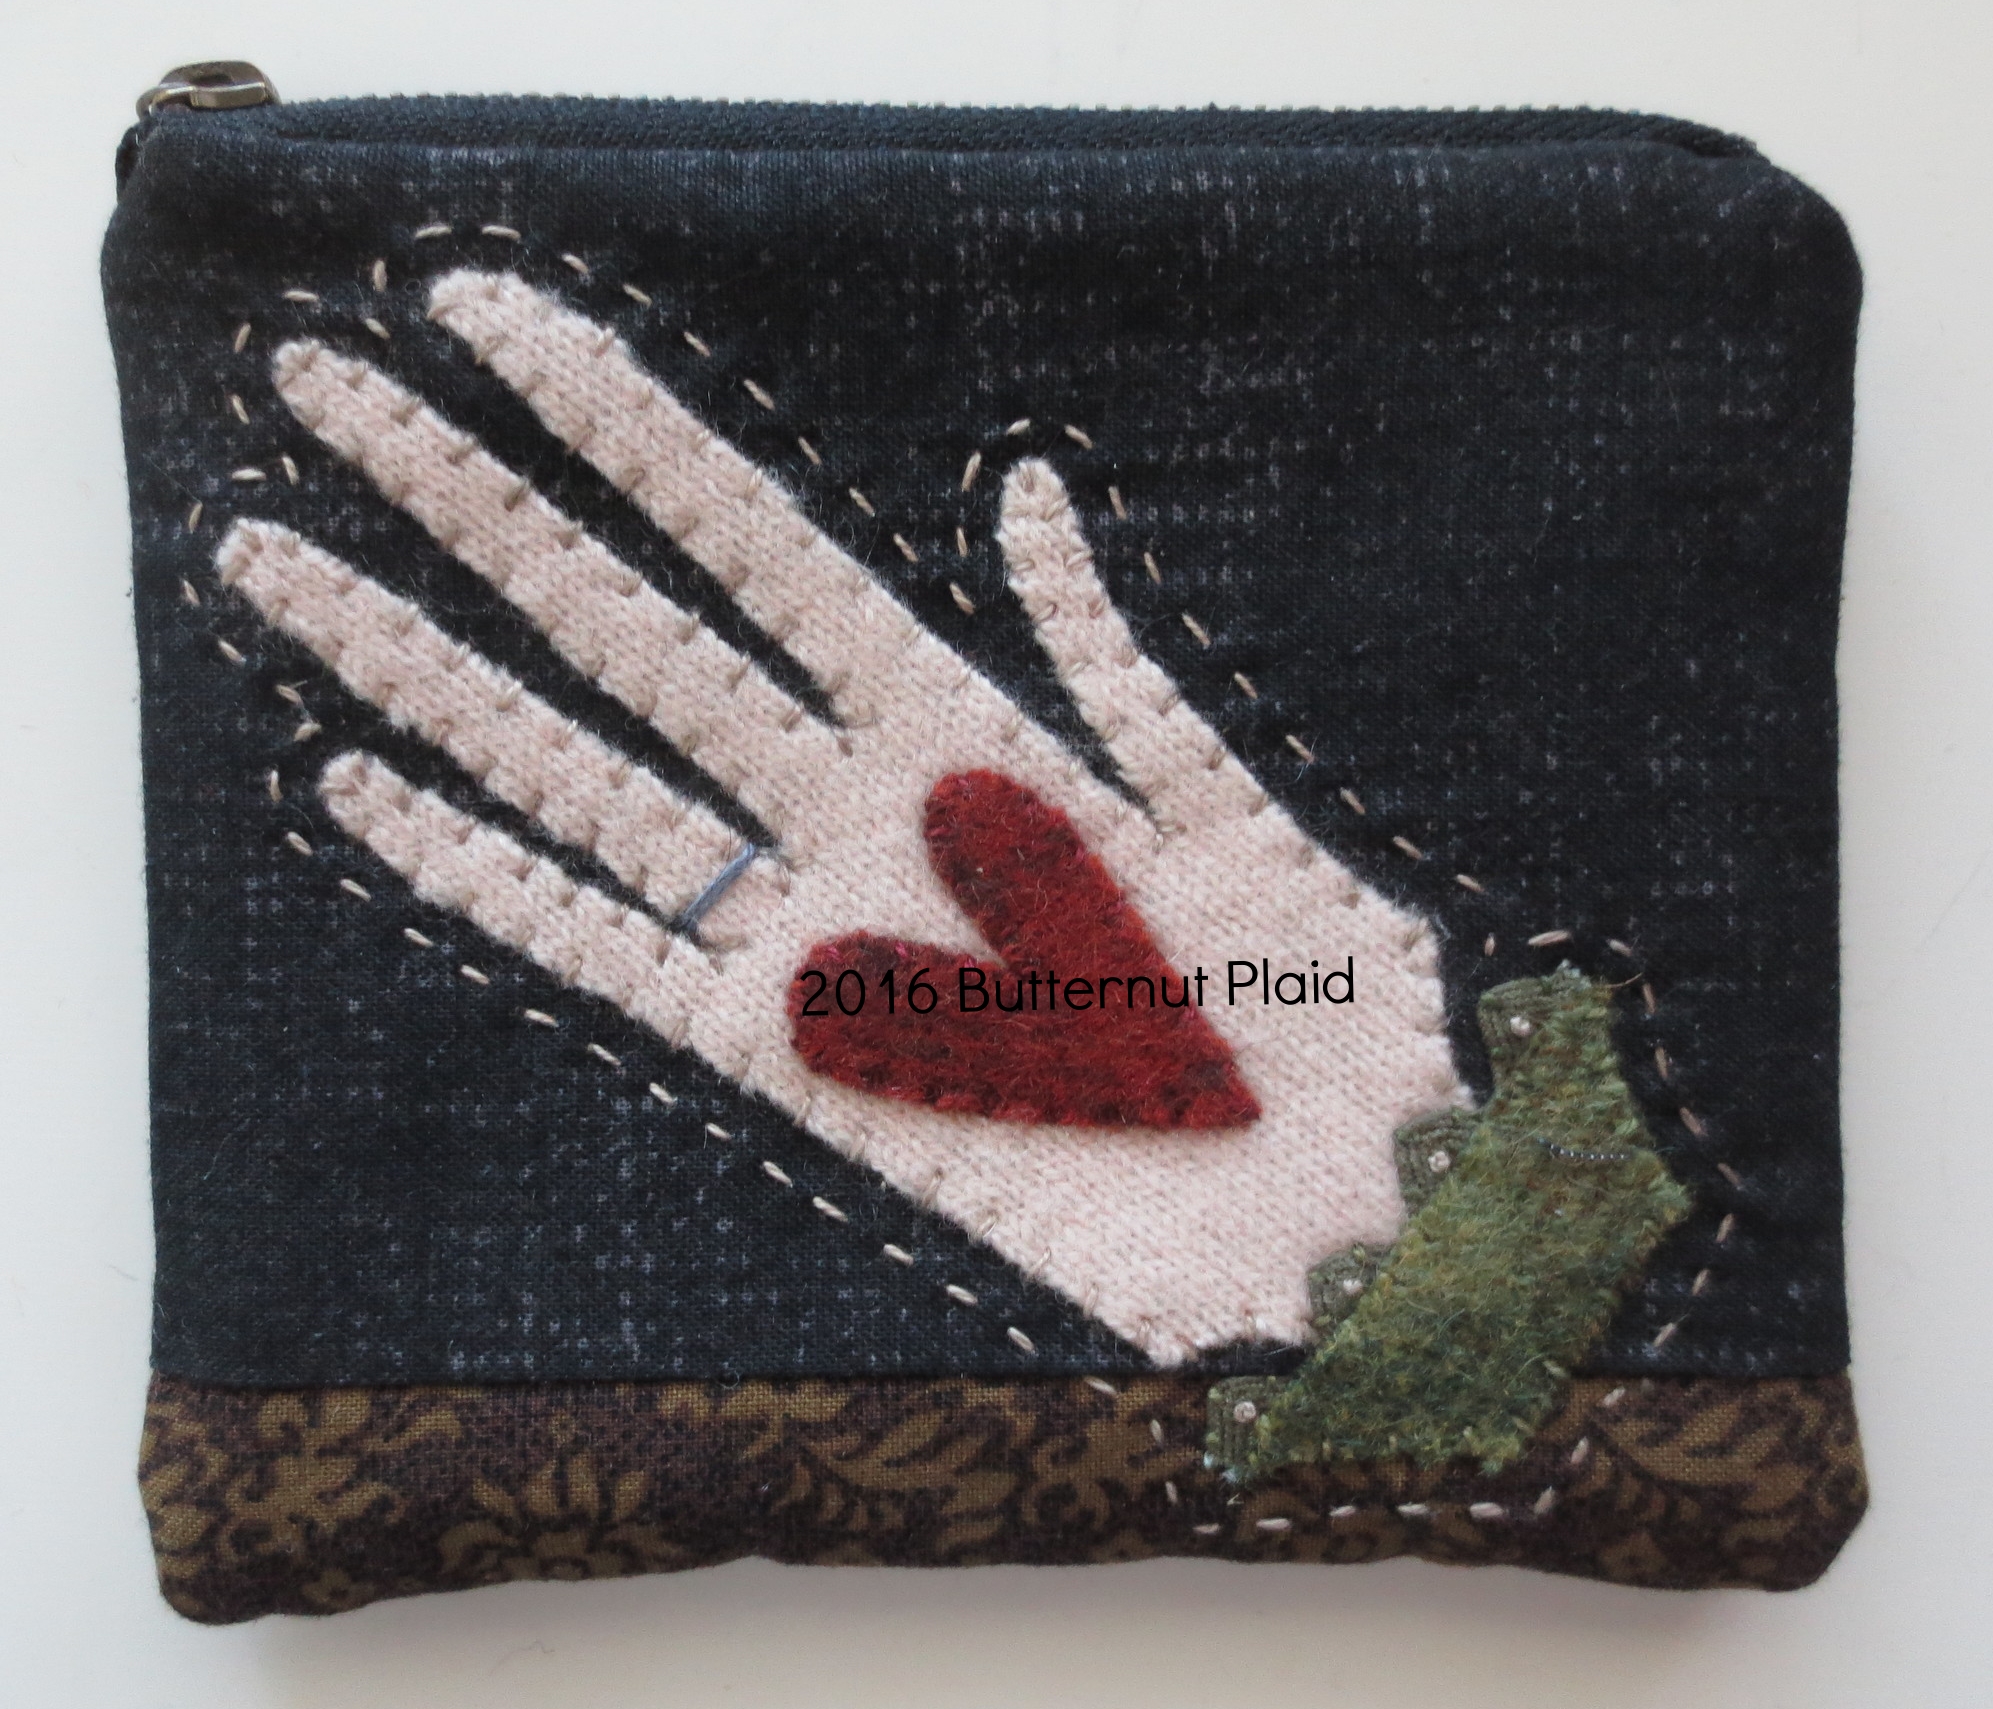
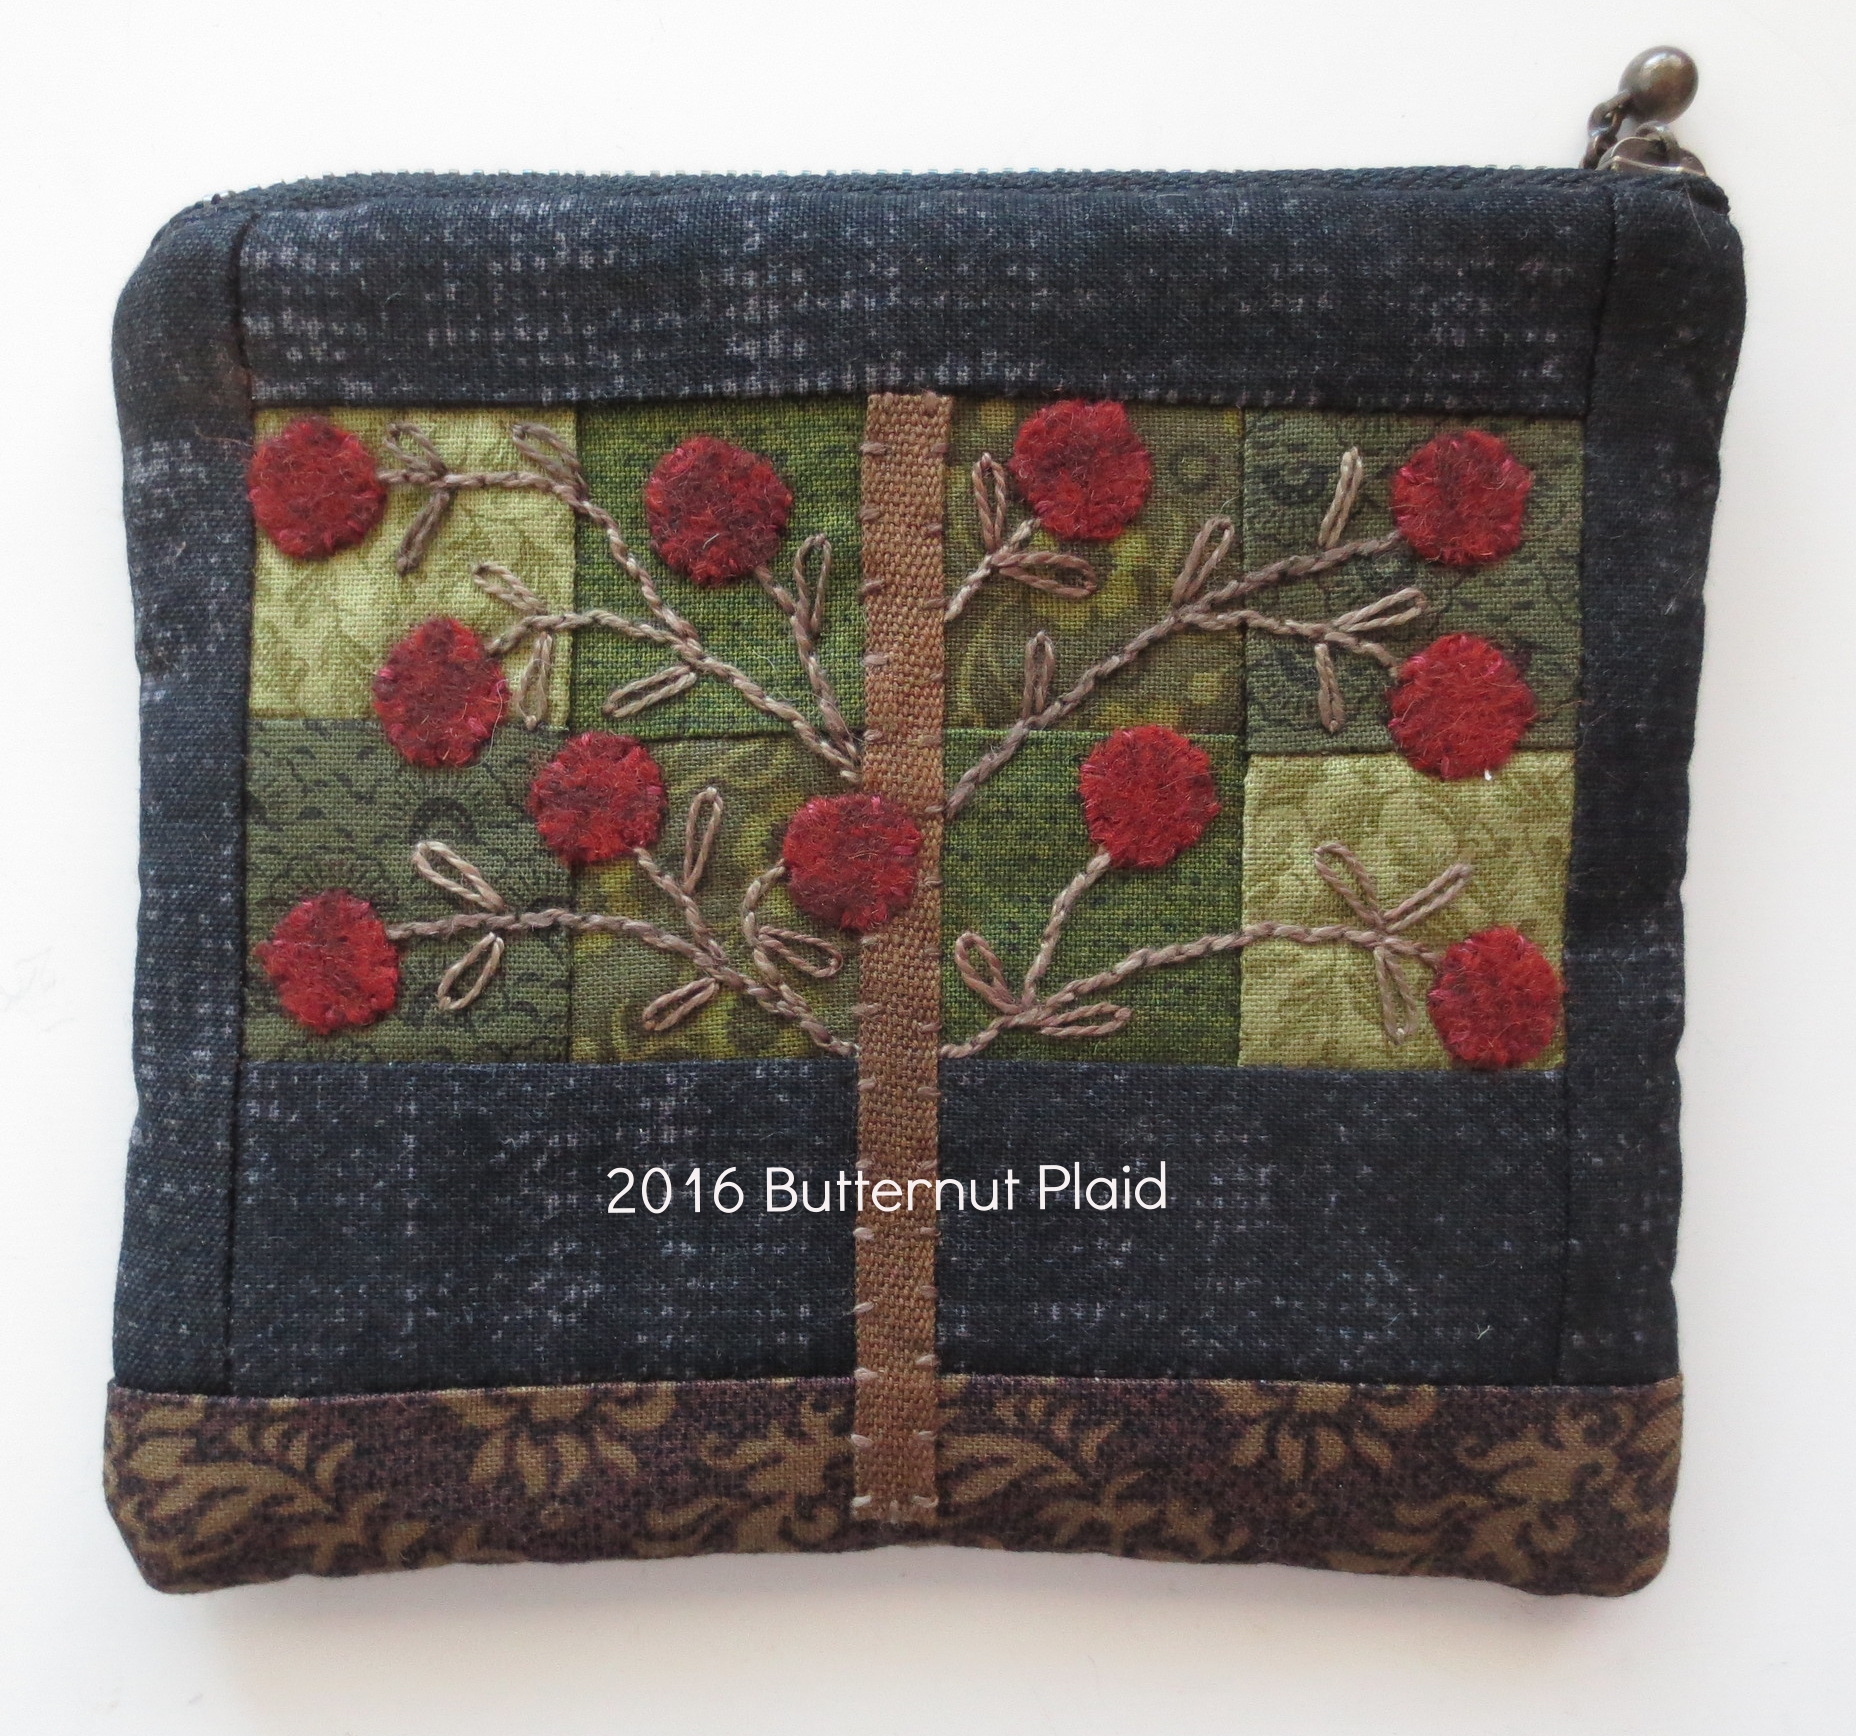
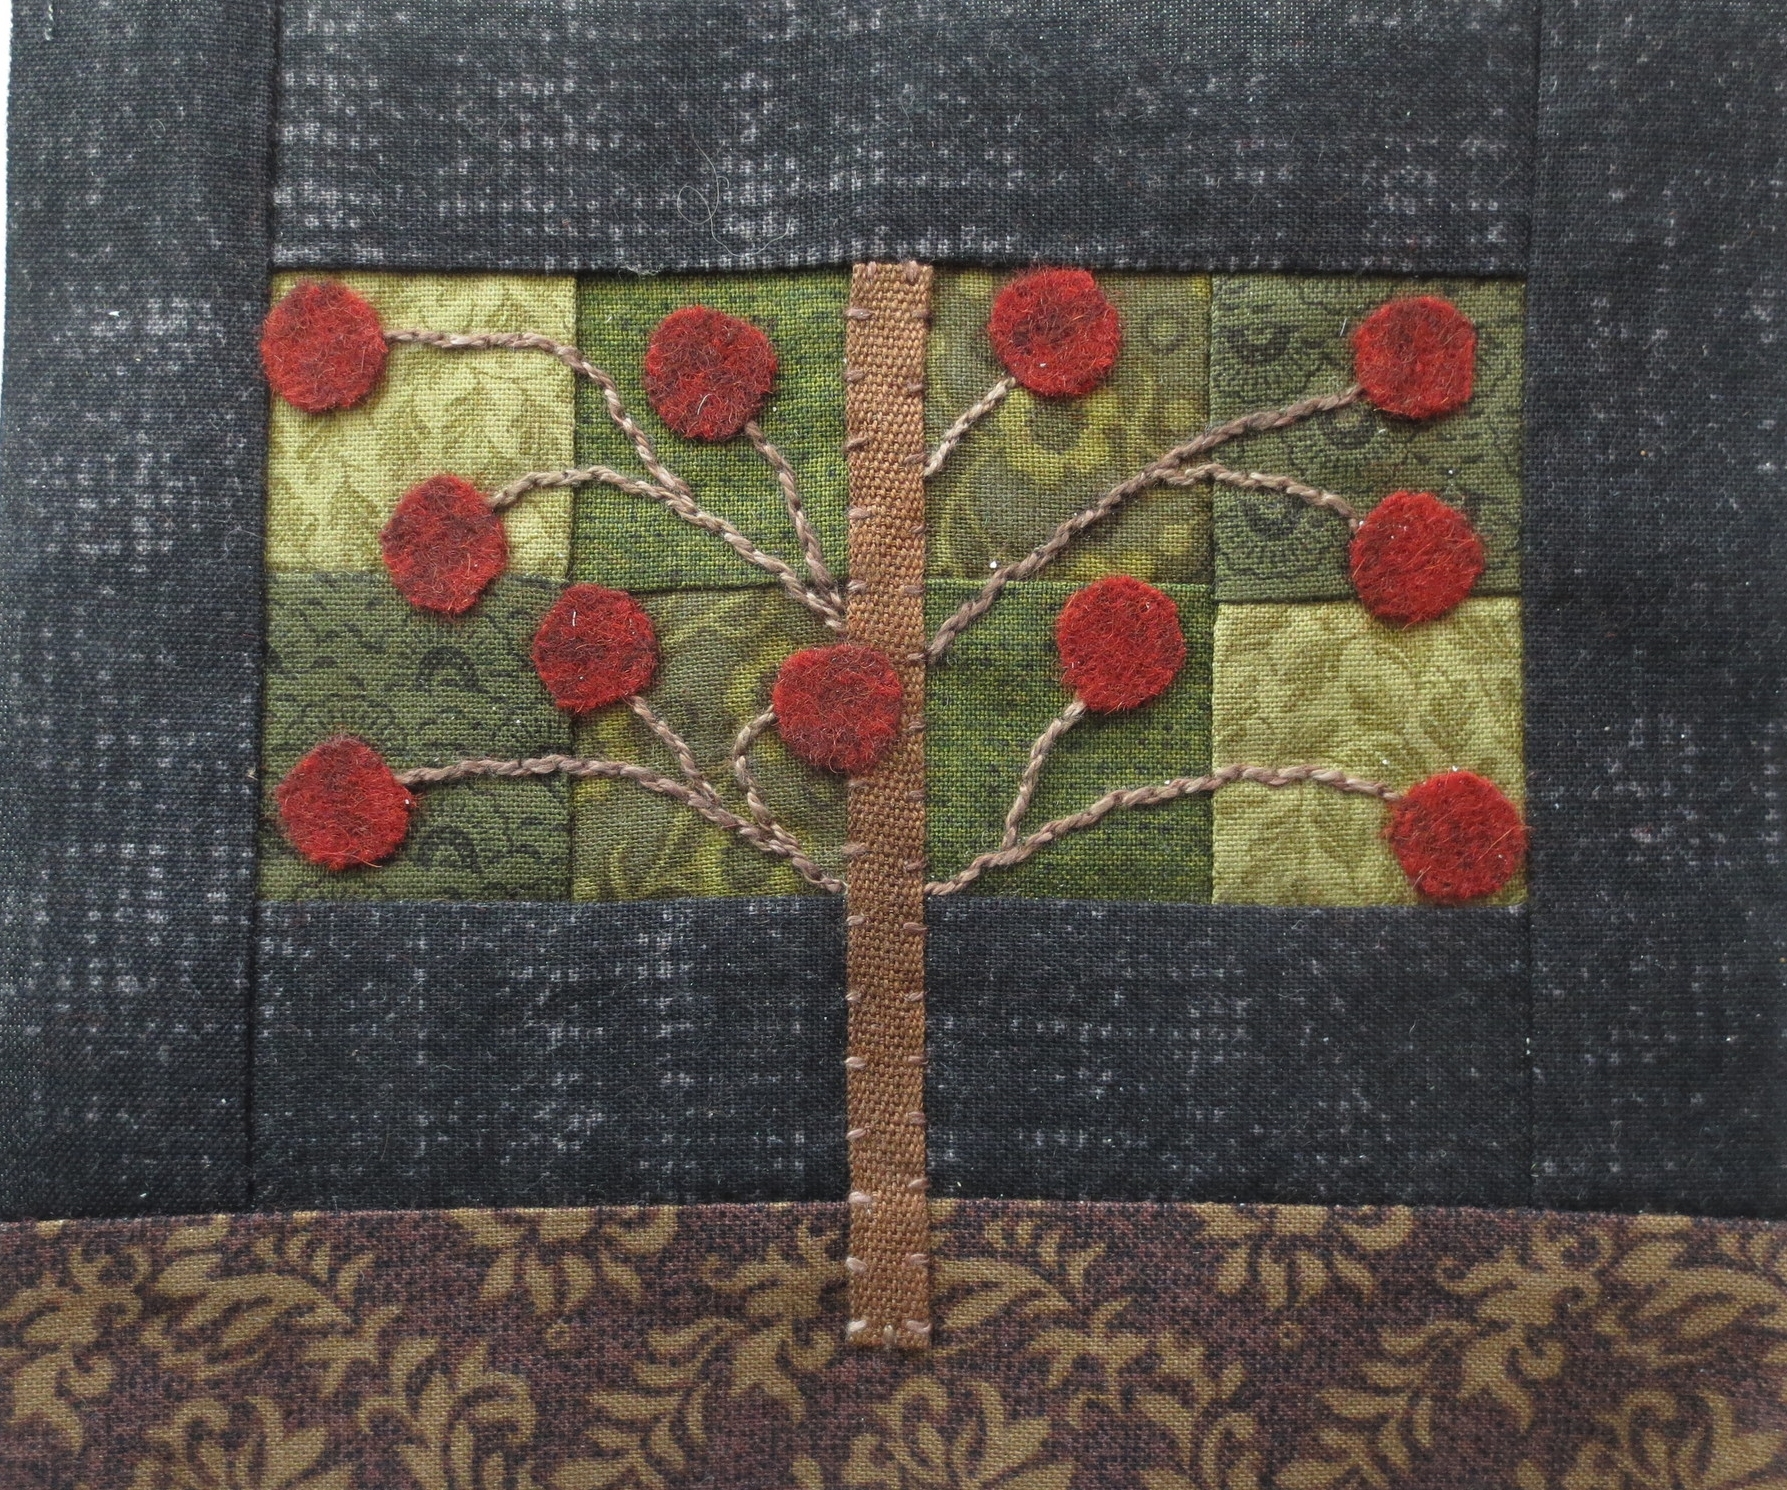
I created this project in praise of hands. It's based on the Shaker symbol Heart in Hand and the multicultural symbol Tree of Life. It's a 5-inch zippered pouch like the ones I made previousIy, but it's a little deeper to accommodate the larger design elements. I used a piece of an old cashmere sweater for the hand and I pieced the tree.
You will need:
- Fabric
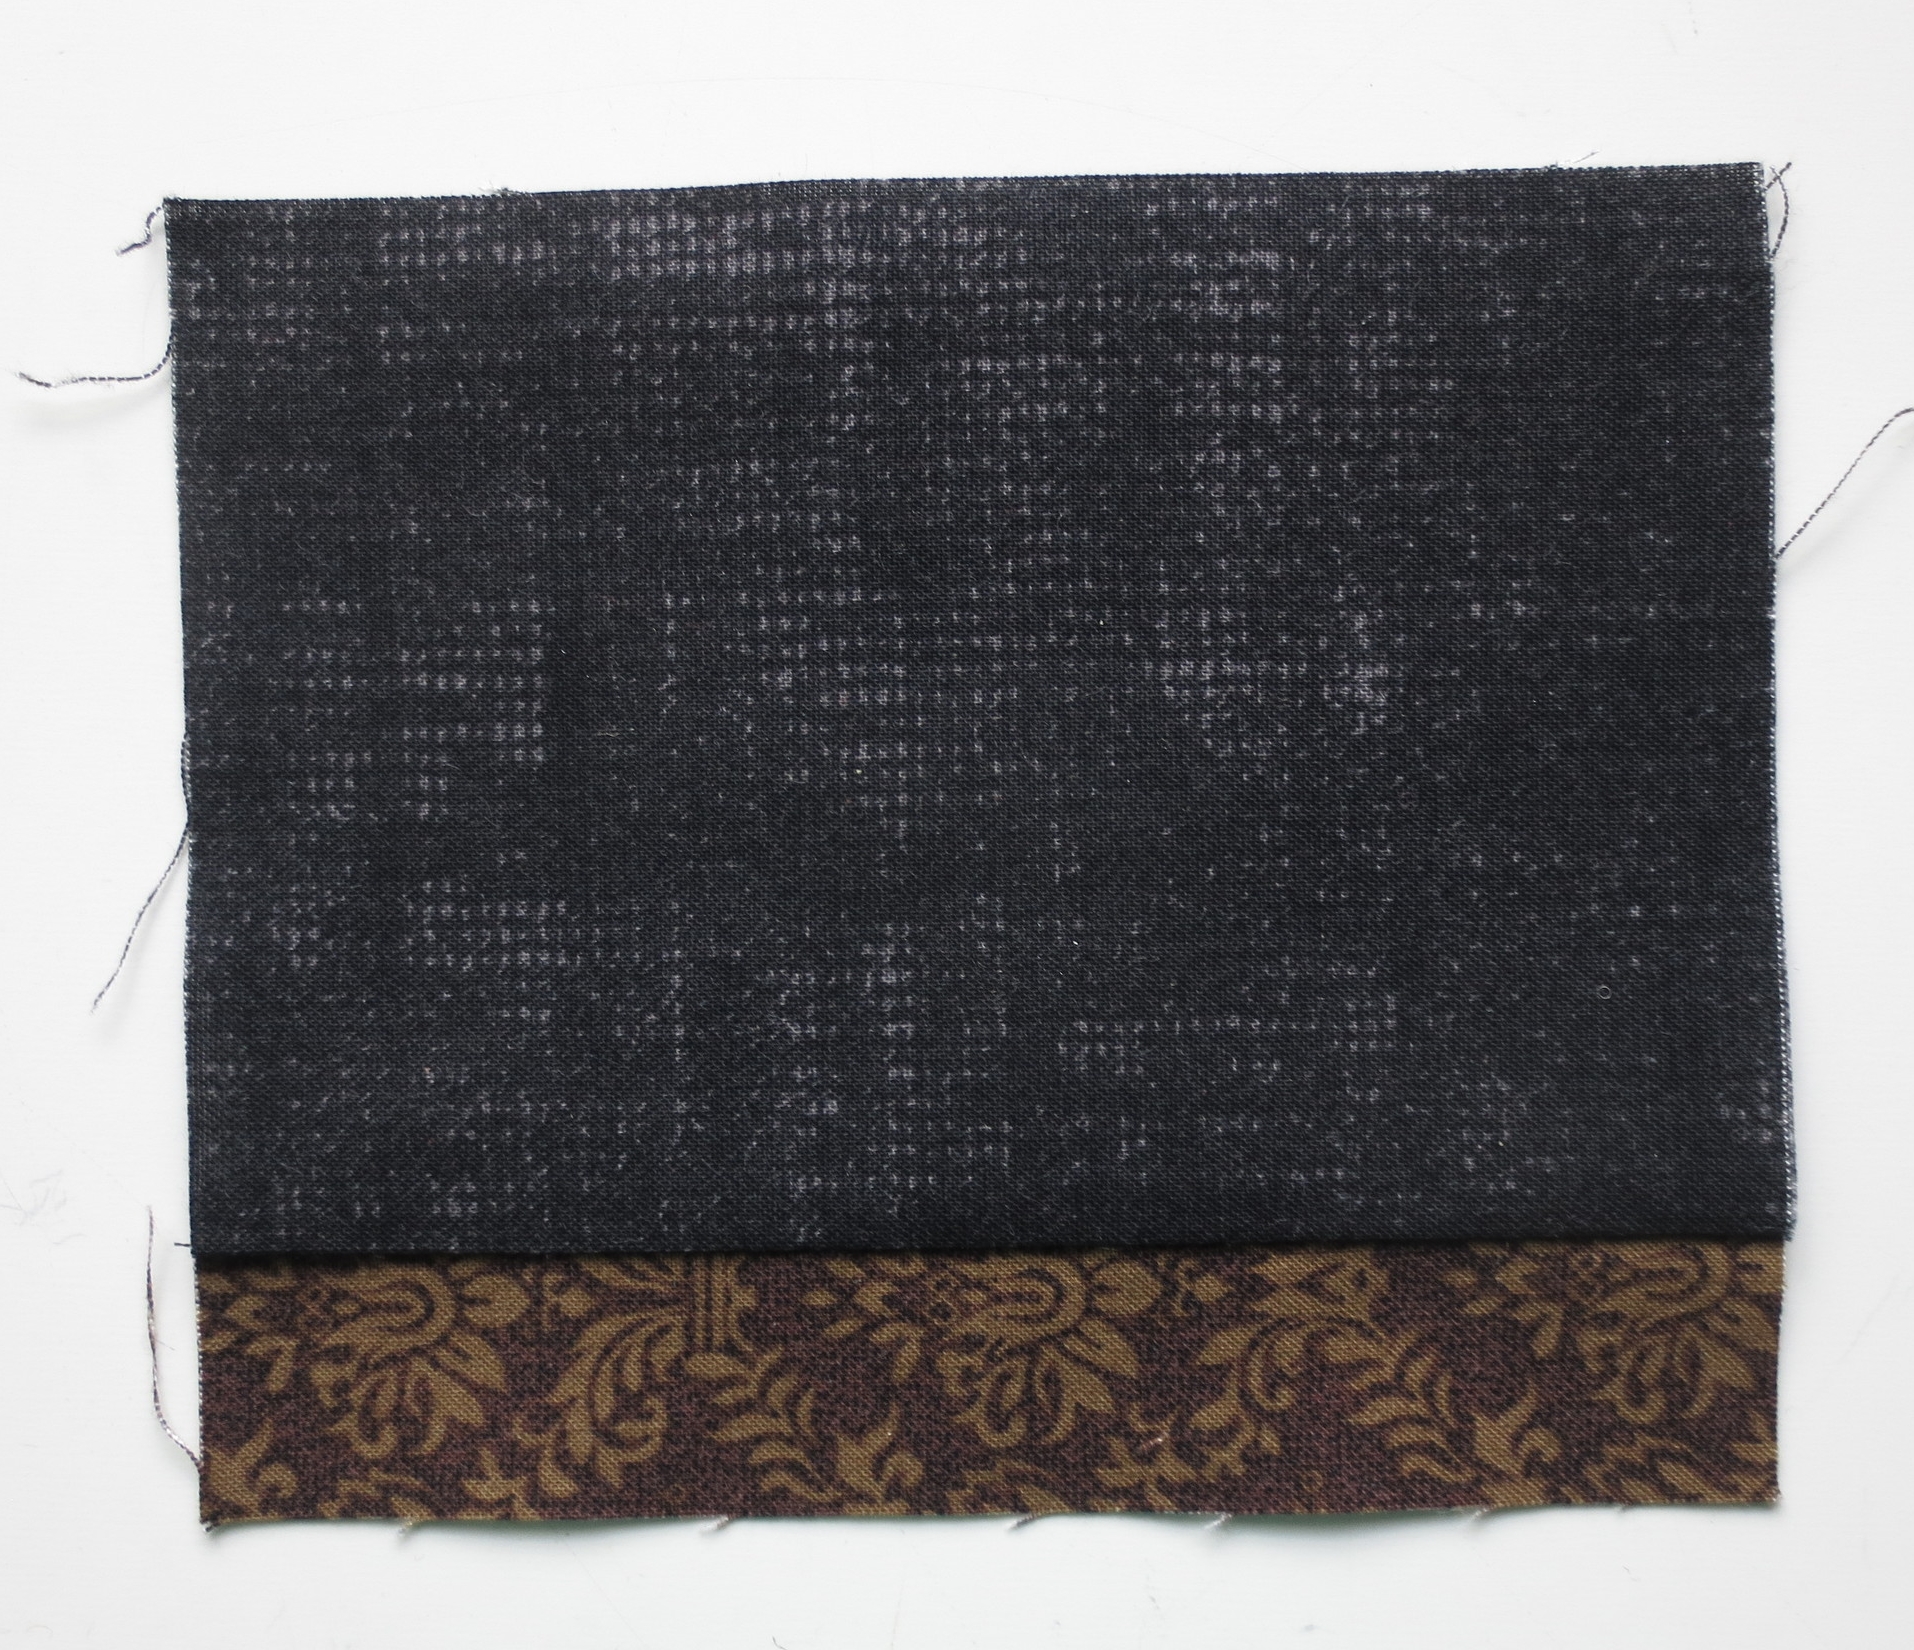
- Background - one fat eighth black (I used Connecting Threads Quilters' Candy - Faux Burlap, color black.)
- Lining and bottom background - one fat eighth brown print (I used Iced Mocha by Buggy Barn for Henry Glass & Co.)
- Tree - Scraps of four different green prints
- Felted Wool
- Hand - 3" x 5" pale pink
- Heart and Tree Fruit - 3" square red plaid
- Cuff - 2 1/2" square green plaid
- Batting
- Thin batting like "Warm and Natural" or "Hobbs" (I used Hobbs 80/20 black) - Enough to cut two 5" x 6" rectangles.
- Thread
- Valdani perle cotton, size 12 in colors to match your wool and silver-gray or gold for the ring. ( I used colors O575 for the cuff, O503 for the heart and fruit, O178 for the hand and running stitch outline, and O518 for the tree branches and ribbon trunk).
- Miscellaneous
- Trim for cuff - 3" piece of 1/2" olive green rick rack
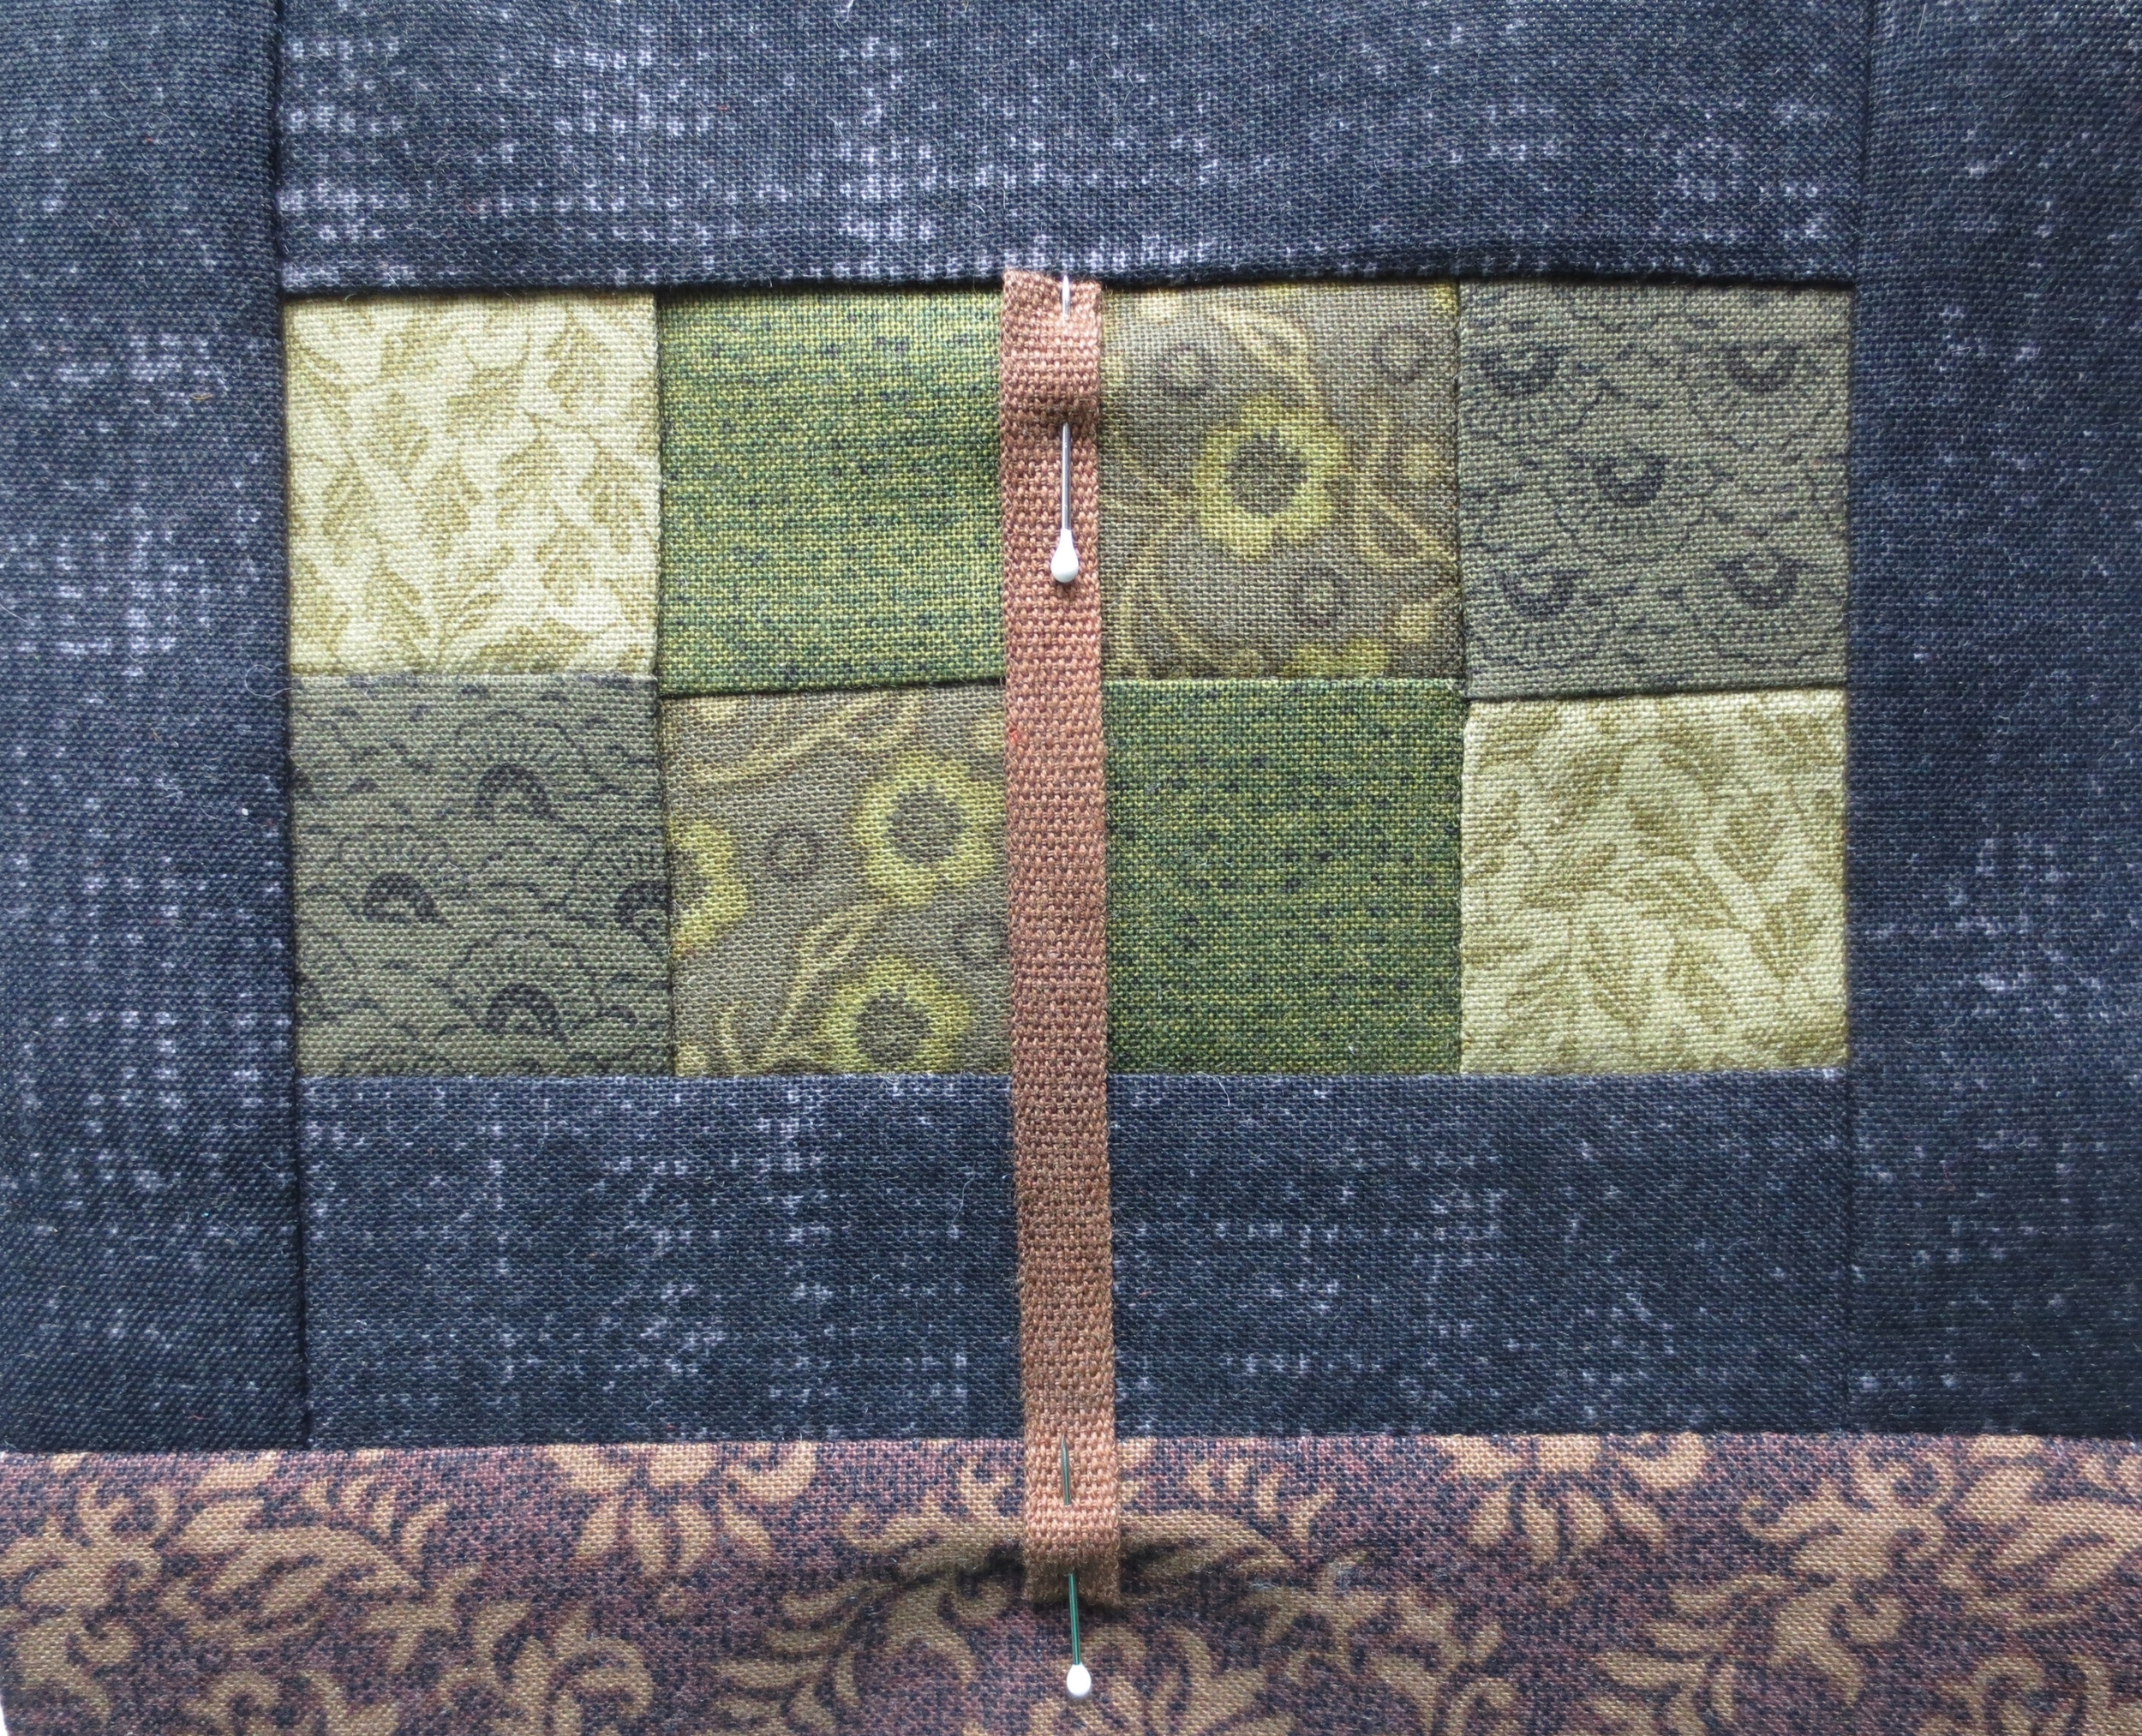
- Tree trunk - 5" piece of 1/4" wide brown cotton ribbon (http://www.shopangelaliguori.com/)
- Chenille needle, size 24
- Needle and thread to whip stitch pouch lining closed
- Fusible web - feather weight
- Fine tipped chalk pencil
- 5-inch black zipper (wwwpinwheels.com)
- Sewing machine with a zipper foot
- Spray starch (optional)
- Steam iron
Instructions
1. Download Hands To Work Layout, Hands To Work Pattern and Butternut Plaid Stitch Guide if needed. The pattern is reversed to use with fusible web.
2. Cutting
Tip: Prior to cutting I ironed all my fabrics with spray starch. This gives you a nice clean cut and helps keep the shape of the small cut pieces when you're piecing them.
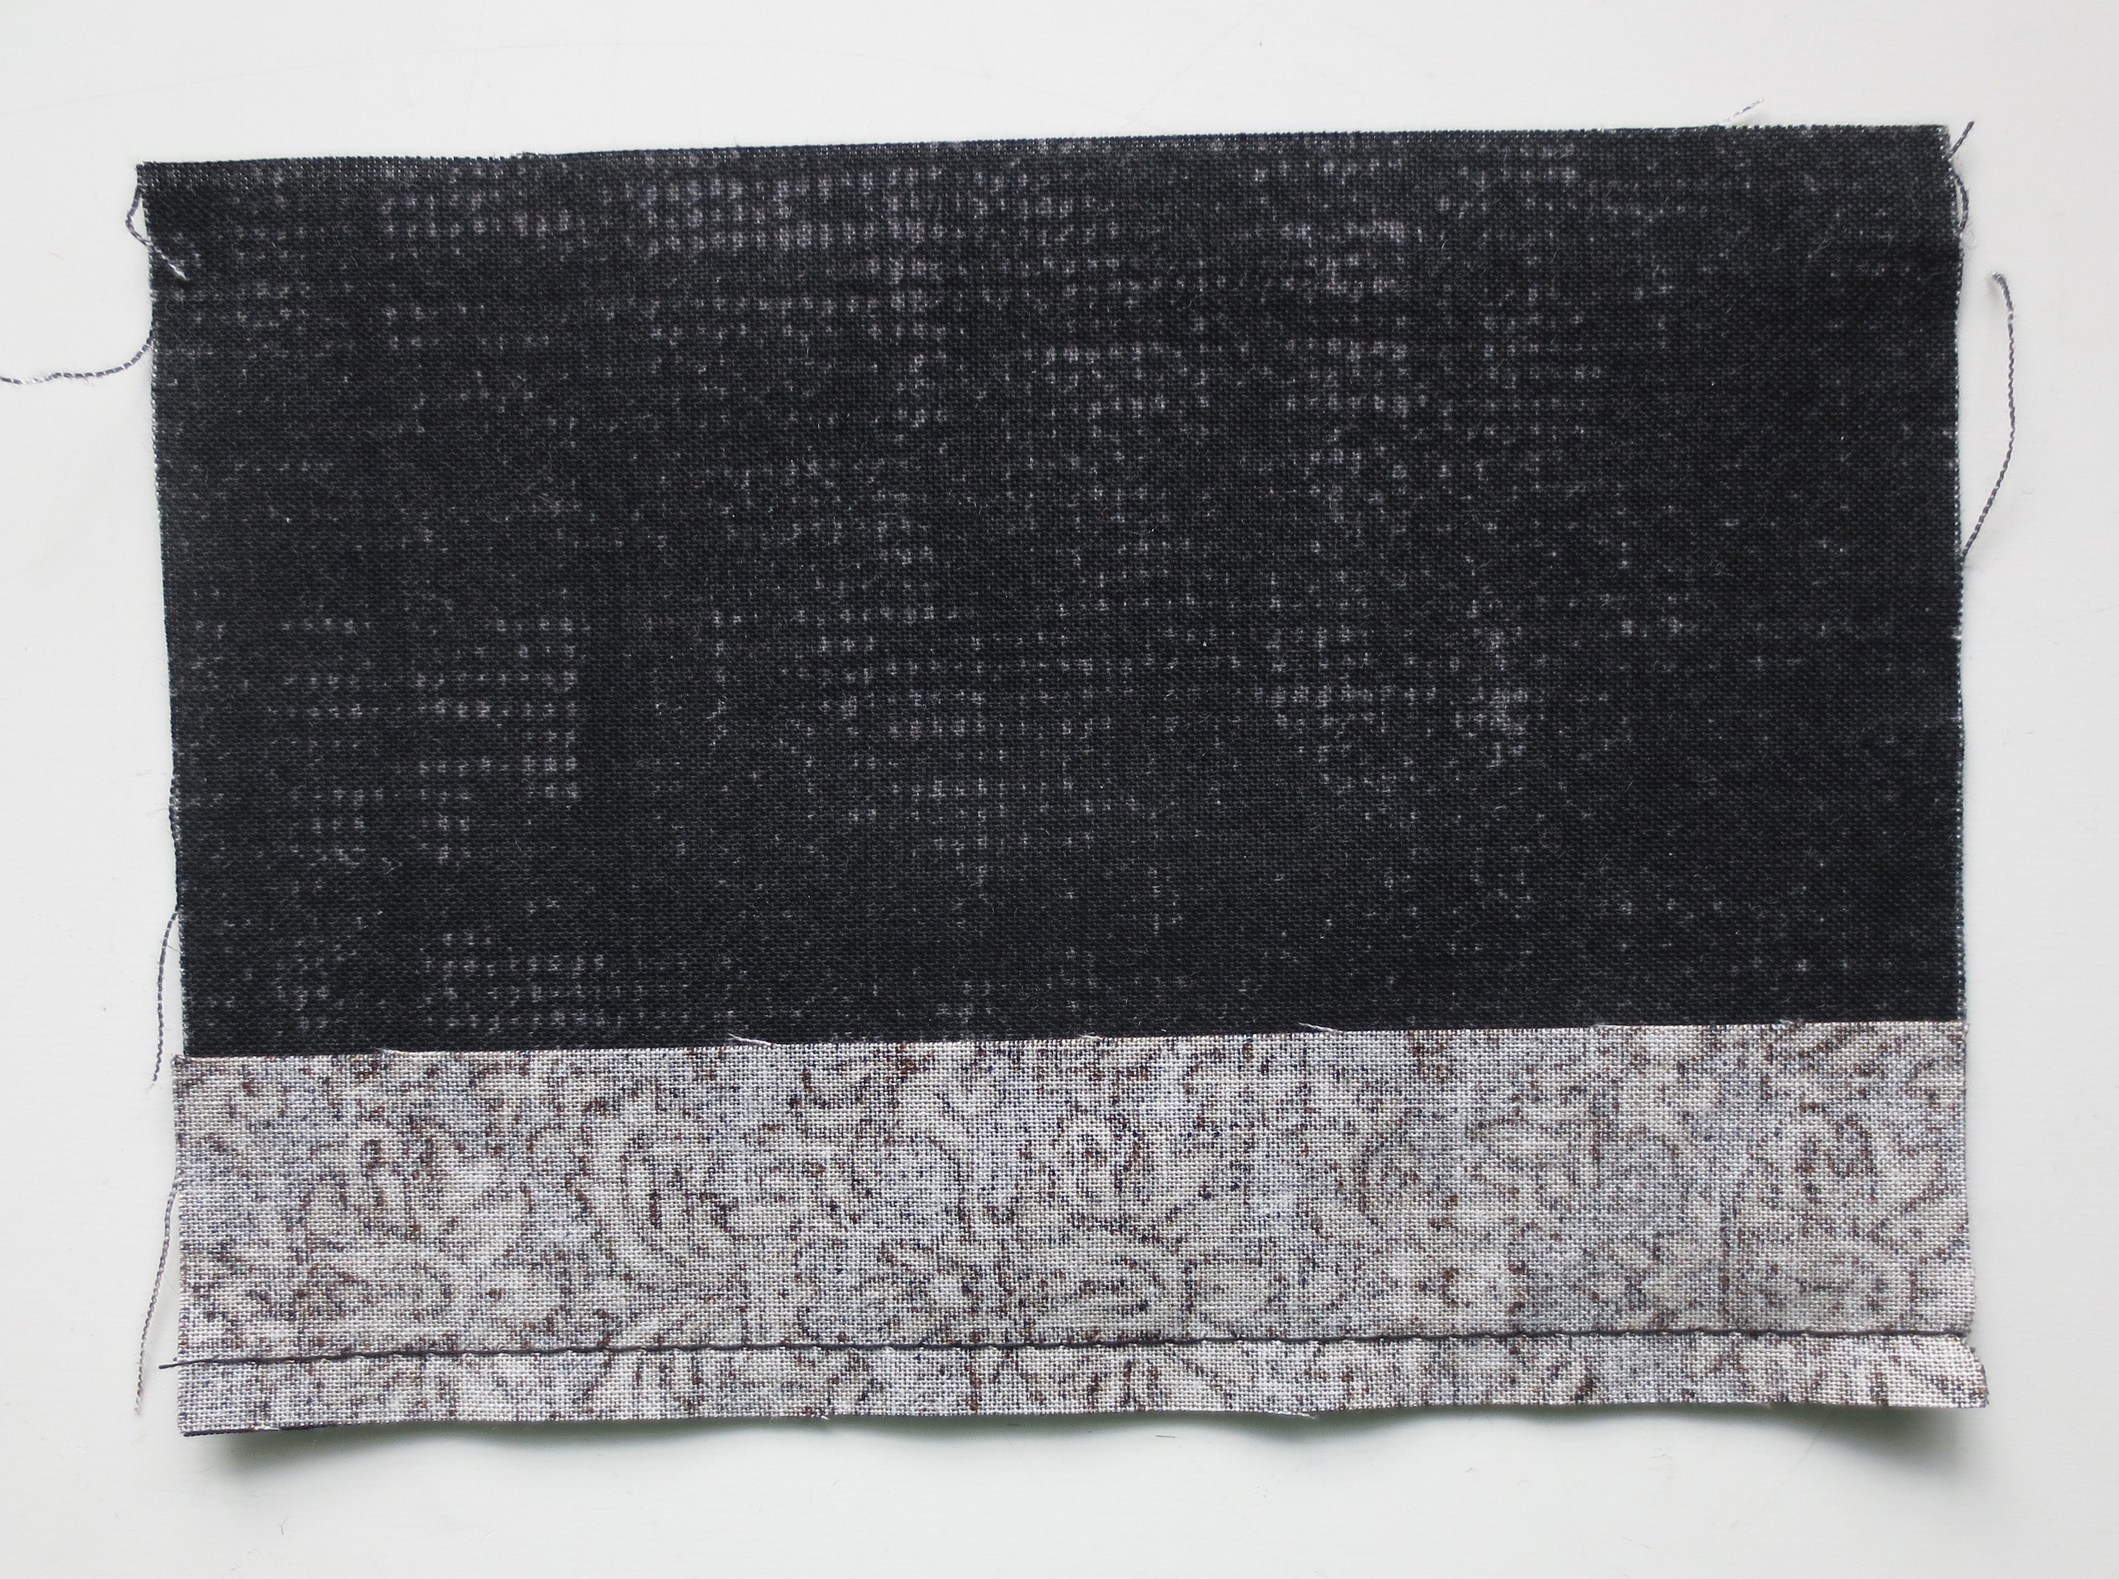
- Black Background
- one 4 1/4" x 6" (front)
- three 1 1/4" x 6" (back)
- one 1 1/2" x 6" (back)
- Brown print
- two 4 3/4" x 6" (lining)
- two 1 1/4" x 6" (bottom of front and back)
- Greens 1-4
- one each 1 1/2" x 4" (four pieces total)
- Batting
- two 5" x 6" pieces
3. Piecing
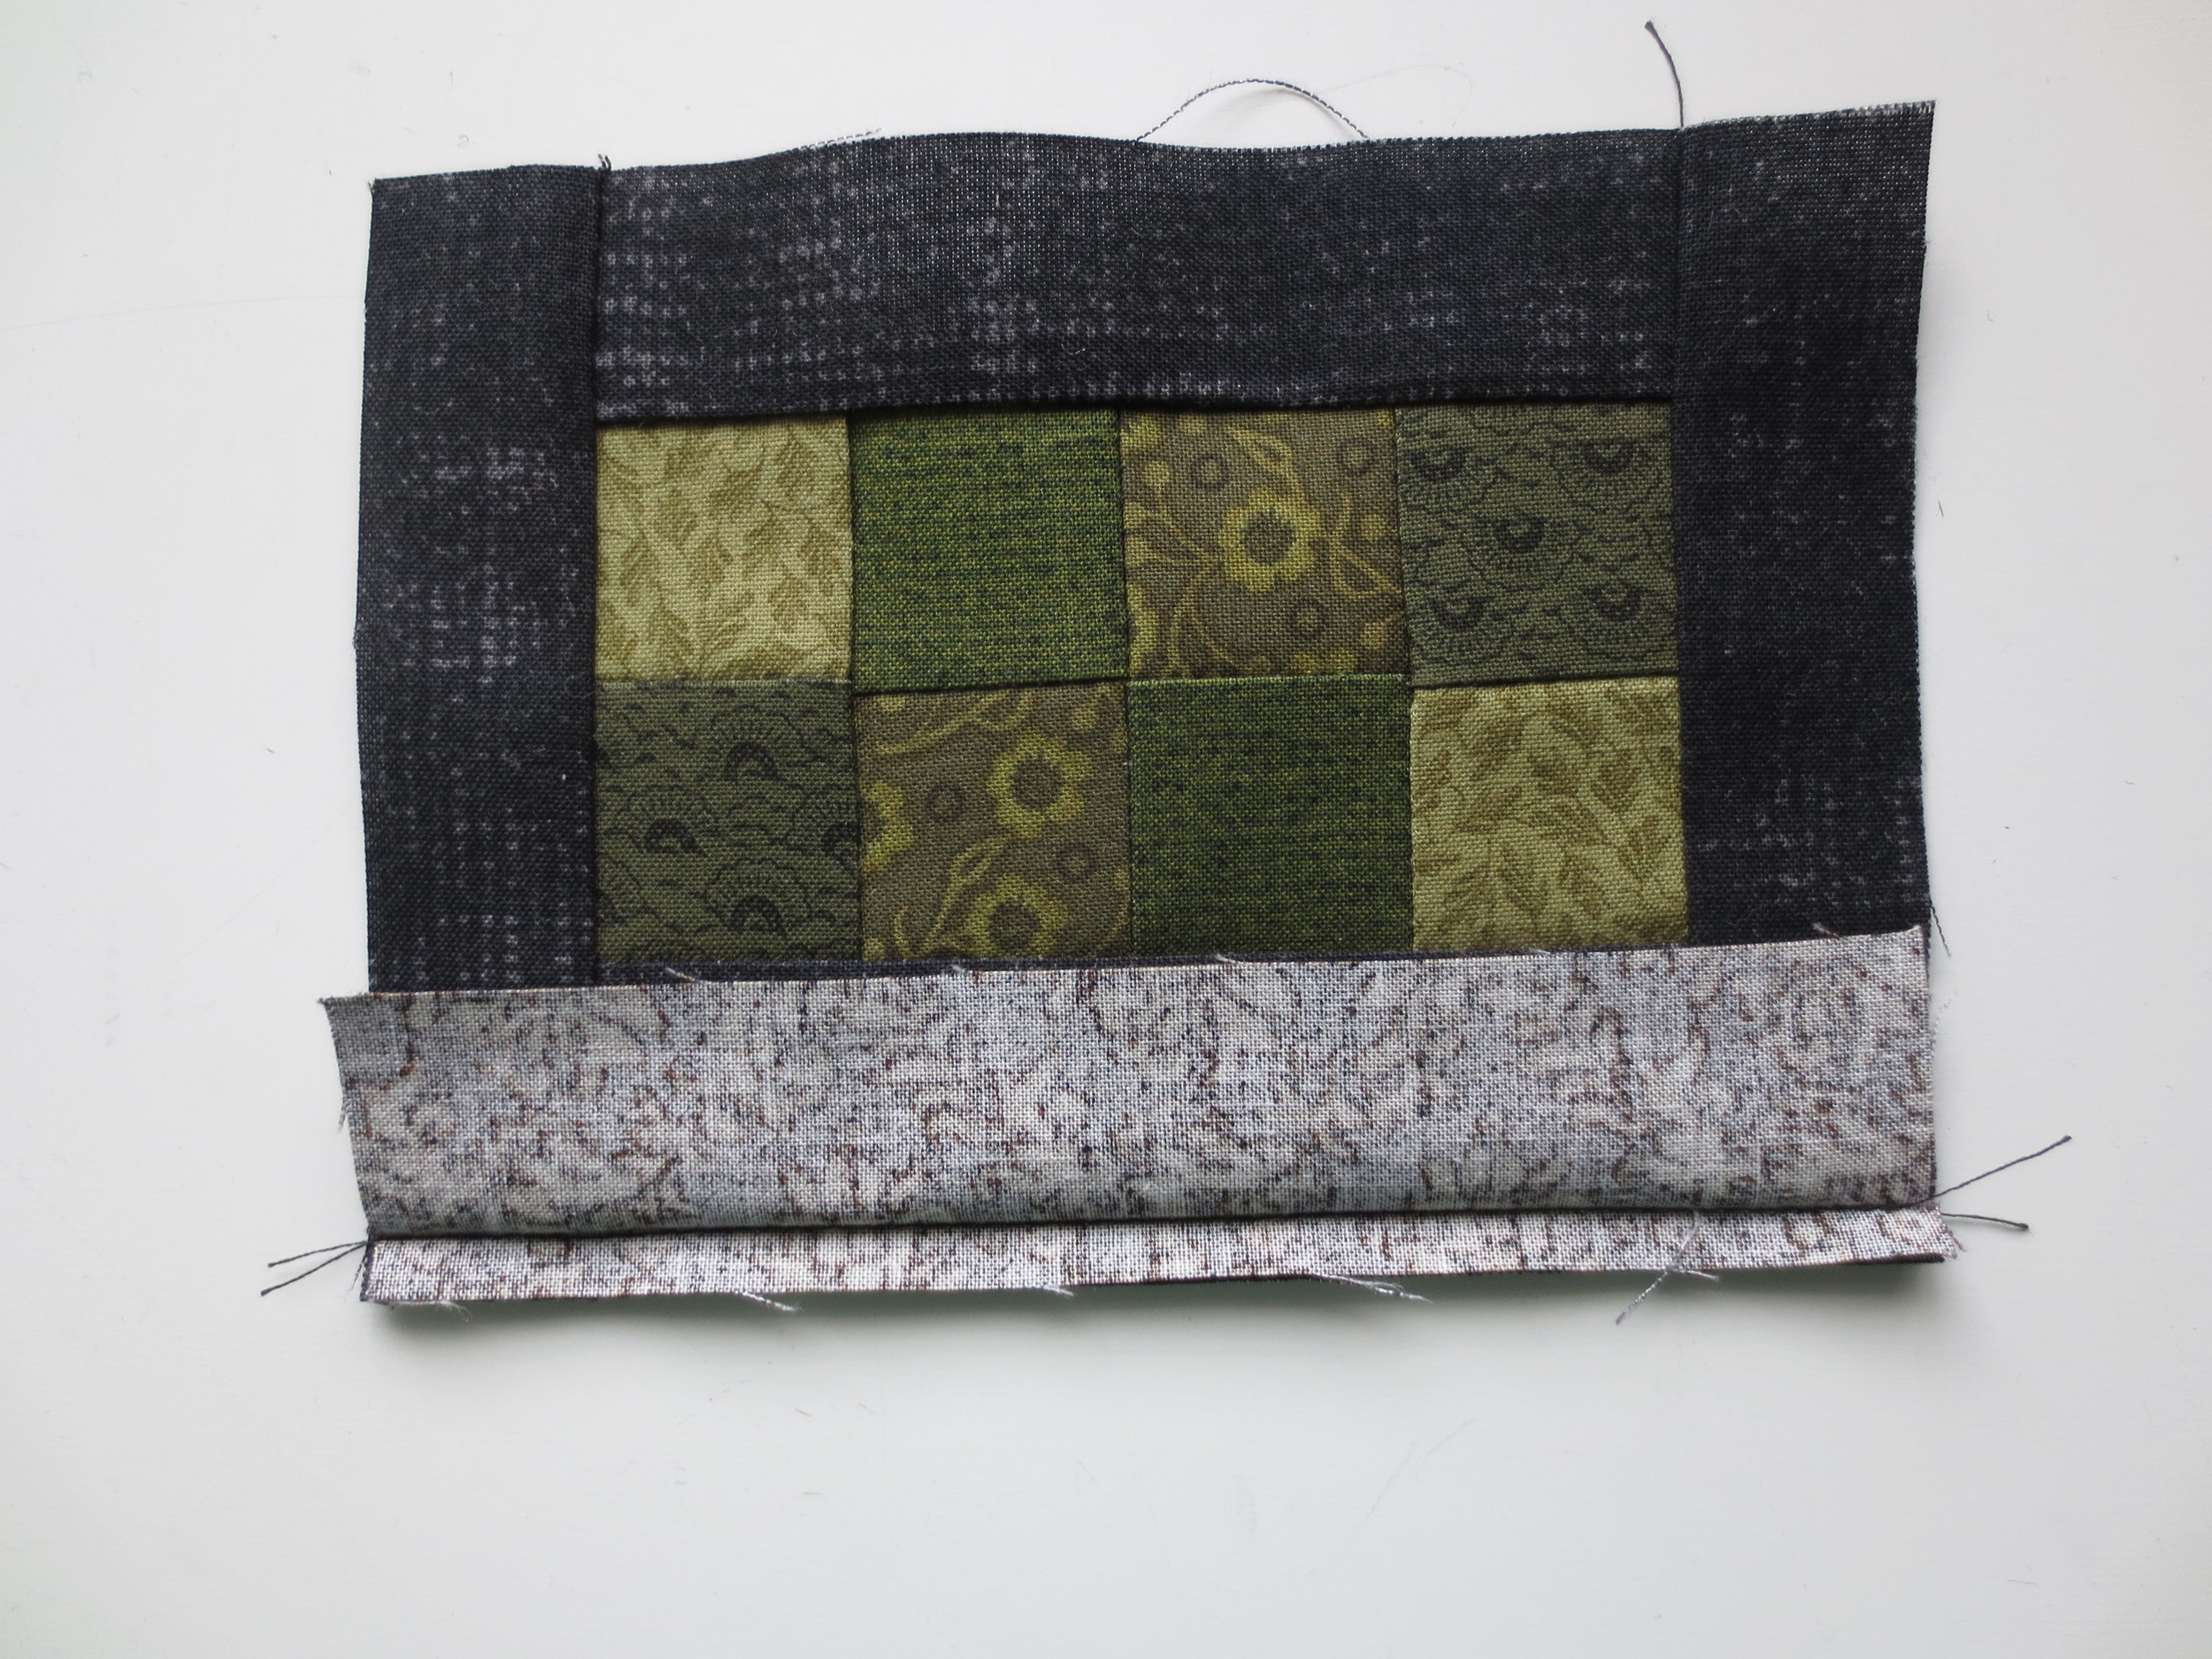
- Front
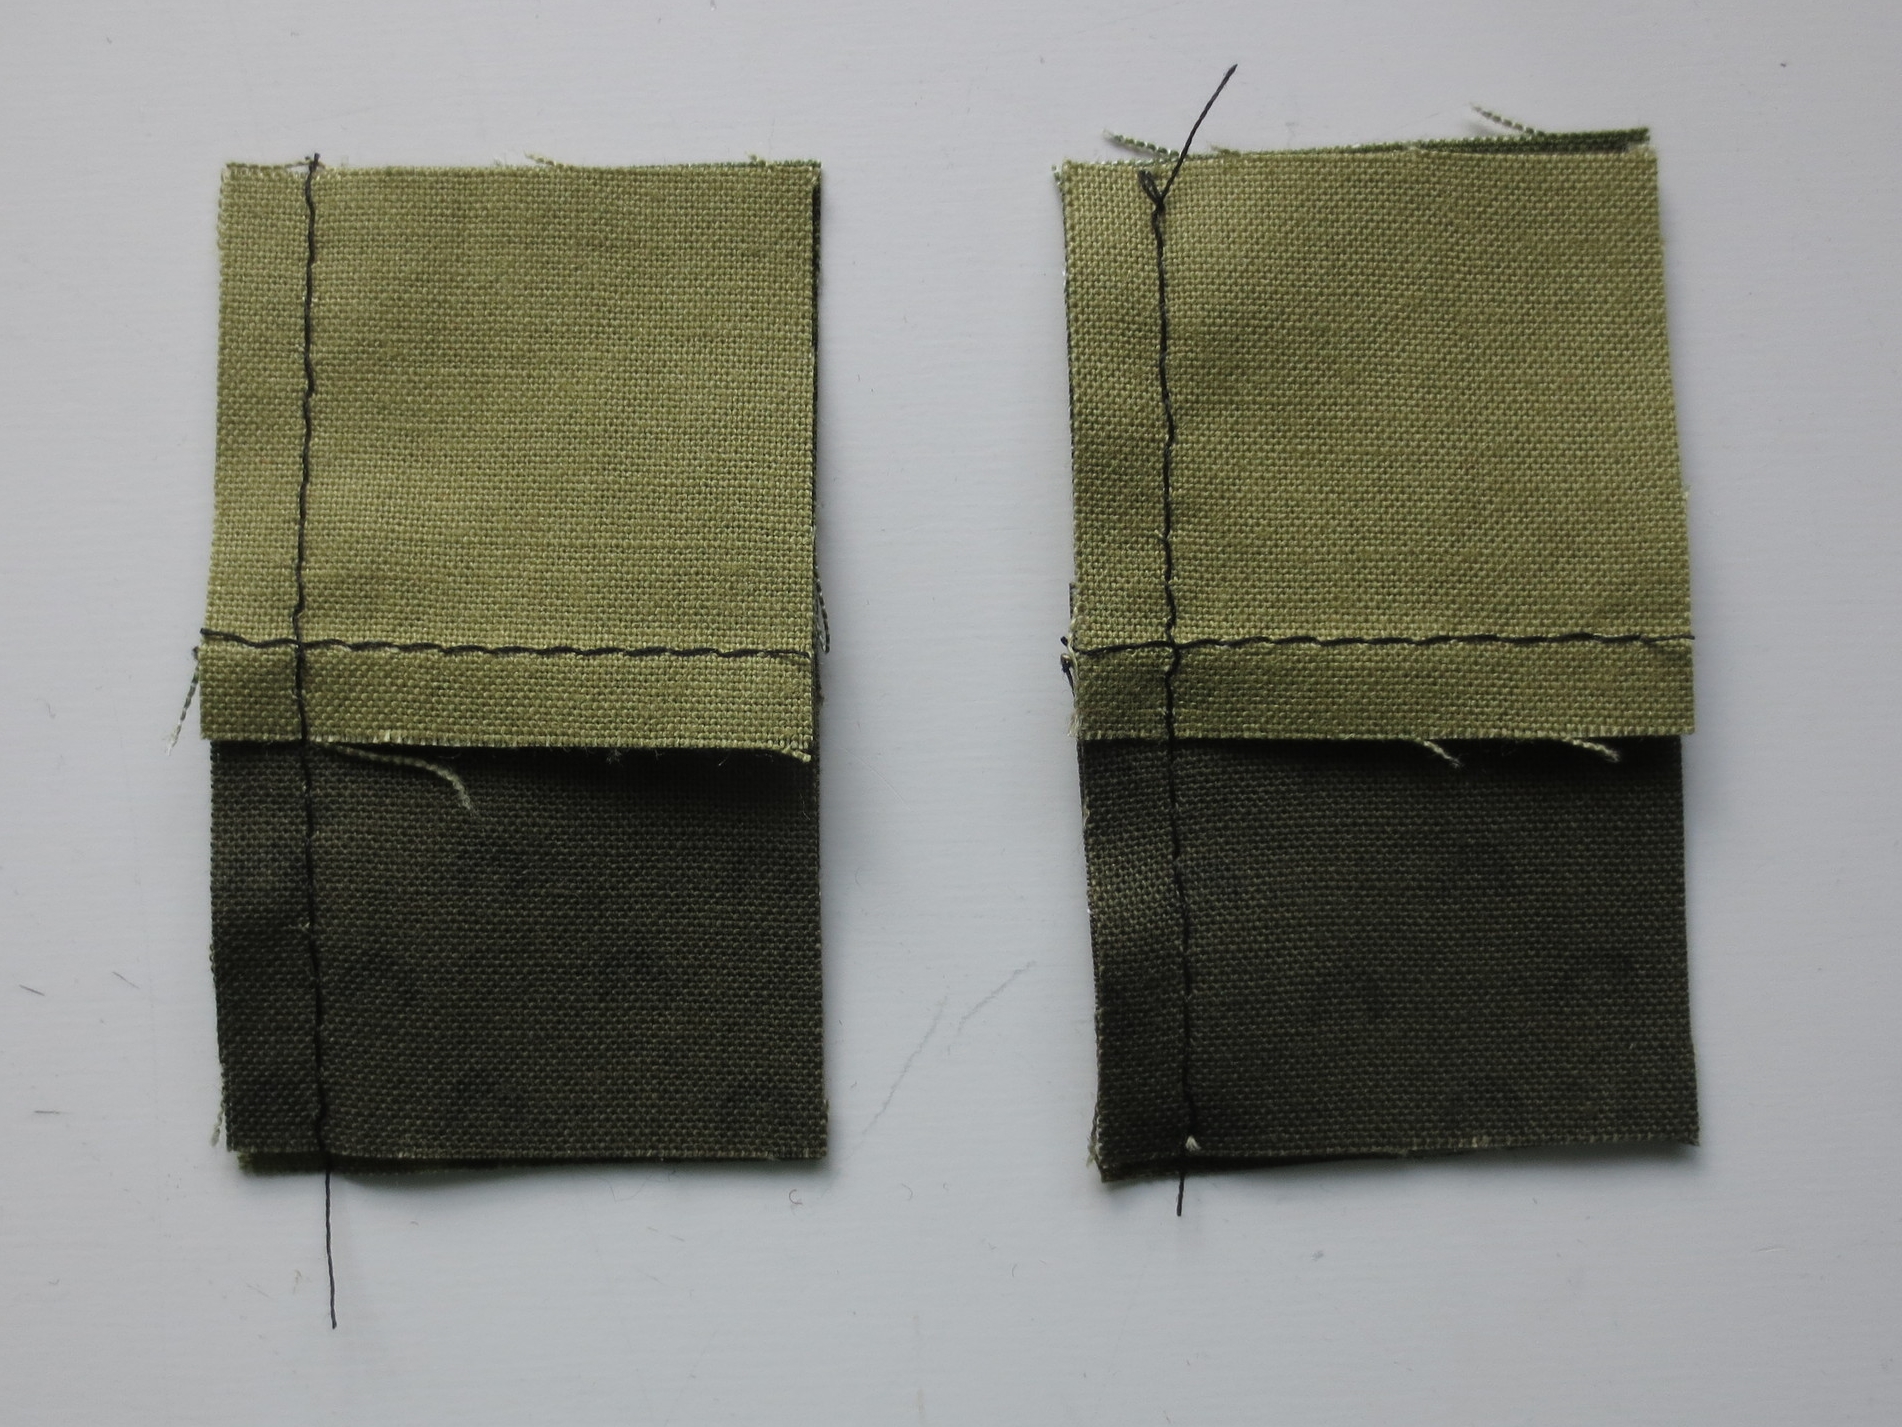
- Sew one of the 1 1/4" brown strips to the 4 1/4" x 6" black background piece.
- Press the seam toward the black fabric. Layer this piece on top of one of the batting pieces and set aside for applique.
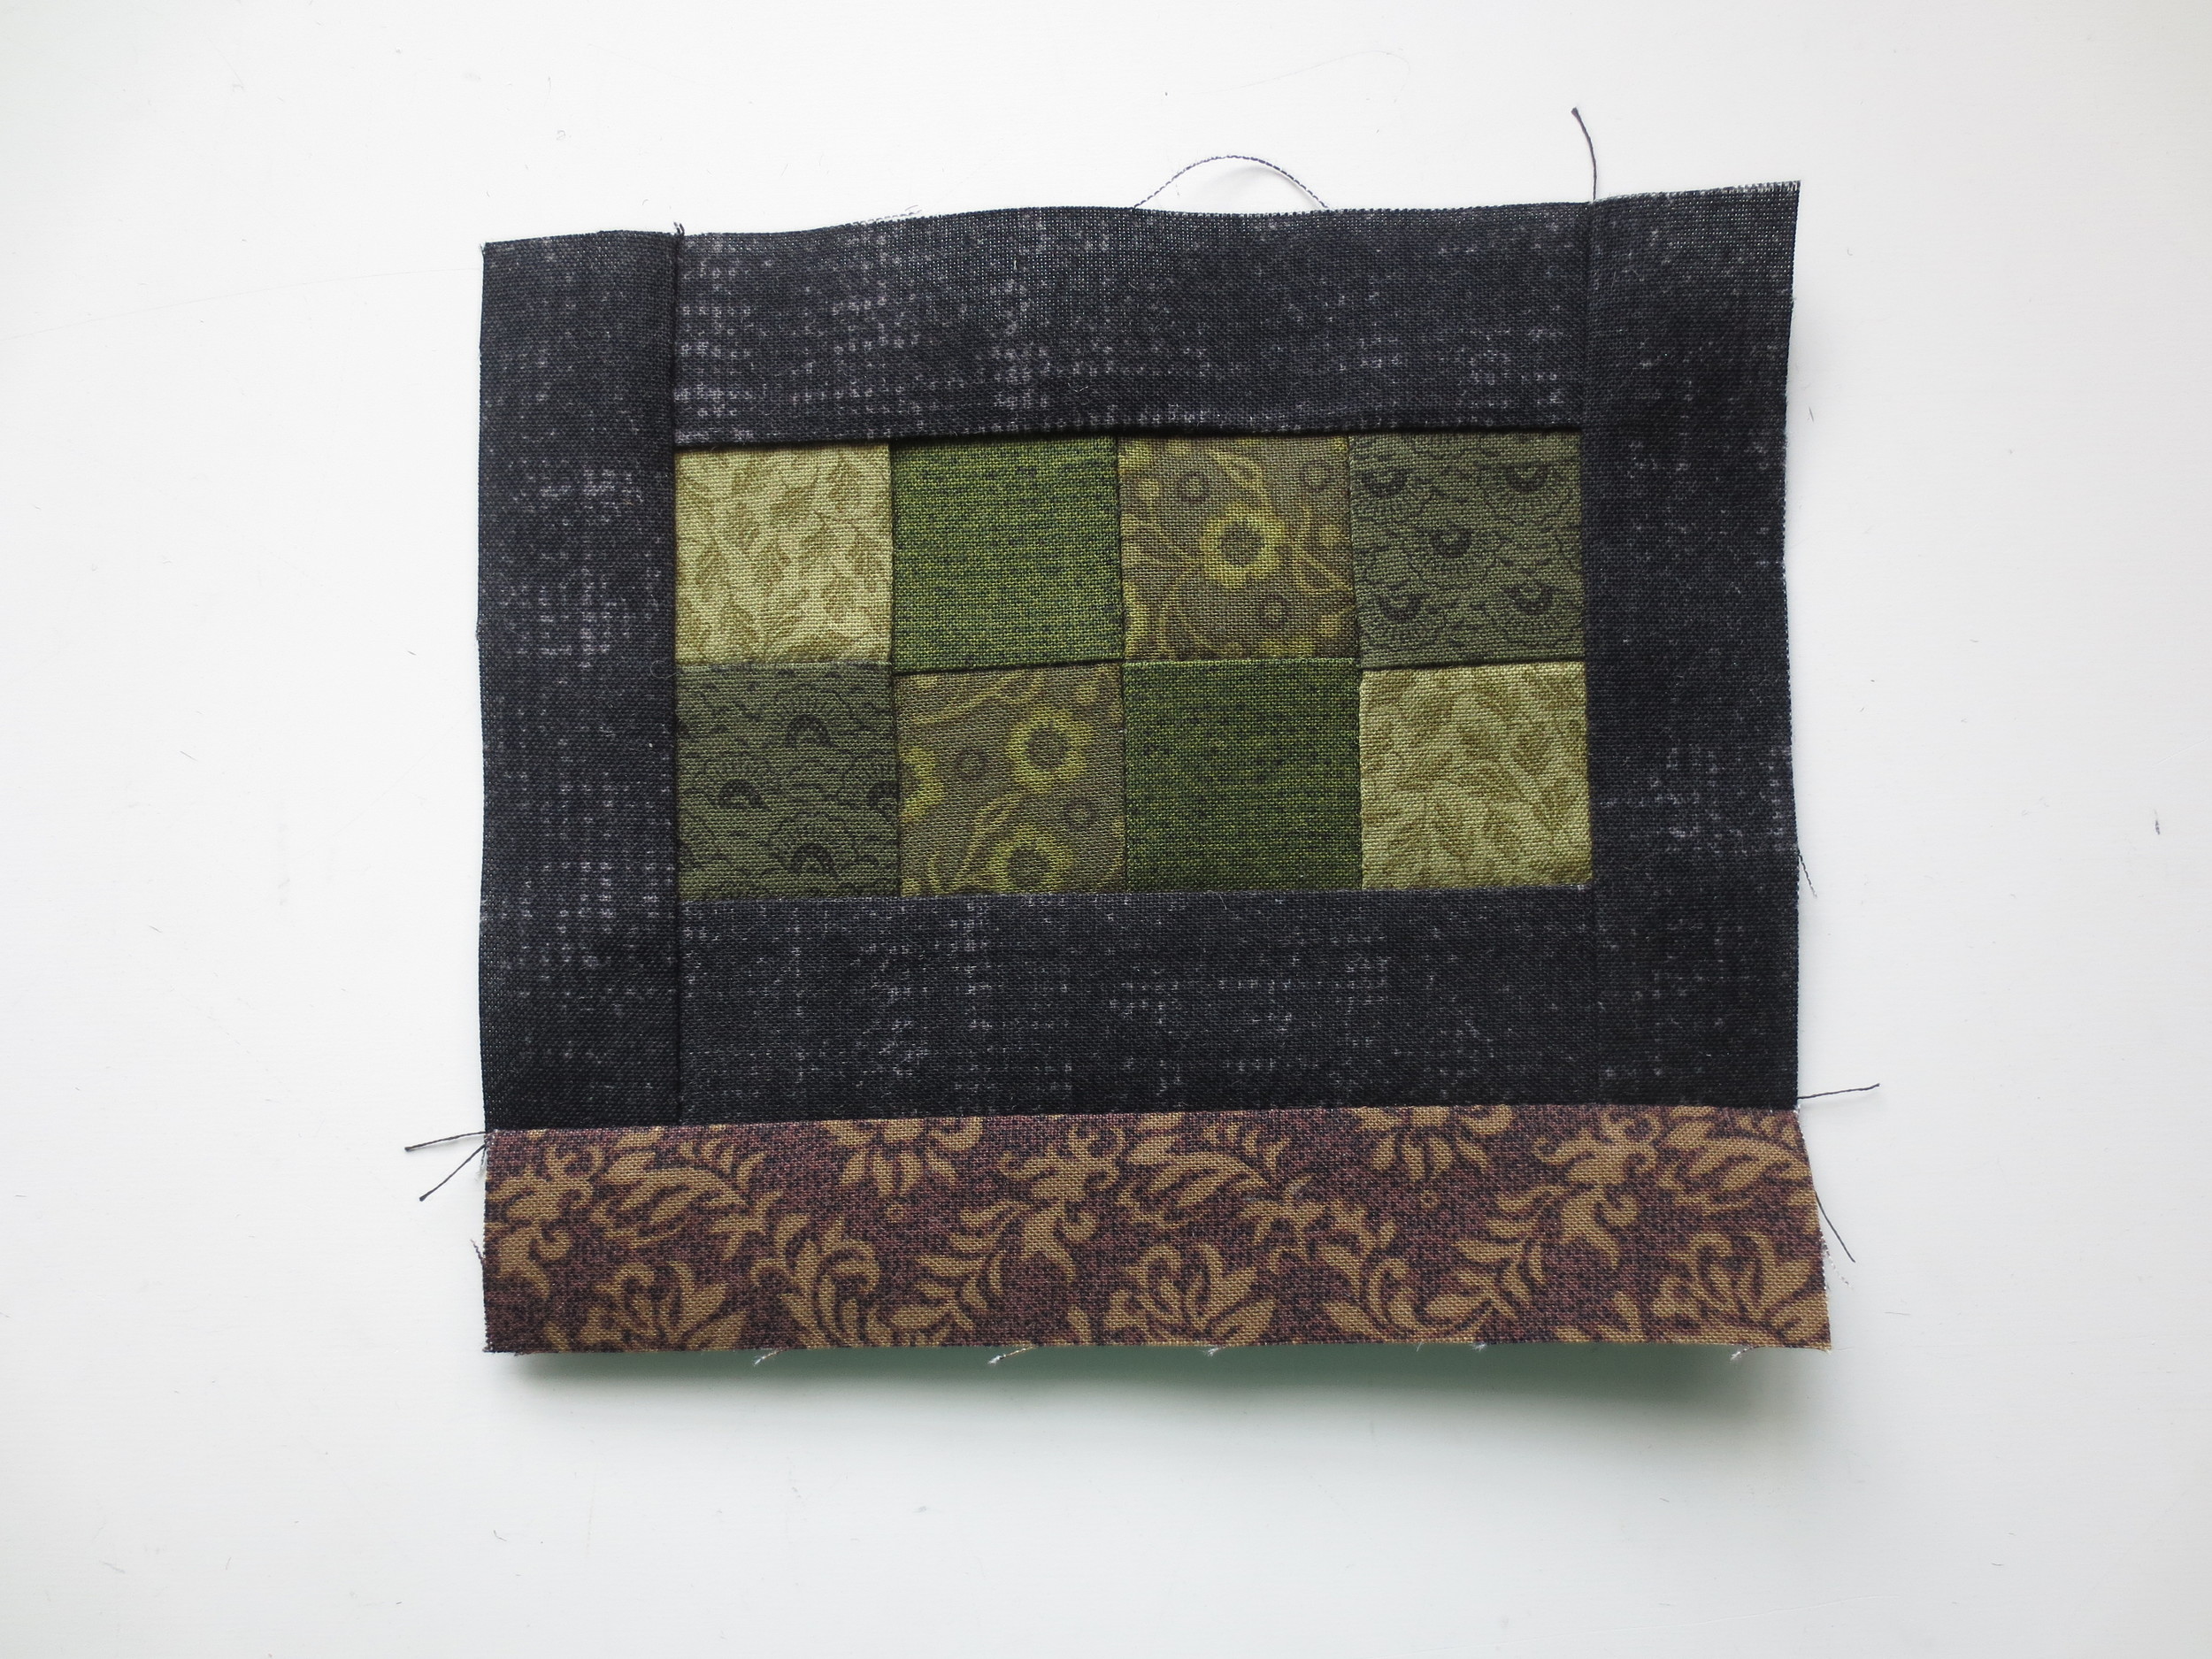
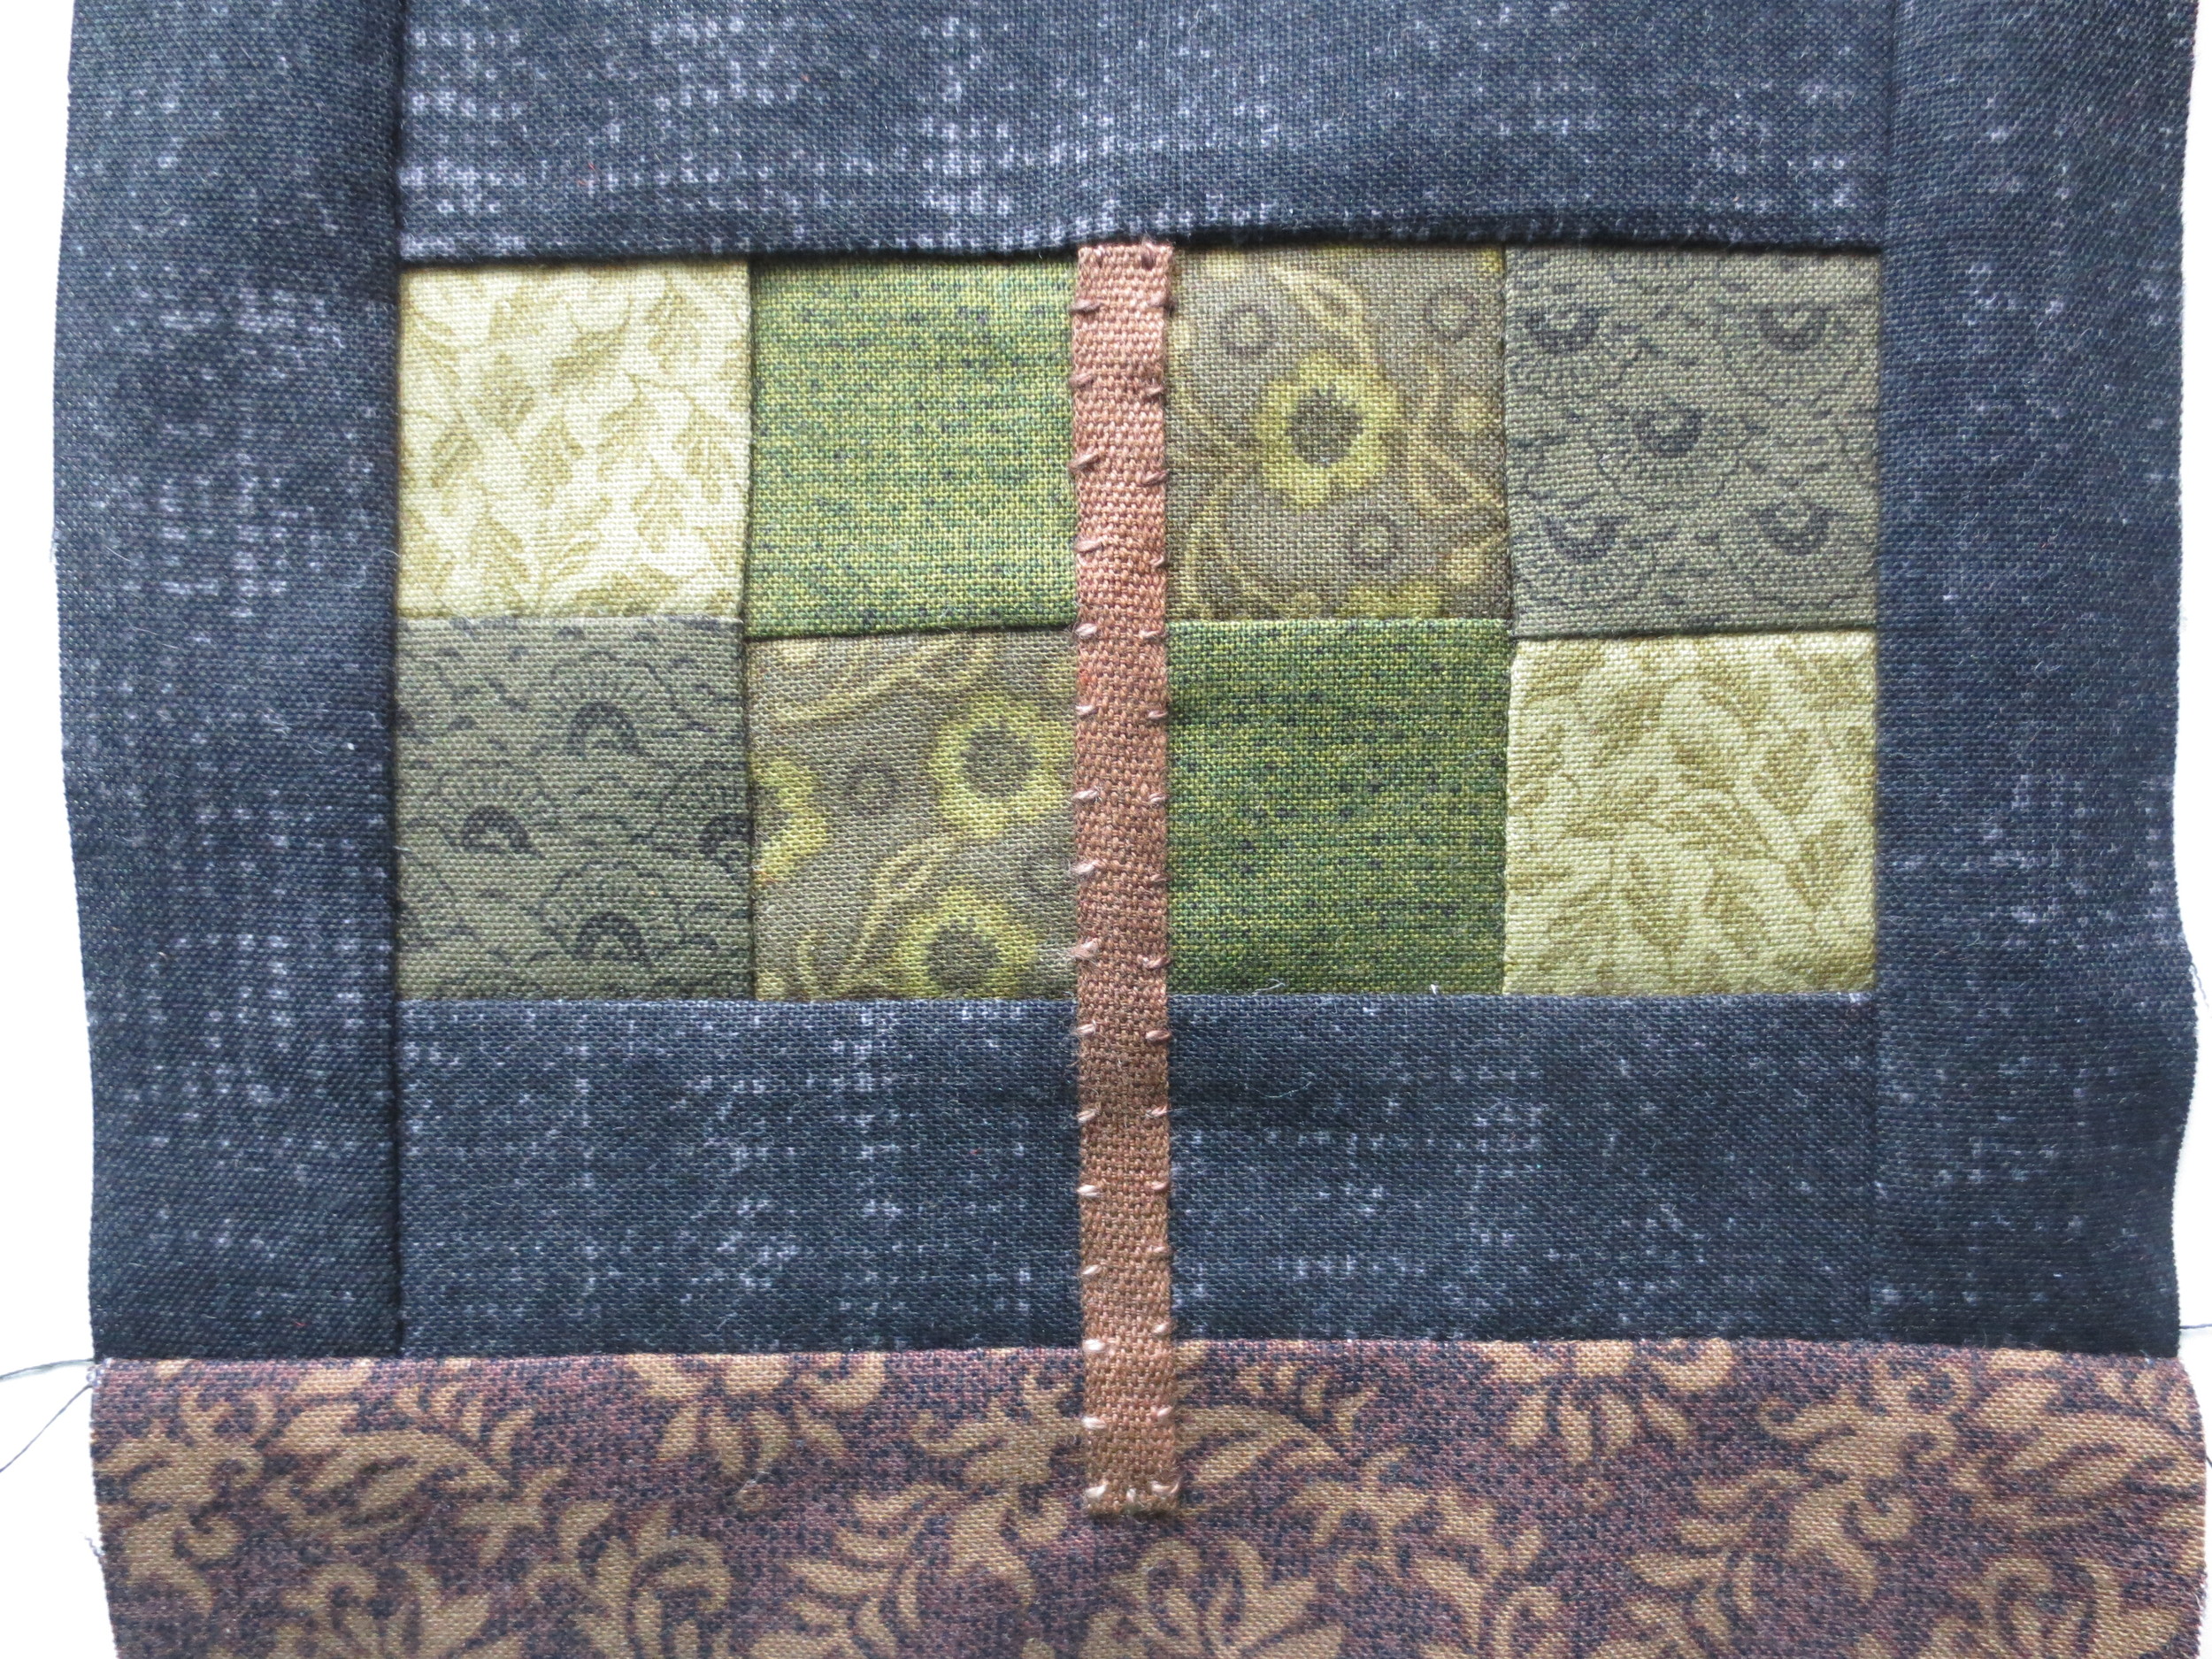
- Back
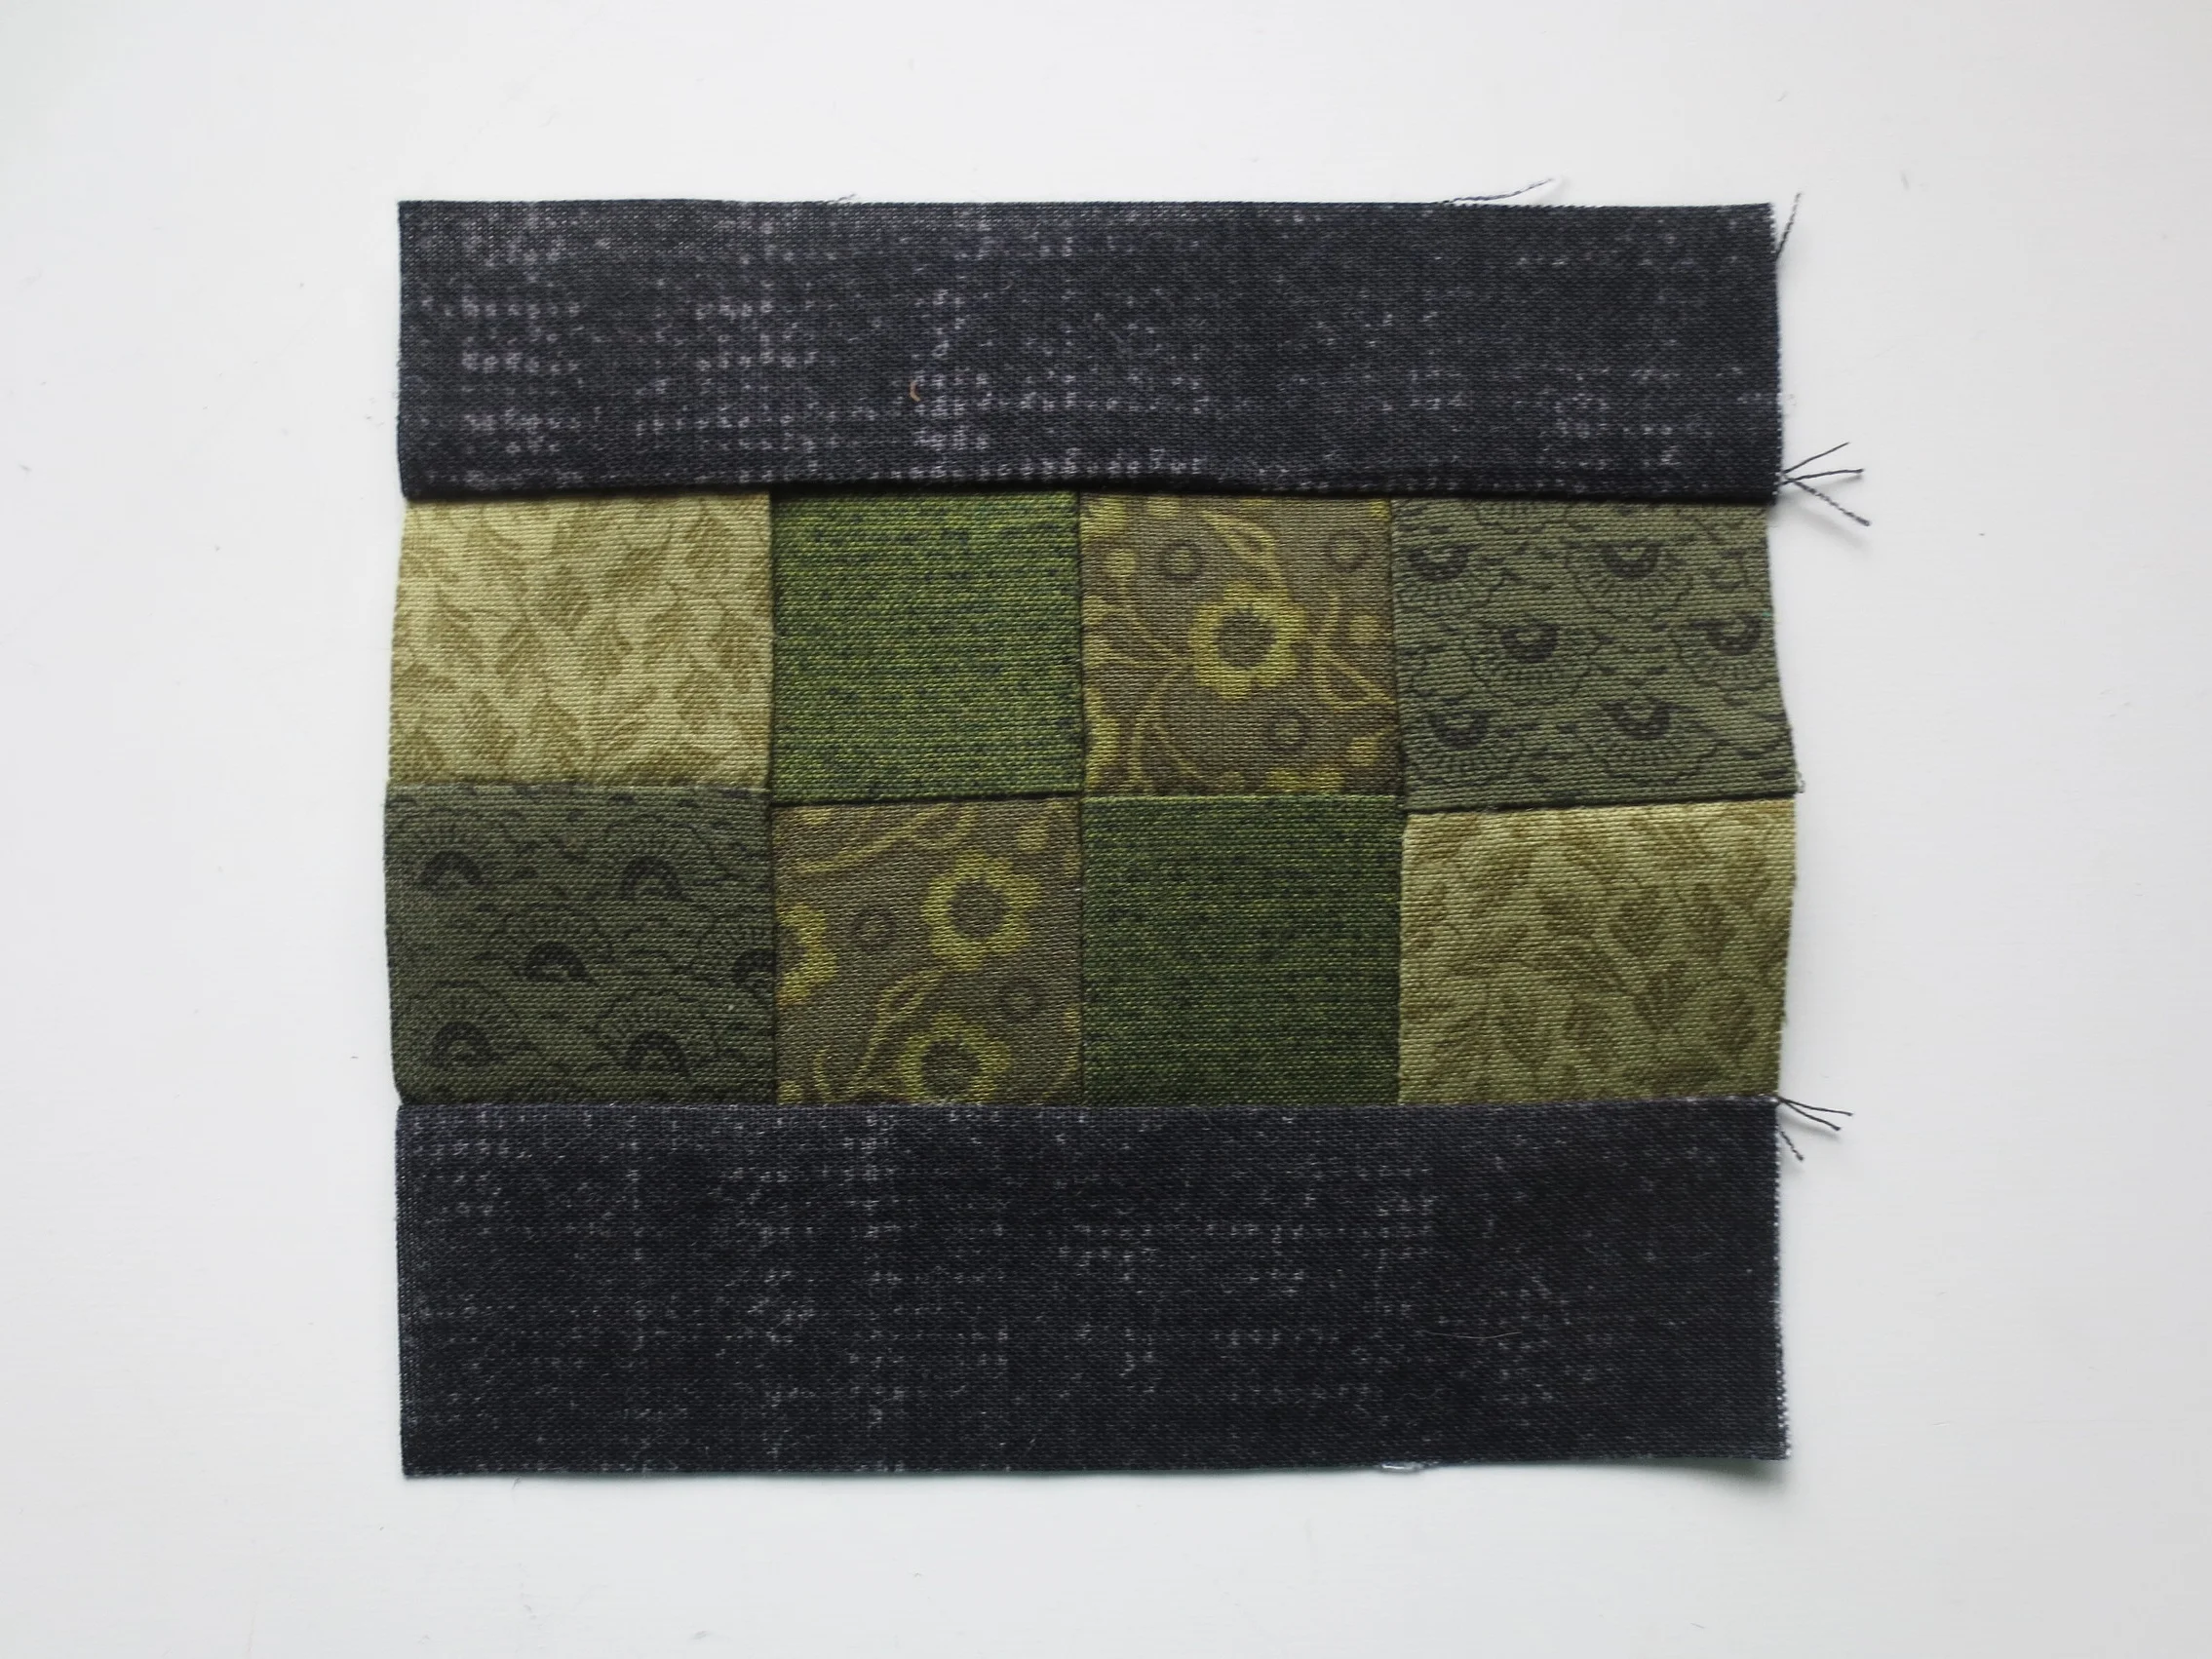
The fabric for the back of the pouch should look like this:

Hands to Work back cover fabric
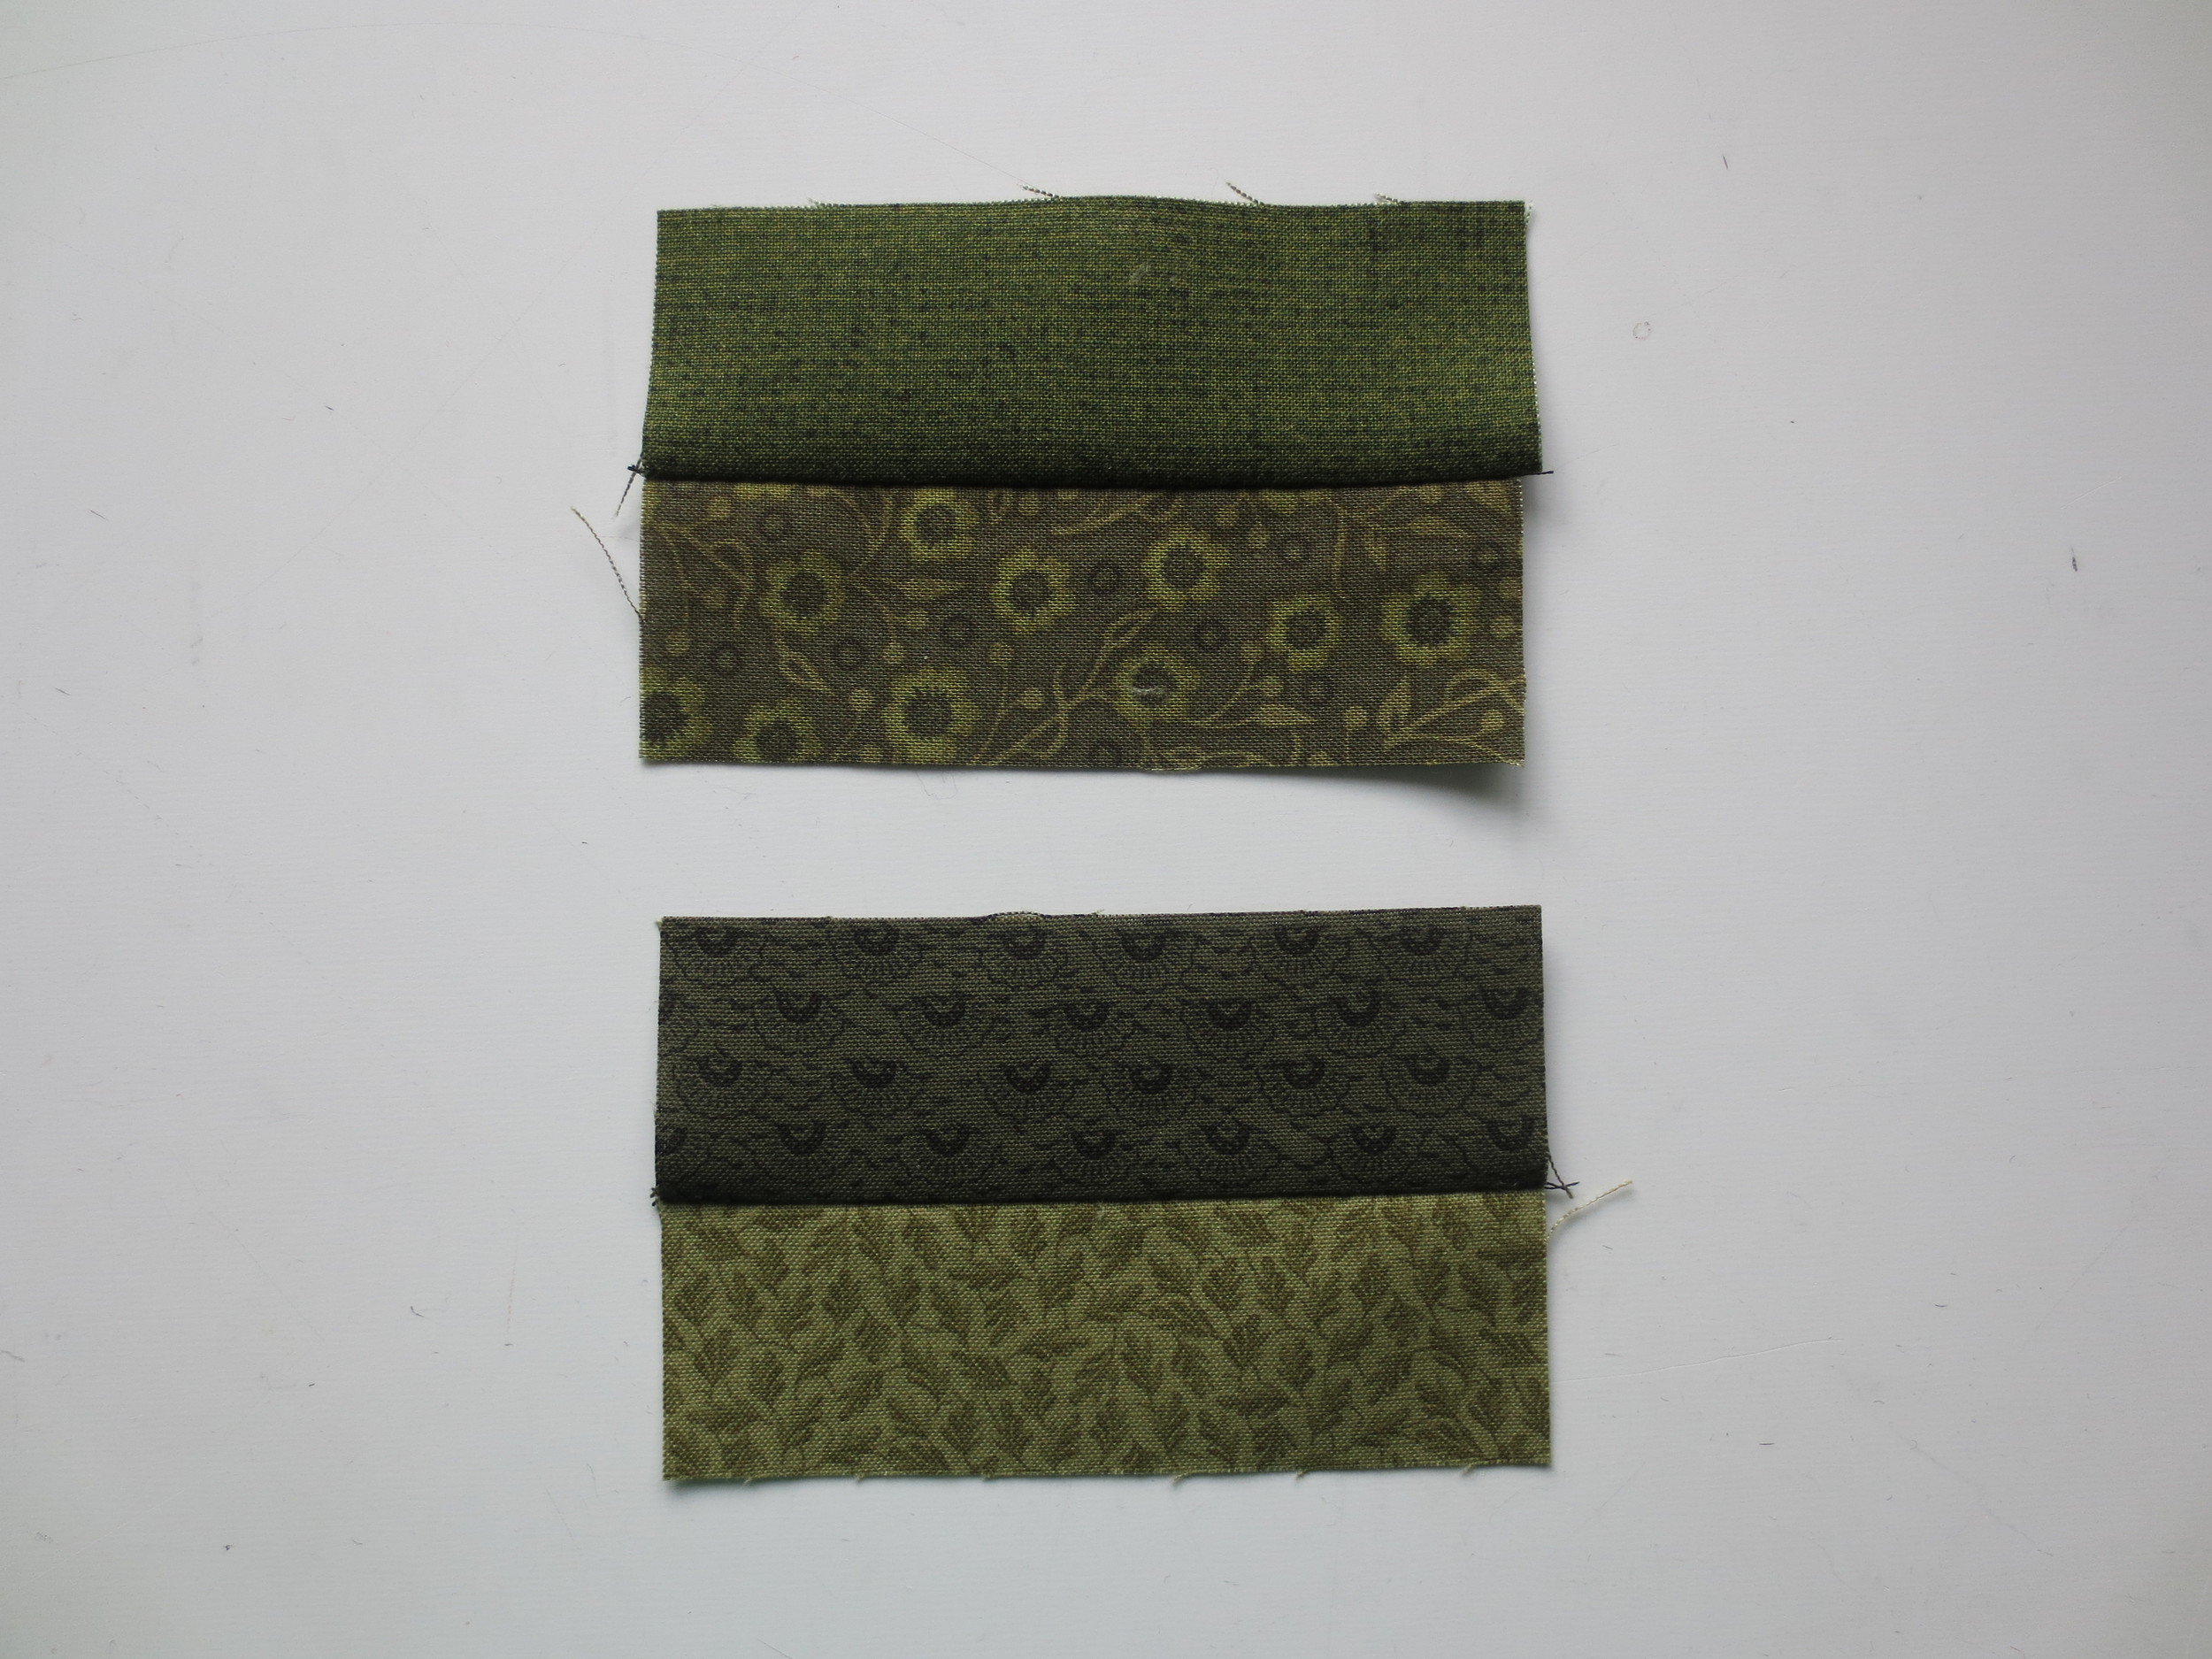
- Sew fabric A to B right sides together along the longer sides. Press seam toward B.
- Sew fabric C to D right sides together along the longer sides. Press seam toward D.
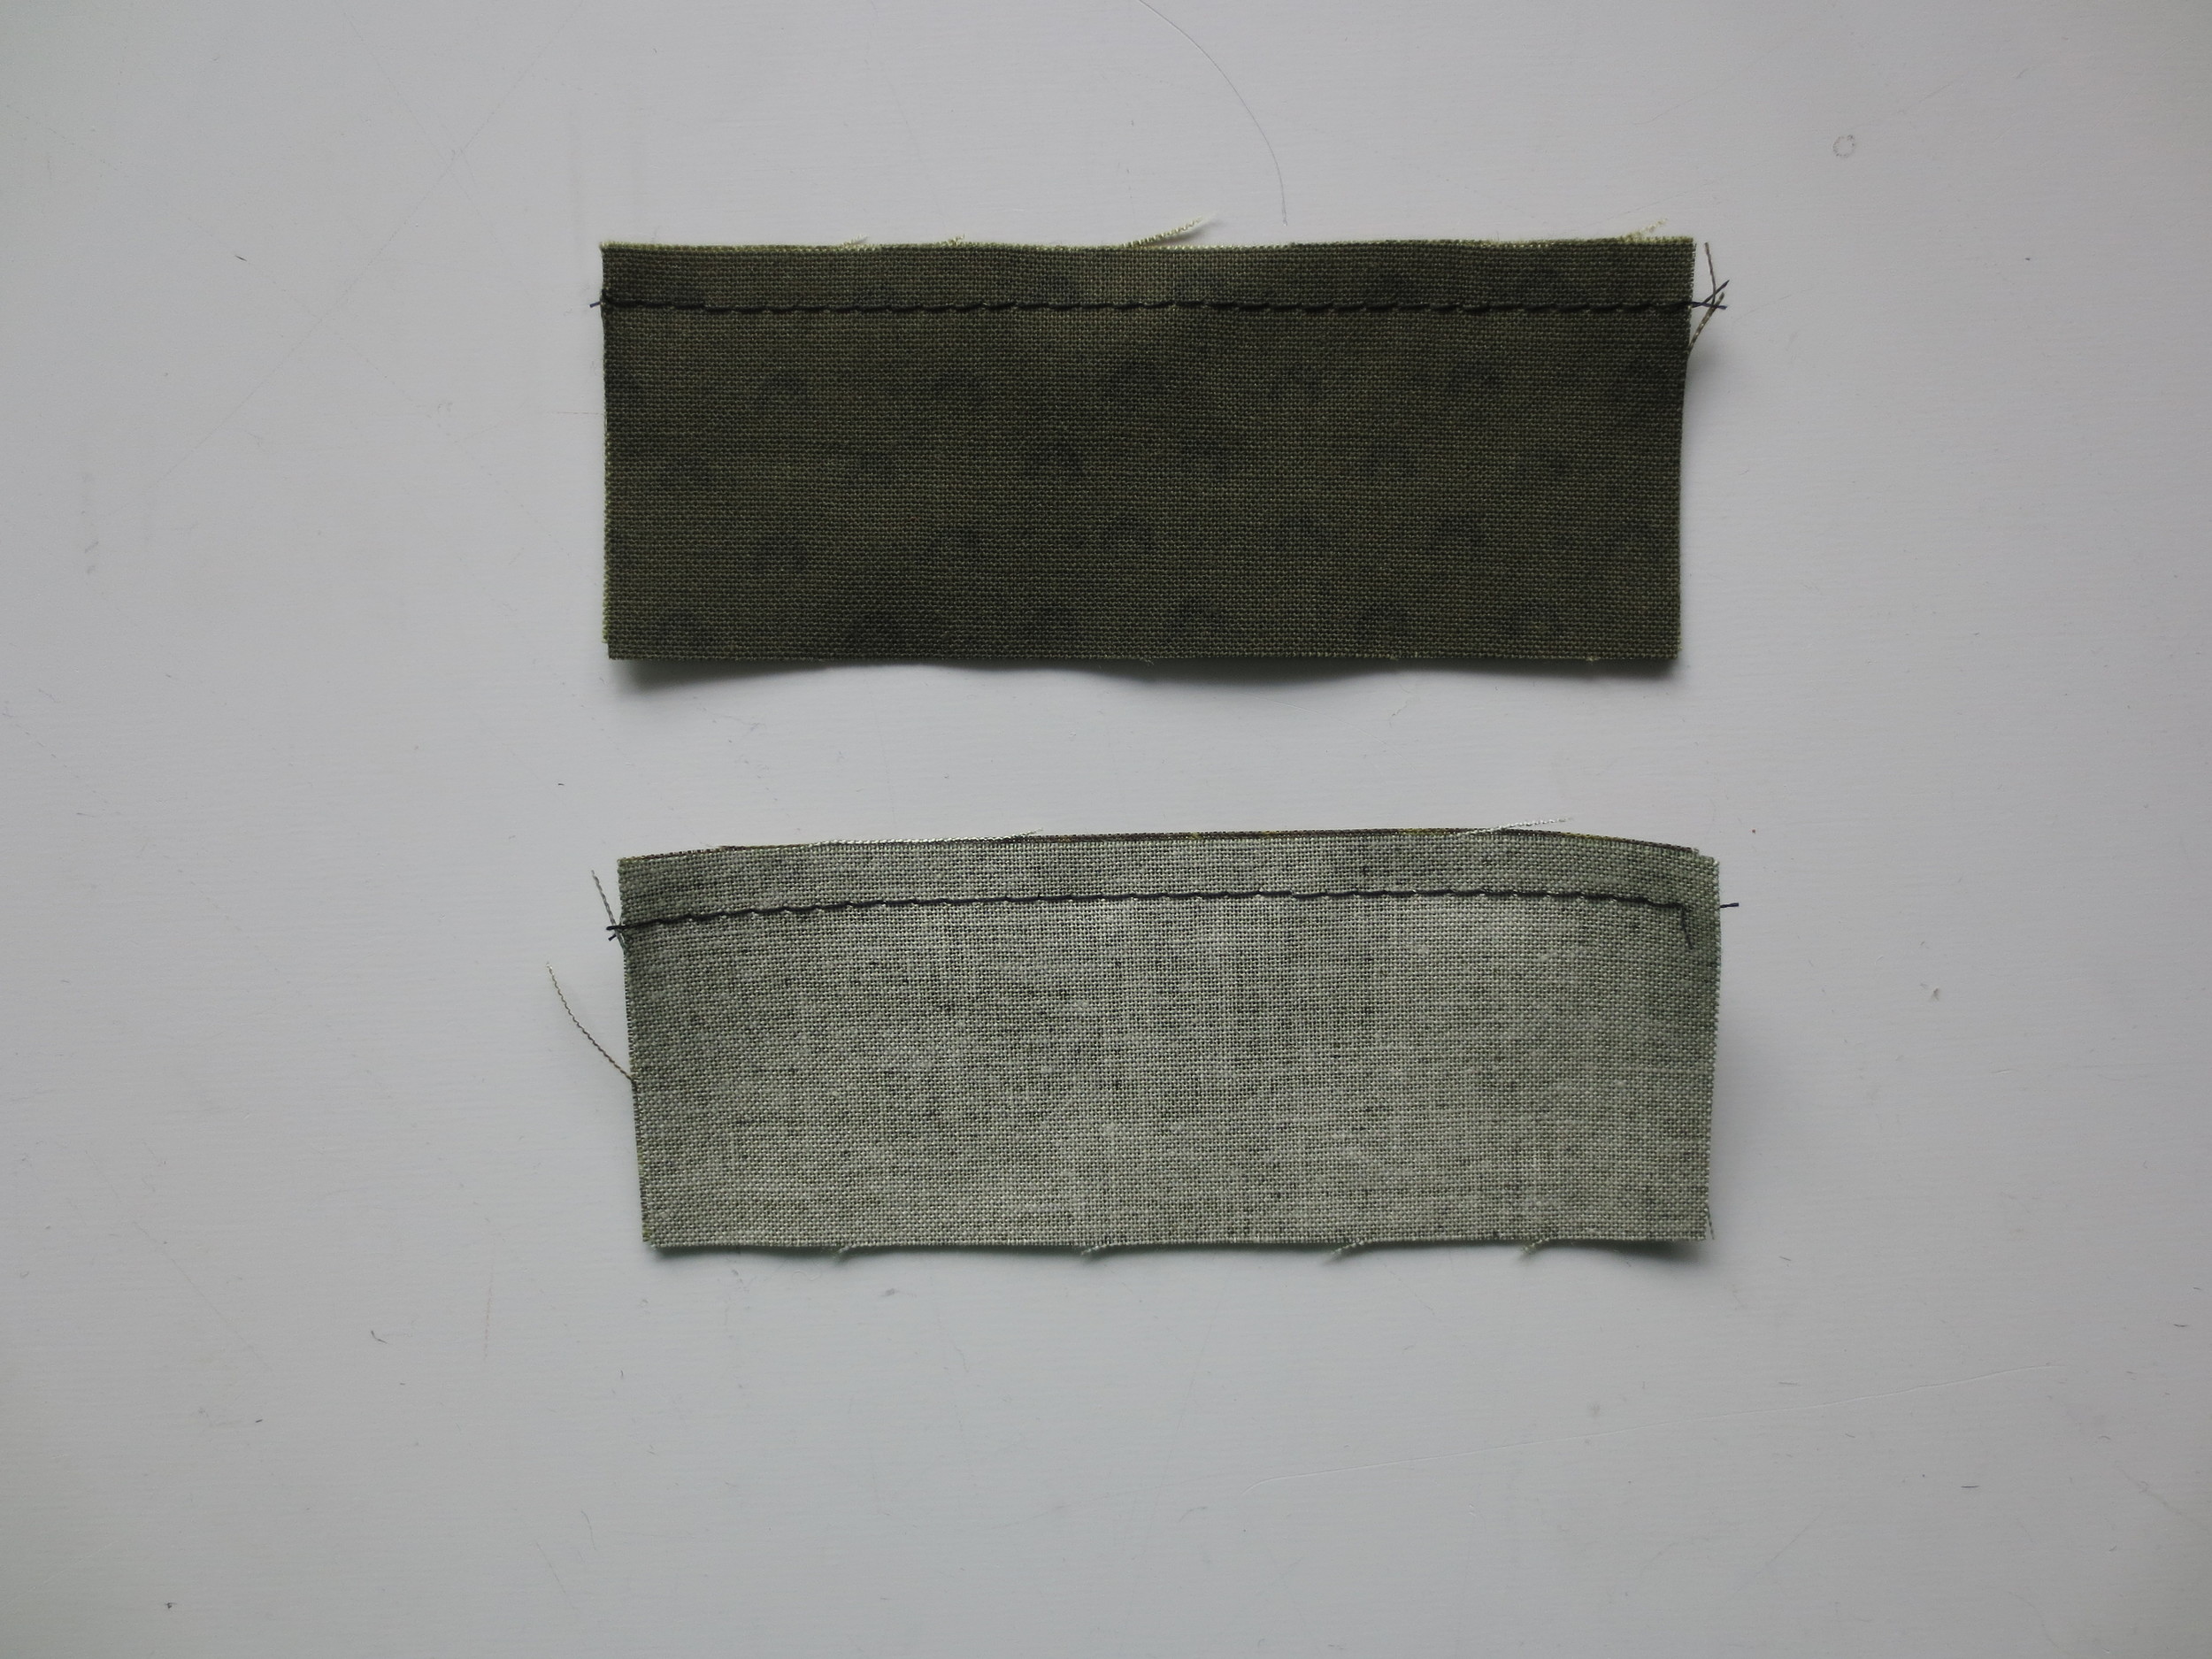
- Square up and cut two 1 1/2" x 3" rectangles from each of the two patch pieces.

- Sew AB to CD, along the long sides, butting up the seams to align. Press. This is the foliage of the tree.
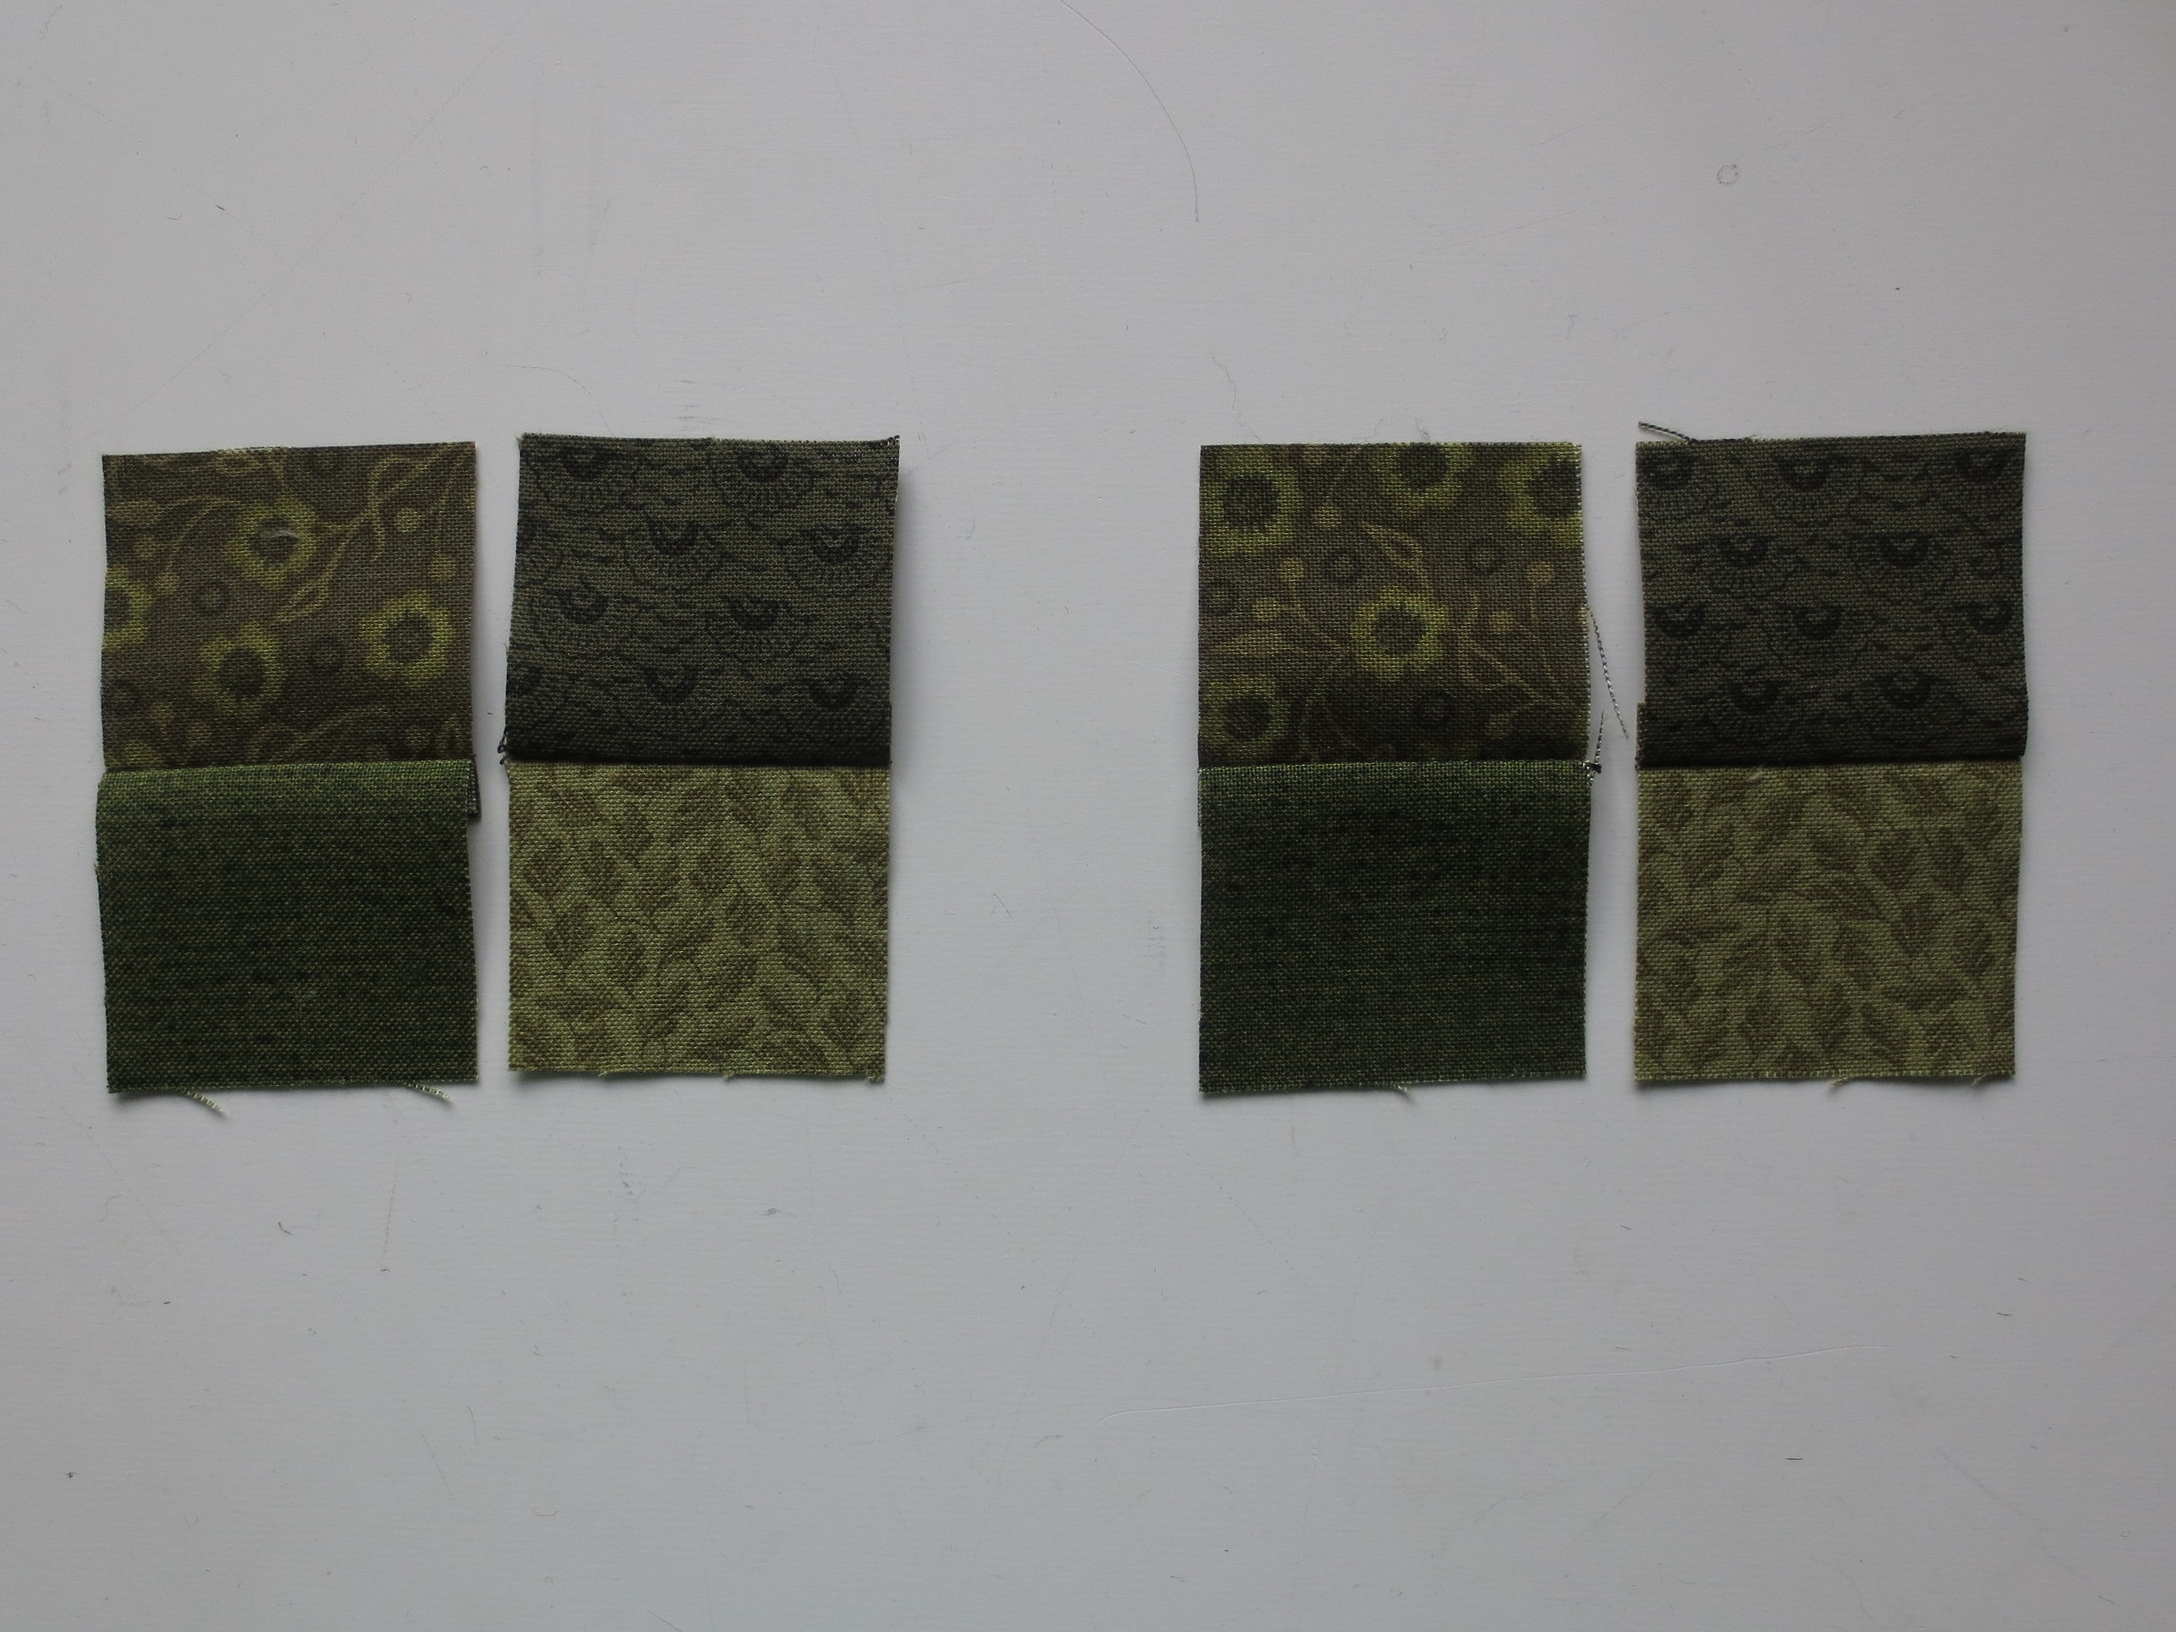
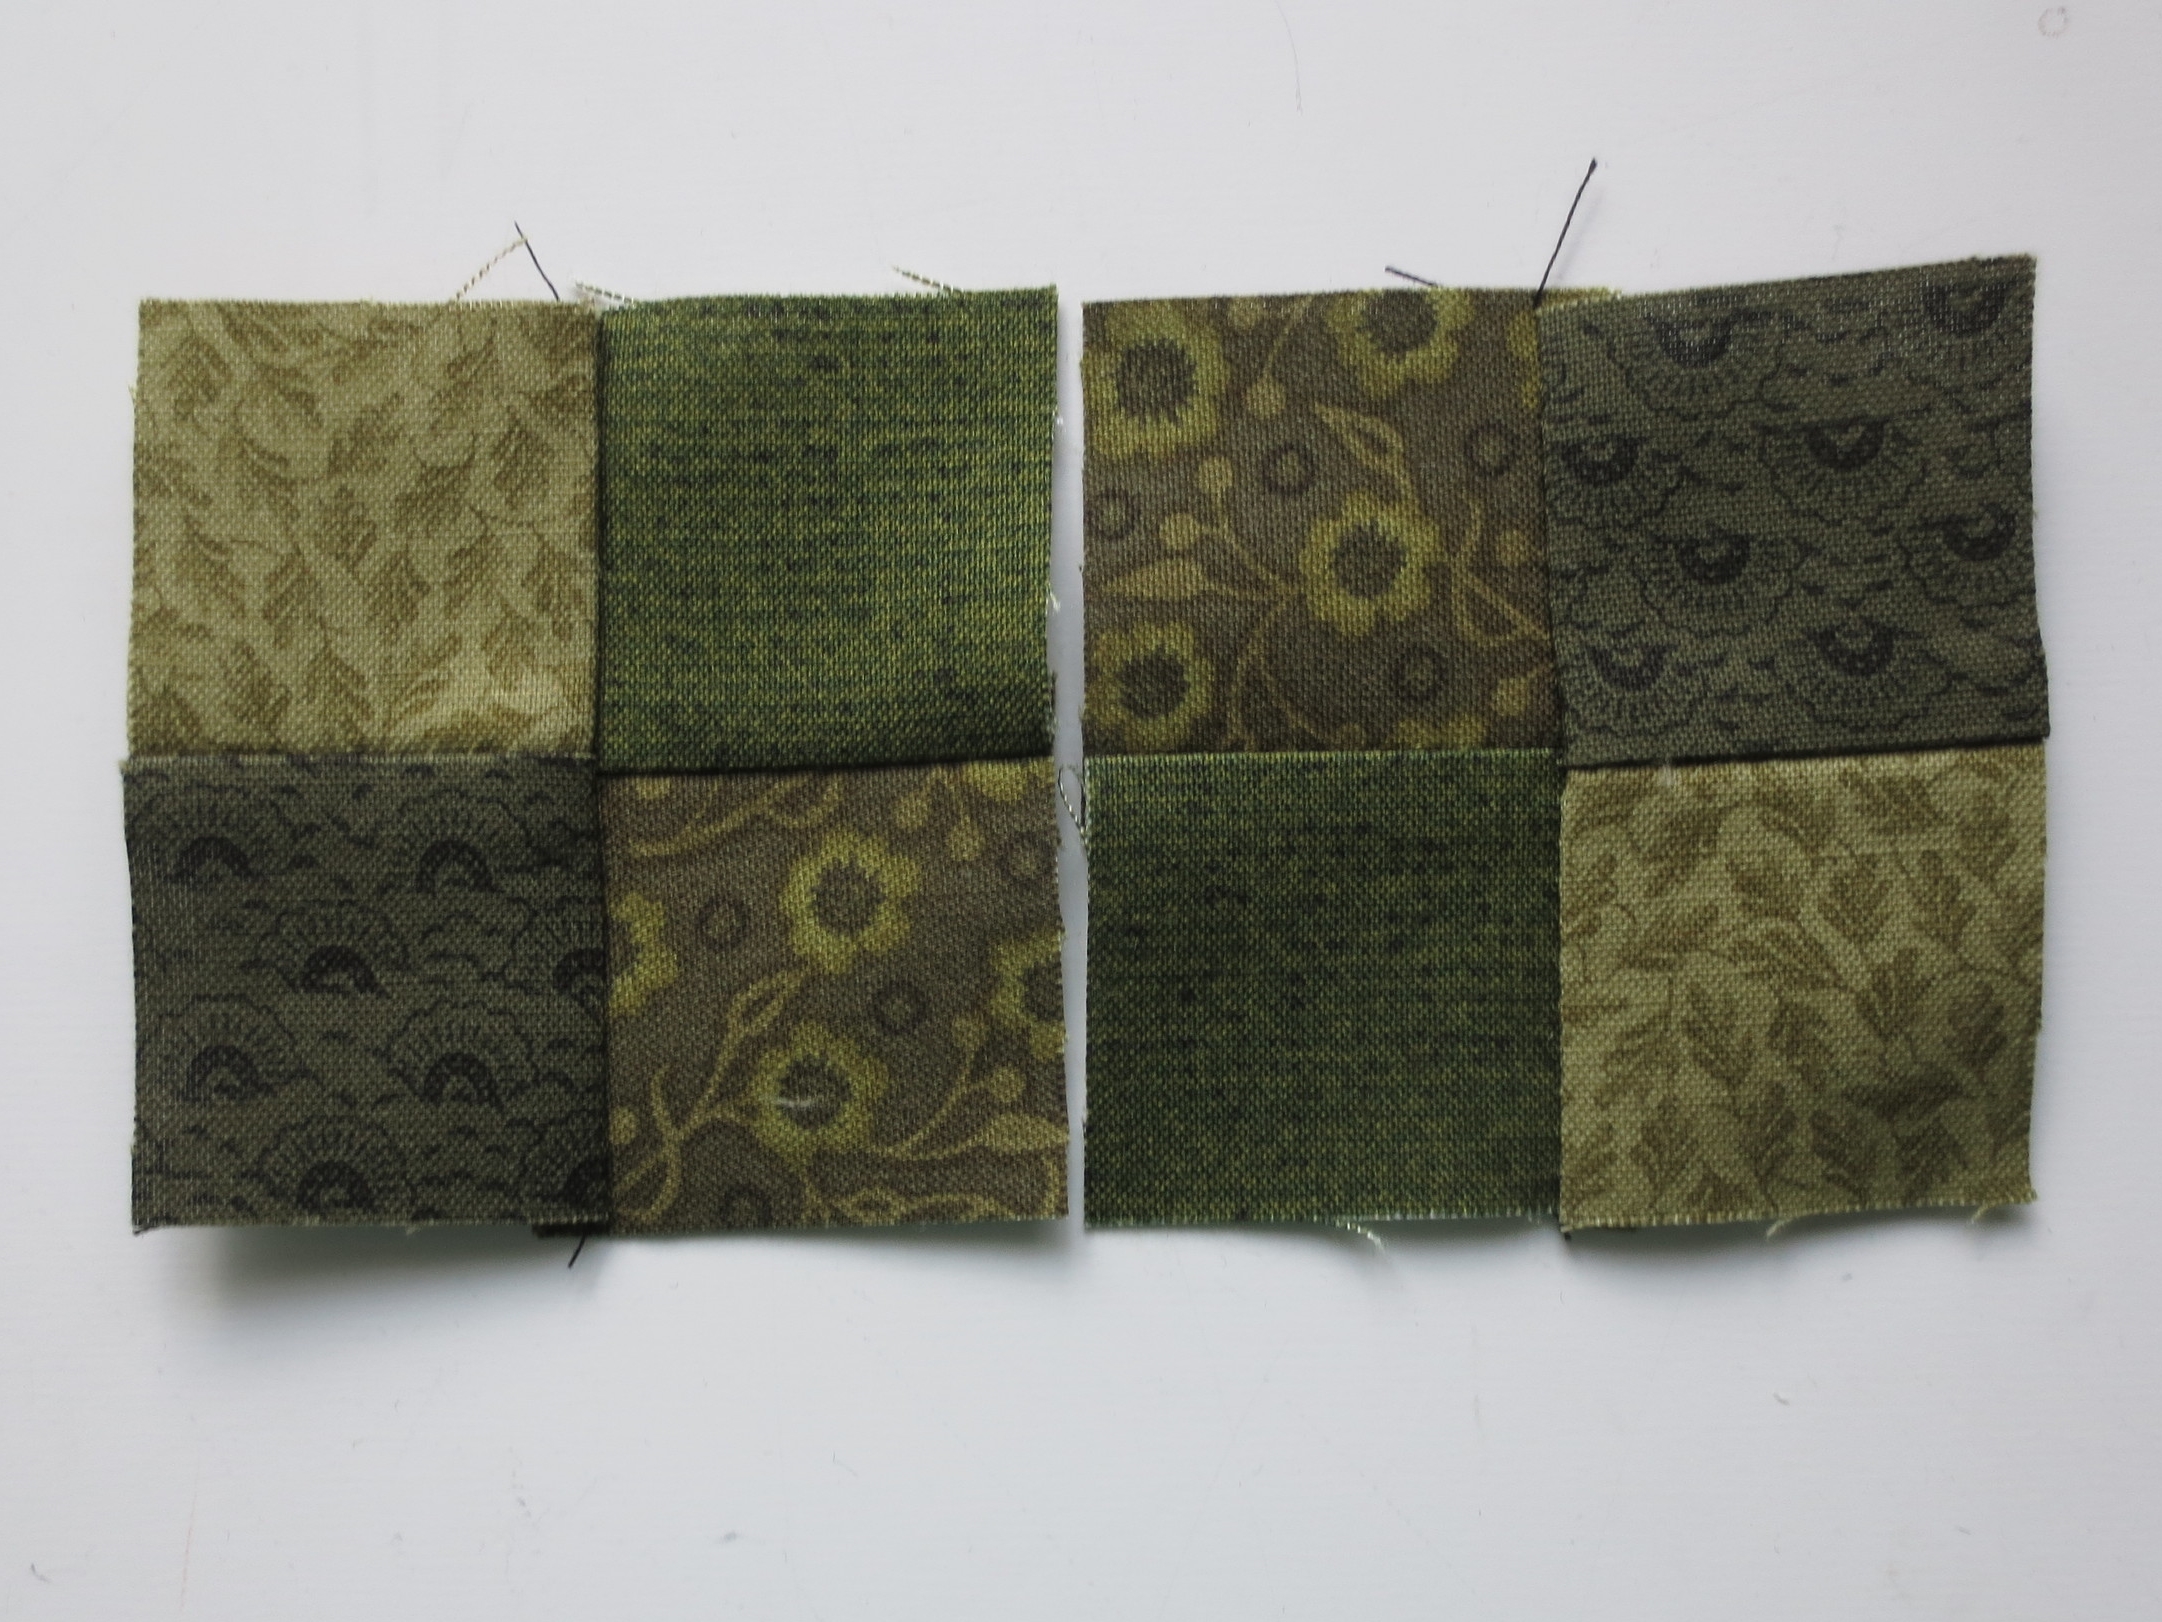
- Sew each of these four patch squares right sides together. Press seam open.

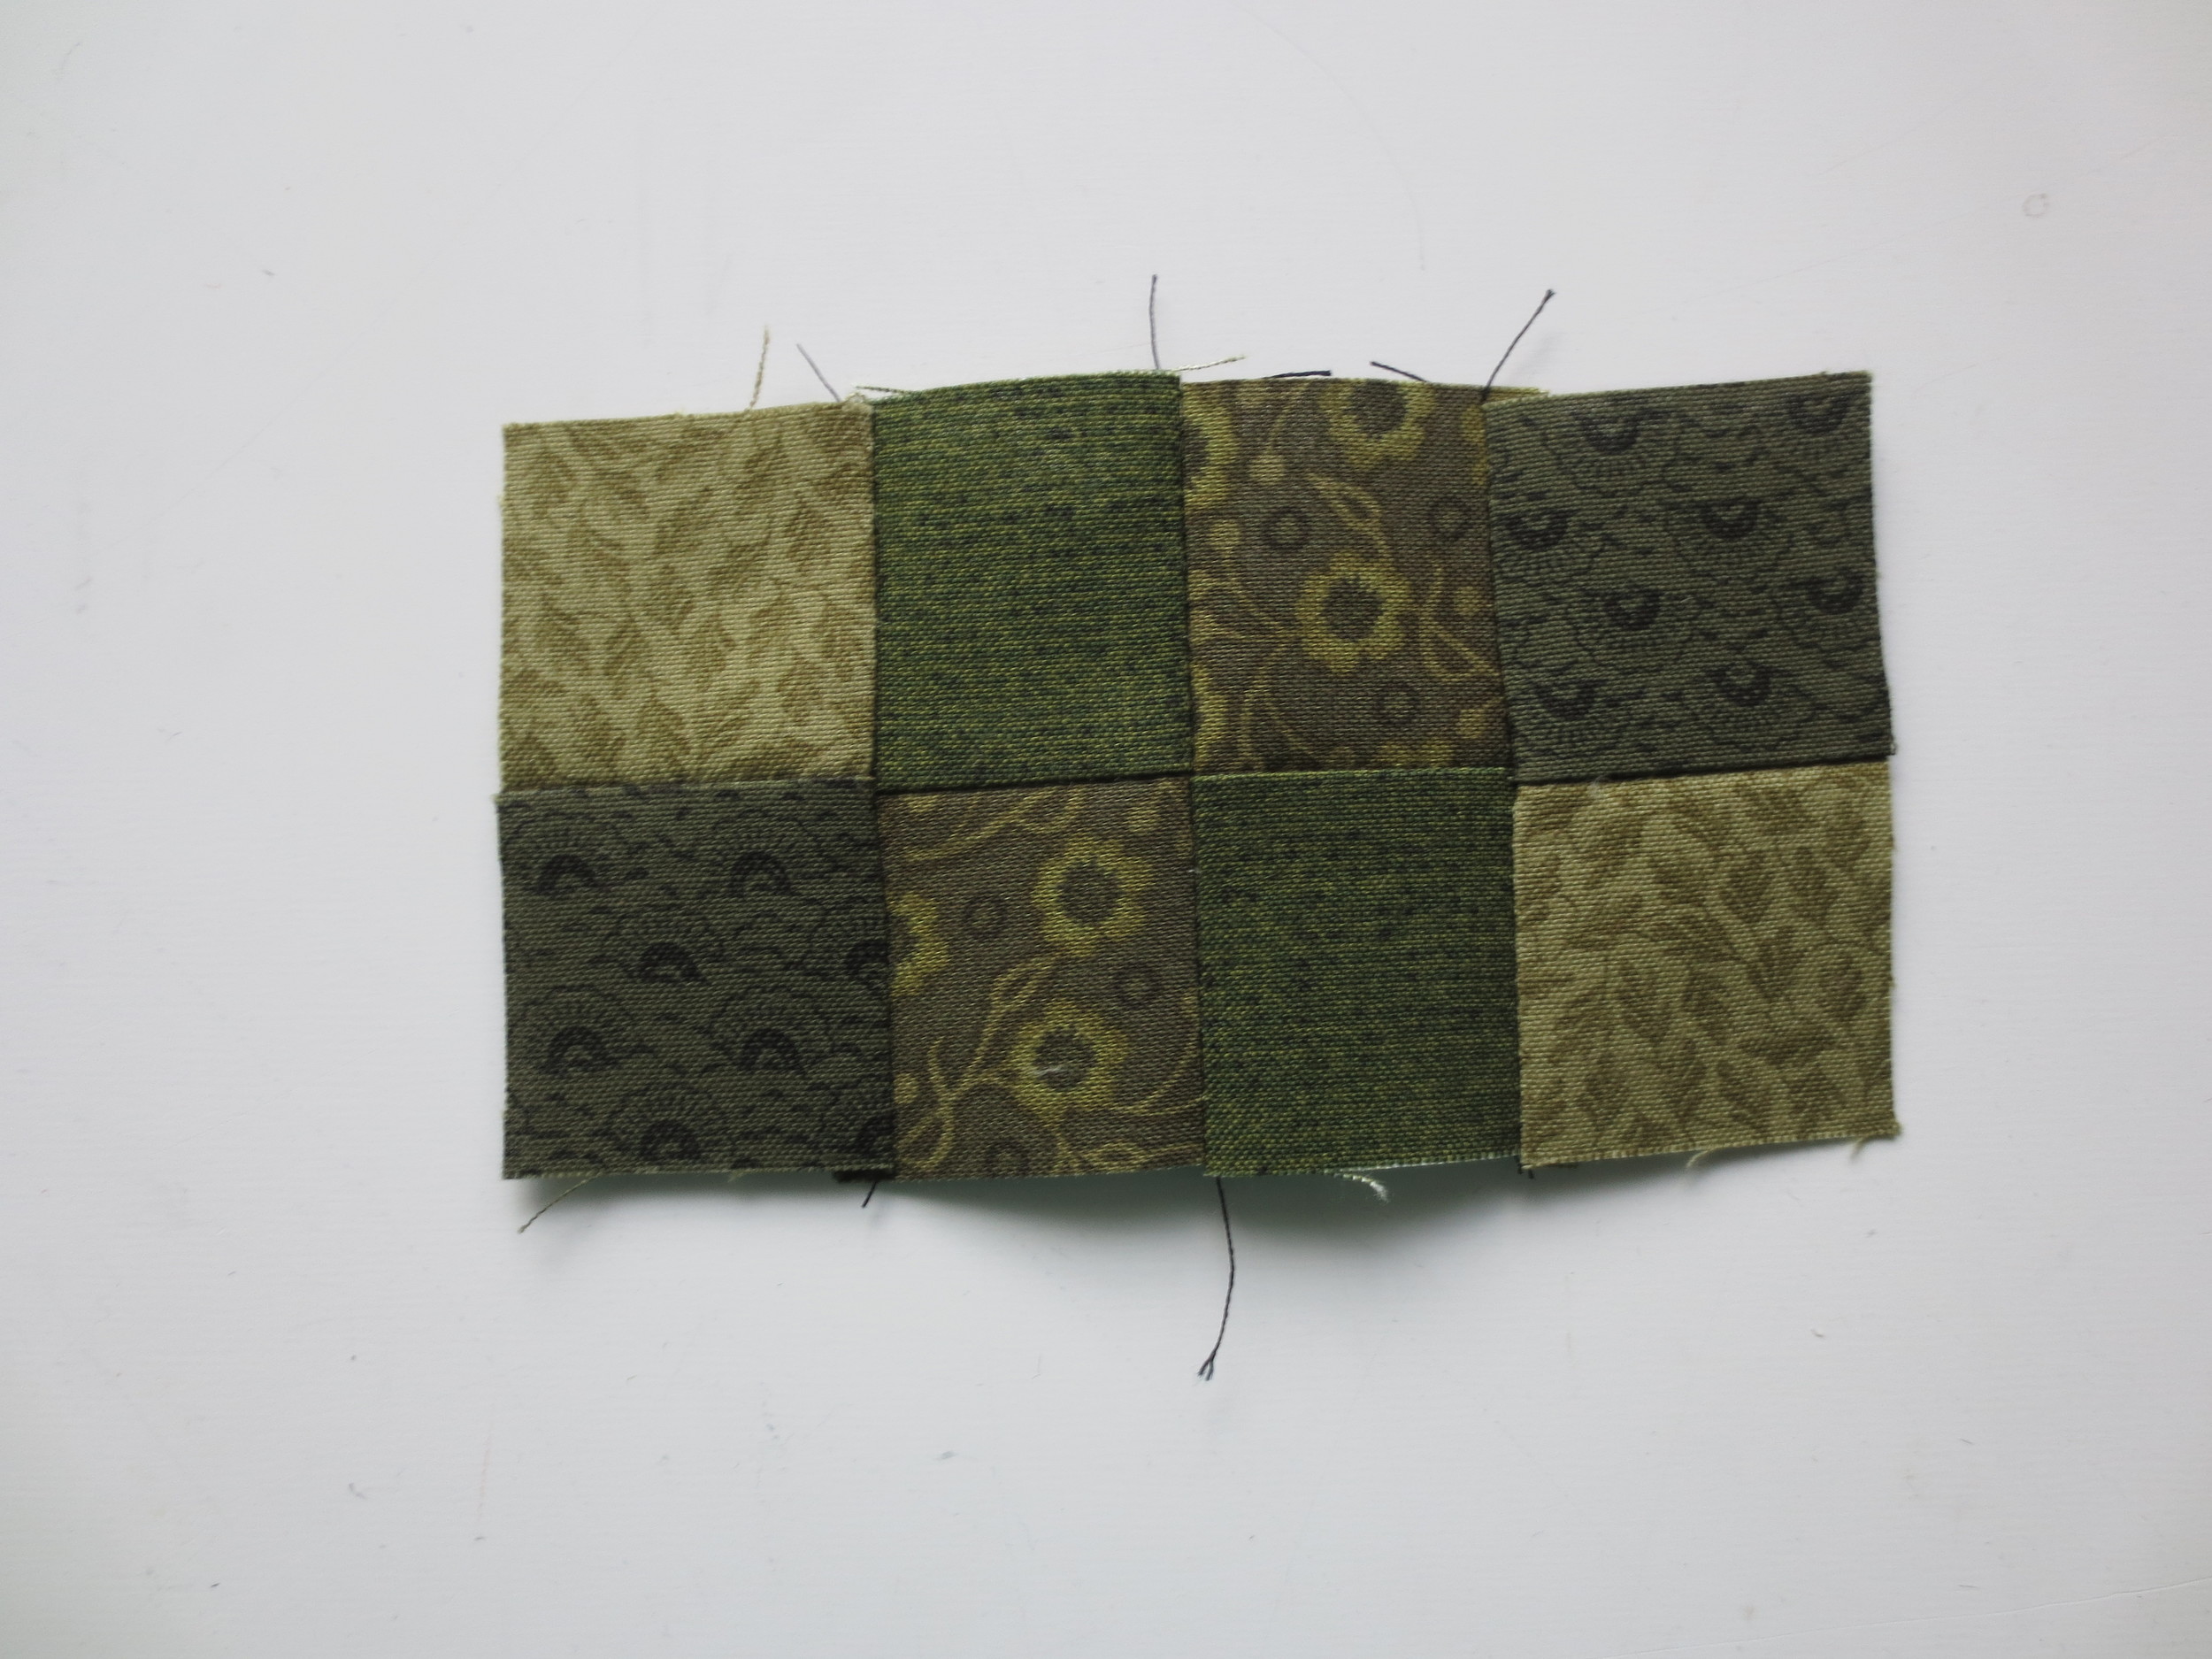
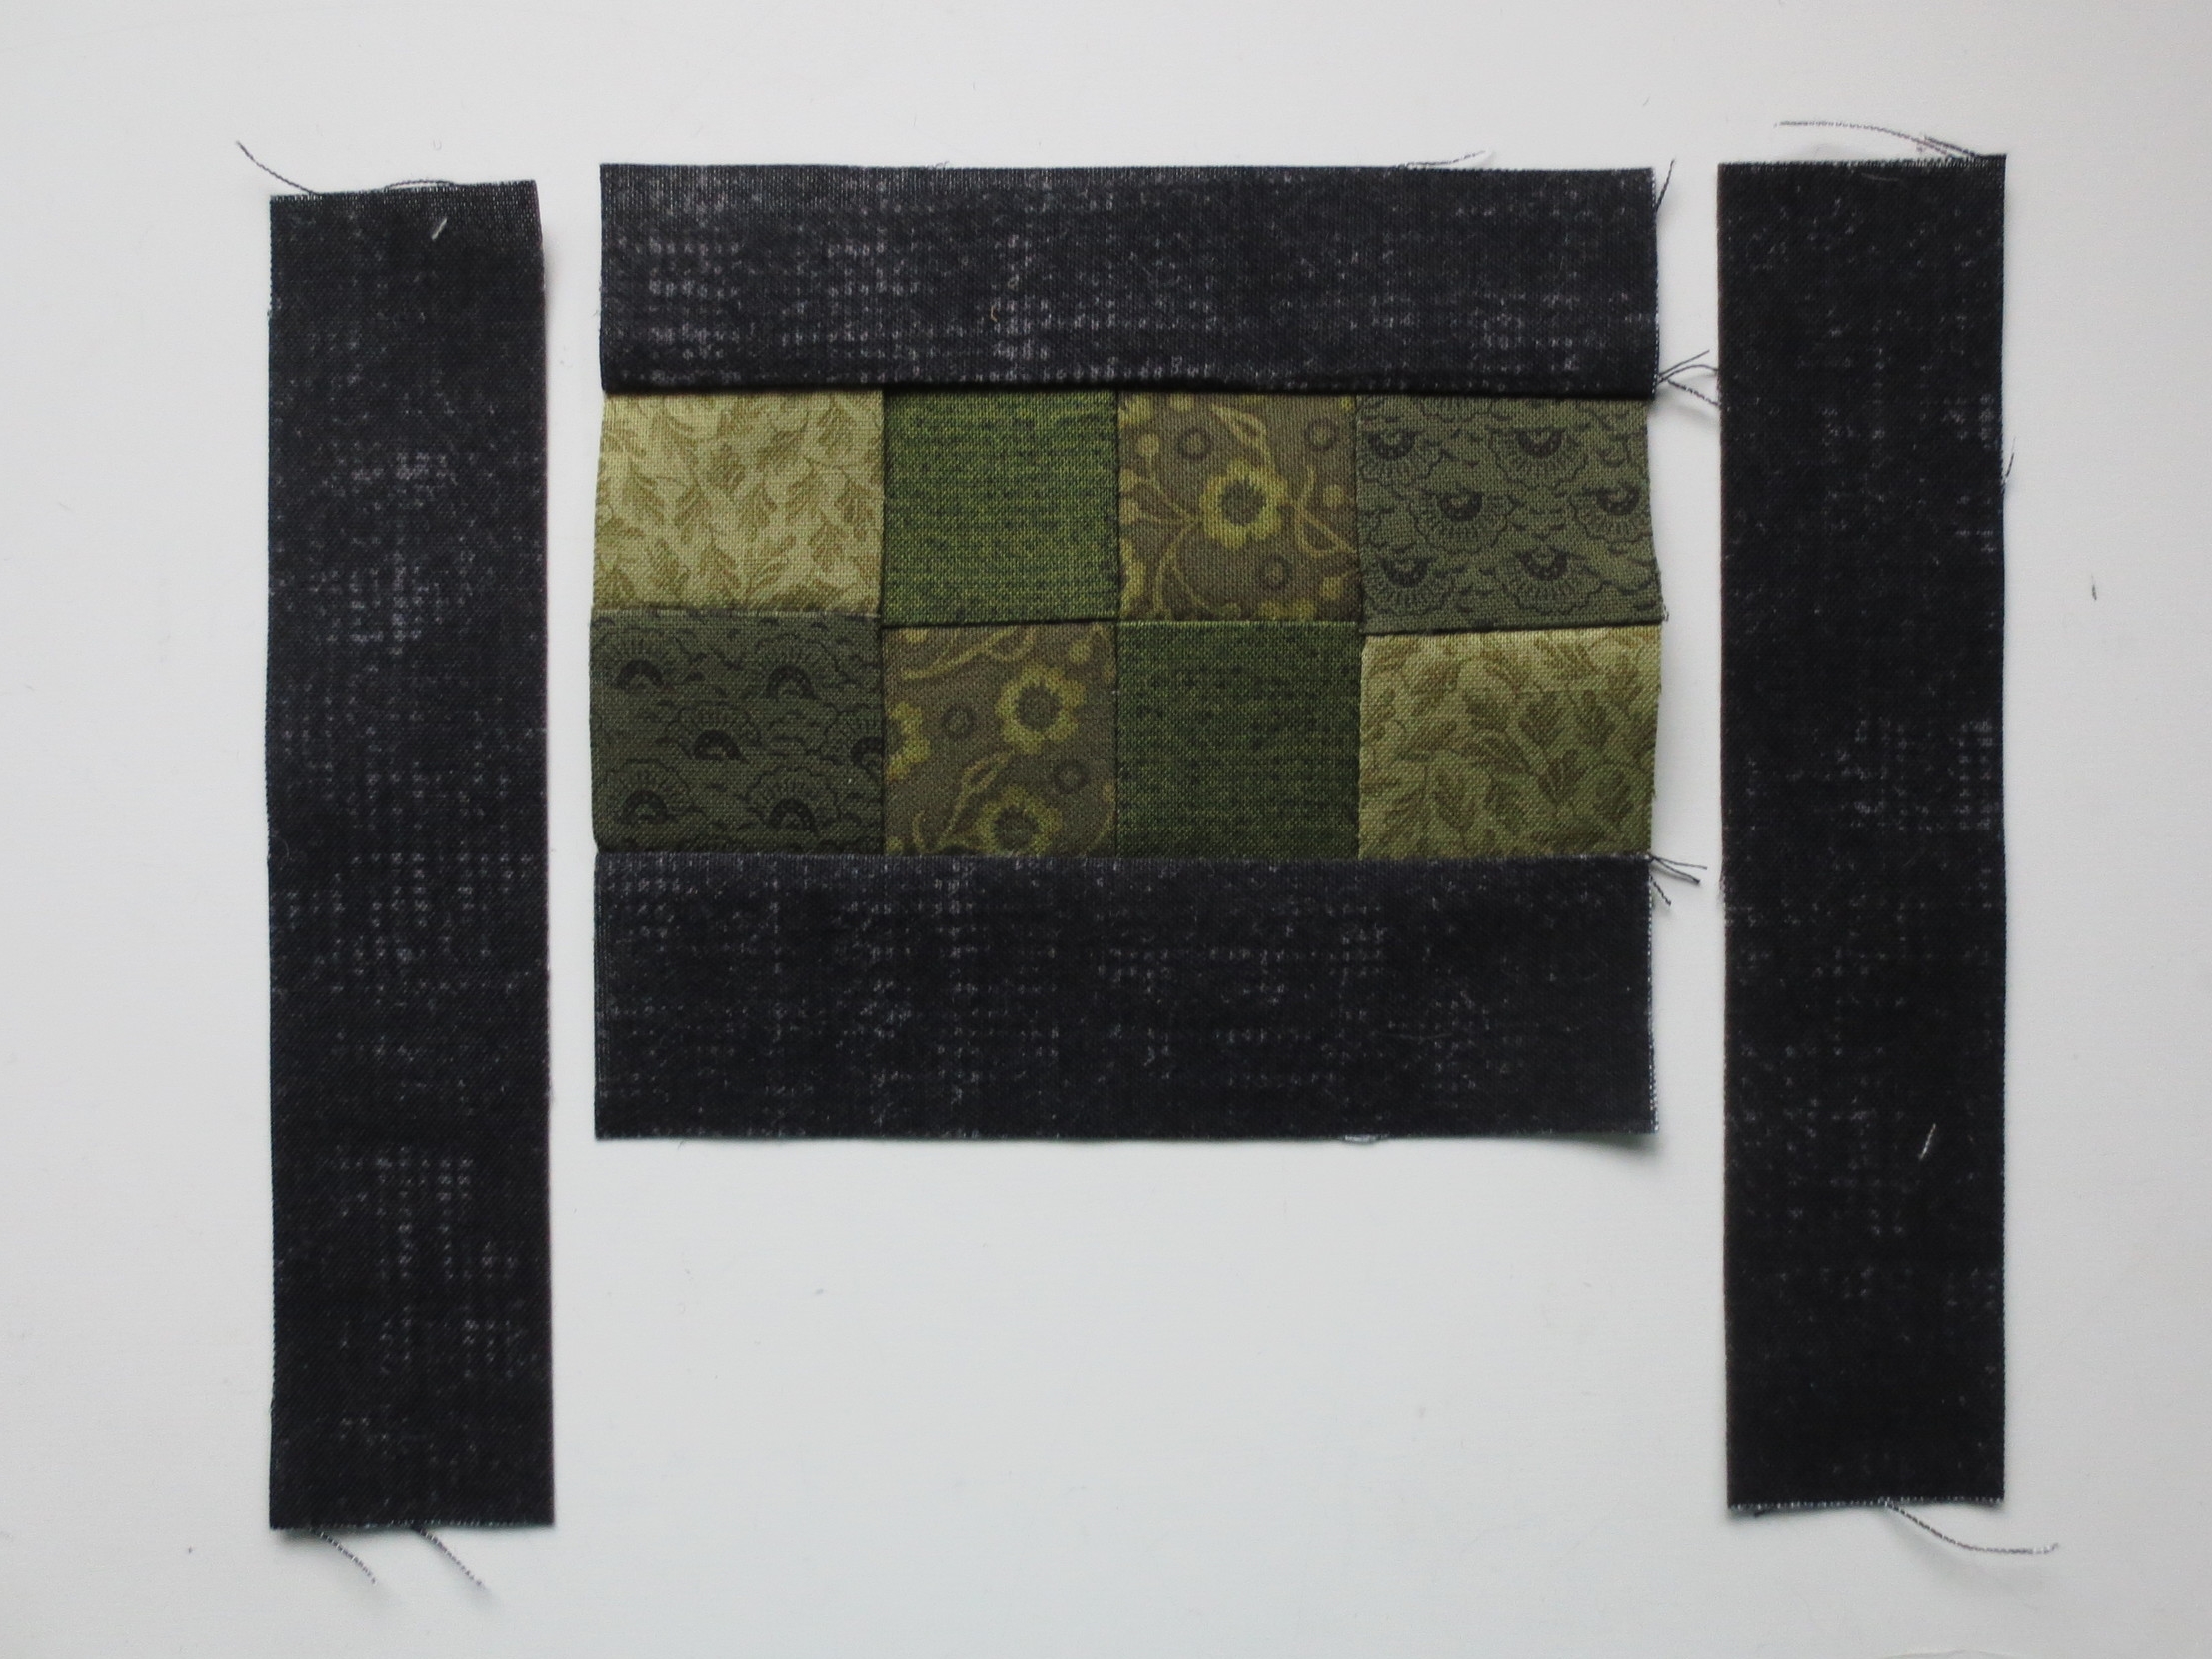
- Sew the top (1 1/4" x 6") and bottom (1 1/2" x 6") black pieces to the tree foliage section. The top and bottom pieces will be longer than the foliage section so you will have to trim these after sewing (see far right below).

- Sew right and left black sides. Trim excess and square up.
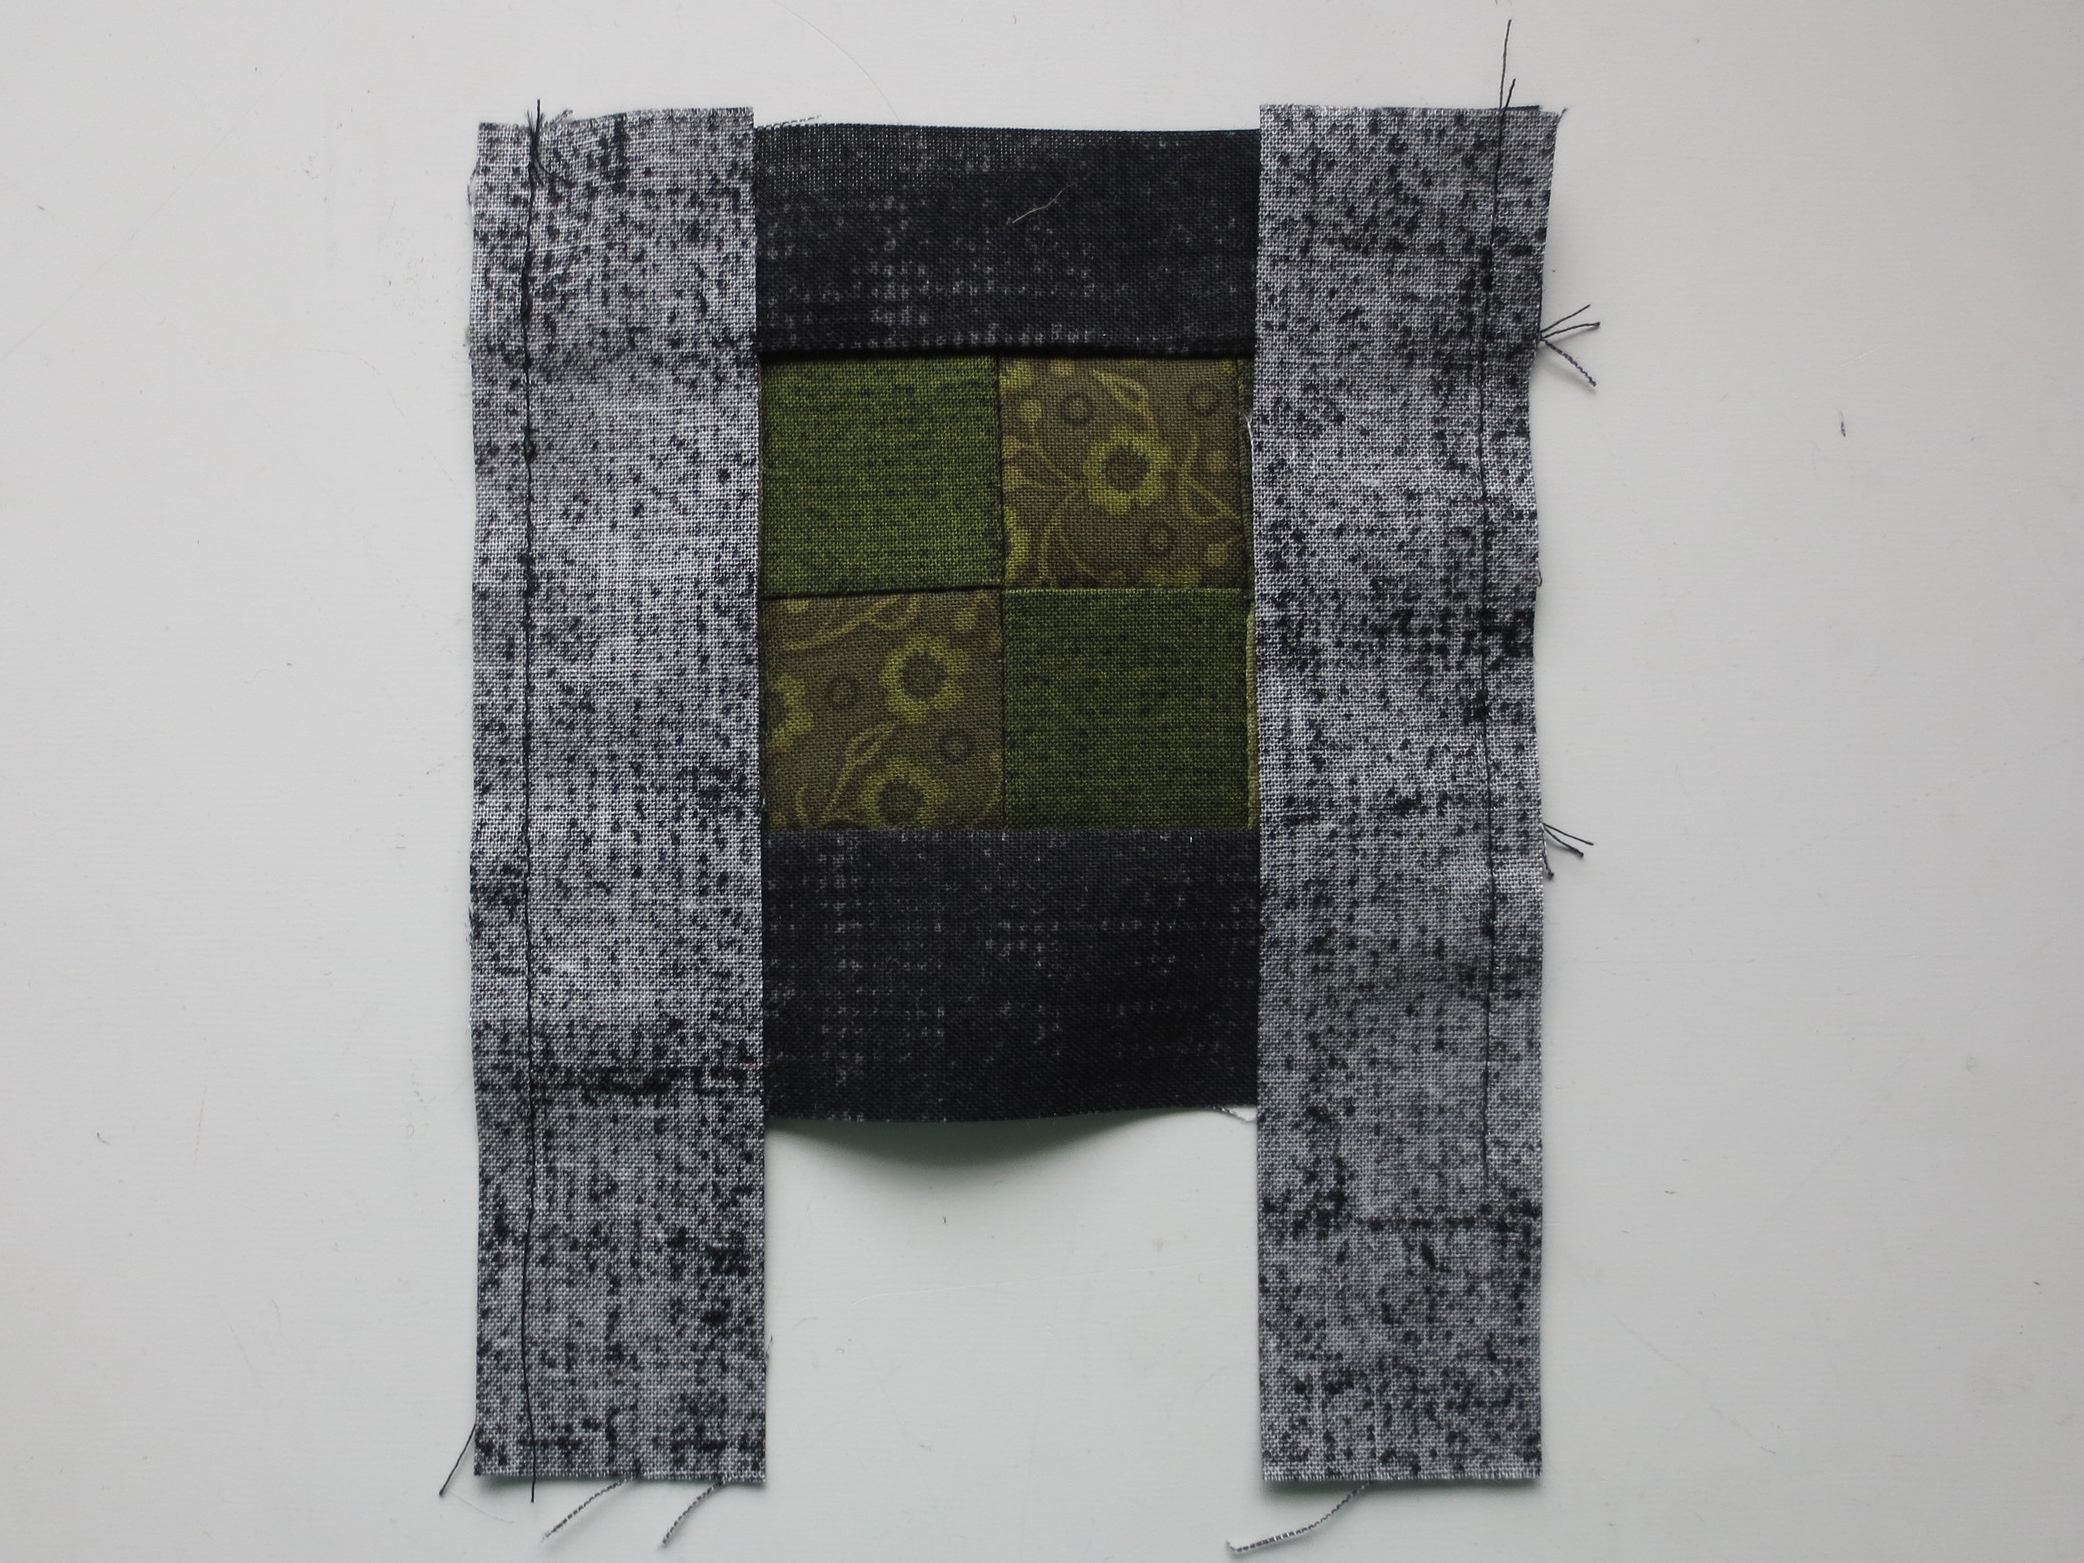
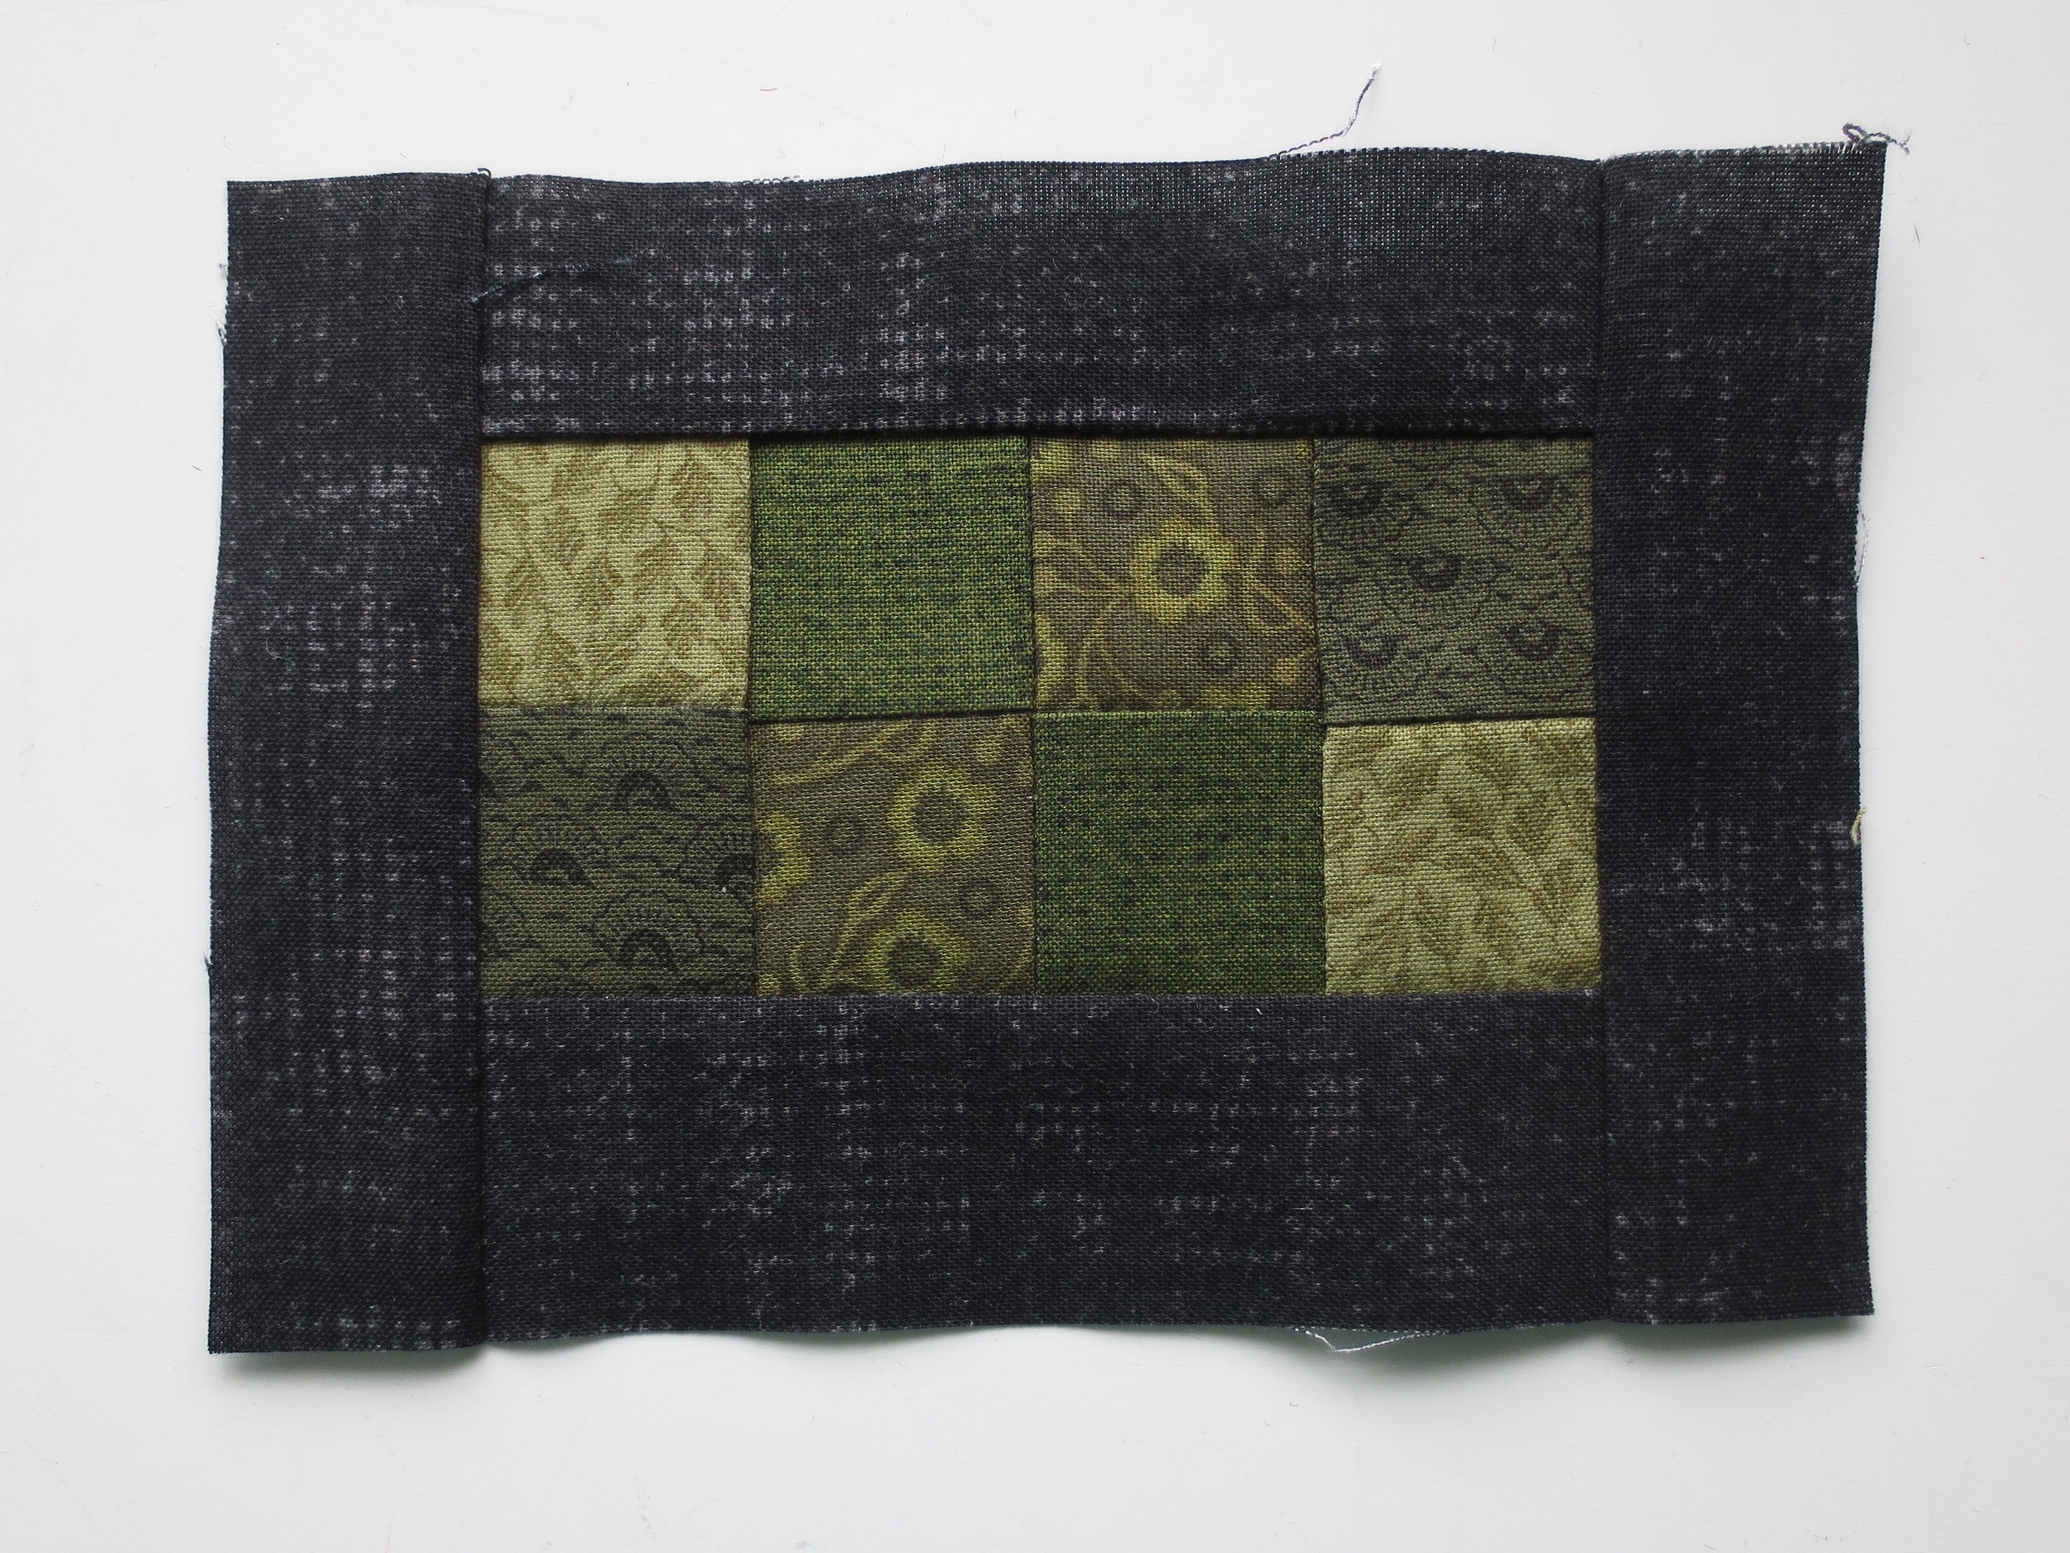
- Sew the remaining brown piece to the bottom. Press seam toward the black fabric. Lay this piece on top of the remaining batting piece and set aside for applique.
4. Applique - Use one strand of thread unless othewise noted.
- Front
- Trace the pattern pieces onto fusible web, cut out and fuse to wools. The pattern is already reversed so you don't need to reverse it before tracing.
- Cut out the wool pieces and remove the paper backing. Set aside the tree fruit.
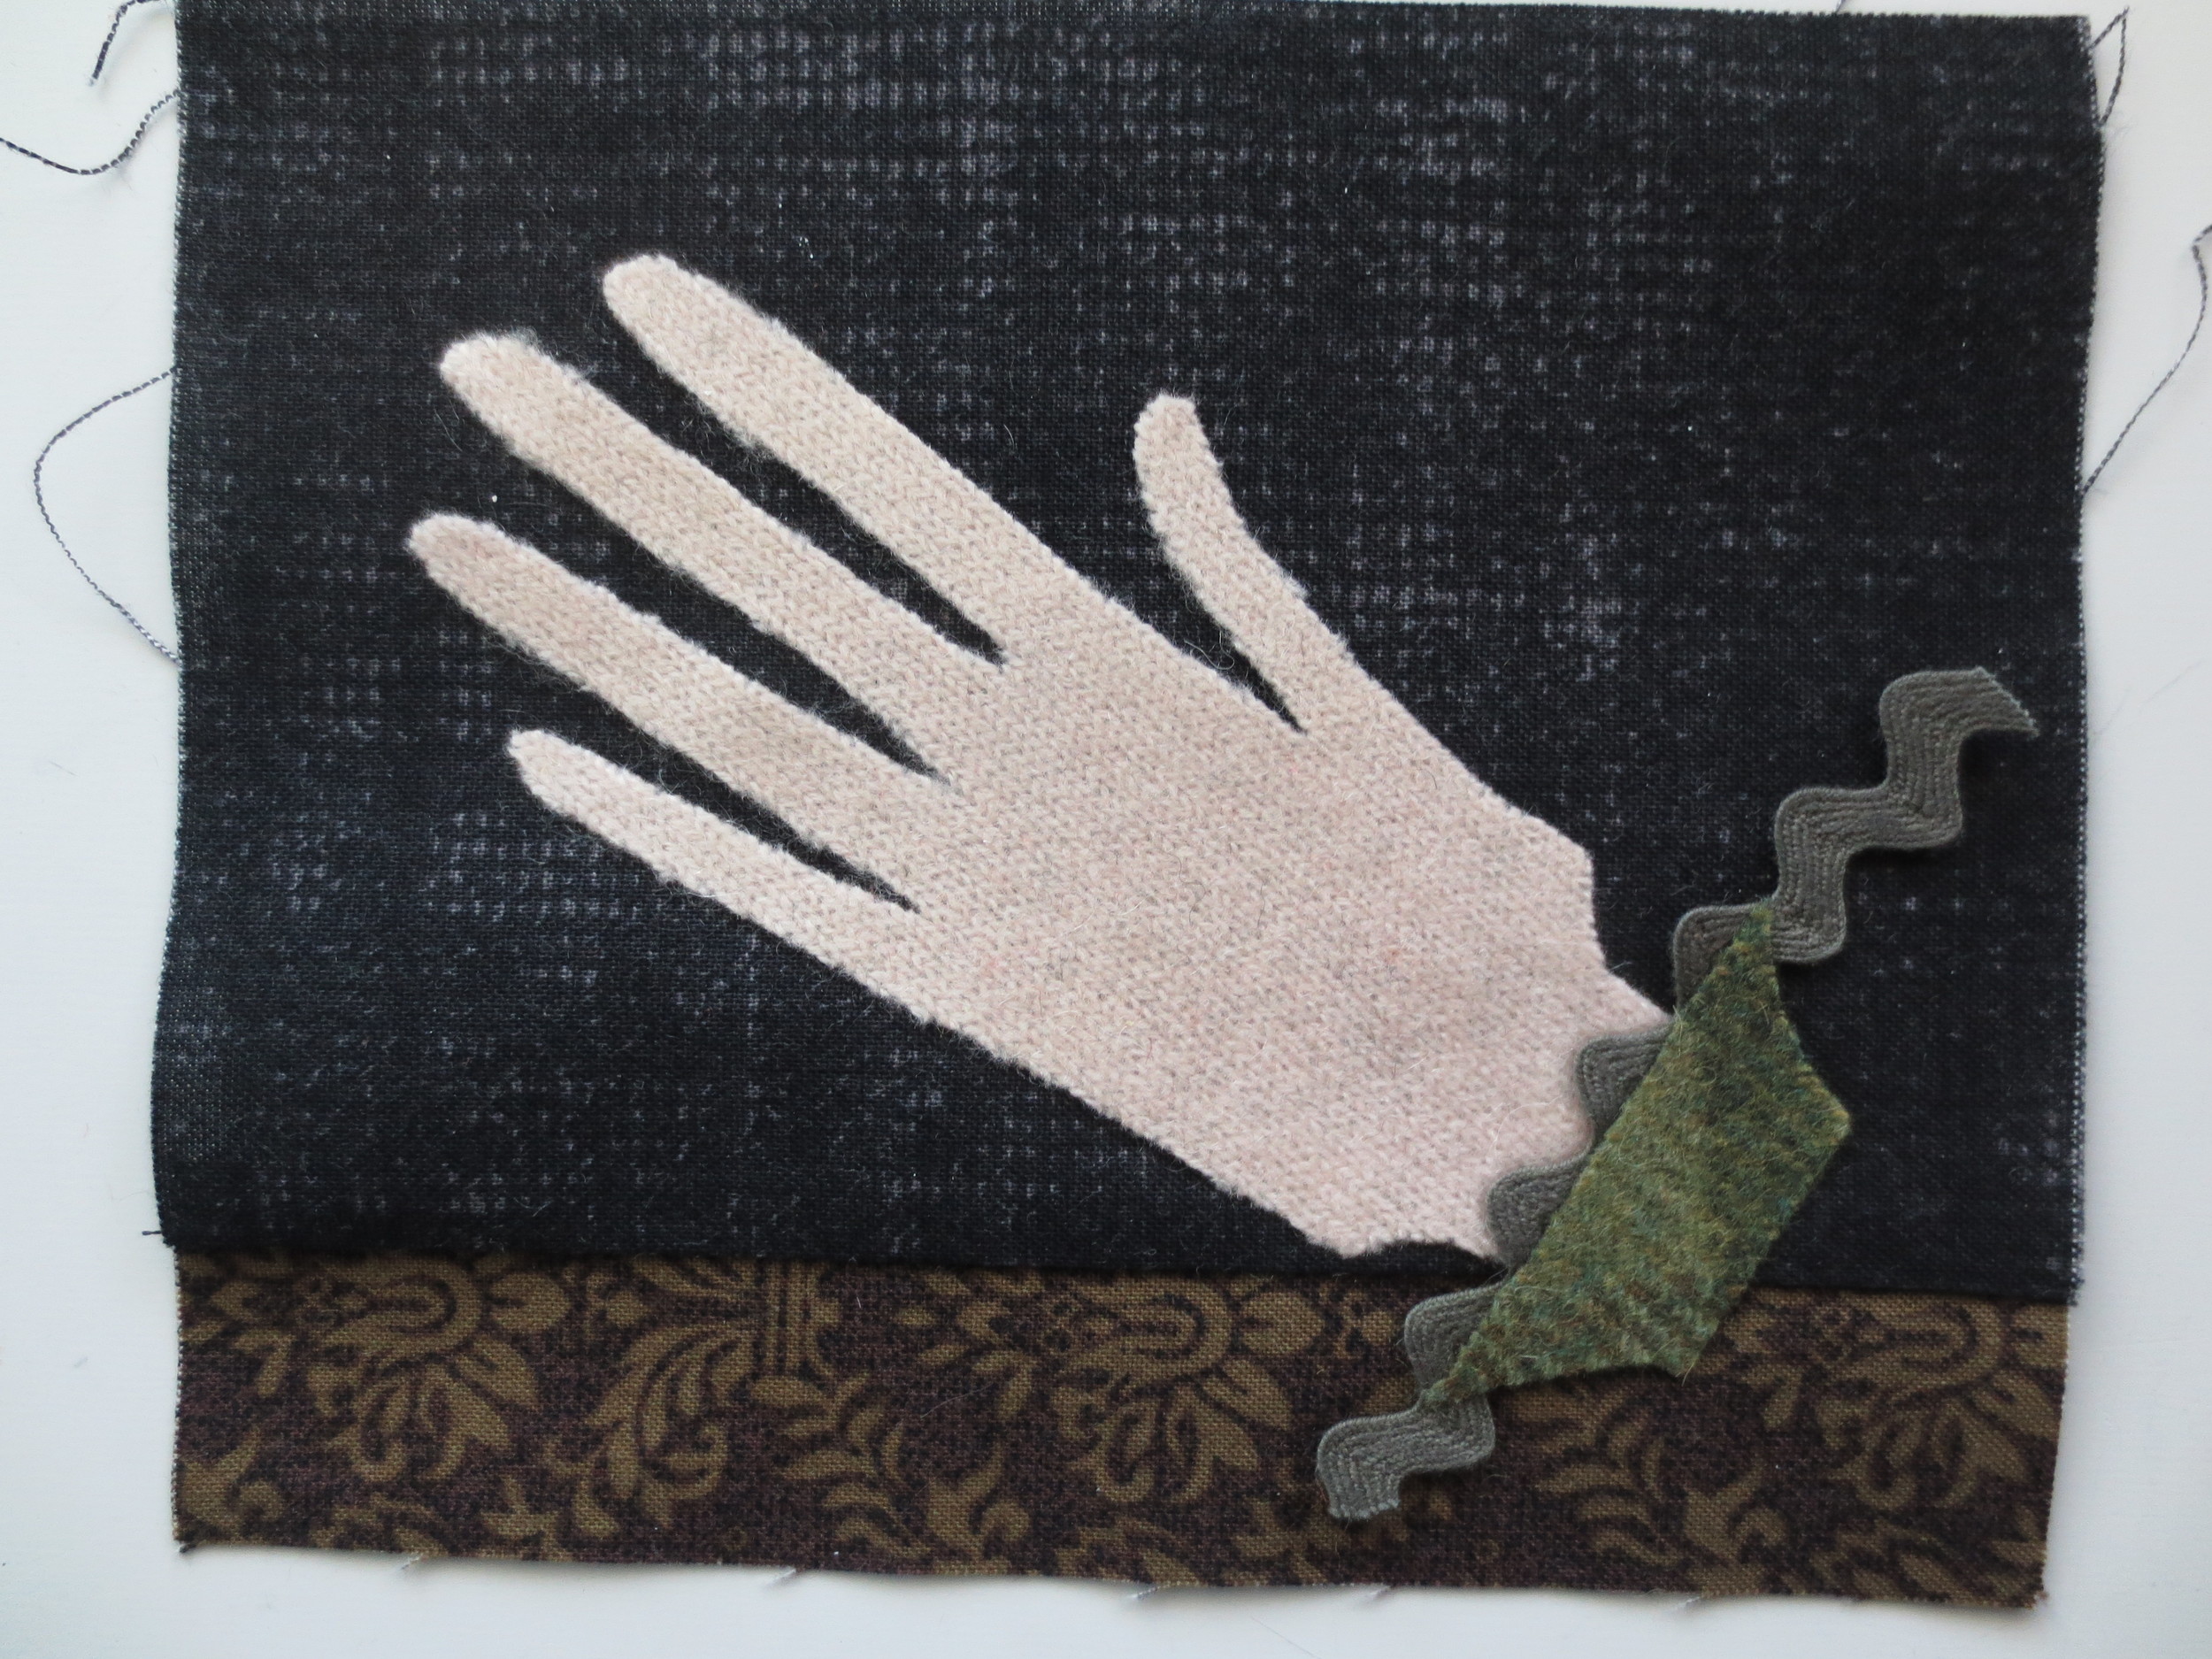
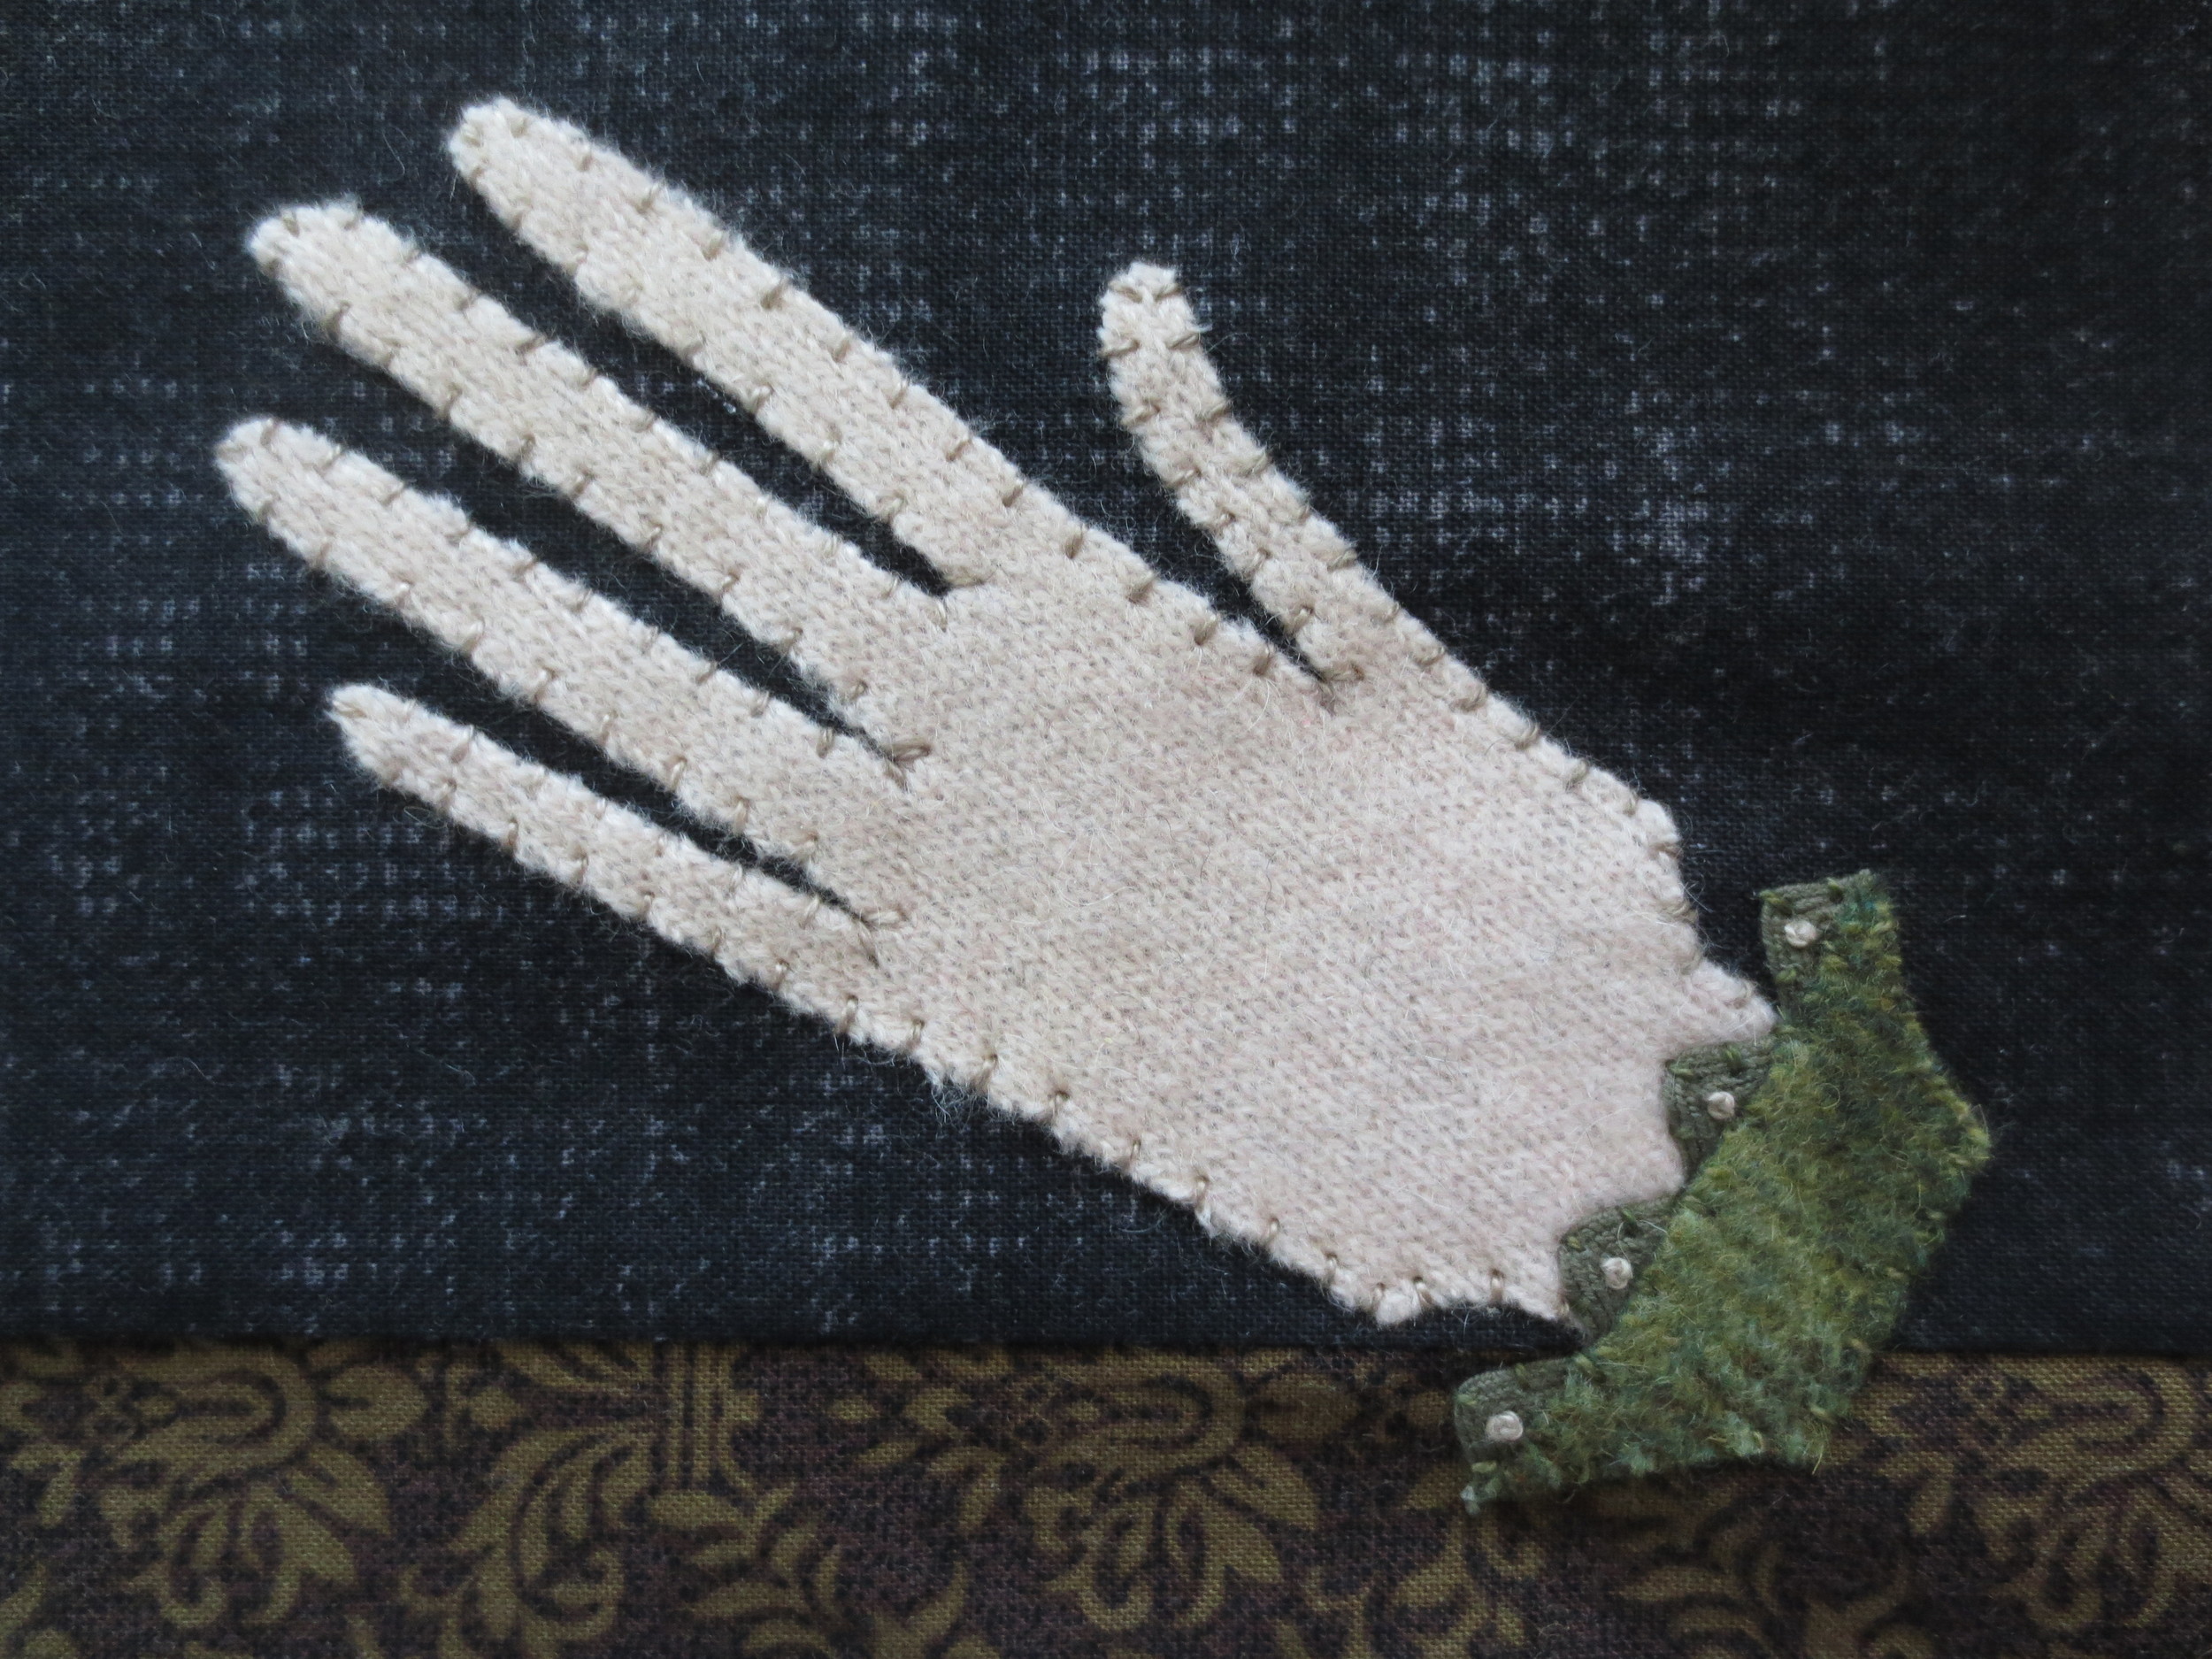
- Position the hand on the background using the layout for guidance. Fuse in place using steam.
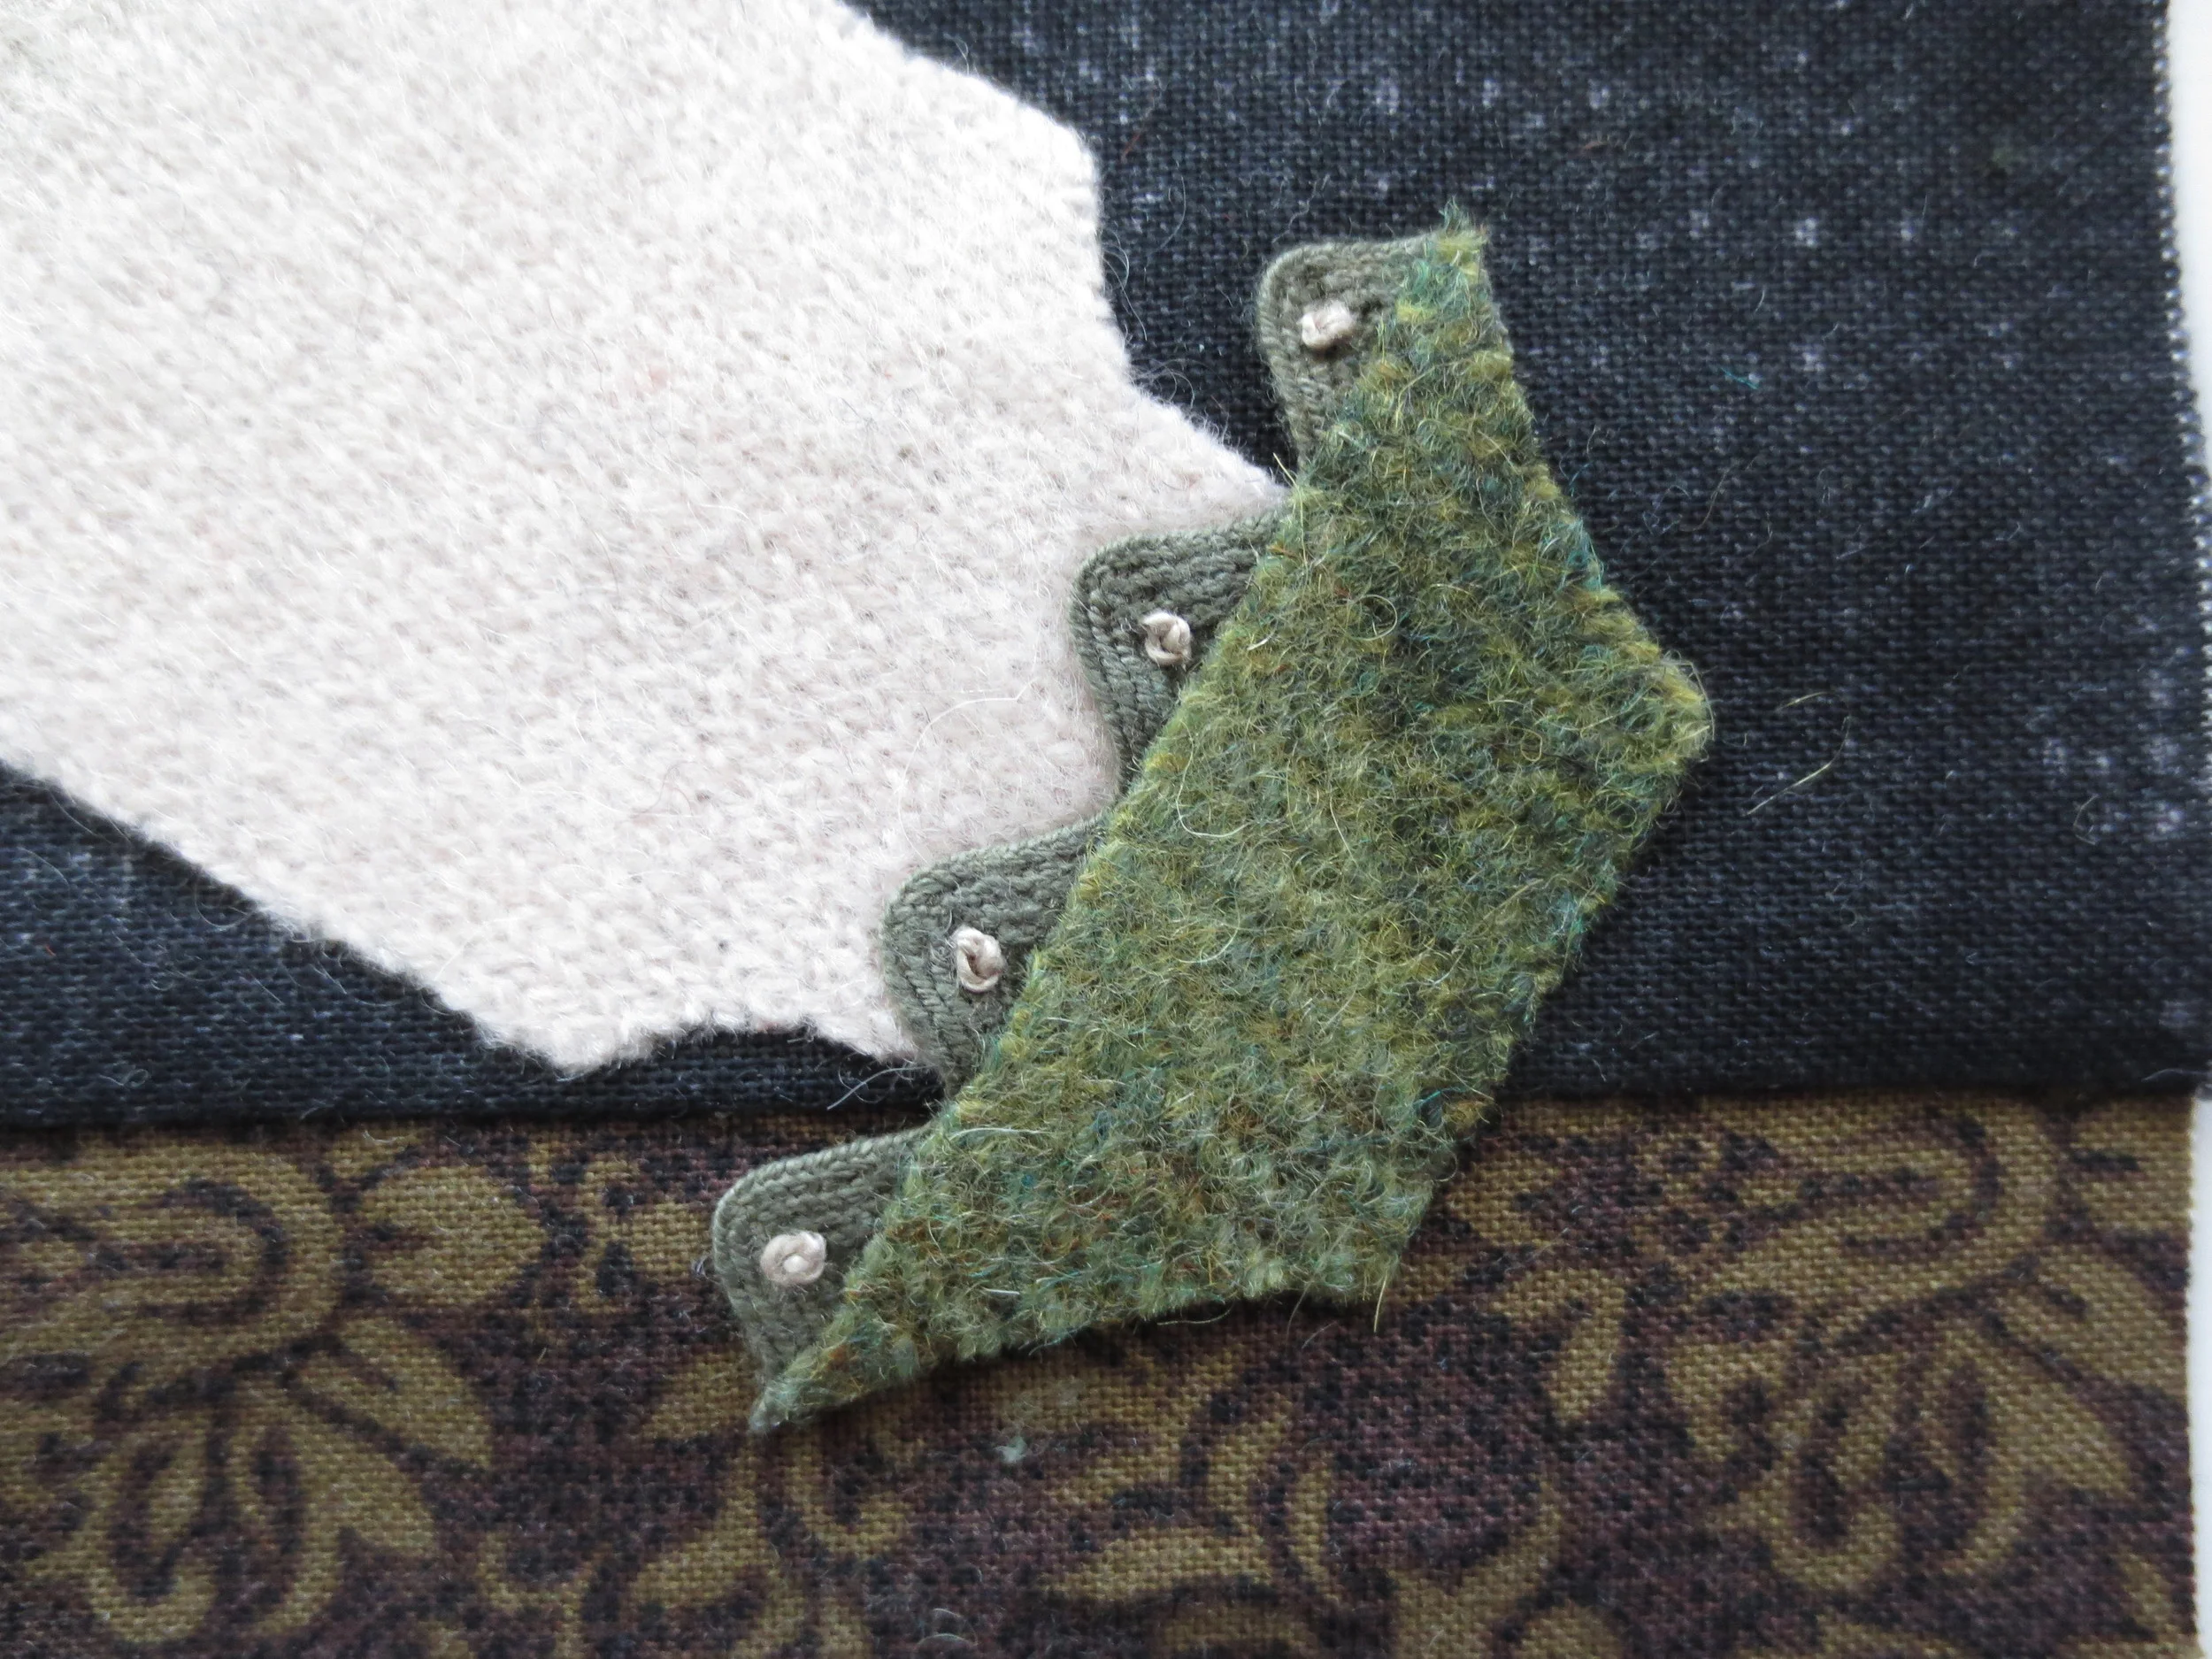
- Position the cuff on the base of the hand (do not fuse).
- Position the rick rack along the top of the cuff, sliding the bottom edge of the rick rack under the top edge of the cuff. You should have four "humps" showing above the top edge of the cuff.
- Fuse in place using steam. Trim rick rack flush with the edges of the cuff.
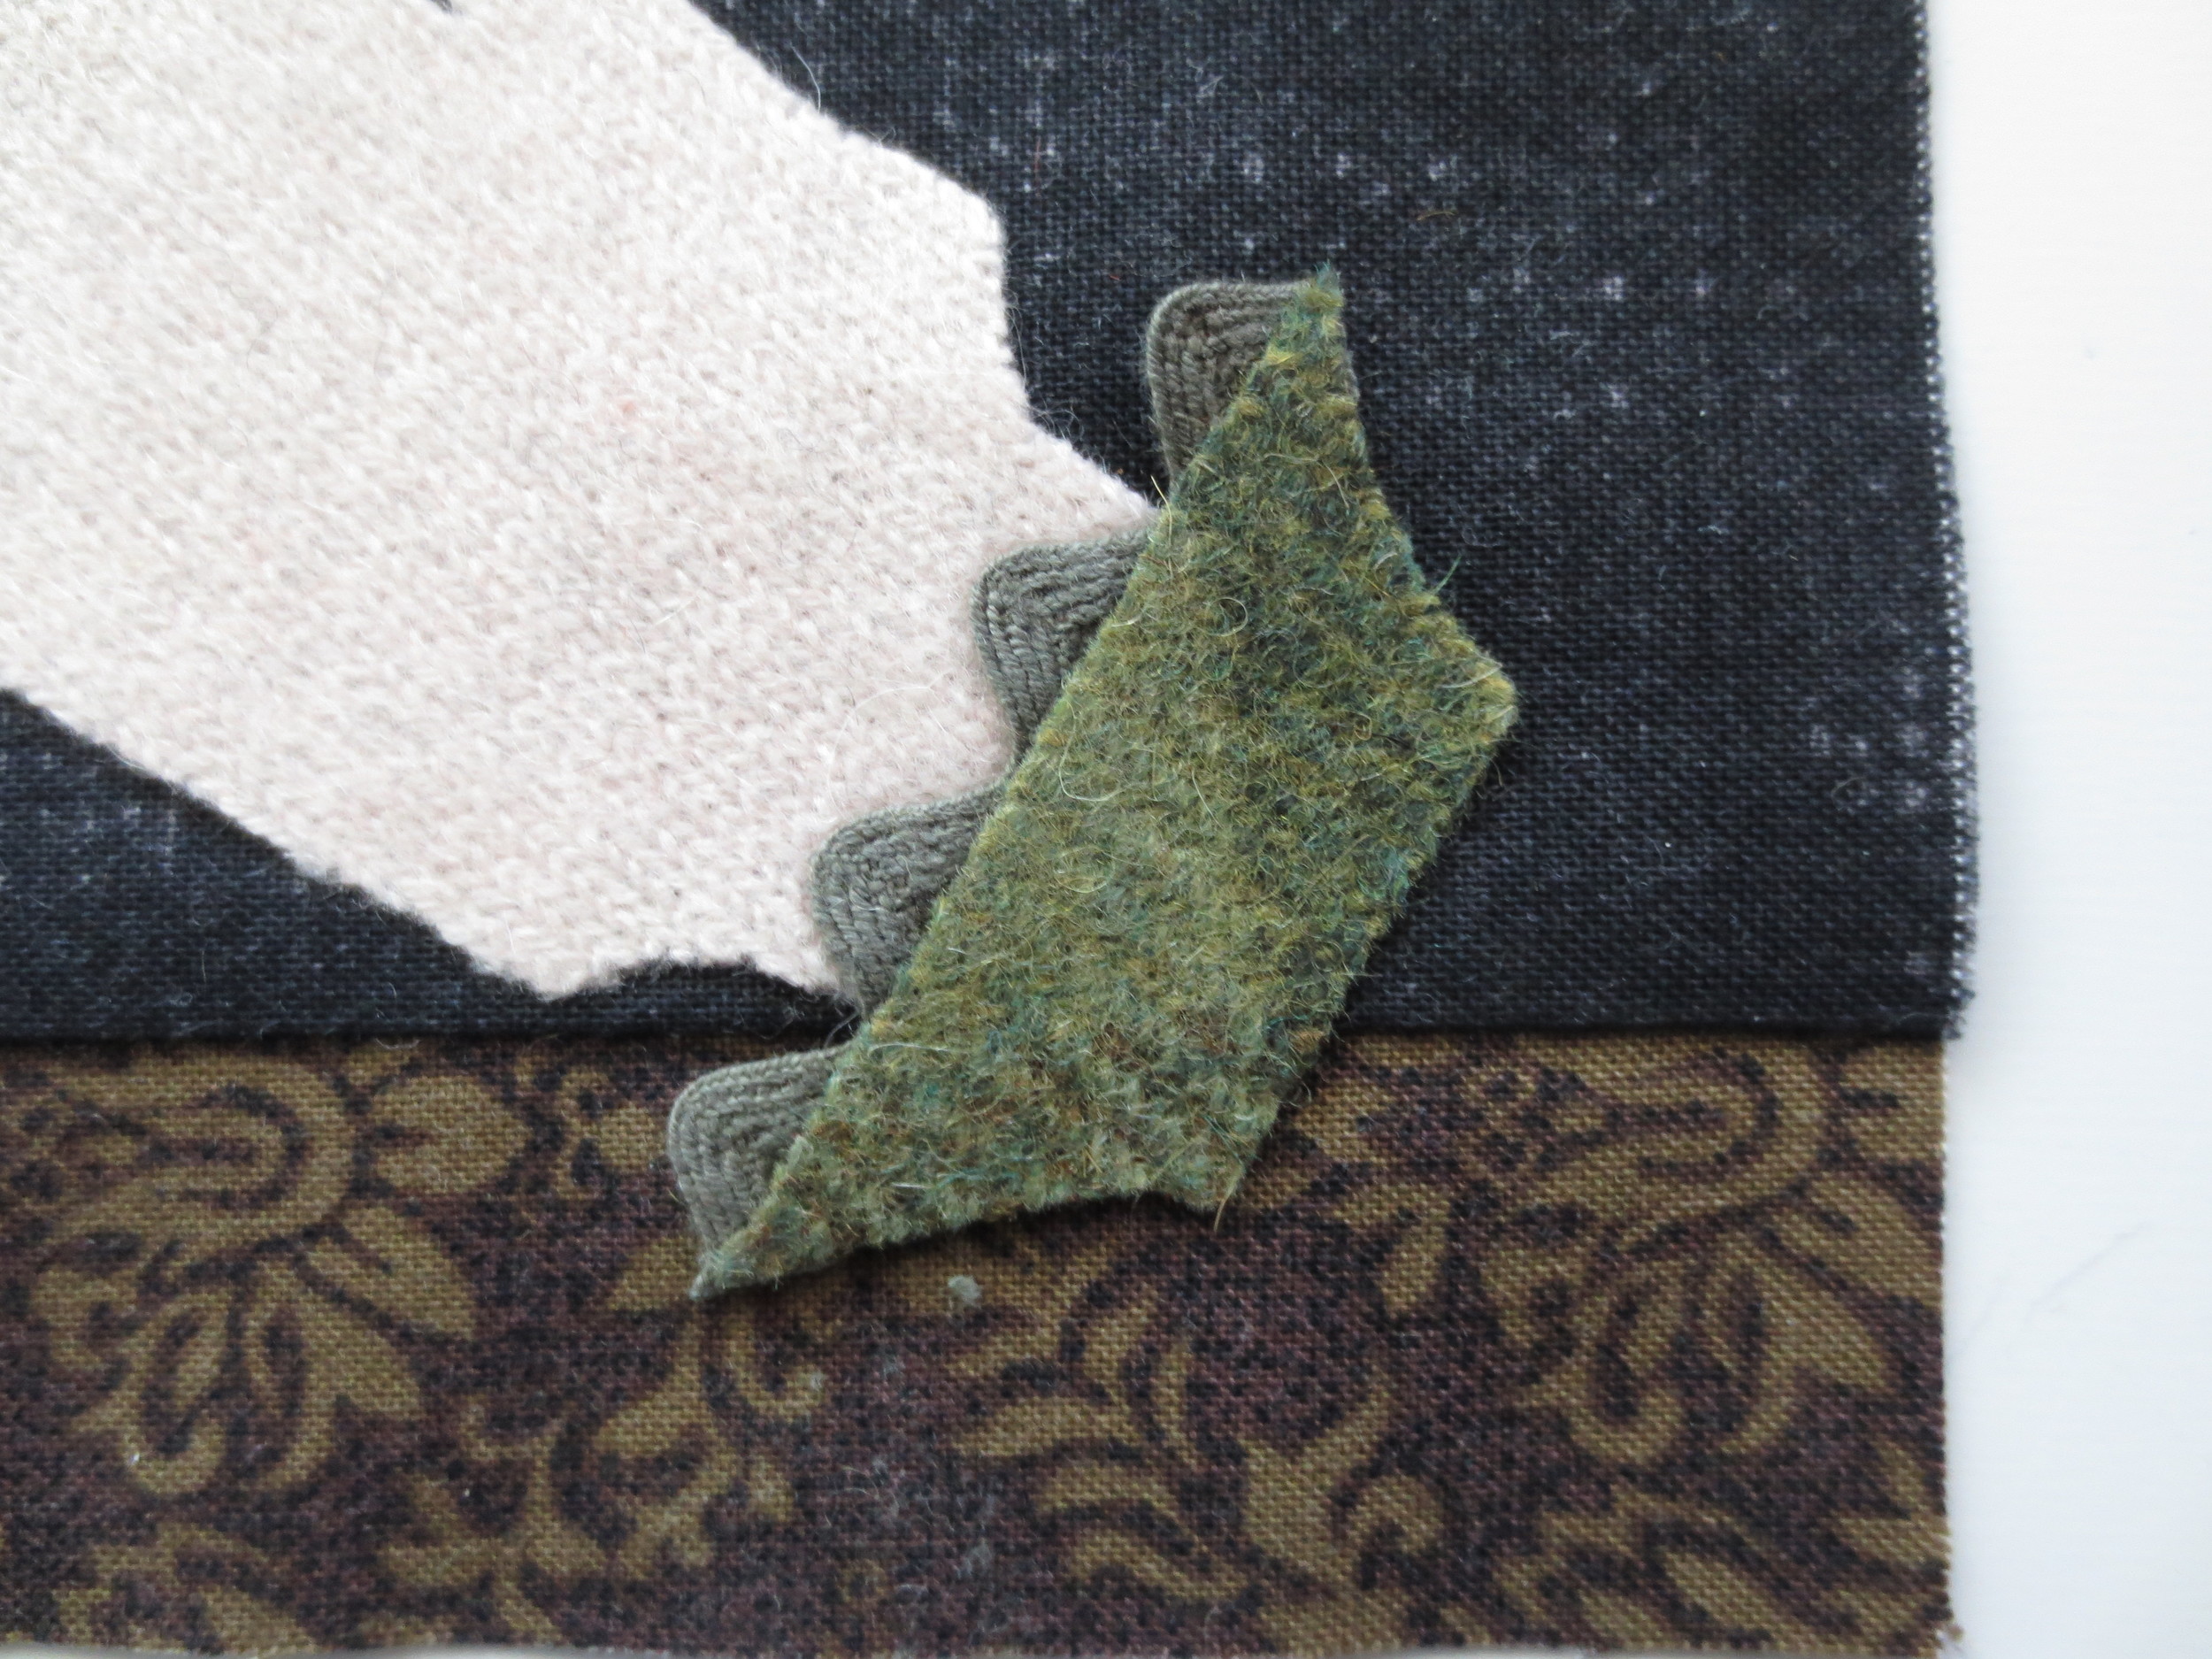
- Stitch a single French knot in the center of each rick rack hump using #O178.
- Whip stitch rick rack and cuff with #O575.
- Whip stitch hand with #O178.
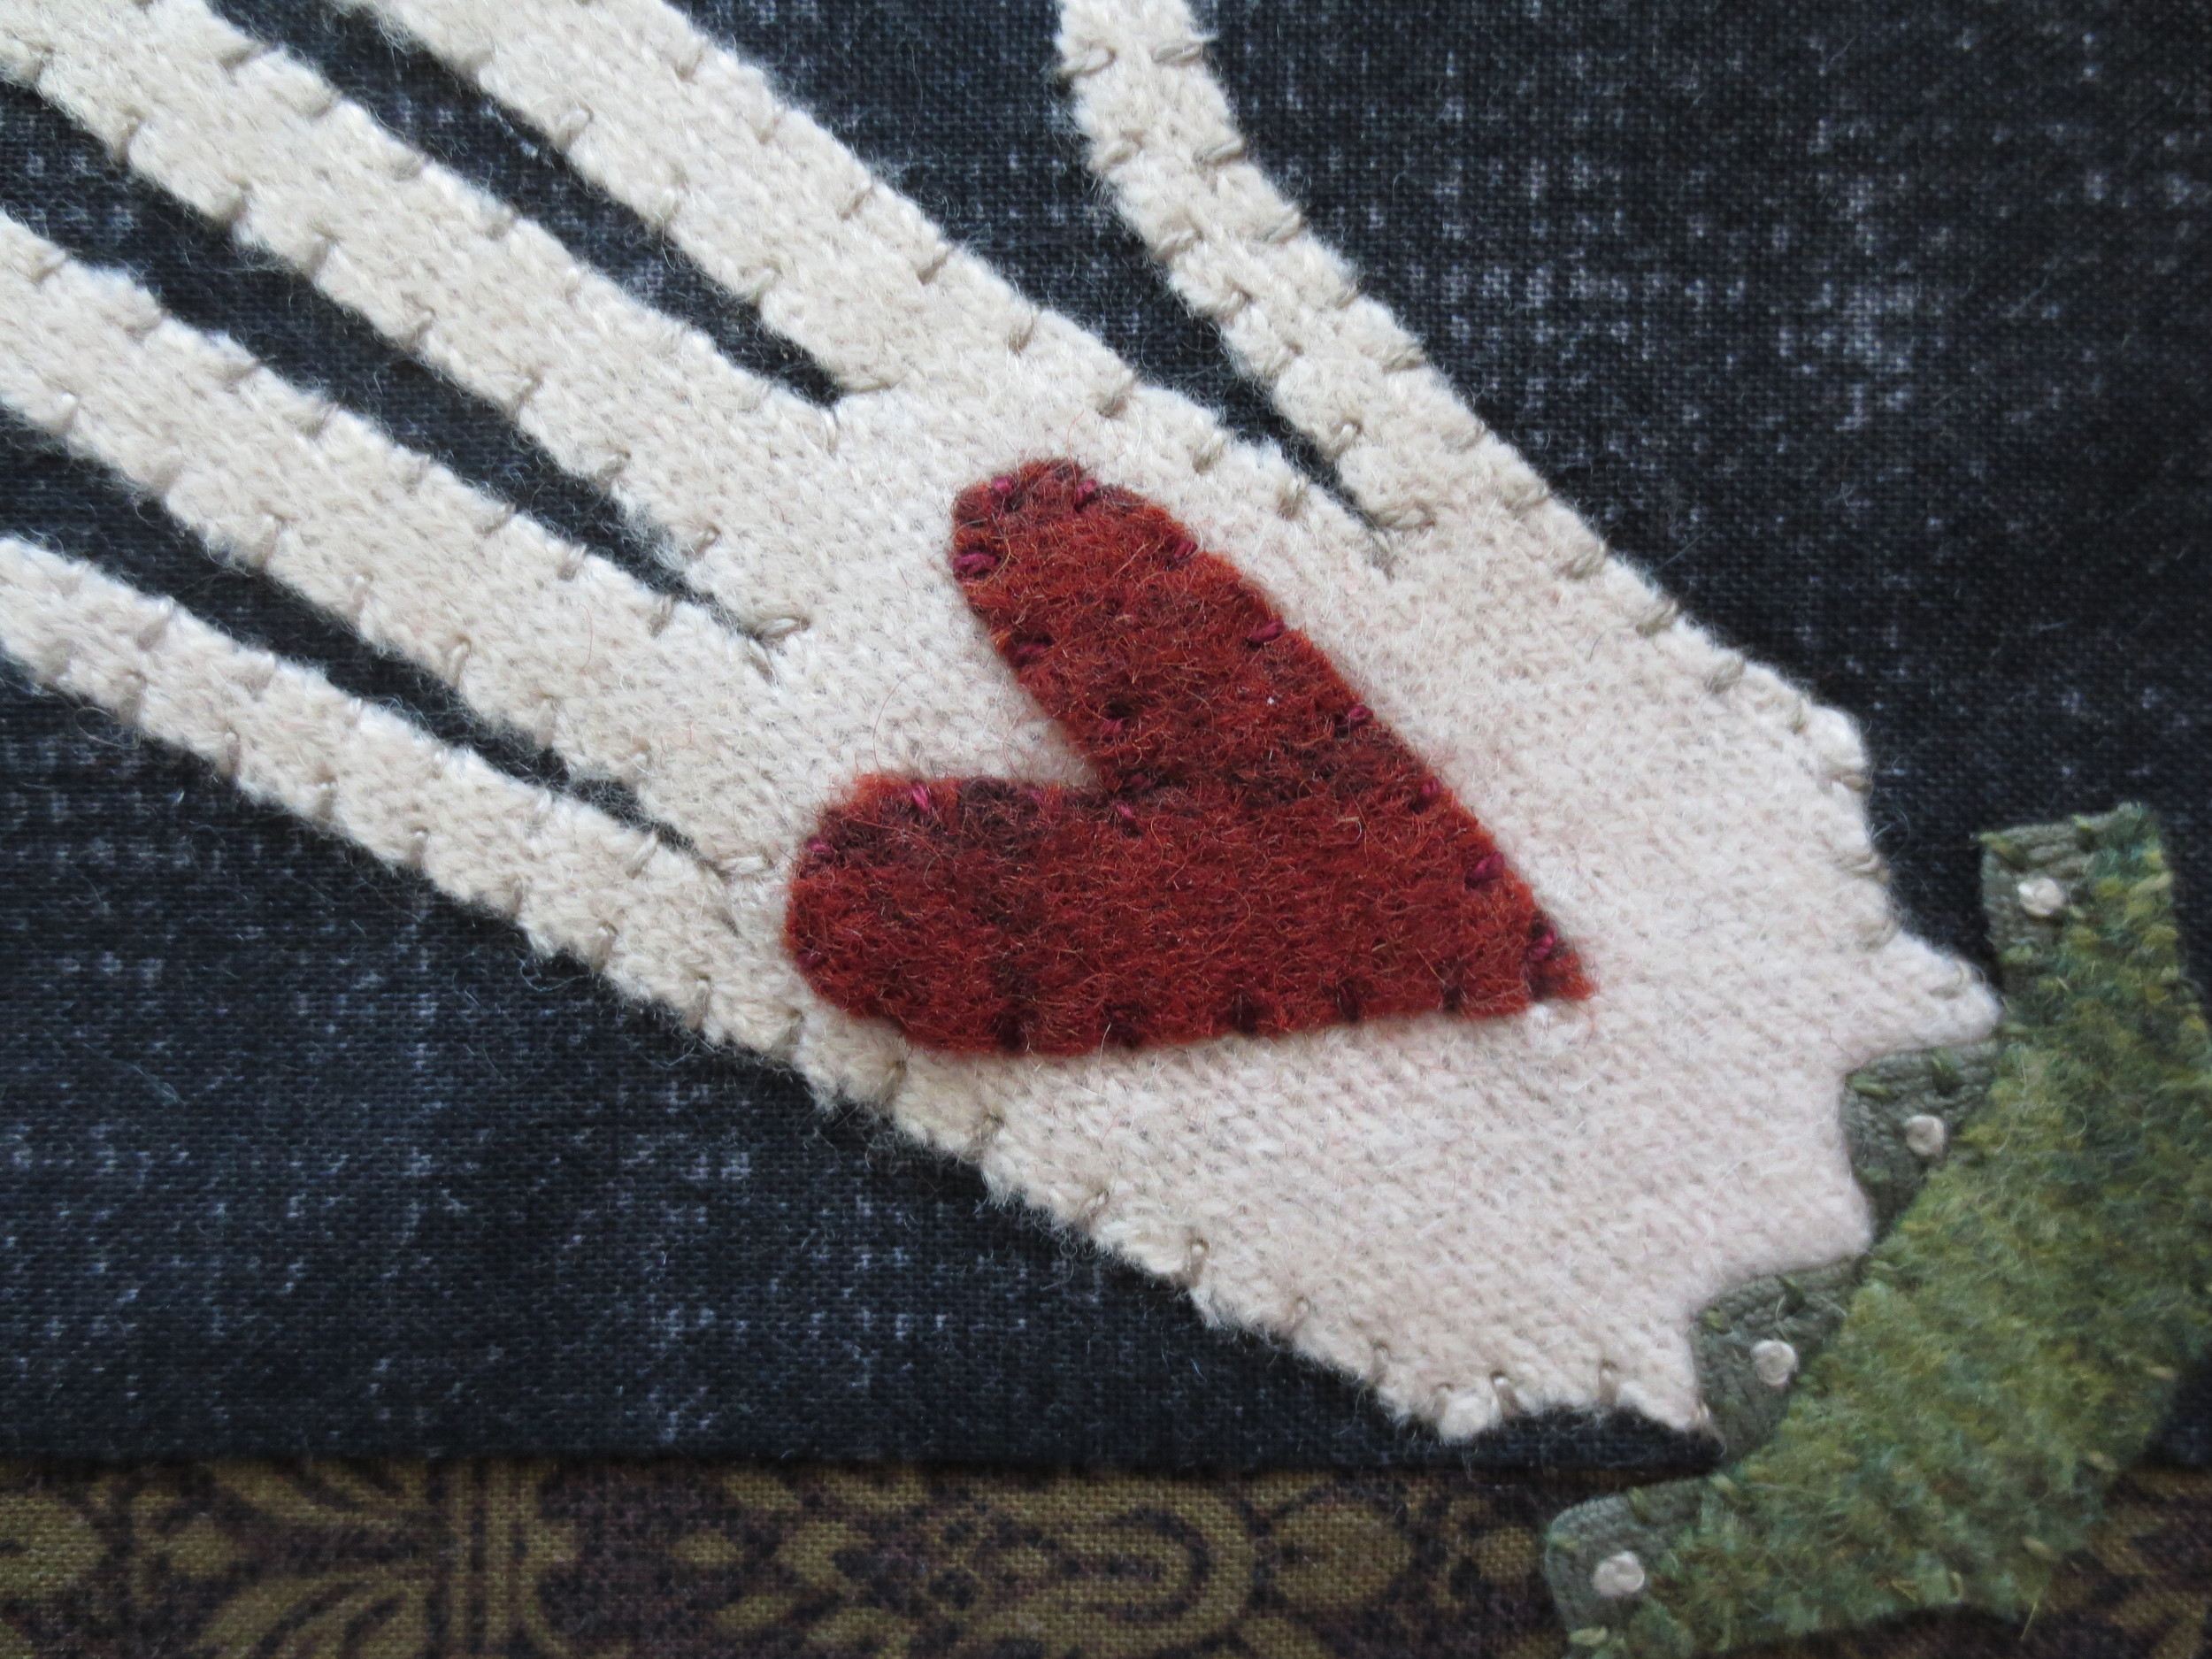
- Position the heart on the hand and fuse with steam.
- Whip stitch heart with #O503.
- Set aside for final assembly.
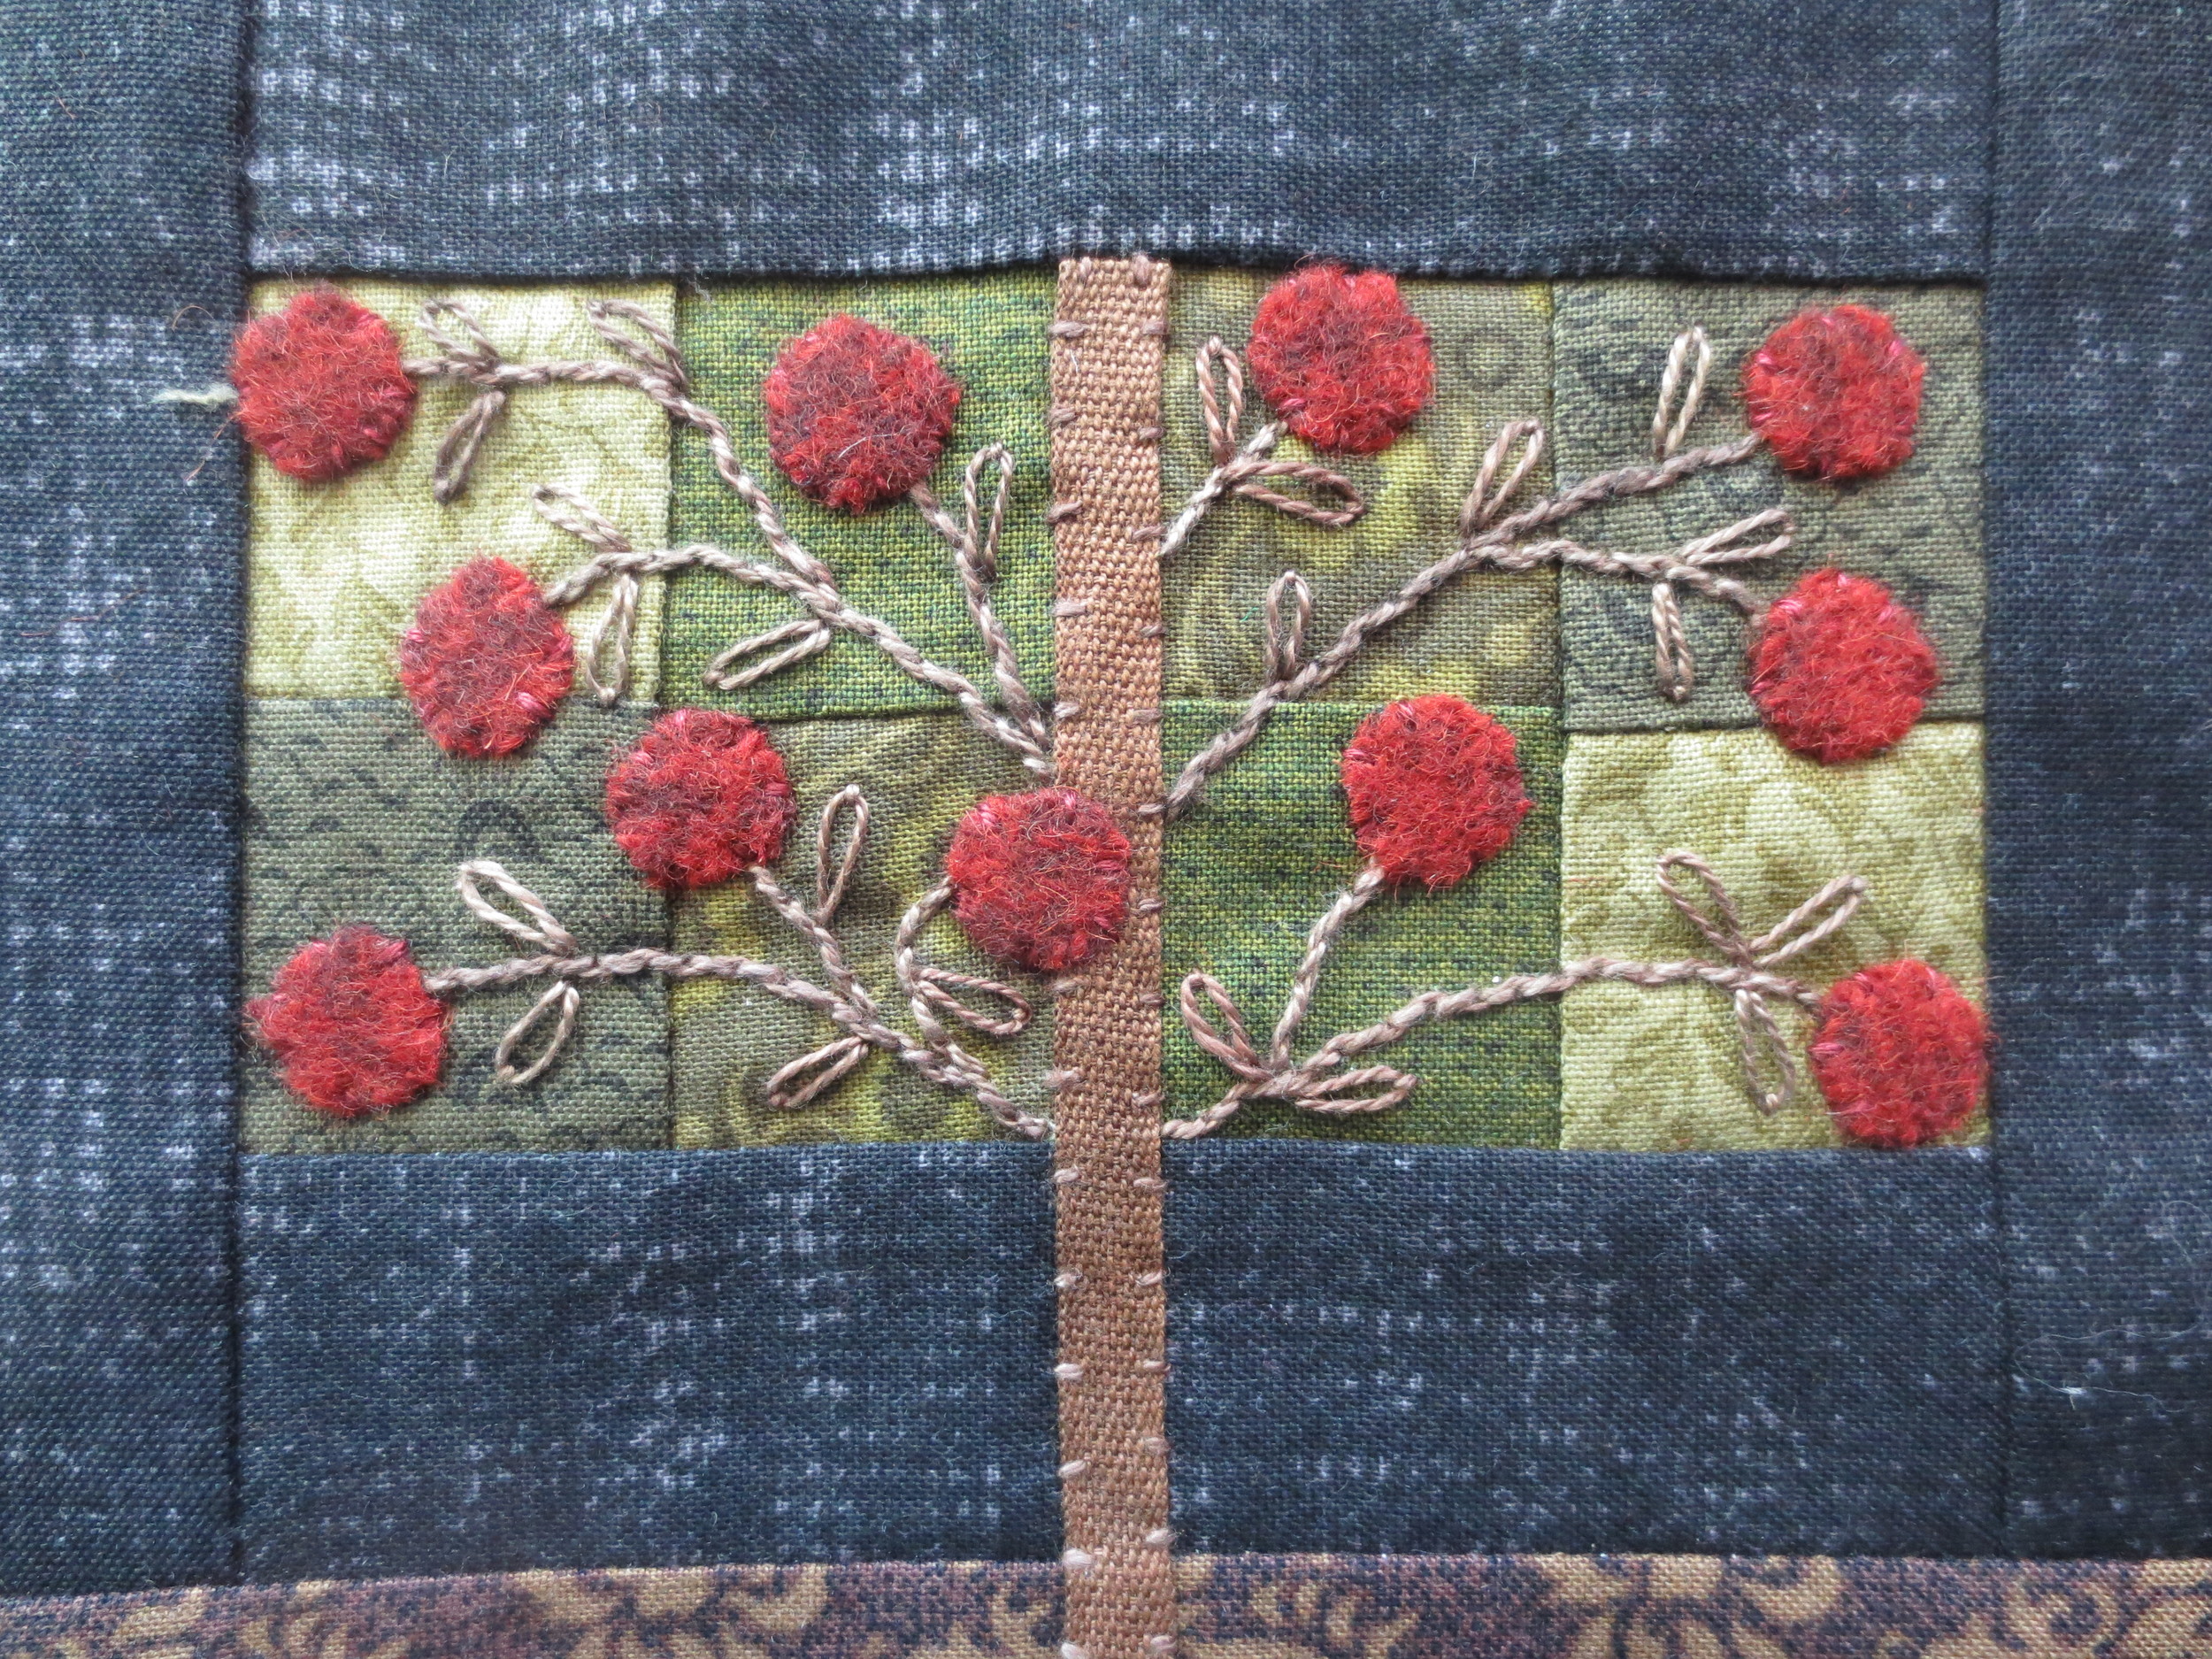
- Back
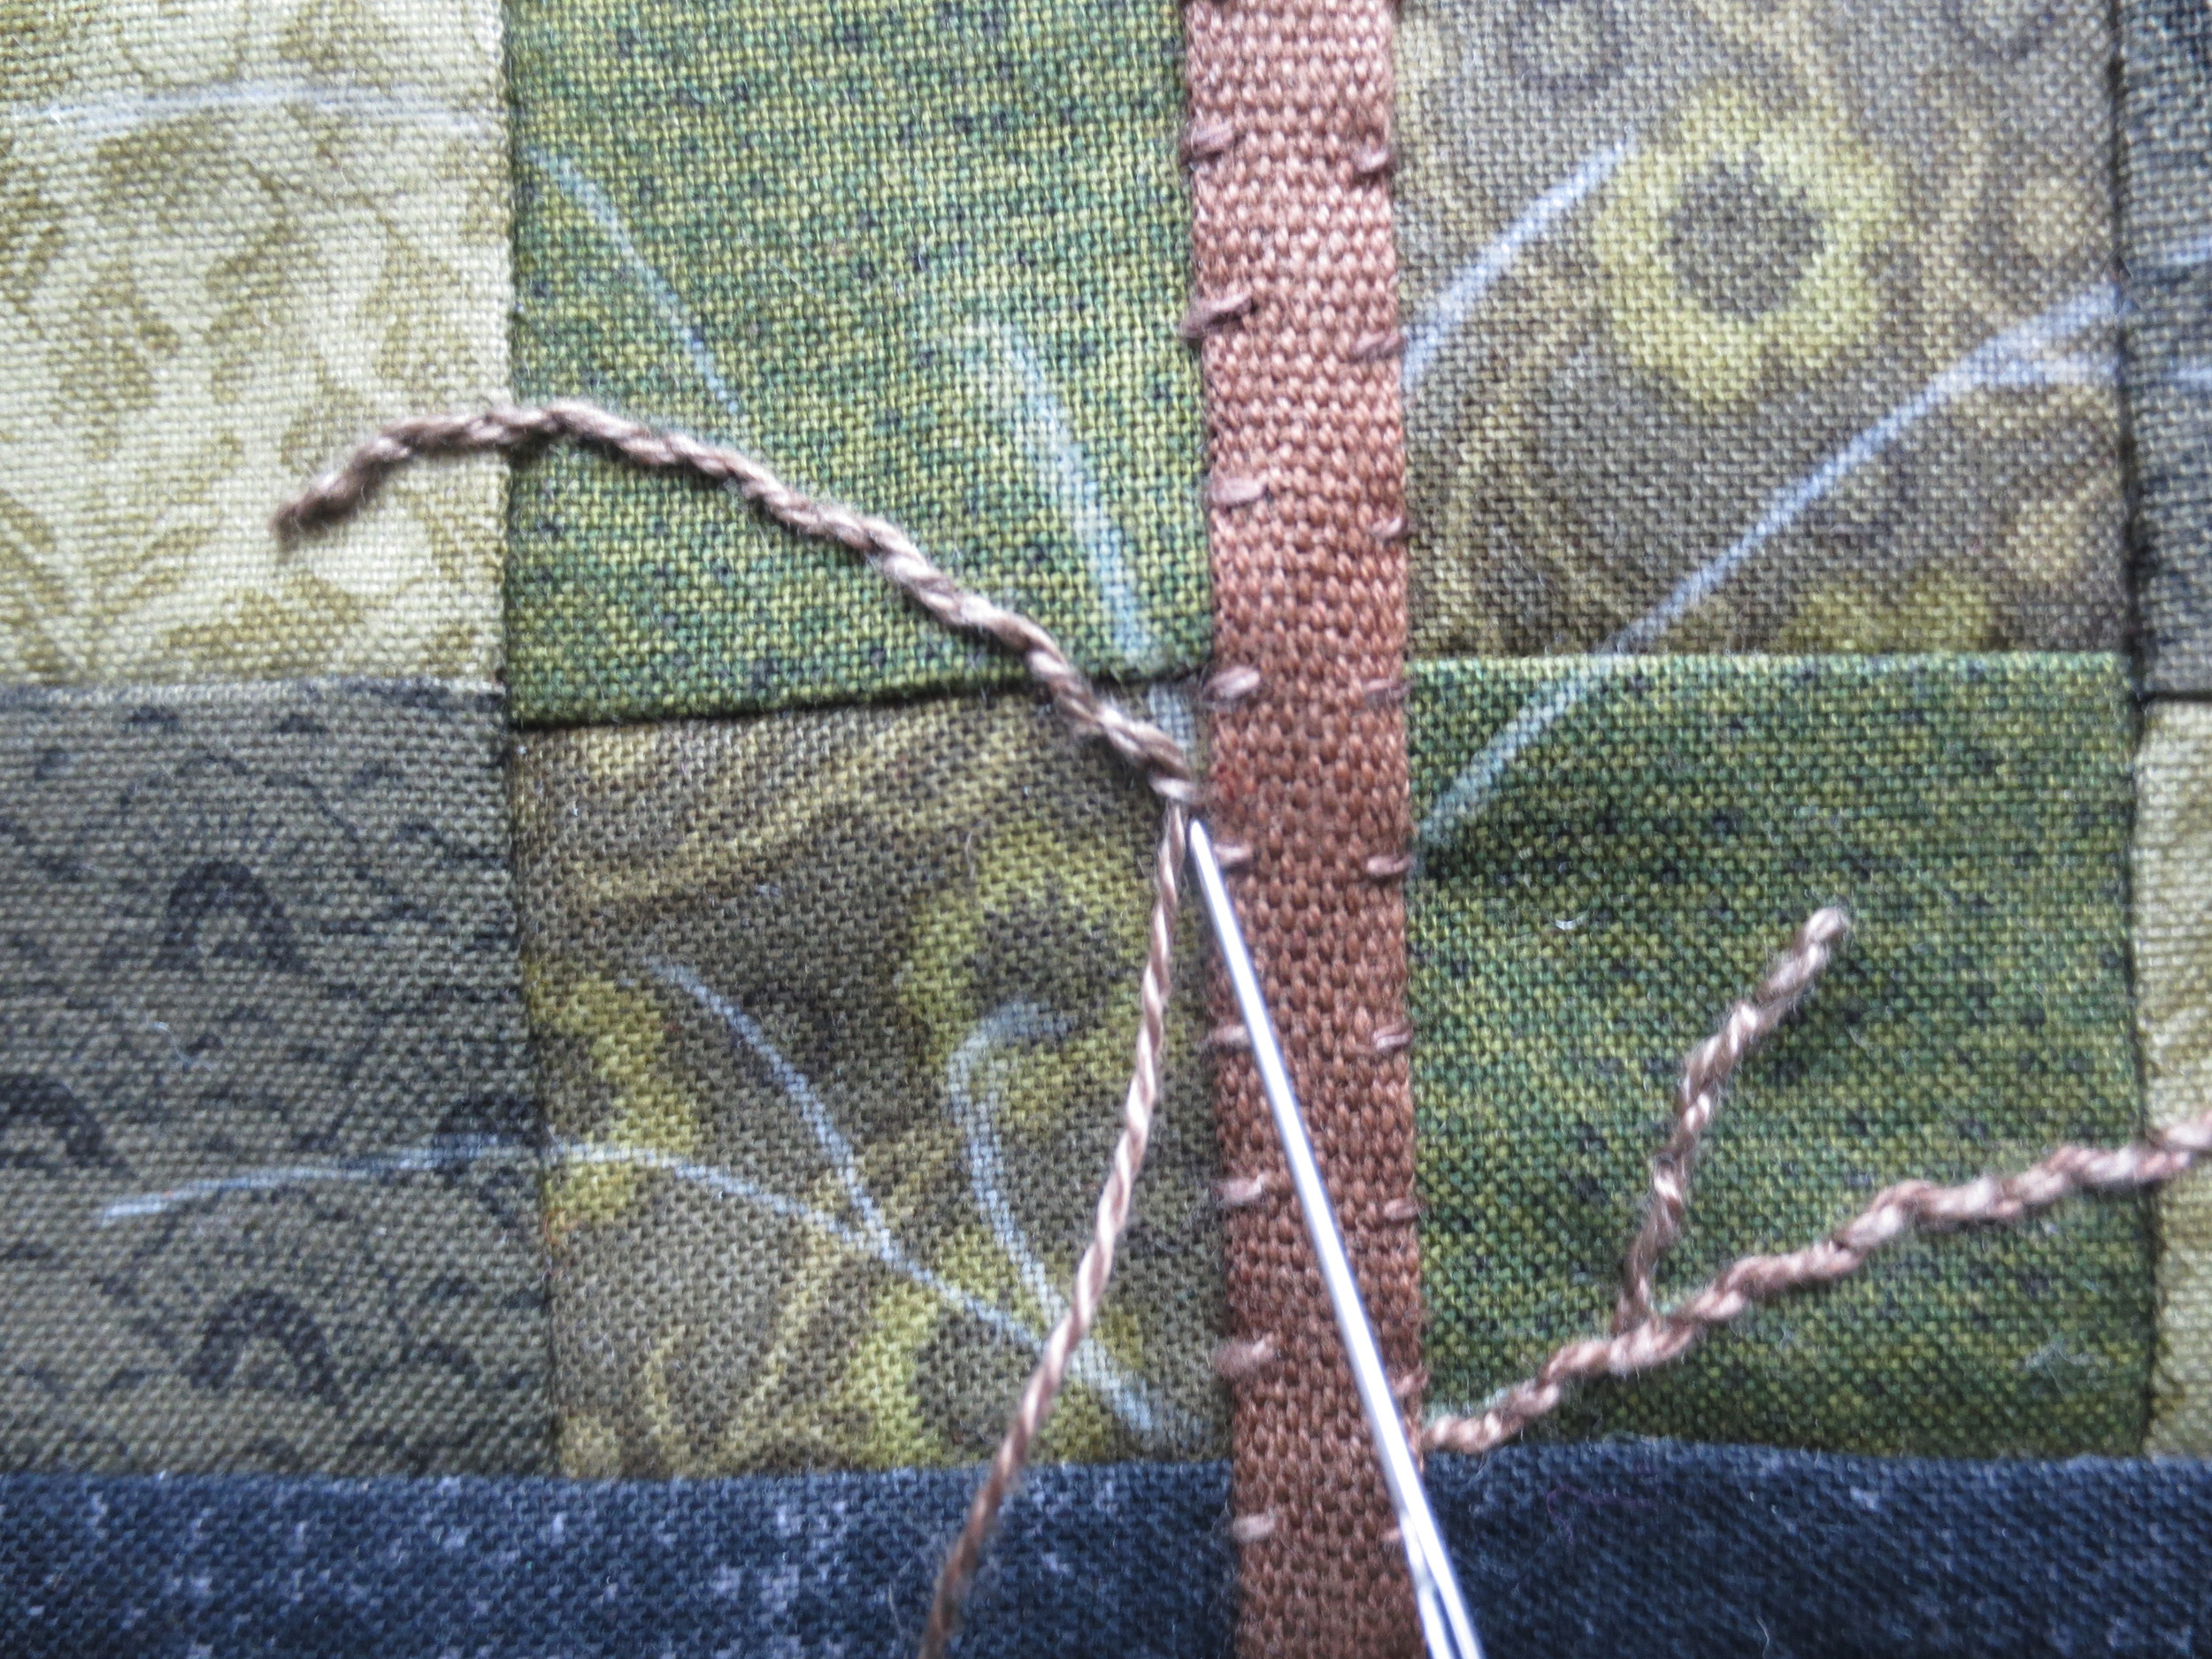
- Trim ribbon tree trunk to 4". Fold under ends approximately 1/4" and pin in place using the layout as your guide for placement.
- Whip stitch the ribbon with #O518.
- Draw tree branches with a chalk pencil using the layout as a guide.
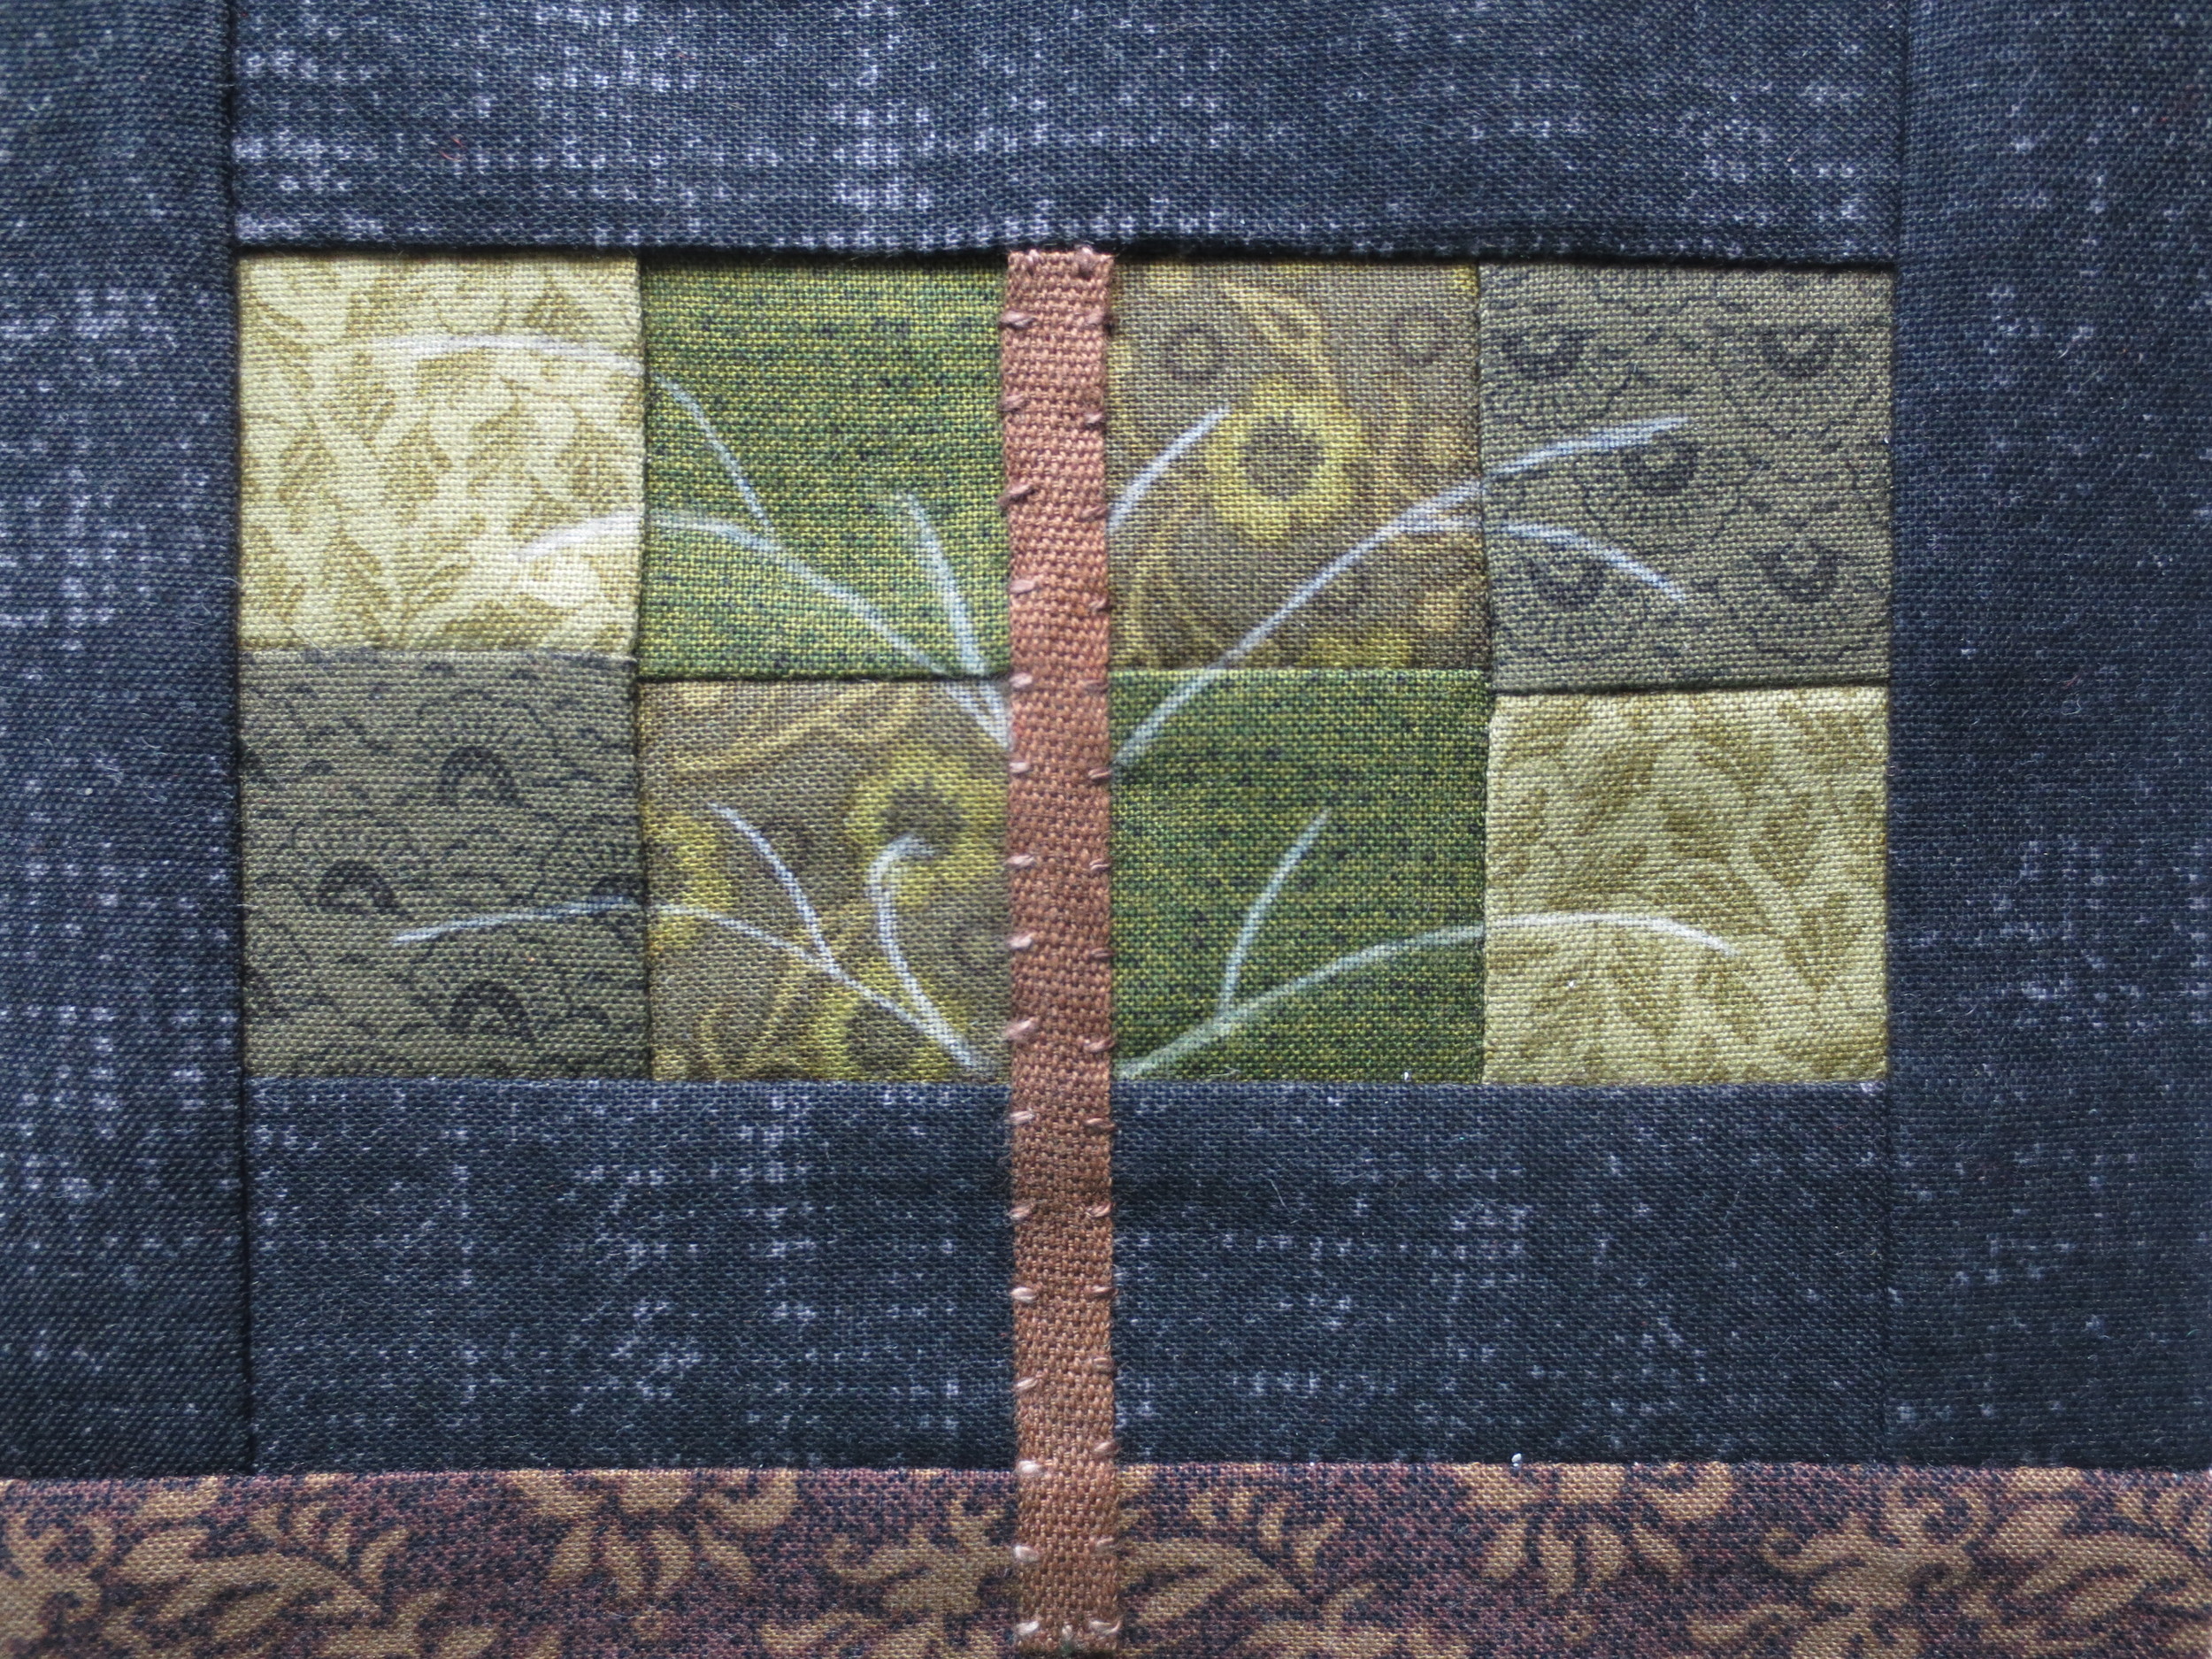
- The stitch used for the tree branches is called a Threaded Backstitch. Begin by using #O518 to backstitch over the lines. The stitches are slightly shorter than 1/8" in length.
- Using the same thread, come up slightly past your last stitch, pulling your thread through to the top. Thread your needle through the backstitches alternating sides. Finish by inserting the needle underneath the center of the last back stitch and pulling your thread through to the back.
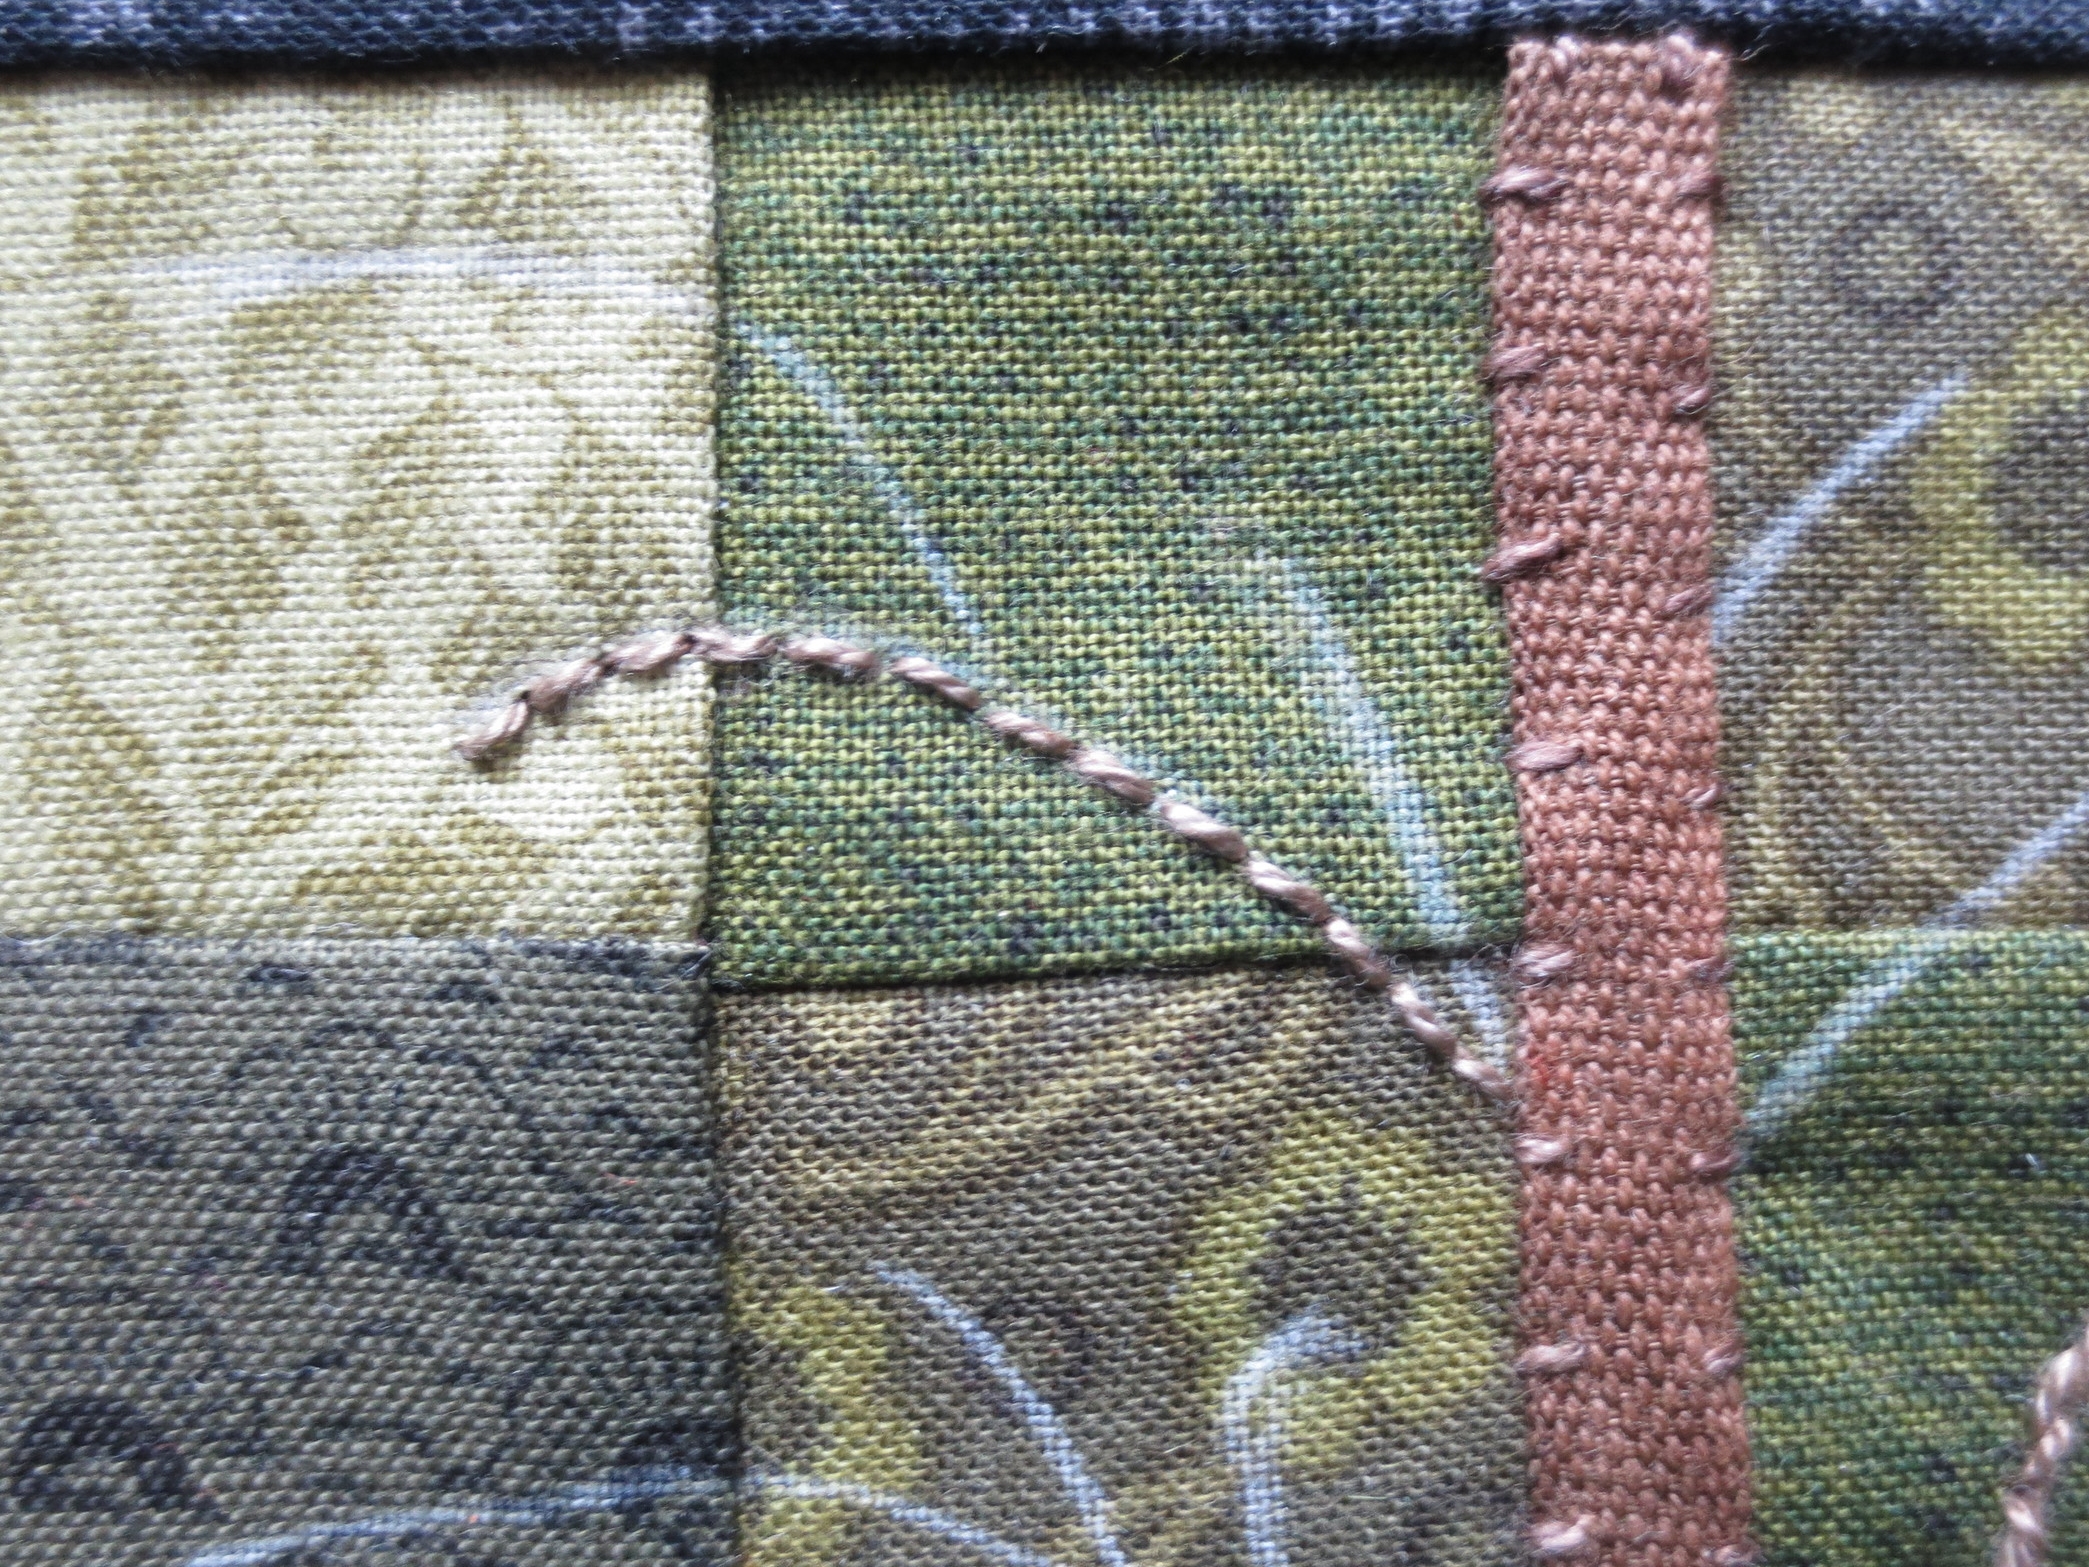
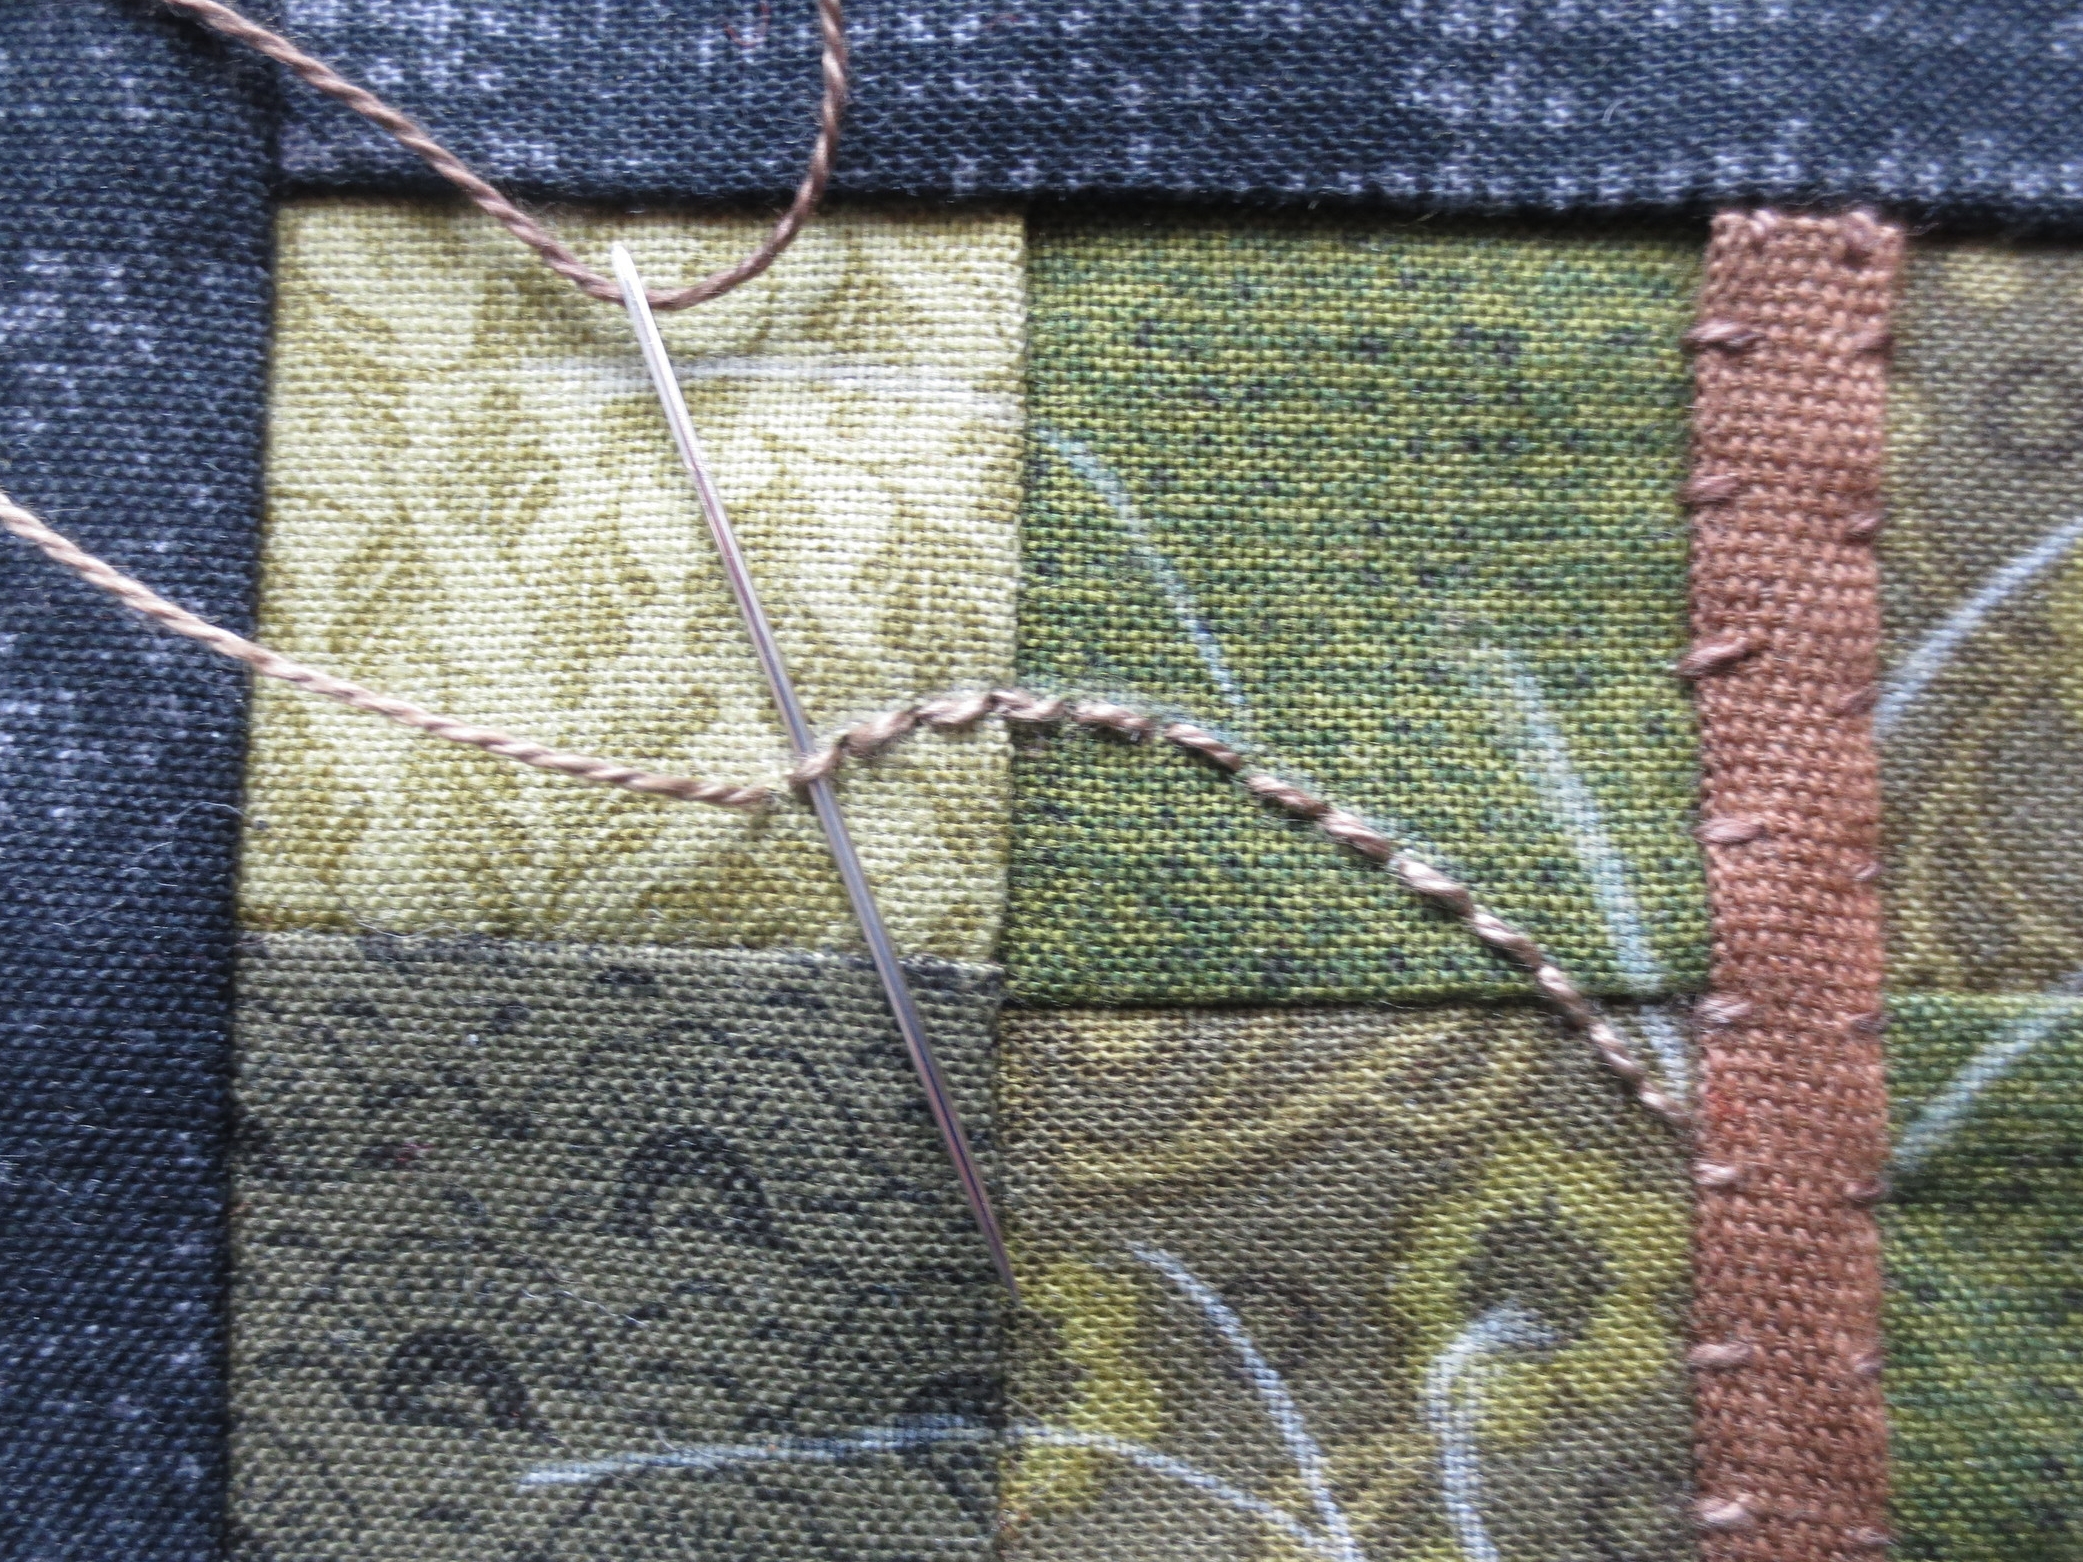
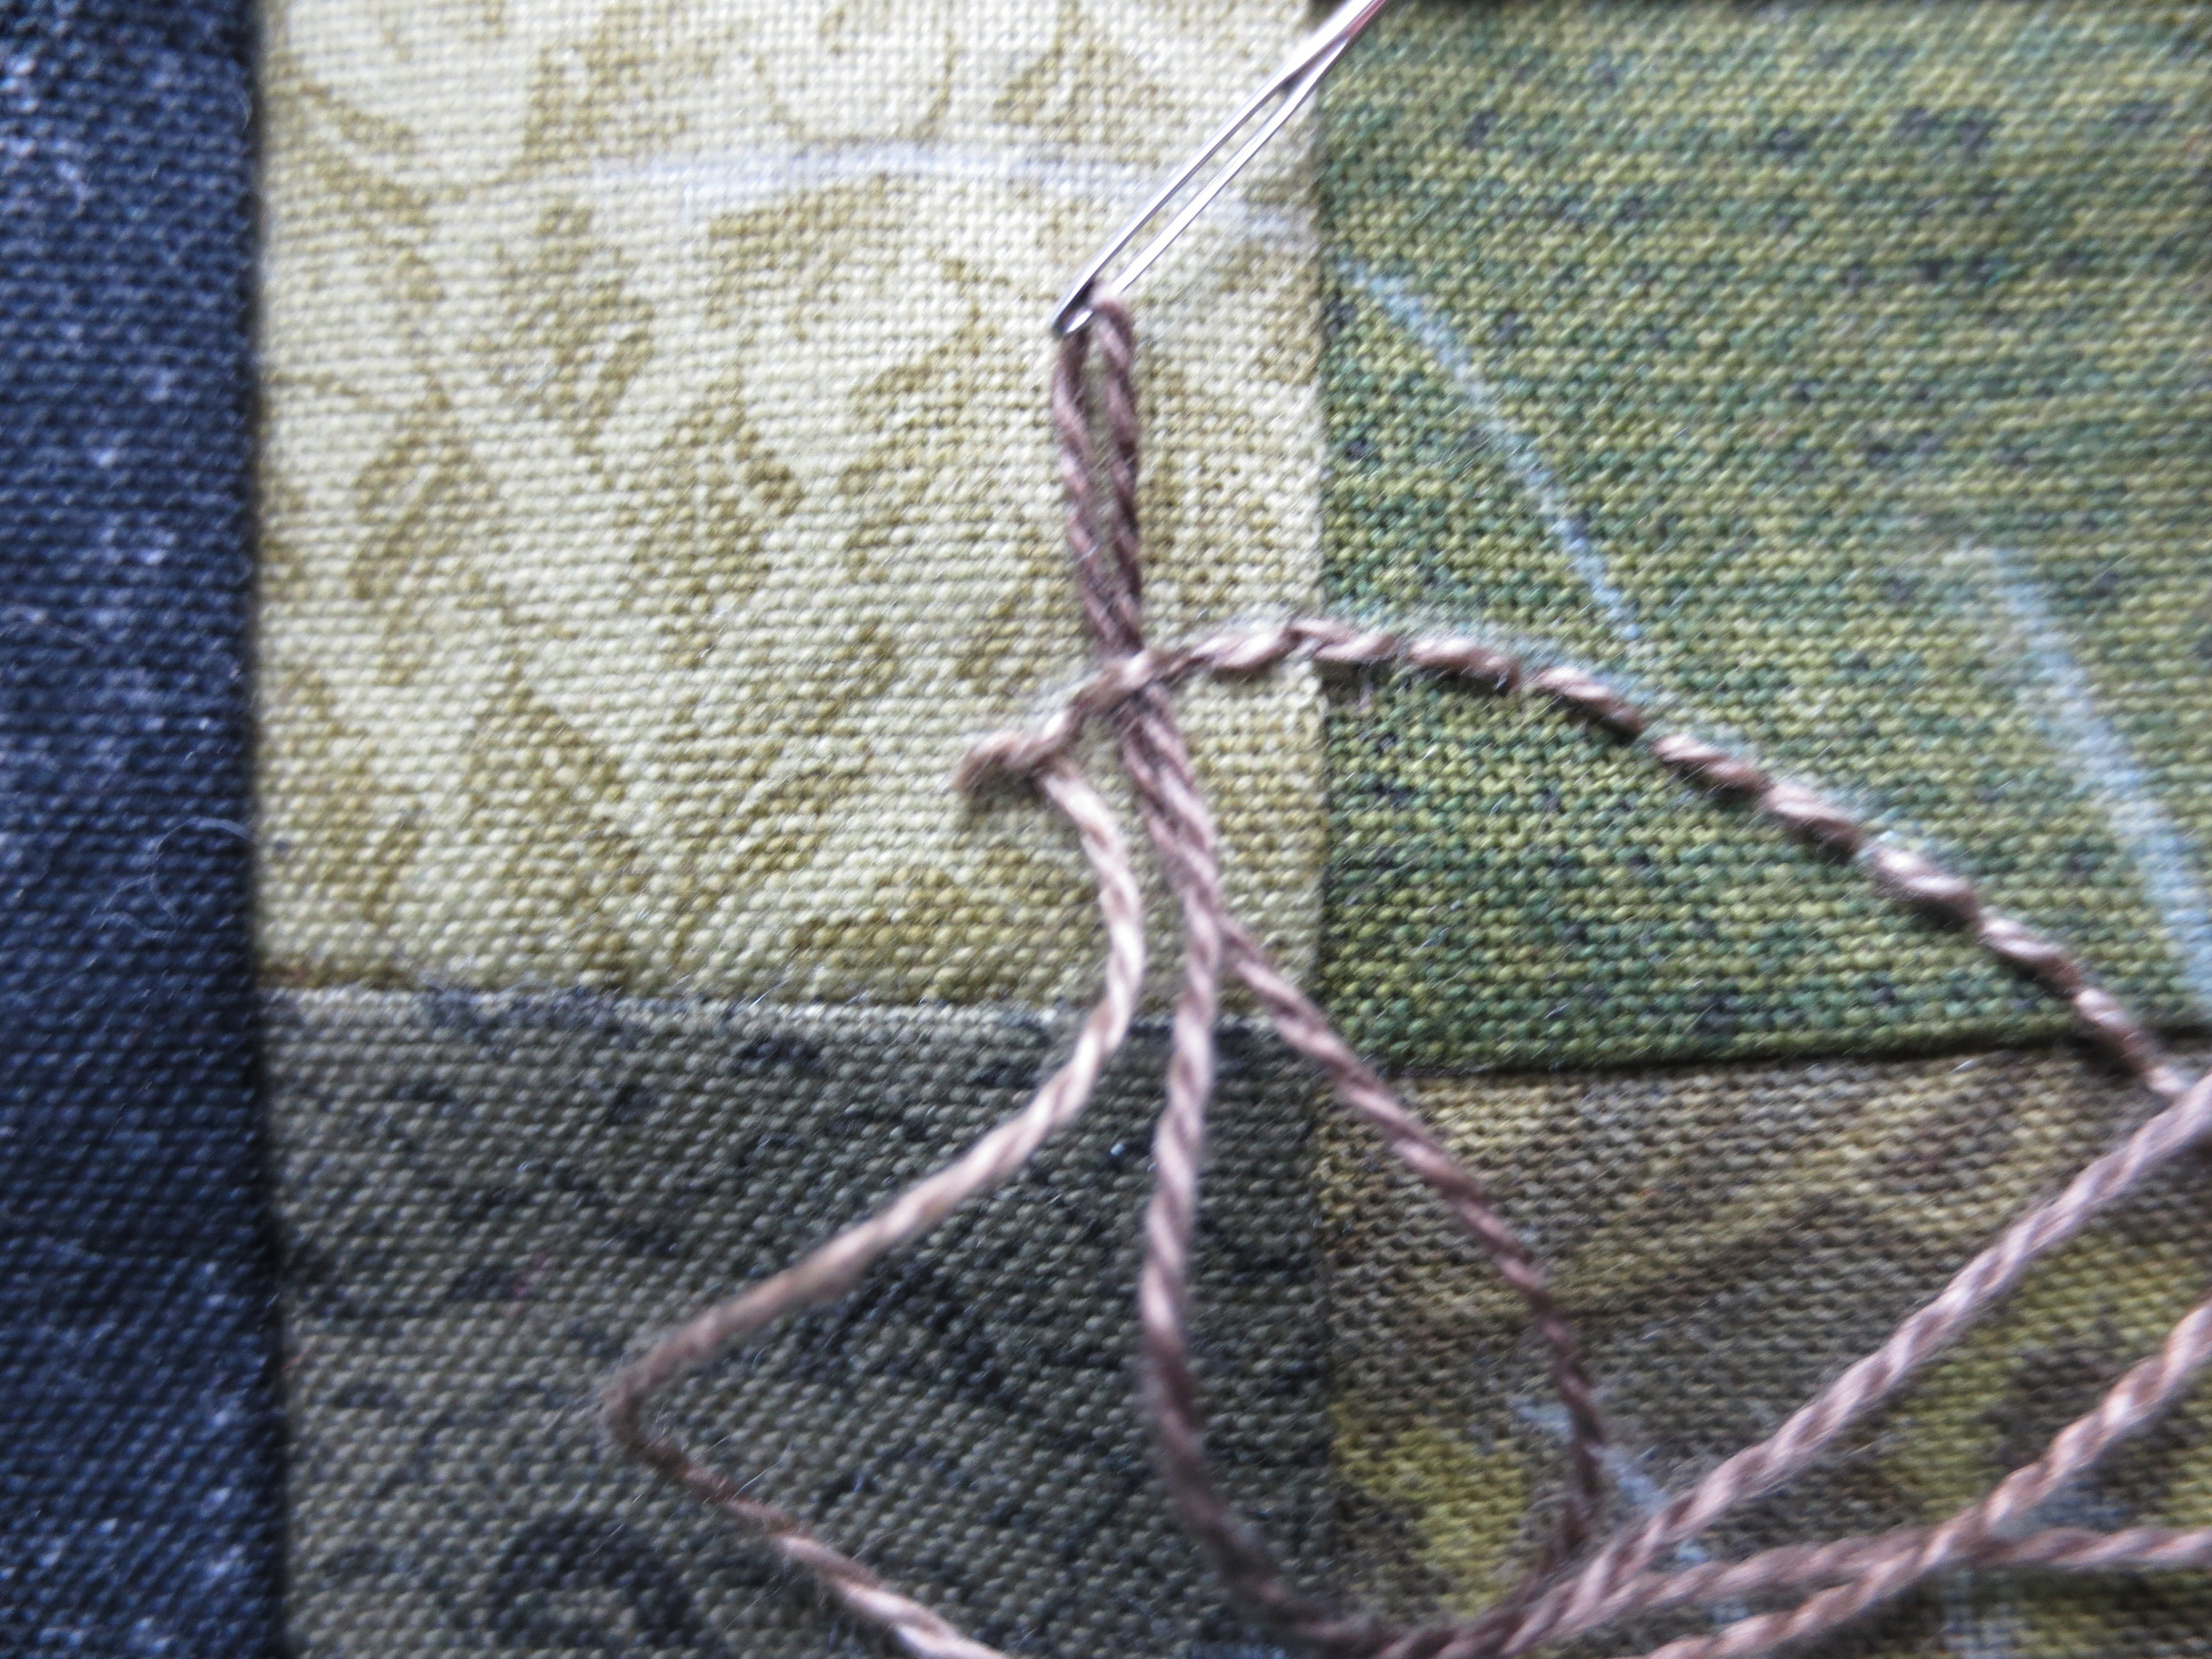
- Use this stitch for all the branches.

- Position fruit on branches using the layout as your guide.
- Fuse in place using steam.
- Whip stitch using #O503.
- Use #O518 to make lazy daisy leaves on the branches. Use the layout for placement guidance.
5. Assembly
- Press pouch front and back.
- You may need to square up so that sizes match.
- Scroll down to the Basic Pouch Construction section of the blog post titled Wool Appliqued Pouch (4" x 5") - Flower Variation. Follow instructions to complete your pouch. Note: If you are using the zipper from Pinwheels.com you won't need to trim the zipper ends.
- Enjoy!