
Flowers From My Garden Block 4 - Part II
I really had fun with this block. It's a little bolder than the the previous three, but It works well with them. I can't wait to piece them together.
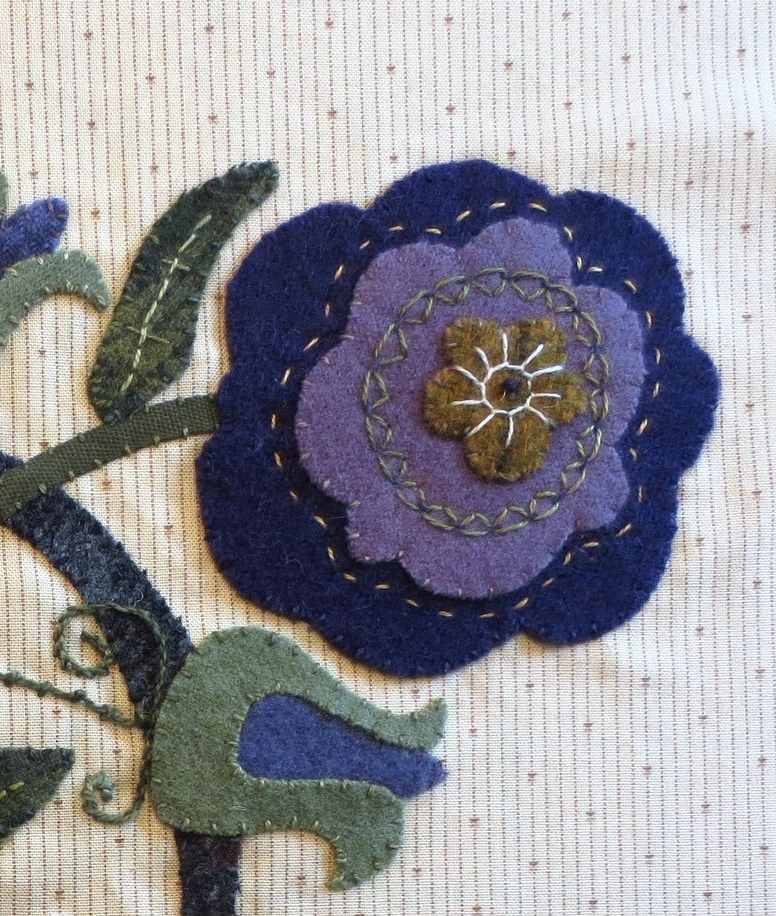
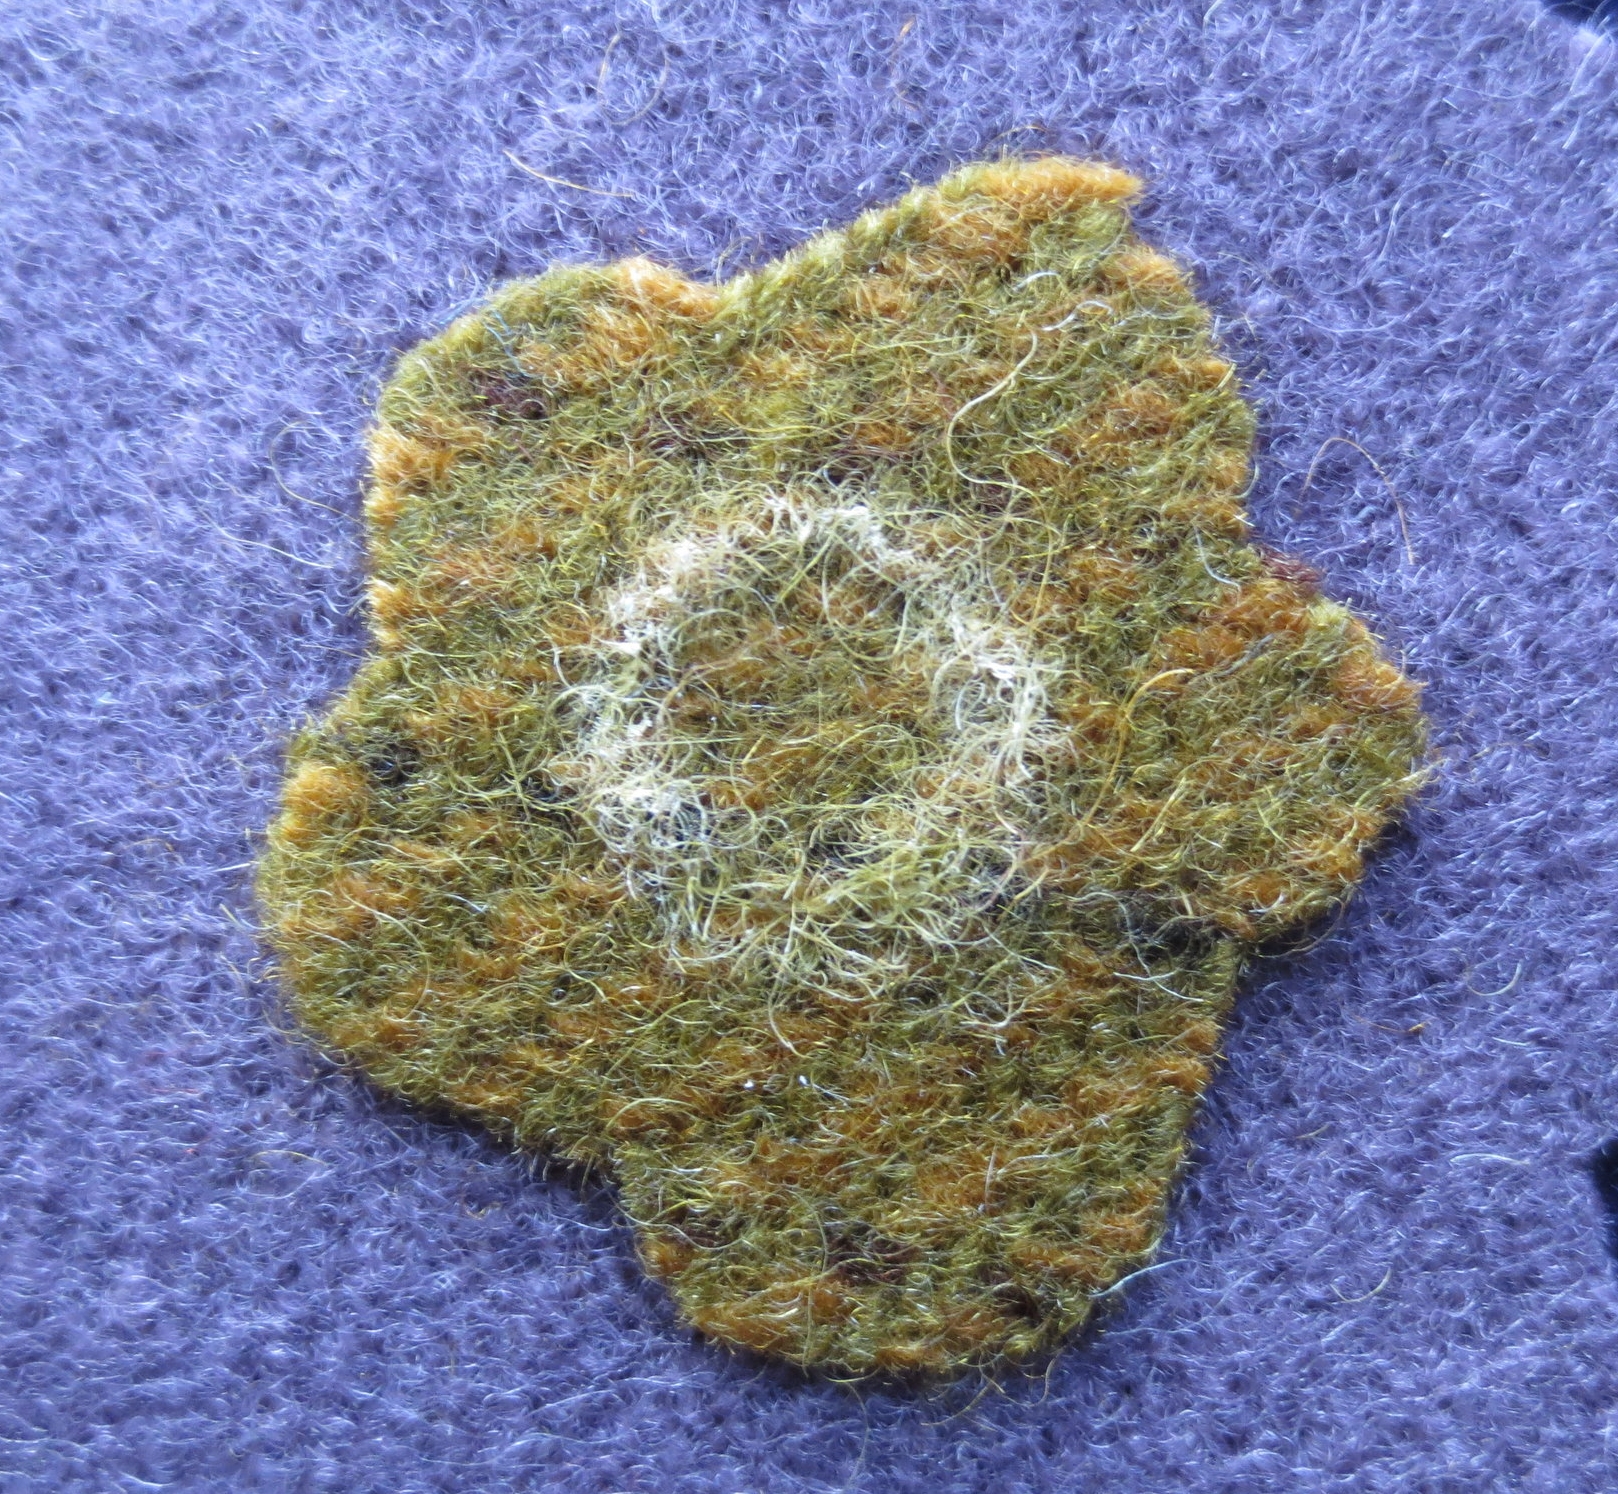
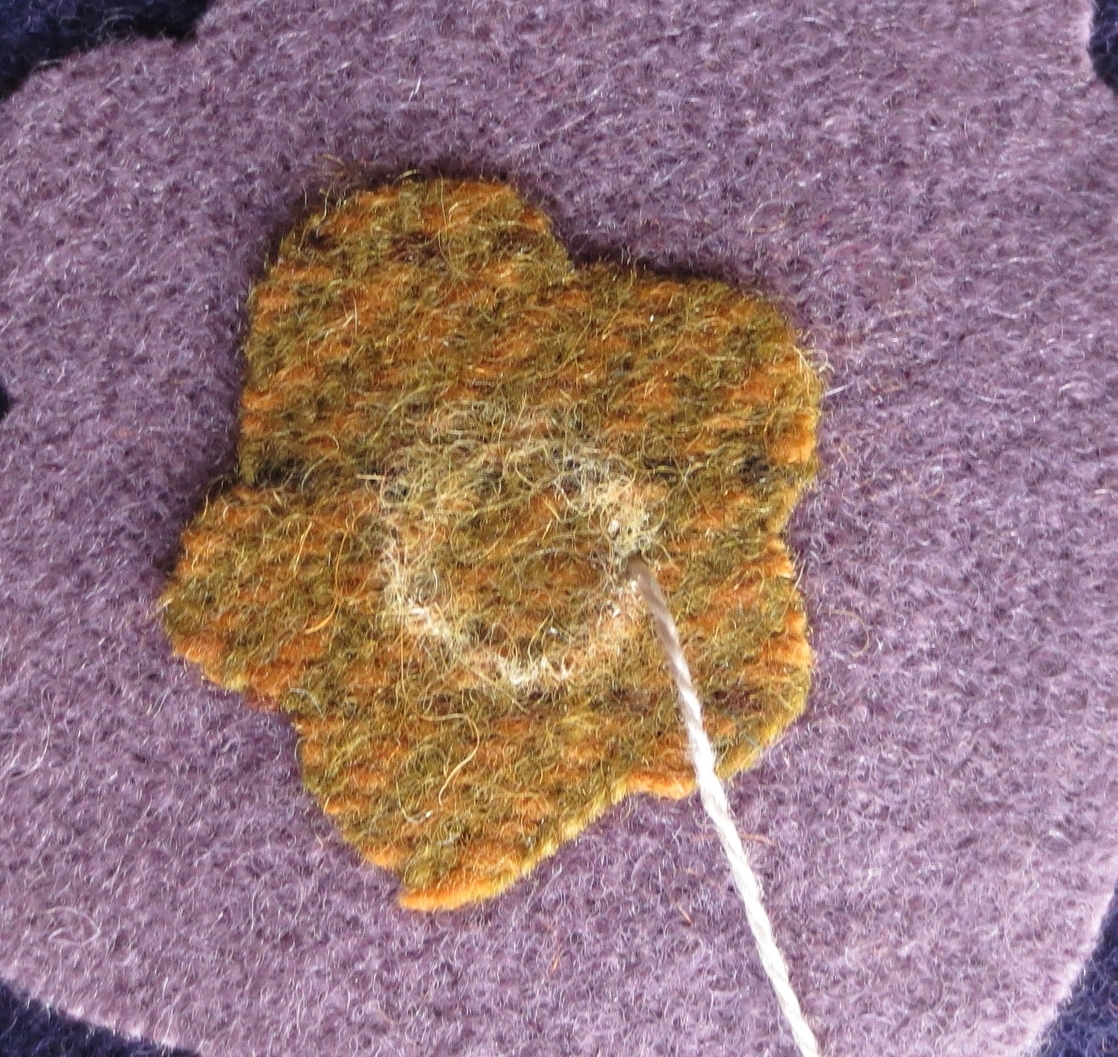
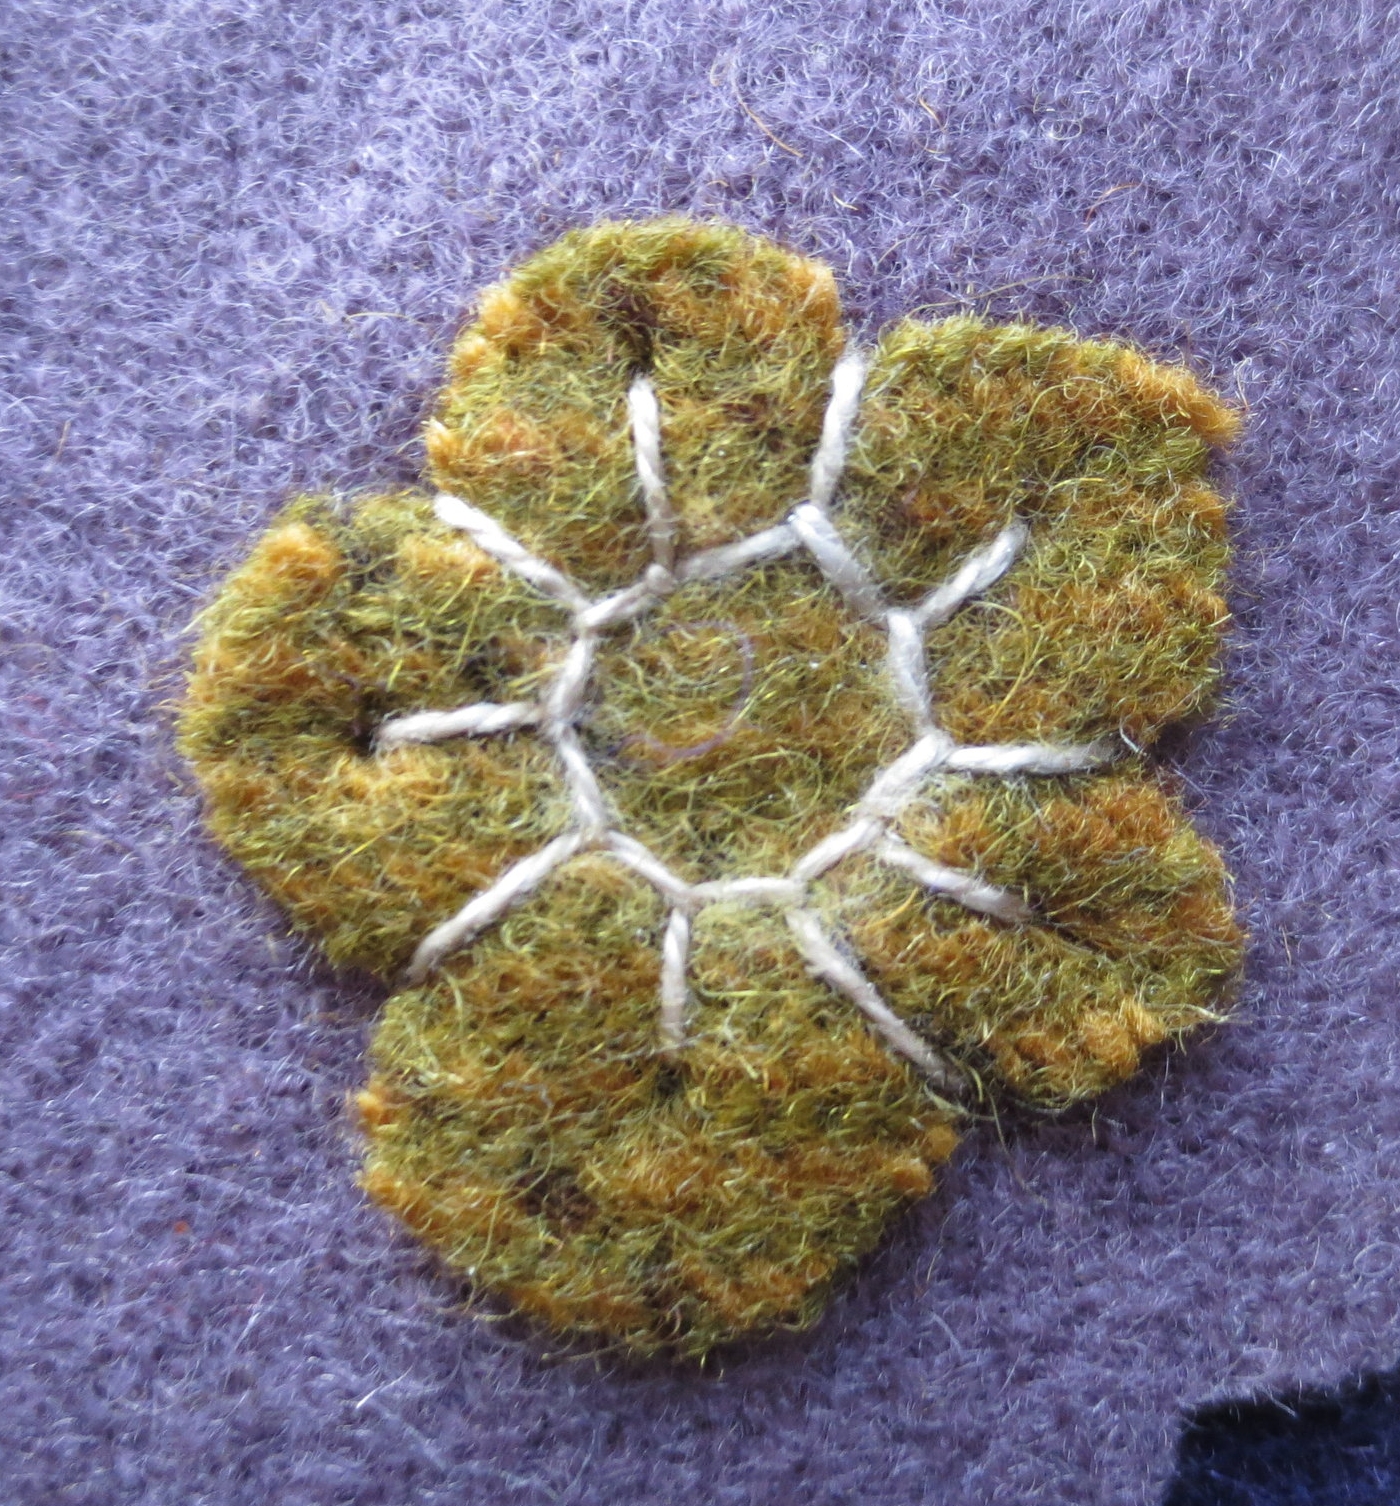
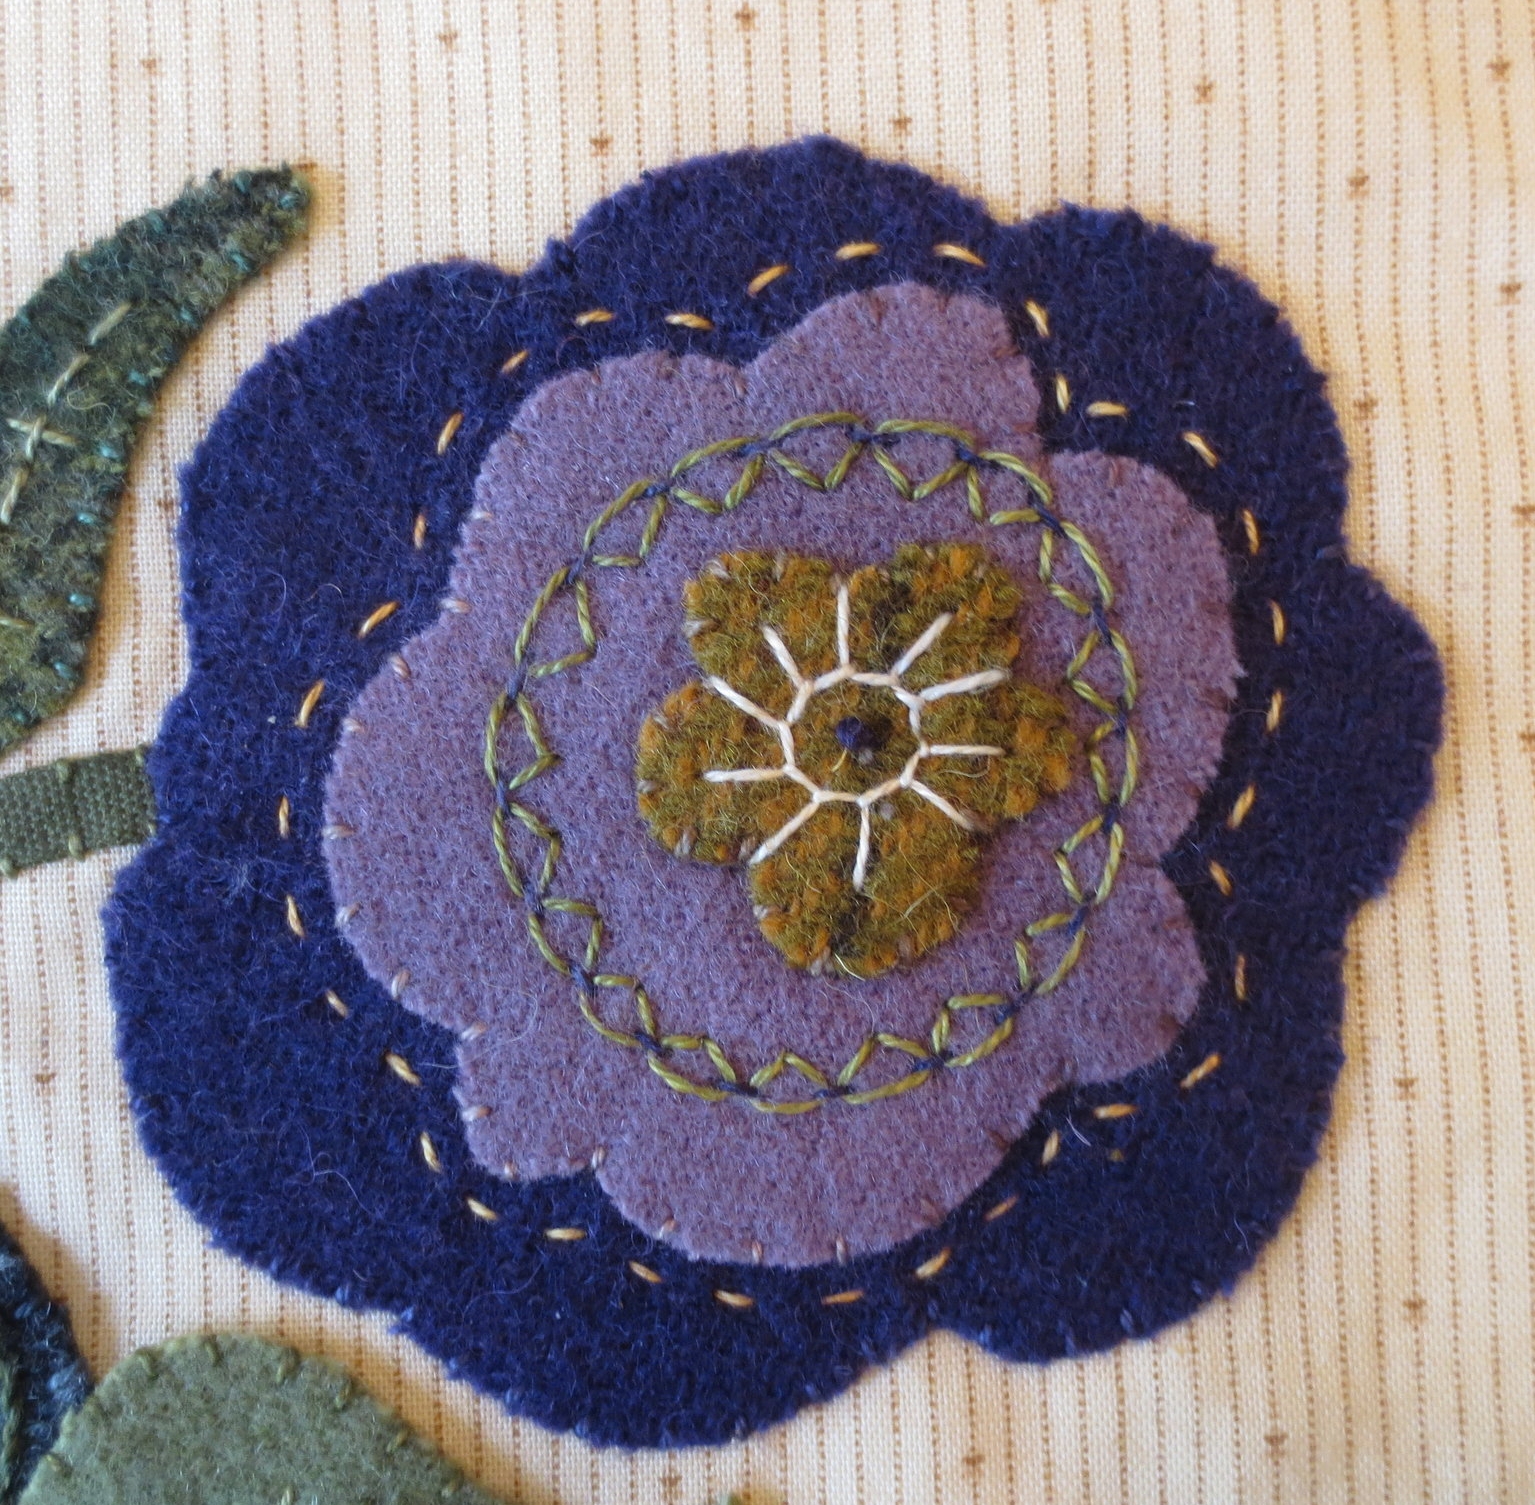
Let's begin with a buttonhole flower stitch on Flower #5.
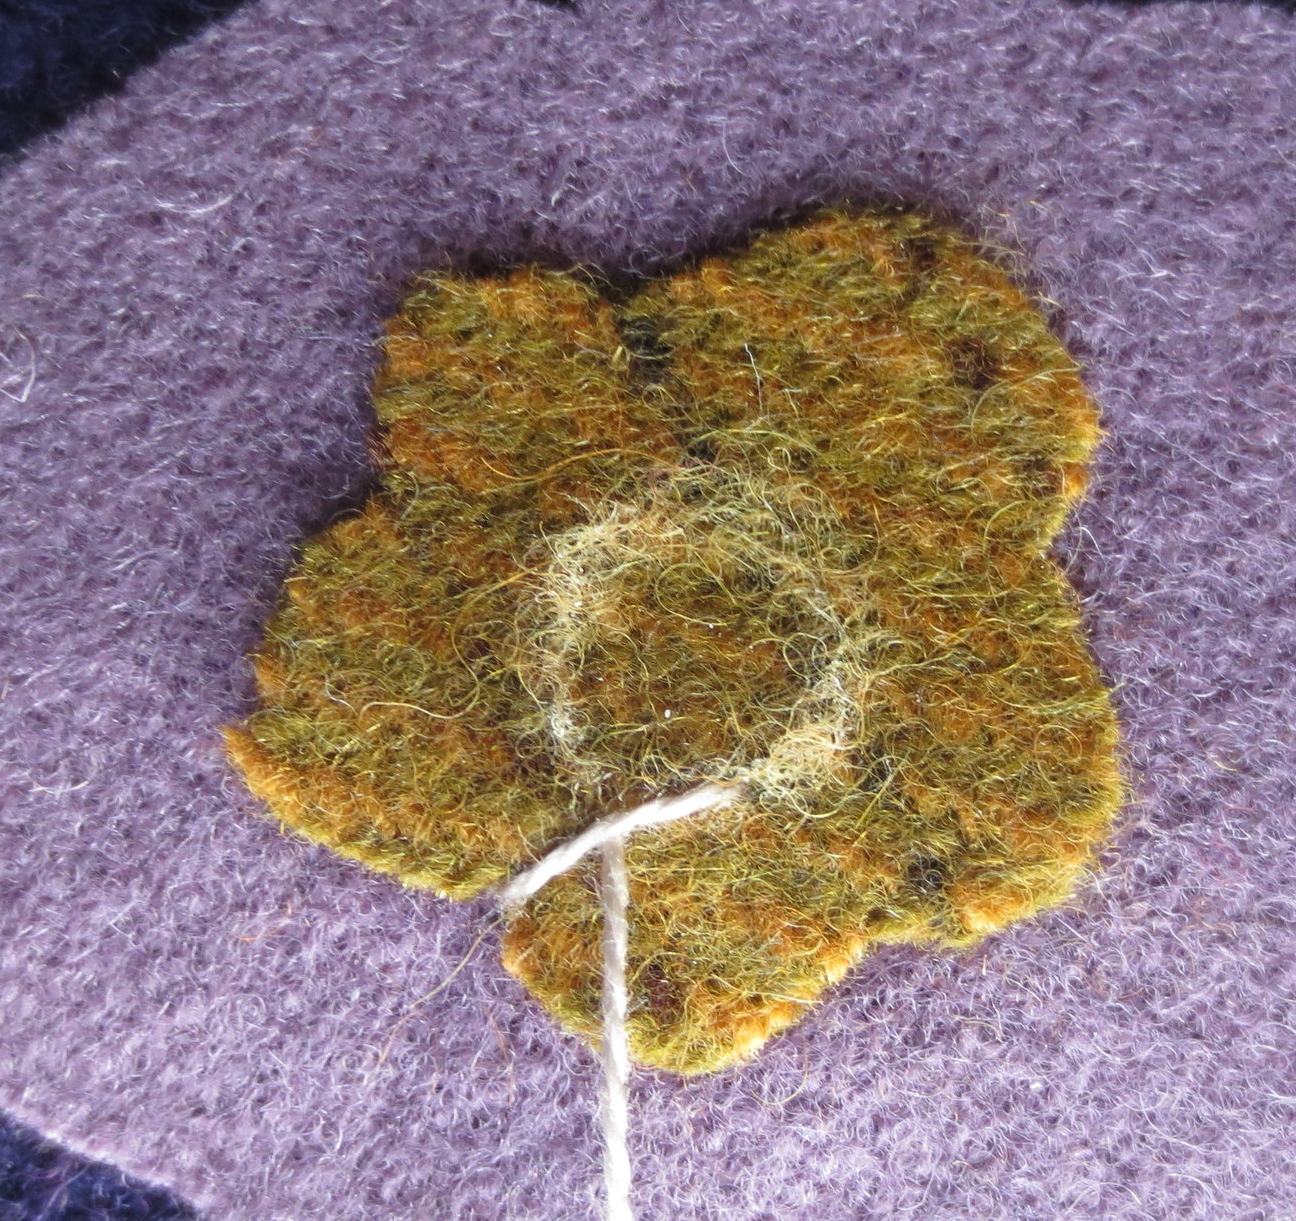
1. Draw a 3/8" diameter circle in the center of Flower #5B. I know the photo shows that the flower center is not whip stitched prior to stitching the buttonhole flower stitch. Well, I stitched this flower only as an example of the buttonhole stitch. It was stiched after the project was completed. The flower should be whip stitched first.
2. Using Valdani #O538, bring your needle up through the chalk line between one of the flower petals. Insert the needle along the outside edge at the space between the flower petals, to the left of where the stitch originated. Come up at the chalk line, directly inline with the insertion point, wrapping the thread around the back of the needle. Pull the needle through.
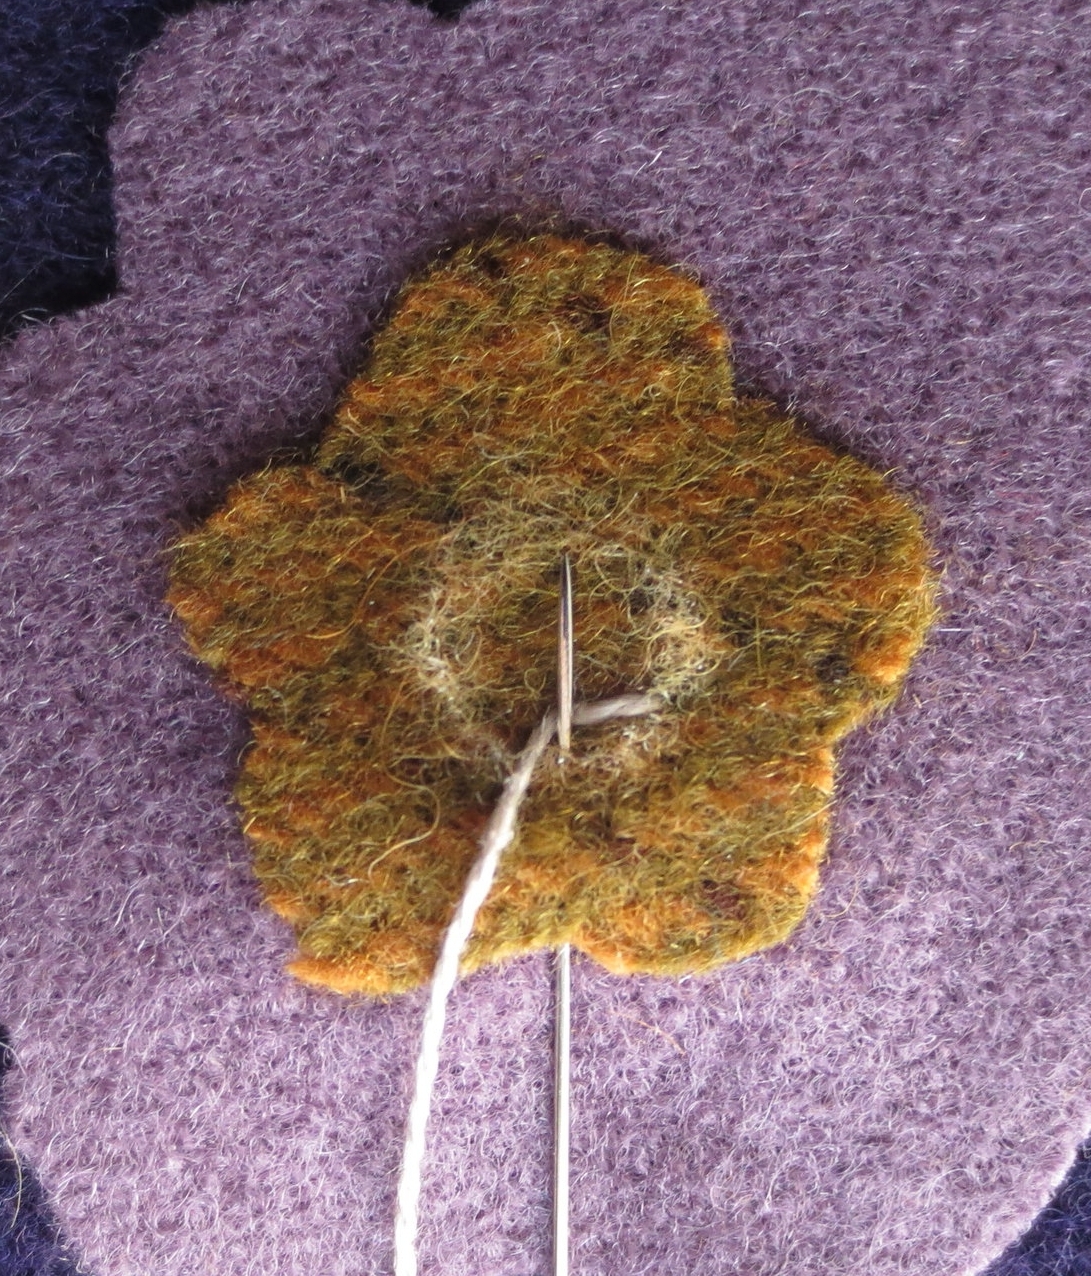
3. Turn your work so that your needle moves from bottom to top. Continue by inserting the needle in the middle of the flower petal to the left of your first stitch. Bring the needle back up through the chalk line, wrapping the thread behind the needle. Pull the thread through.
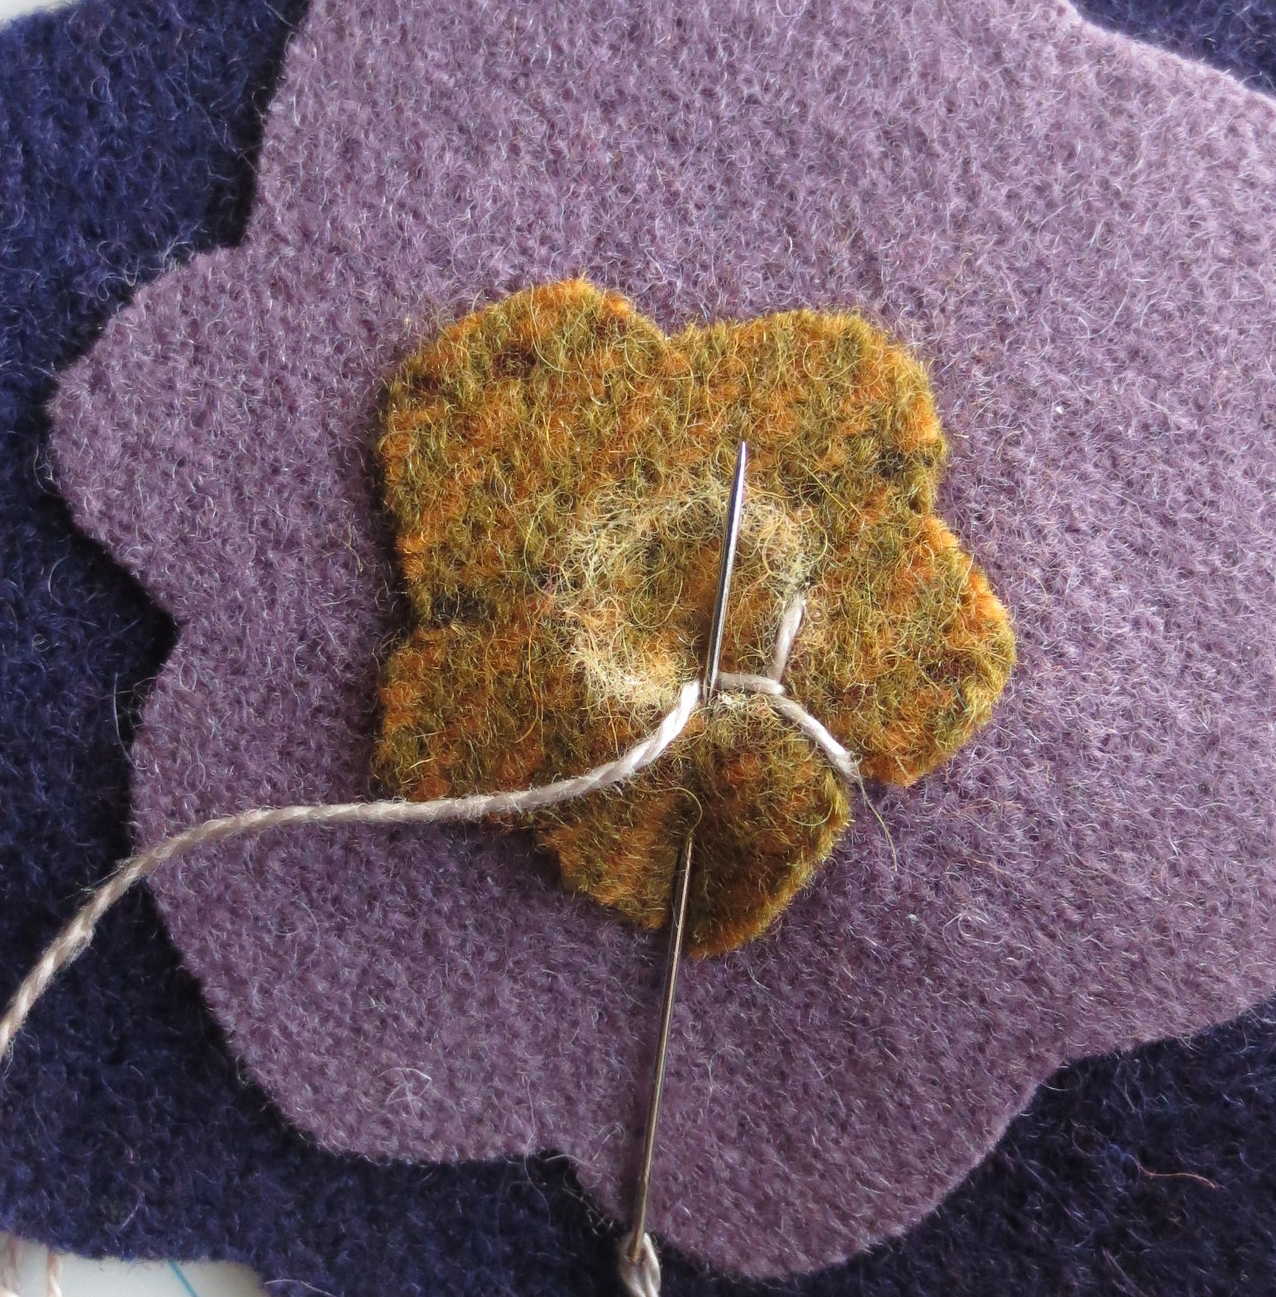
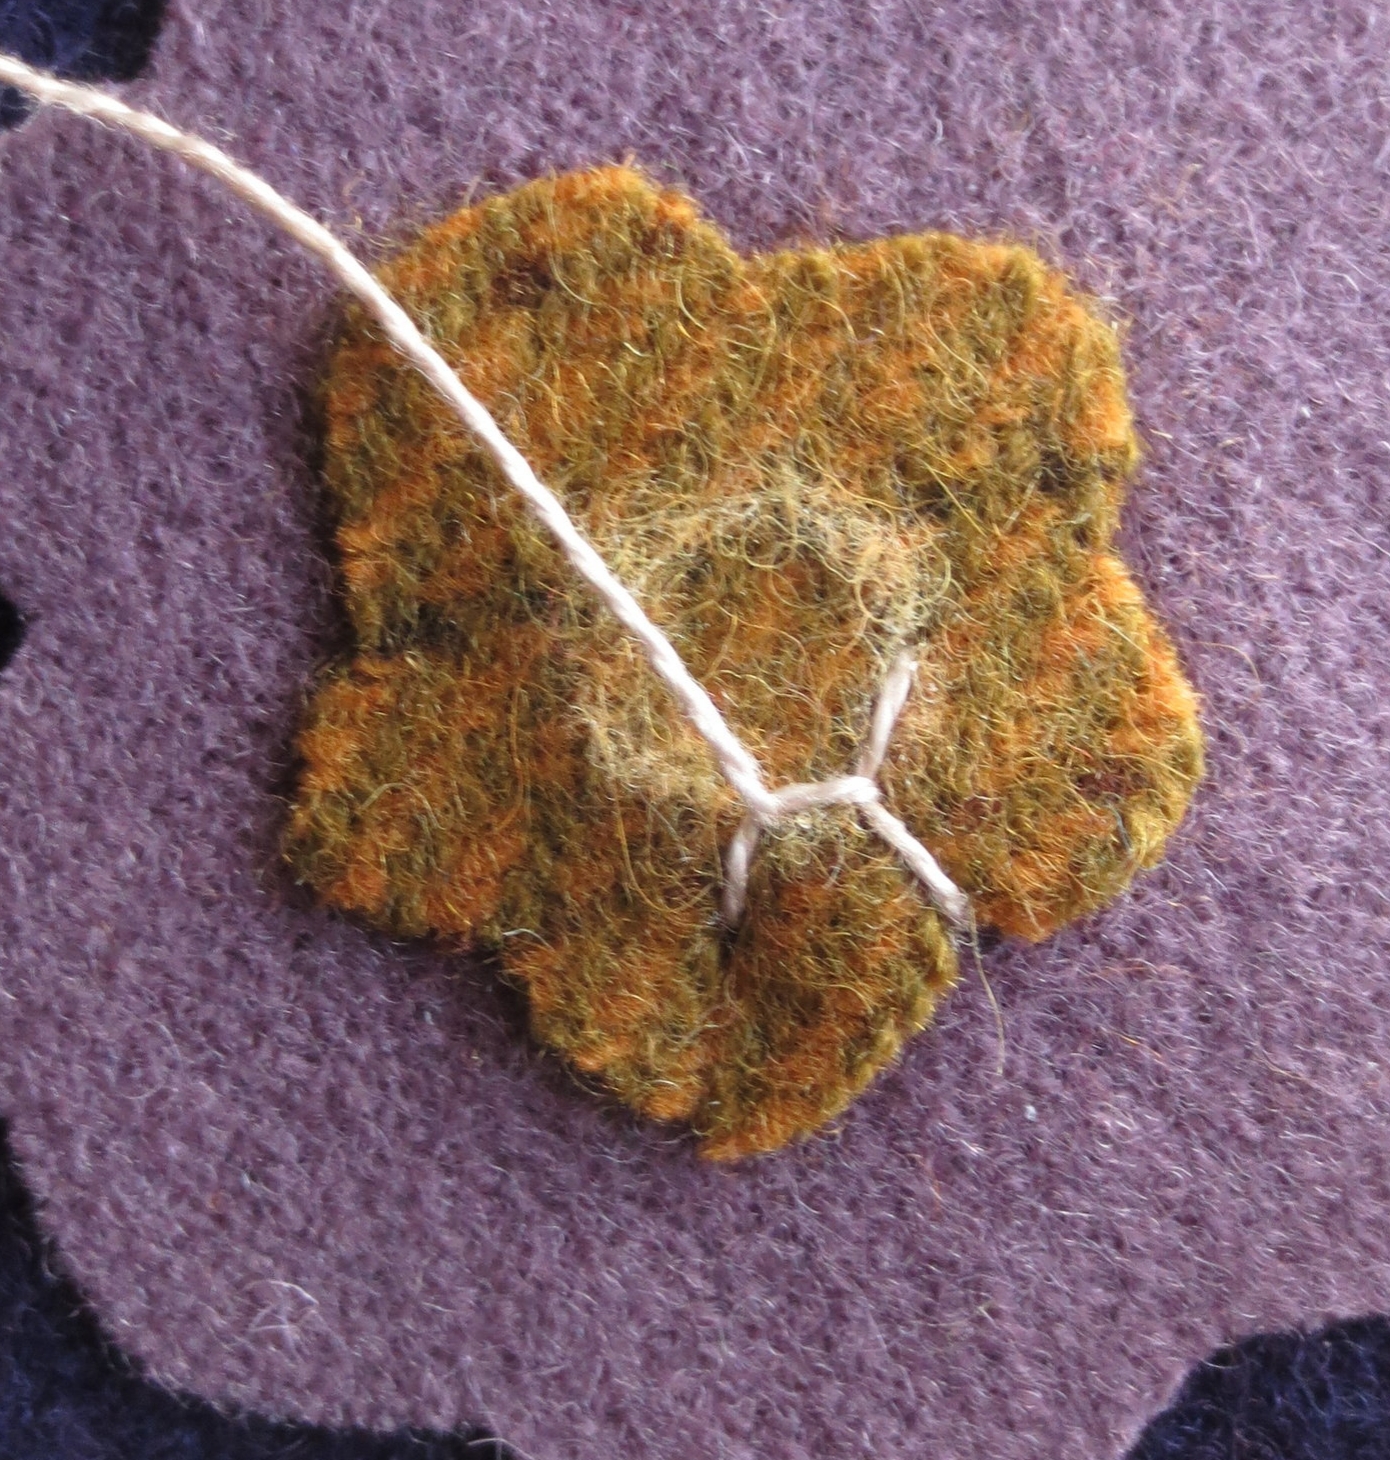
3. Continue around the circle alternating the rays of the flower stitch in the middle and between the flower petals. Finish the flower stitch by inserting the needle on the inside of circle.
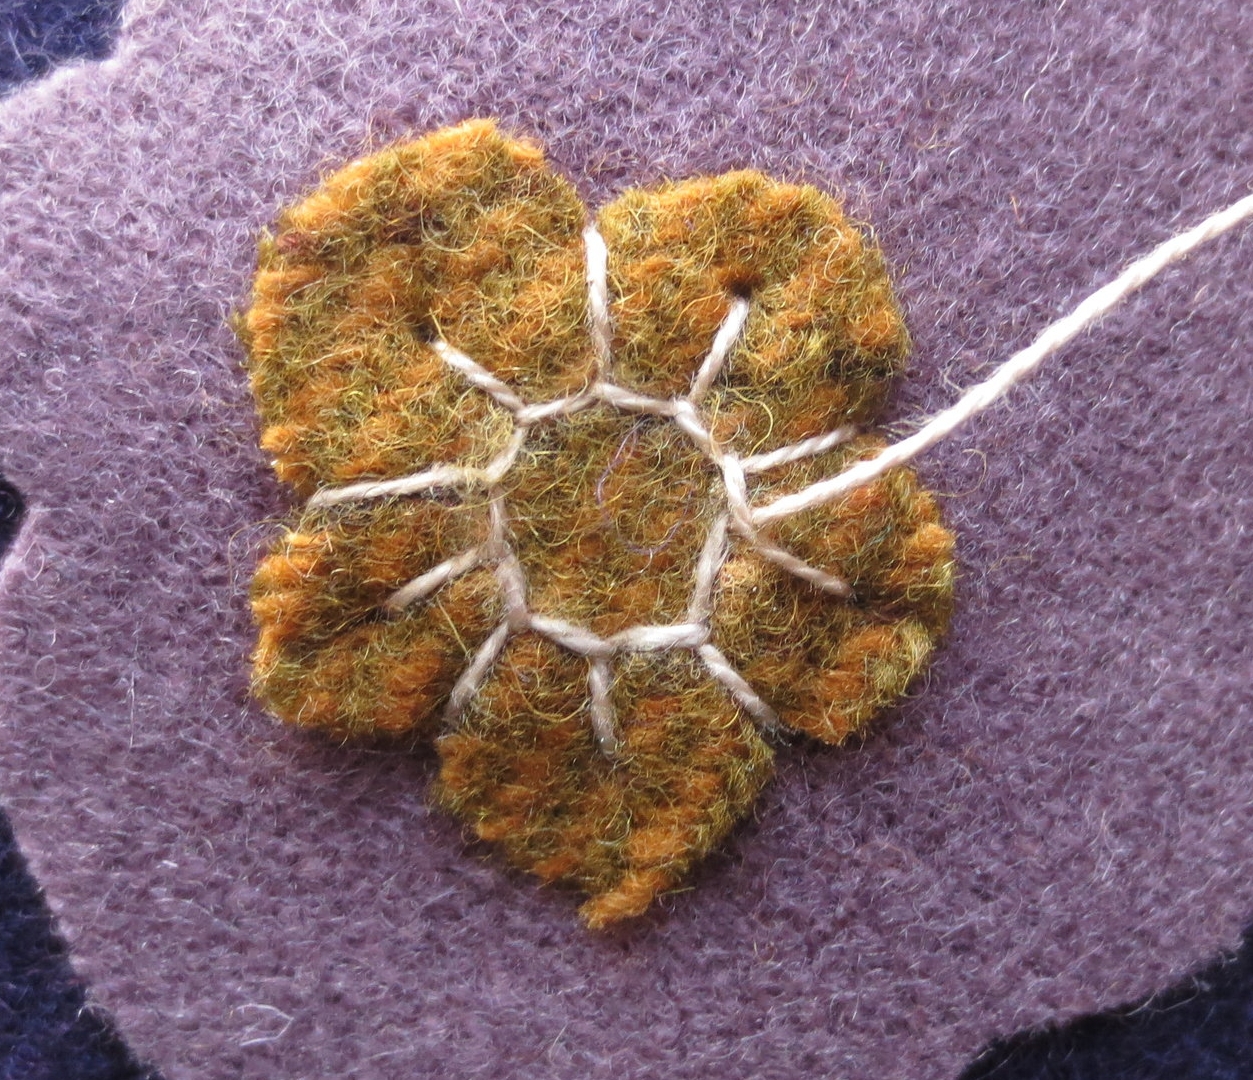
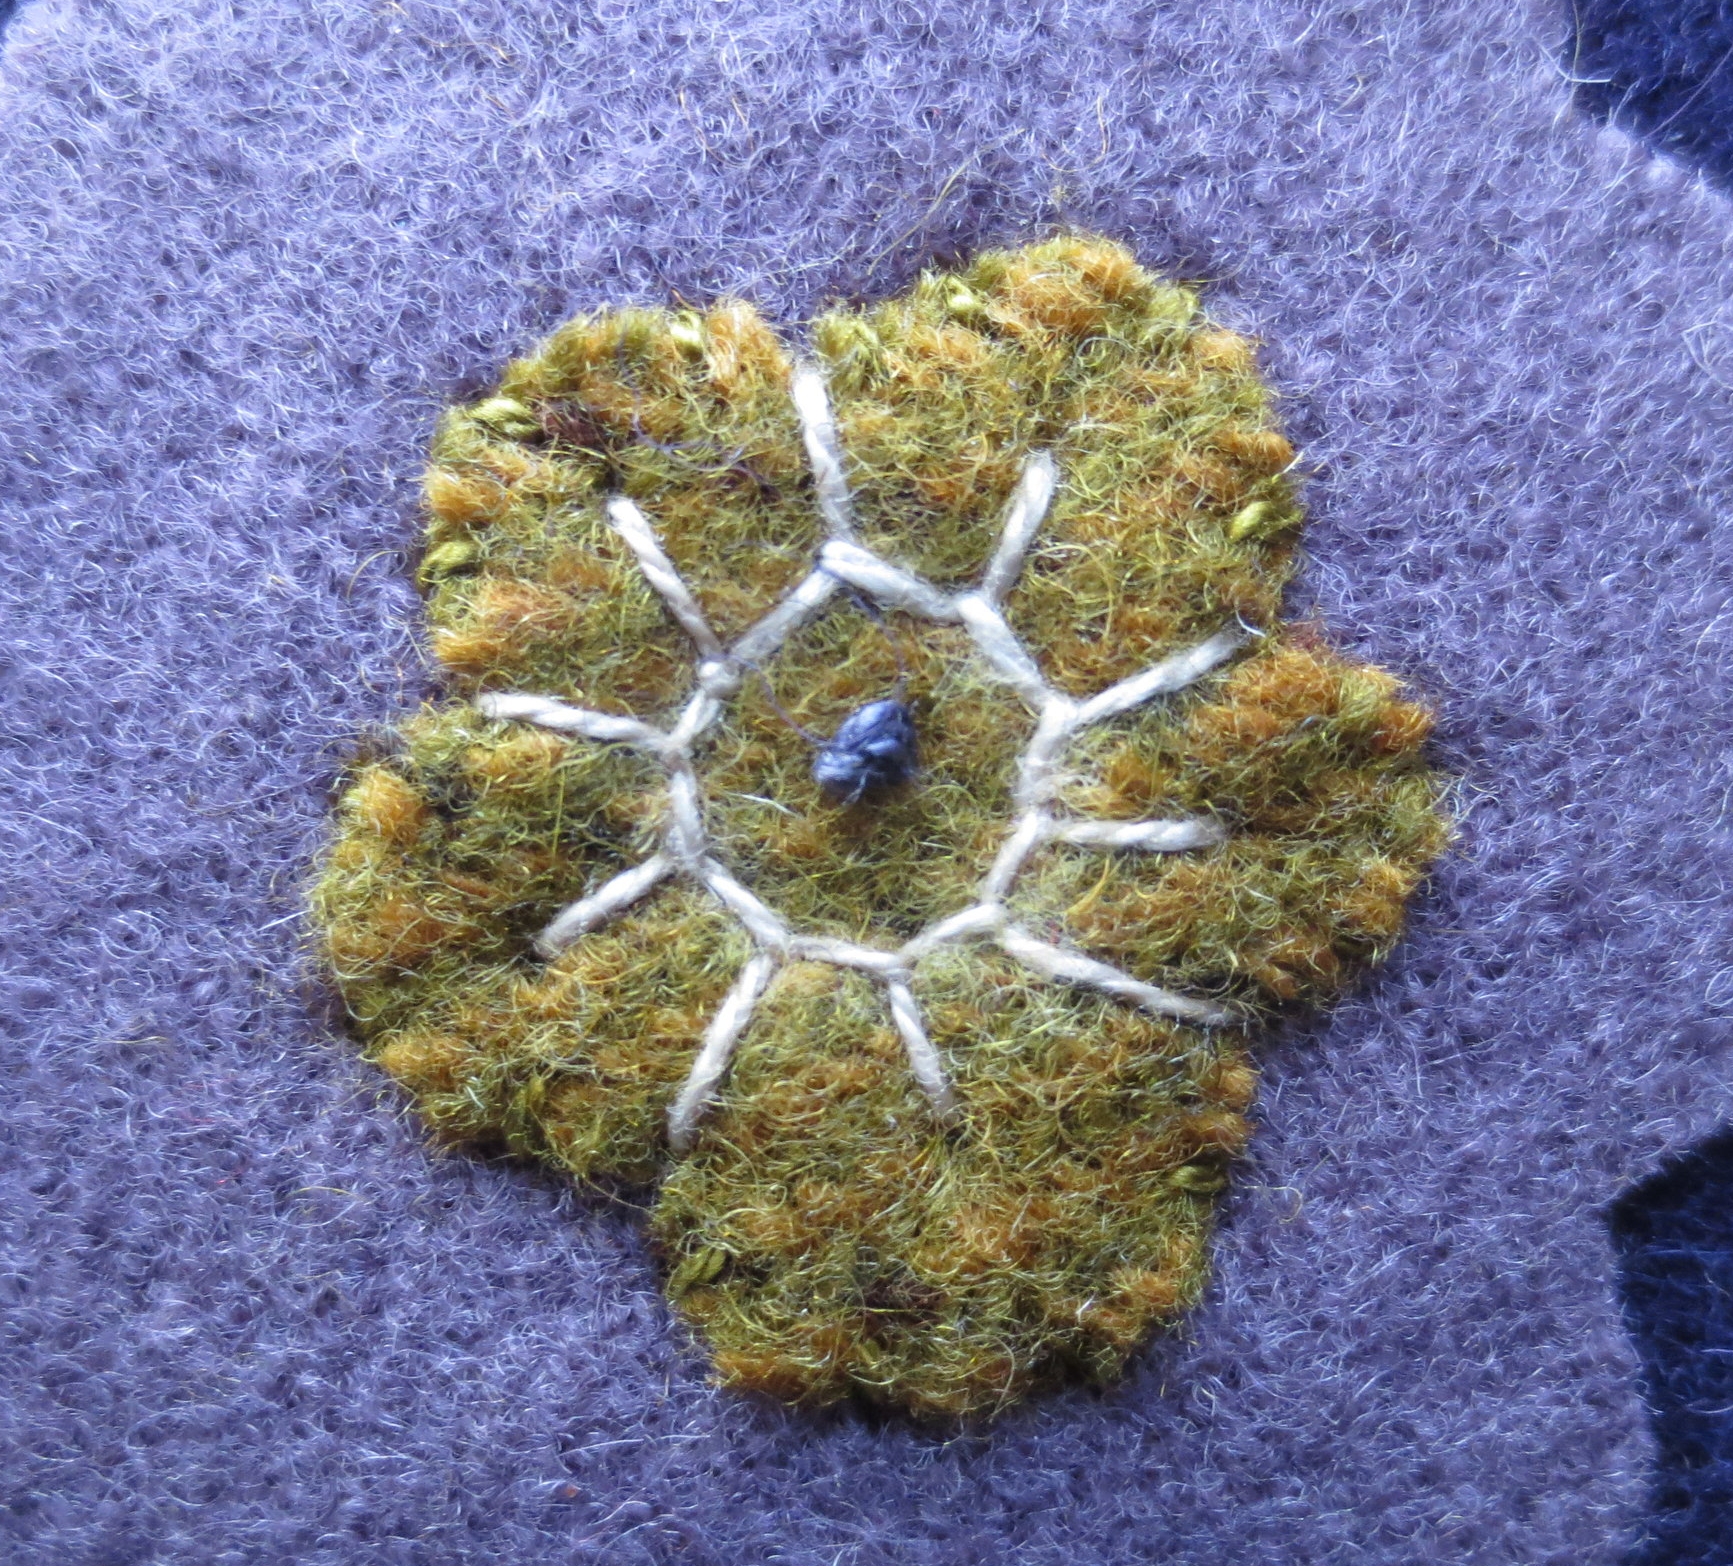
4. Stitch a single colonial knot (#O592) in the center of the buttonhole flower stitch.
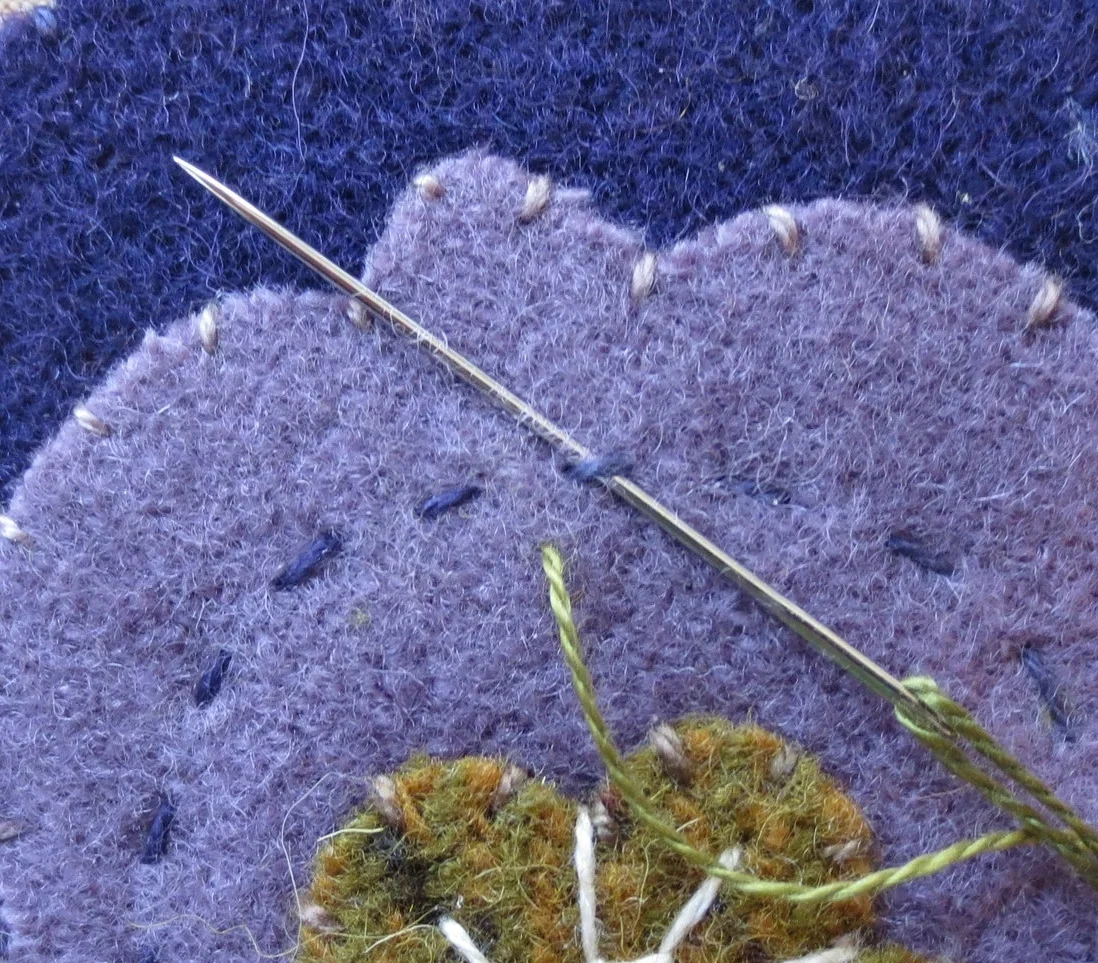
5. Draw a oval around the flower center on #5A.
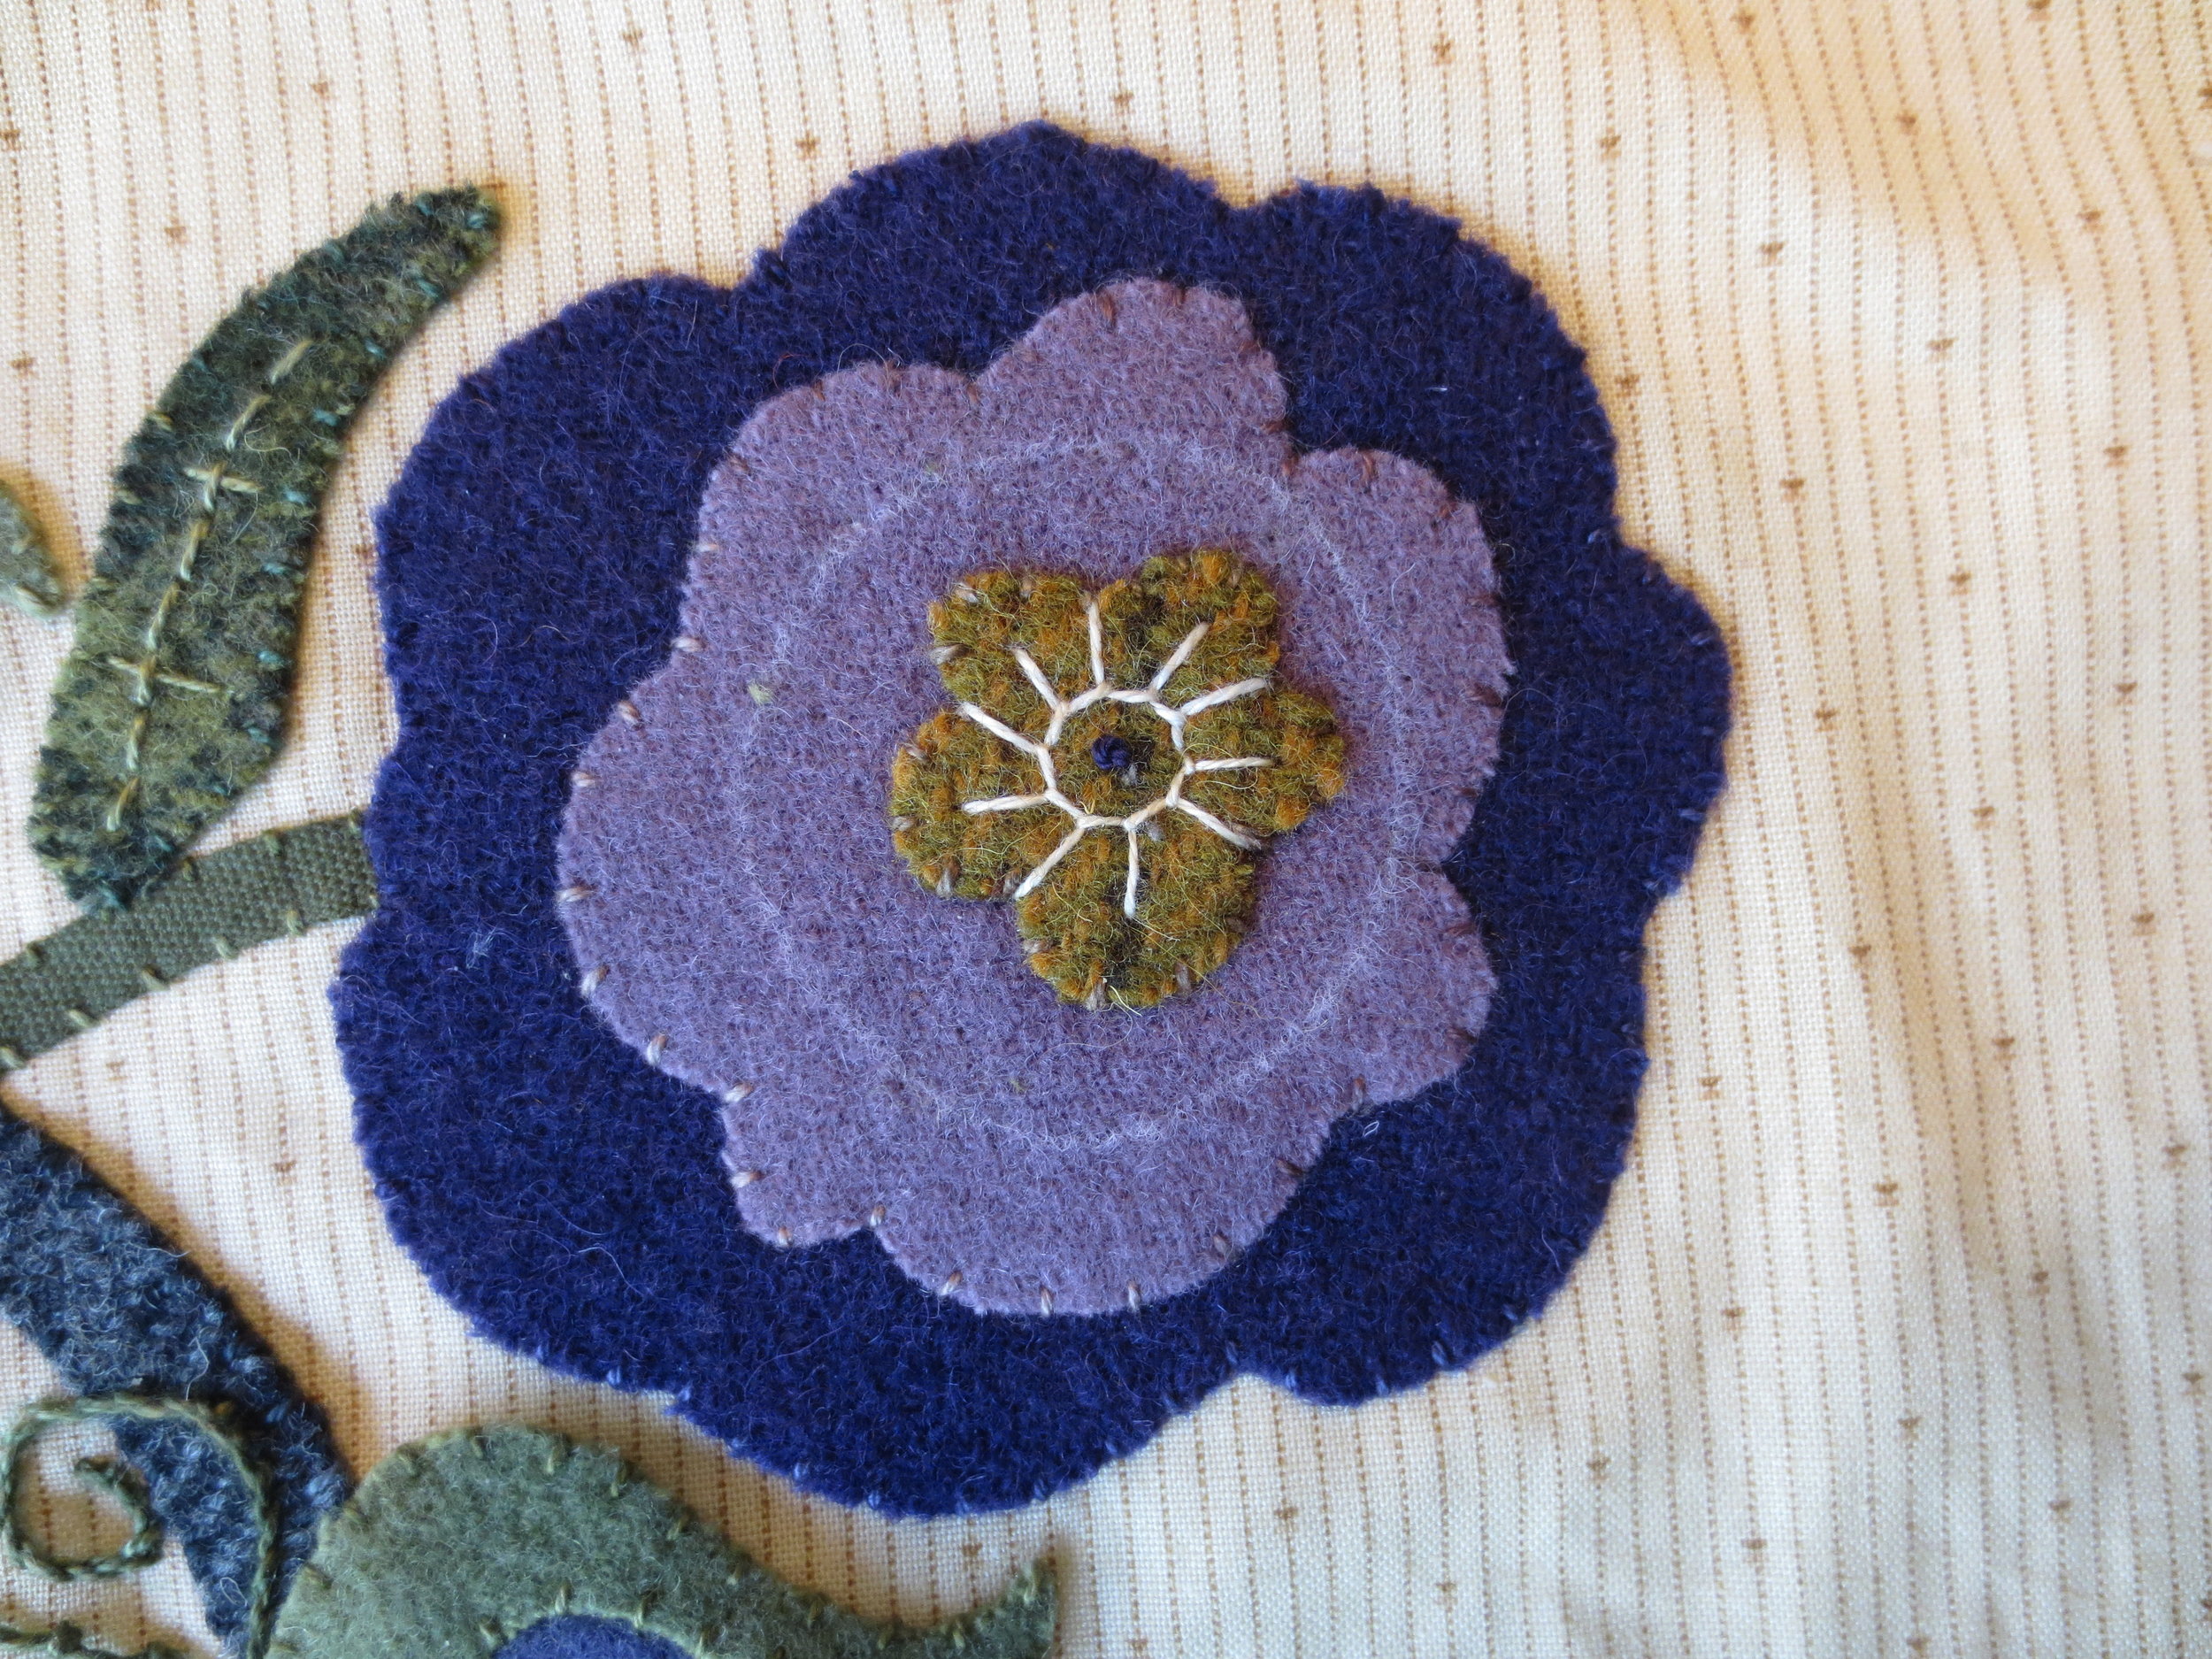
6. This stitch sequence is called an Inuit Lacing Stitch. Use Valdani #592 (this is the same color used to whip stitch #5) to make a running stitch over the chalk line.
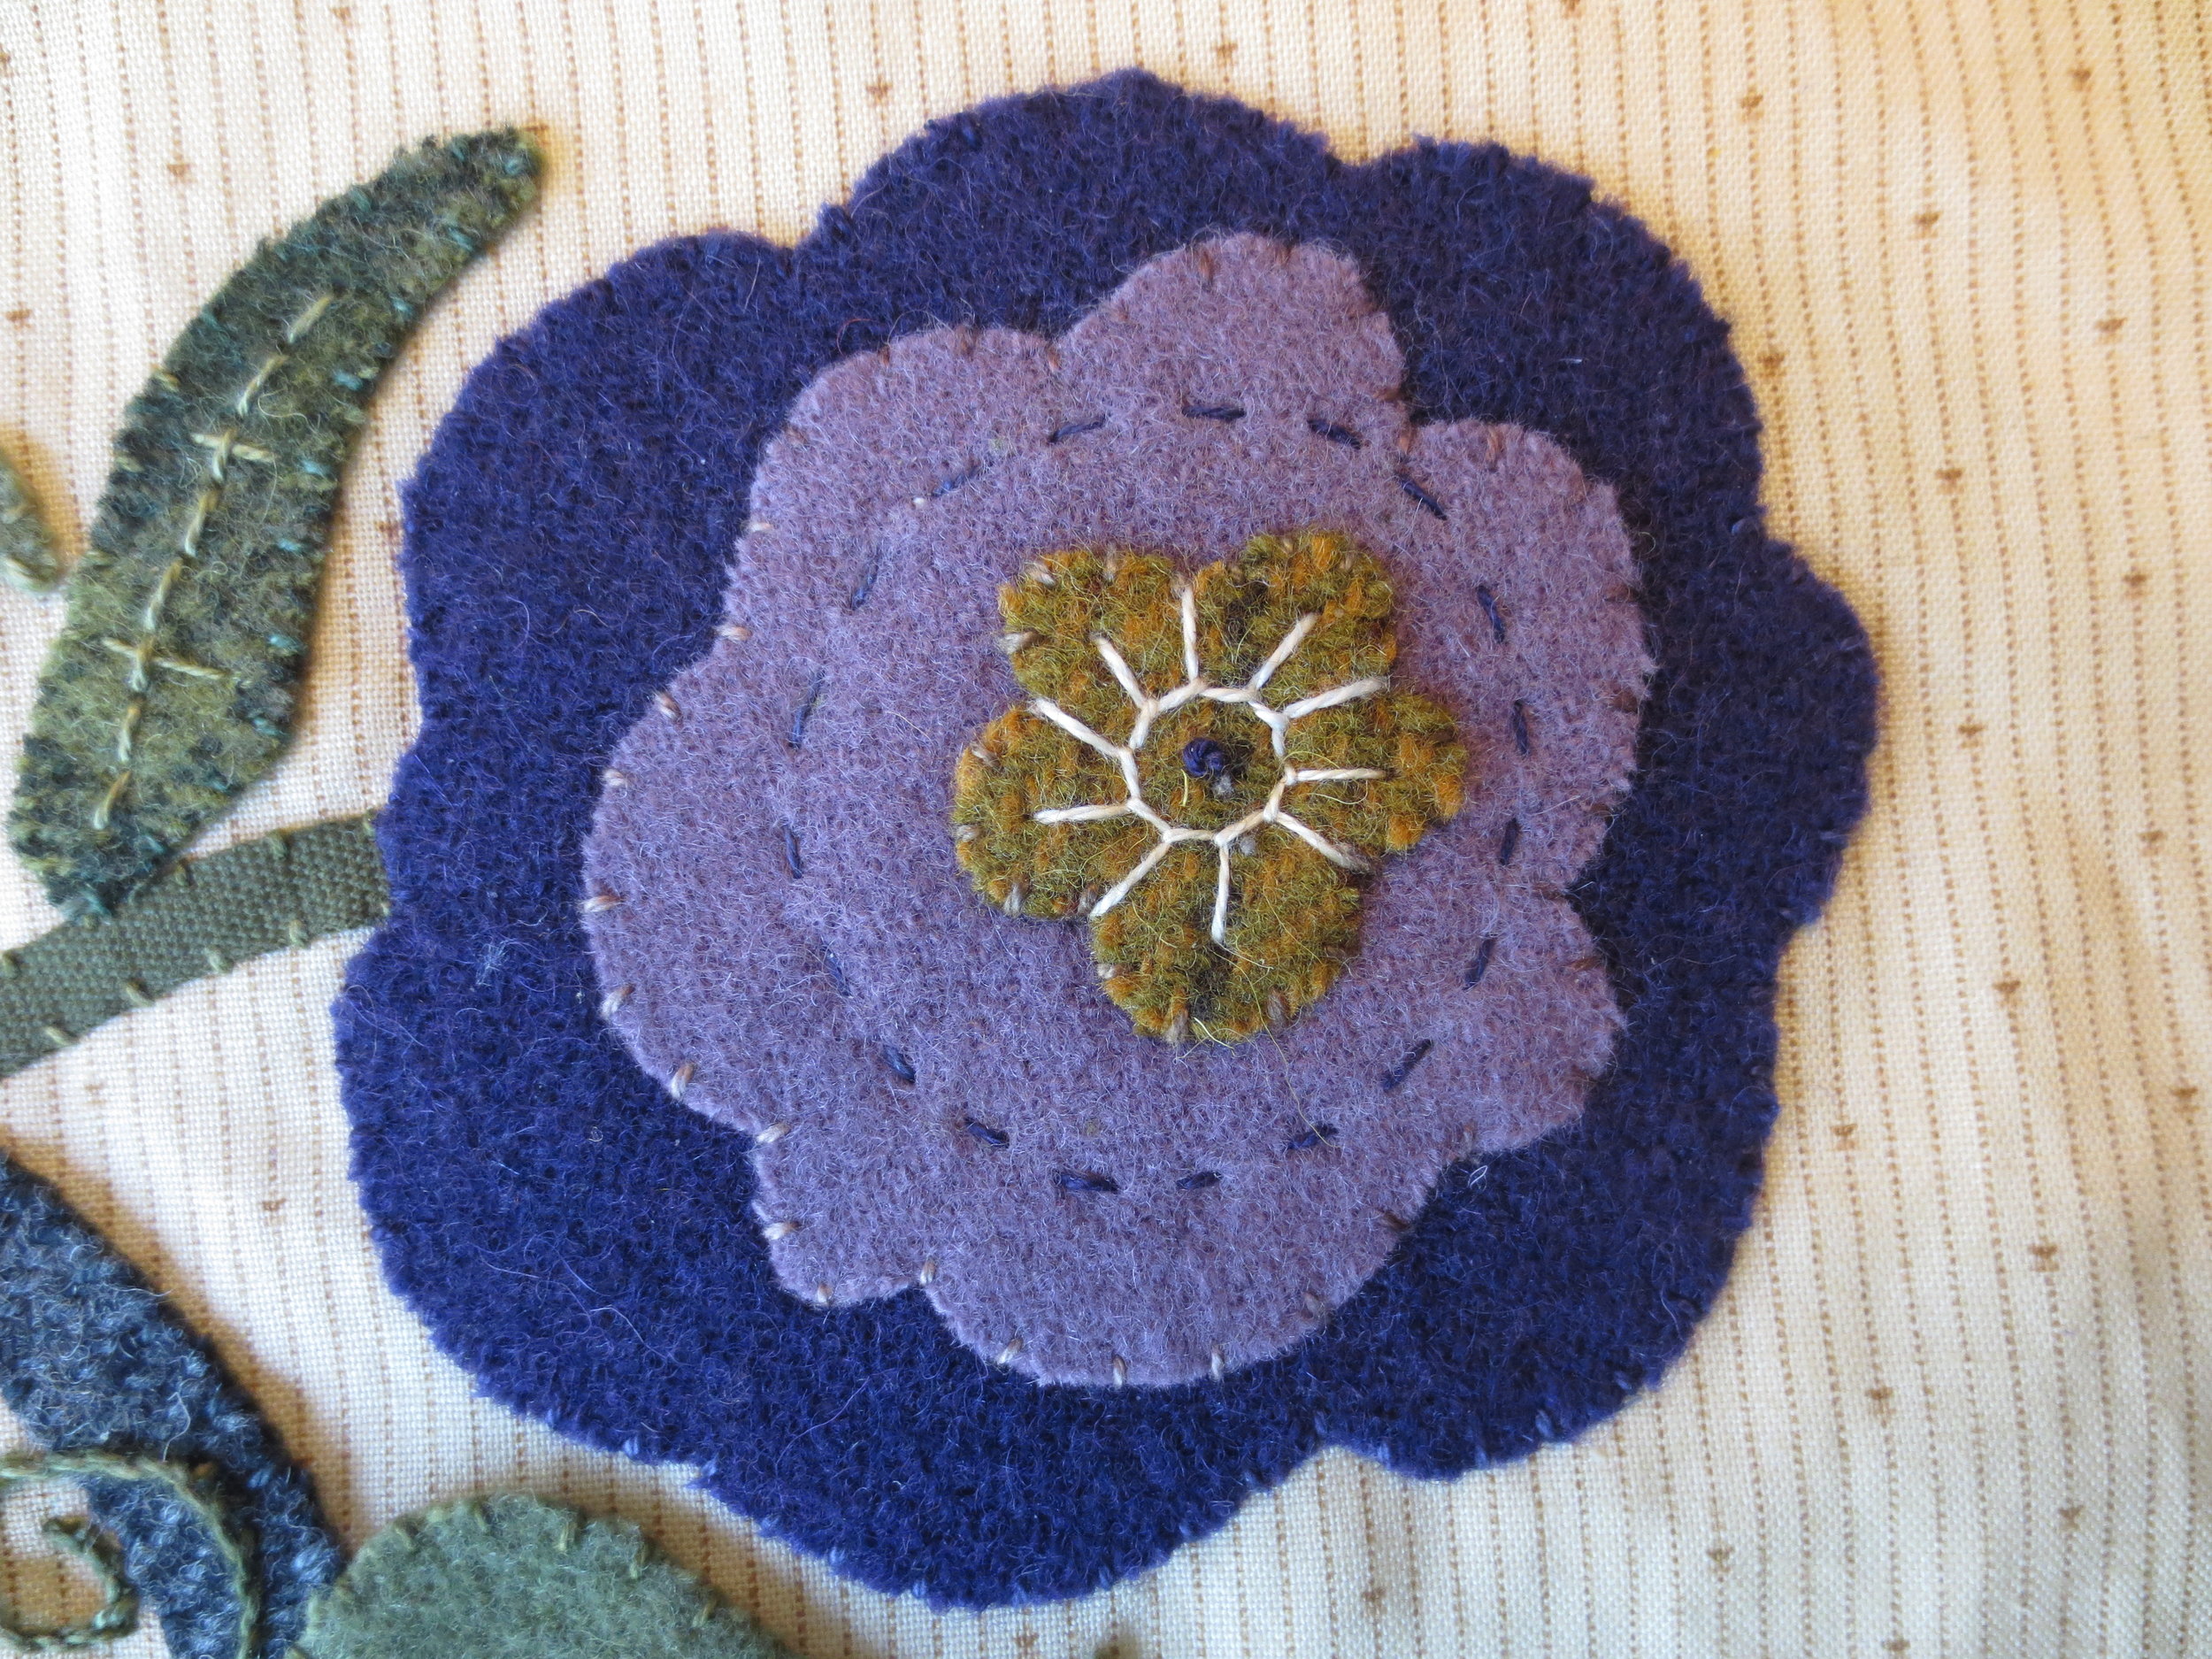
7. Use #O519 to make the next step. Bring your needle up on the inside of the oval, between two running stitches.
8. Slide the needle under one of the running stitches (I worked from right to left), pulling the thread through. Slide the needle under the running stitch to the left and pull the thread through.
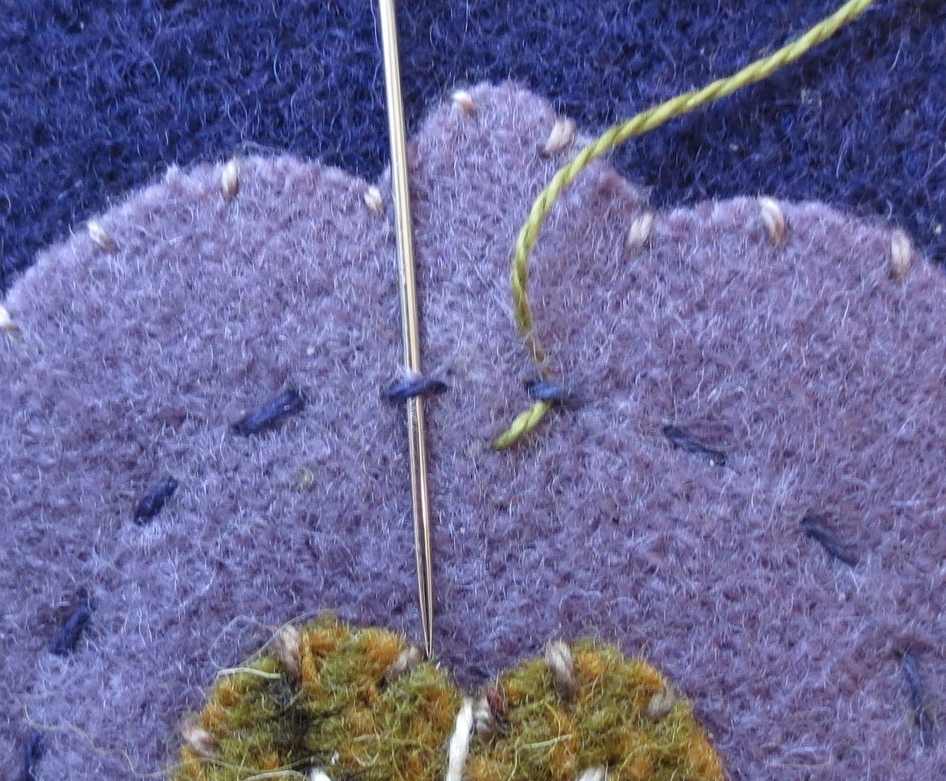
9. Insert the needle back down into the point where the stitch began. Pull the thread through.
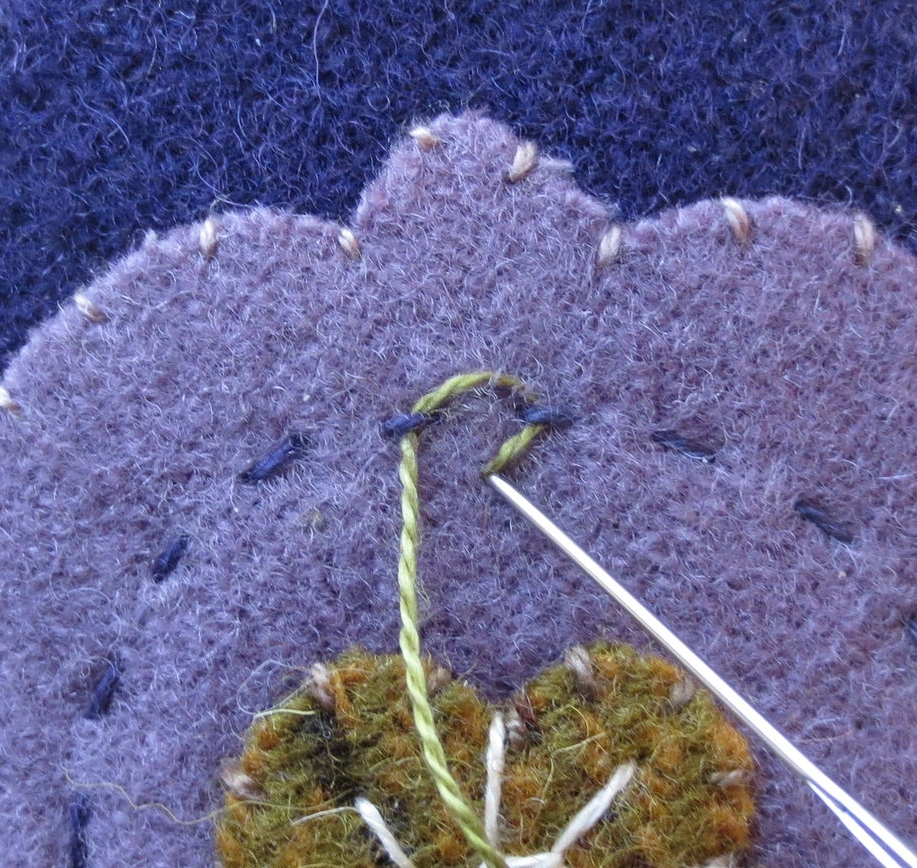
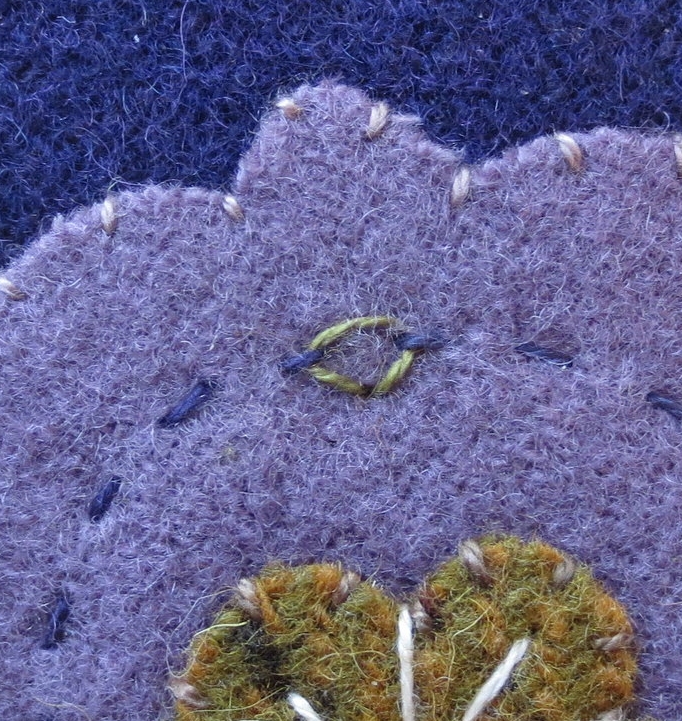
10. Continue with the edge stitch around the oval.
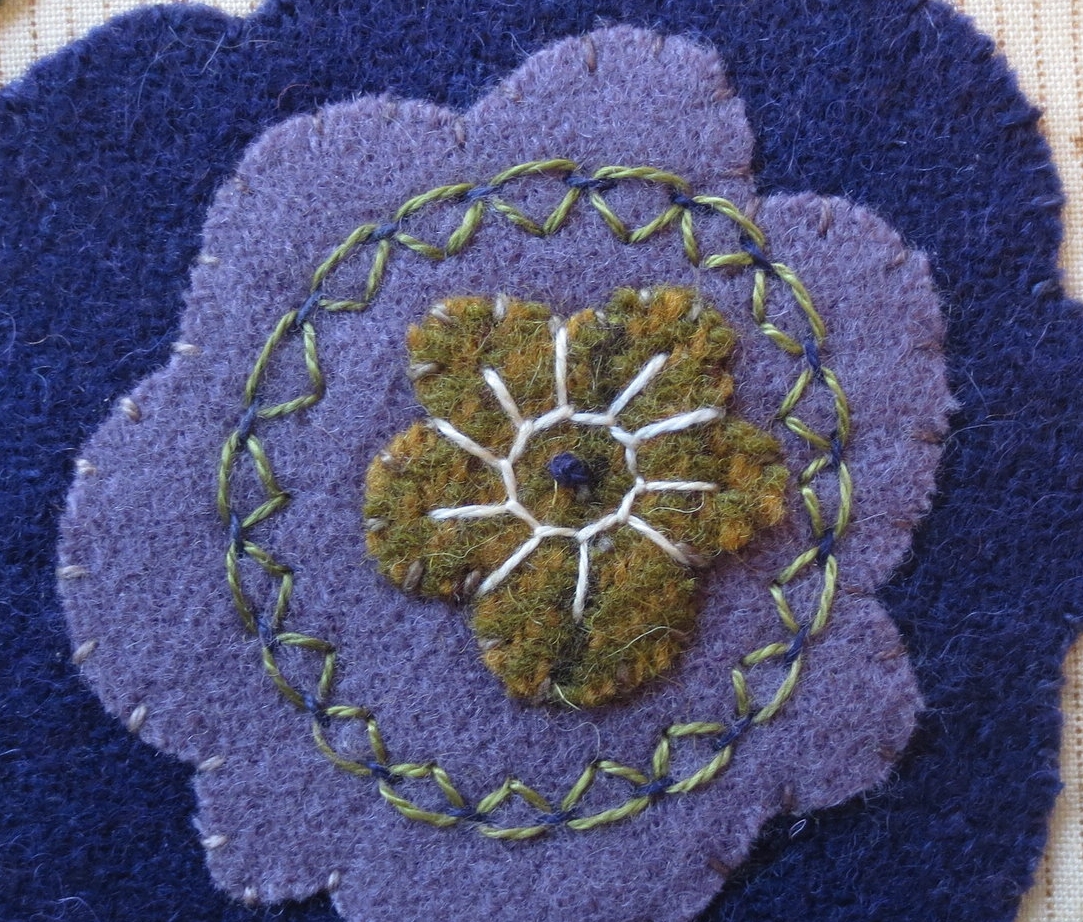
11. Use #H210 (this is the same thread used to whip stitch #5A) to stitch a running stitch around the outer edge of #5A.
11. Use Valdani #O519 and #O153 to create threaded back stitched strawberry stems.
Use #O519 to back stitch over the chalk lines that you made in part I.
Use #O153 to thread through the back stitched line.
Don't forget the strawberry on the left side.
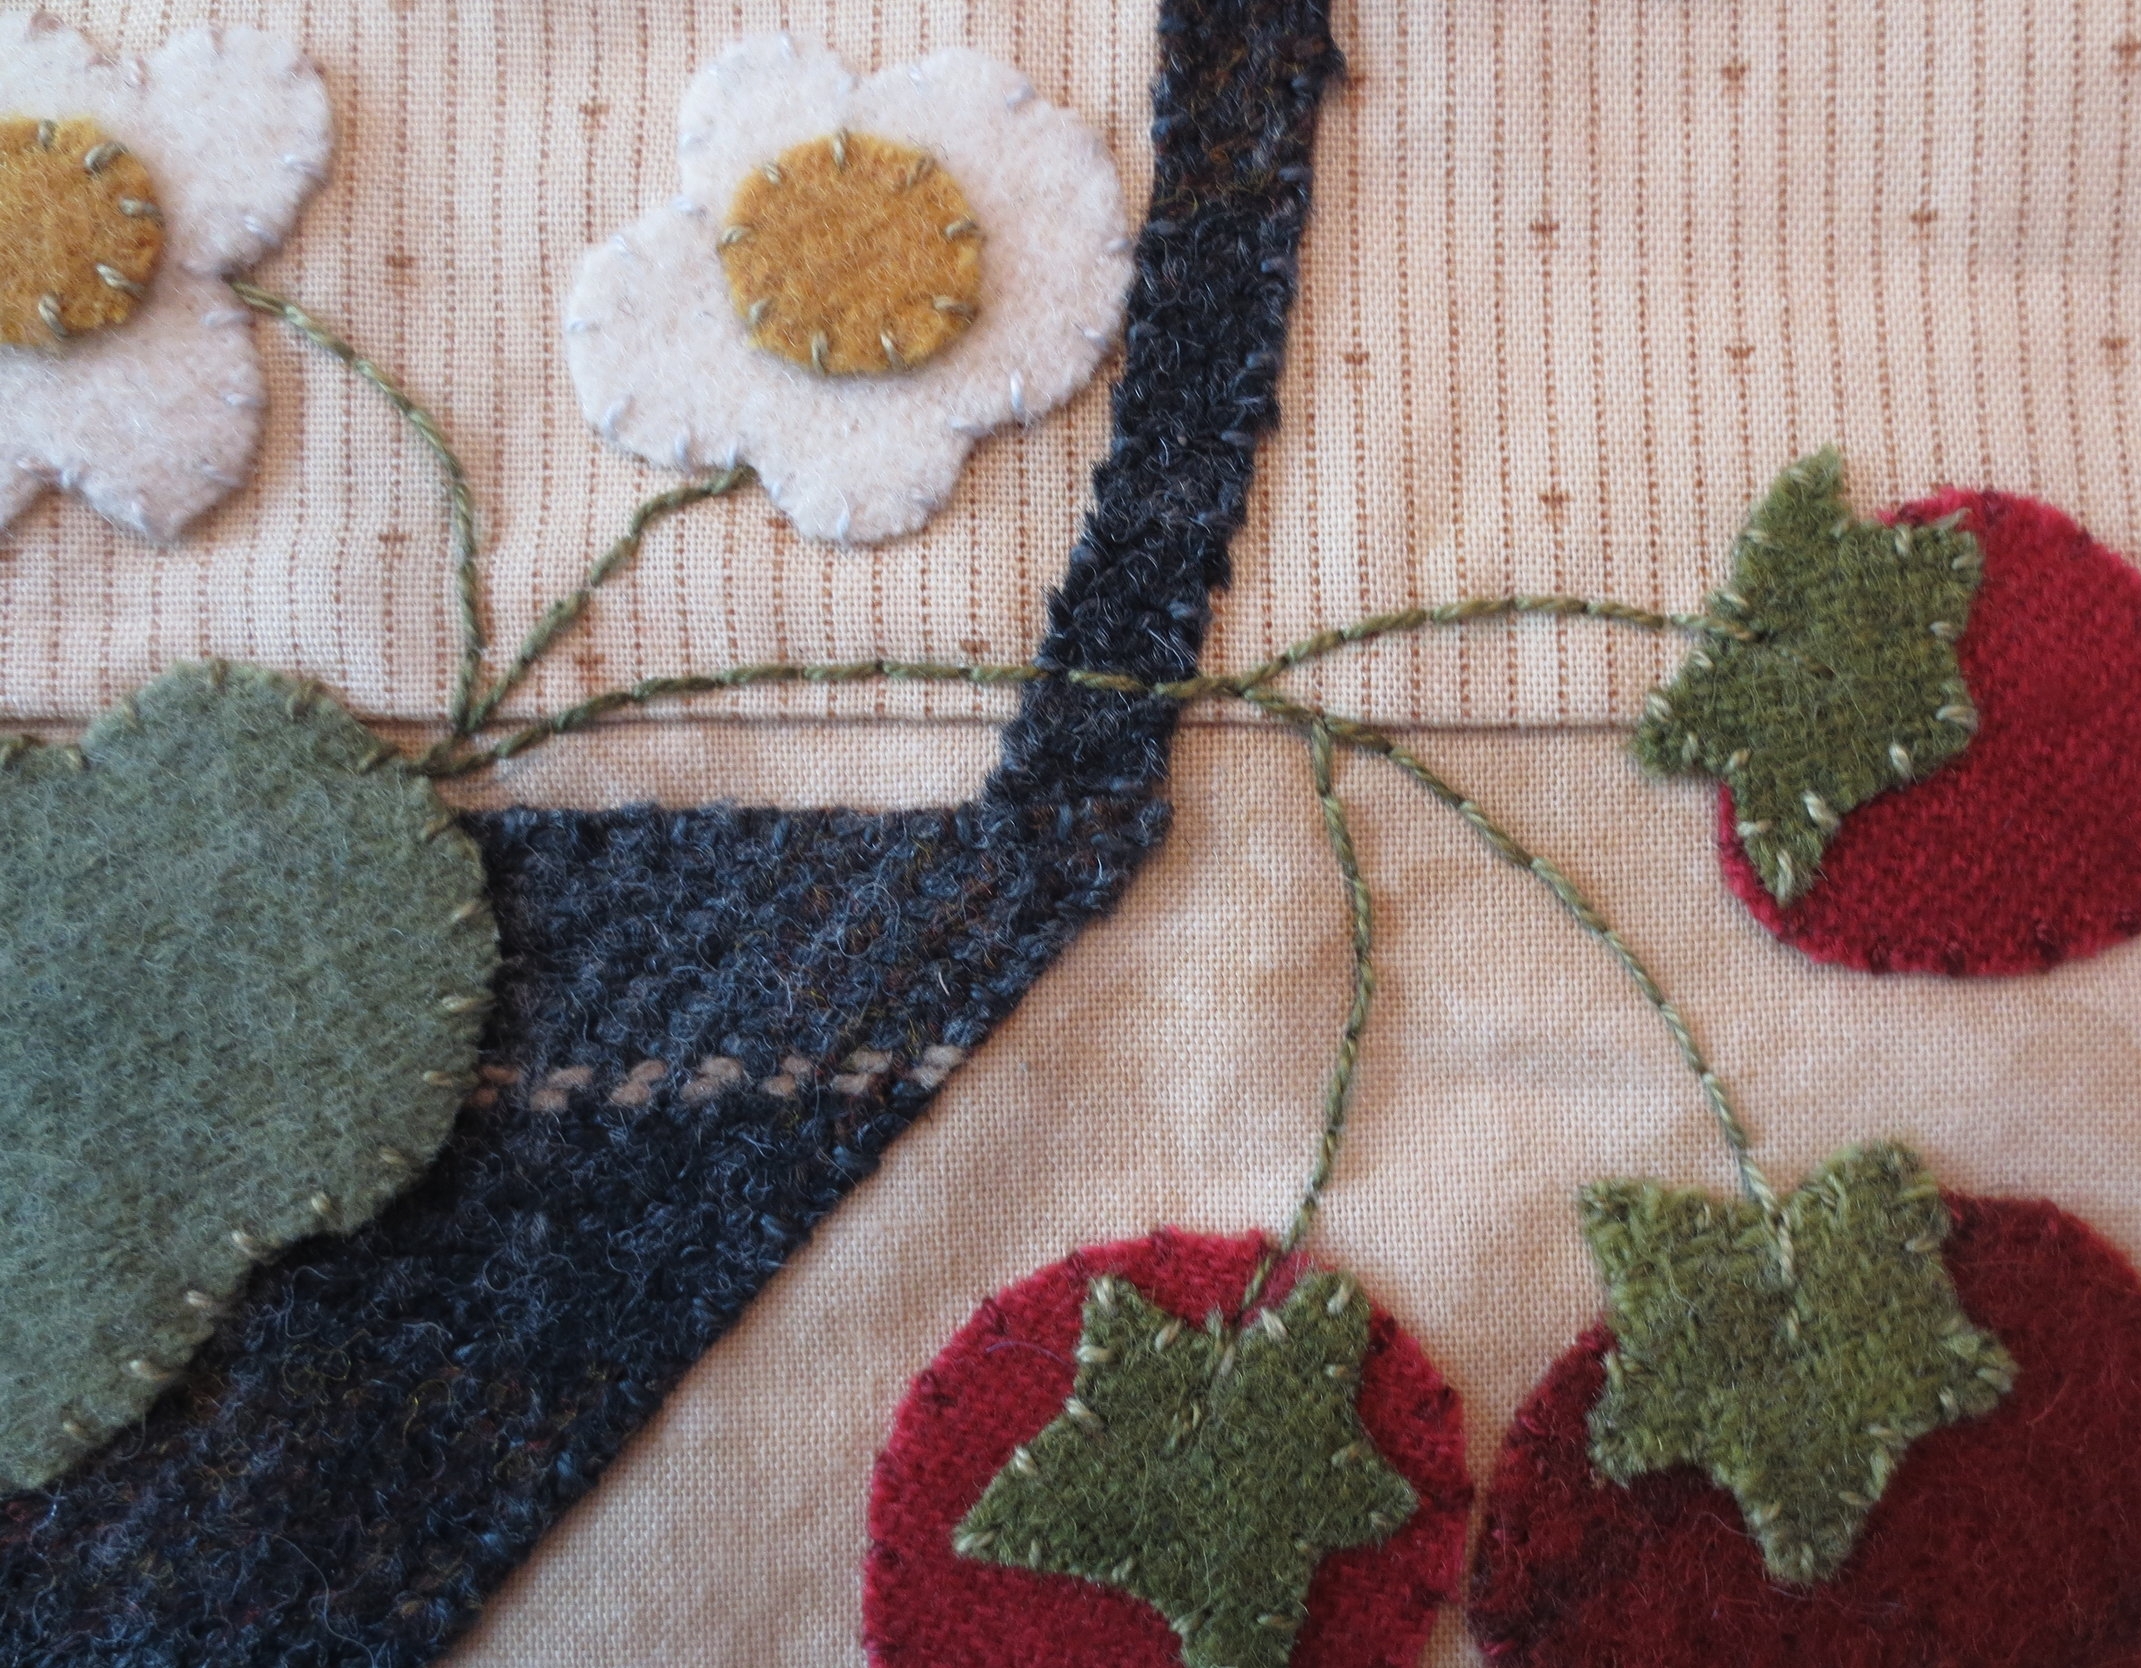
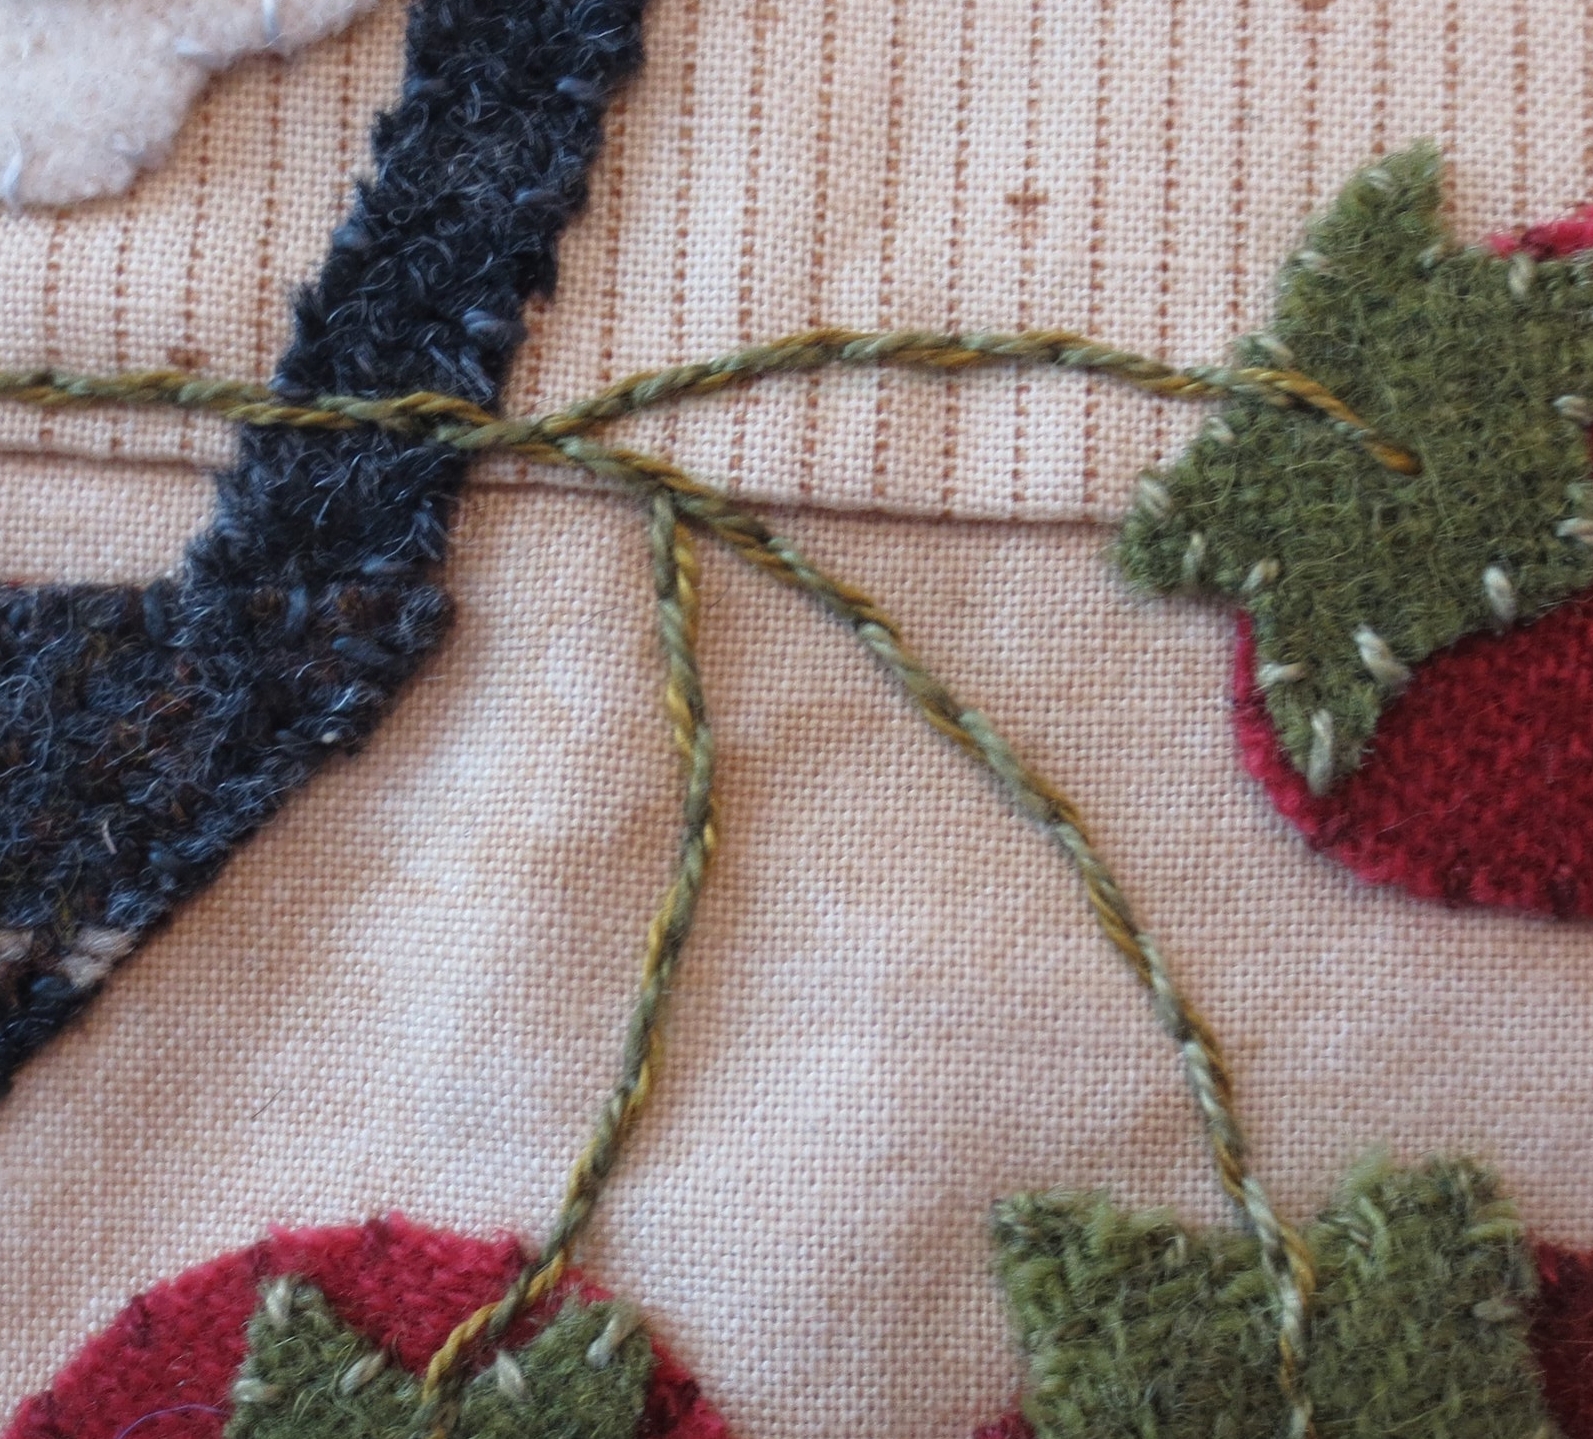
12. Use a chalk pencil to make the strawberry seeds. Use #O519 to stitch colonial knot seeds.
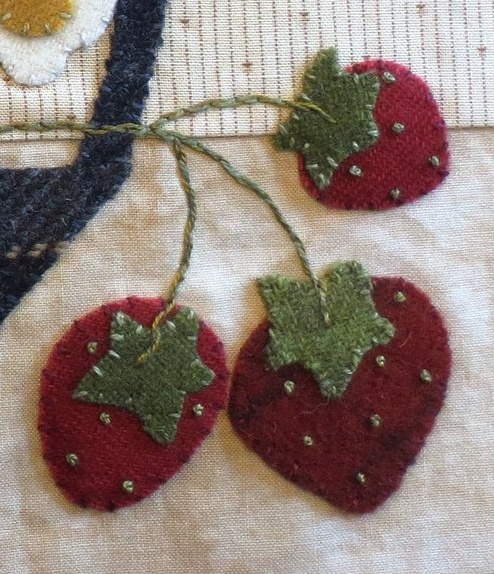
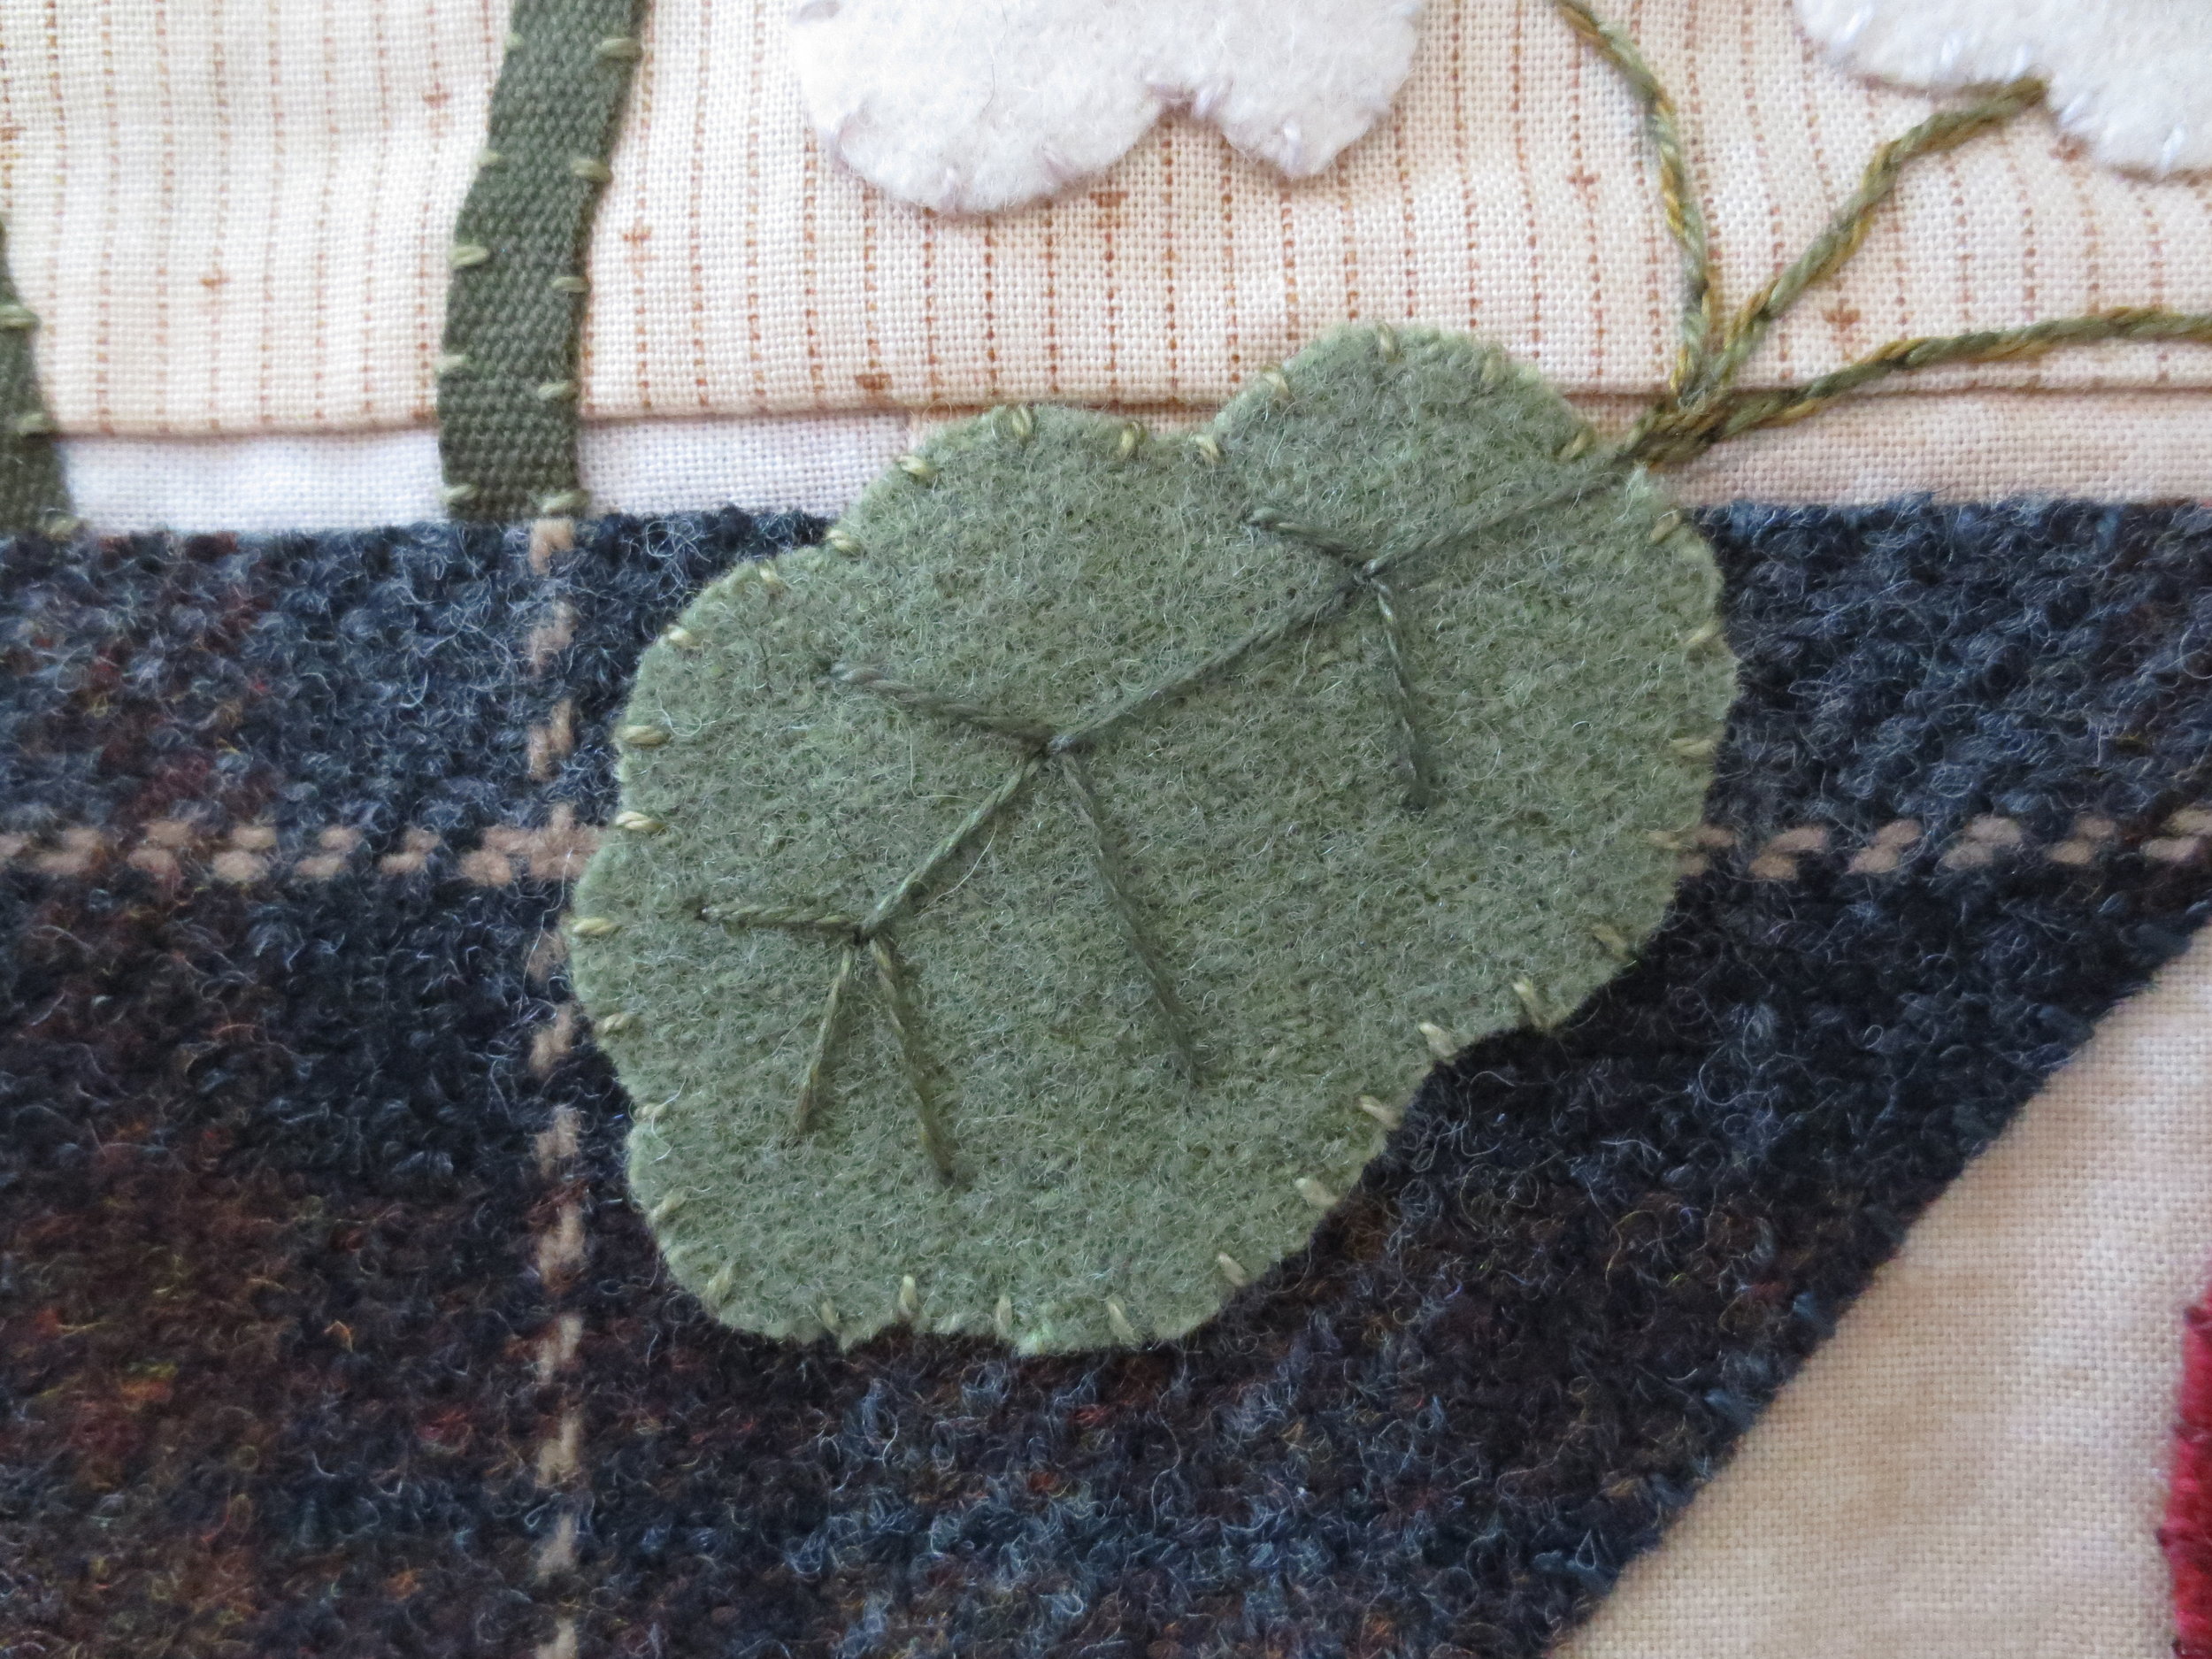
13. Draw the center vein in the strawberry leaf.
14. Use #O519 to stitch a closed fly stitch over the line.
Voile!
Stay tuned for sashing, corner blocks, and border.
Happy Stitching!