
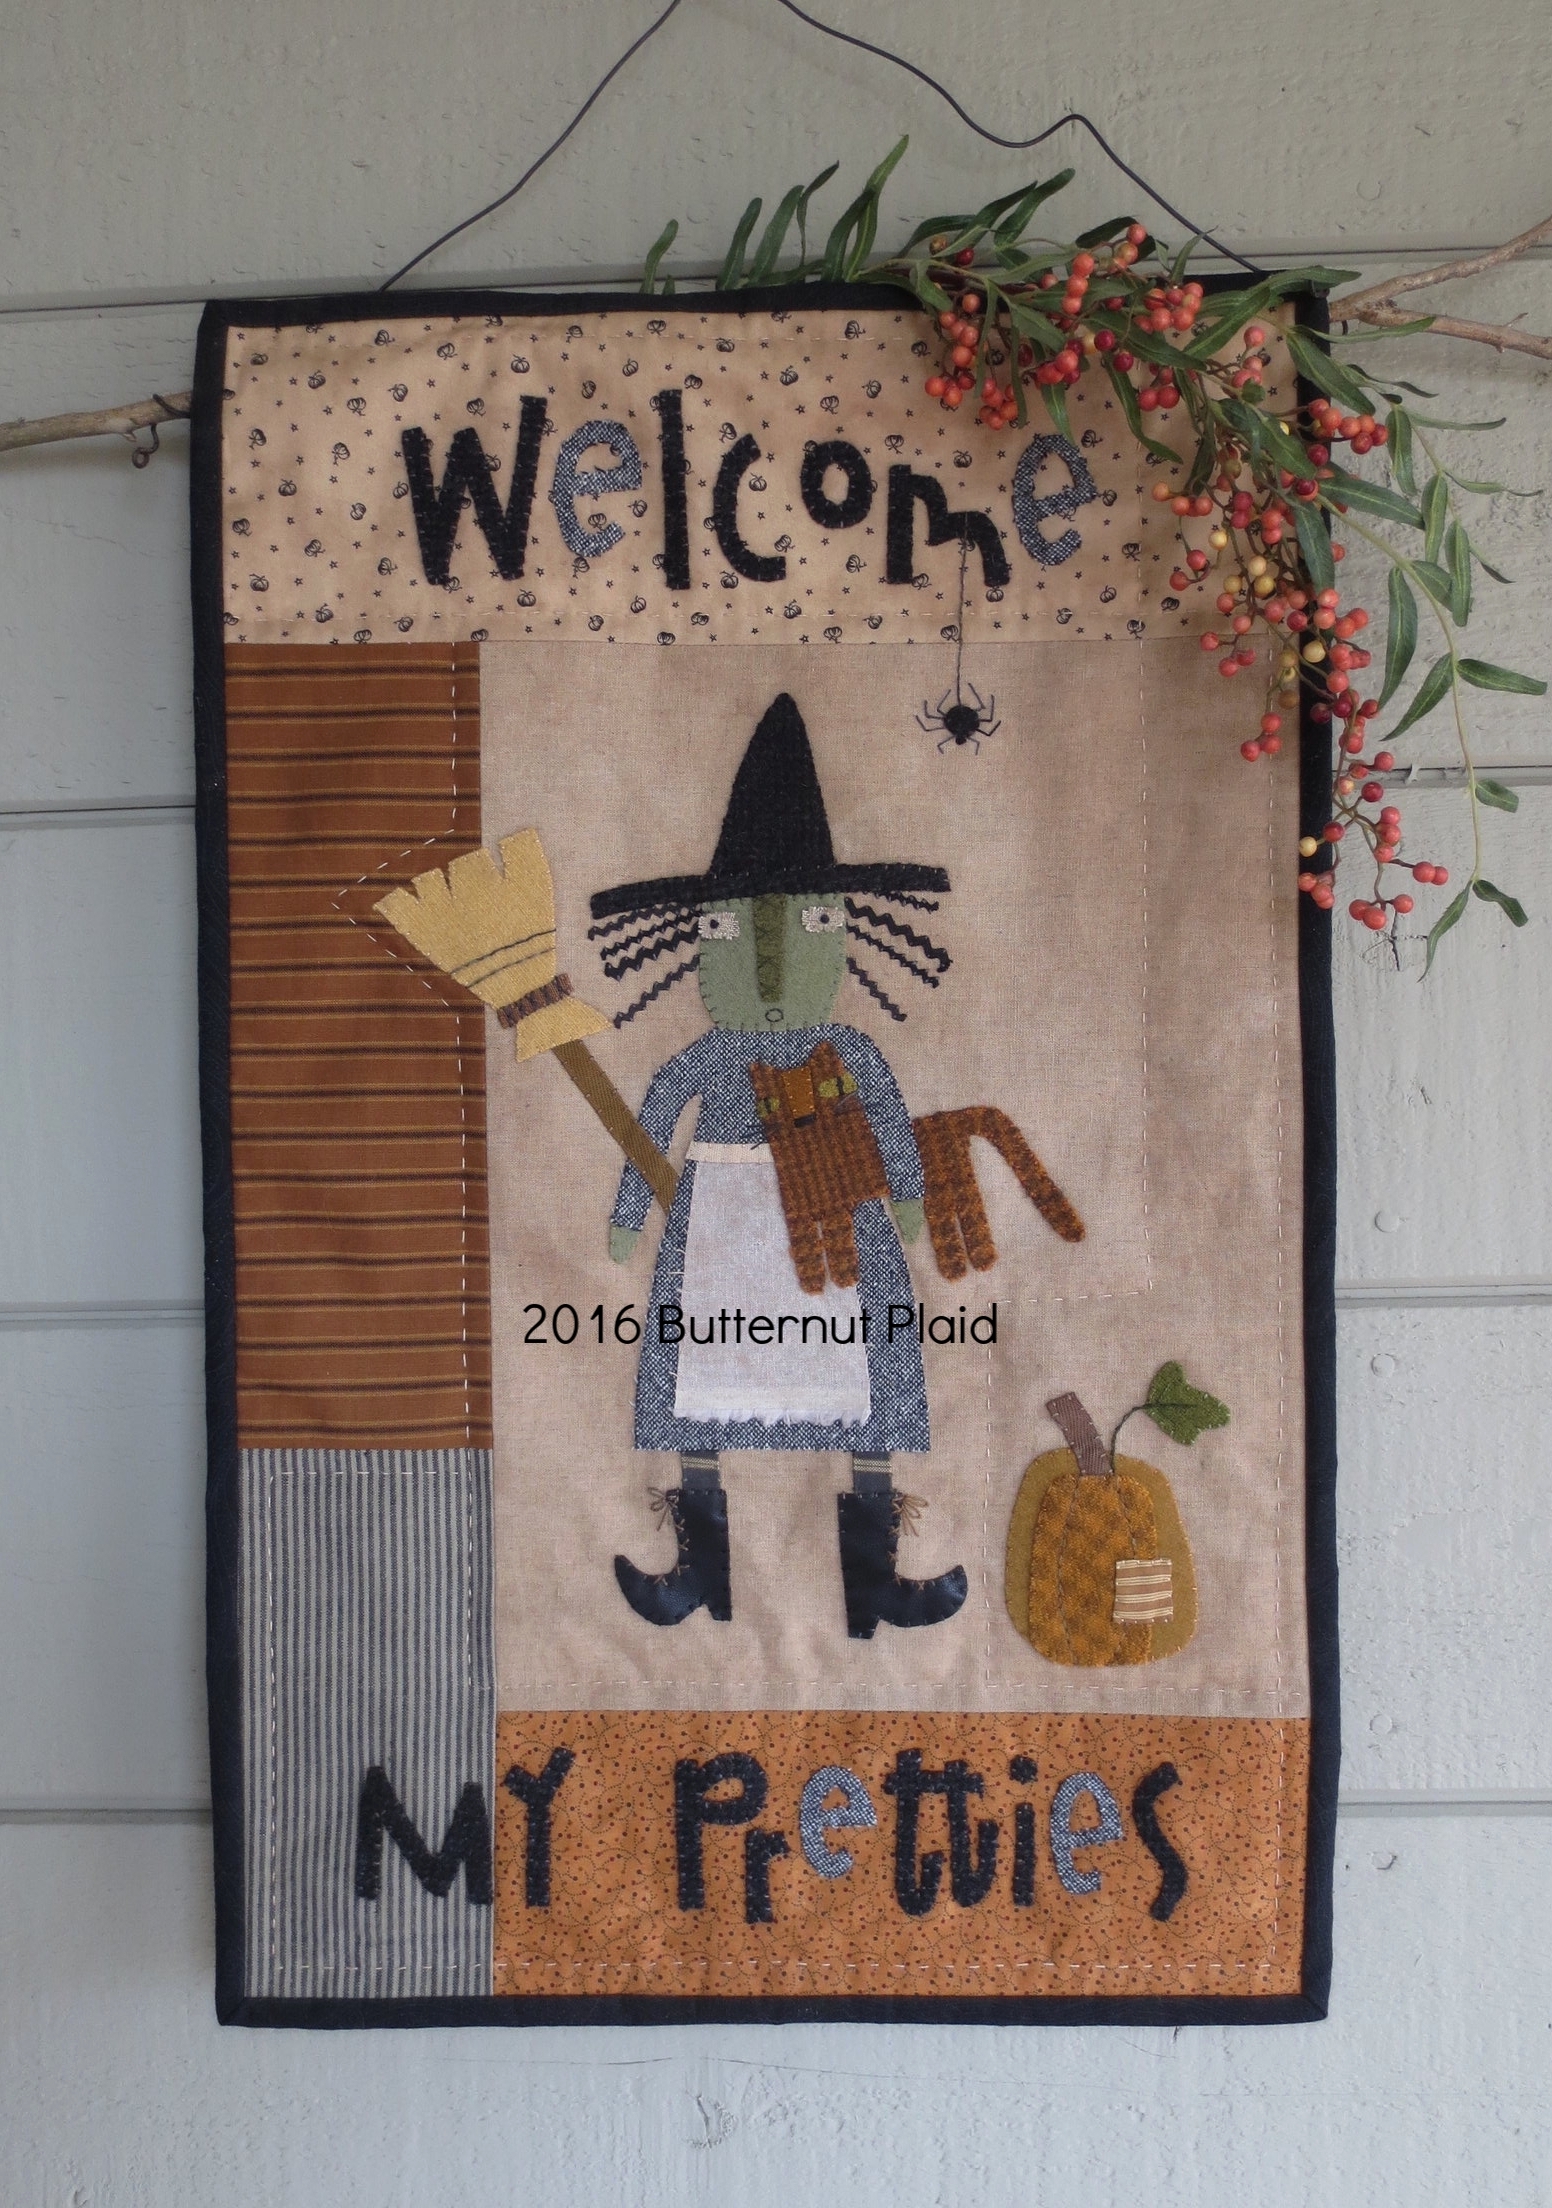
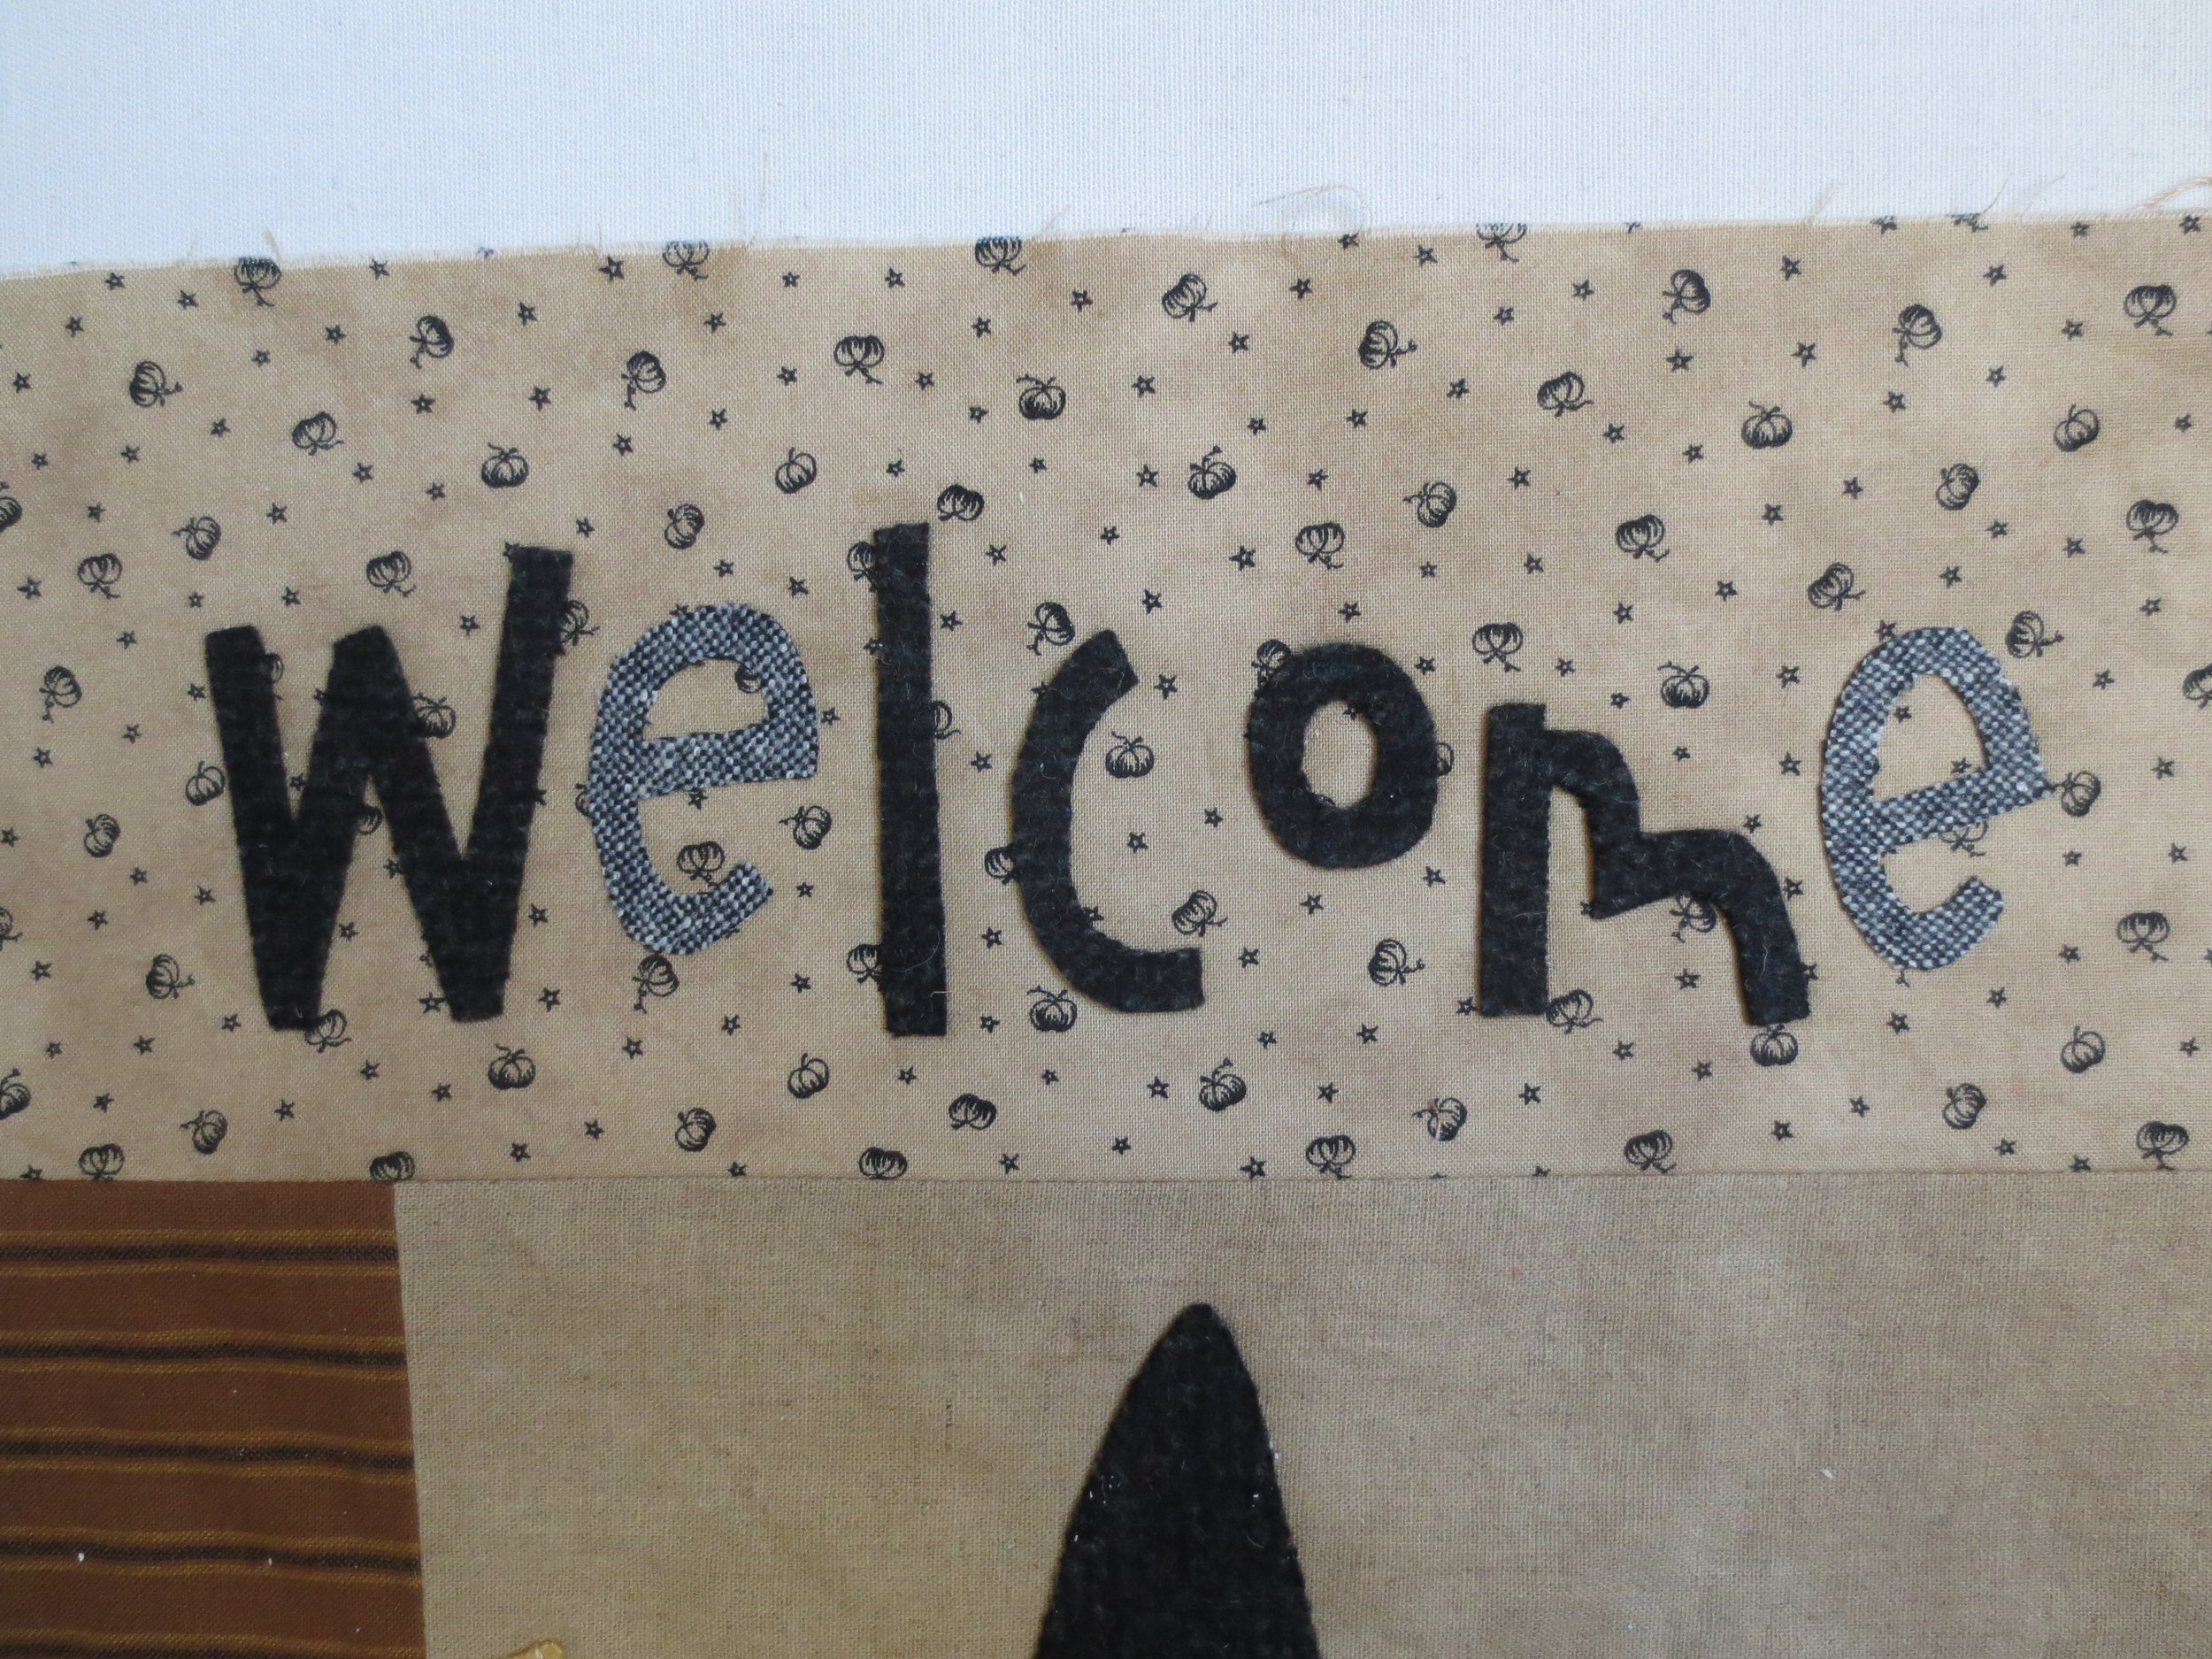
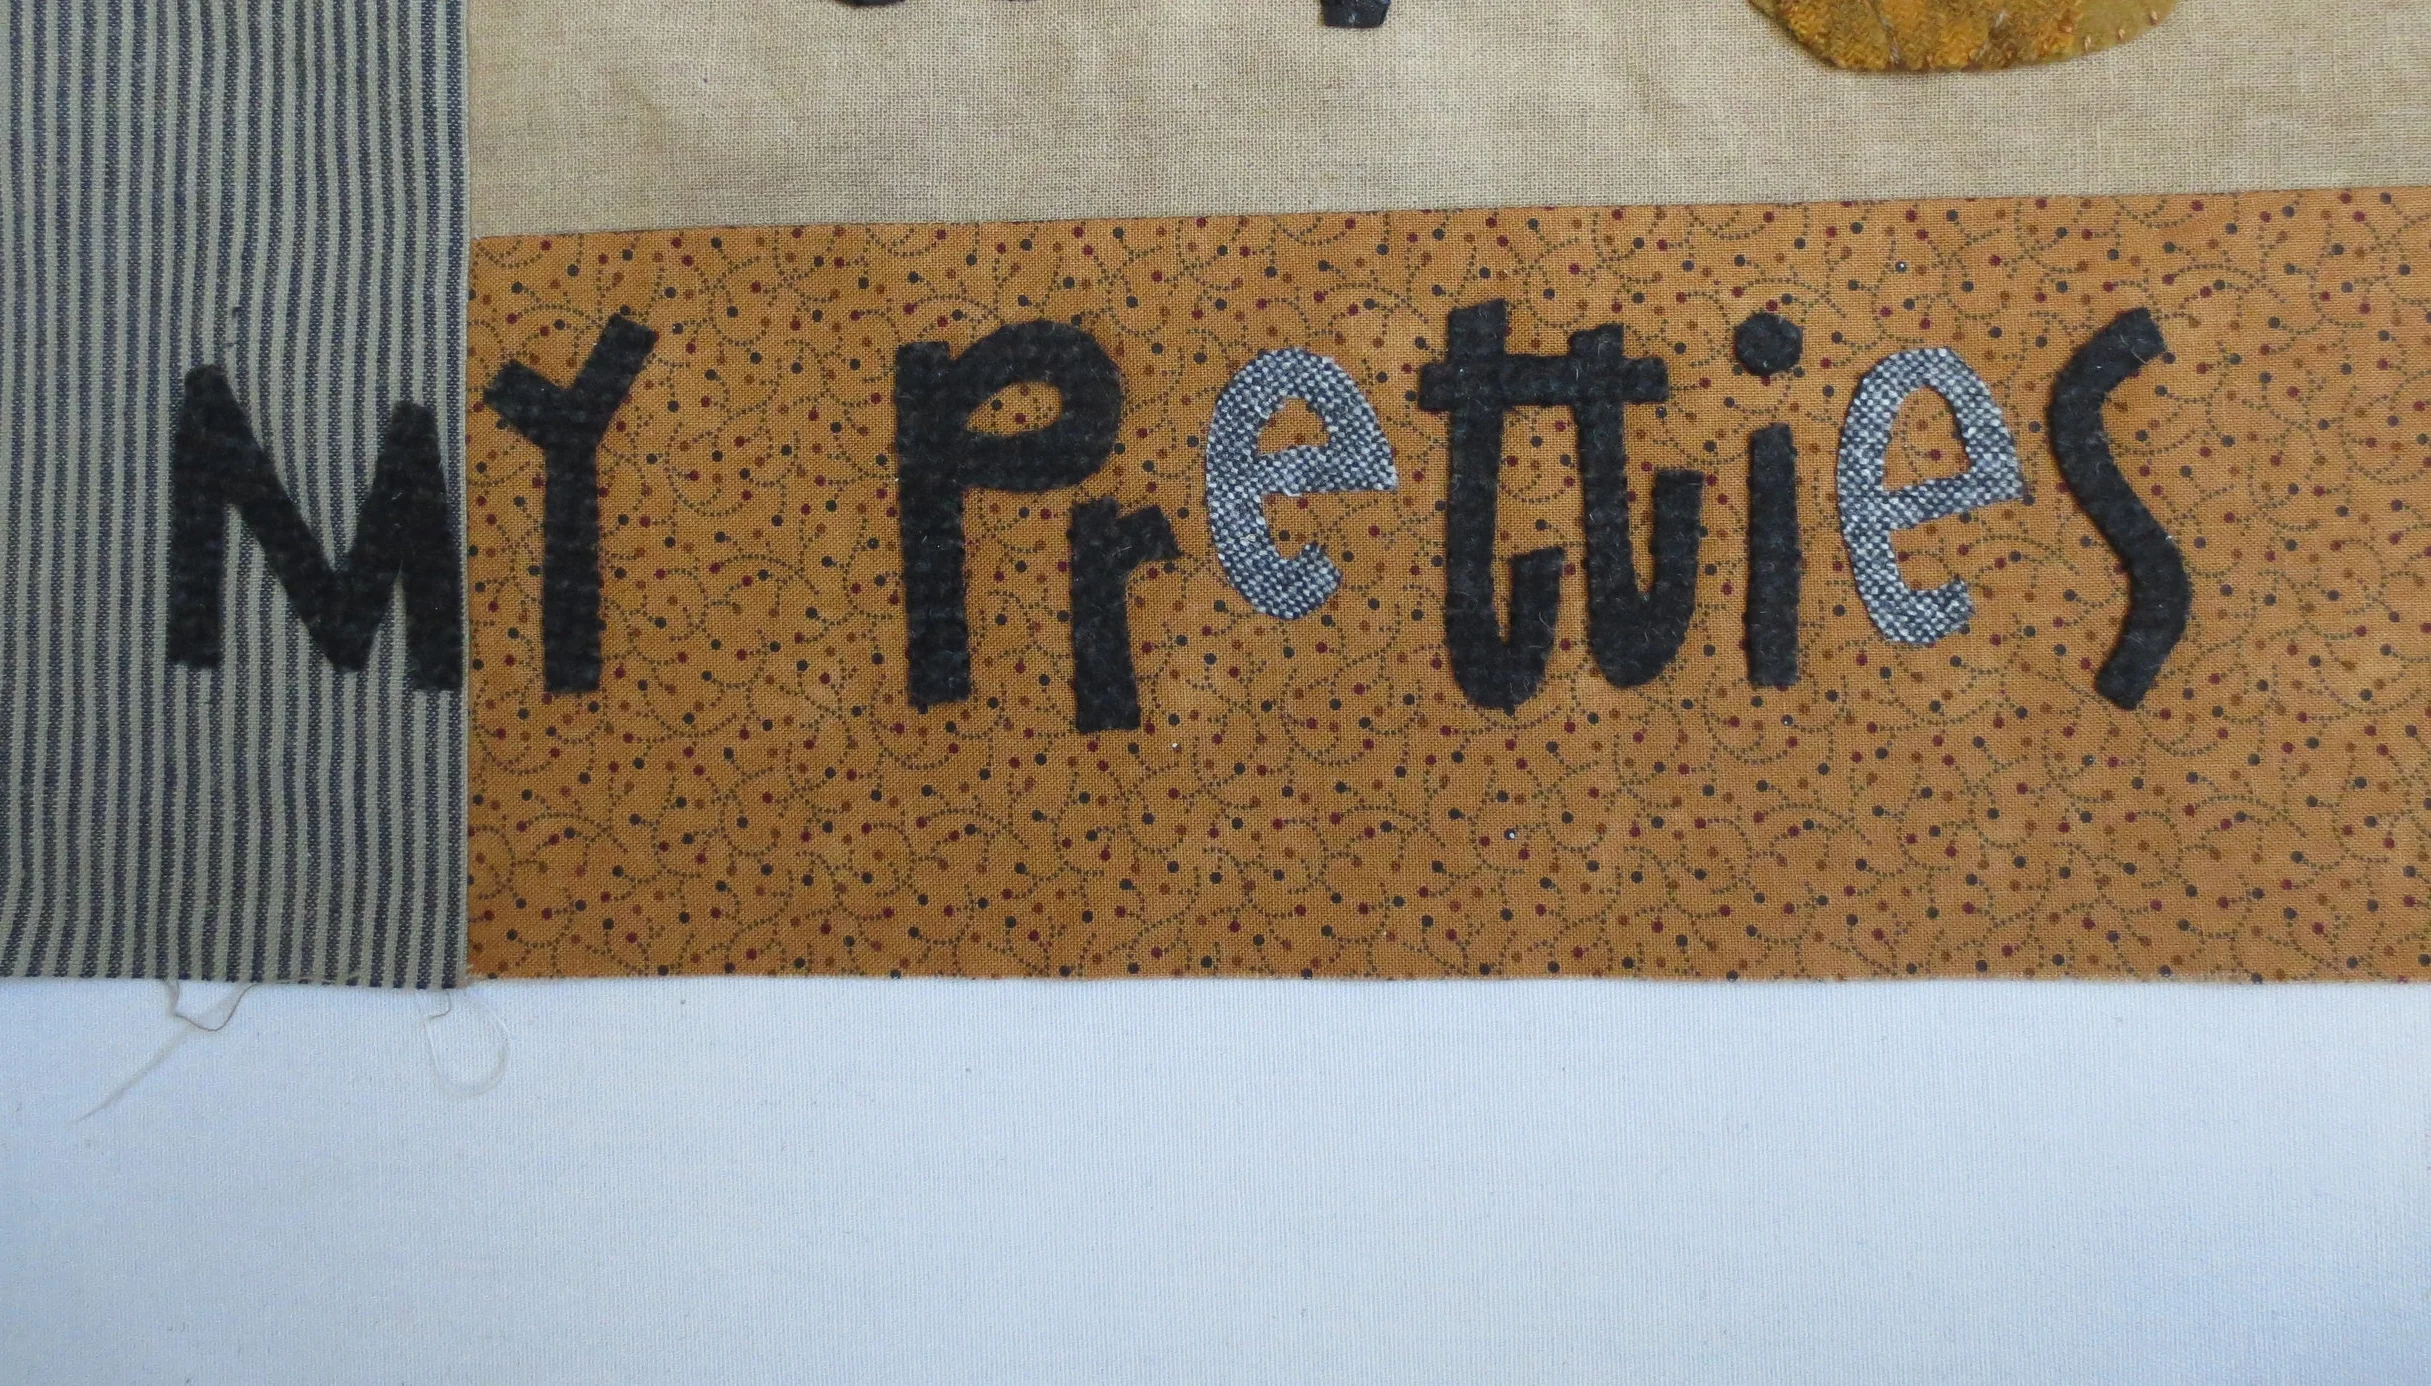
Welcome My Pretties
It's October already! Oh My!
I made this for my secret pal as a Halloween present. It's the second iteration of a witch sketch I made a while back. The first witch had some scary looking eyes that I just couldn't live with, so I tweeked it a bit and she seems to be a bit less scary. She was originally going to be a pillow, but I thought I'd mix it up by making a wall hanging instead. I still might make her into a pillow and pair her with a dapper pumpkin headed fellow.
I used rick rack for the hair and some leather I had from an old jacket for her boots. The apron is cut by placing the bottom edge on the fabric selvage to give a raggedy edge and is attached to the witch's dress at the waistband only so it flaps free.
Supplies
- Fabric (All fabrics are quilting cottons unless otherwise noted)
Background – Five different fabrics are needed.
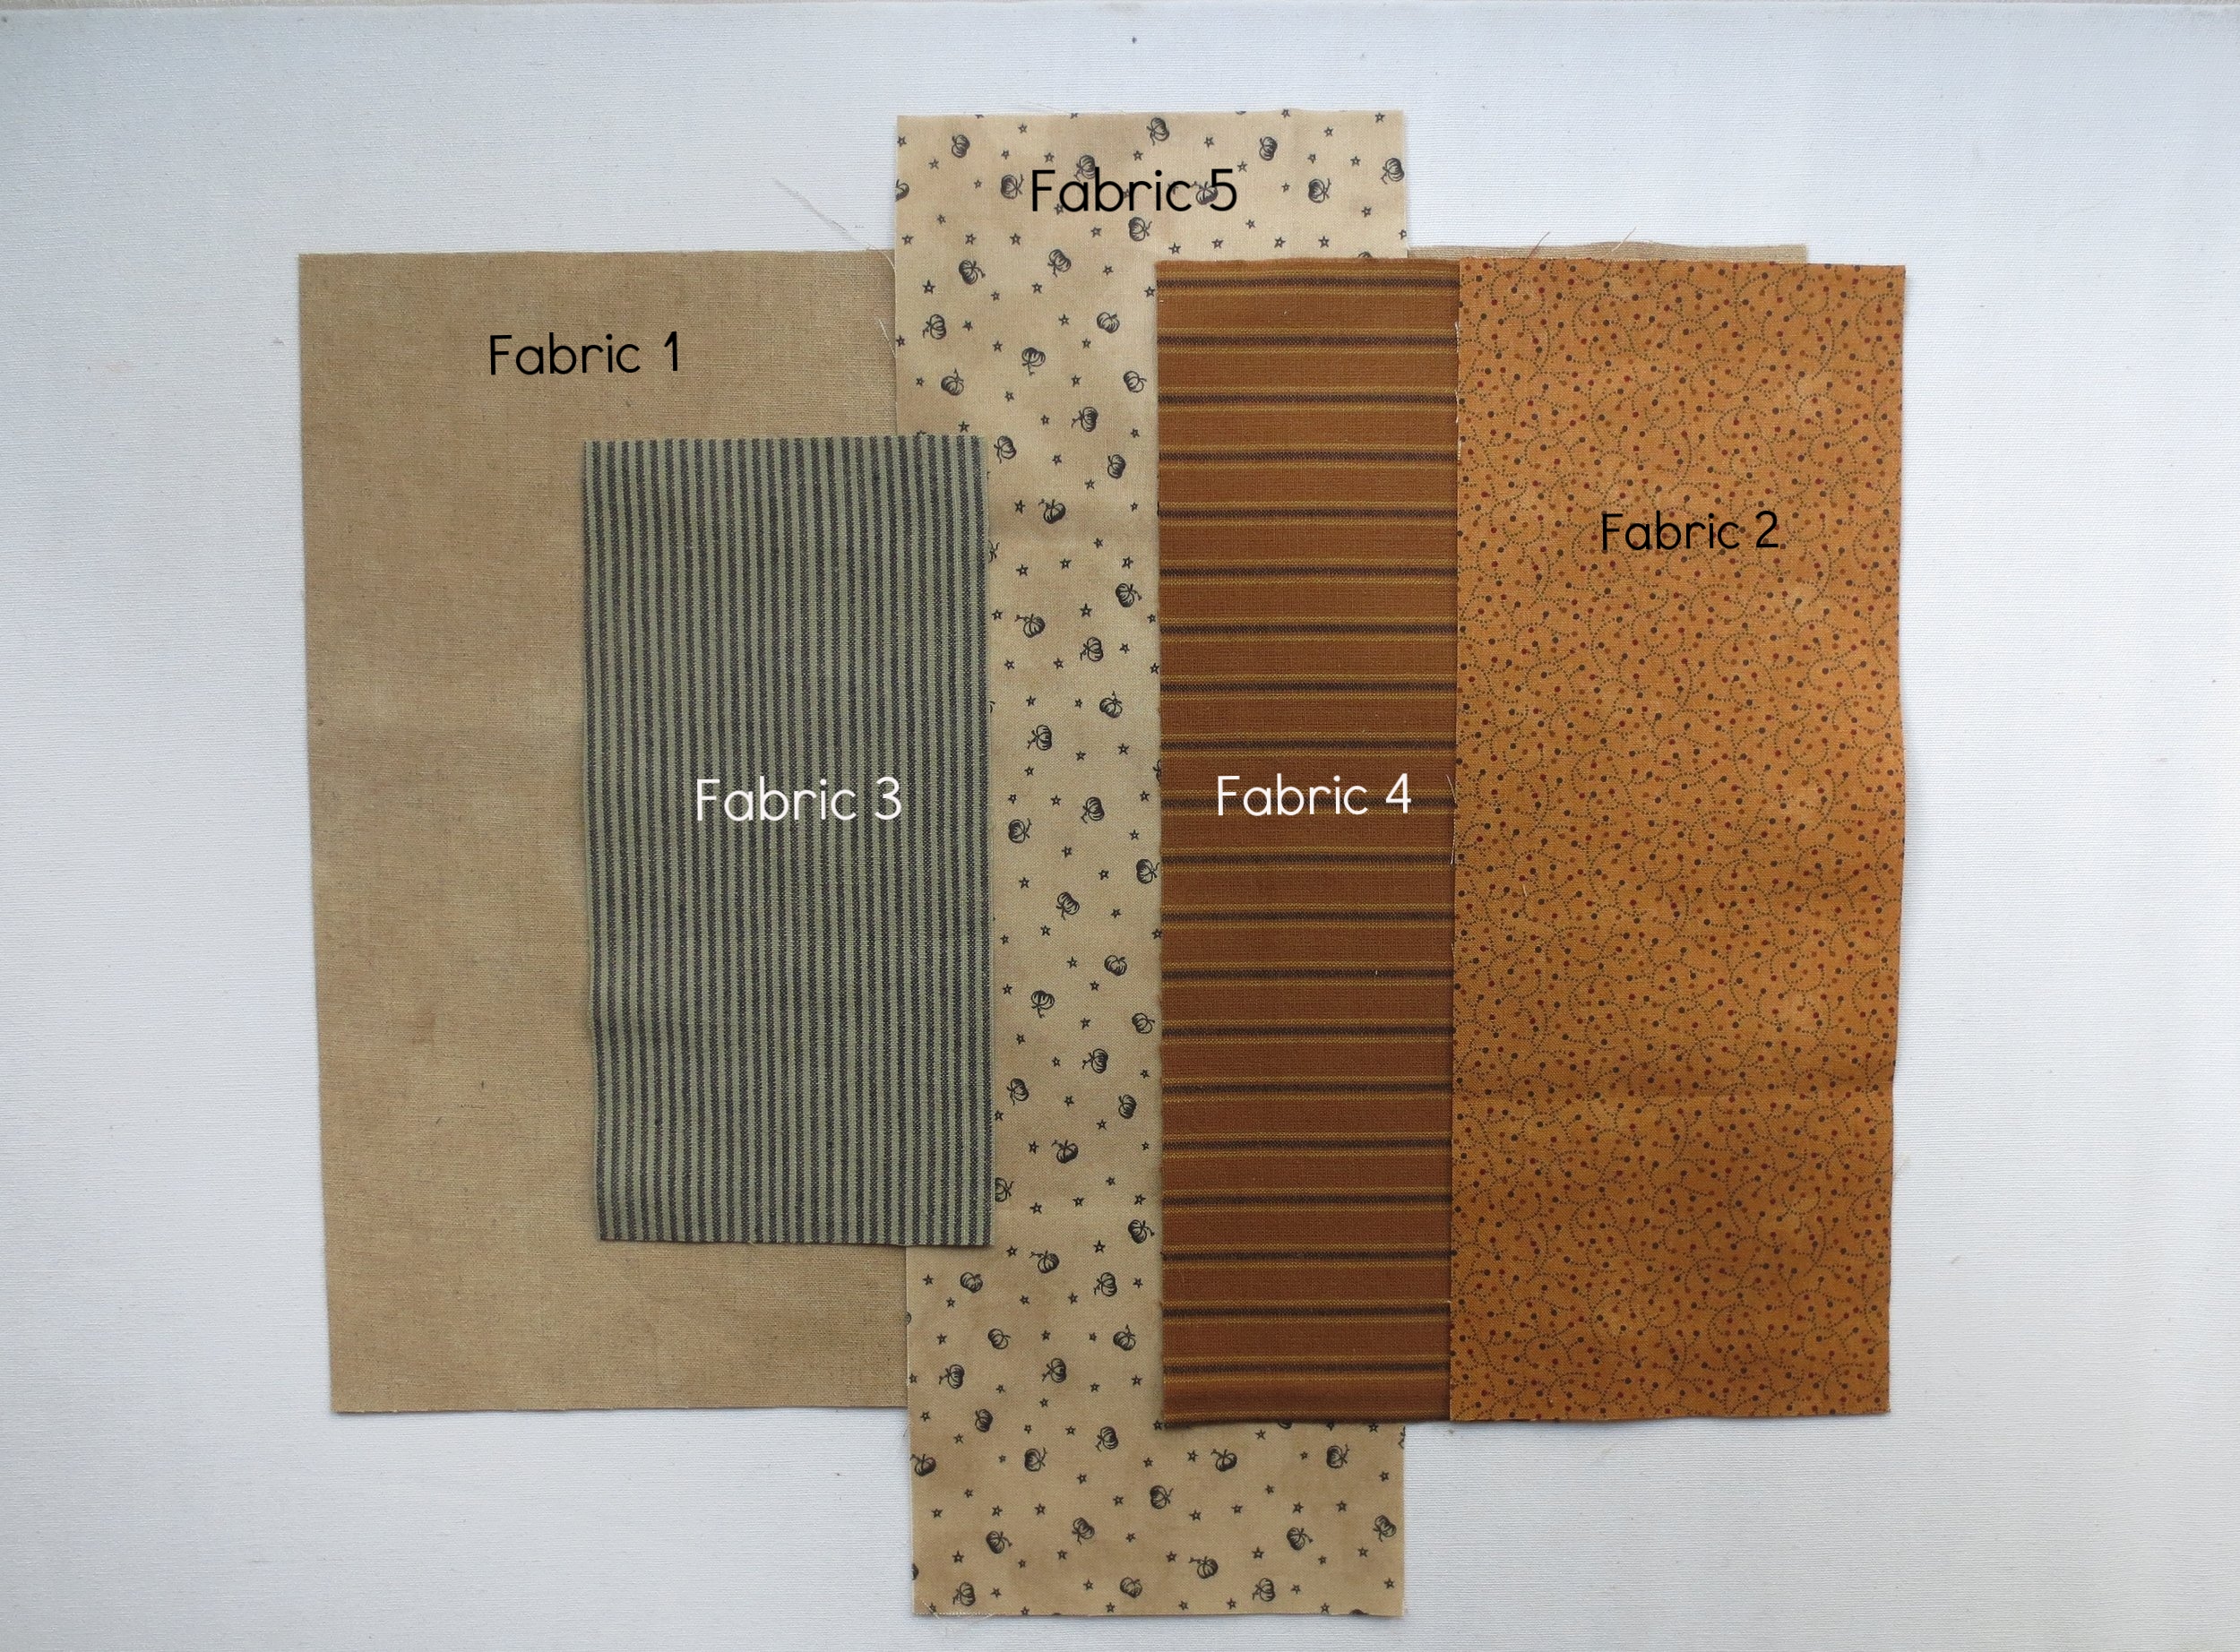
Background fabric for Welcome My Pretties Banner
Fabric 1 – One fat quarter of tan solid (I used walnut shell crystal dyed cotton-linen blend.)
Fabric 2 – One fat eighth orange print
Fabric 3 – One fat eighth grey/black stripe
Fabric 4 – One fat eighth orange stripe
Fabric 5 – One fat eighth tan/black print
Backing, binding, and sleeve – ¾ yard black with subtle print
Pumpkin patch – small scrap of orange stripe at least 1” square
Apron – 3 ½“ x 4” unbleached linen or muslin that includes the selvage edge
Witch’s eyes – 1” square of unbleached coarse weave linen or osnaburg(Apron fabric can be used as long as it is a coarse weave.)
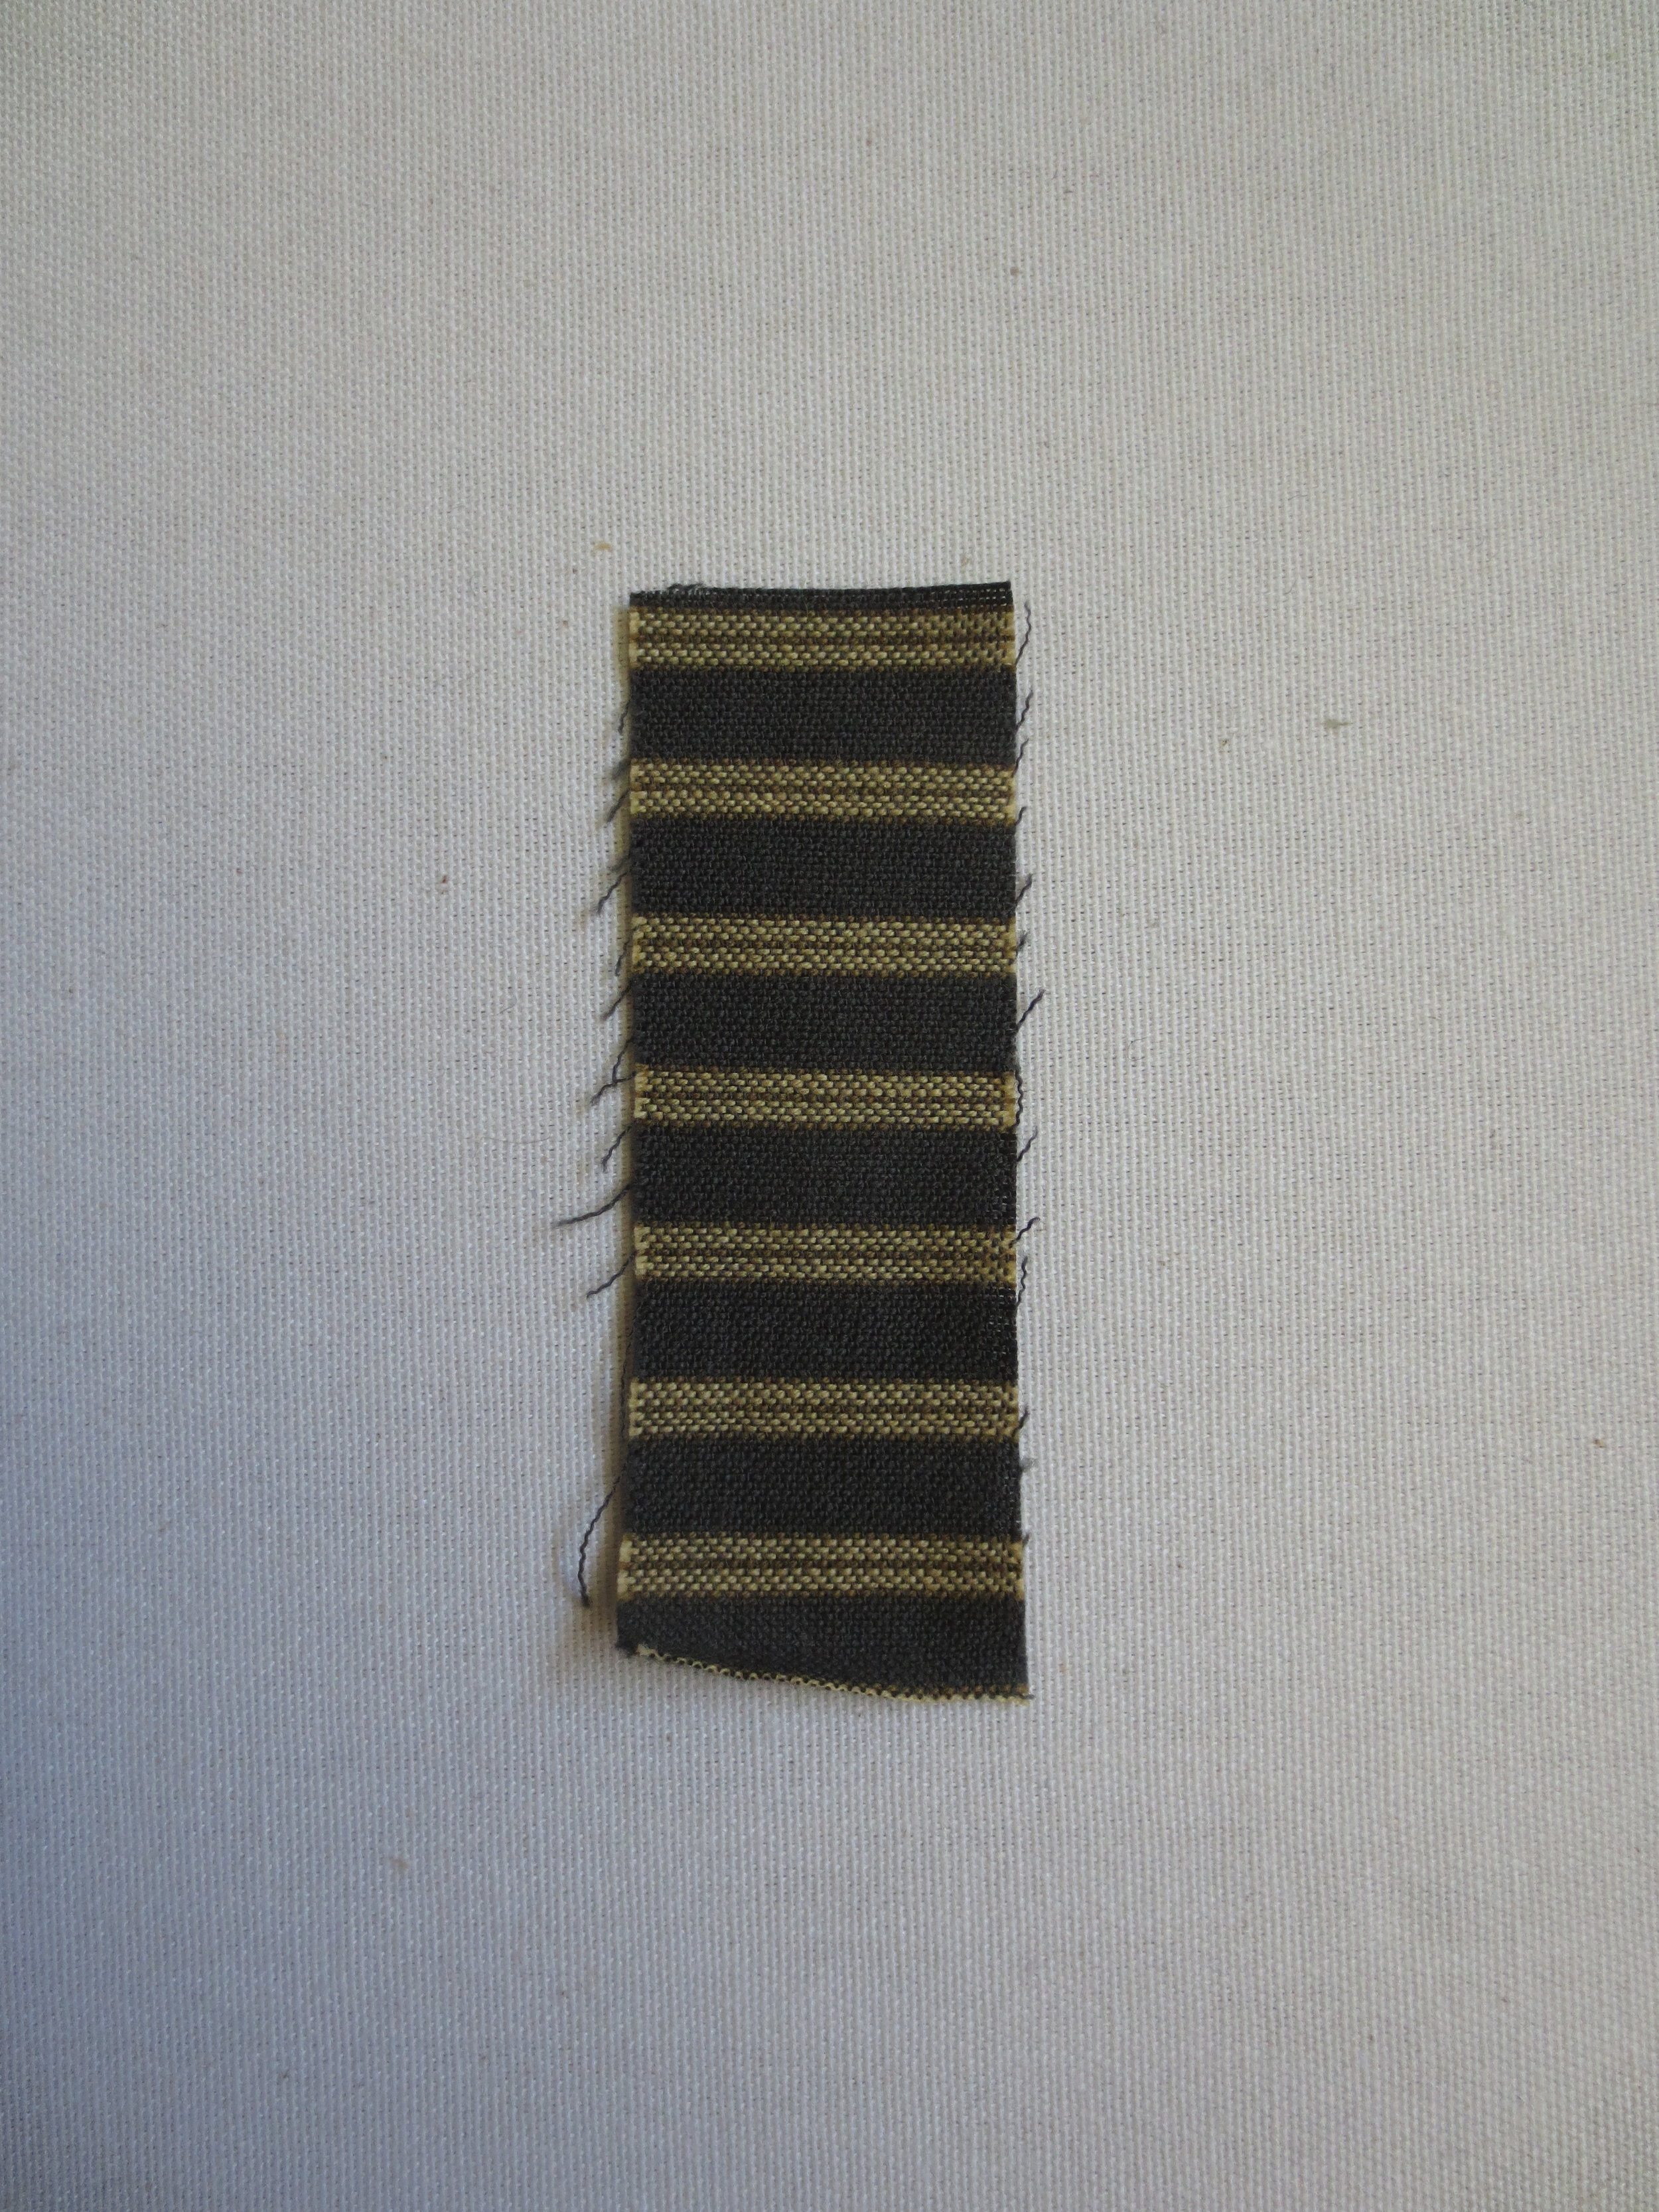
Witch’s legs - 1” x 3” green stripe
- Wool – Try to use felted wool whenever possible, particularly for small shapes.
Hat, letters, spider – 4” x 12” black
Face and Hands – 3” square pale army green
Witch's nose – 1” x 2” medium army green
Cat – 4” x 4 ½” orange plaid
Cat's nose – 1” square orange
Cat's eyes – 1” green/gold
Dress and “e” letters – 7" square of black/white tweed
Pumpkin A – 3” x 3 ½” light orange
Pumpkin B – 2 ½” x 3 ½” orange plaid
Pumpkin leaf – 1 ½” square green
Broom – 3” x 4” straw
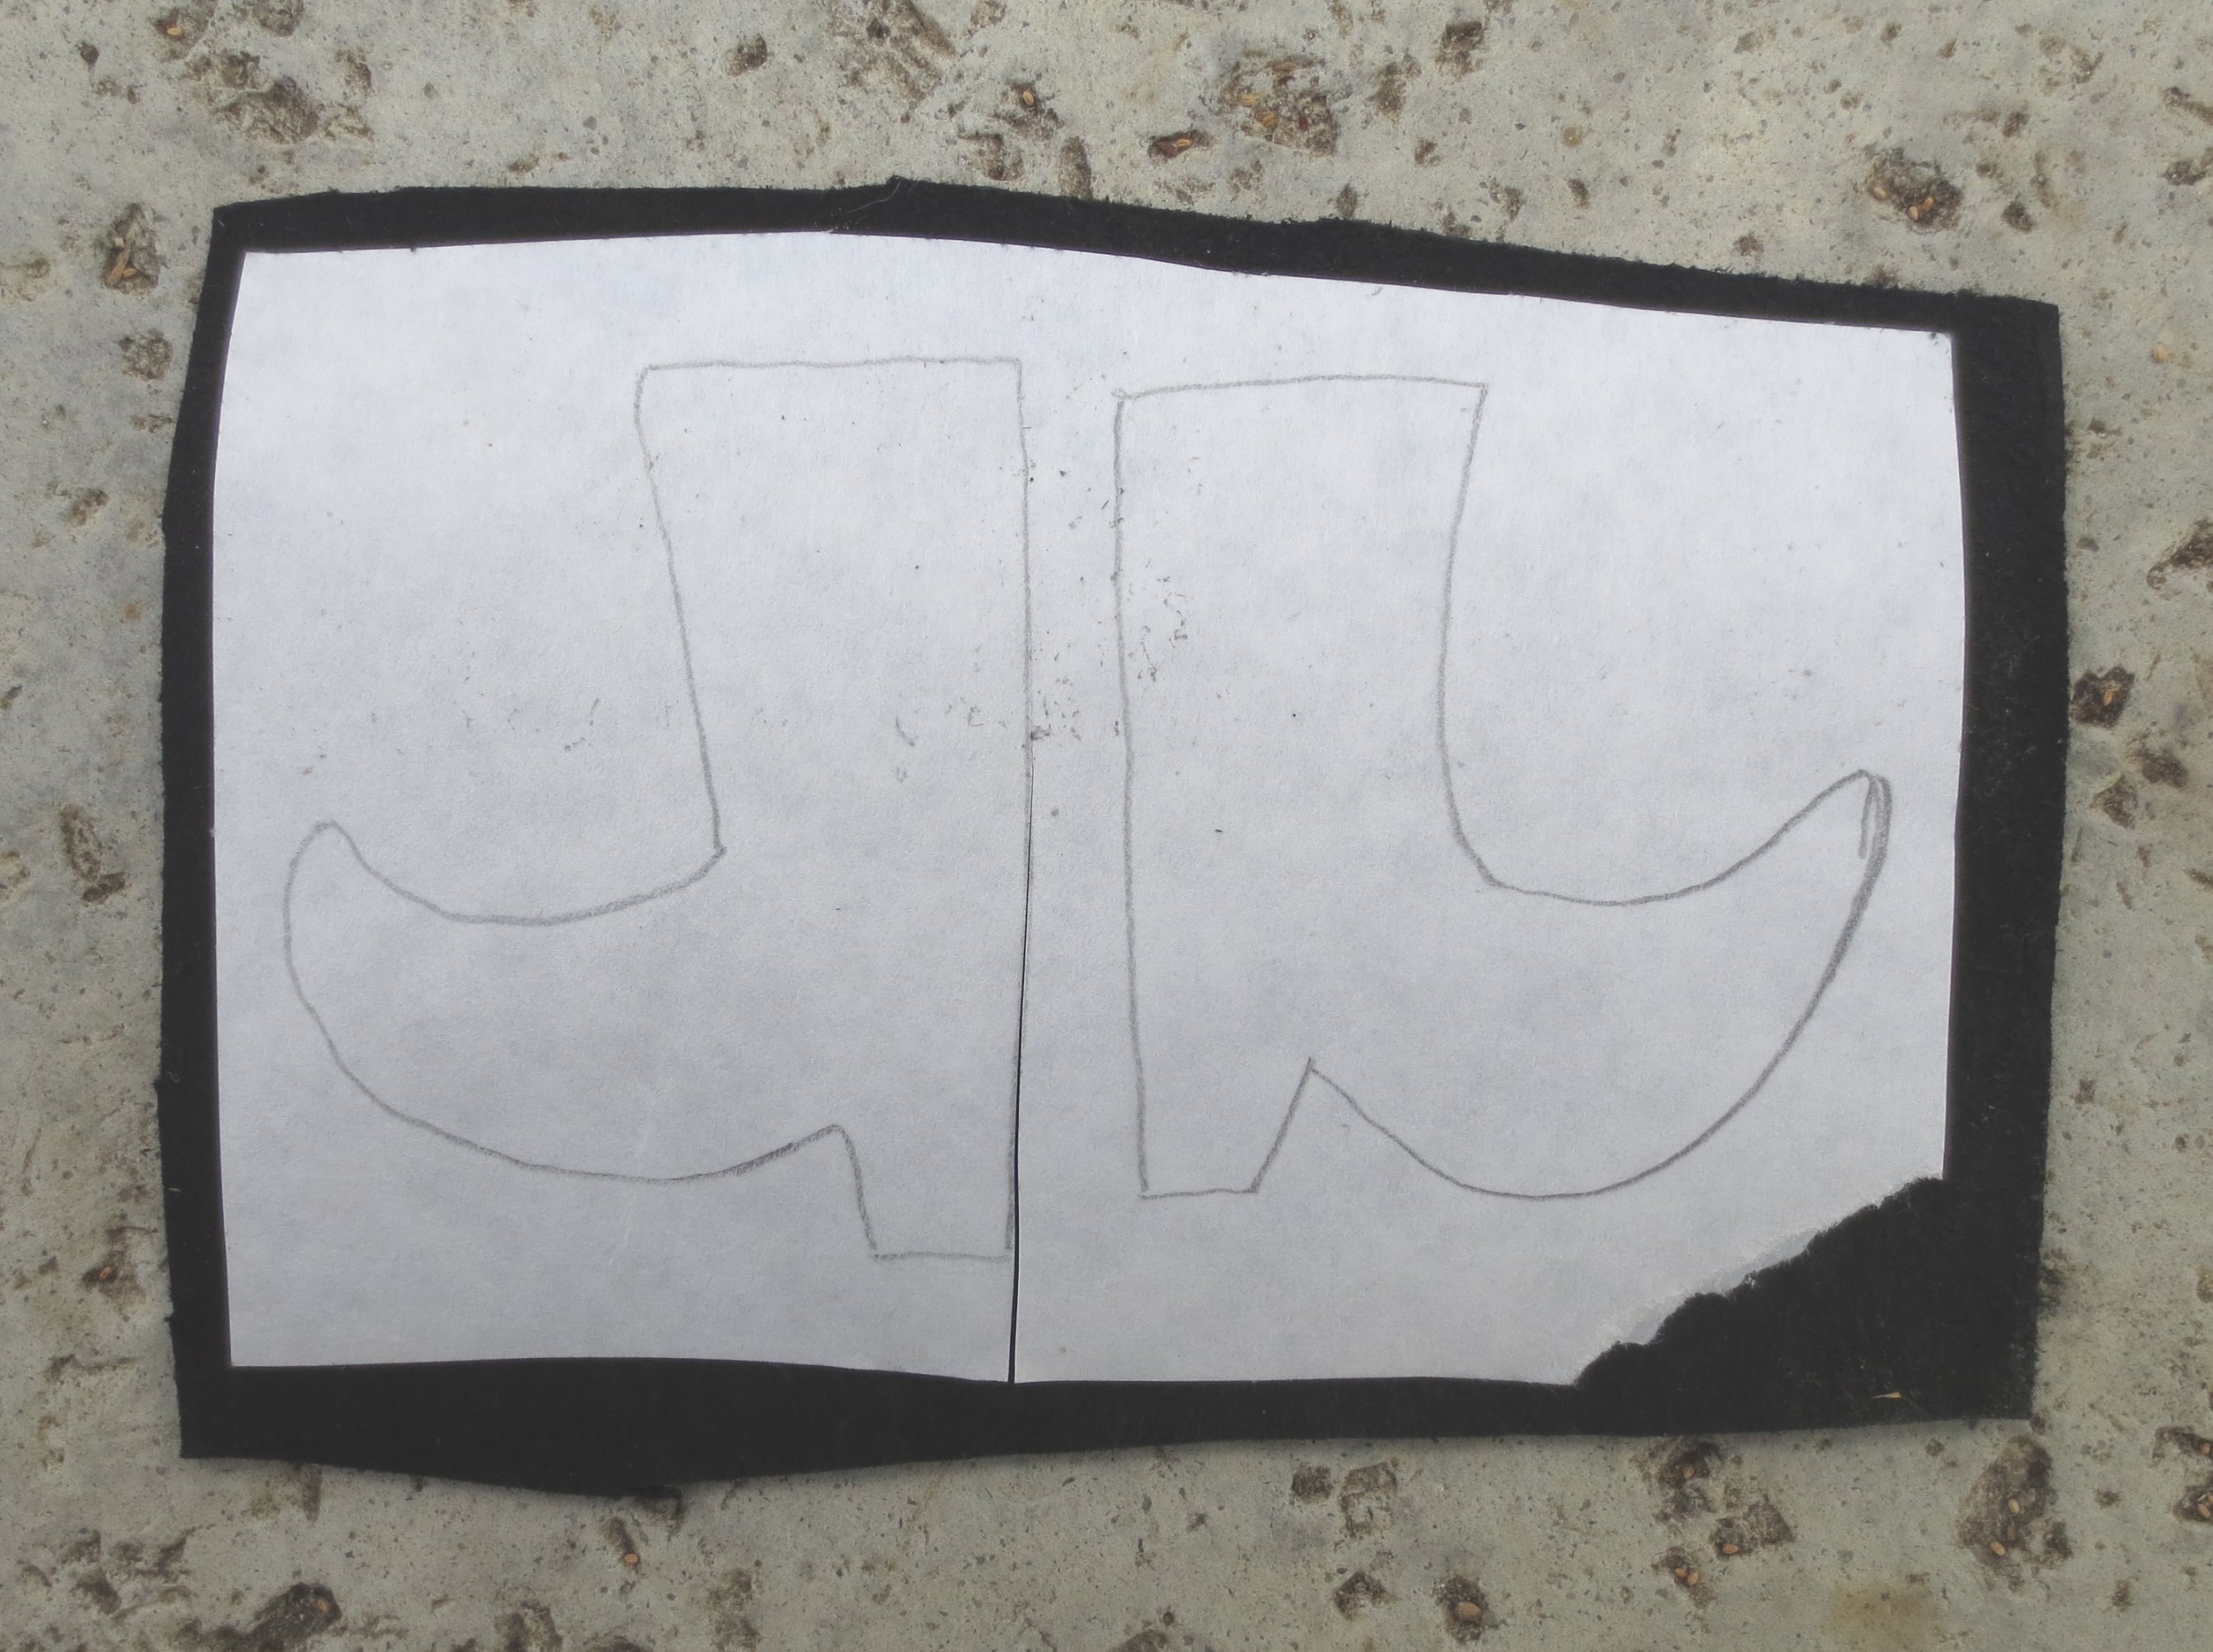
Boots – 2 ½” x 4” black (An optional choice is black leather)
- Thread
Perle cotton, size 12 in colors that match wool and ribbon colors (I used Valdani perle cotton.)
Witch’s eyes - Perle cotton, size 8, black or dark gray
Quilting thread – I used Aurifil cotton thread, size 12, color #2314
Thread for sewing machine – off white and black
- Miscellaneous
Pumpkin Stem - 1 ½” length of 3/8” wide brown twill ribbon
Broom band – 1 ½” length of ¼” wide brown cotton ribbon
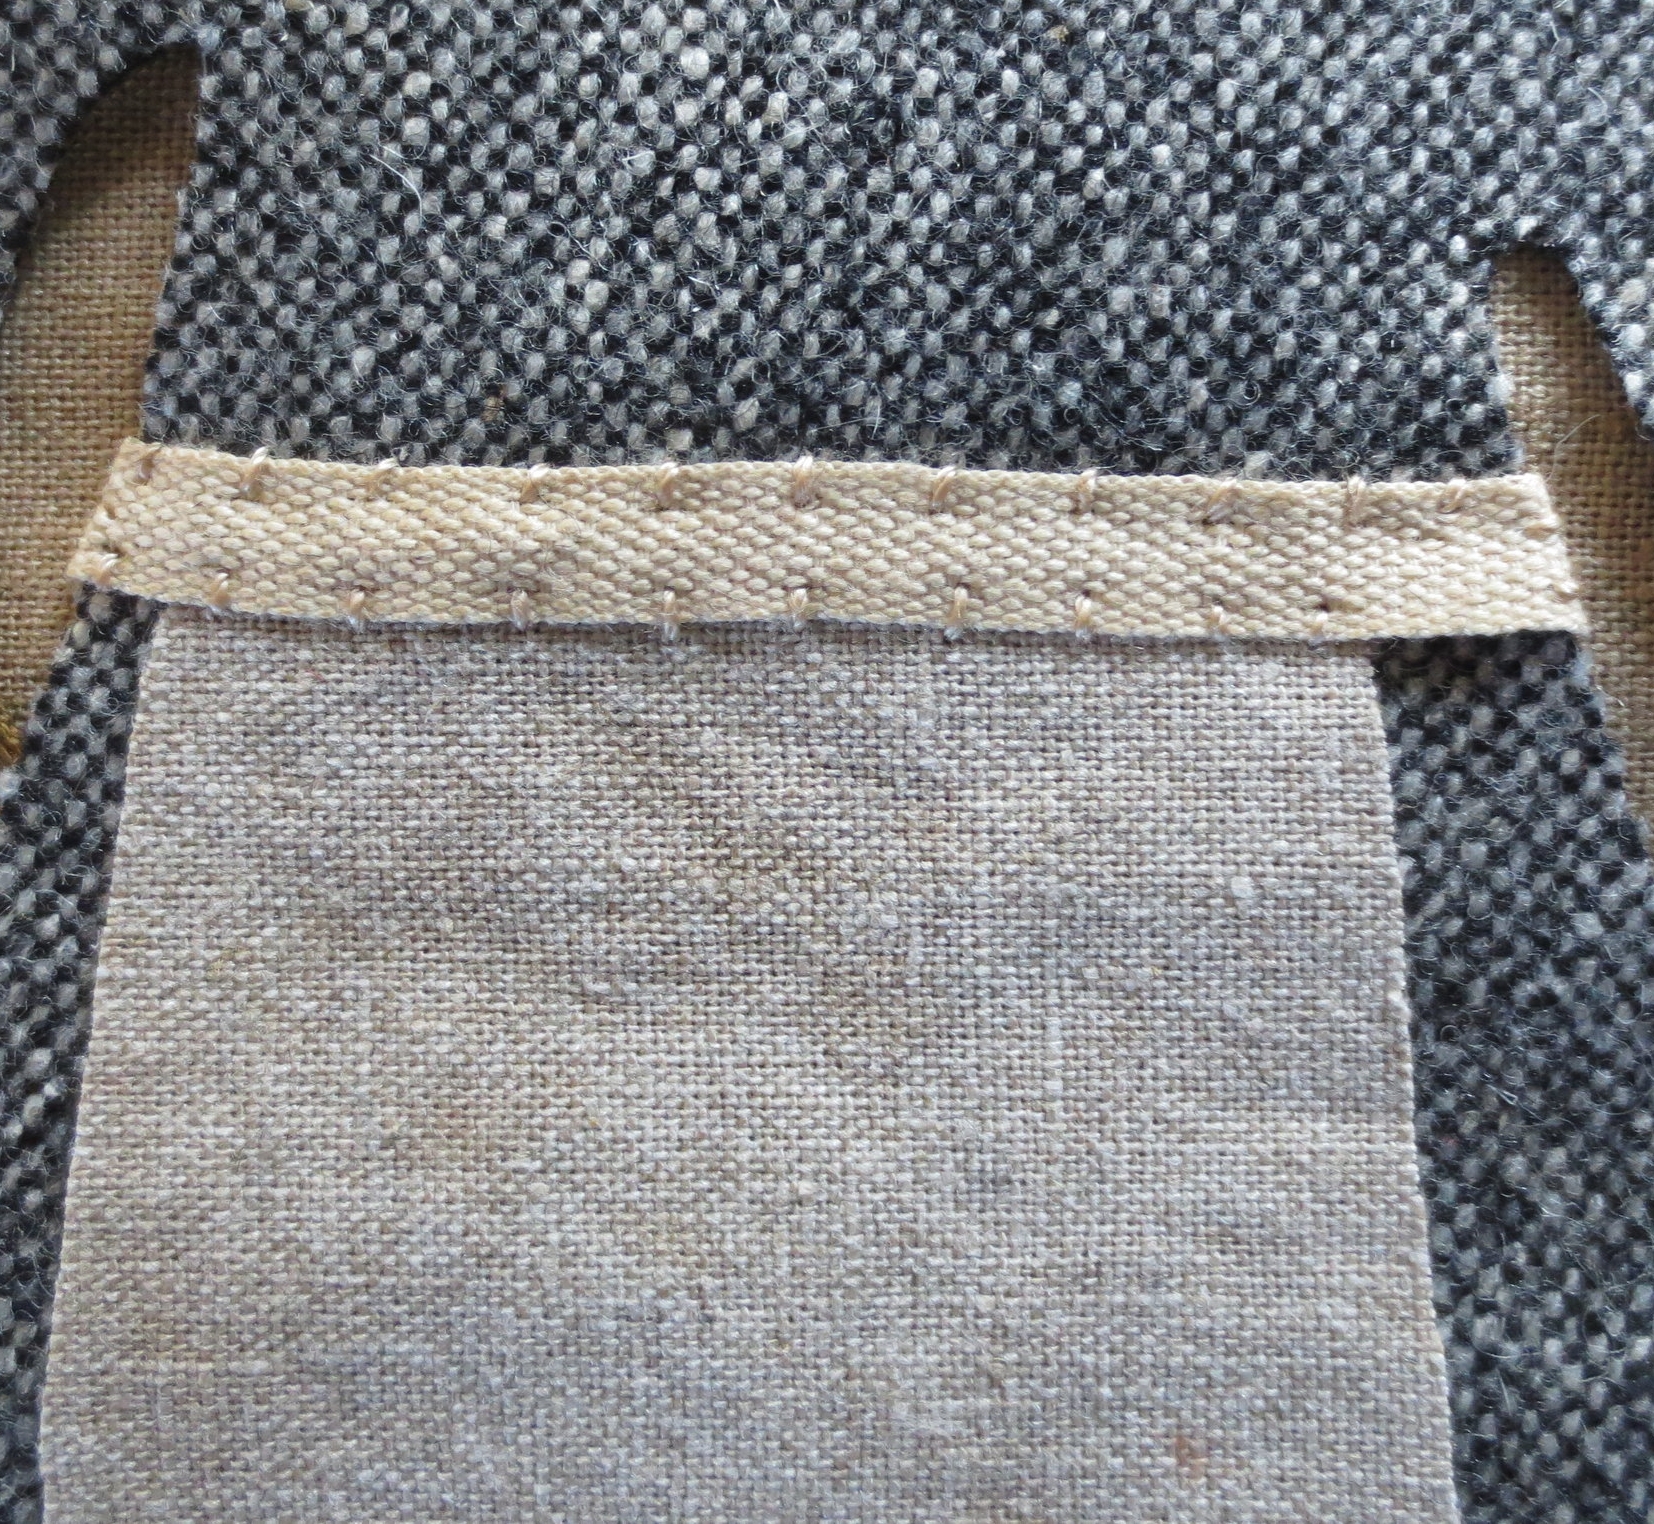
Apron waistband – 3 1/2" length of ¼” natural colored cotton ribbon
Broom Stick – 4” length of 3/8” wide brown twill ribbon
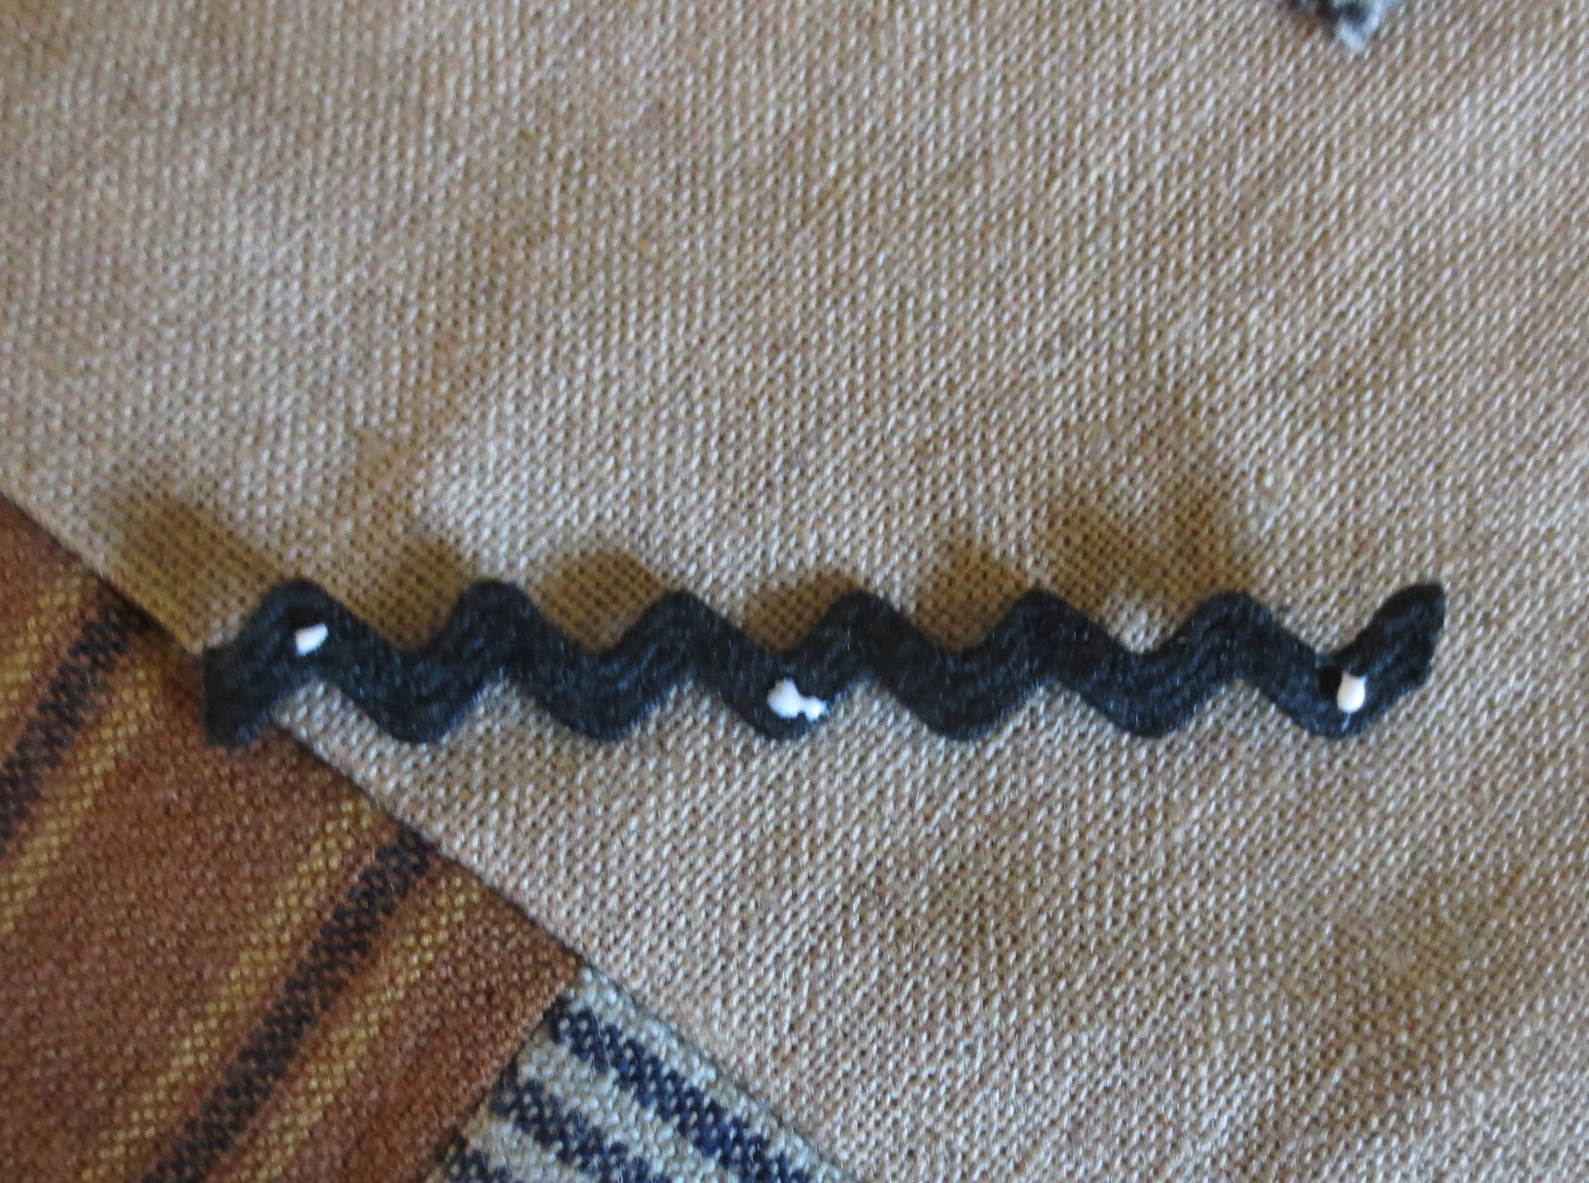
Witch’s hair – 1/3 yard each of 3/16” and ¼” baby rick rack /black (http://www.sewbizfabrics.com/CottonRR.shtml)
Batting or fusible fleece – 18” x 30”
Chenille needle, size 24
Featherweight fusible web
Freezer paper
Roxanne's Glue Baste-it
Fine point chalk pencil
Temporary Fabric adhesive spray - 505 Spray And Fix (optional)
Steam iron
Sewing machine
Rotary cutter and cutting mat
Instructions
1. Download Welcome My Pretties Layout, Pattern #1, Pattern #2, Pattern #3, Butternut Stitch Guide.
2. Background Assembly
- Cut the five background fabrics as follows:
- Fabric #1 - 11 1/2" x 15"
- Fabric #2 - 4 1/2" x 11 1/2"
- Fabric #3 - 4" x 8"
- Fabric #4 - 4" x 11 1/2"
- Fabric #5 - 5" x 15"
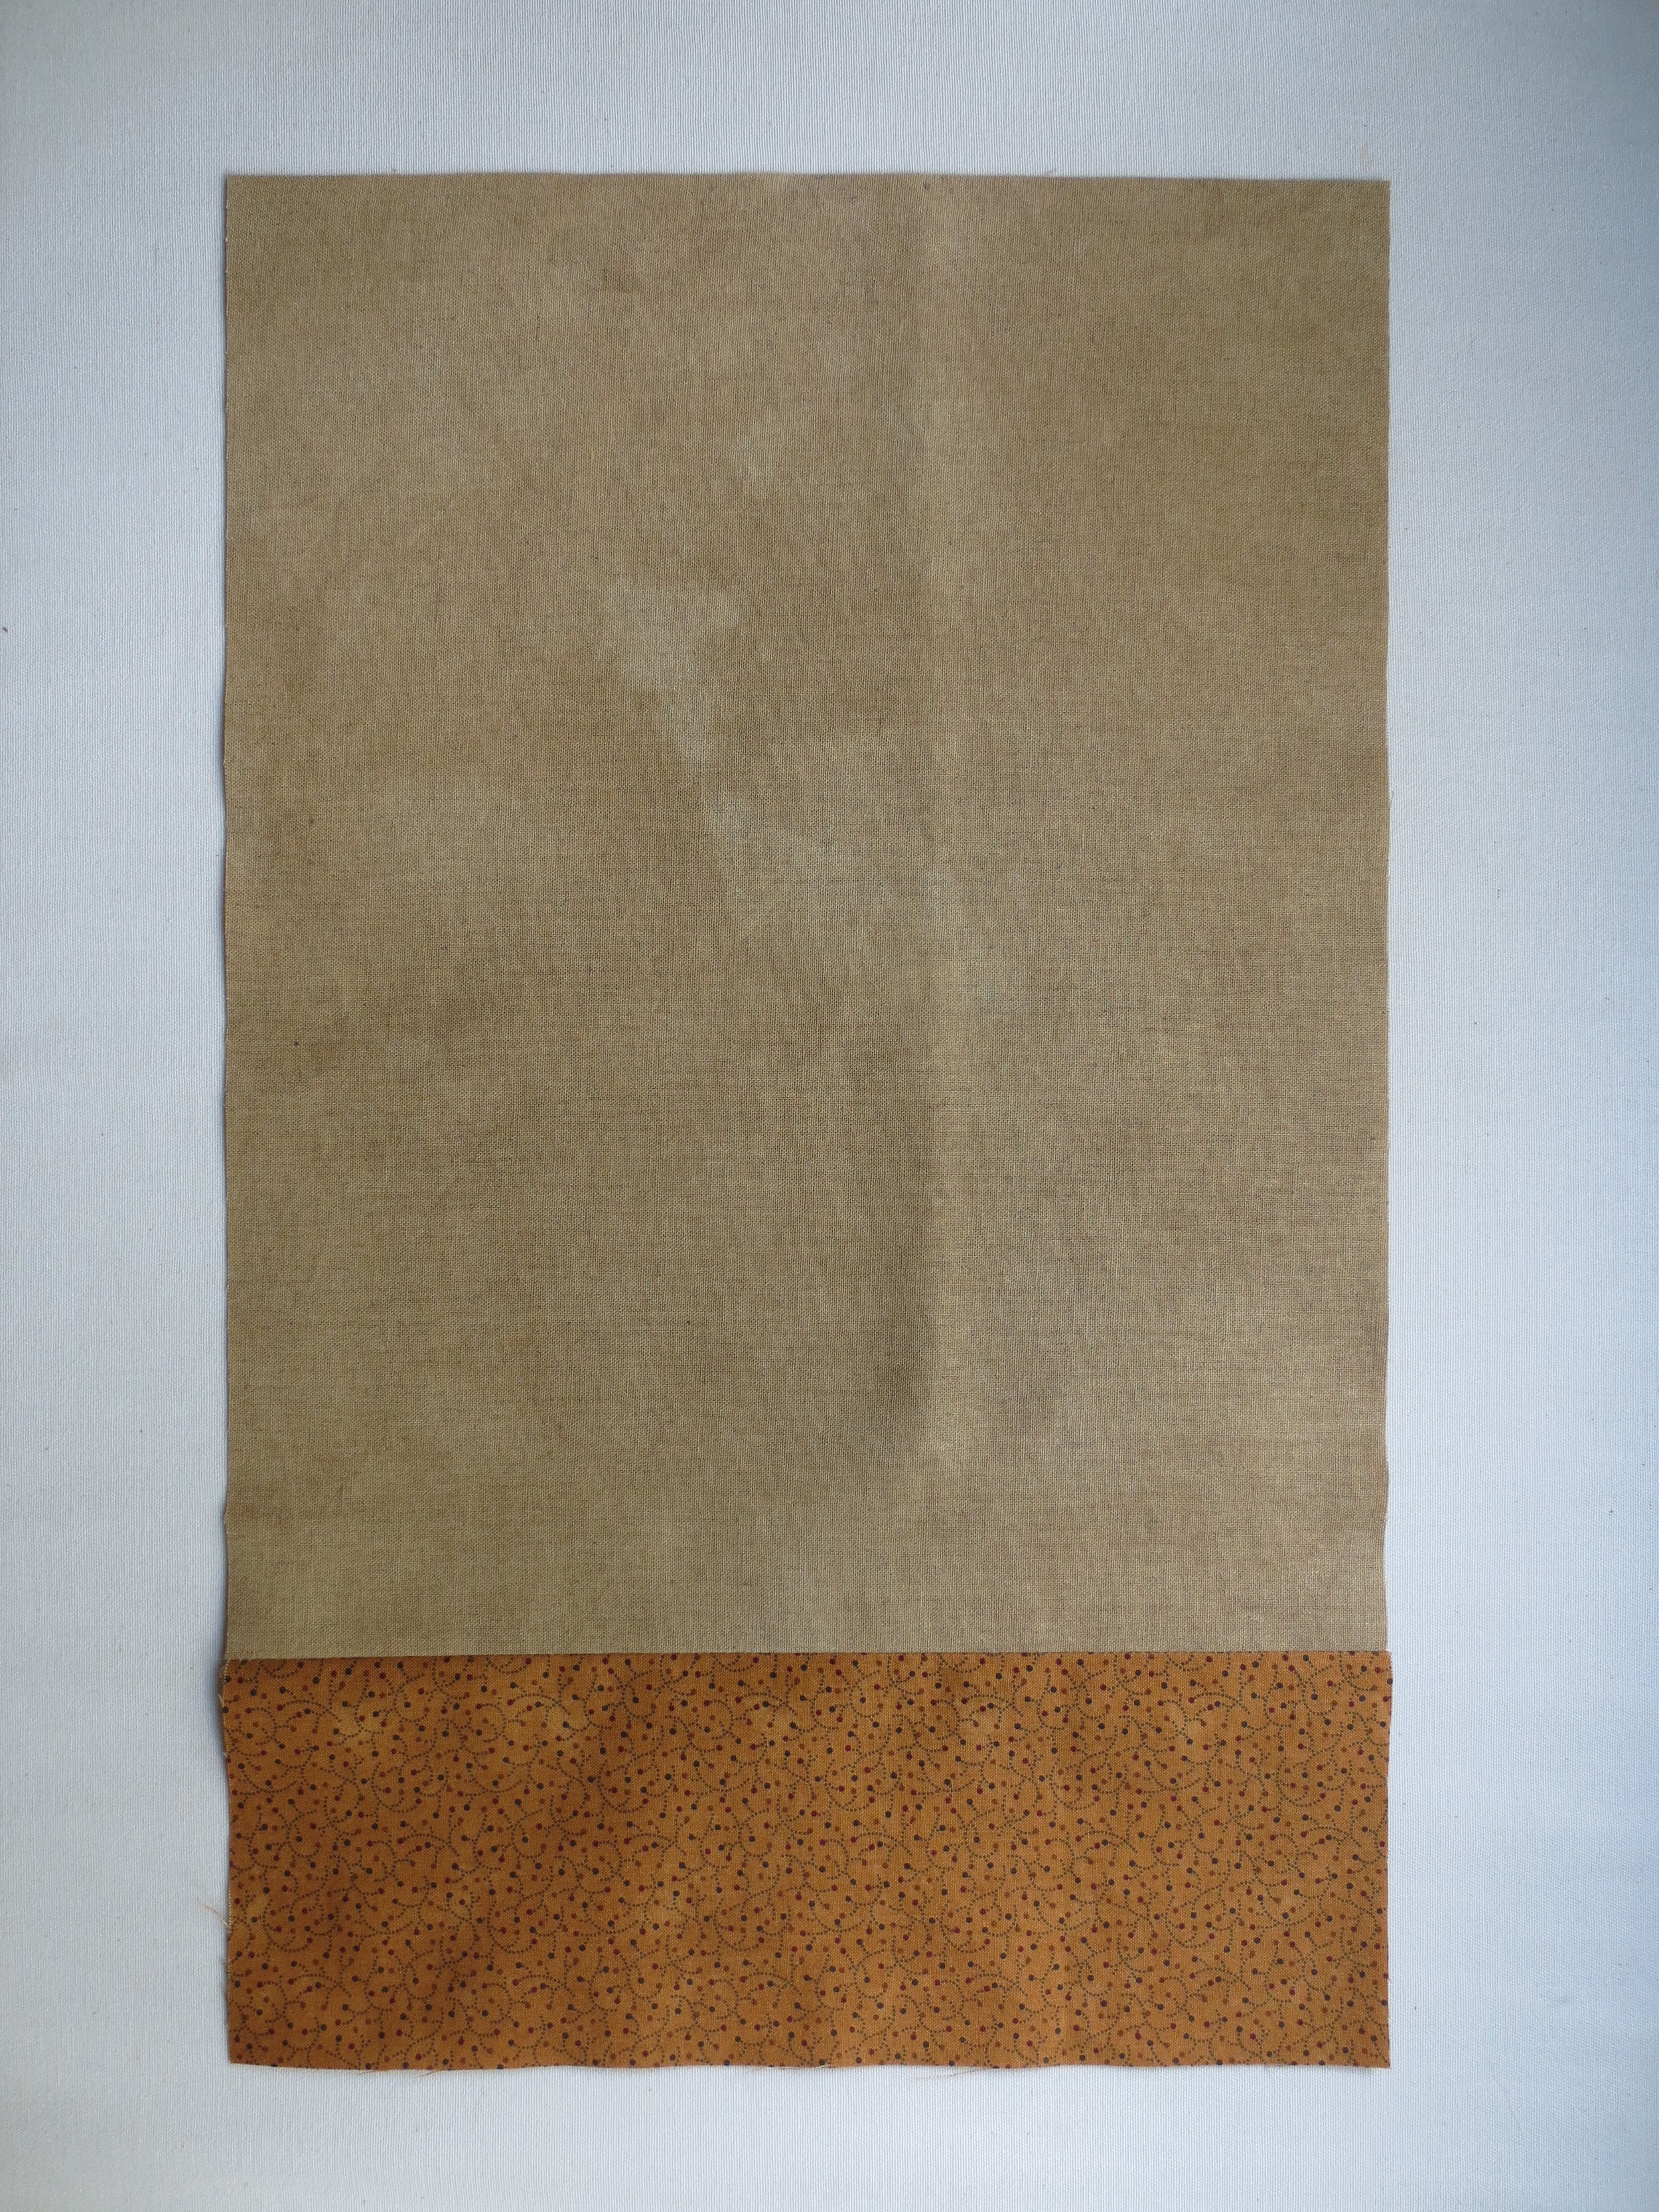
- Sew #1 to #2 along 11 1/2" edges to create block A.
- Sew fabric #3 to #4 along one of the 4" edges to create block B.

- Sew block B to the left side of block A to create block A/B.

- Sew fabric #5 to the top of the block A/B.

- Square up any uneven edges. The completed background should measure about 15" x 23 1/2".
3. Applique - Use one strand of thread unless otherwise noted.
- Trace all pattern pieces except the apron, pumpkin patch, and the boots (if you are using leather) onto feather weight fusible web. Note: The patterns are printed in reverse for use with fusible web.
- Trace apron pattern, pumpkin patch, and boots onto freezer paper.
- Cut out pattern pieces leaving an 1/8" border around each pattern.
- Fuse pattern pieces onto designated wools.
- Cut out pattern pieces along pattern outlines.
- Fuse apron pattern on desired fabric making sure the bottom edge of the pattern aligns with the selvage edge of the fabric. Cut out apron.
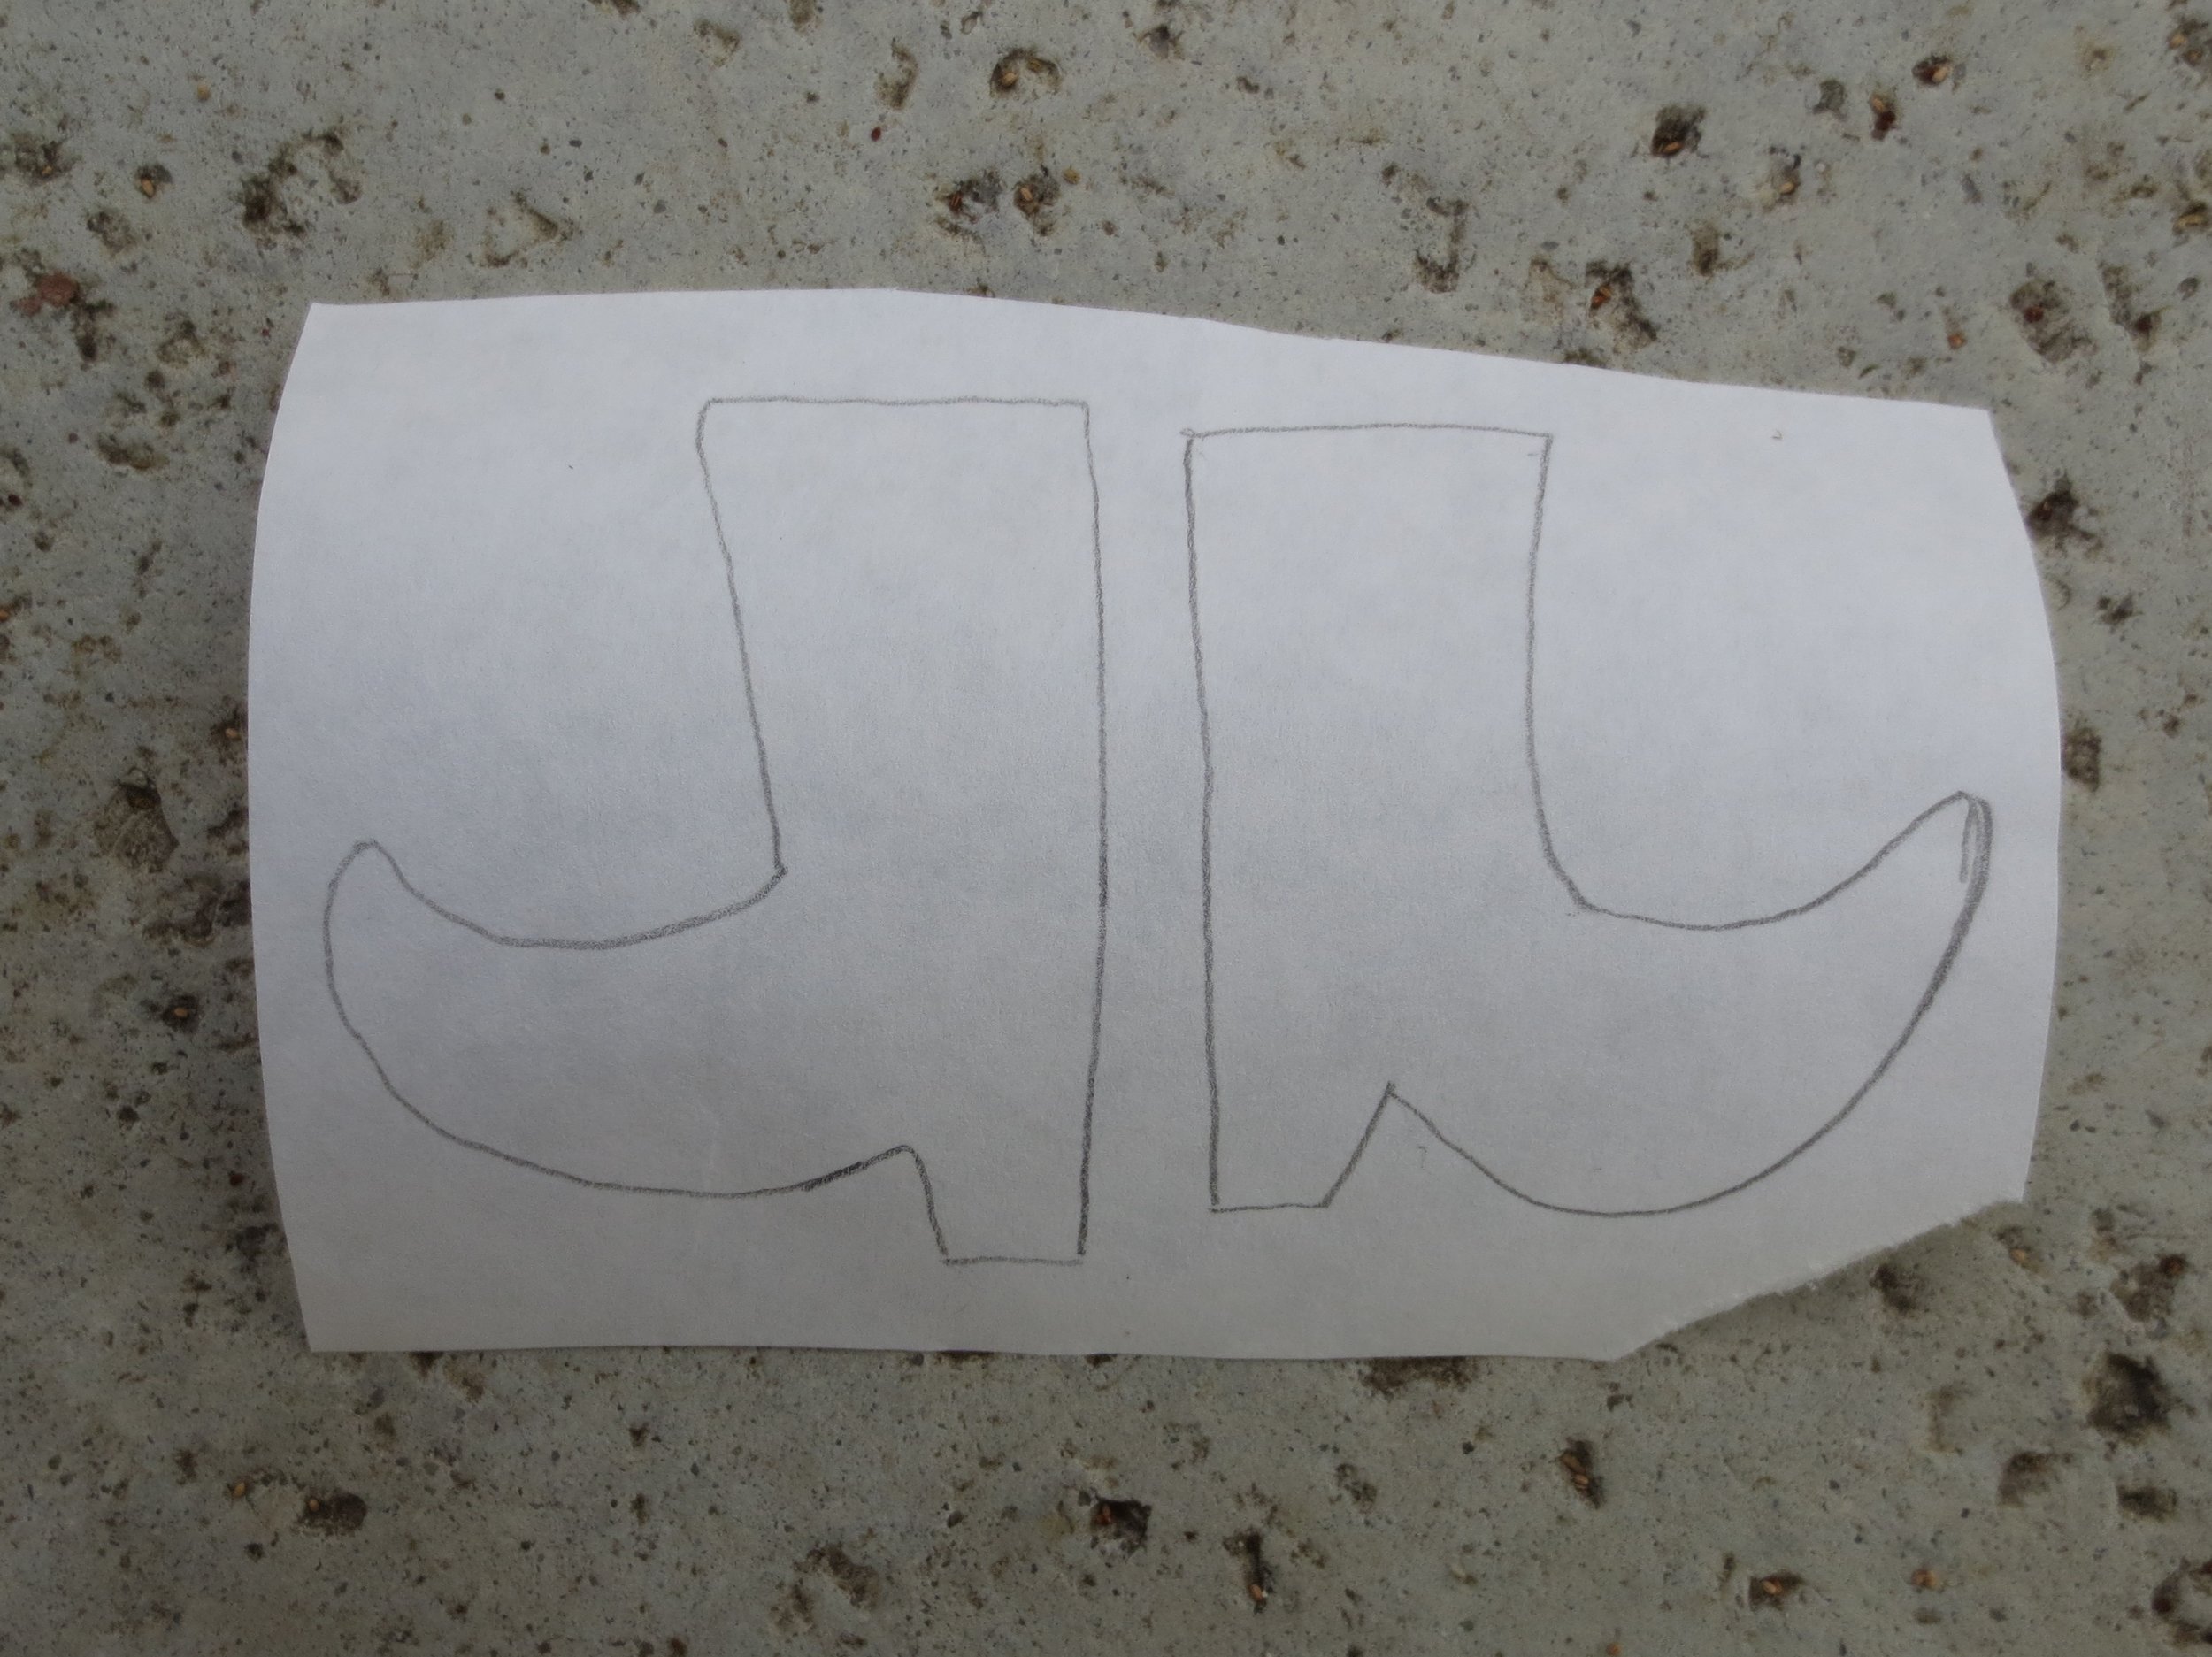
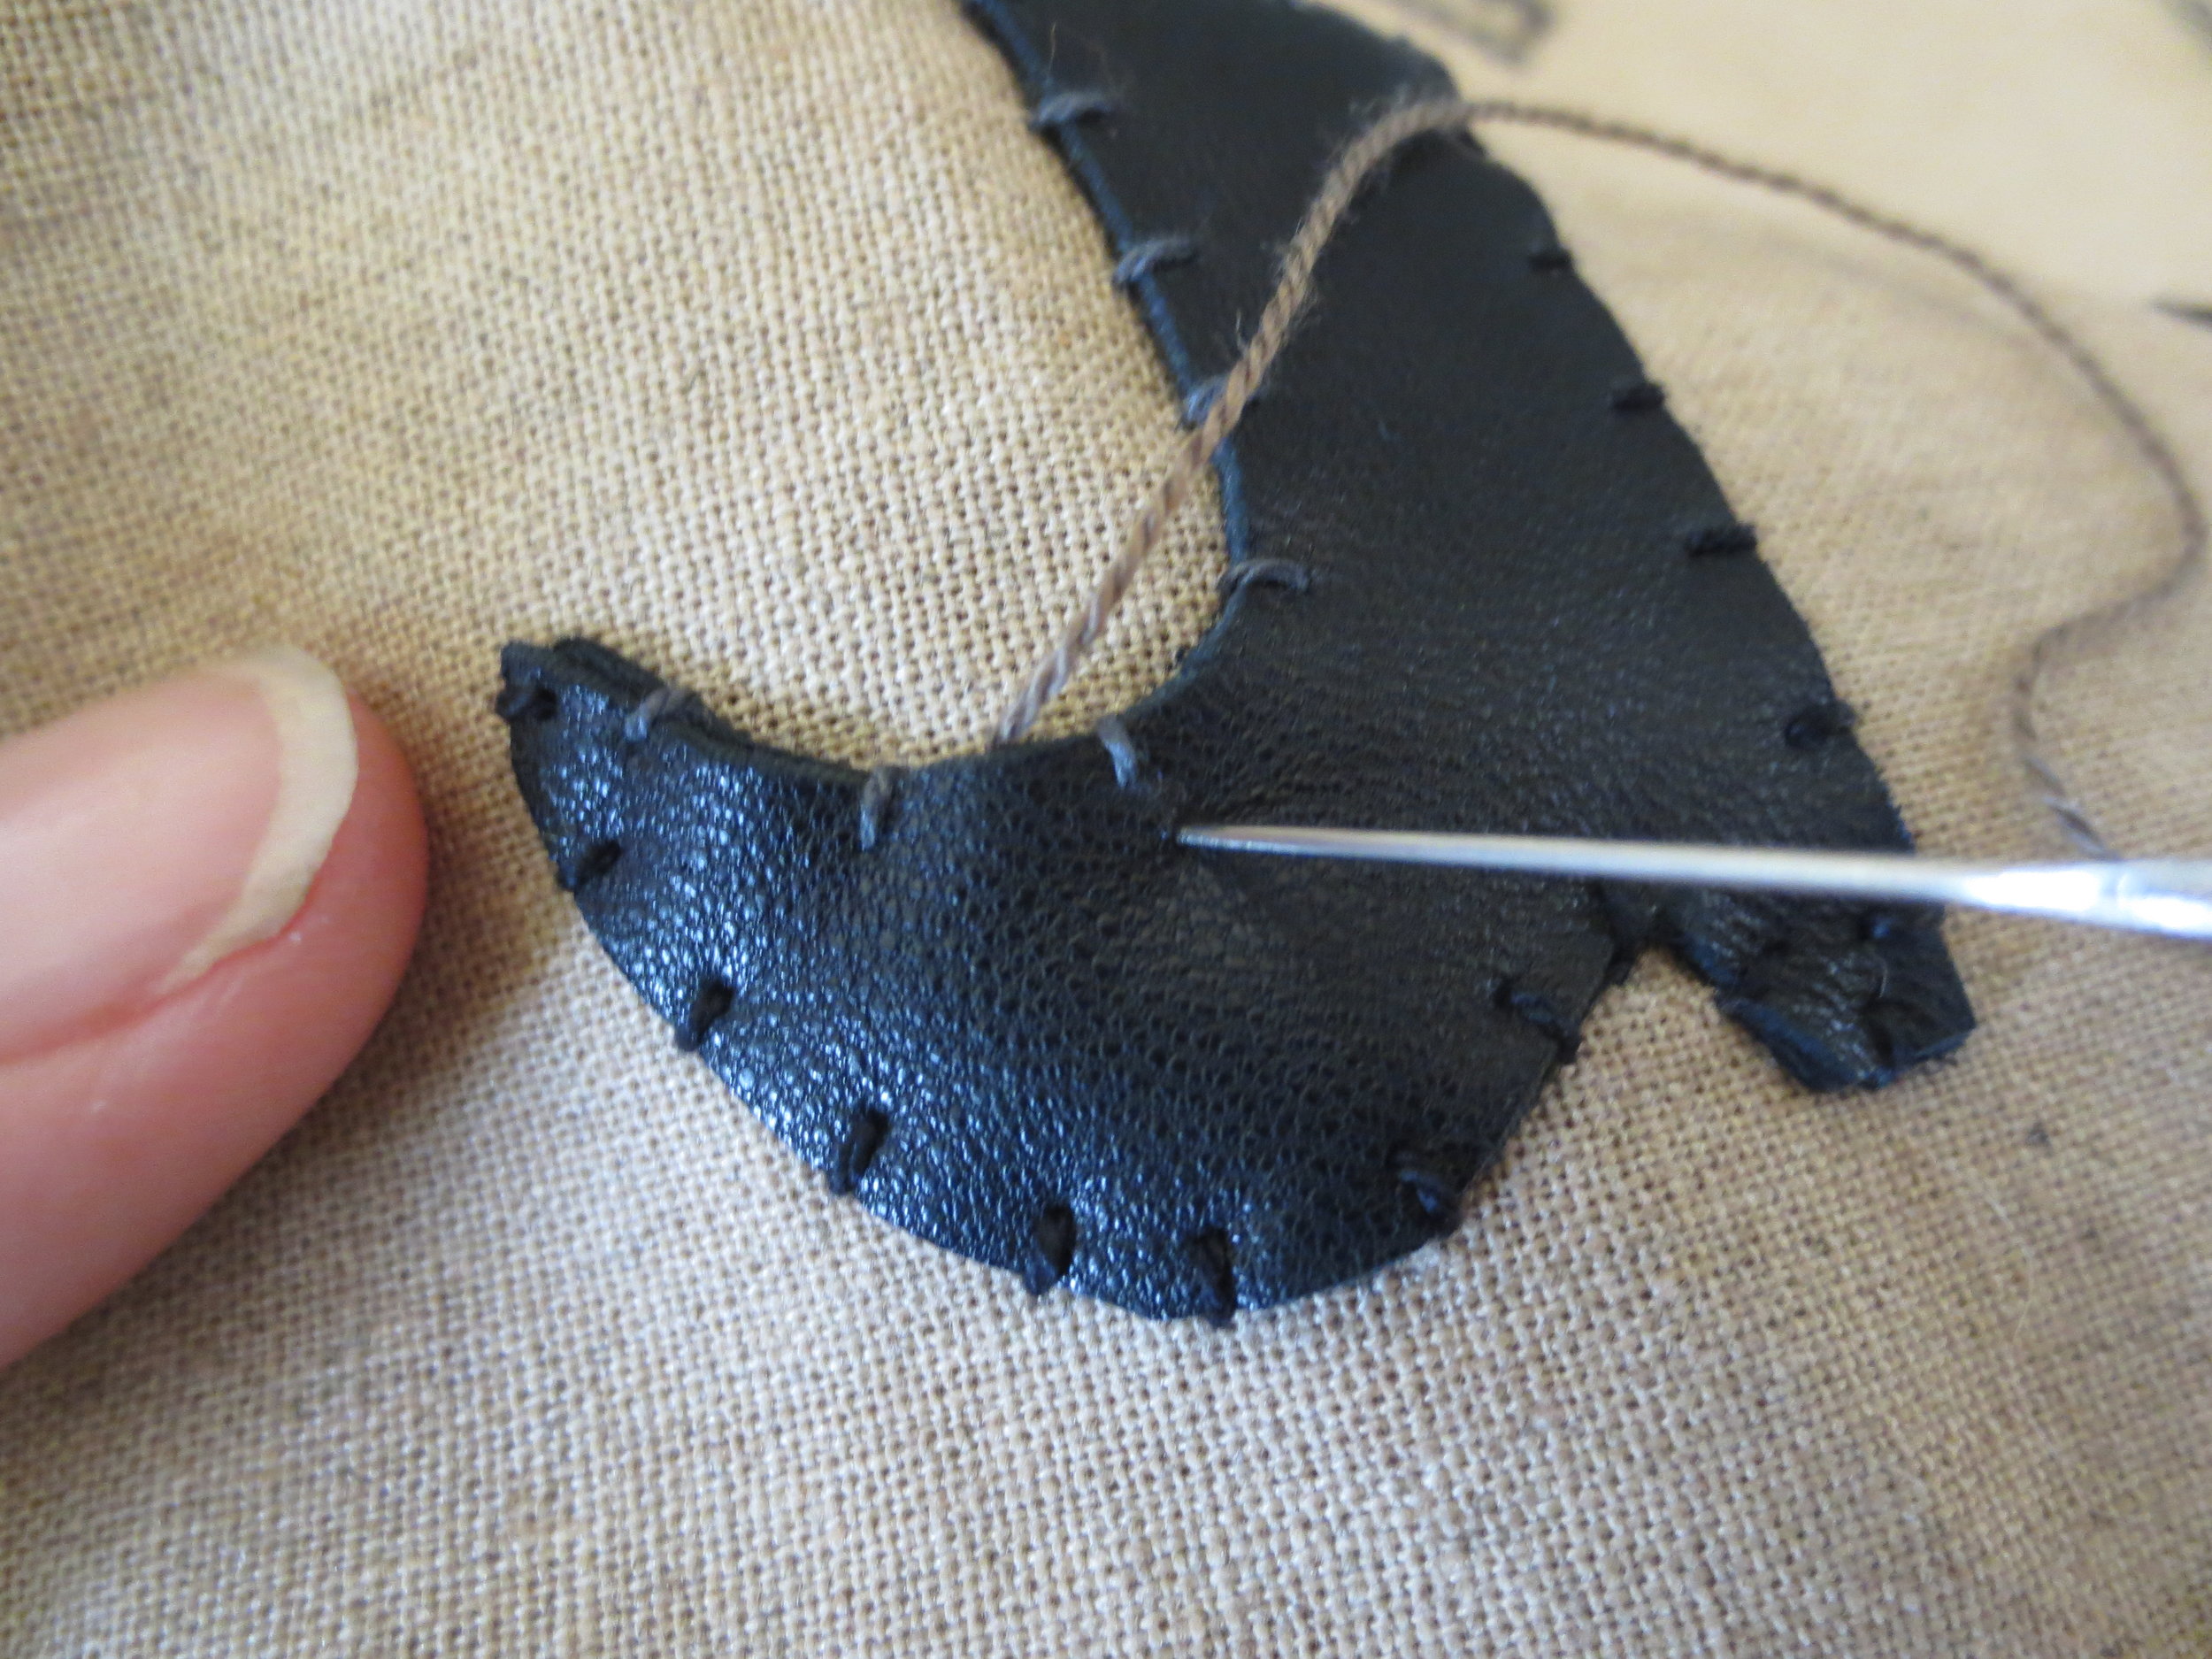
- Boots
- Spray the shiny side of the freezer paper with temporary fabric adhesive.
- Apply the pattern, adhesive side down on the back side of the leather (the rough side).
- Cut out the boots.
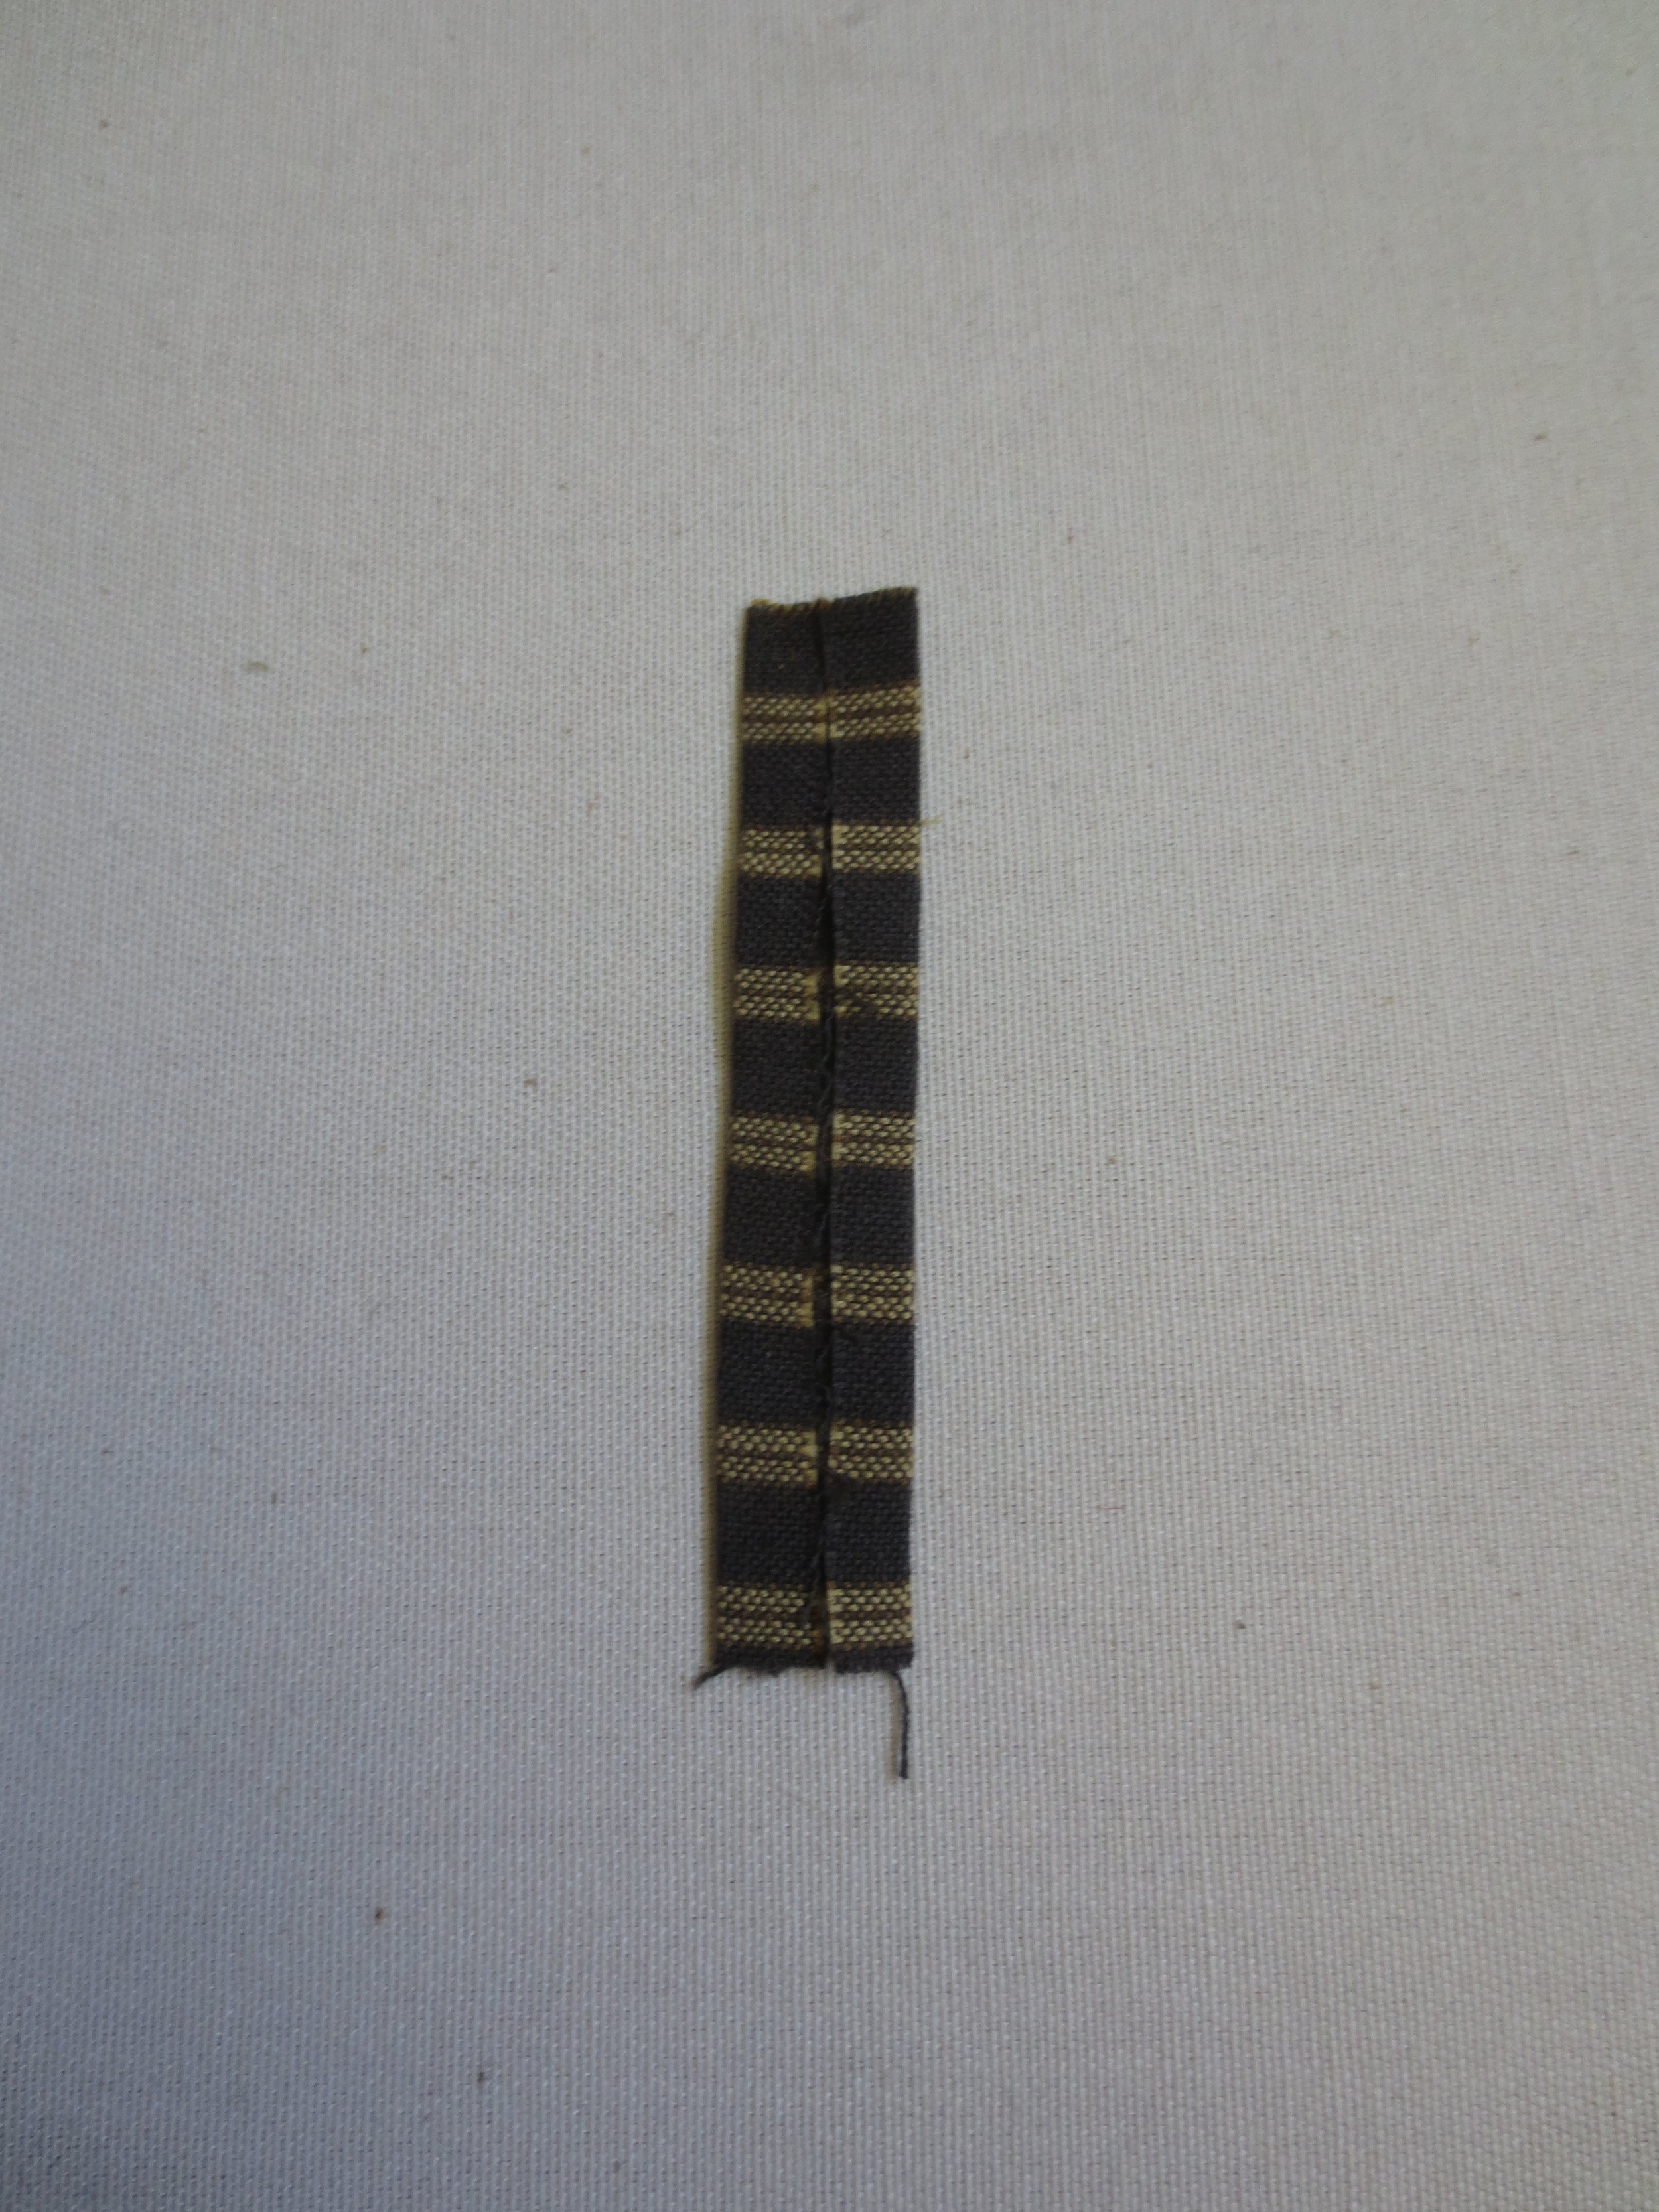
- Legs
- Fold the long sides of the leg fabric in towards the center so they meet. Press.
- Cut the pressed piece in half lengthwise.

- Hair
- Cut each of the rick rack pieces into four 2 1/2" lengths.
- Your applique pieces should look like this:

Welcome My Pretties ready for layout
- You may be wondering what the orange velvet ribbon located to the right of the dress is for. Well, I initially thought that I would use it as a hat band, but it got discarded in the final edit.
- Remove the paper backing from the dress and the freezer paper from the back of the apron.
- Position the apron and ribbon waistband on the dress according to the layout. Make sure the waistband overlaps the top of the apron. Pin to secure.
- Whip stitch the waistband using matching colored thread. You should have about 1/4" to 1/2" of excess ribbon on each side of the dress. This will be tucked under the dress when you fuse the dress onto the background, so DON'T TRIM.
- Remove the paper backing from everything except the boots.
- Lay out everything except the witch's nose and hair, cat's eyes and nose, stem and leaf, broom band, and all the letters. This is just to center your design on the background, so DON'T FUSE.
- Remove everything except the dress, hands, legs, broom handle, and cat. Tuck the apron "strings" under the dress.
- Fuse in place using steam.
- Whip stitch the dress, legs, hands, cat, and broom handle using matching colored thread. Do not stitch down the apron.

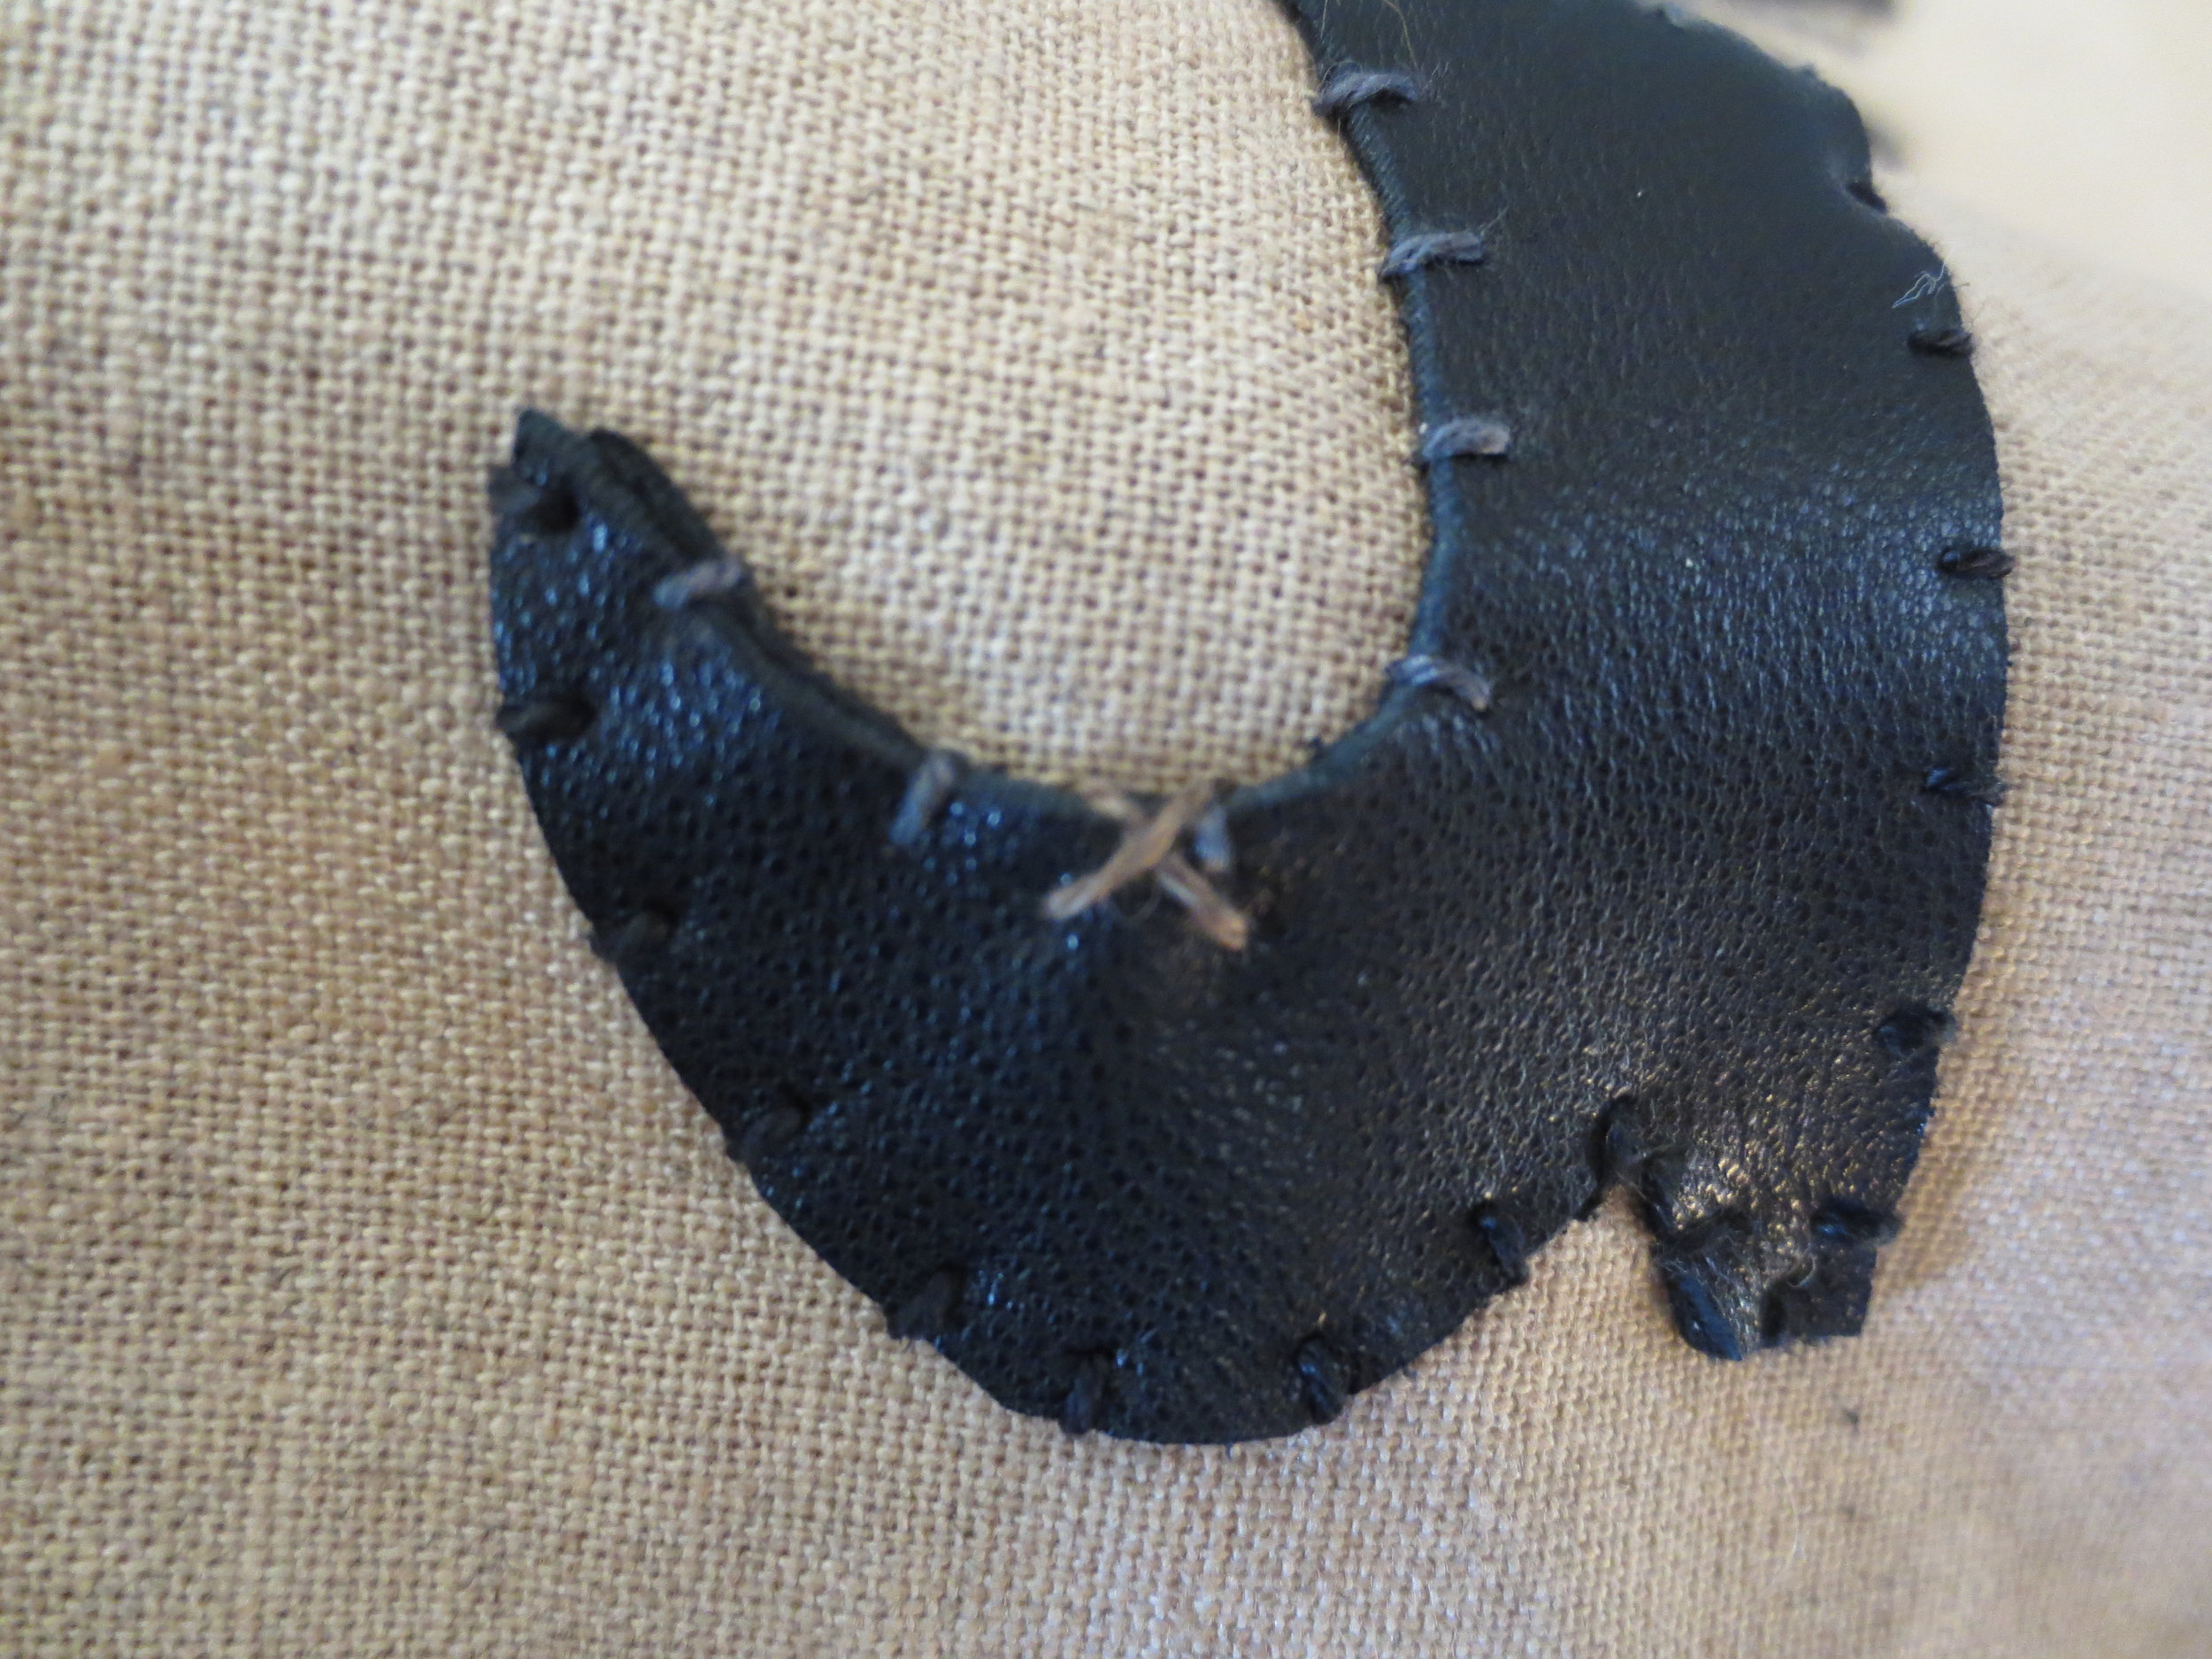
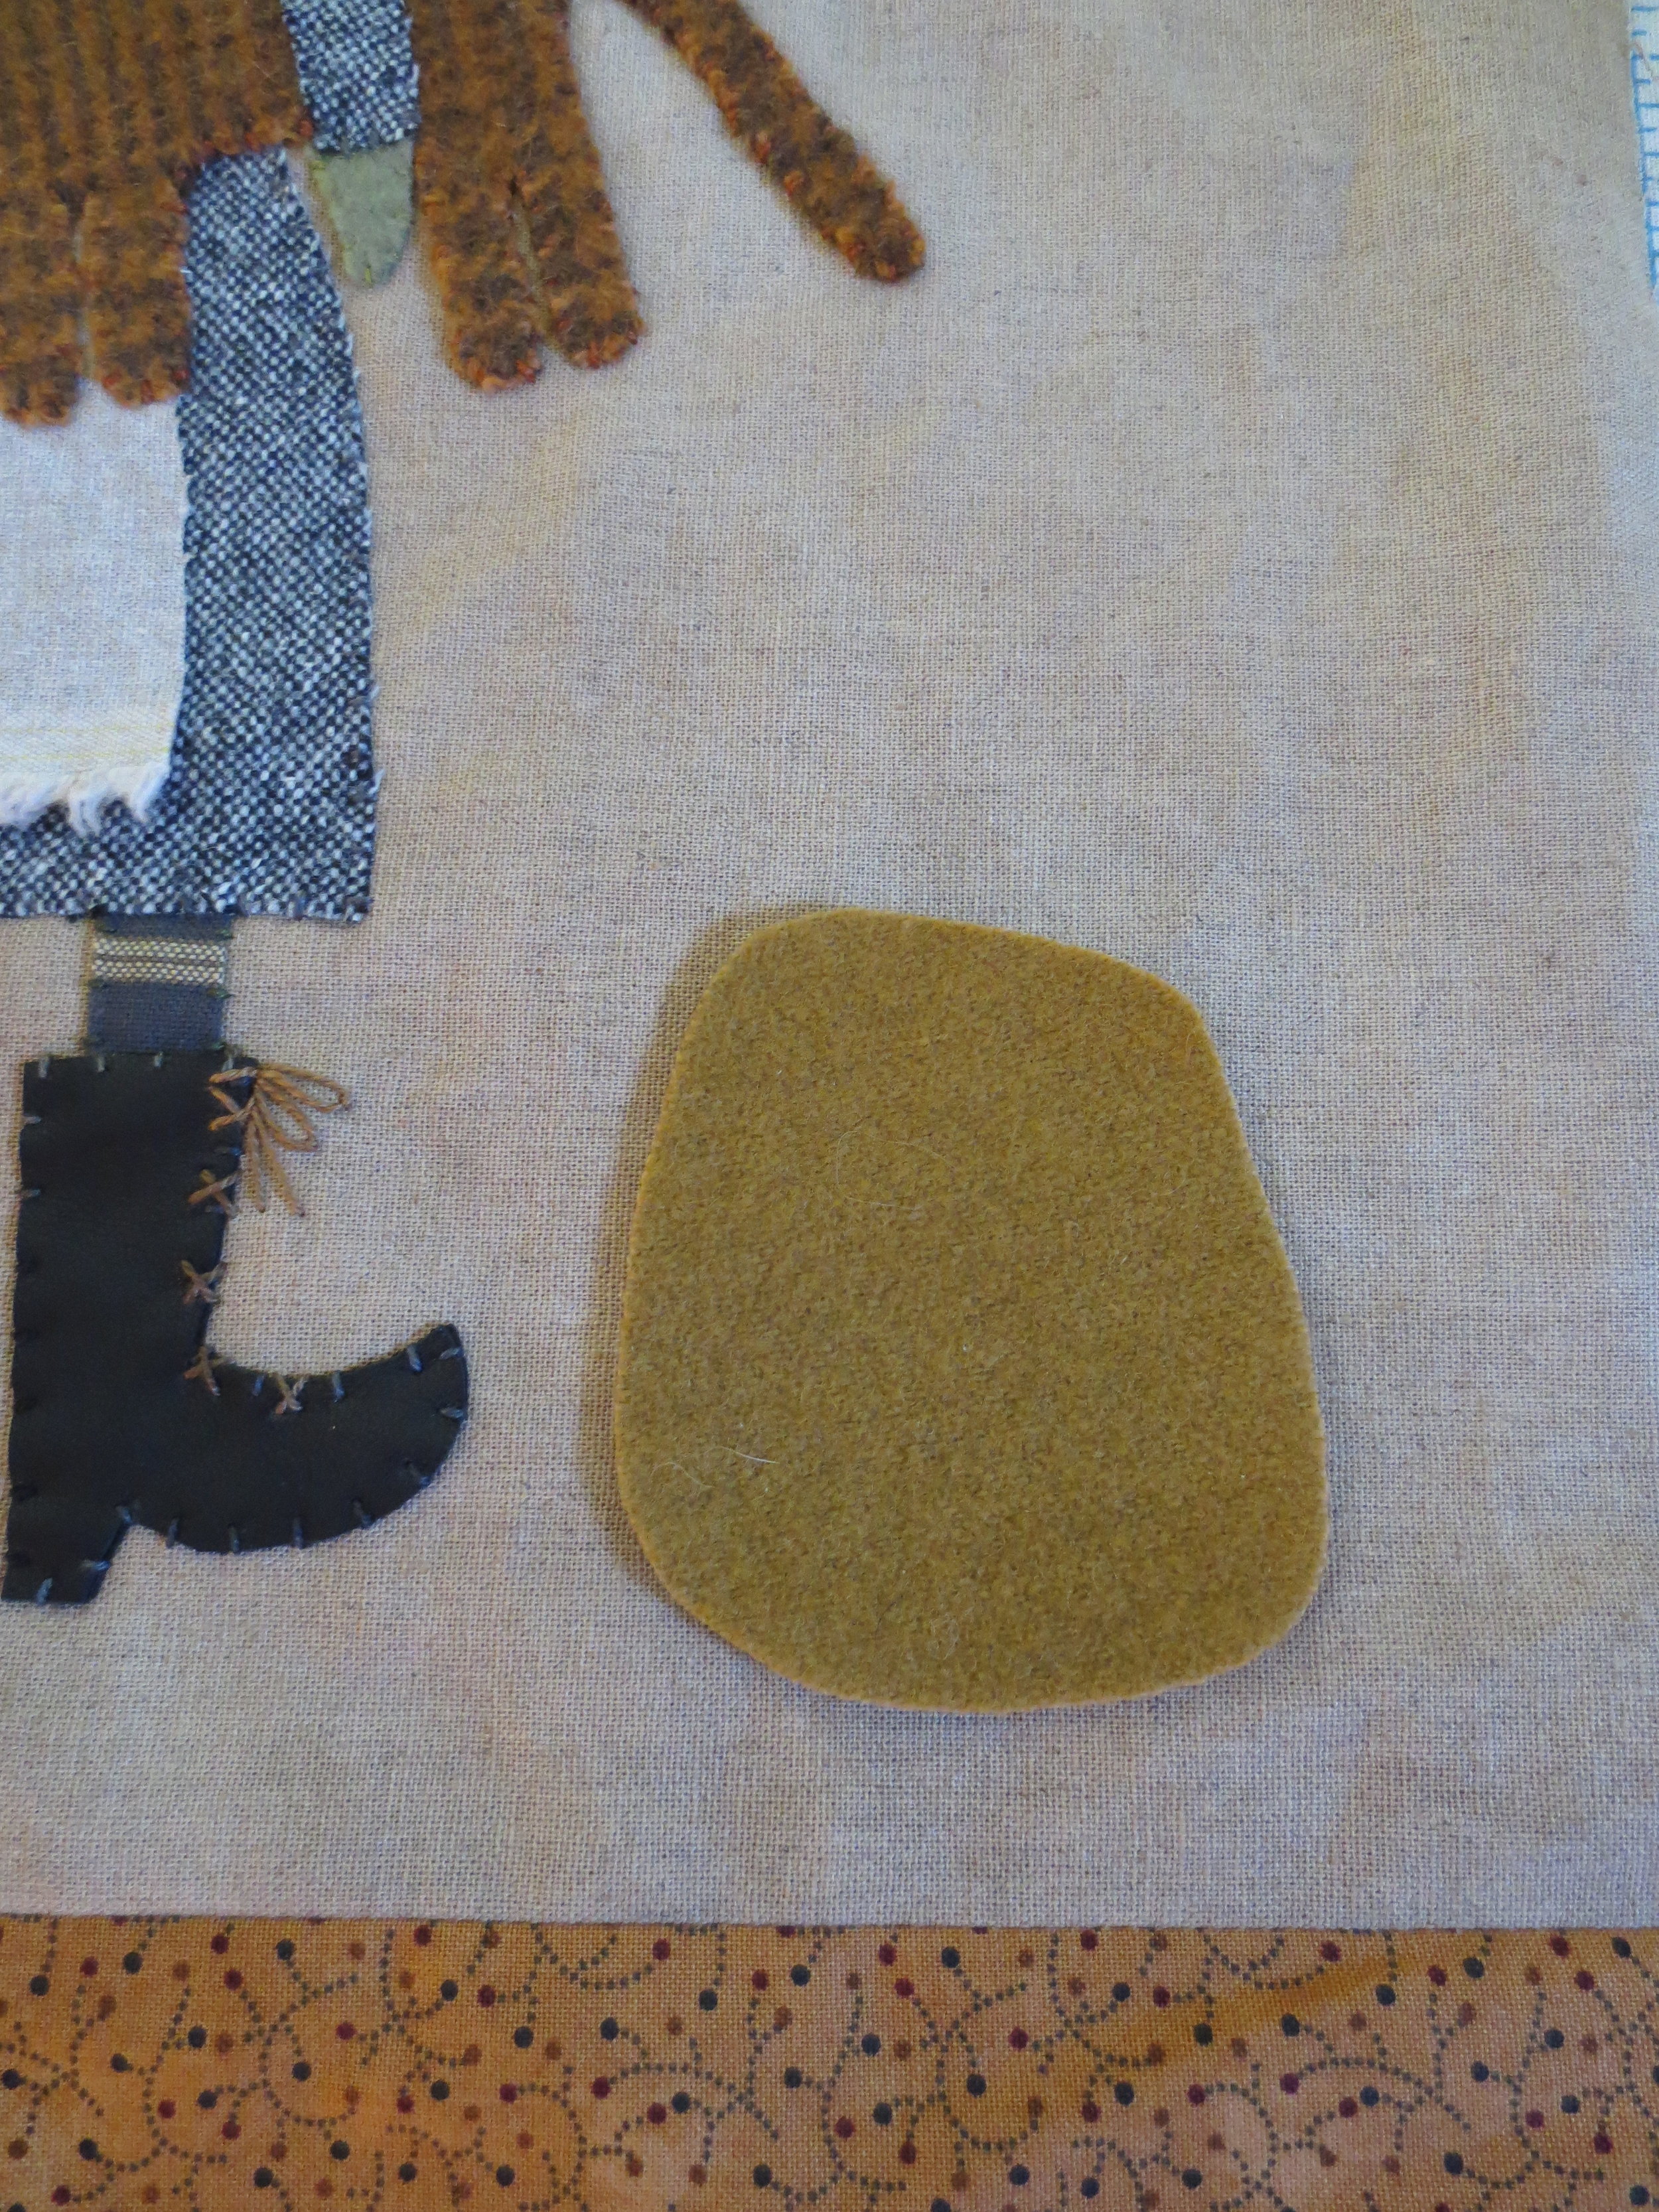
- Boots
- Remove the freezer paper backing from the boots.
- Position them onto the legs. They should be sticky from the temporary adhesive, so you don't need pins to secure.
- Using matching colored thread (I used variegated thread), whip stitch the boots in place.
- Using a medium brown thread (I used the same thread used for the broom handle), make five "X's" on each boot to simulate lacing.

- Add a single straight stitch and two lazy daisy stitches for the bow at the top of each boot.
- Add two straight stitches for the ends of the laces.

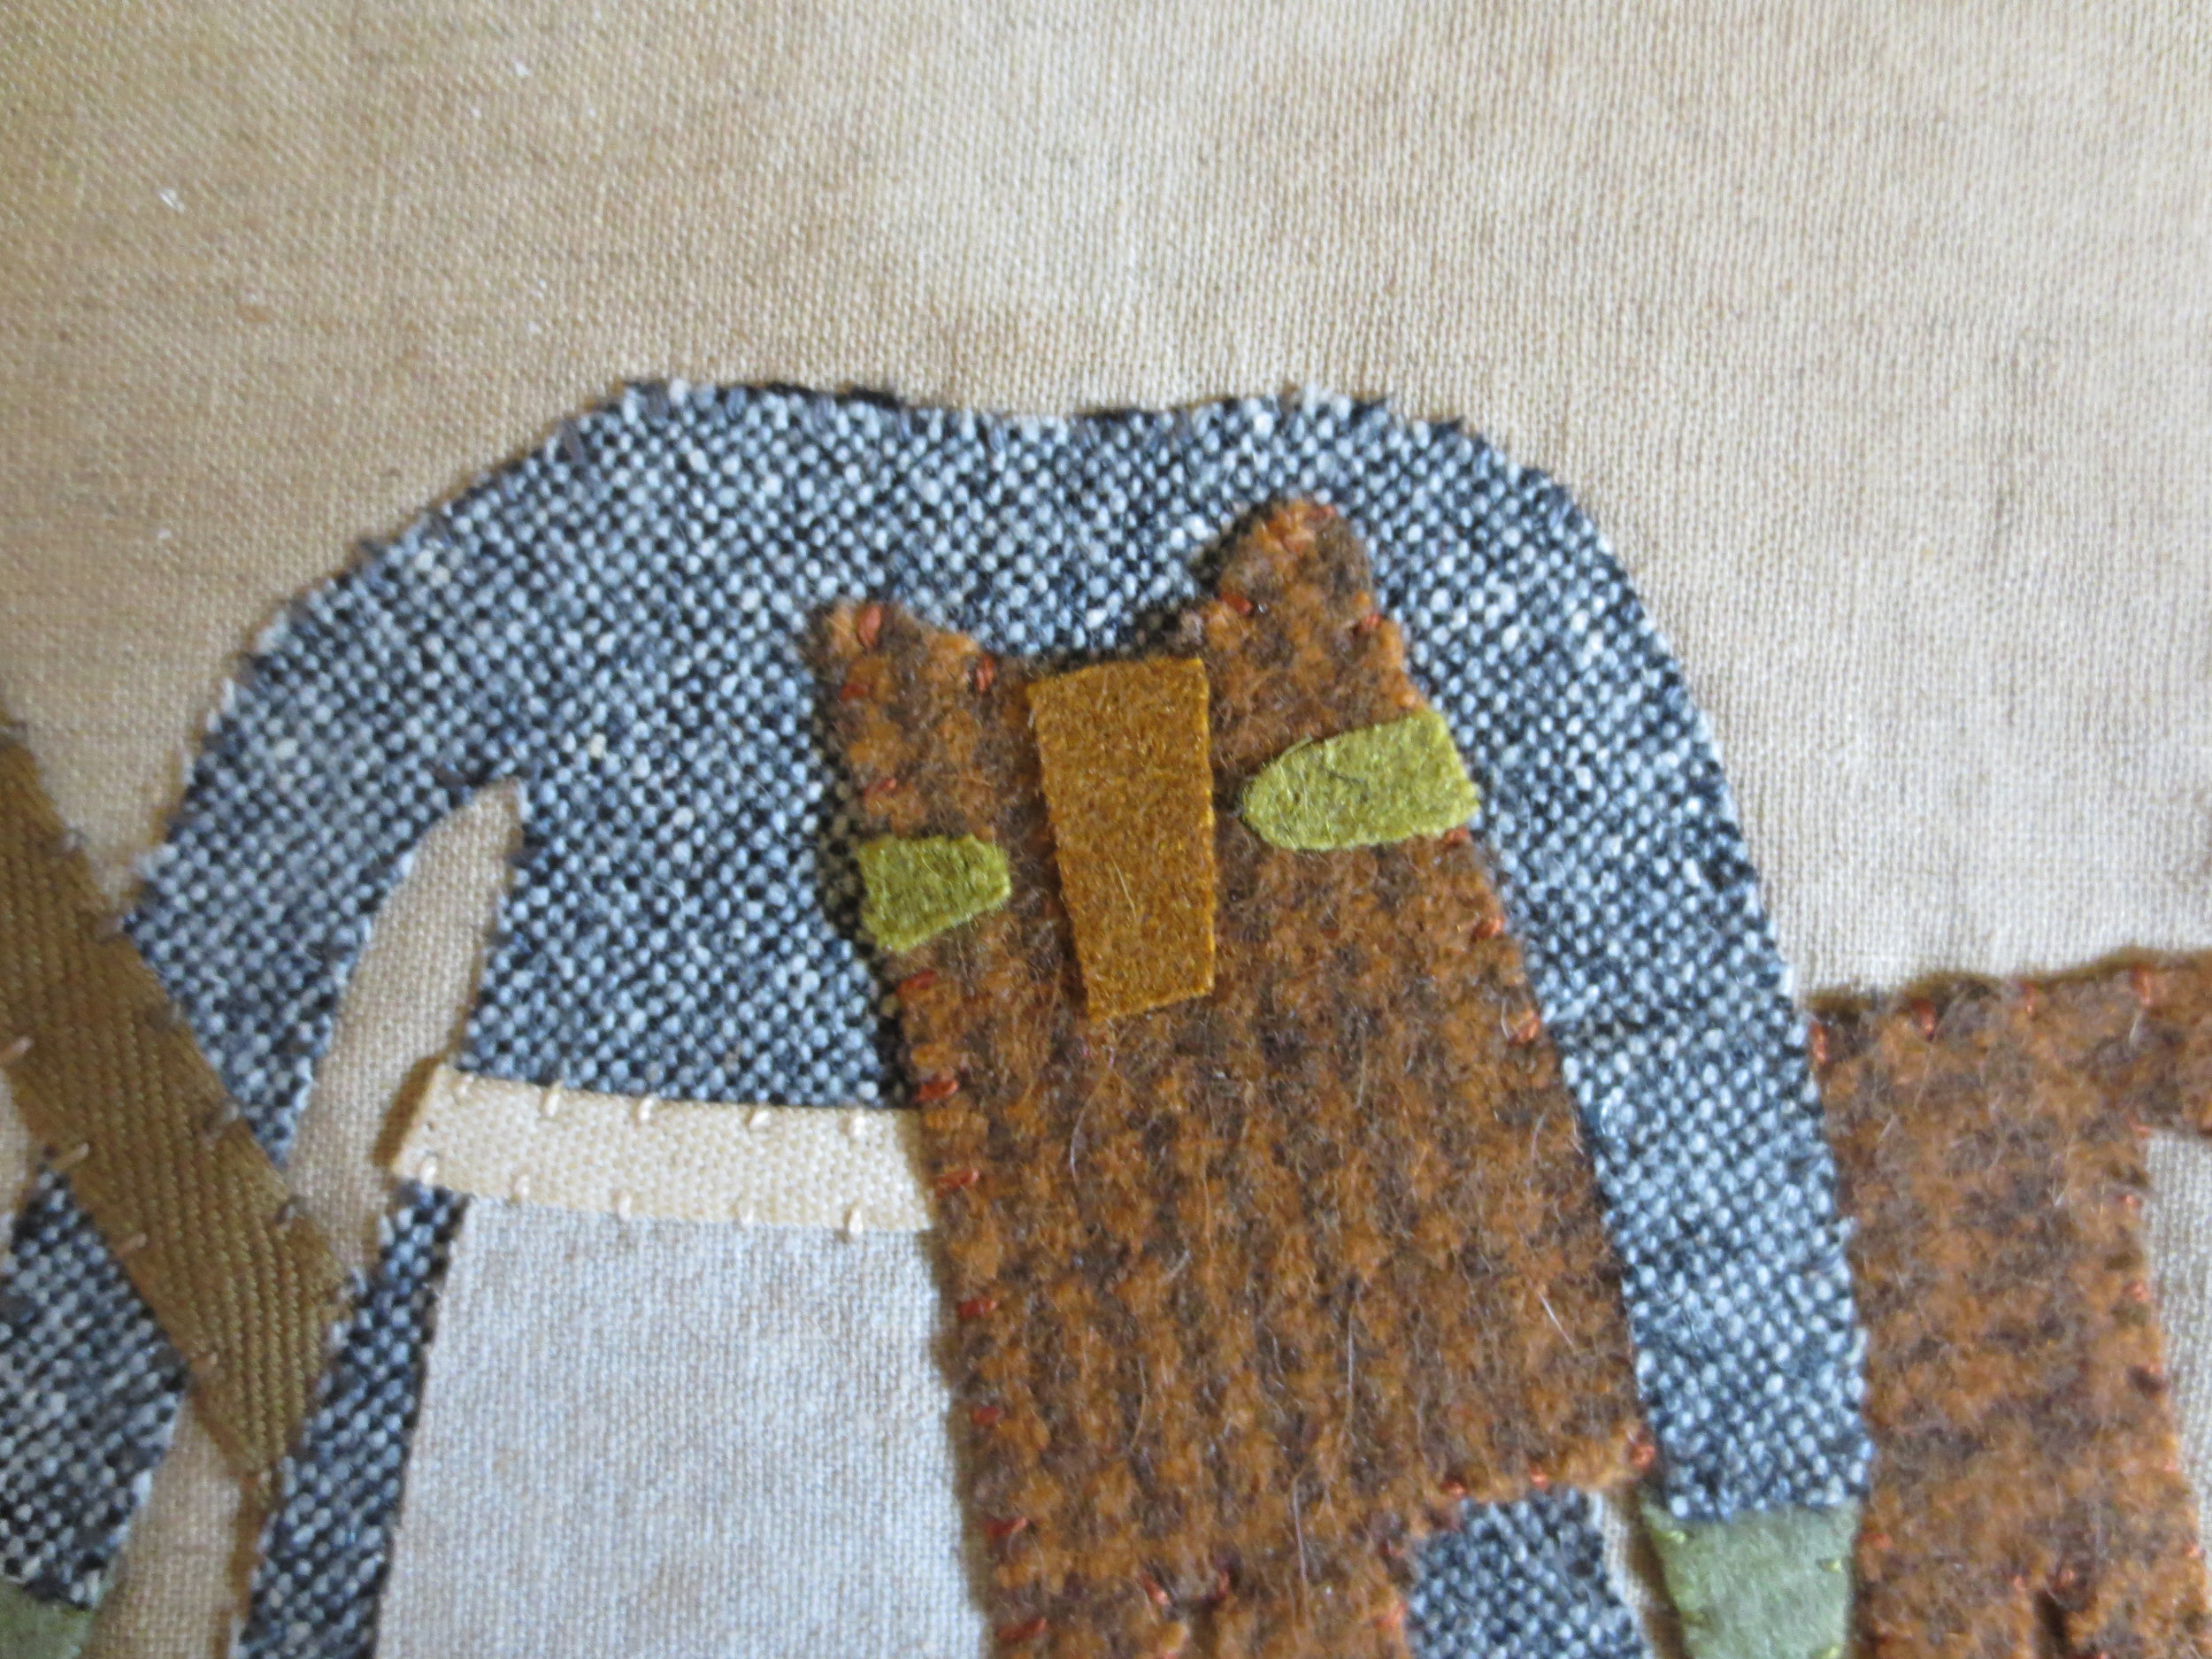
- Cat
- Position the cat's nose and eyes.
- Fuse in place using steam.
- Whip stitch each of these pieces with matching colored thread.
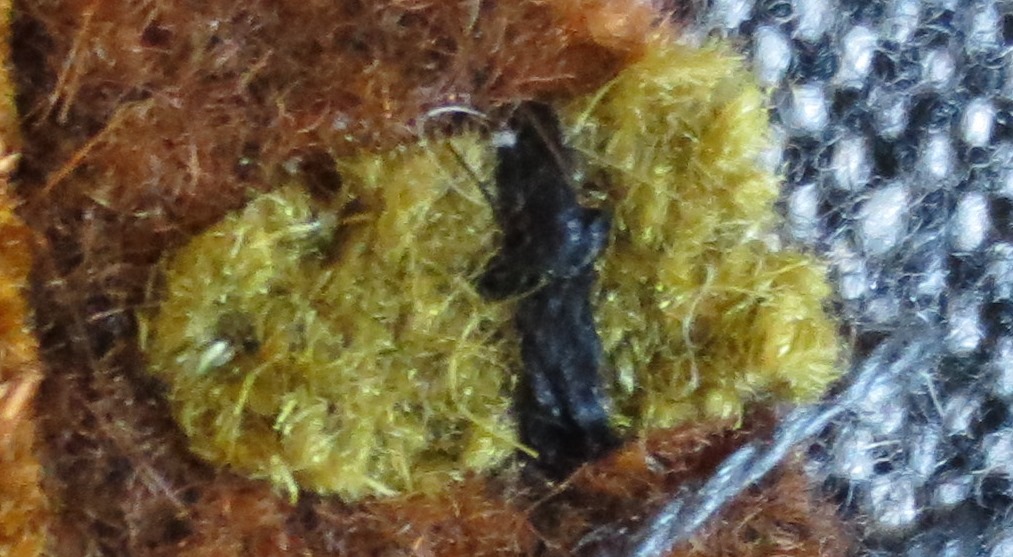
- Using black thread, make five parallel straight stitches on the bottom of the nose, starting at the bottom and working upward.
- Using the same black thread, make two vertical straight stitches in center of each eye.
- Make a small horizontal stitch across the center of the vertical stitches in each eye.
- To make the whiskers, use dark grey or black thread to stitch three straight stitches on each side of the nose (I used variegated thread).

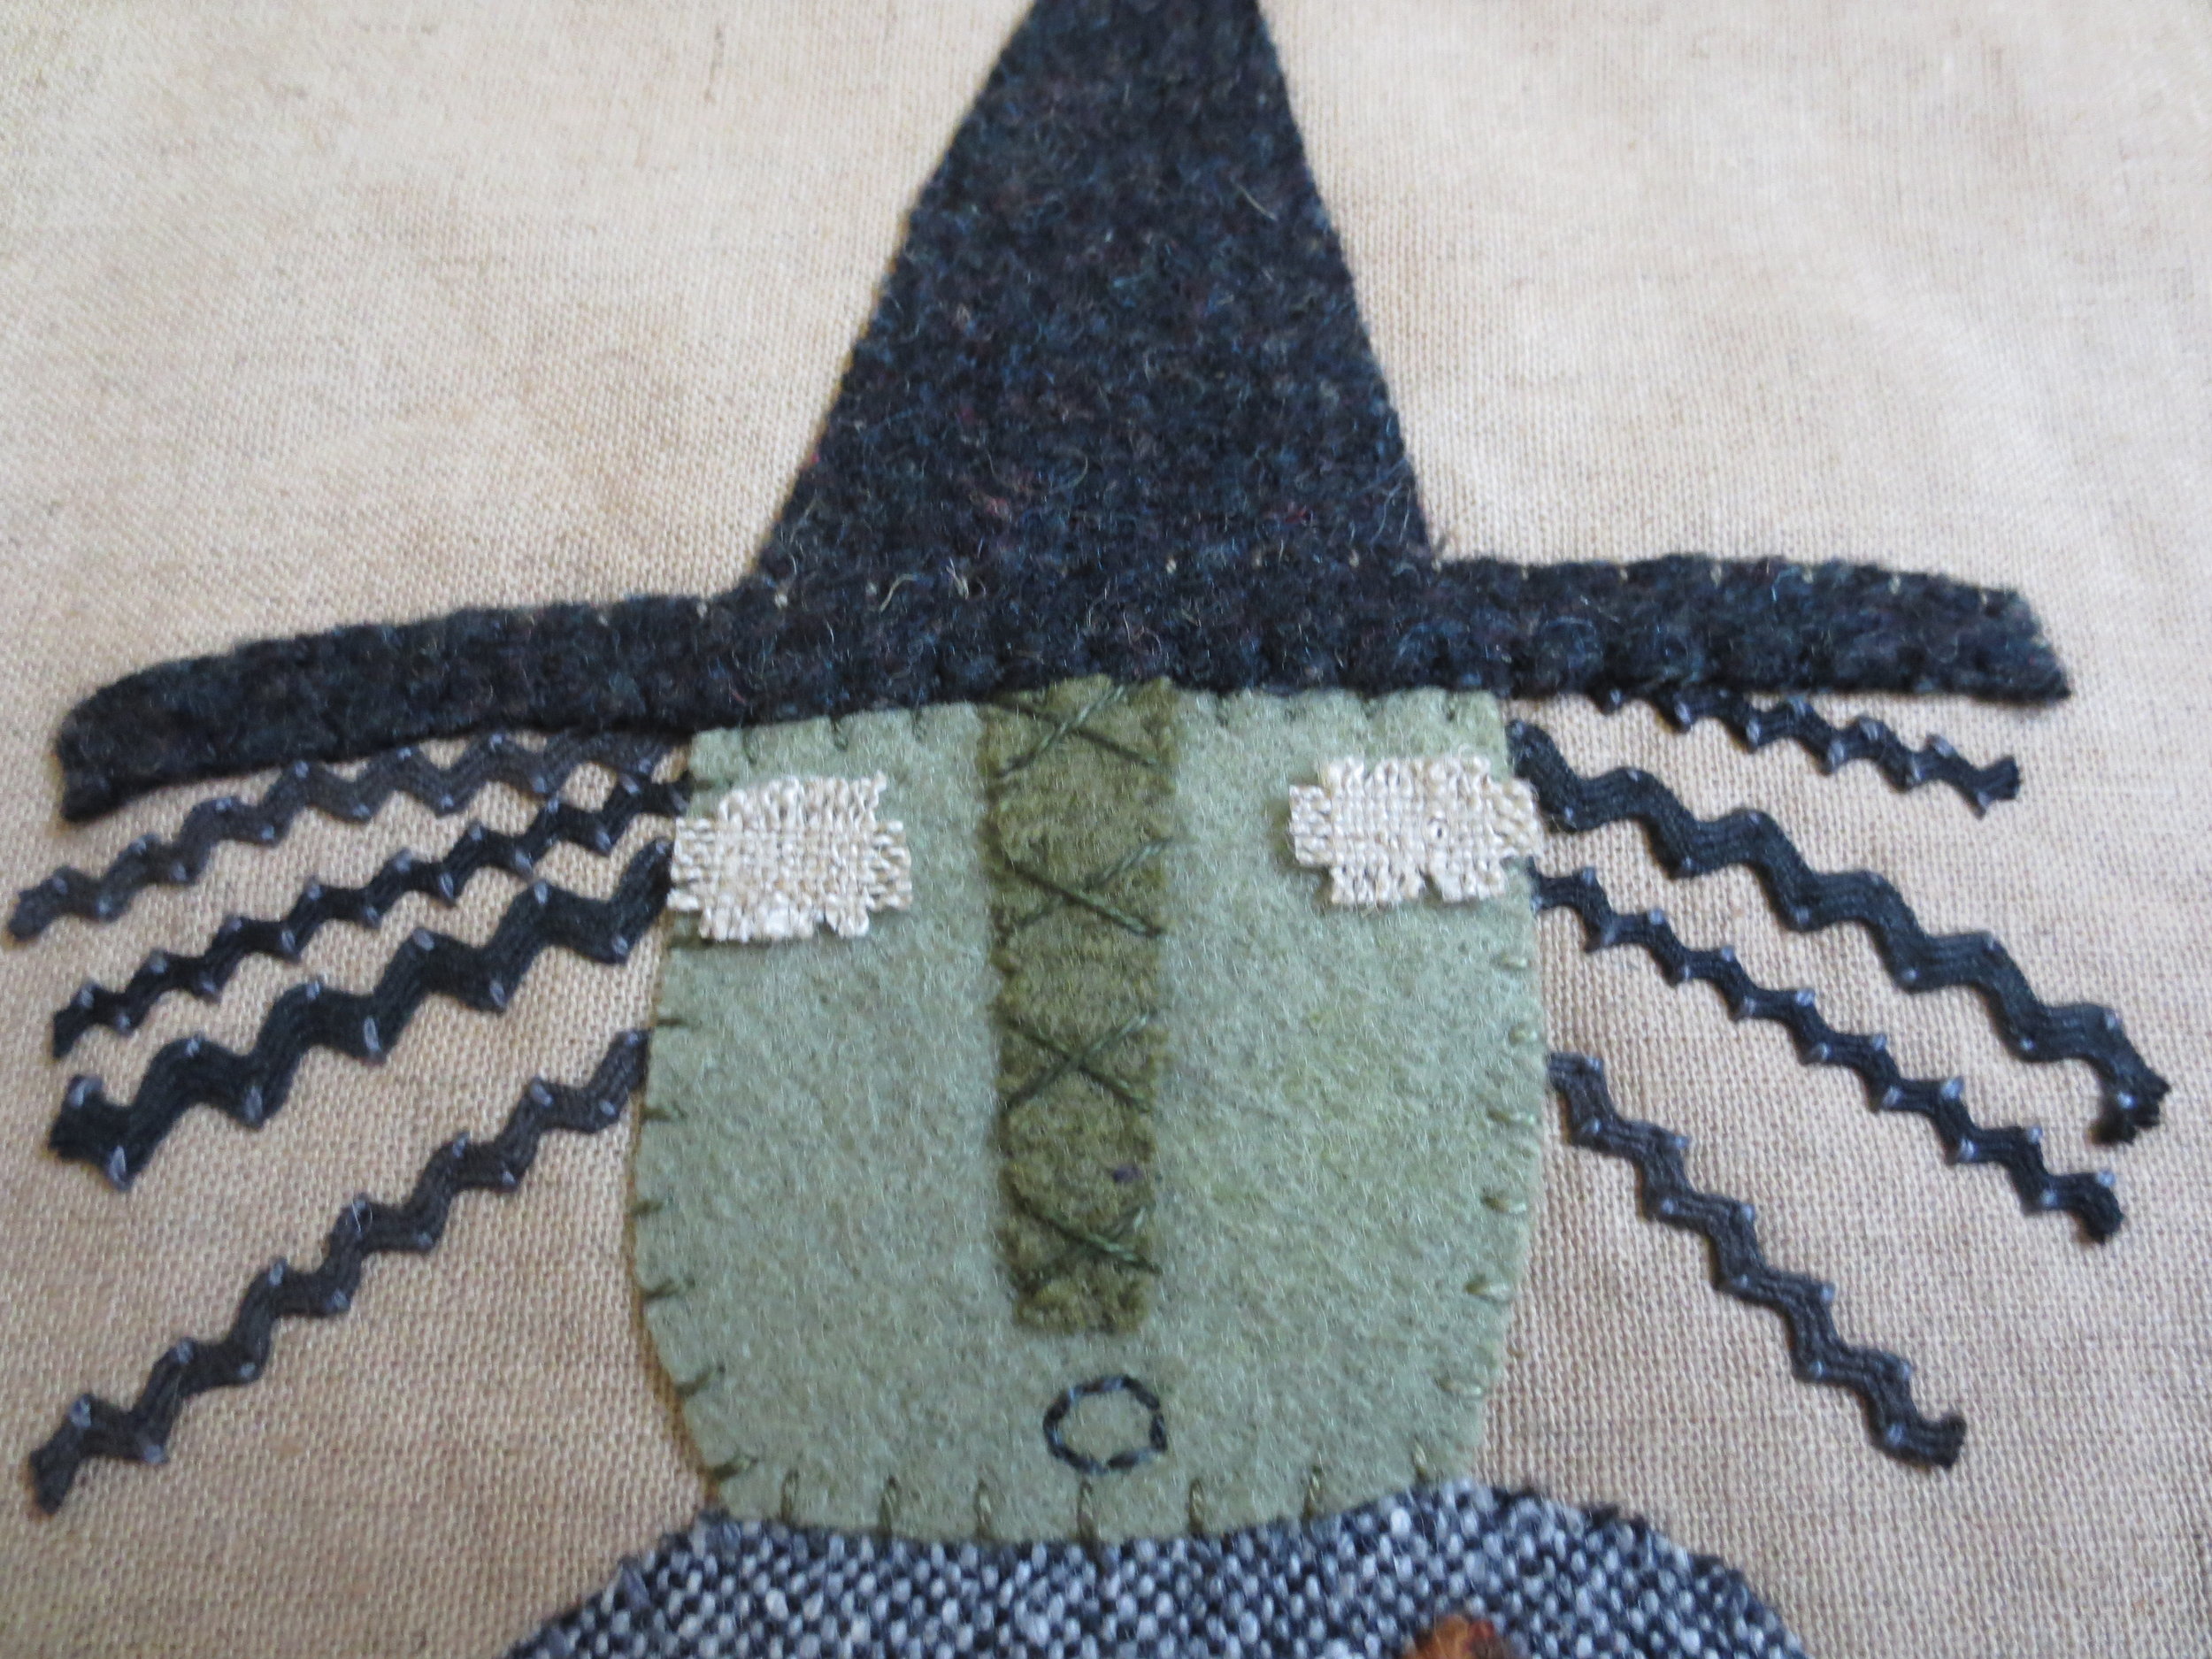
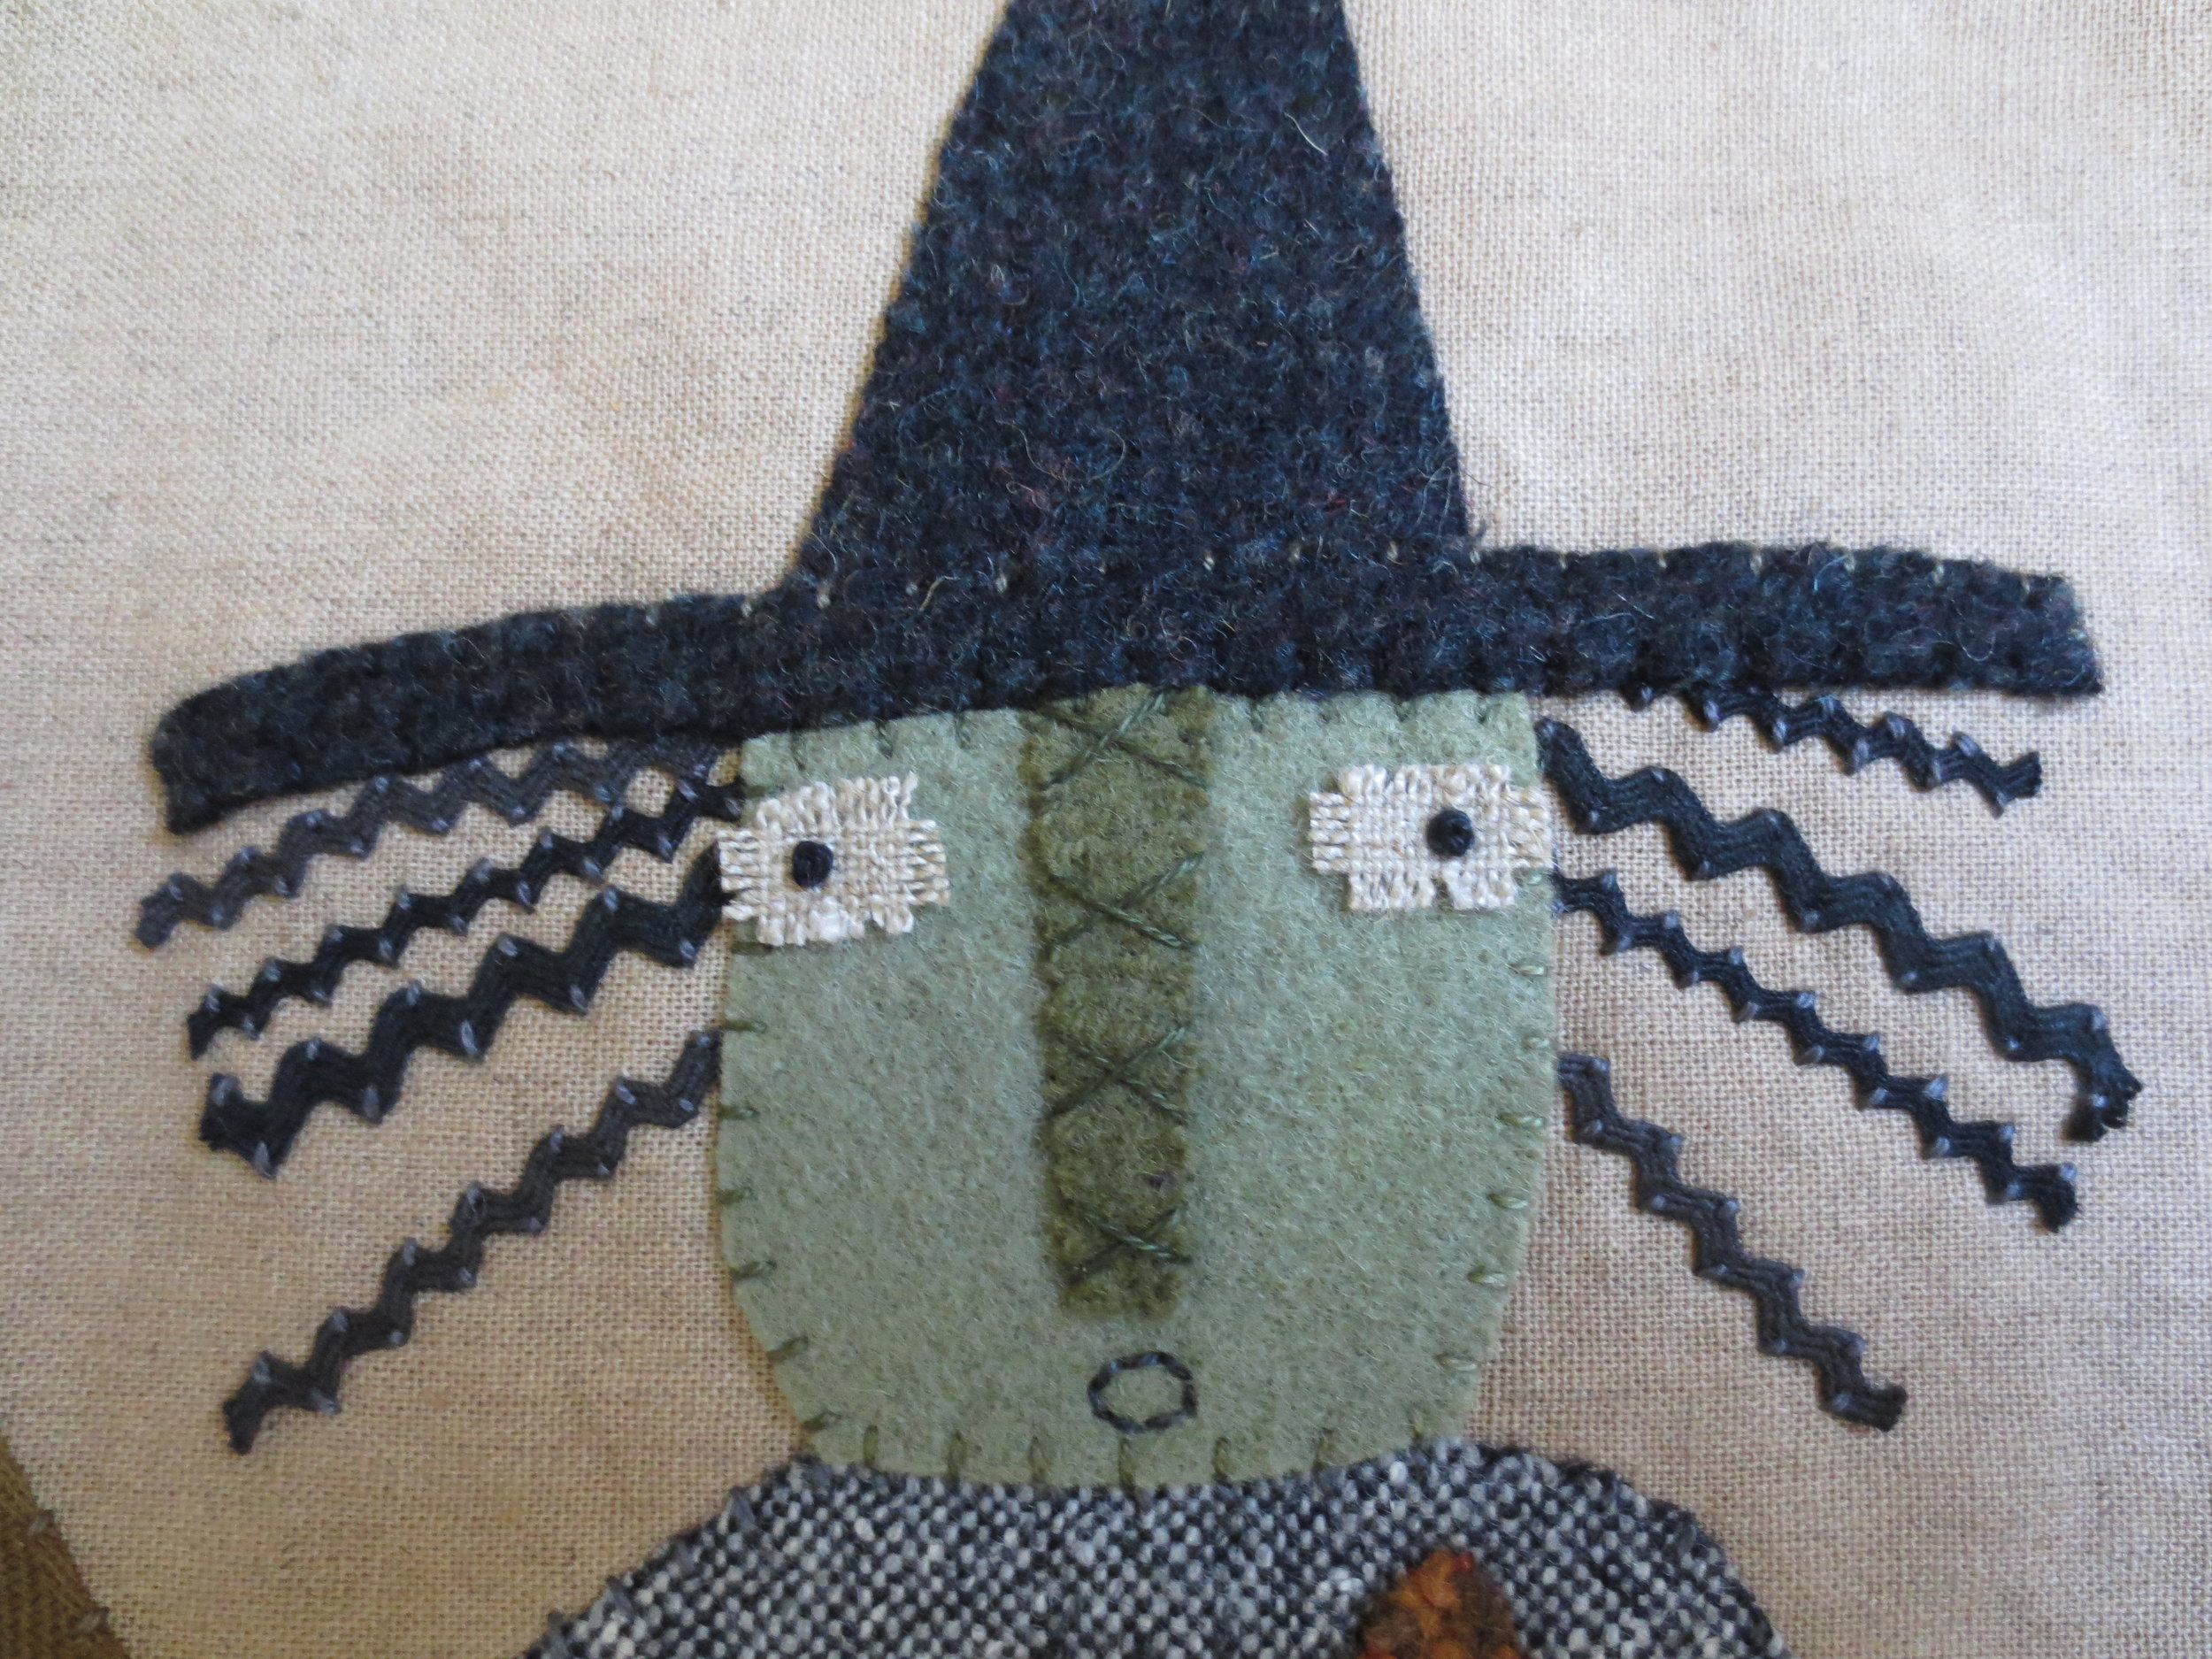
- Witch's face, hat, and hair
- Reposition the witch's head and hat (minus the brim). This is just for placement adjustments so DON'T FUSE.
- Remove the head.
- Apply a few drops of Roxanne's Glue Baste-it to each of the rick rack strips and lay them out according to the Layout diagram.
- Reposition the head and add the brim. Adjust the rick rack hair if necessary. DON'T FUSE YET!
- Remove the brim.
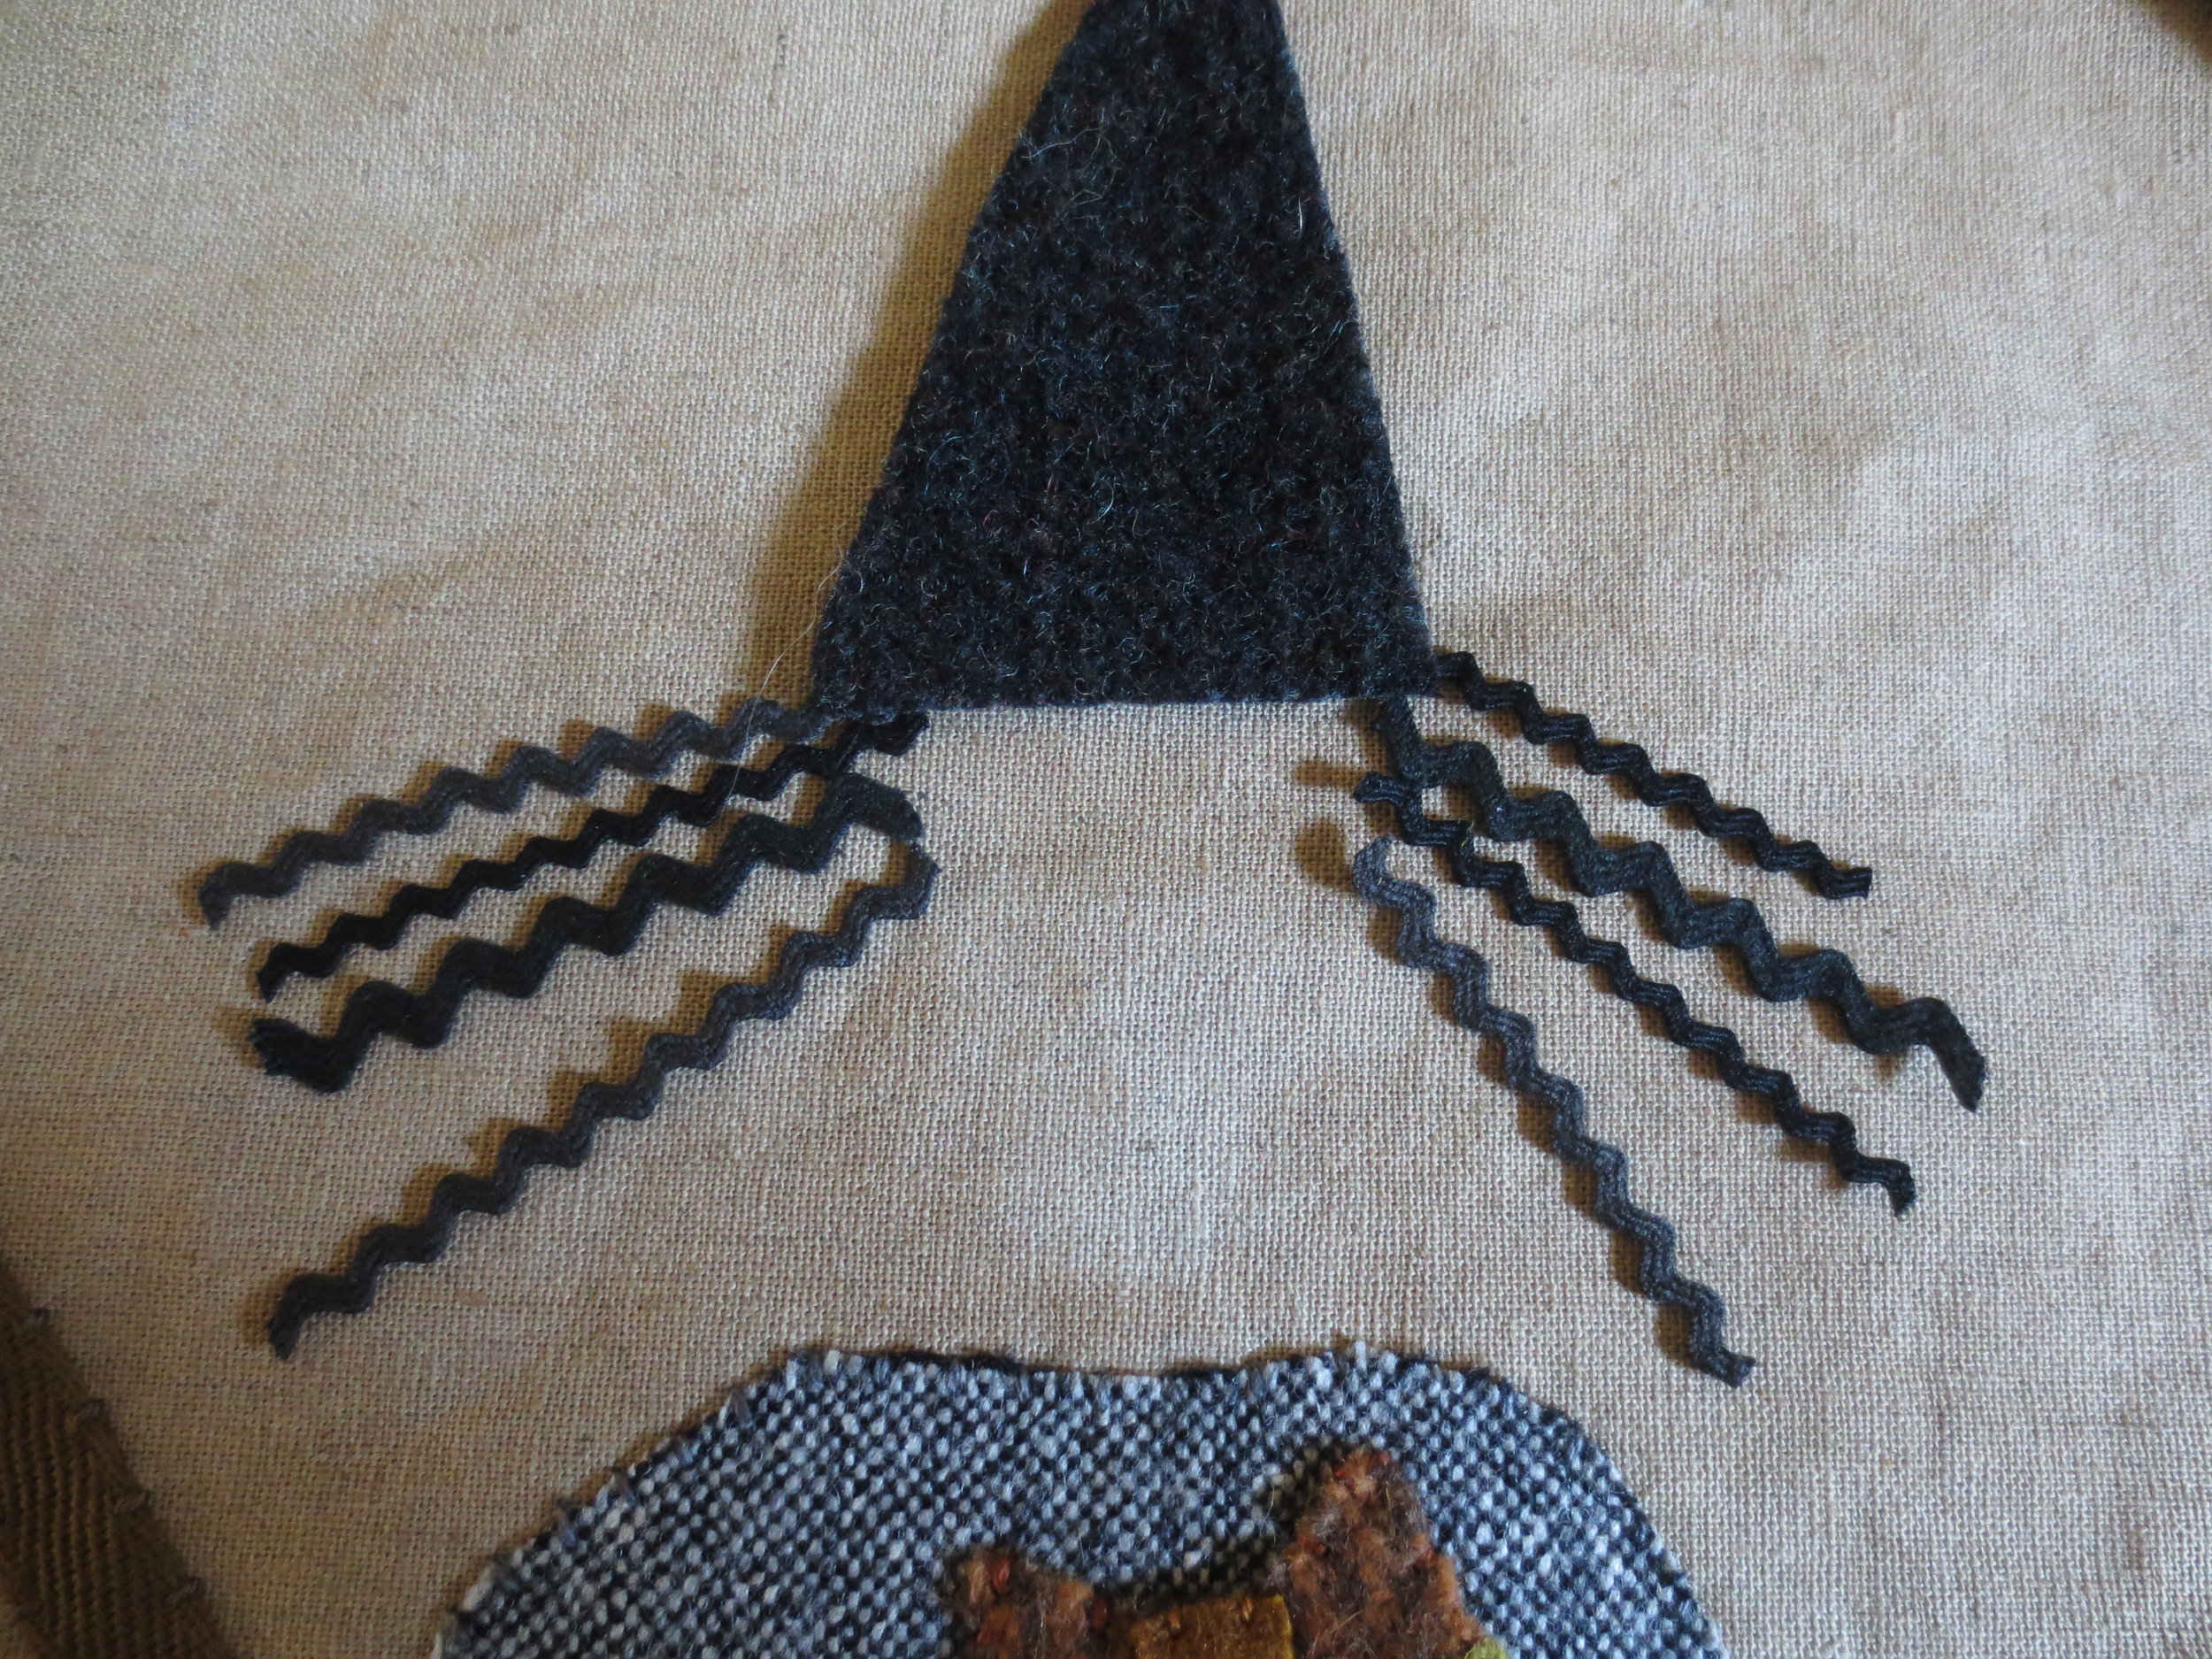

- NOW you can fuse the head and hat (the heat from the iron will also dry the glue under the hair).
- Whip stitch the hair first using dark grey thread. I placed my stitches on each of the rick rack humps.
- Whip stitch the head and hat.

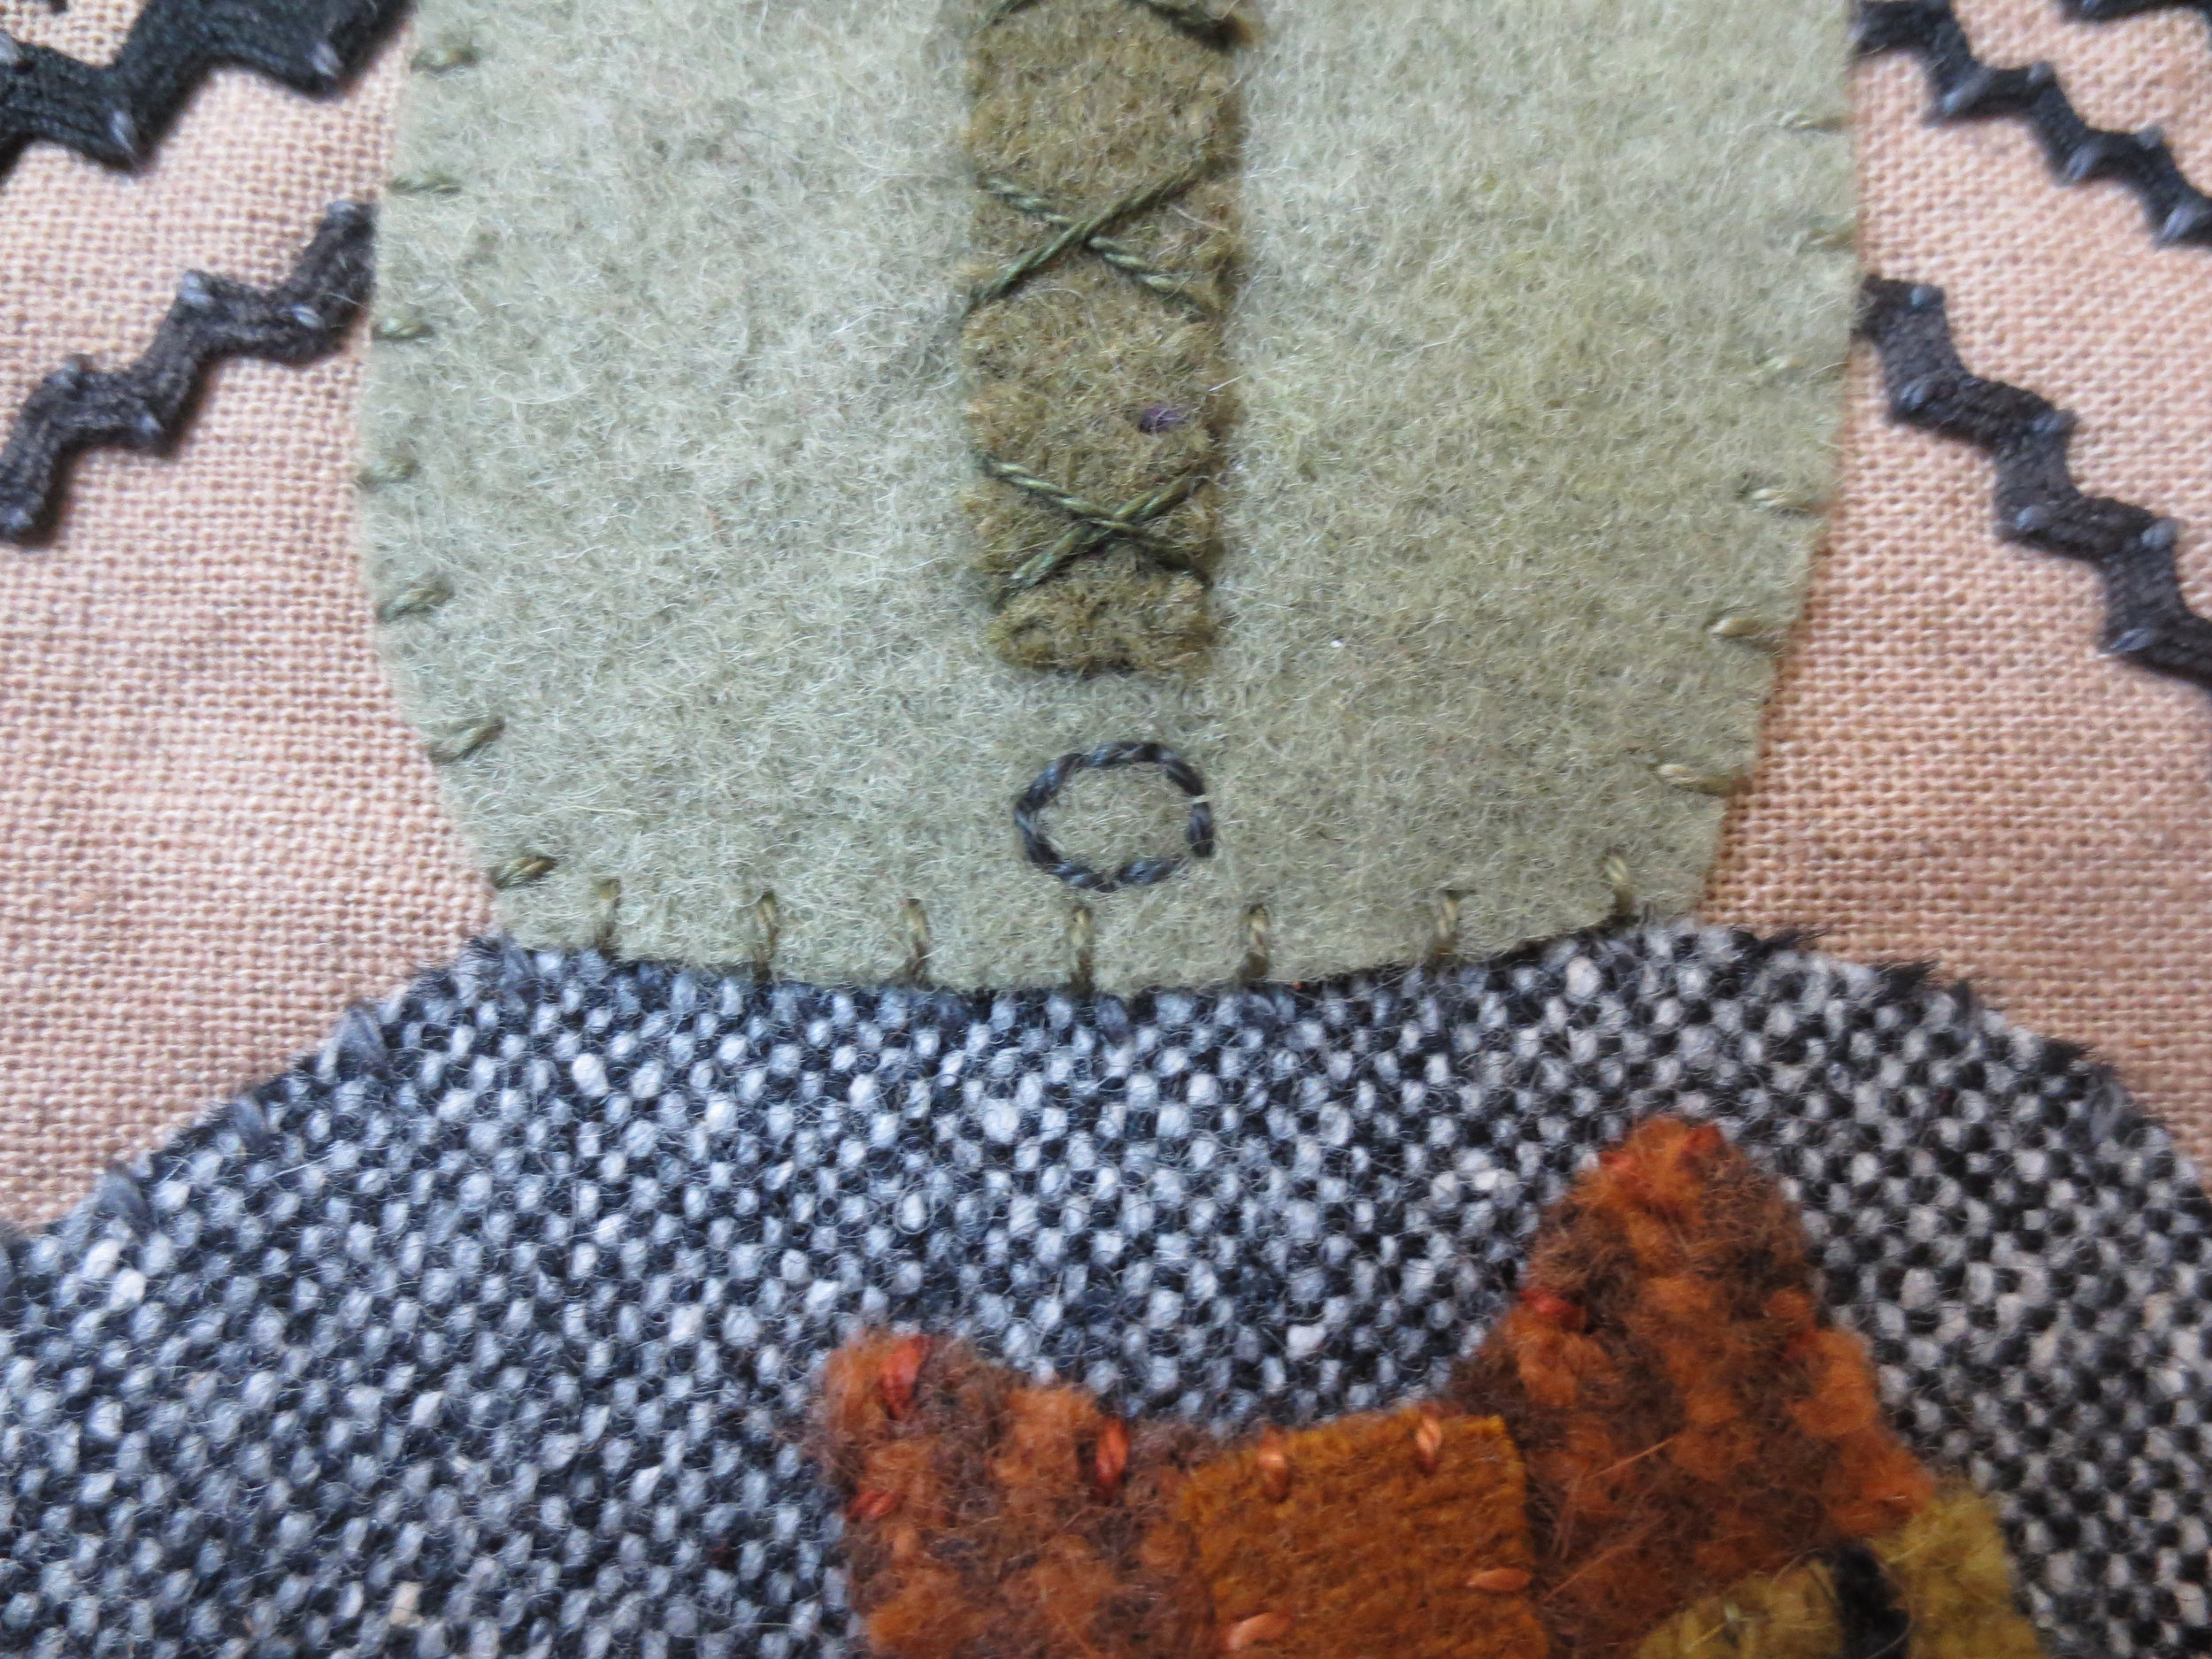
- Position the witch's nose. Fuse and whip stitch using matching colored thread.
- Using a darker green than that used to whip stitch the nose, stitch four cross stitches on the nose.
- Use a chalk pencil to draw a circle for the mouth.
- Back stitch over the line with the dark green thread.
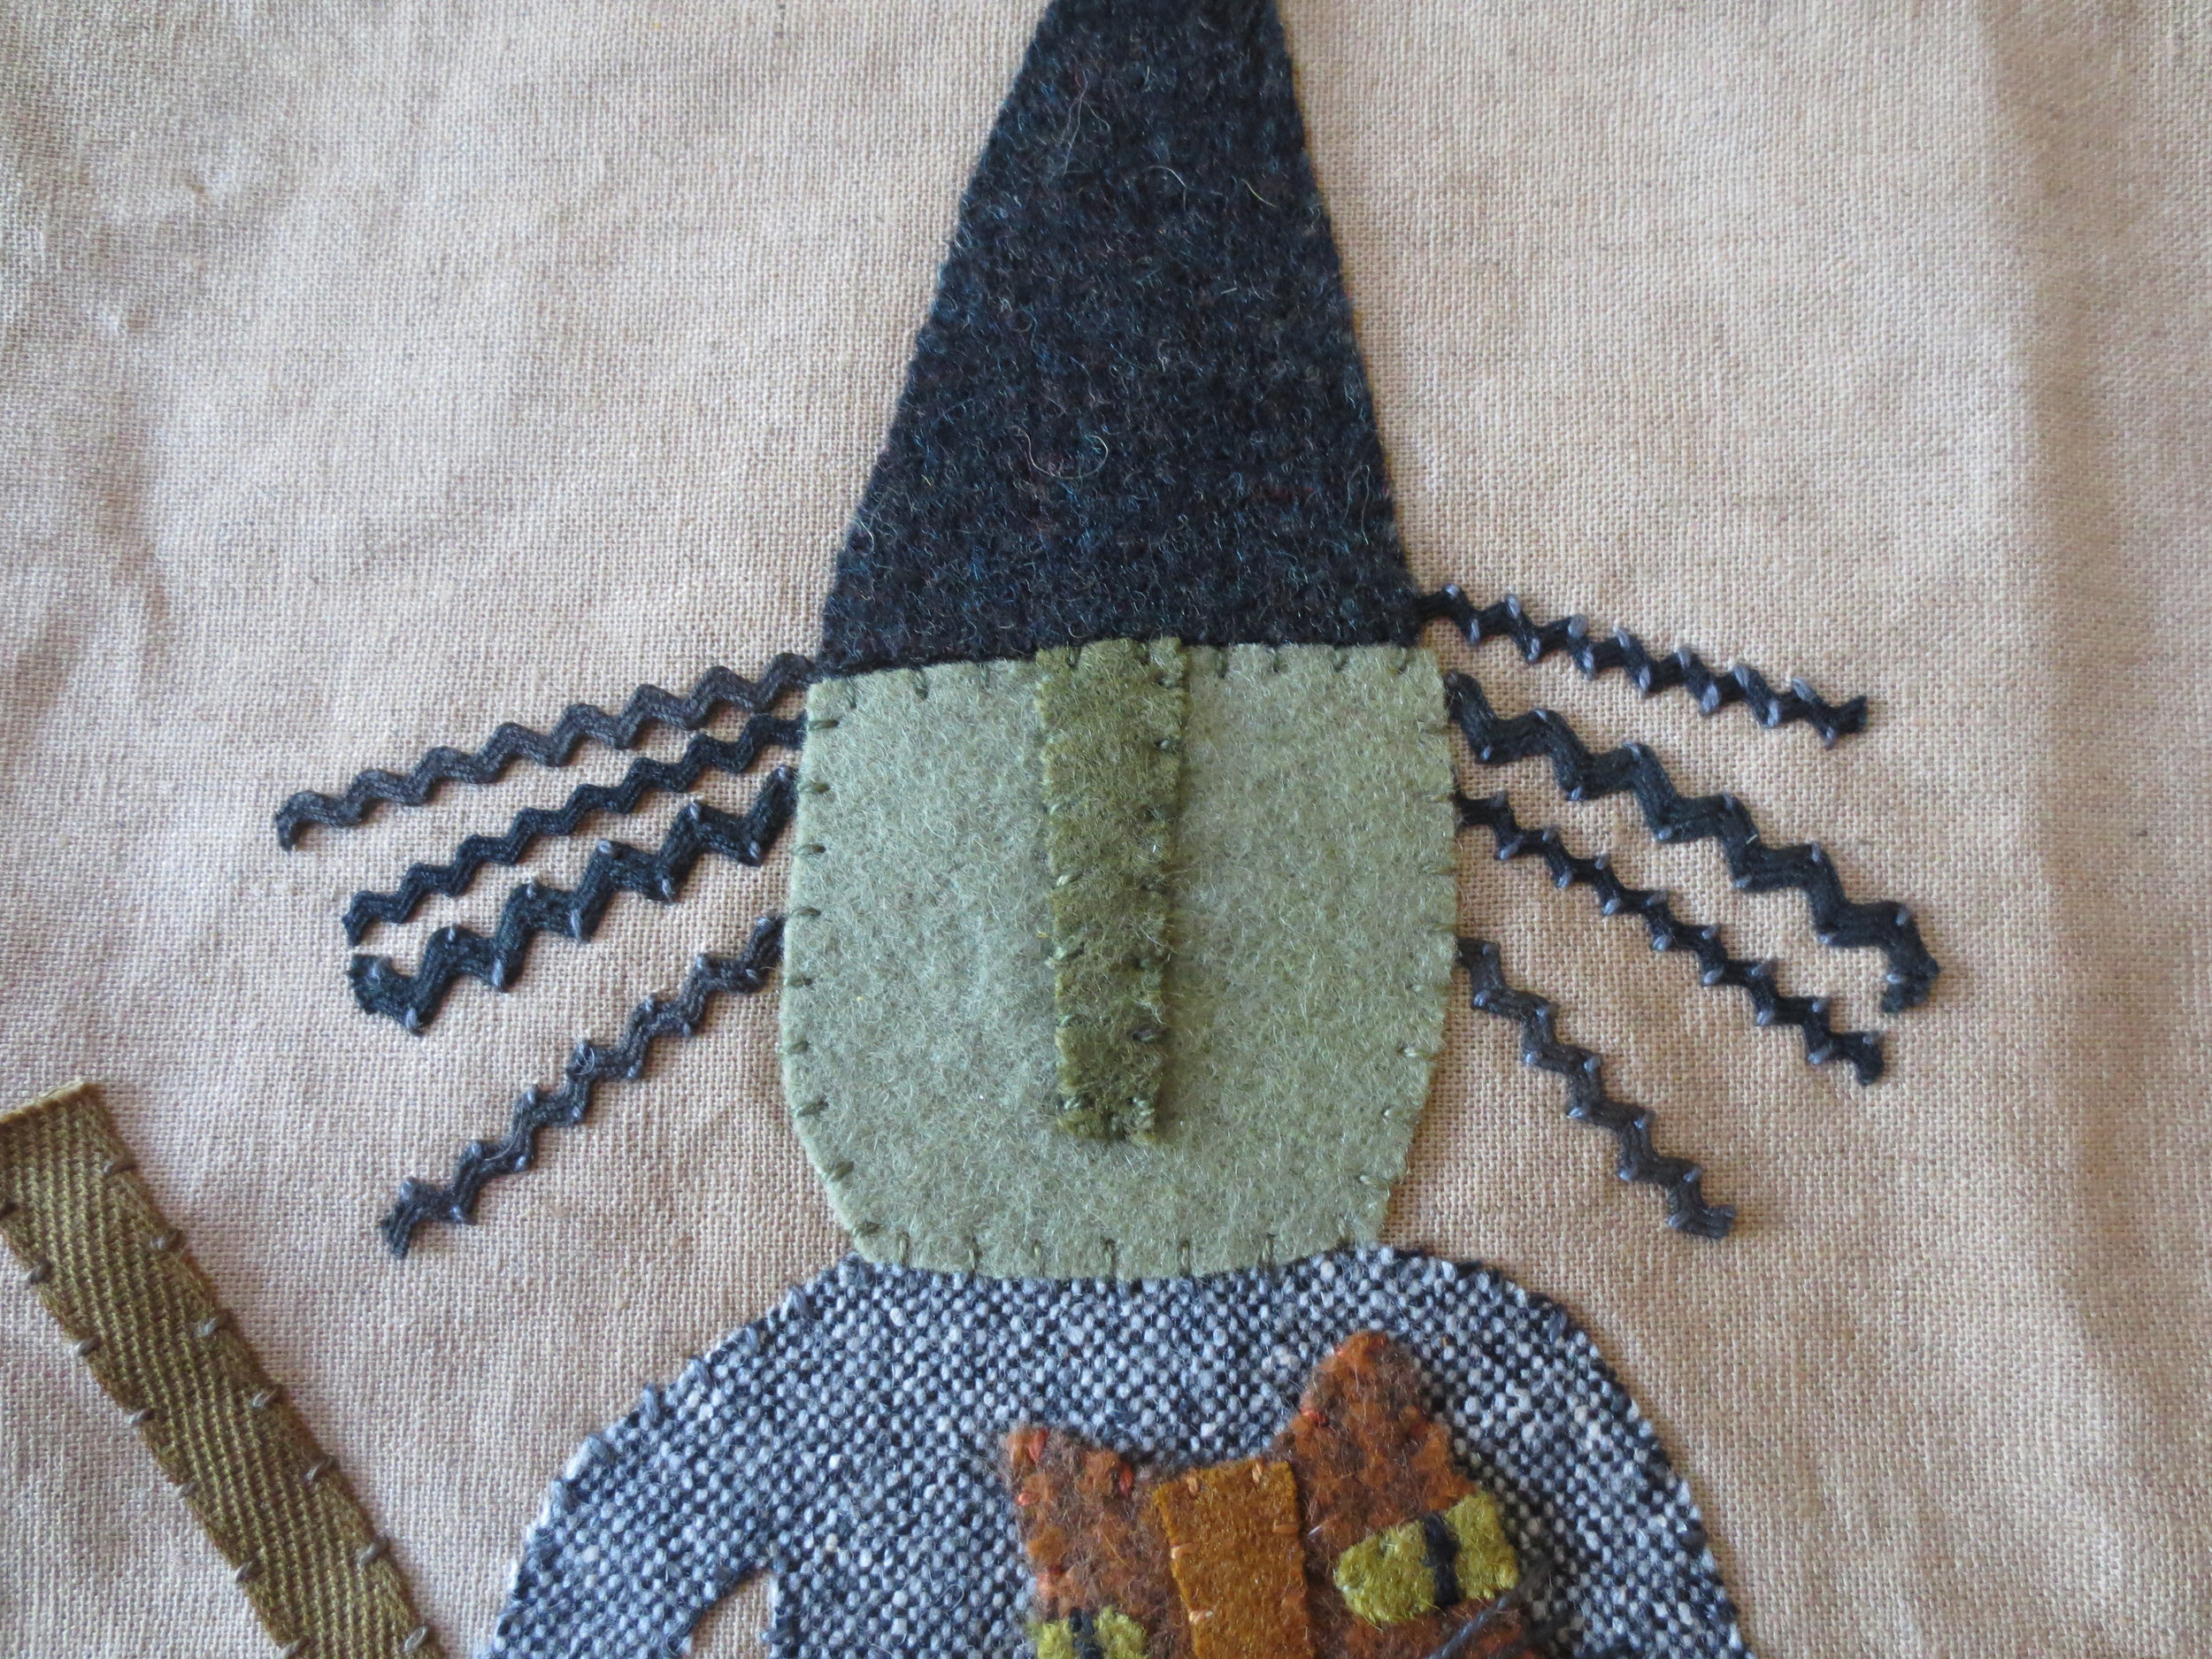
- Replace the hat brim. Fuse and whip stitch using black thread.
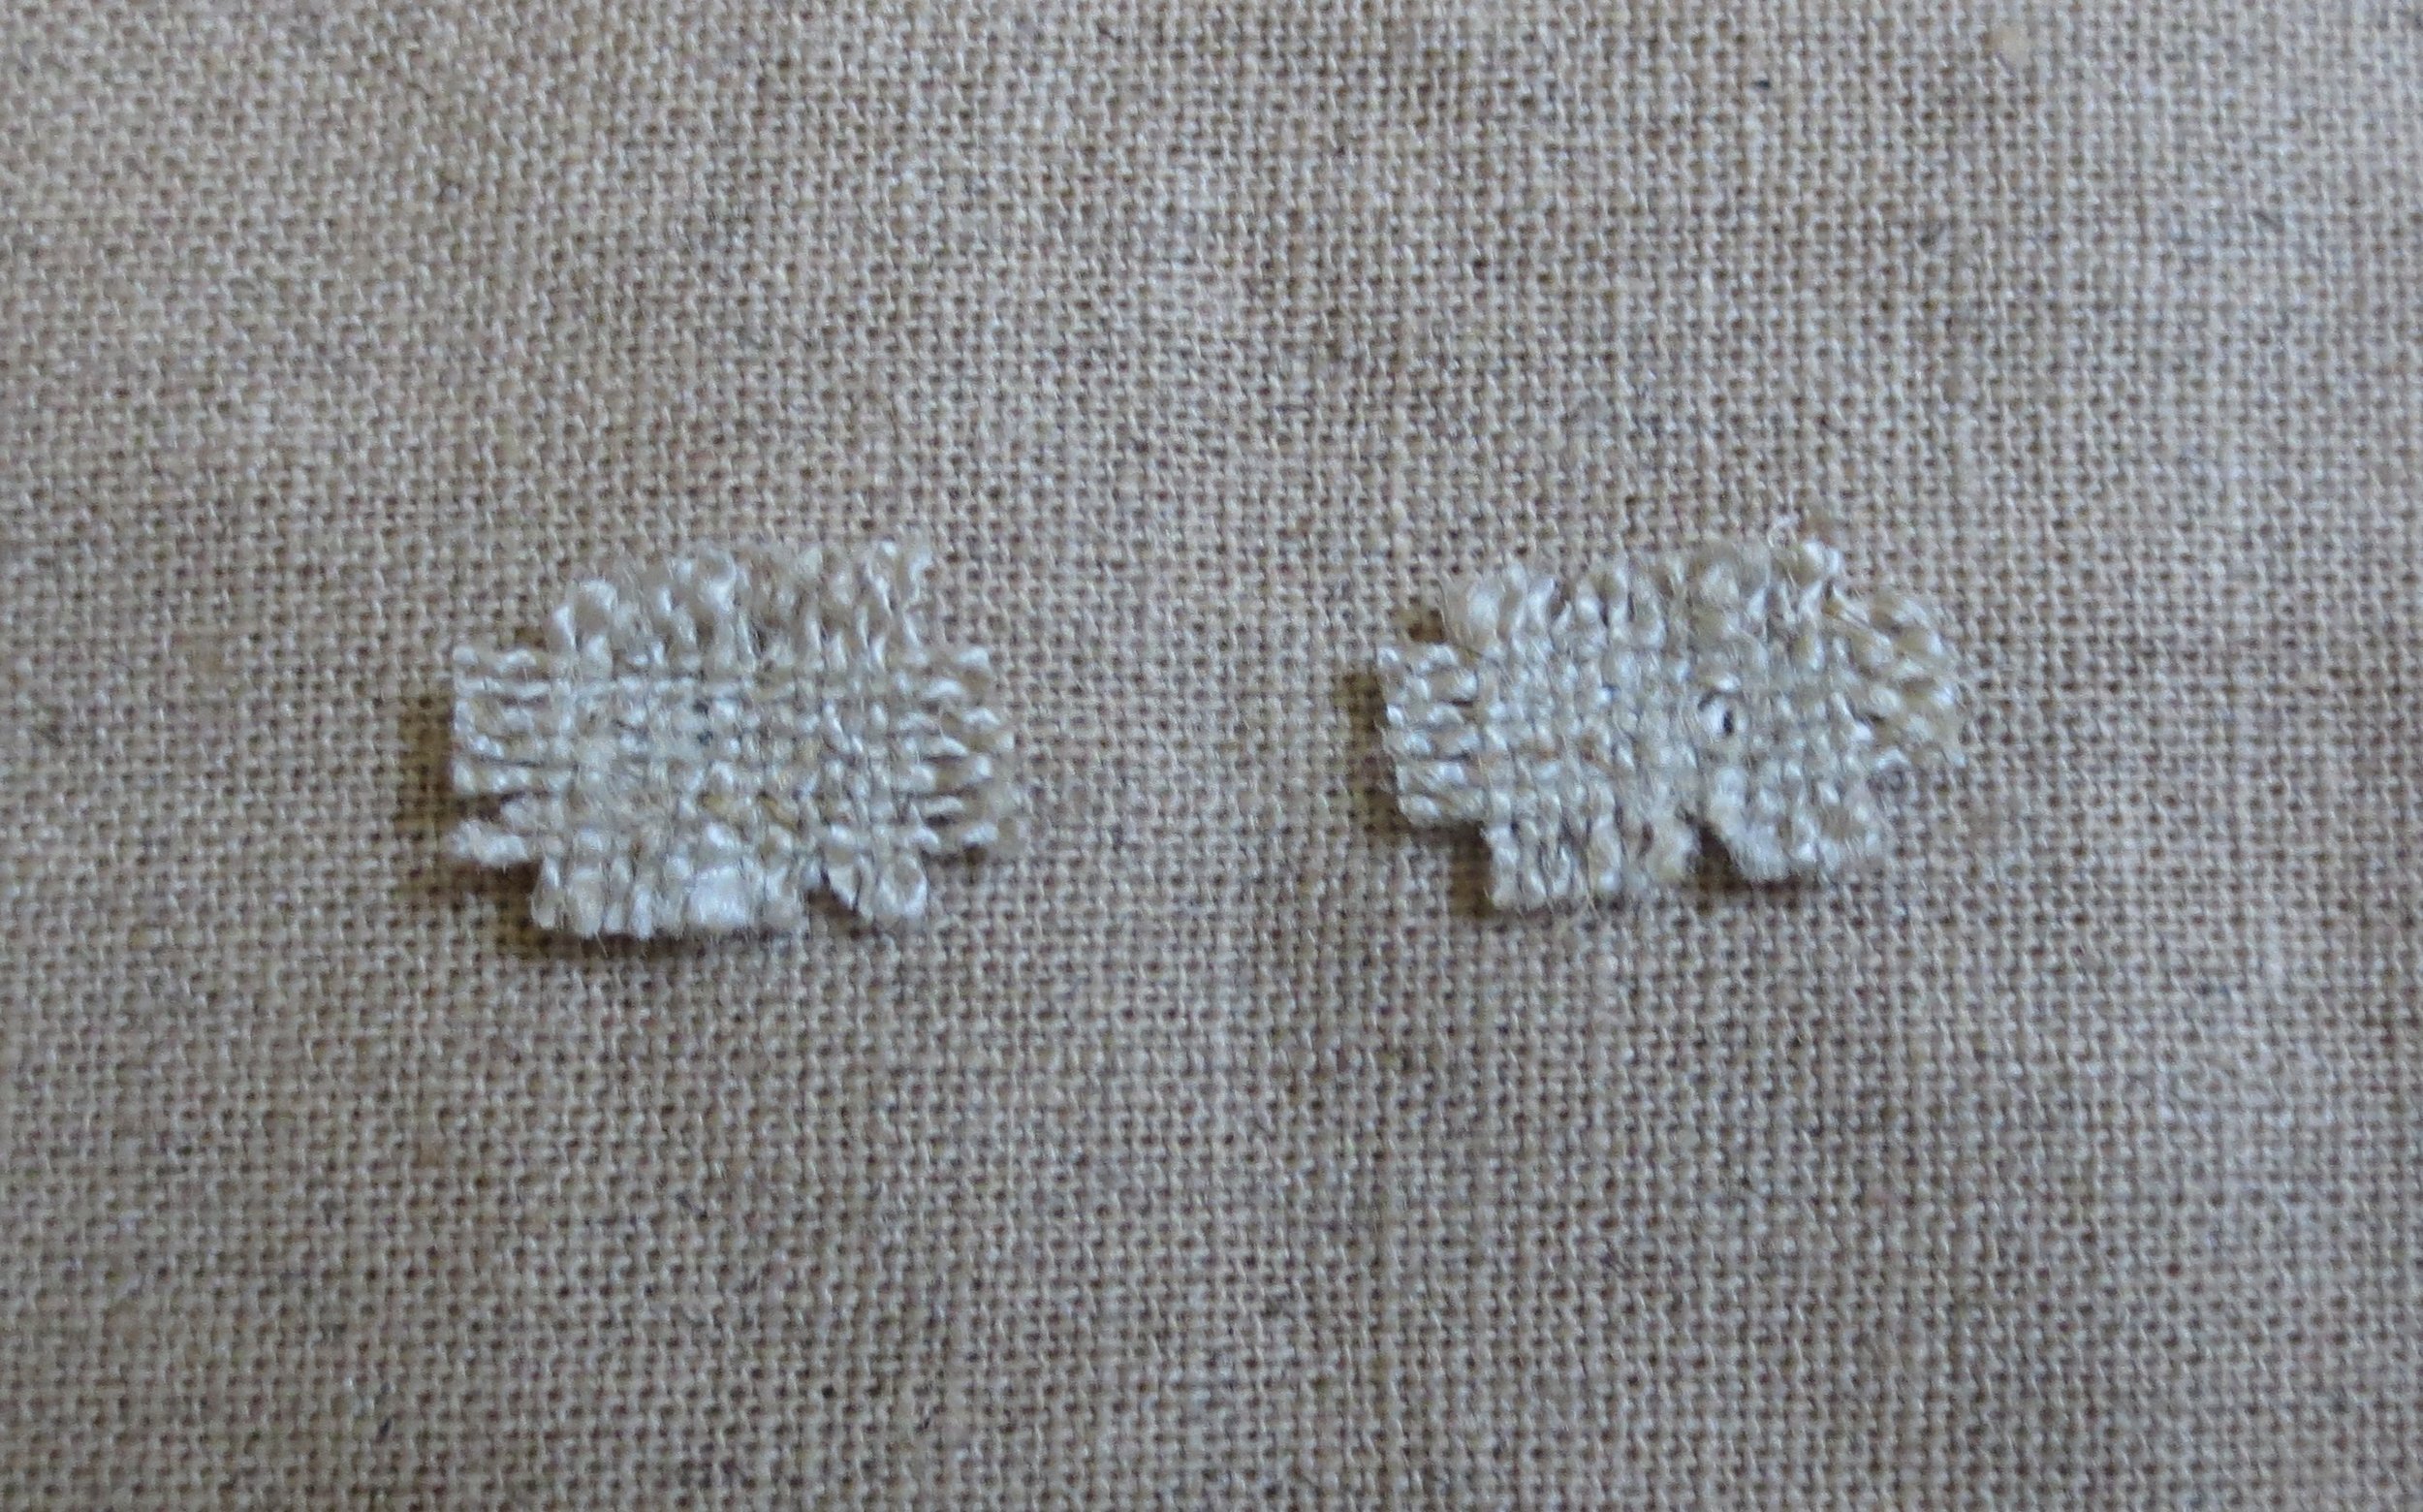
- Cut two 3/8" x 1/2" pieces of the coarse weave fabric selected for the eyes.
- With the pointed end of a sewing needle remove 2 to 3 threads from the top, bottom, and sides of each of the eyes to create fringe. Cut one or two fringe threads off to give it a more raggedy look.
- Apply a few drops of Roxanne's Glue Baste-it to the back of each eye and position them on face.
- Use black perle cotton, size 8 to stitch a colonial knot on each eye.
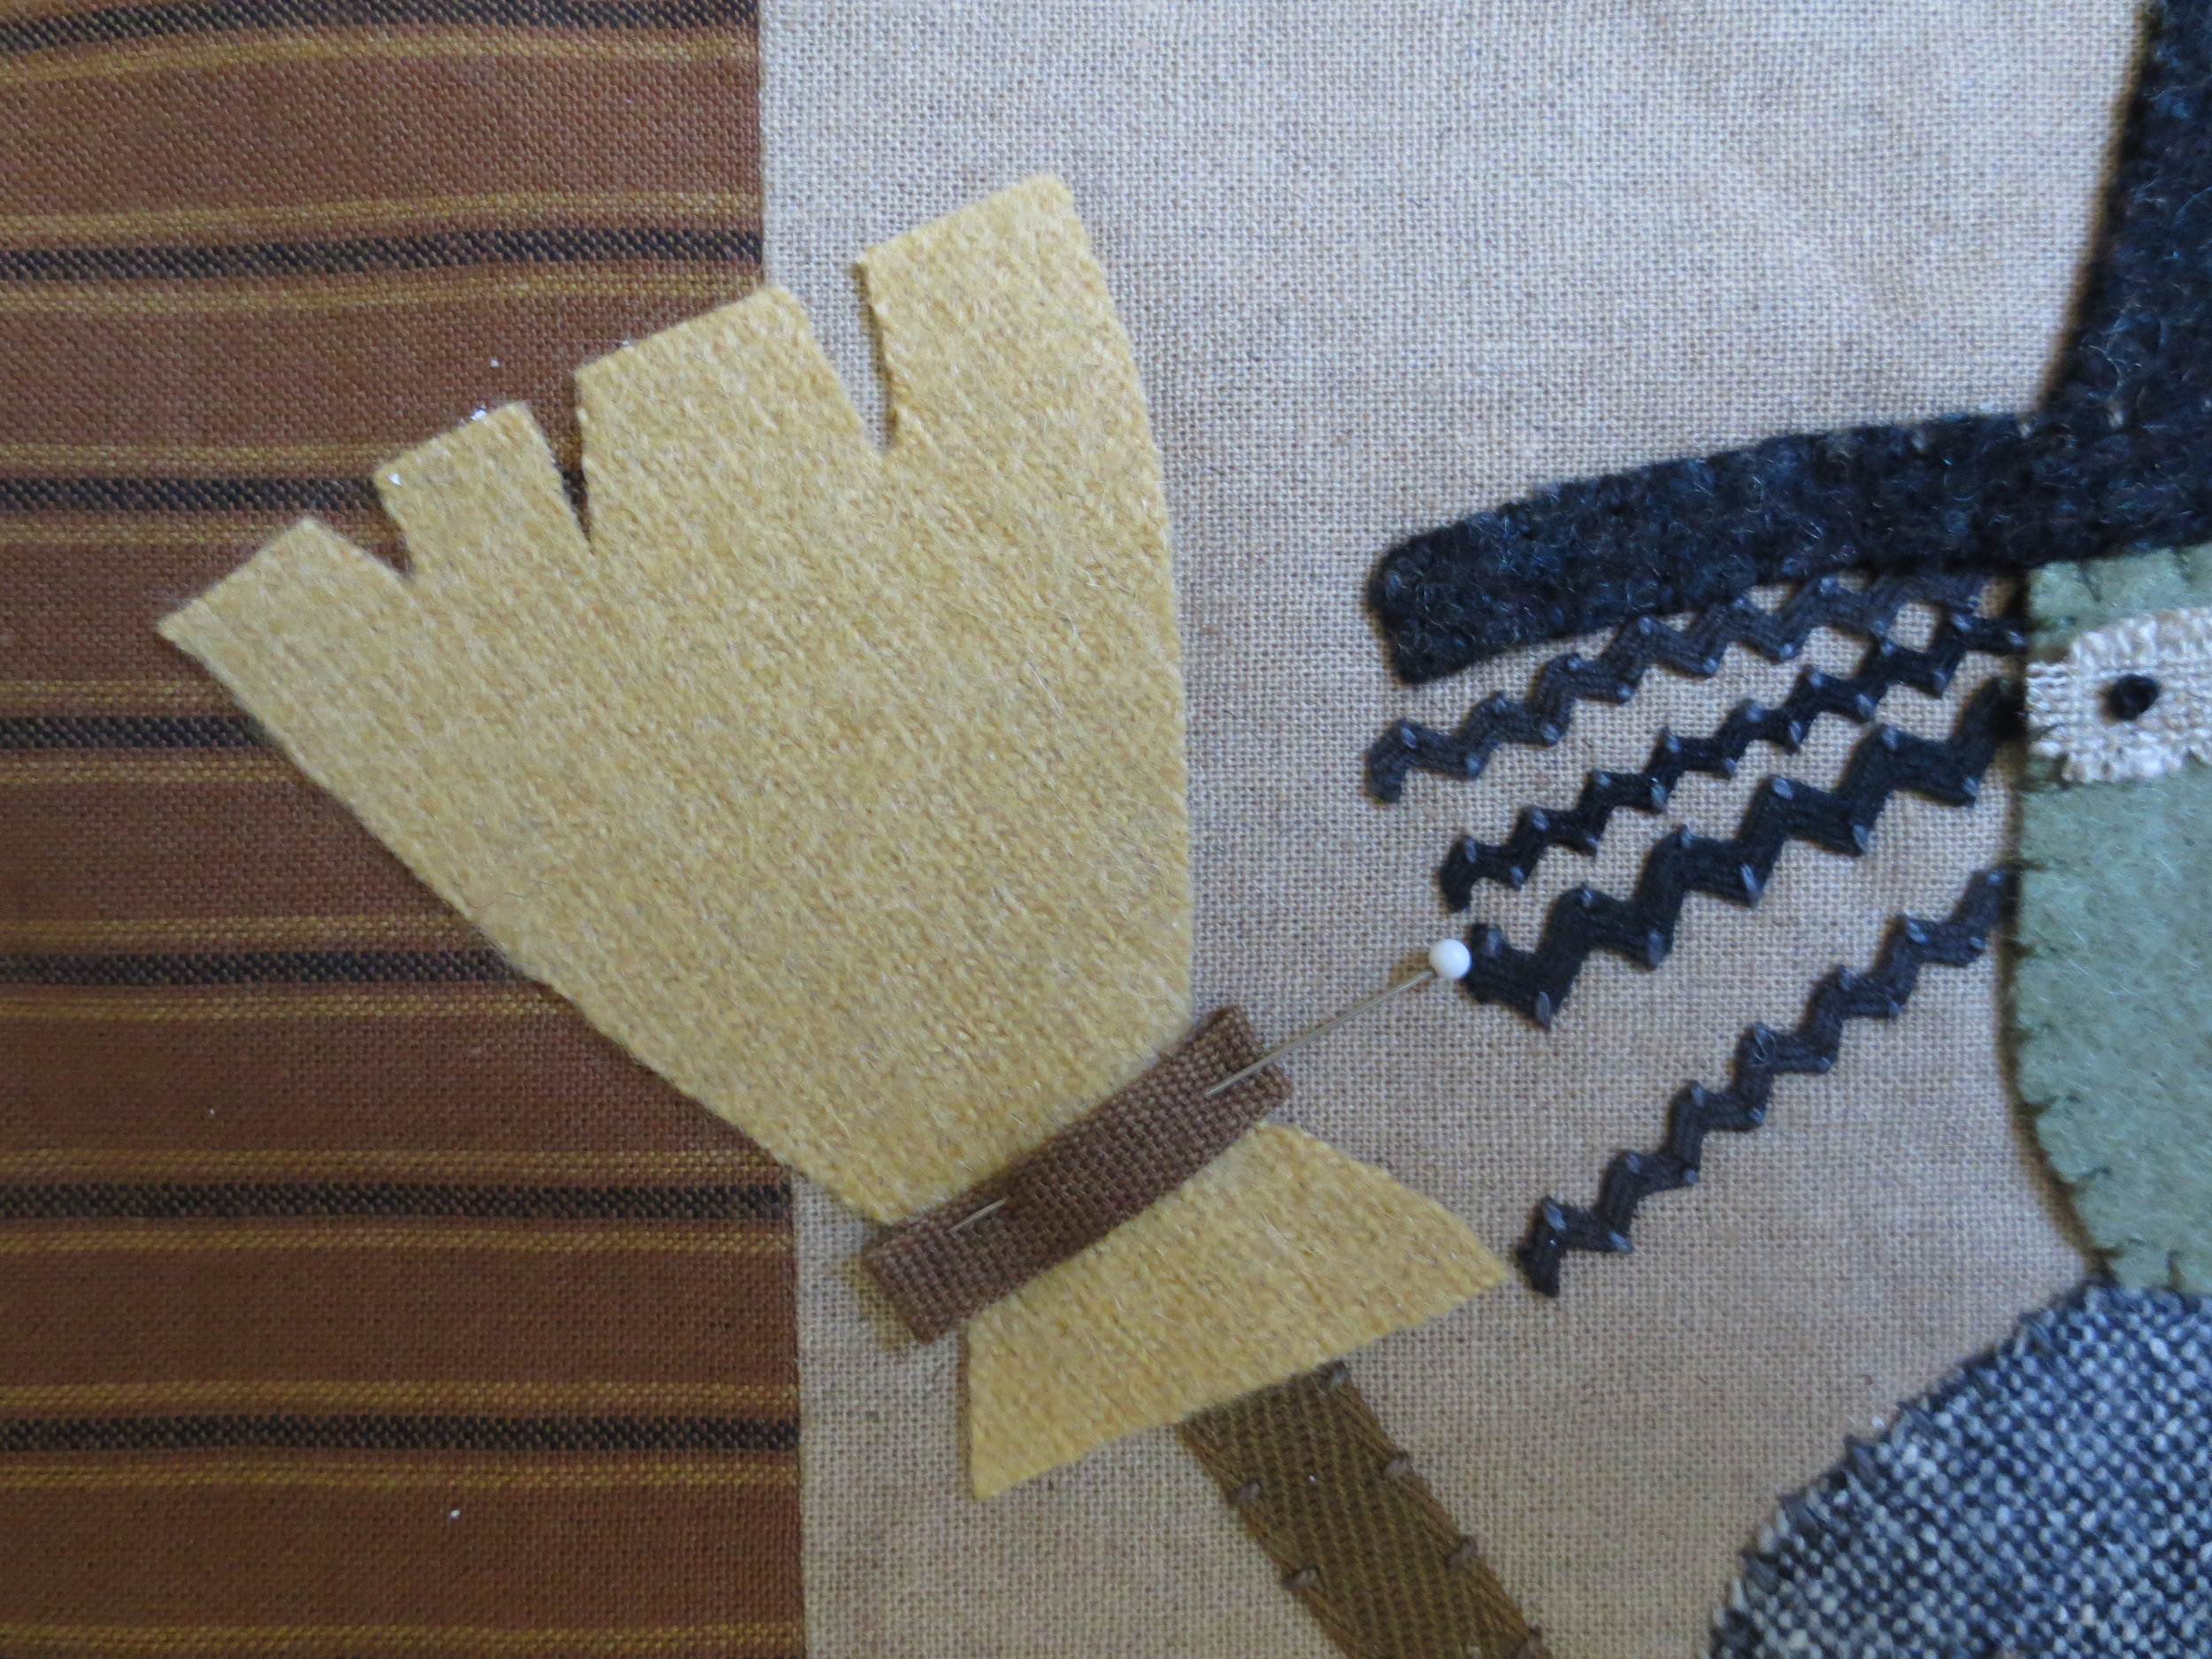
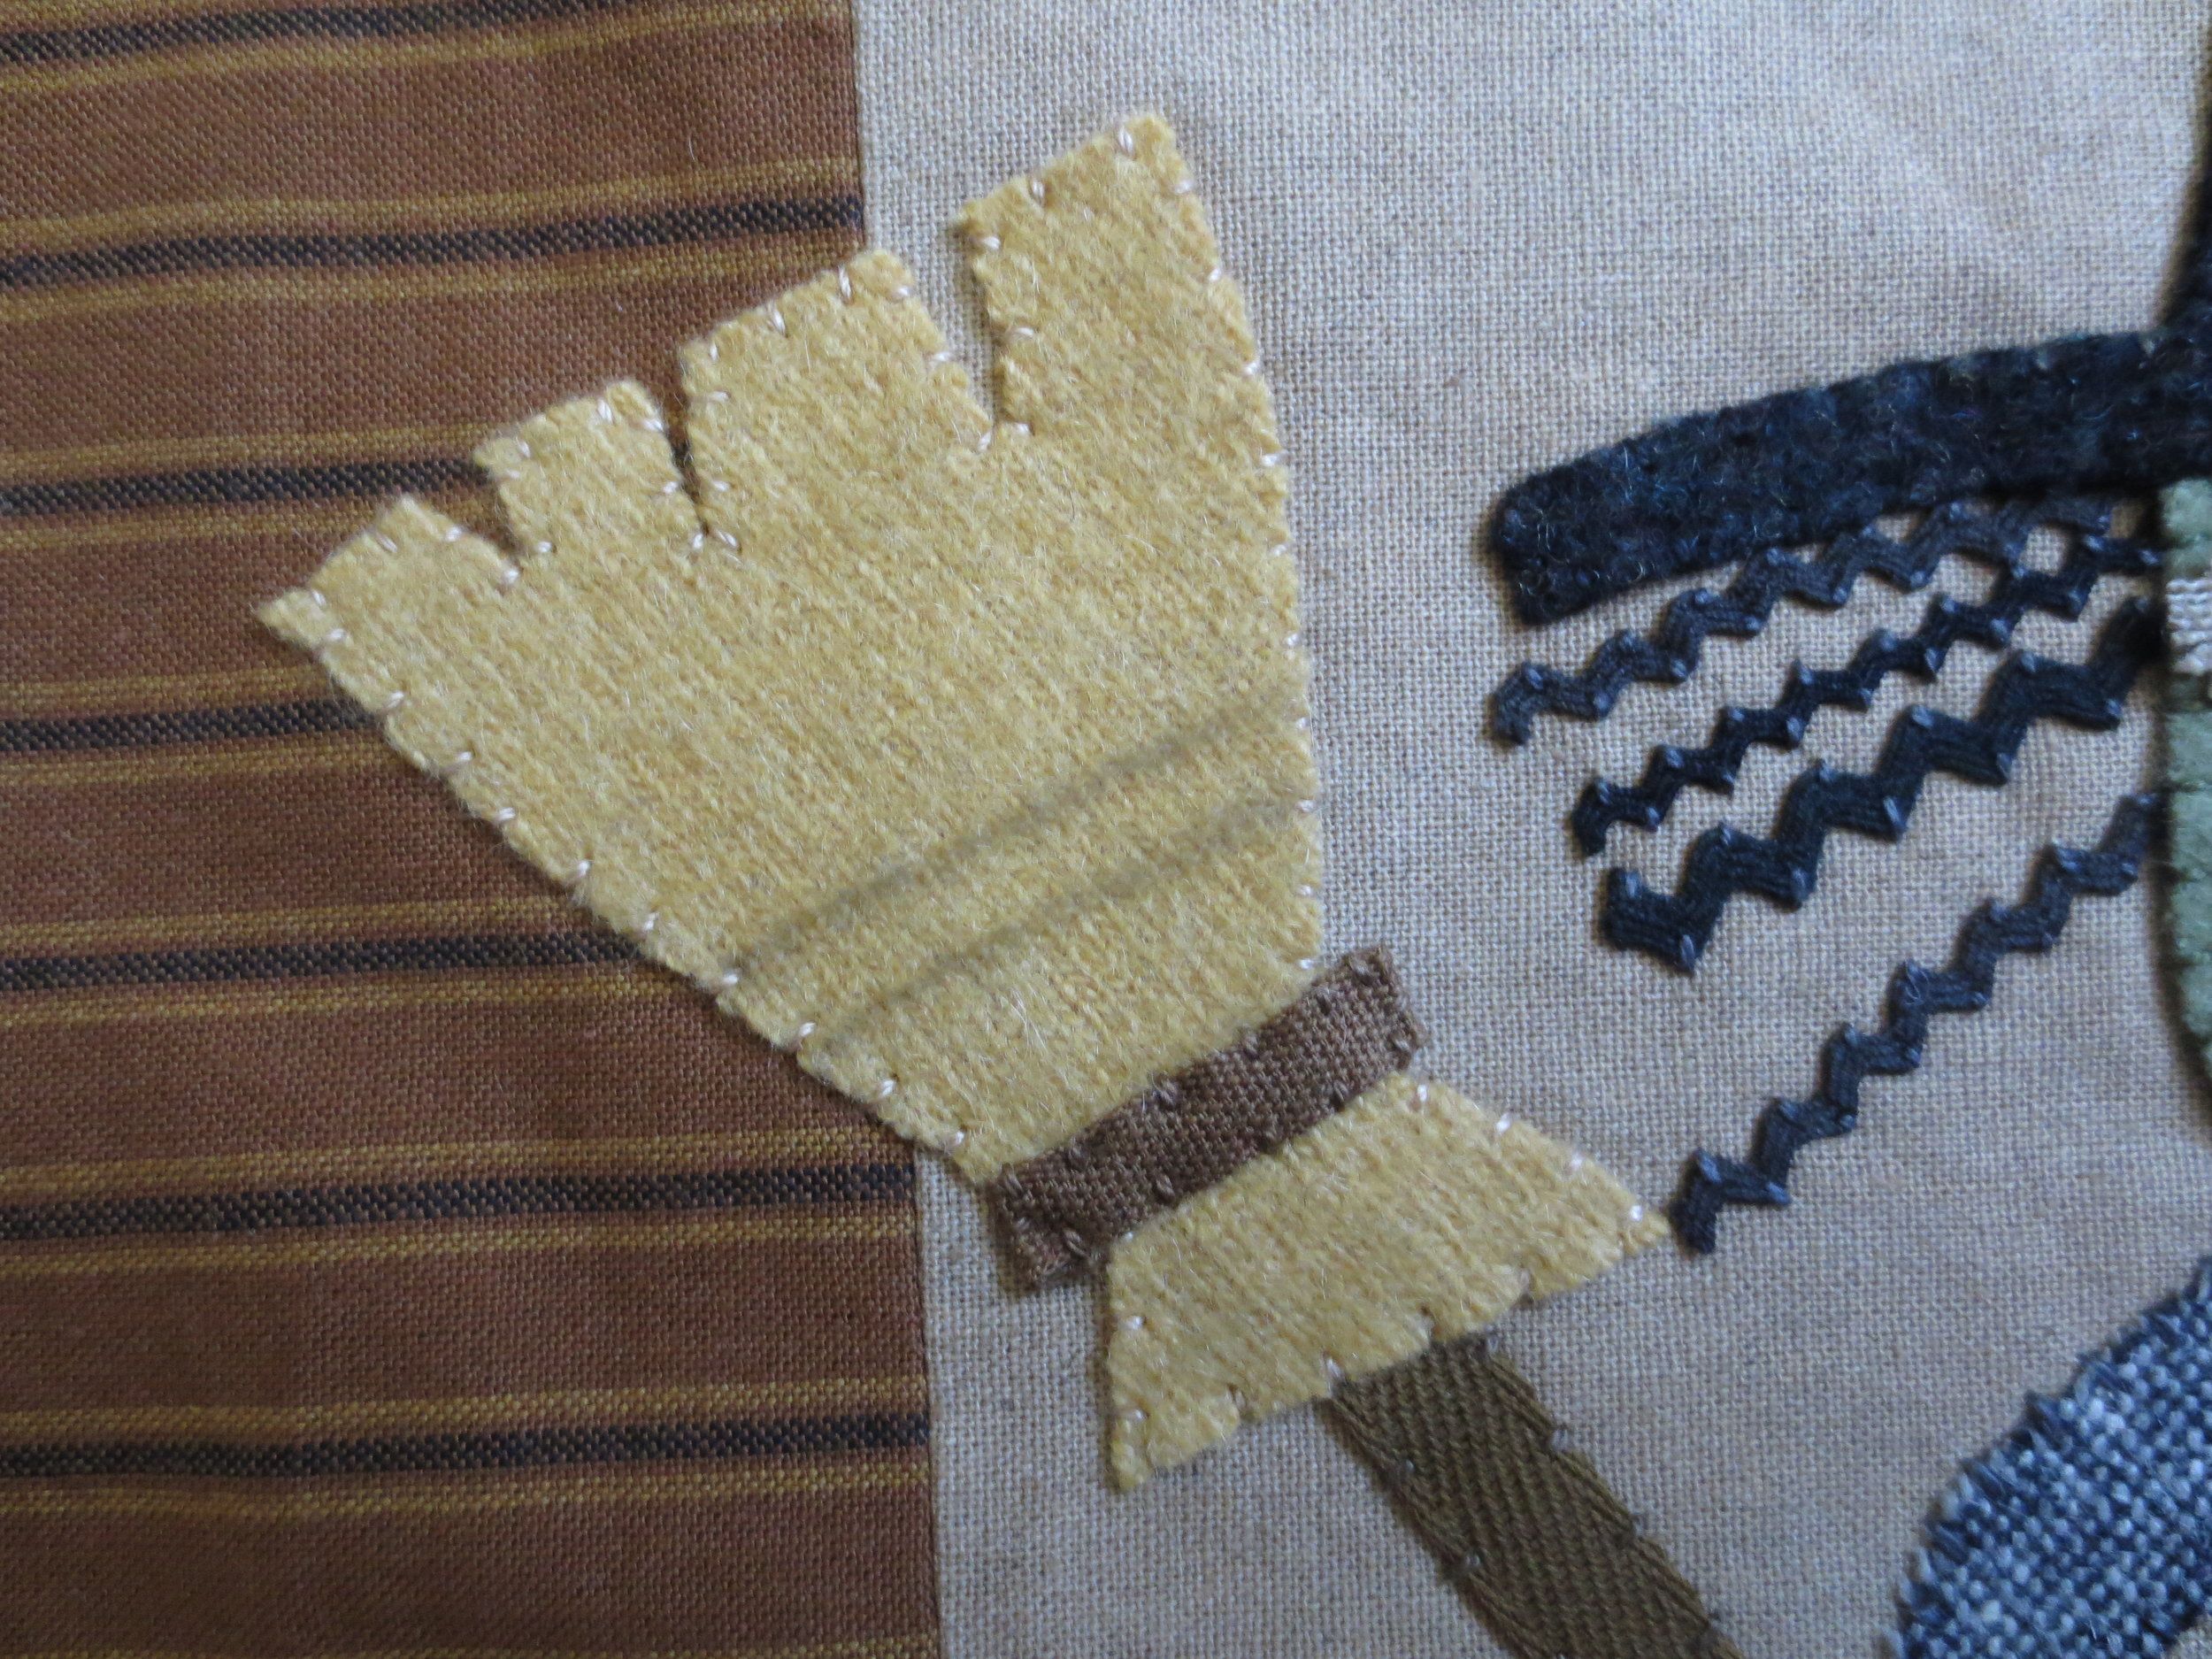
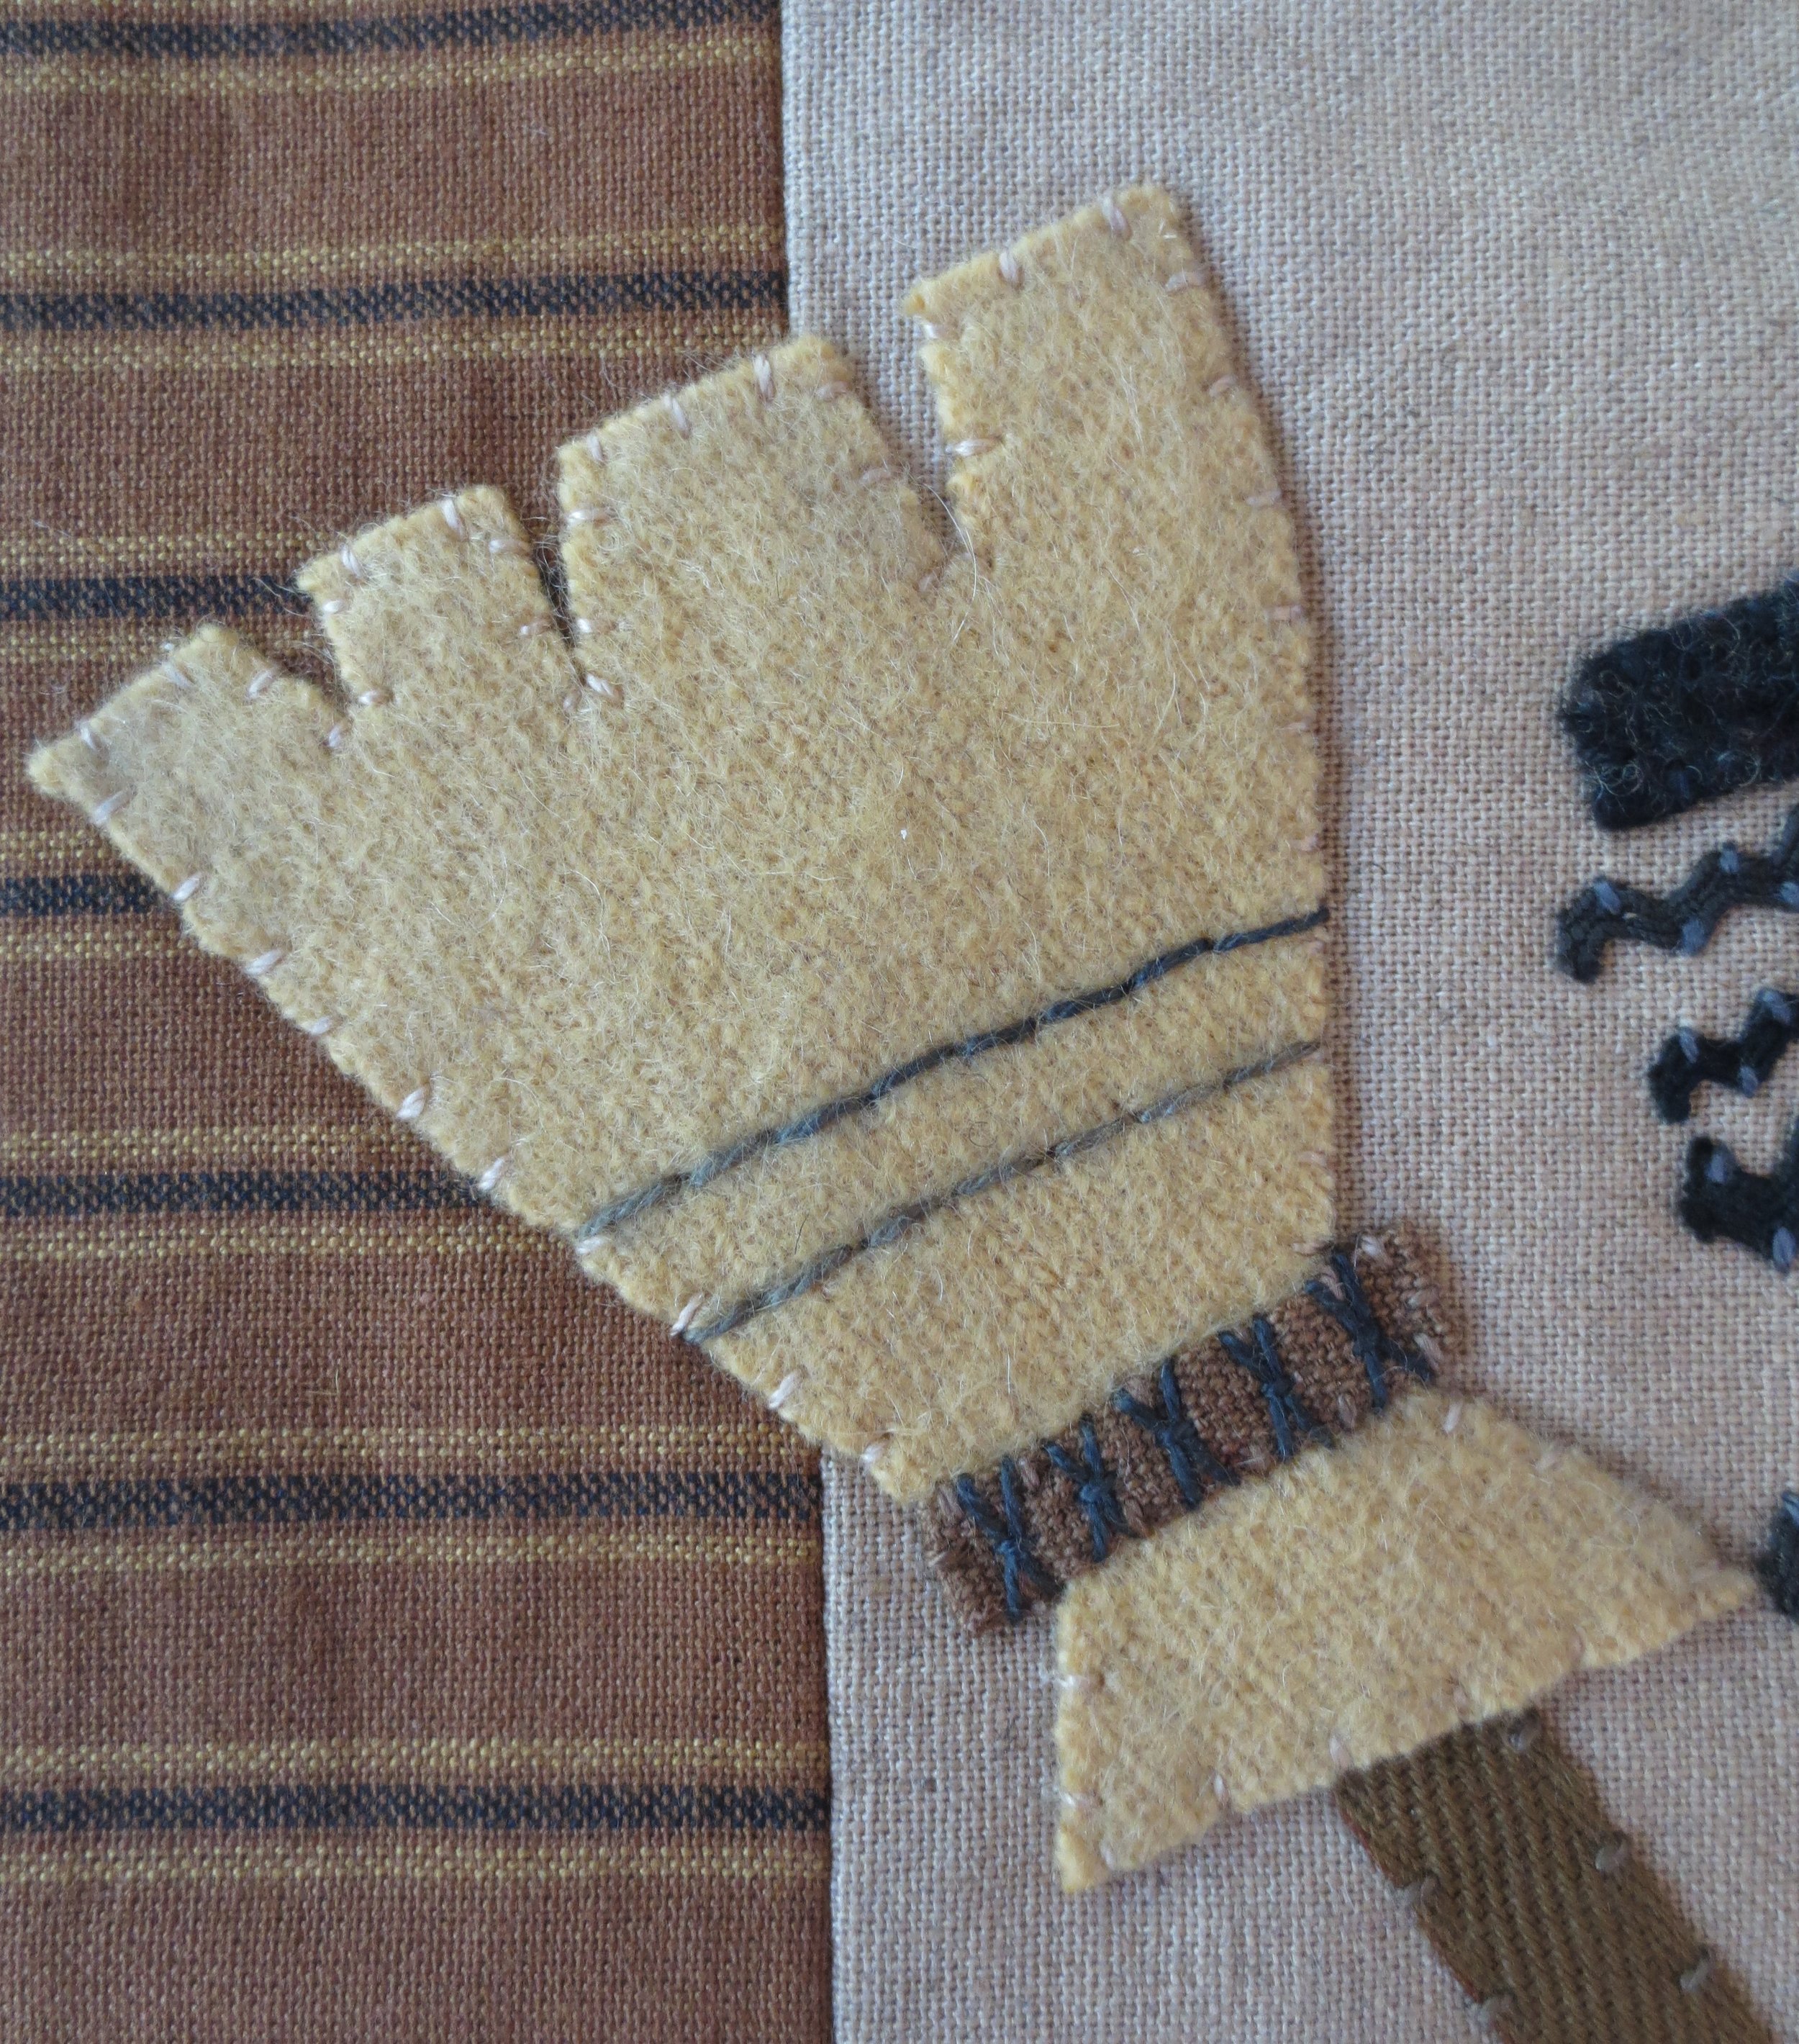
- Broom
- Position the broom bristles on top of the handle and fuse with steam.
- Pin the broom band (ribbon) on the broom, tucking each of the ends under about 1/4".
- Whip stitch the broom band.
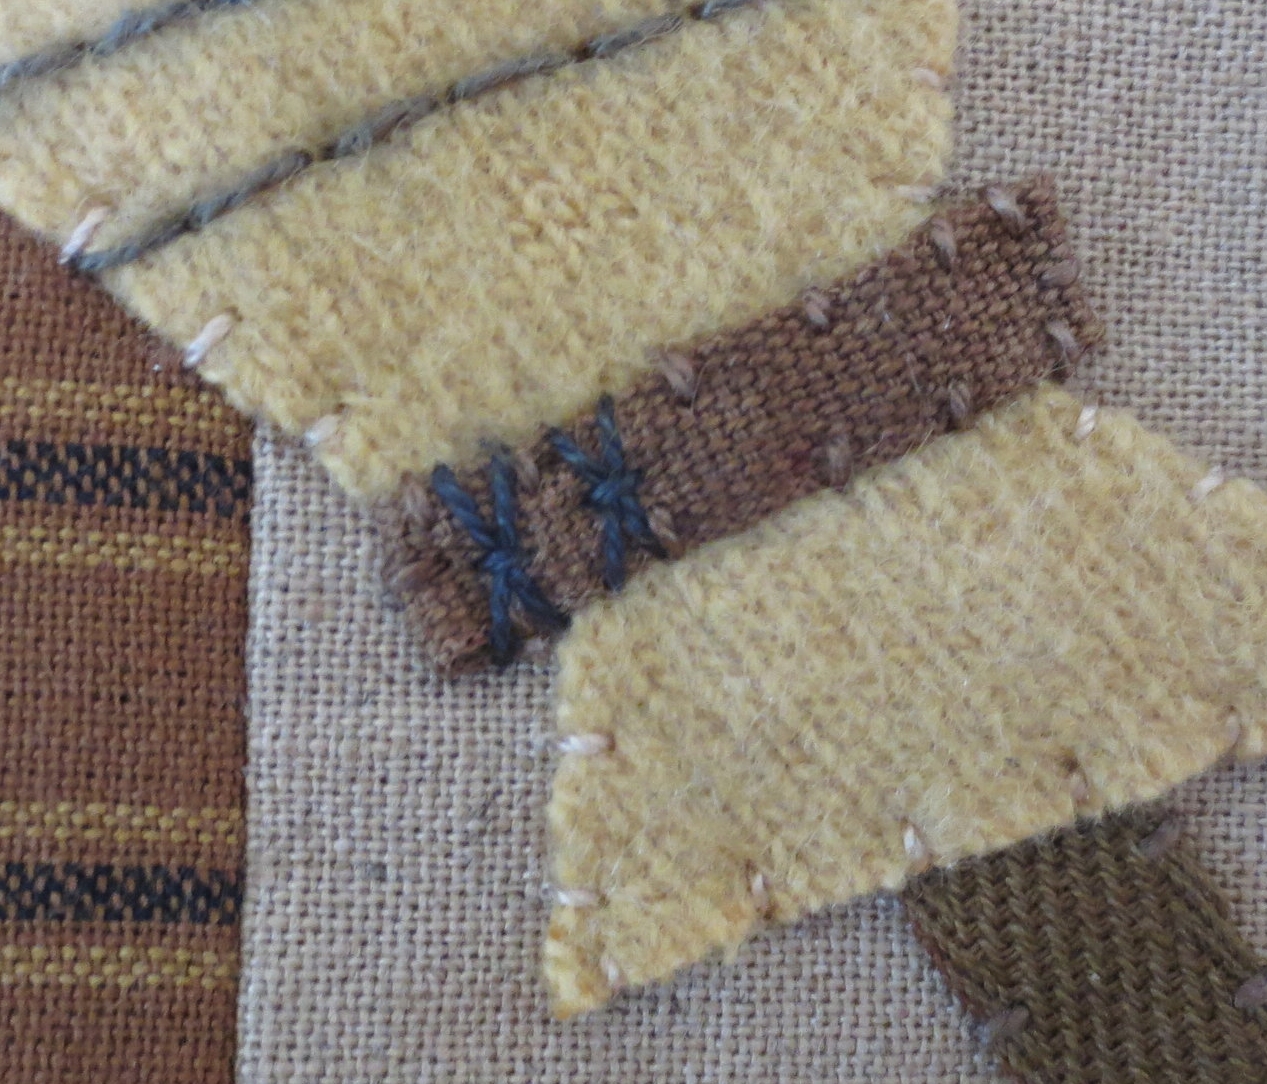
- Draw two parallel lines across the broom bristles (see layout for positioning), and backstitch over the lines with dark gray thread.
- Using the same gray thread, embellish the band with small cross stitches that have a single horizontal straight stitch at the intersection of the cross.
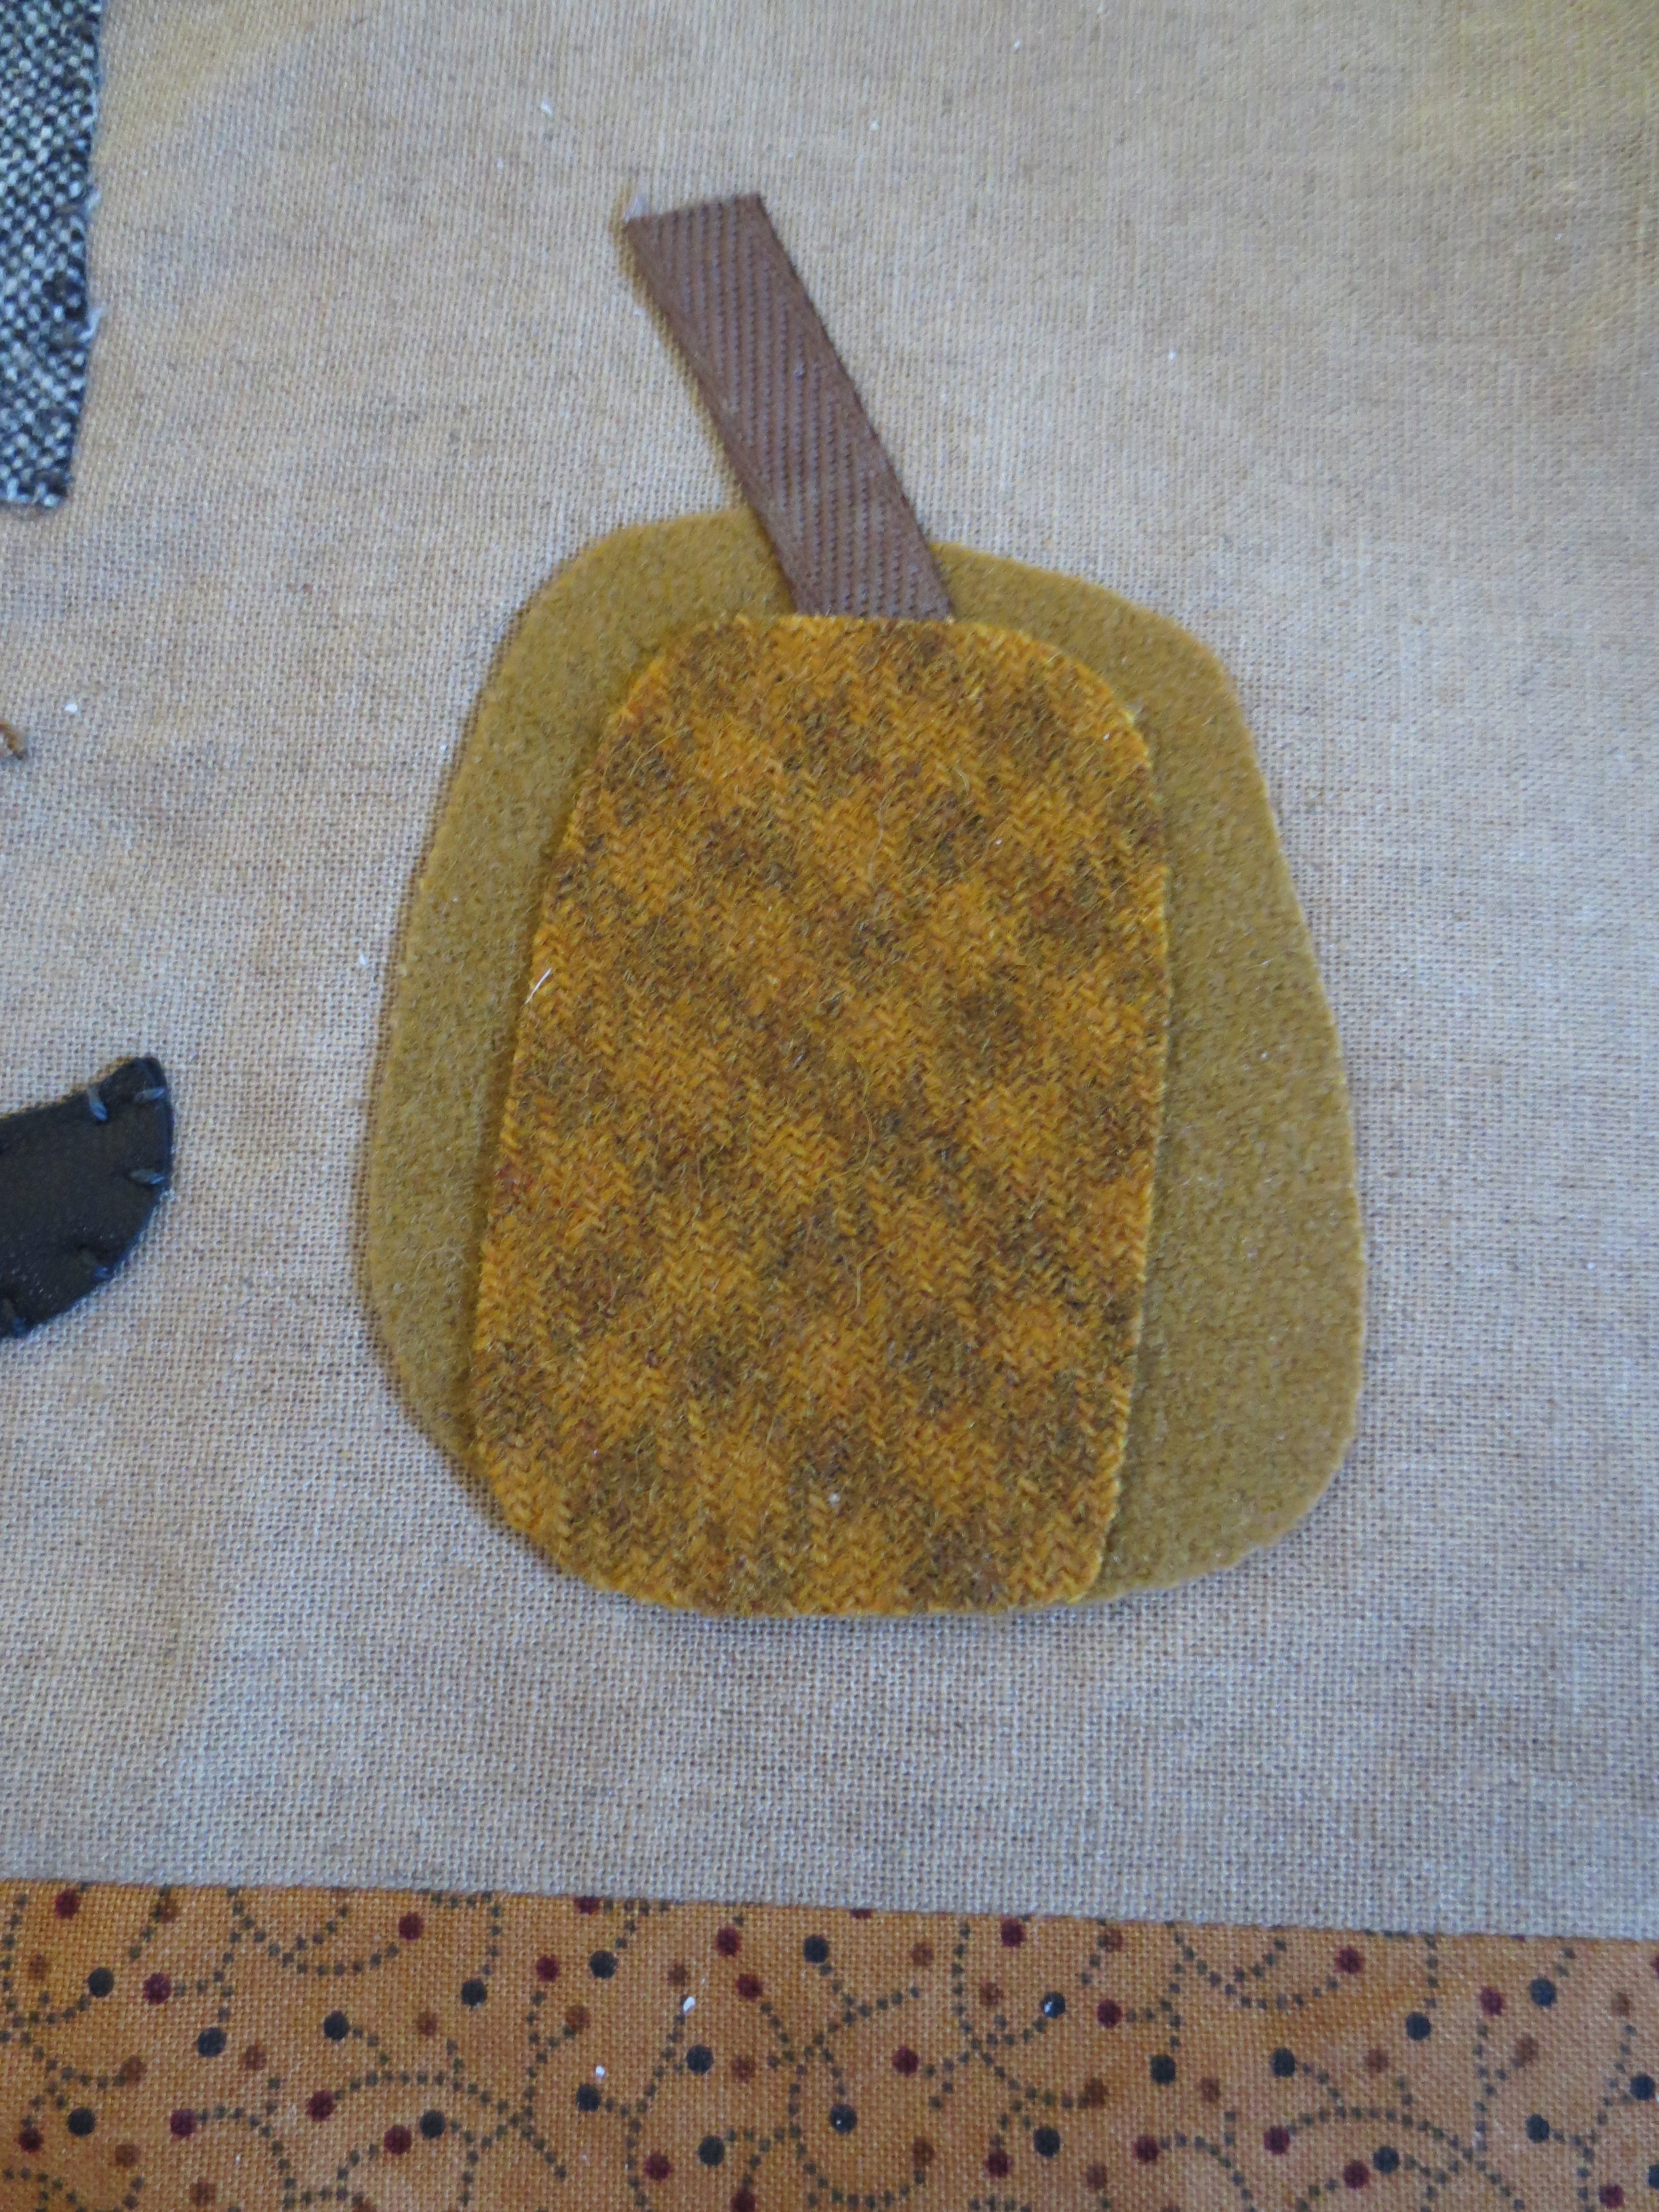
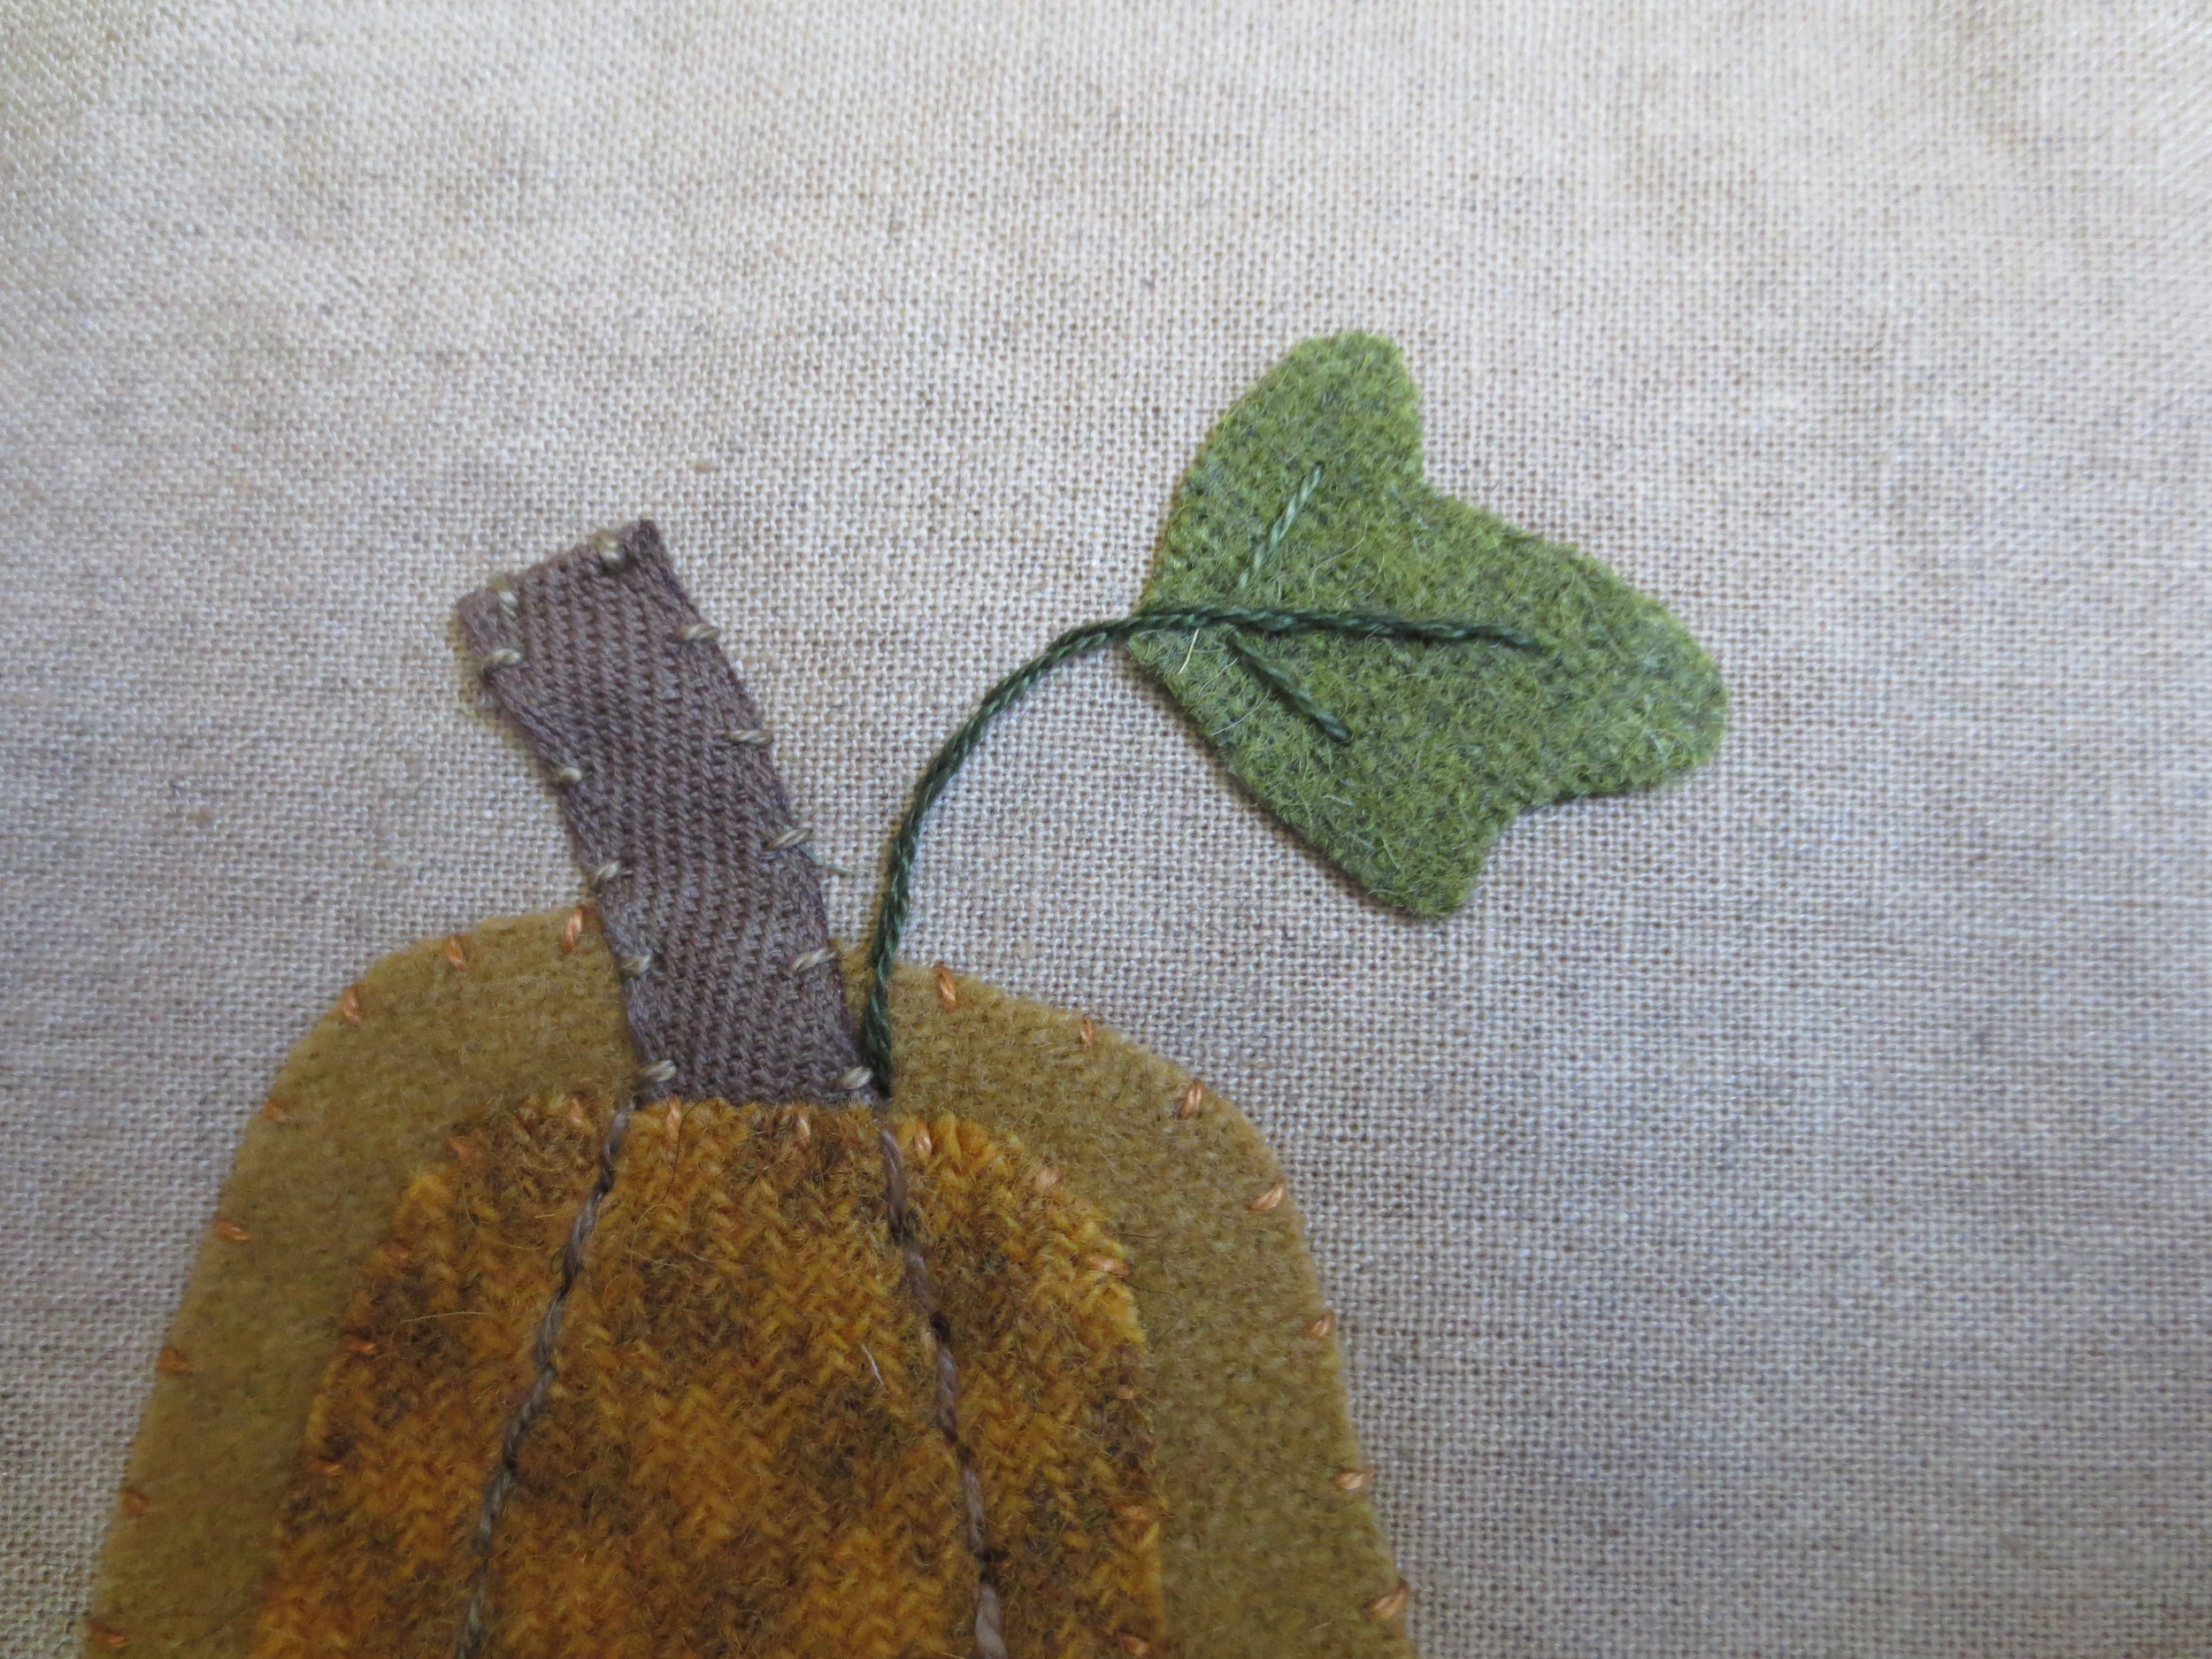
- Pumpkin
- Position pumpkin part A using the Layout as a guide. Fuse in place using steam.
- Position Pumpkin part B and stem. Tuck the end of the stem under the top of part B.
- Fuse in place.
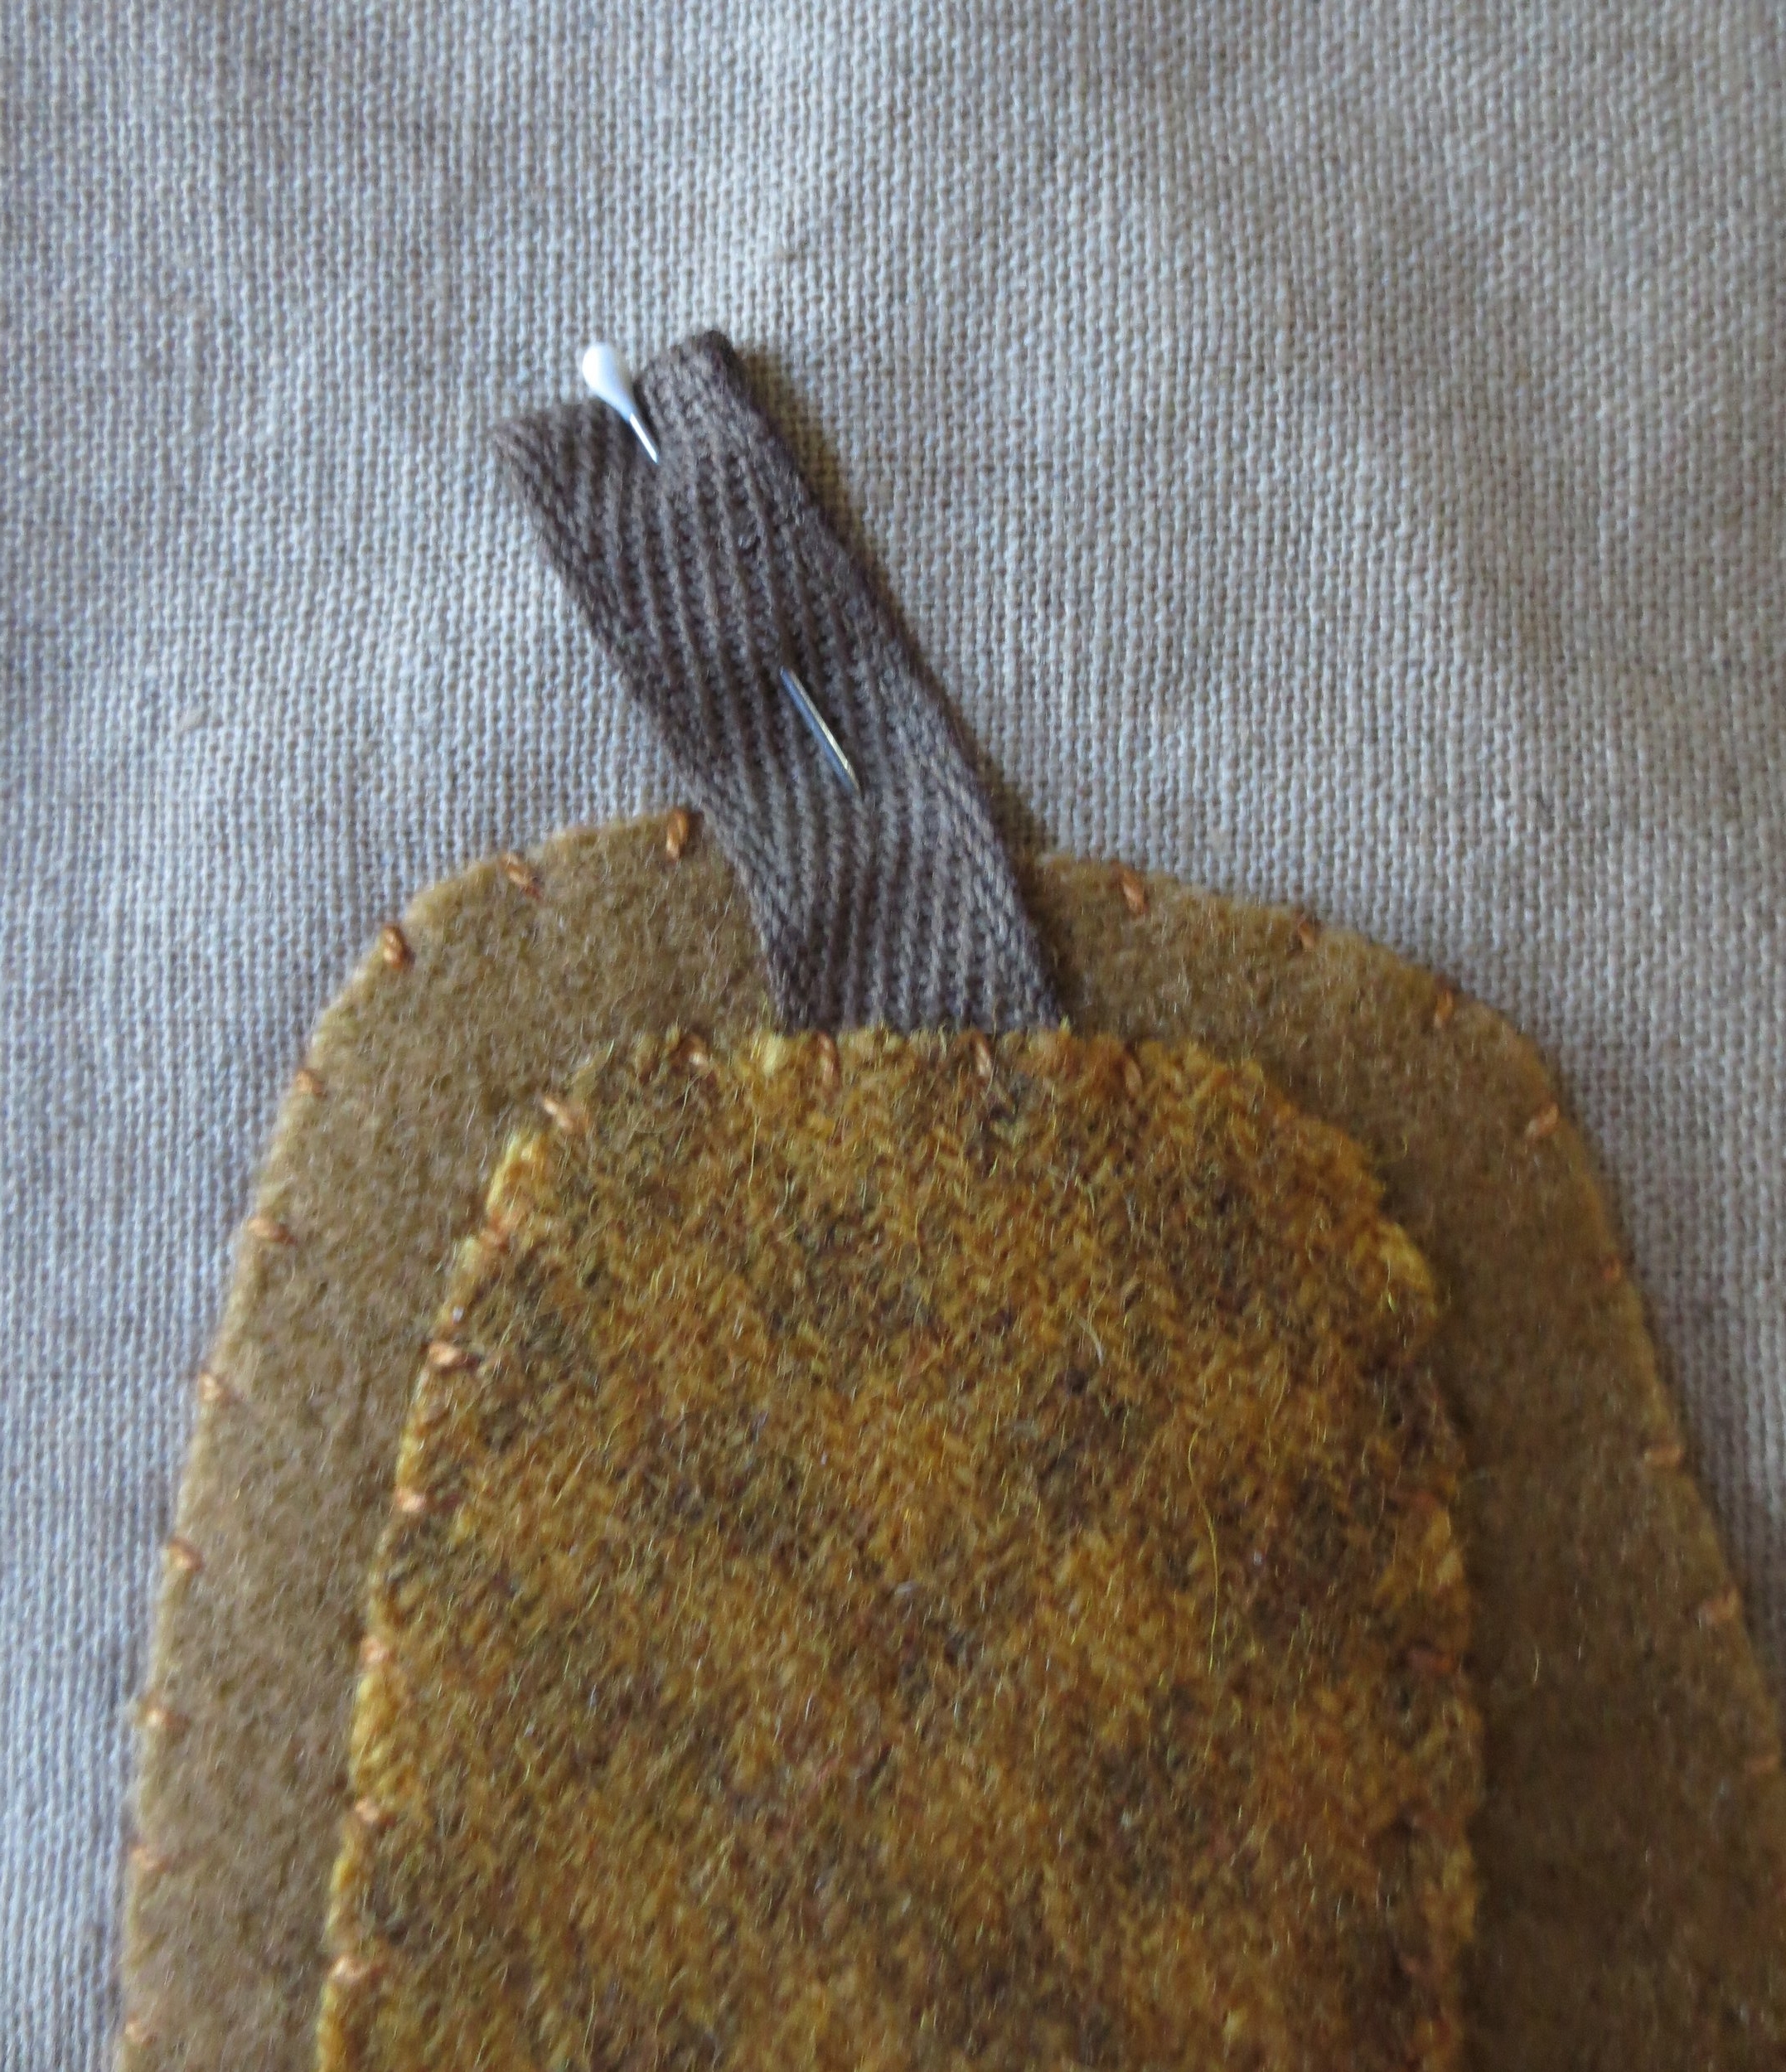
- Fold under (approximately 1/4") the top end of the stem and pin to secure.
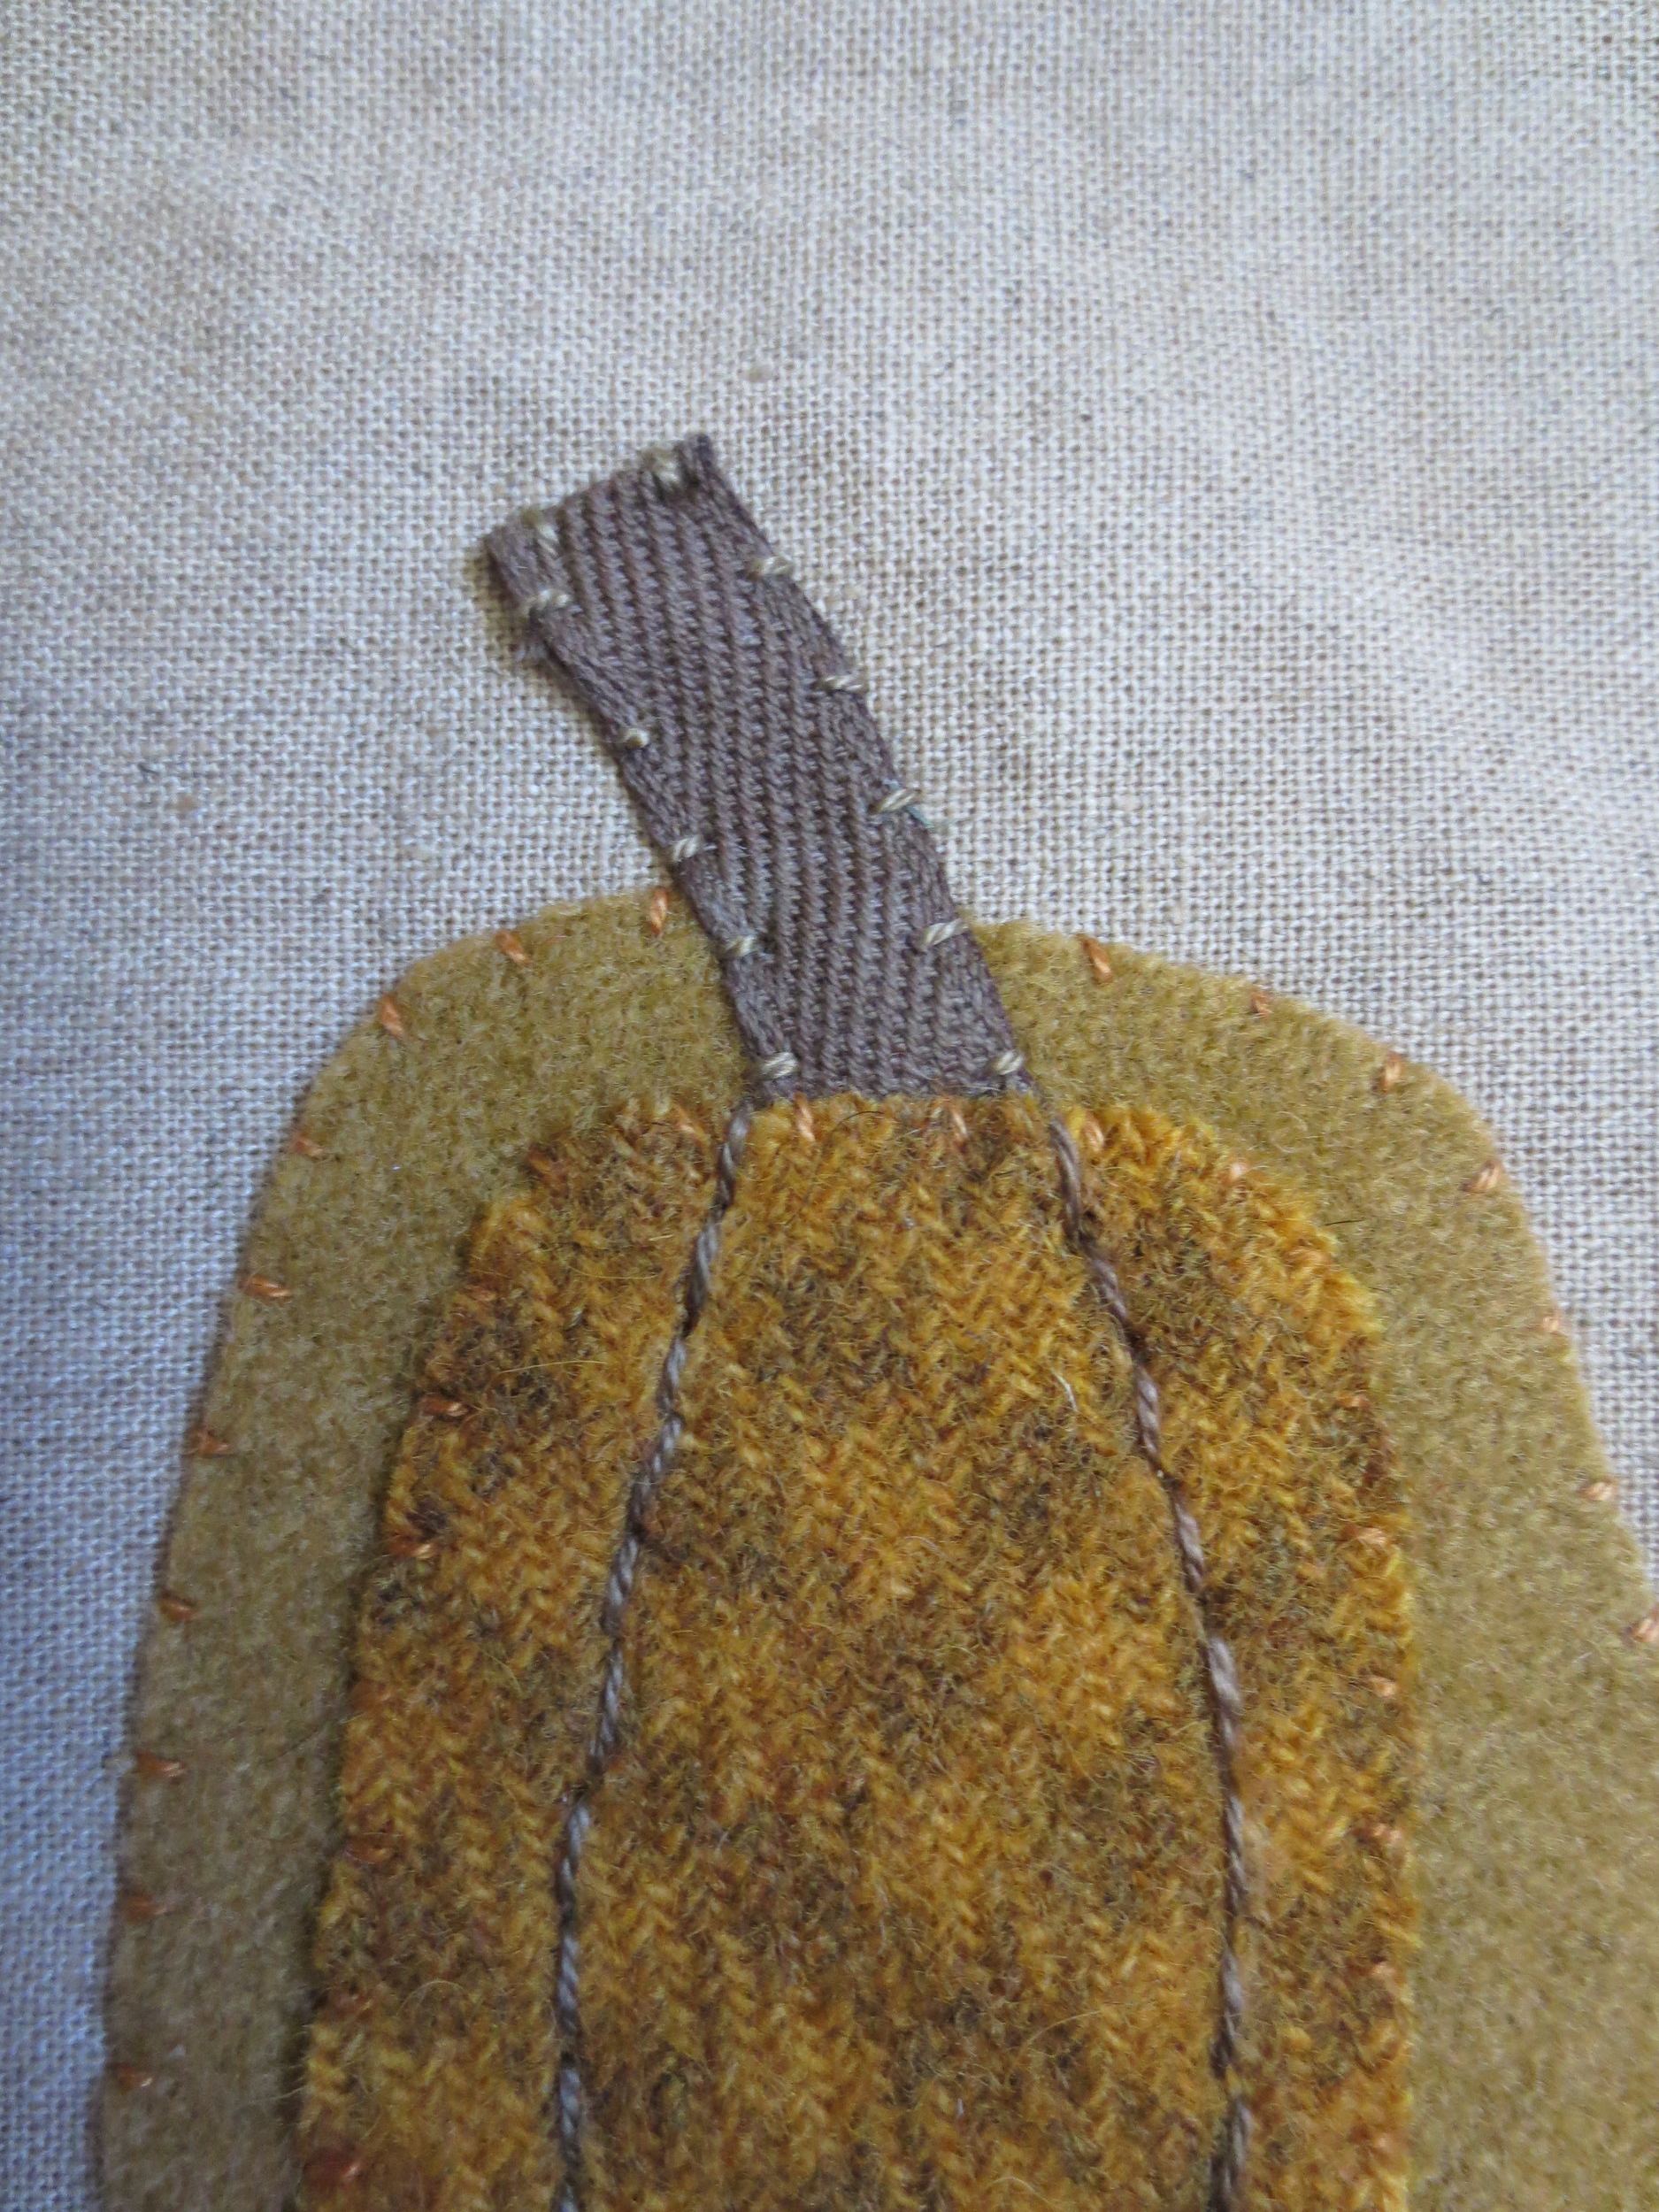
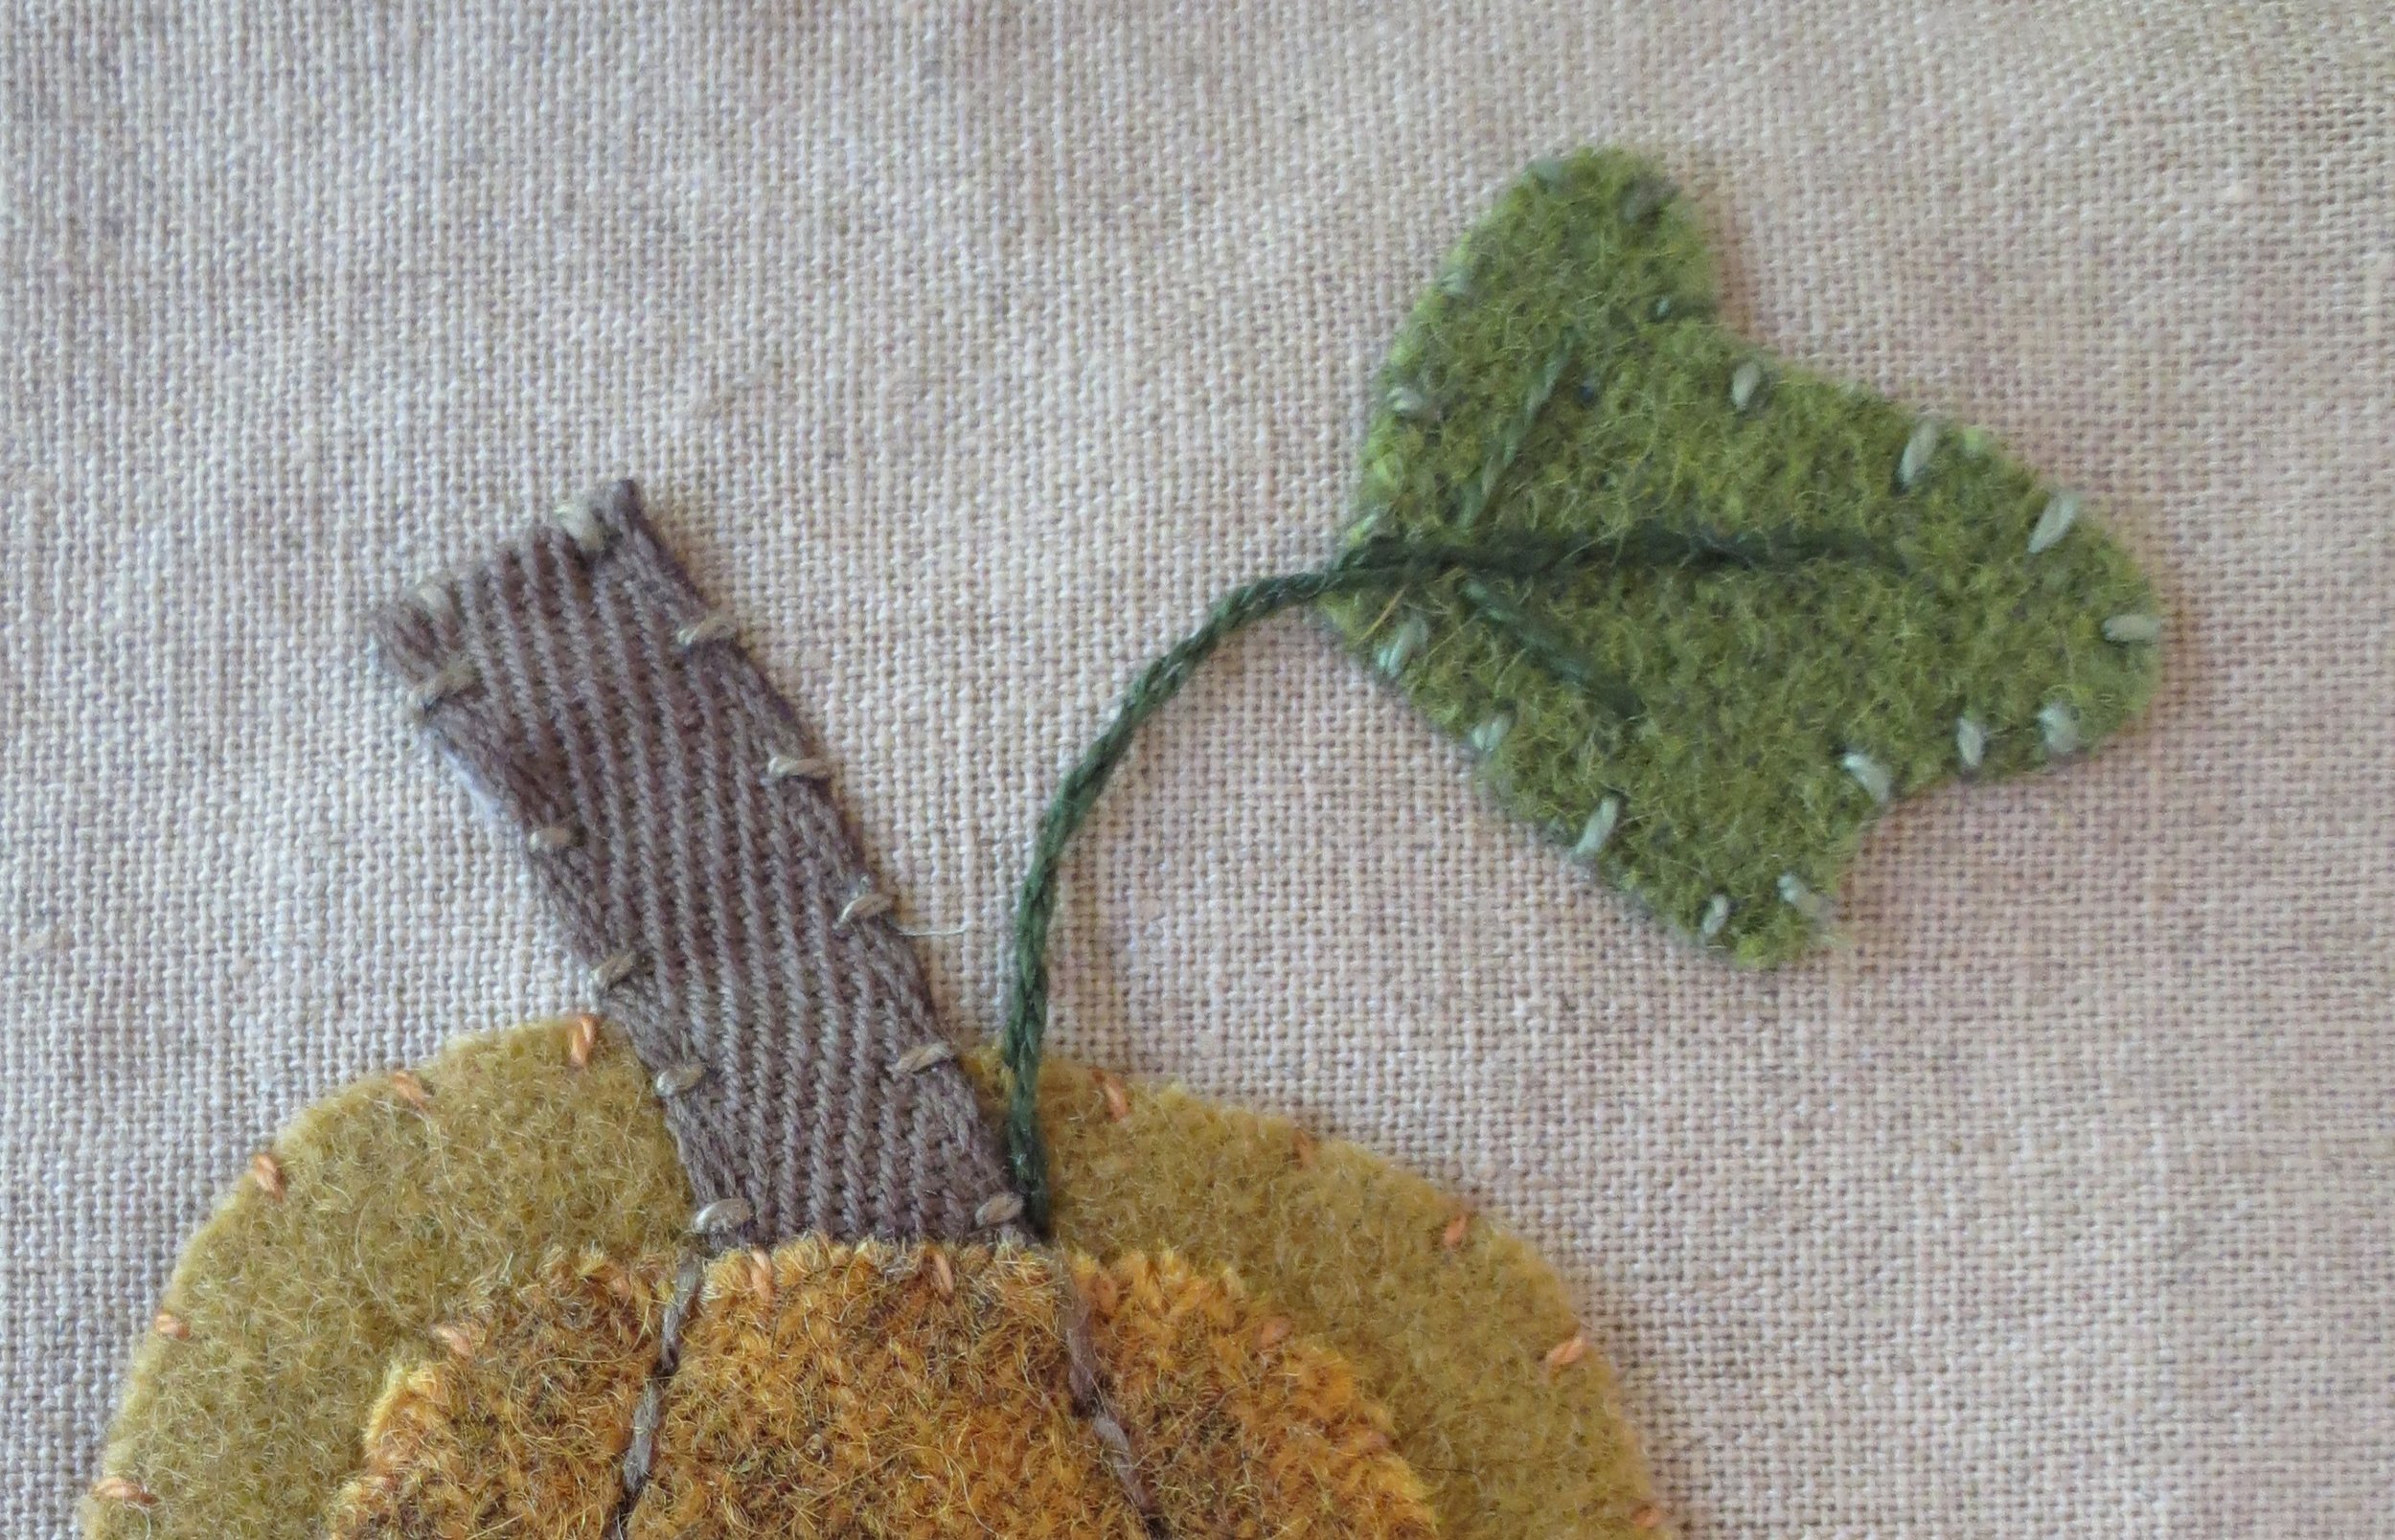
- Whip stitch the stem using matching colored thread.
- Using a chalk pencil, draw two vertical ribs on part B. Back stitch over the lines with the same thread used for the stem.
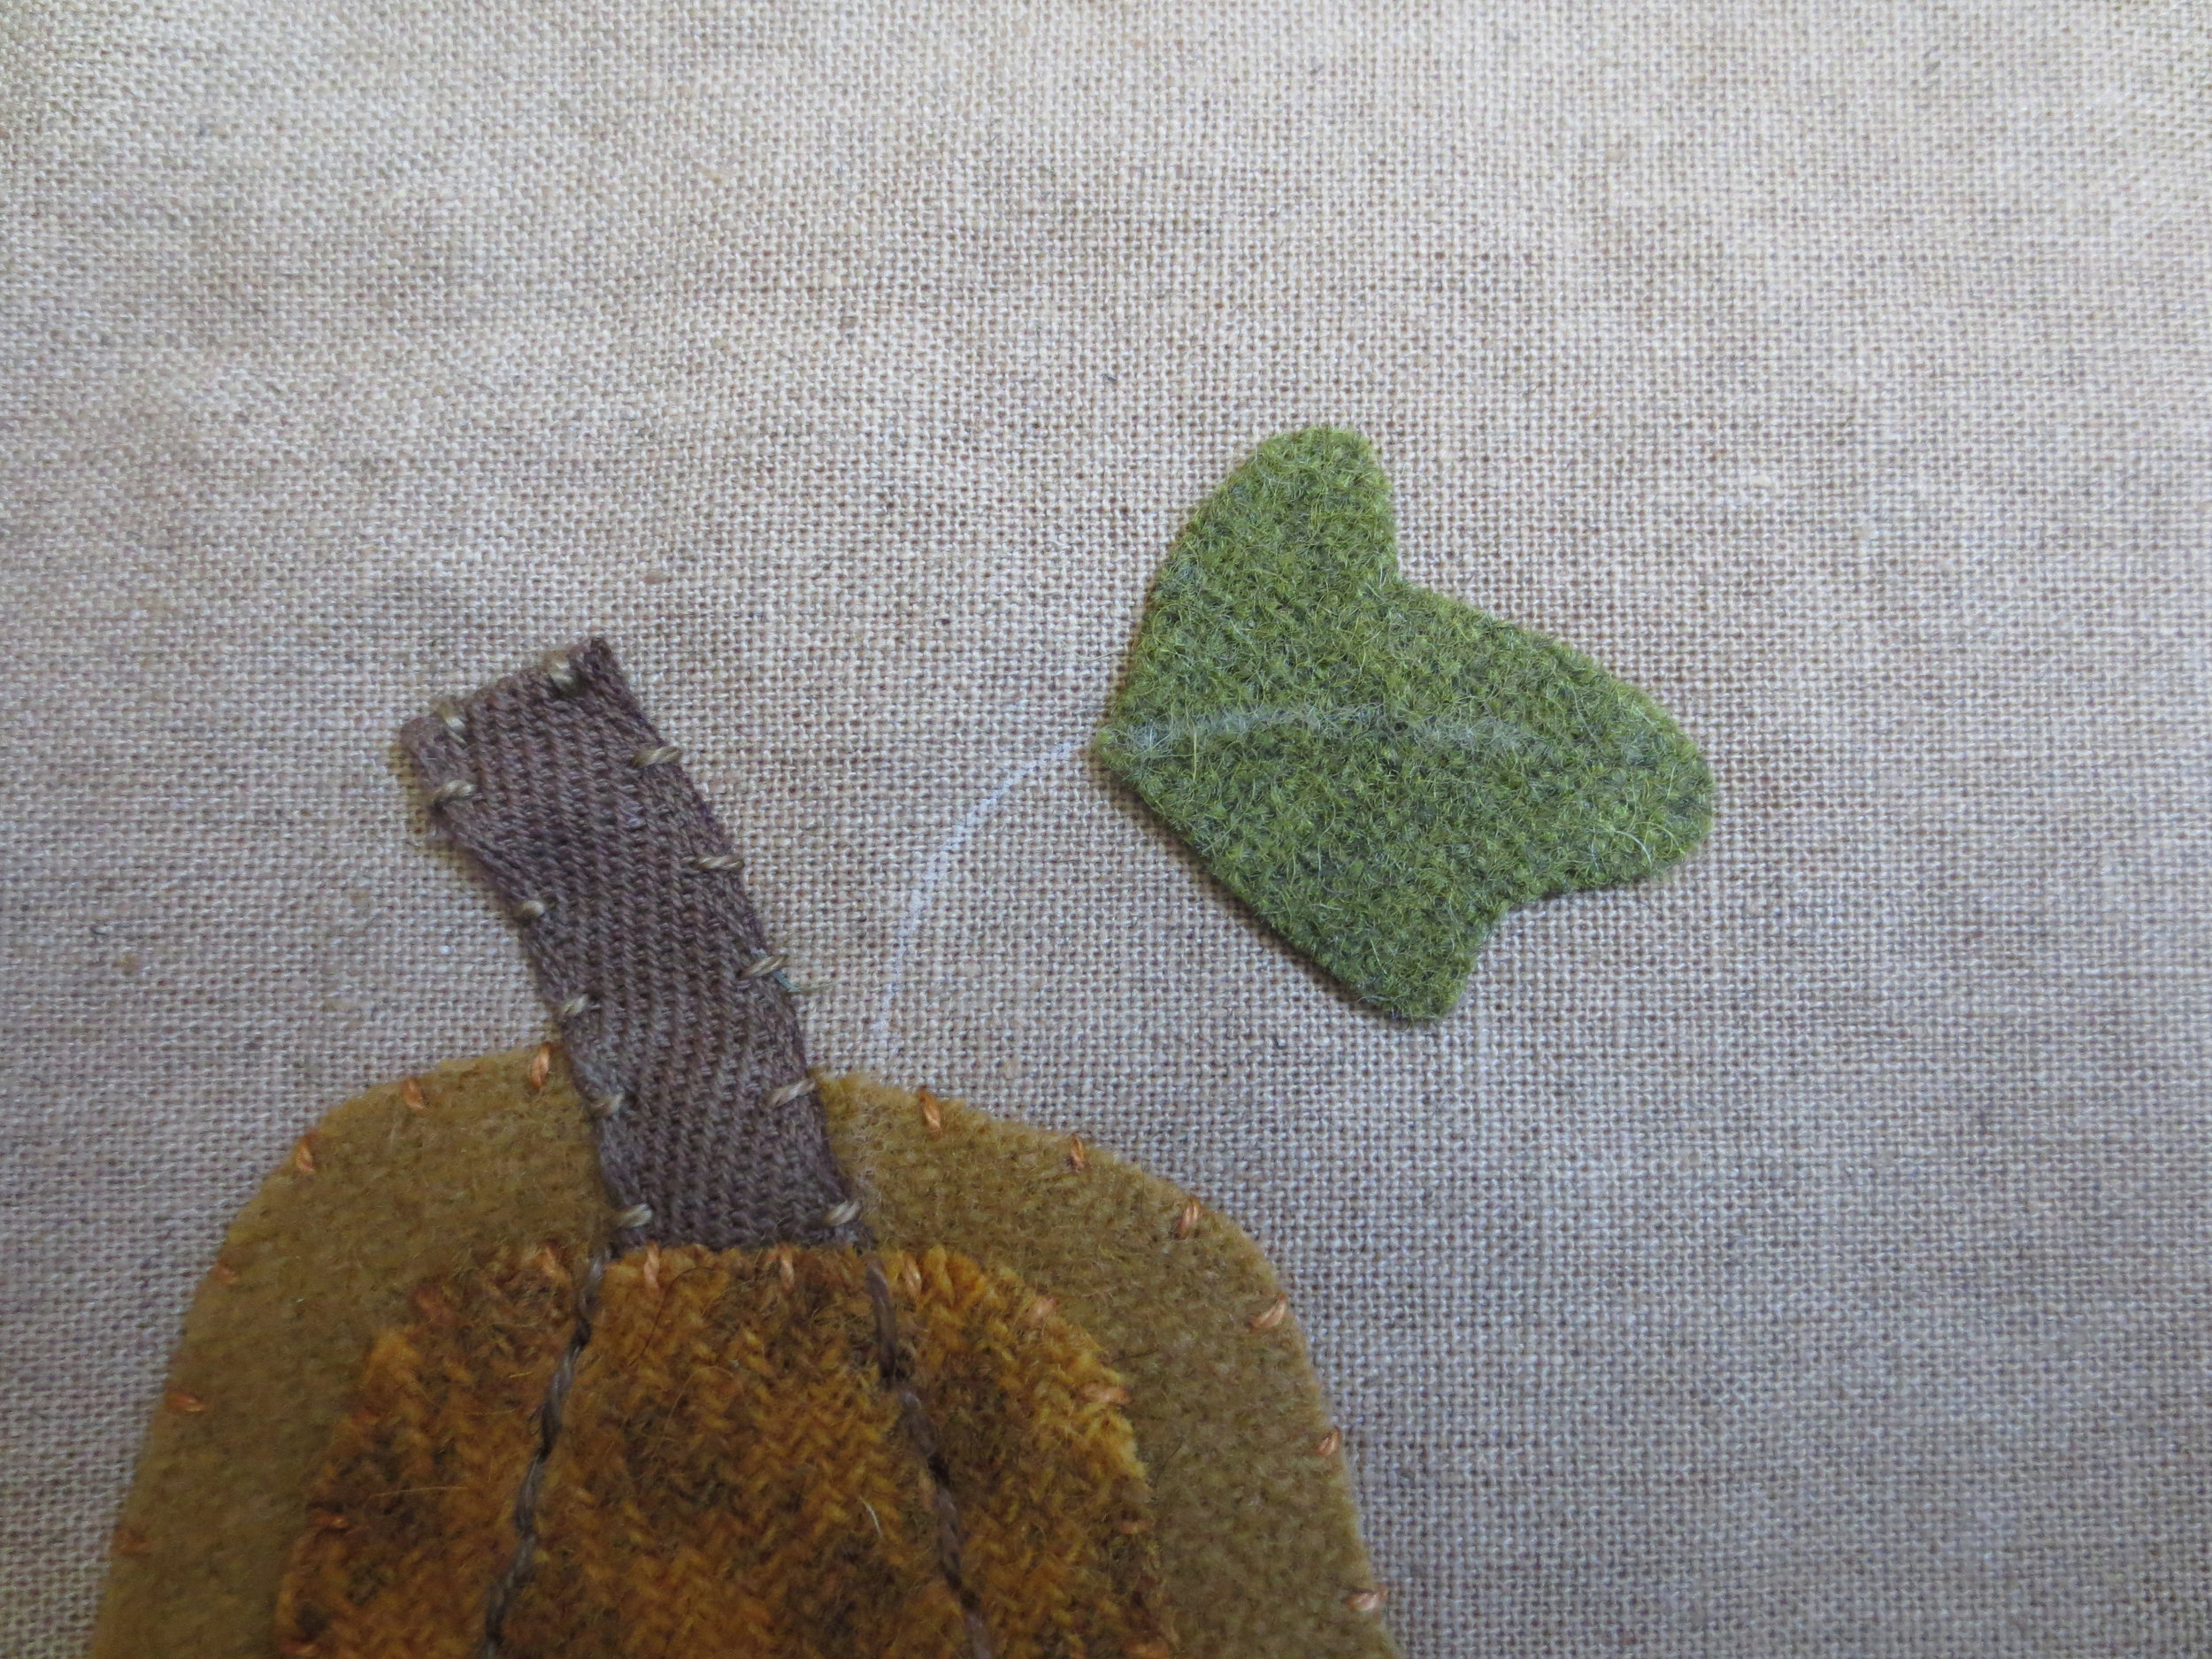
- Lay out and fuse the pumpkin leaf.
- Draw the leaf stem and central vein.
- Stem stitch over the drawn line.
- Stitch the two side veins with two straight stitches.
- Whip stitch the leaf.
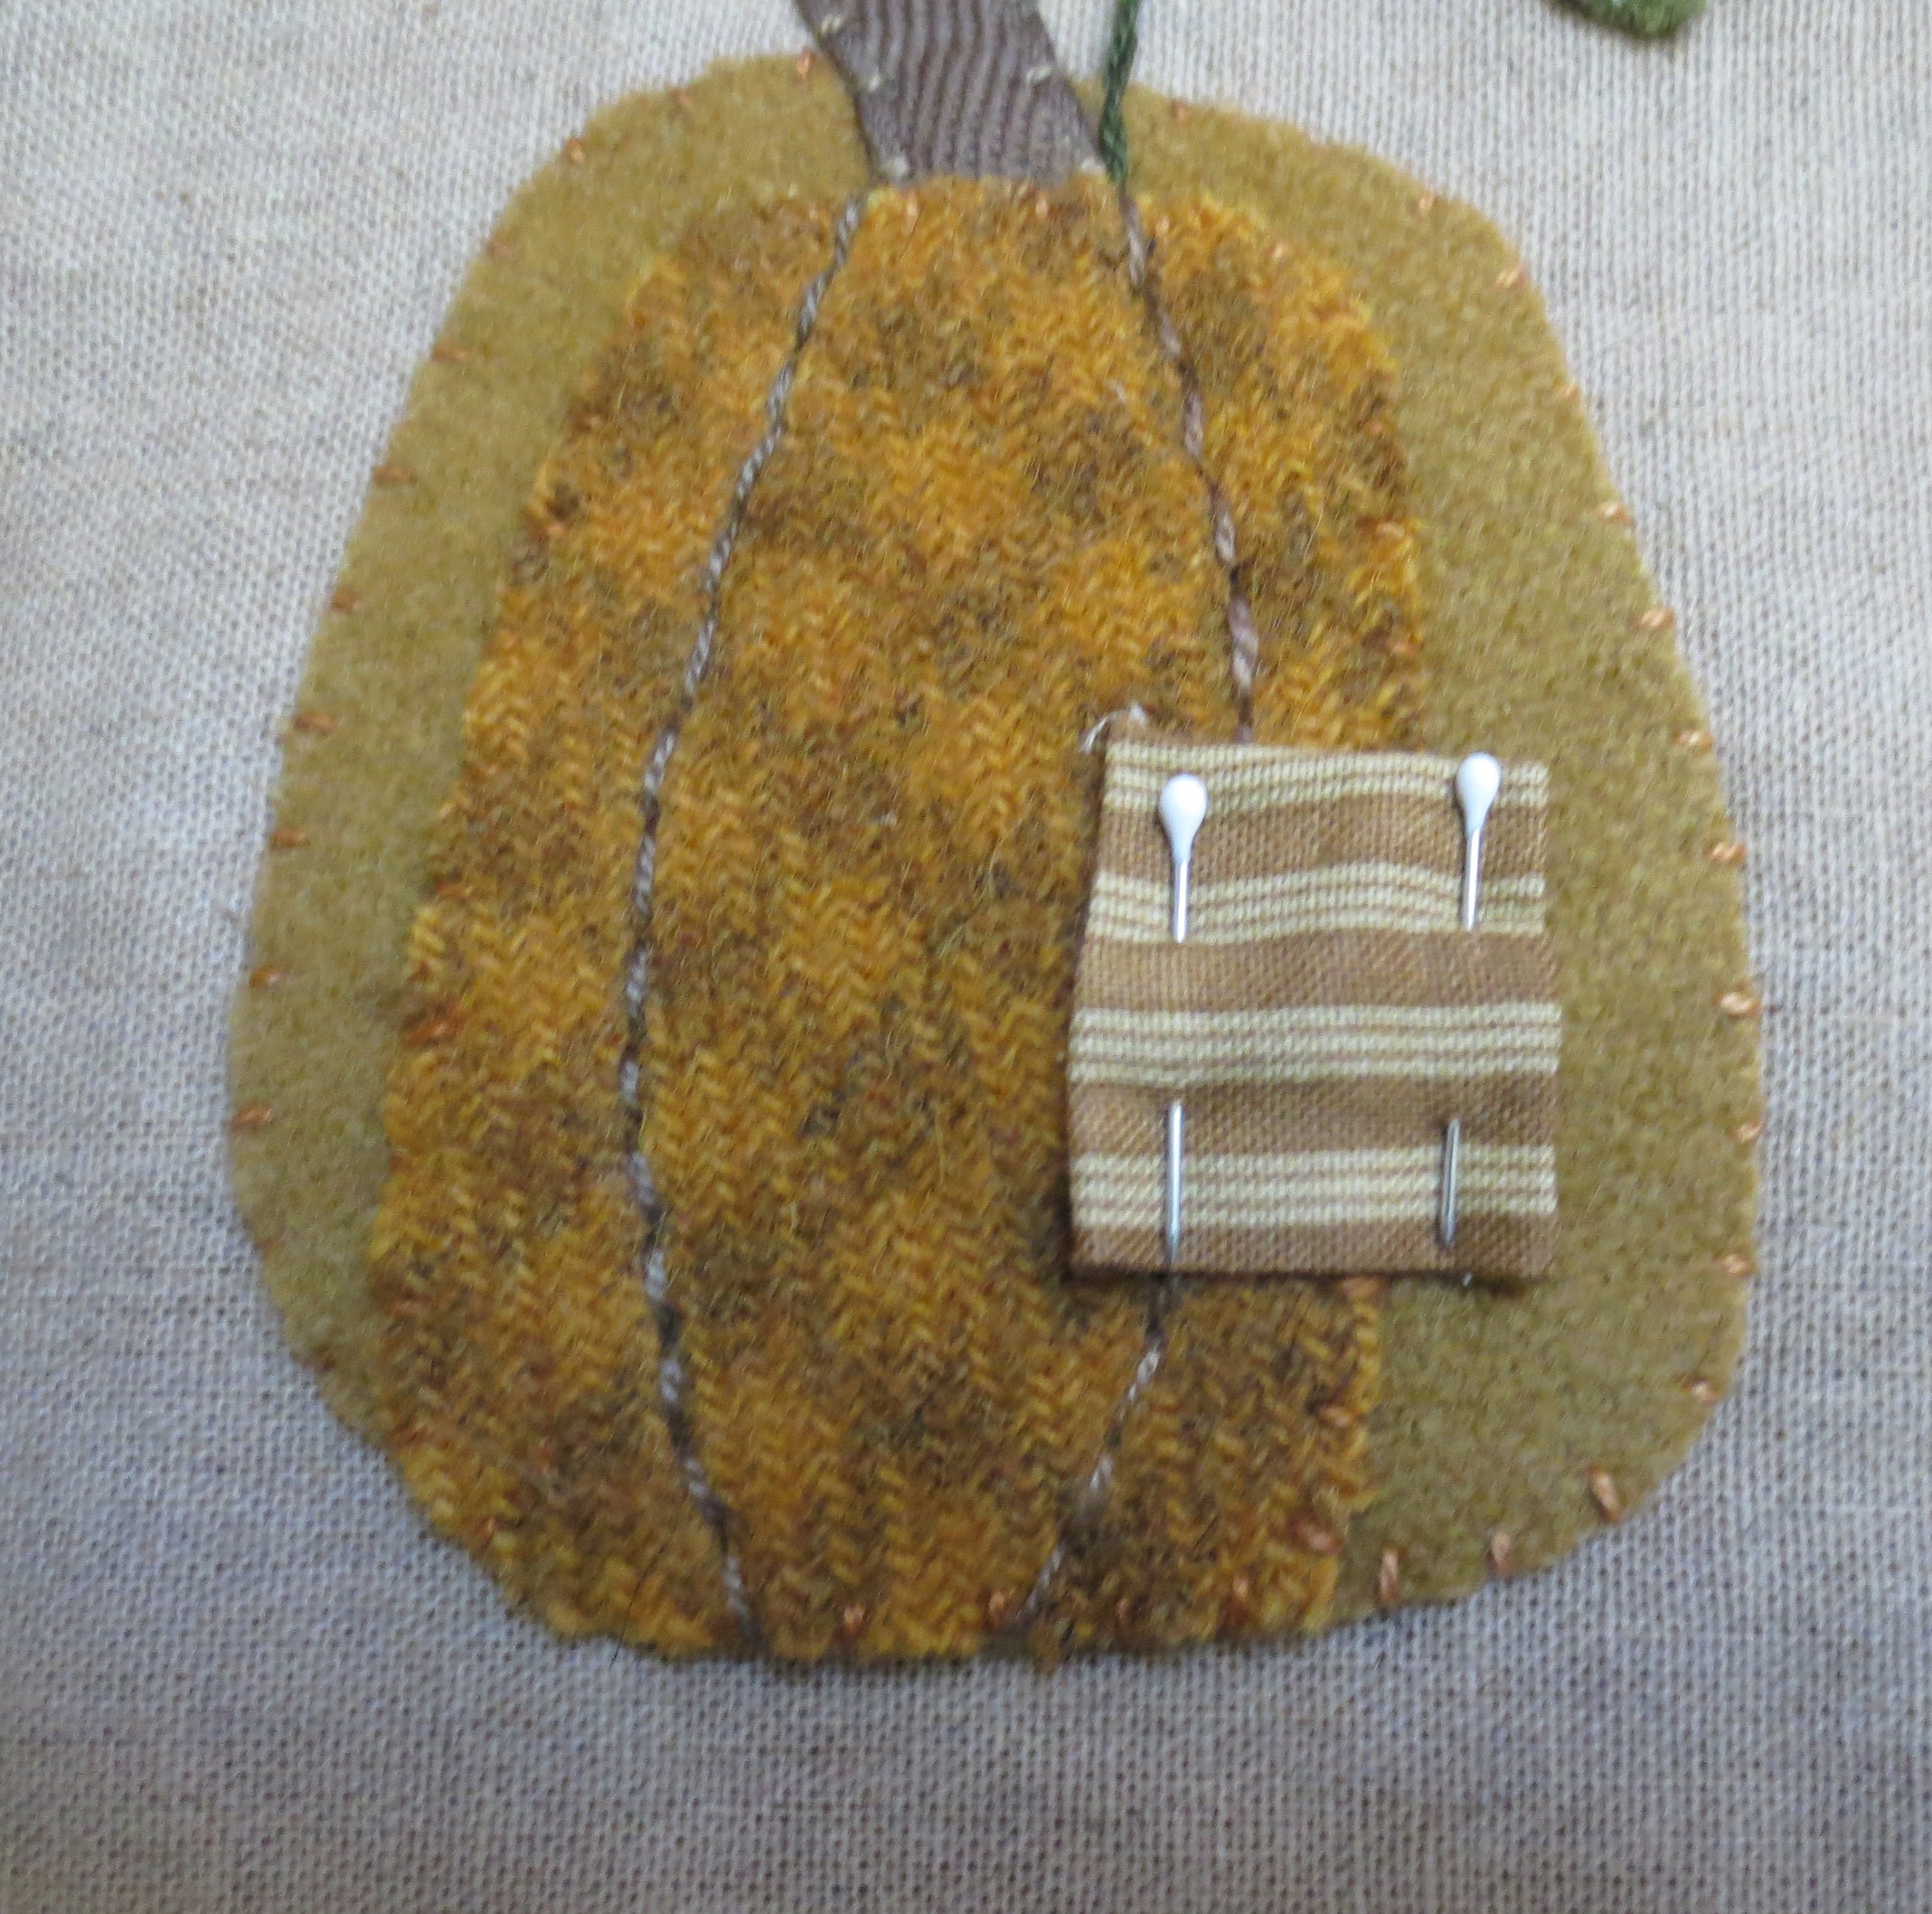
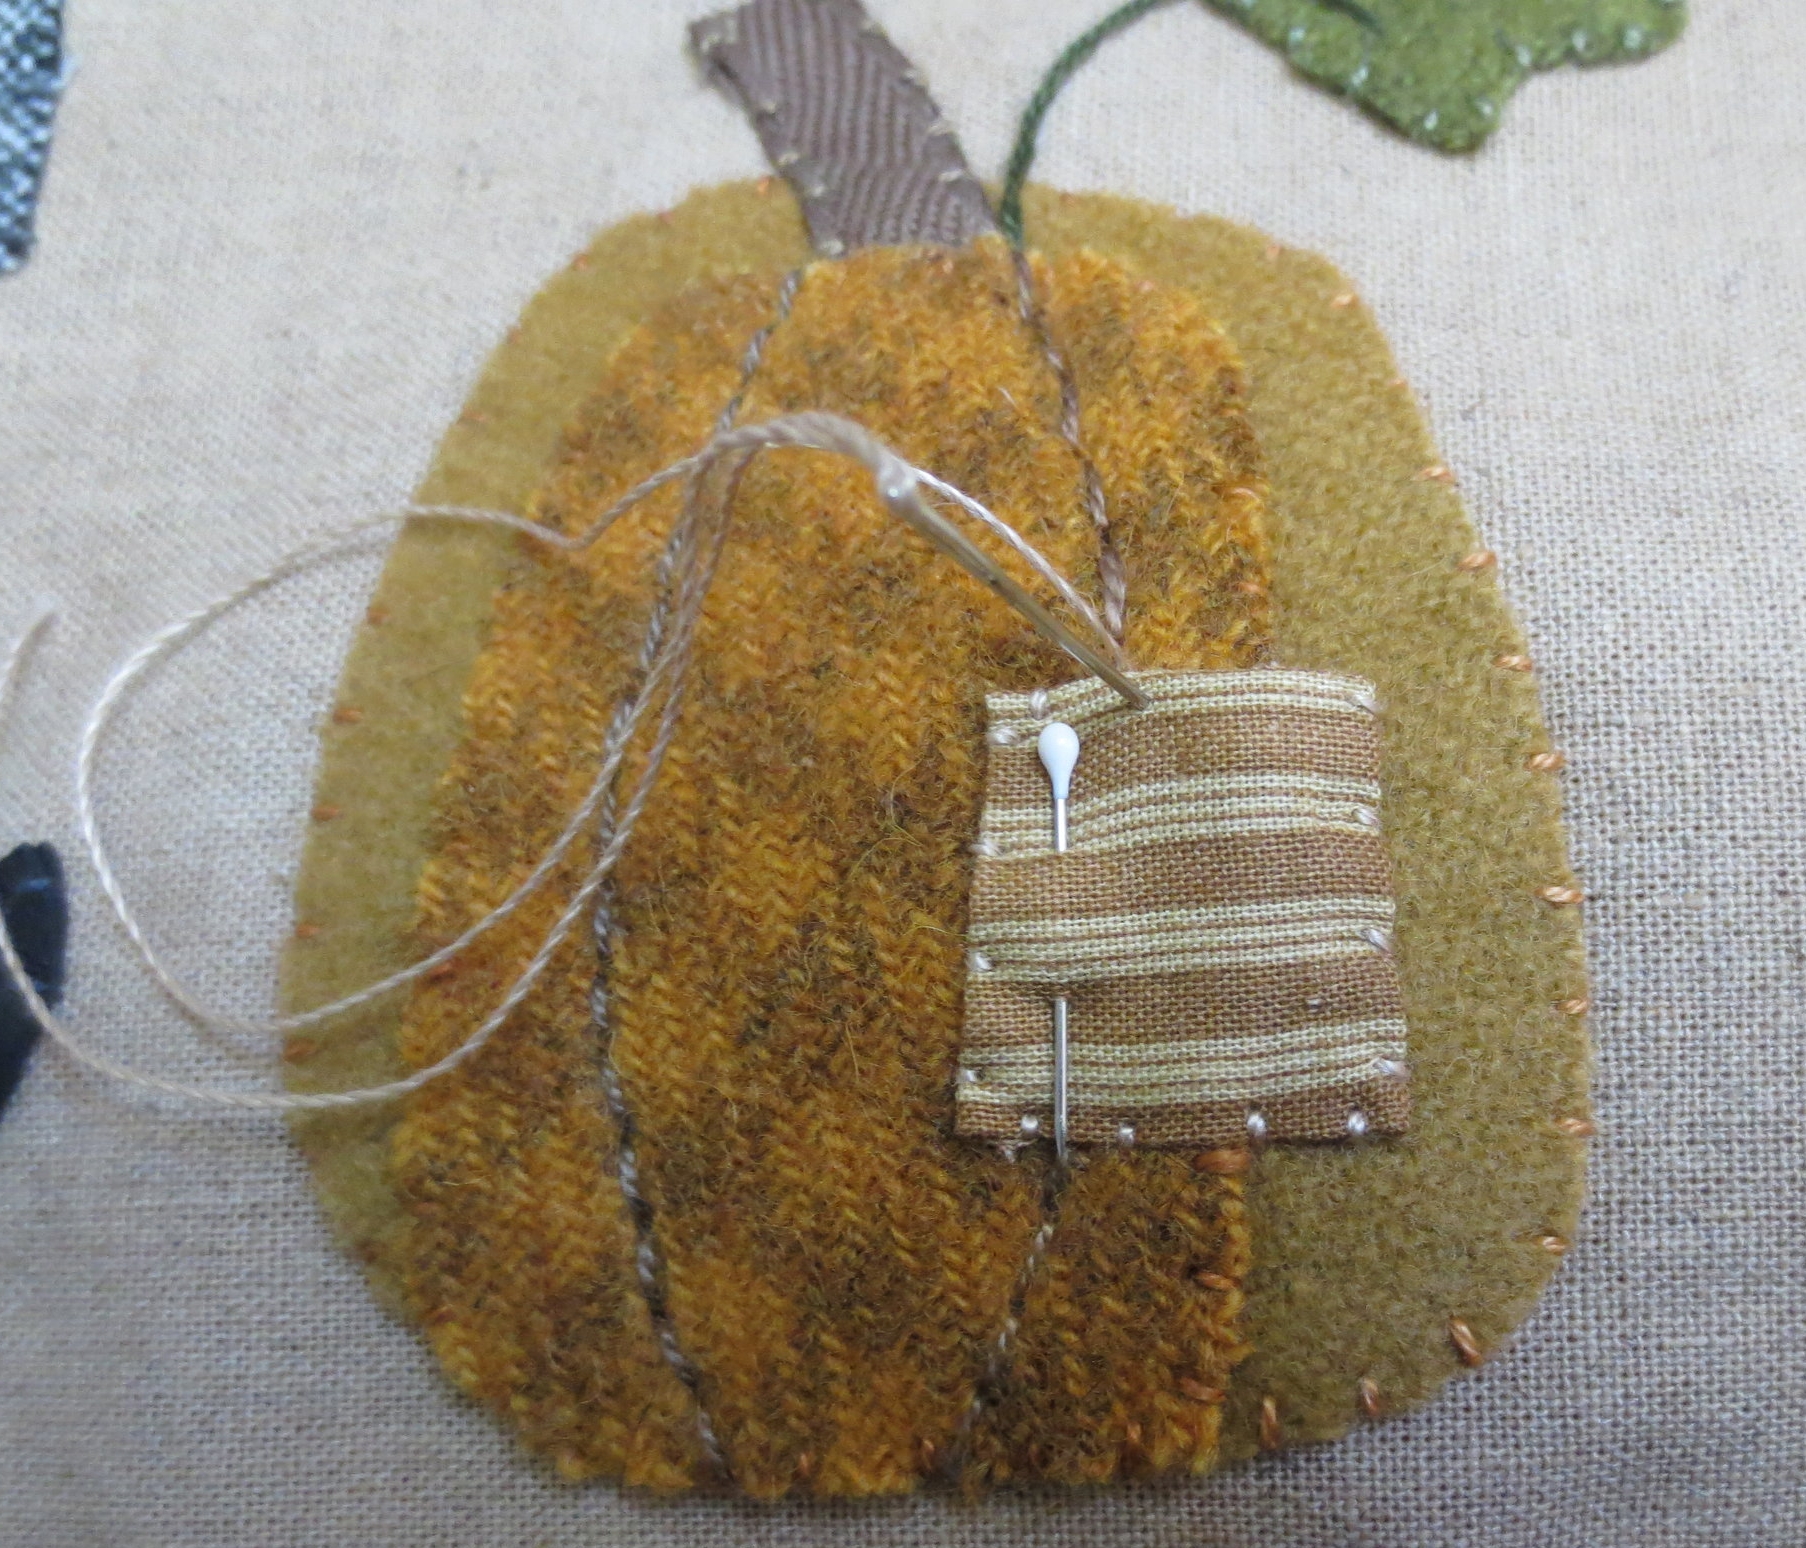
- Remove the paper backing from the fabric patch.
- Fold under all four sides approximately 1/8". Press.
- Pin patch in place.
- Whip stitch with contrasting thread.
- Welcome and My Pretties
- Center "Welcome" above the witch and "My Pretties" below. Fuse in place.
- Whip stitch using matching colored thread.
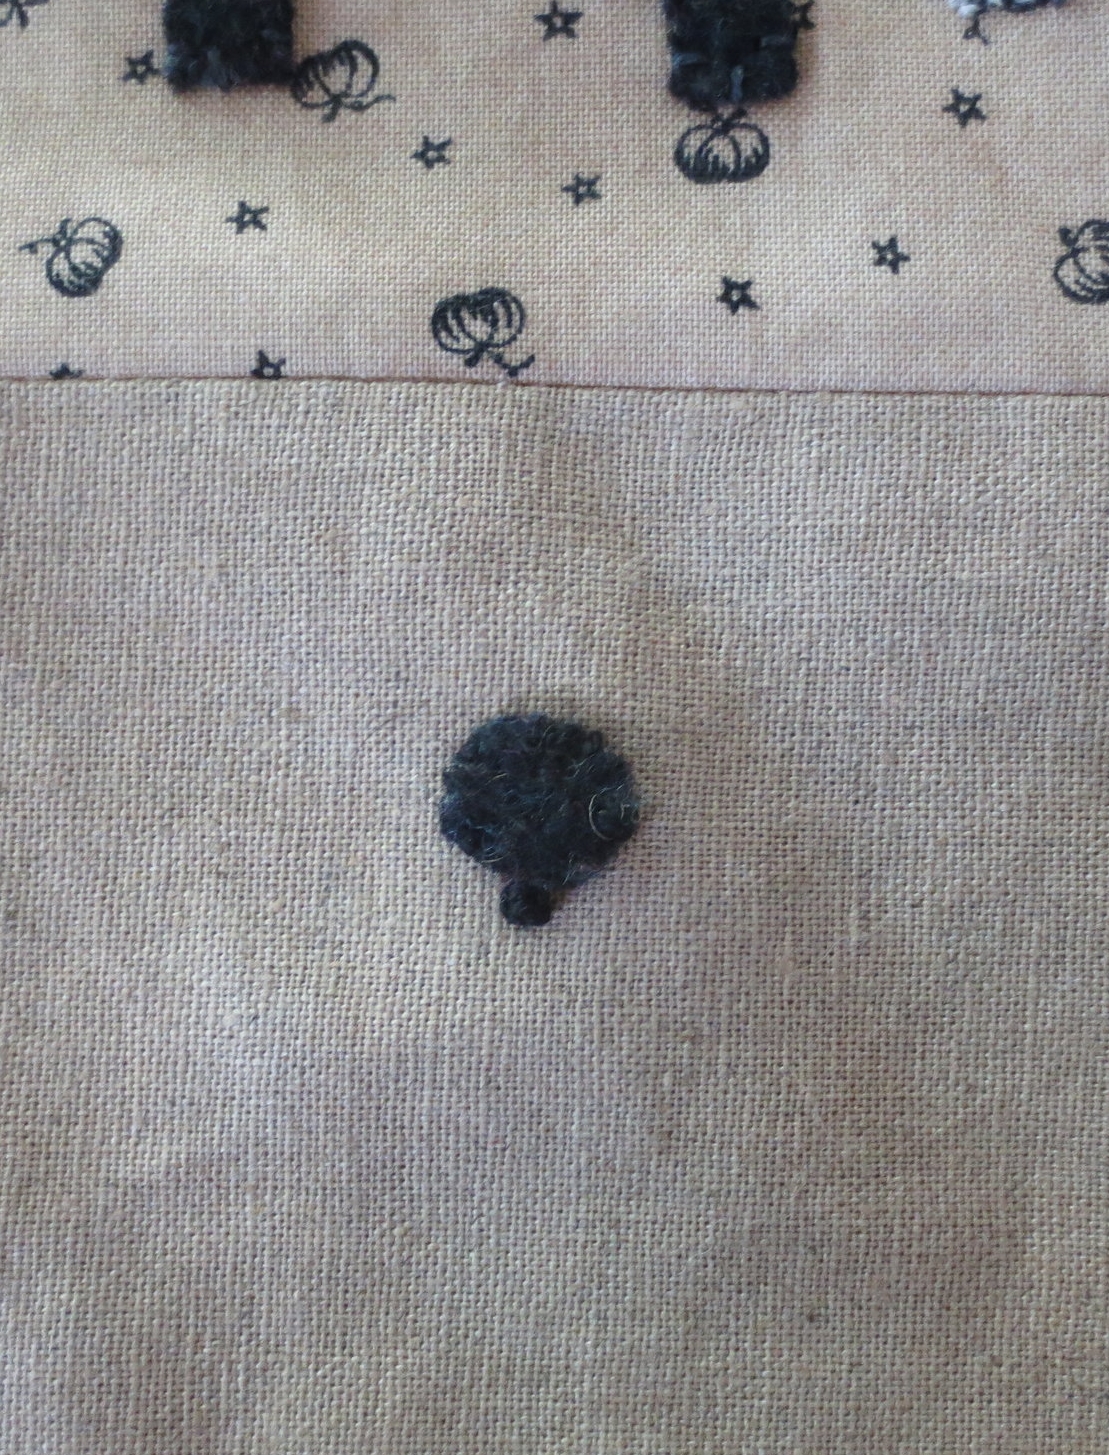
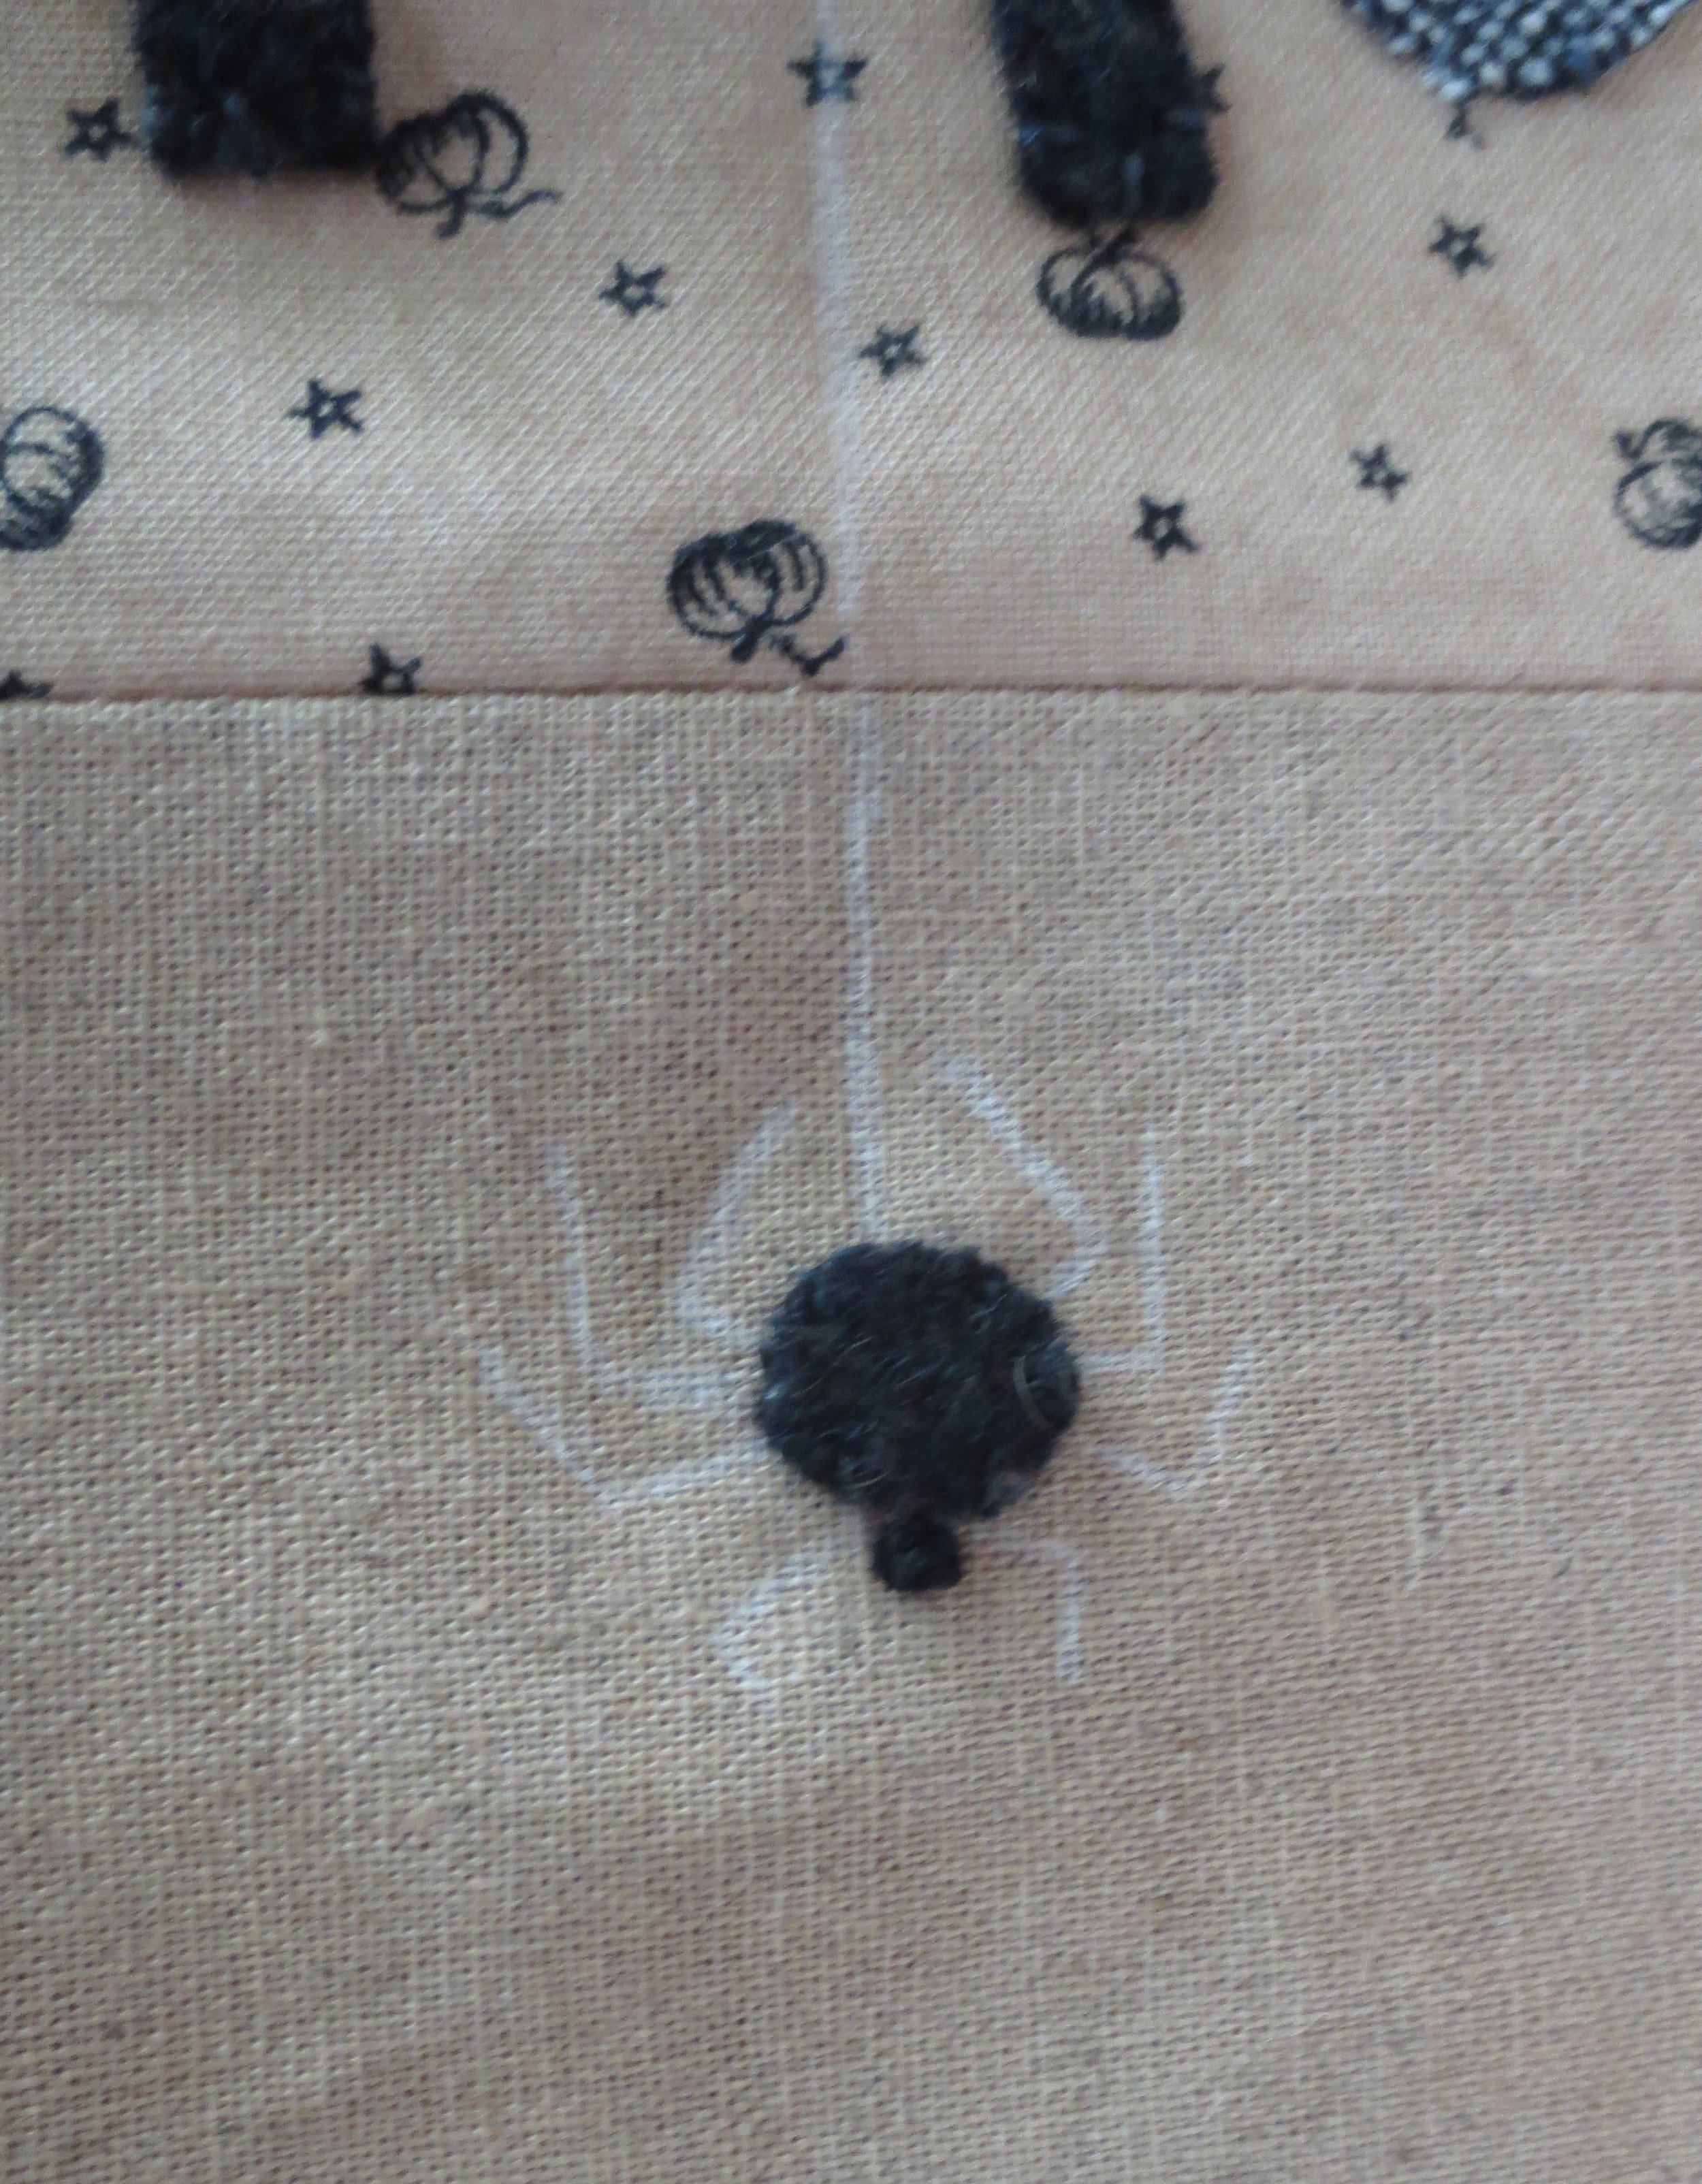
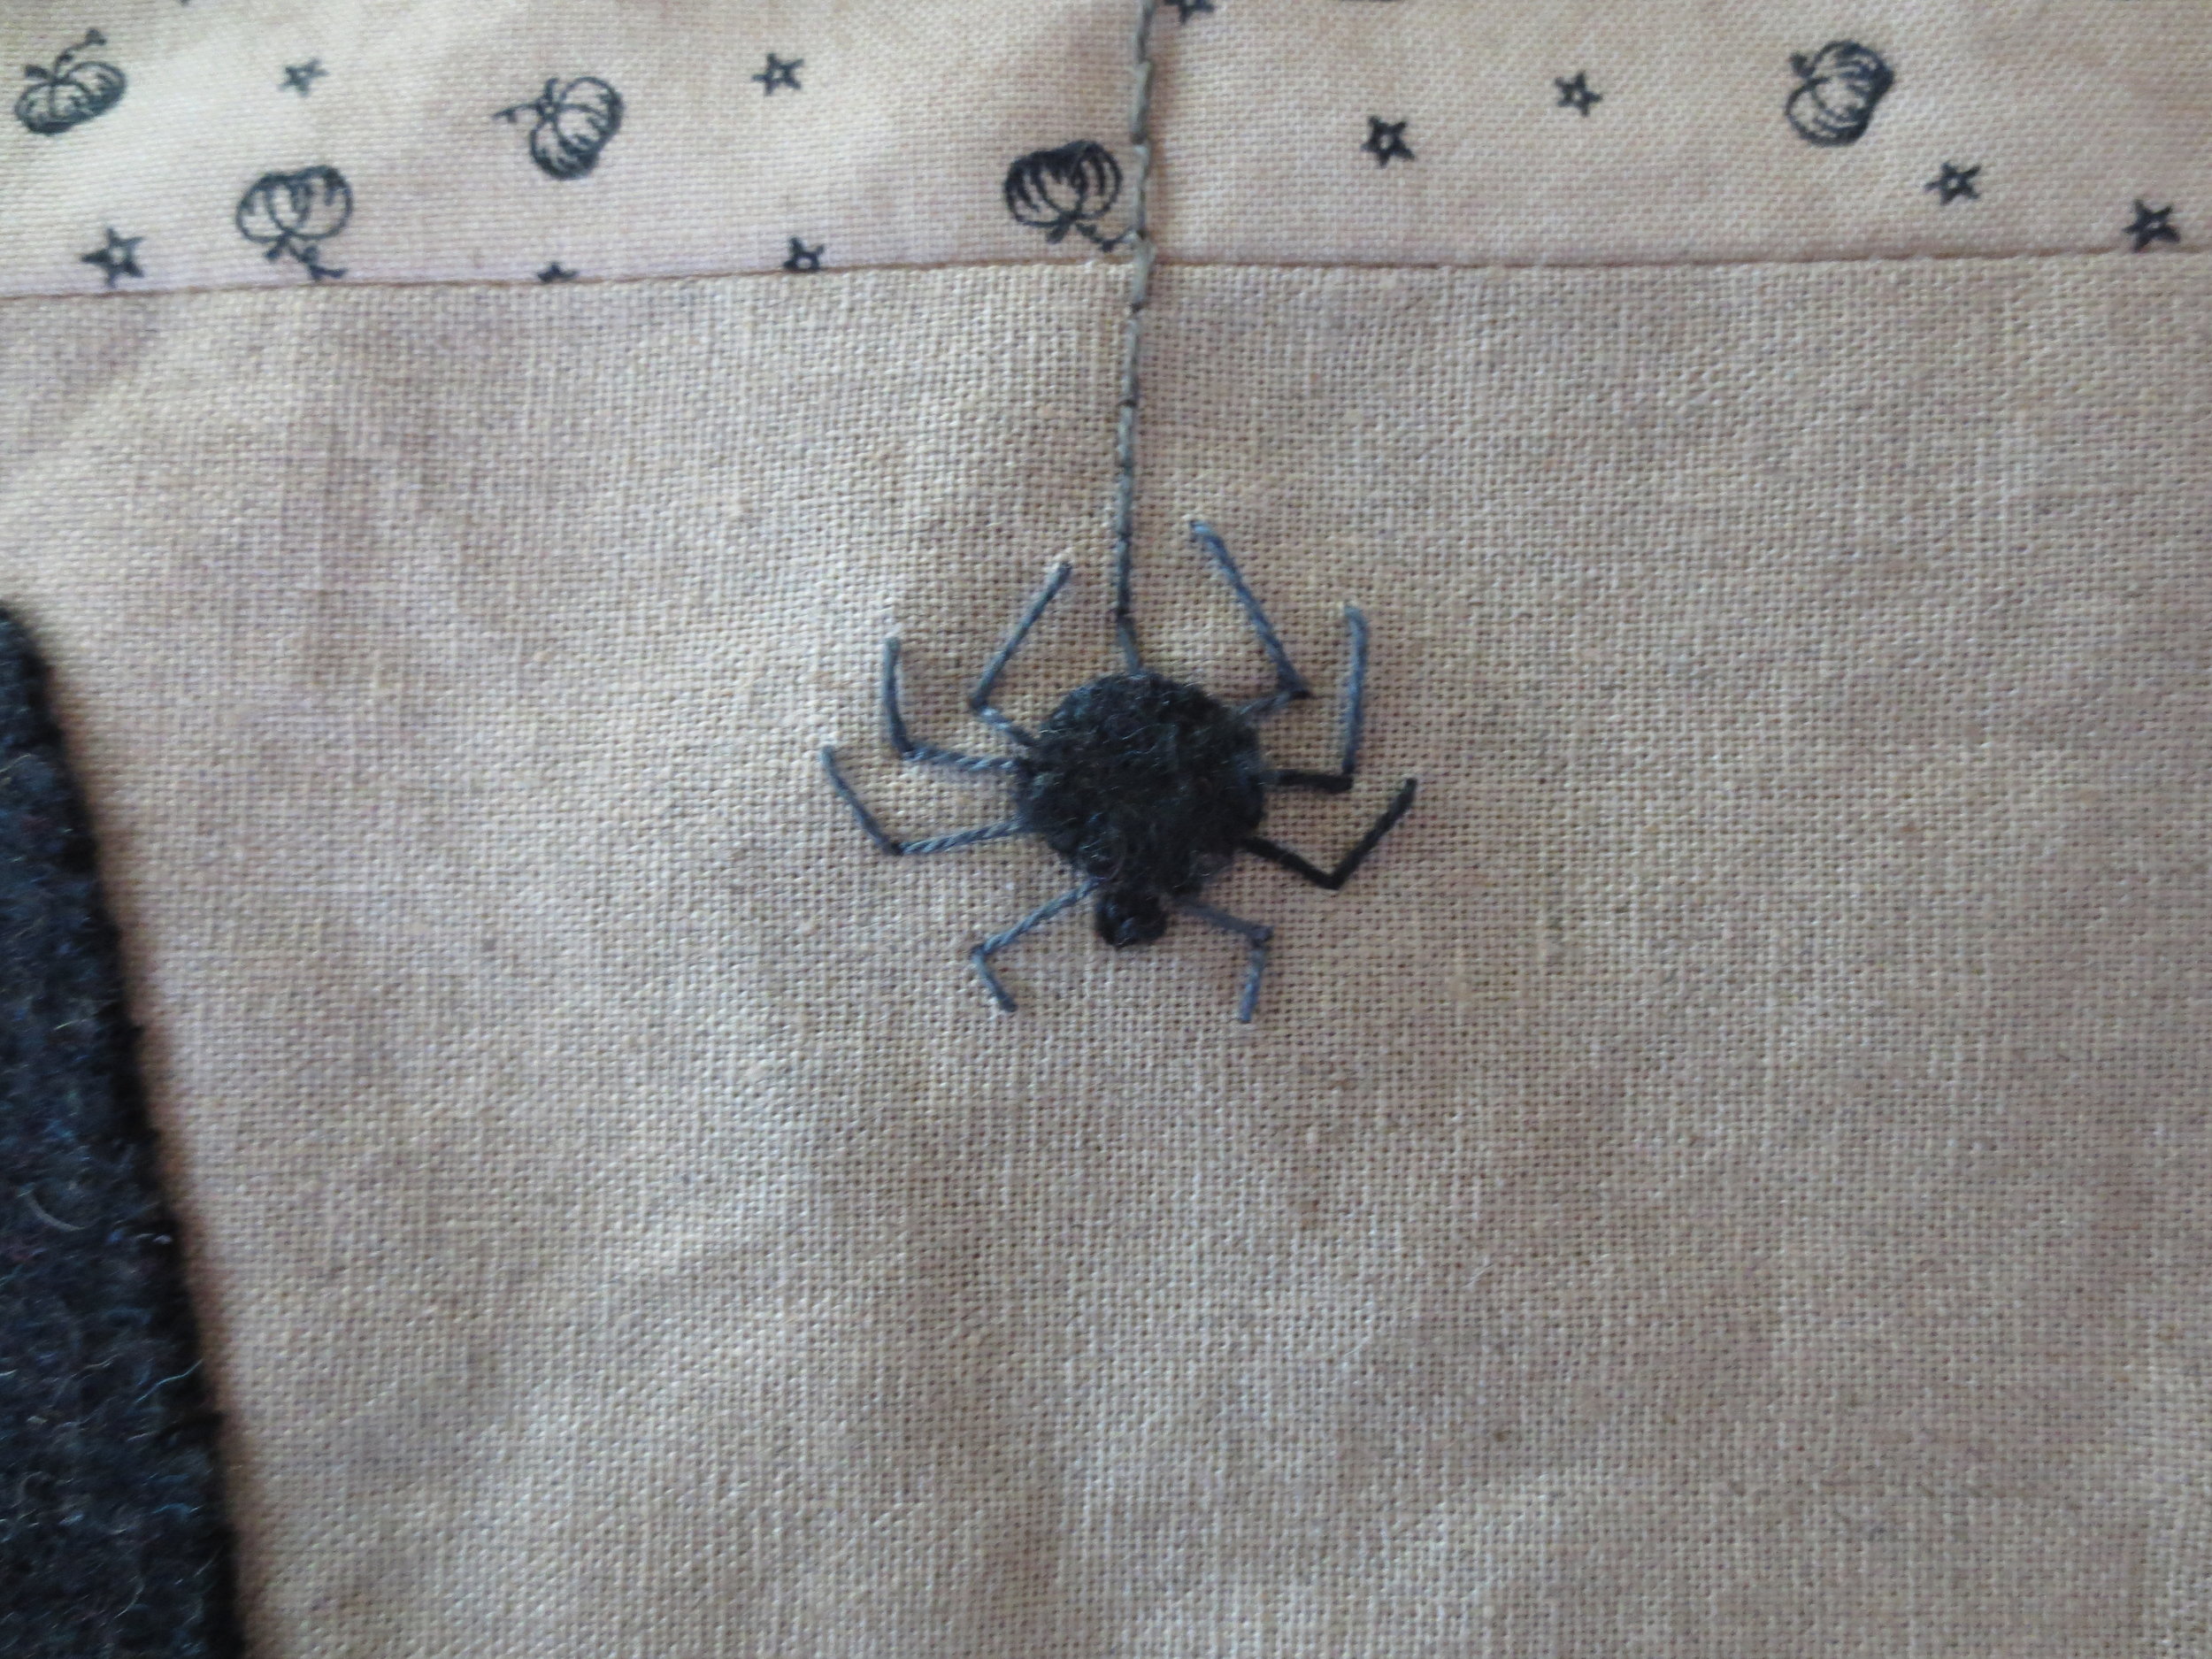
- Spider
- Position the spider using the Layout as your guide and fuse in place.
- Whip stitch the spider body.
- Using the black perle 8 thread, make a colonial knot for the spider head.
- Draw a line extending from the "M" in Welcome to the spider.
- Draw the spider legs.
- Back stitch over the line and use straight stitches to make the legs.
Now on to ...
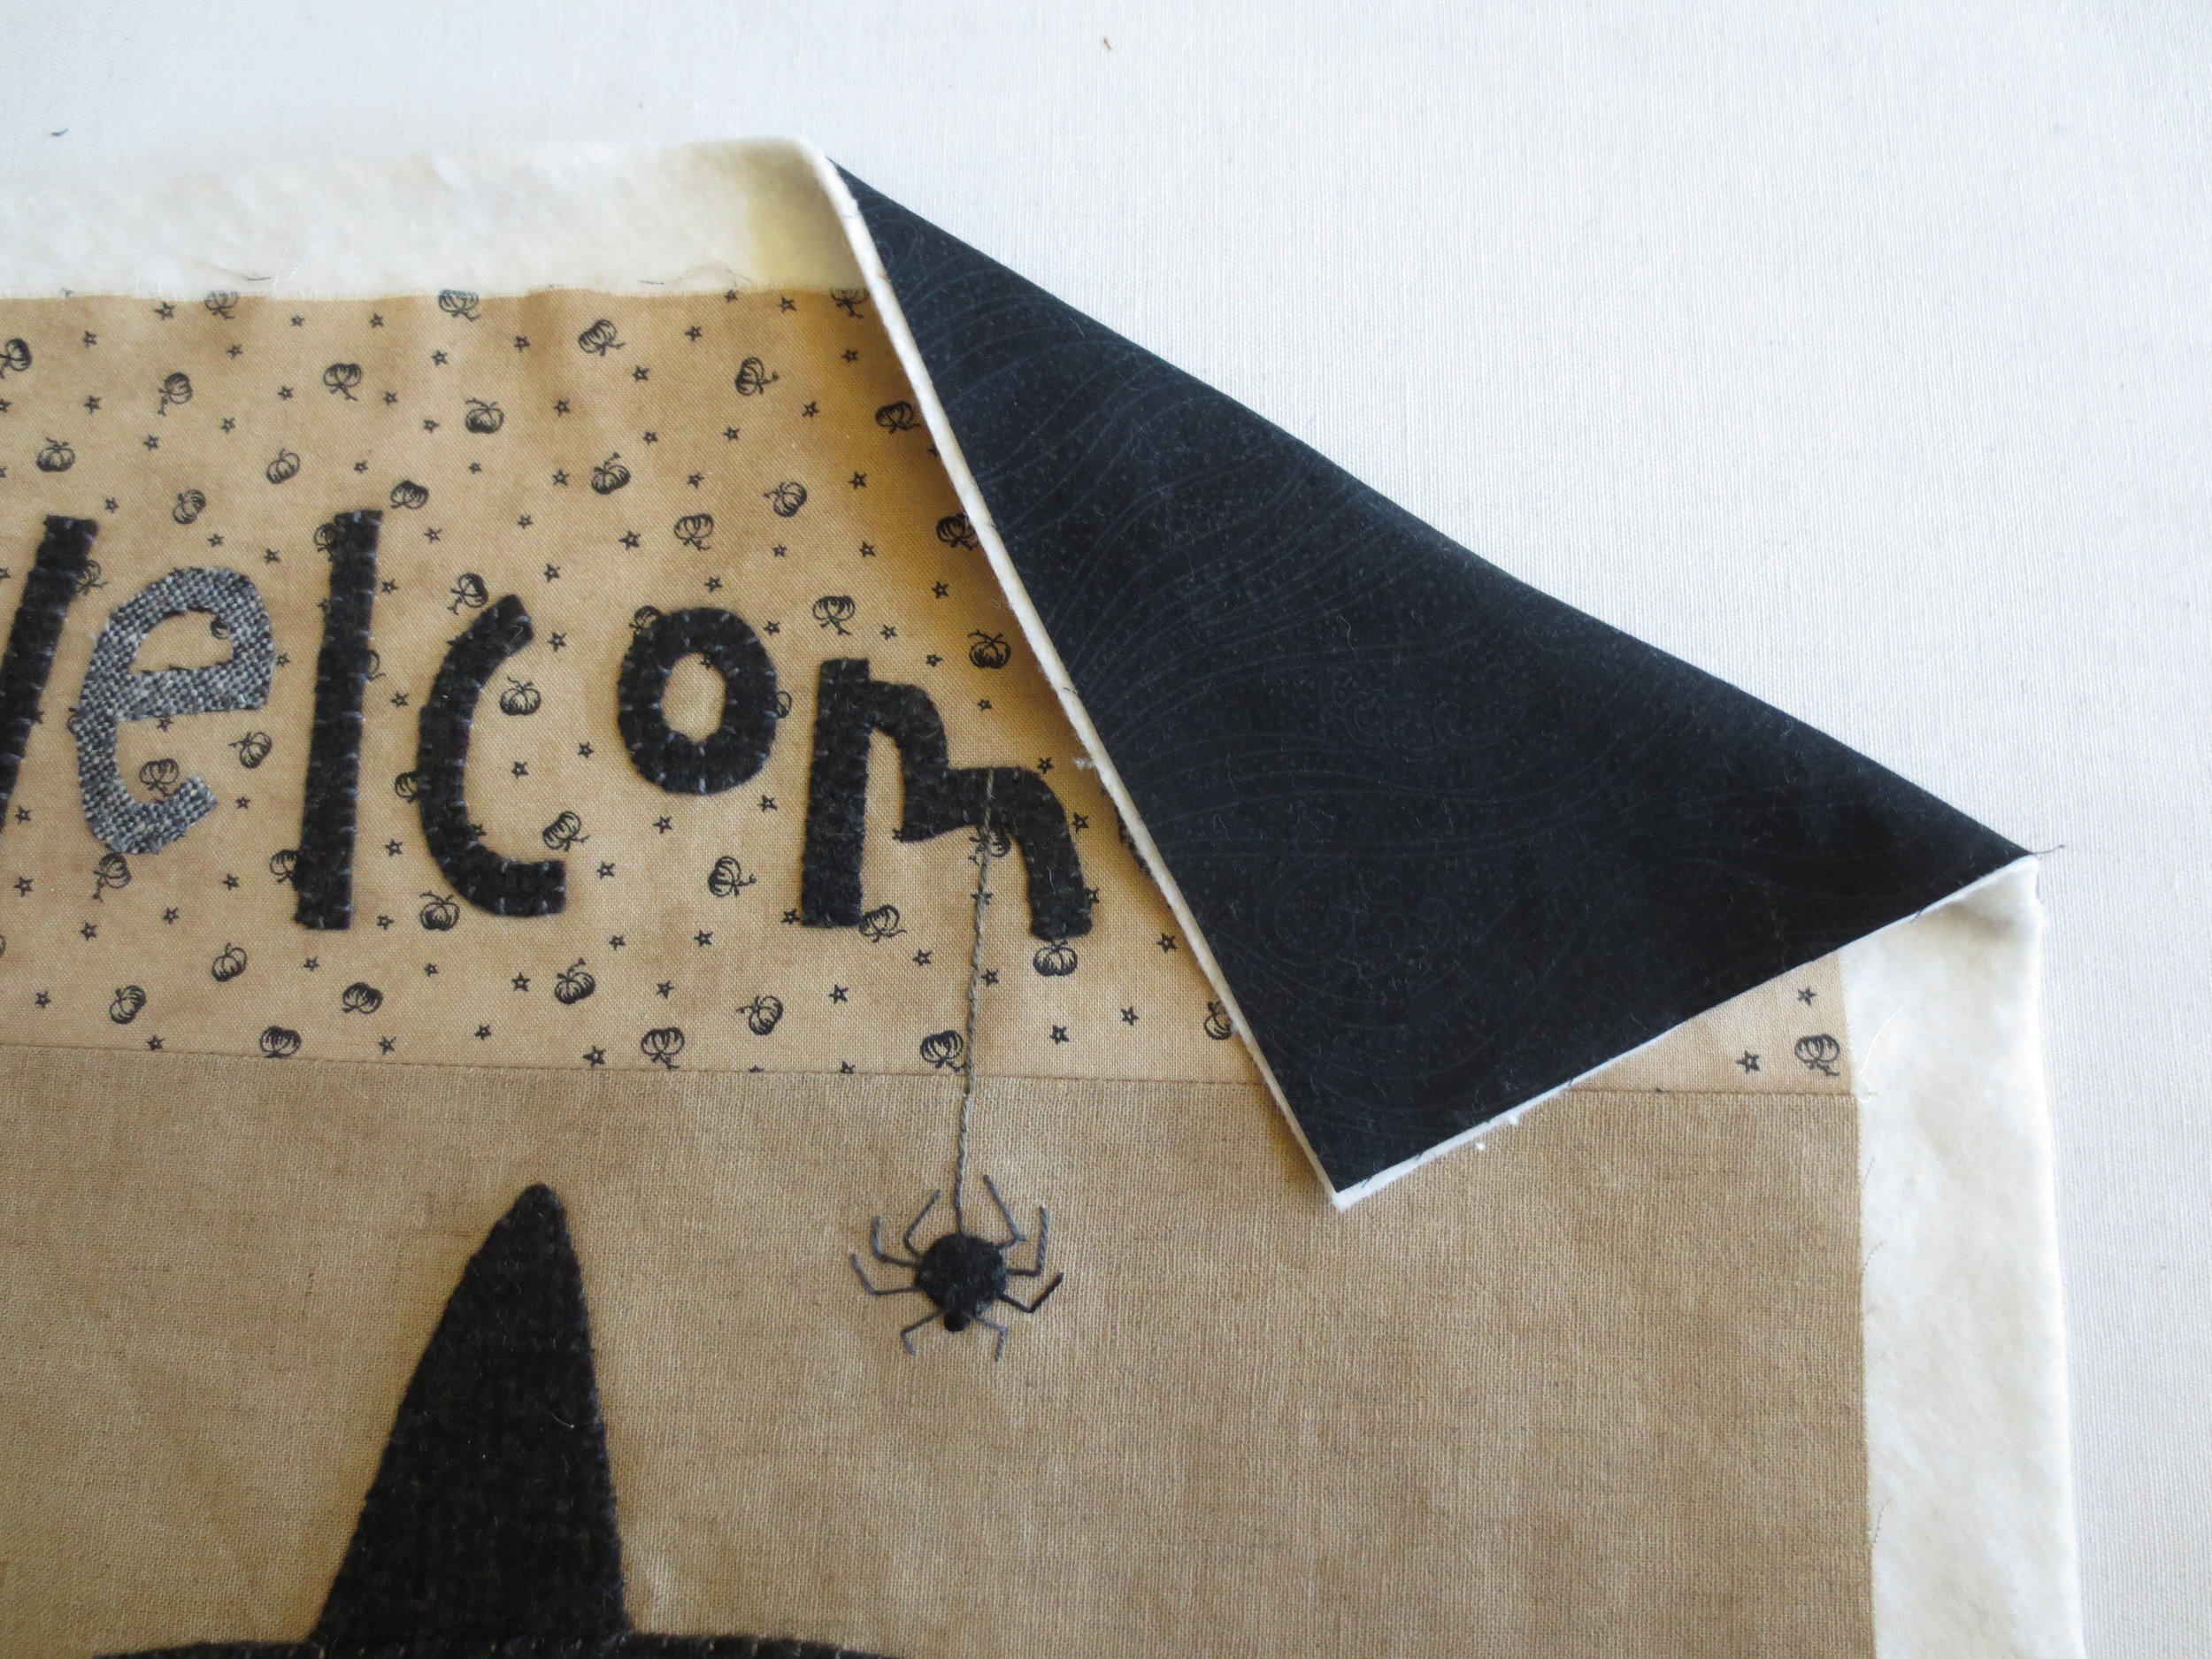
4. Banner assembly
- Cut the backing and batting as follows:
- Backing - 17" x 26"
- Batting - 17" x 26"
- Cut the binding fabric as follows:
- Two strips of 2 1/2" x 44"
- Cut the sleeve 2 1/2" x 17".
- Layer as follows:
- Backing (wrong side up)
- Batting
- Appliqued top (right side up) centered (there should be a small 1" - 1 1/2"border)
- Use 505 Spray and Fix between layers smoothing each layer as you make the quilt sandwich or use safety pins to baste. Here is a tutorial on How To Spray Baste Your Quilt.
- The quilting on this piece is very basic, just enough to add a little embellishment. You may want to do a little more or not quilt at all. I used Aurifil cotton thread, size 12, color #2314 and the same chenille needle i used for applique.

- Use this link: http://crazymomquilts.blogspot.com/2008/10/binding-tutorial.html to prepare and sew the quilt binding.
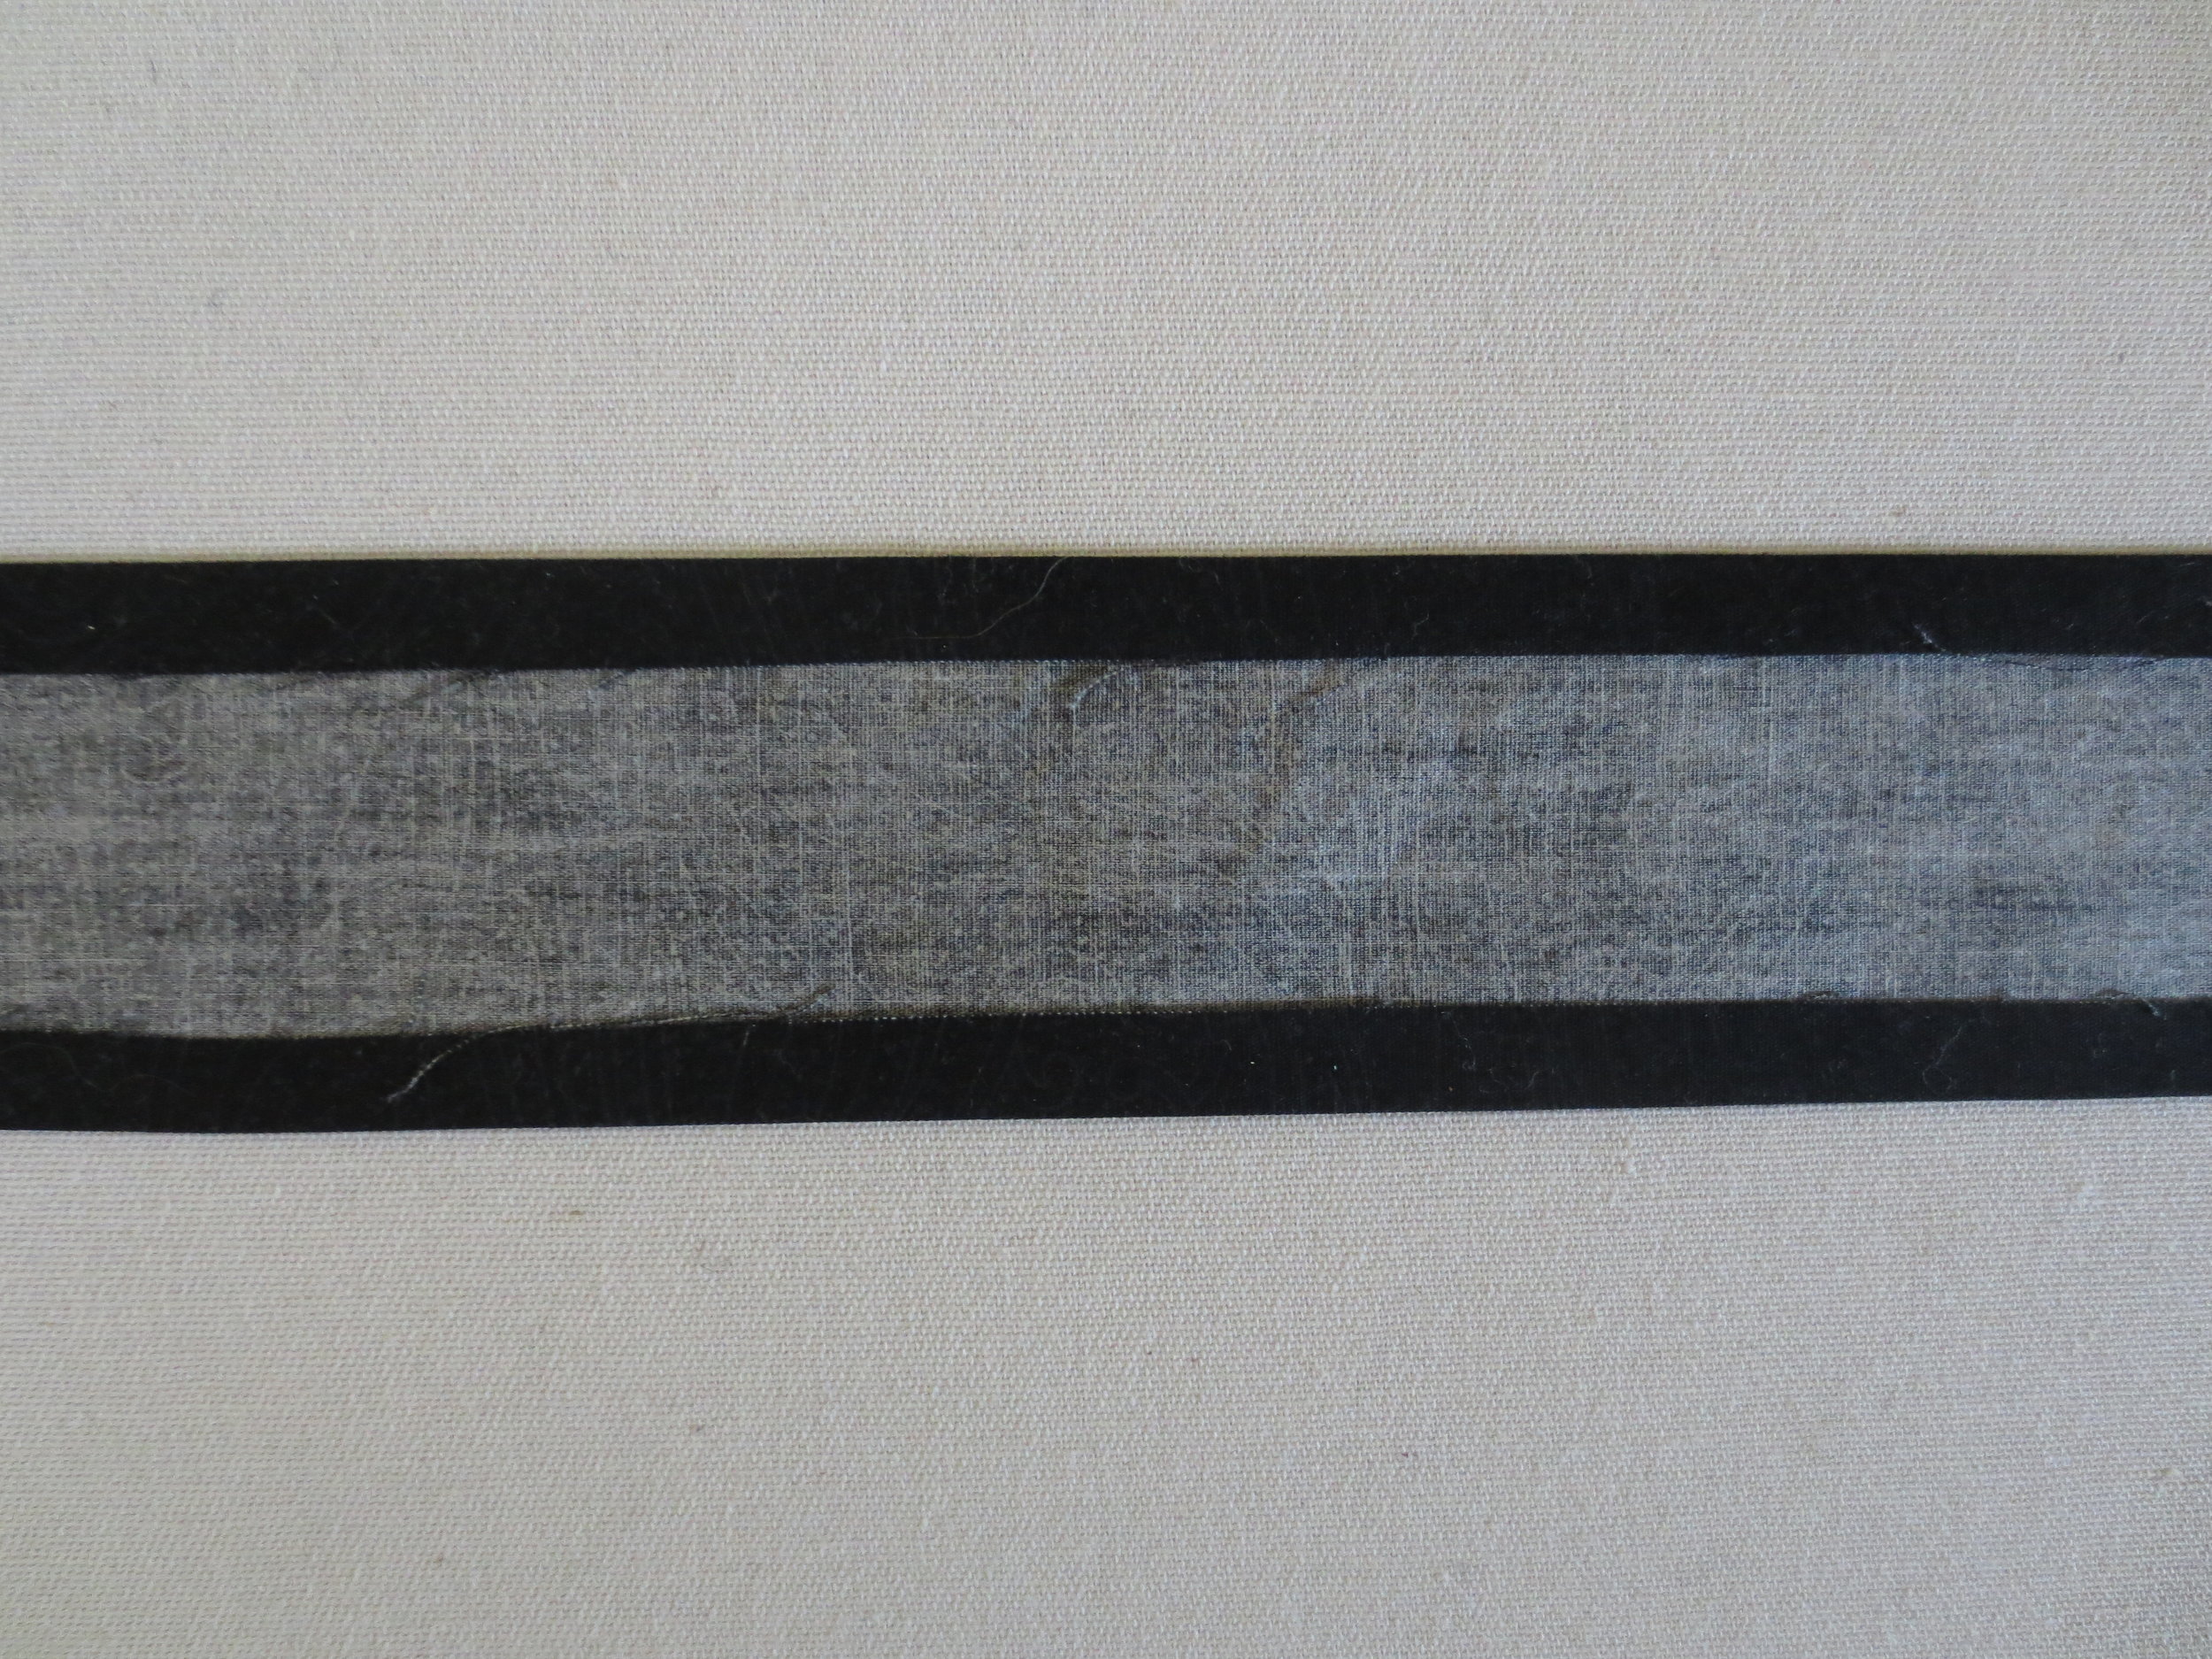
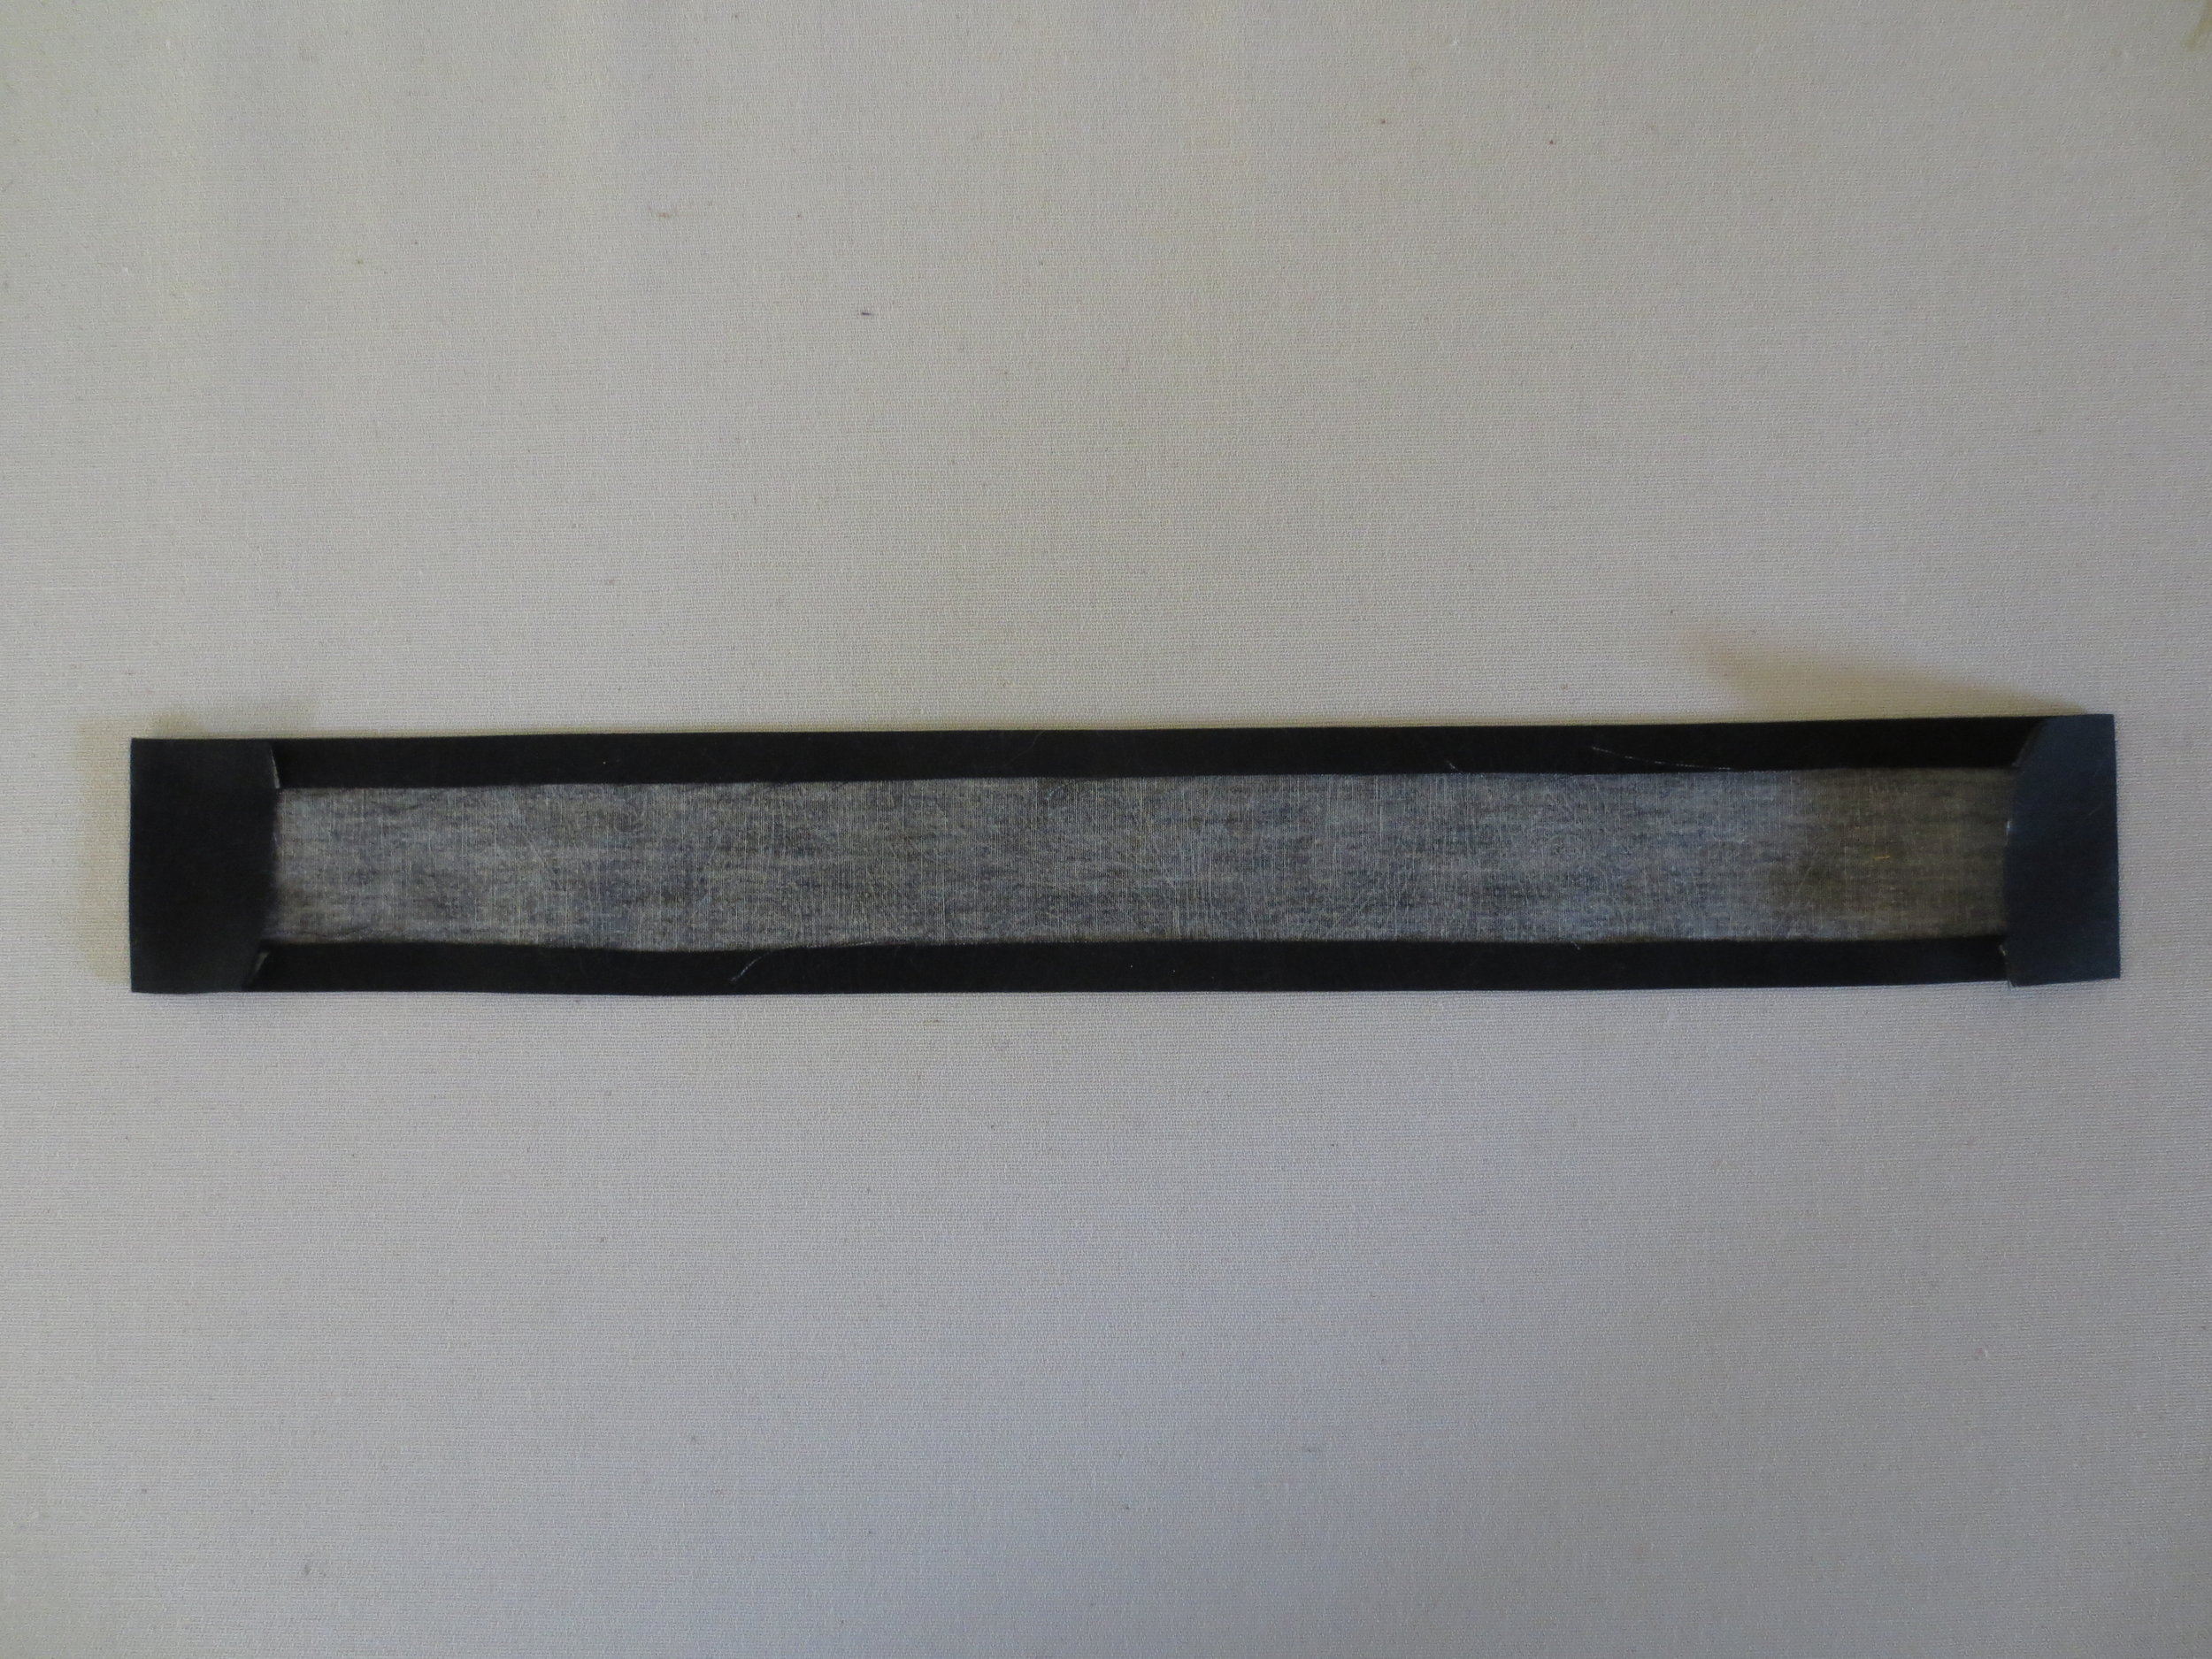
- Sleeve
- Fold the long sides of the sleeve in 1/4" and press.
- Fold each of the ends in about 1 1/2".
- Press and sew ends.
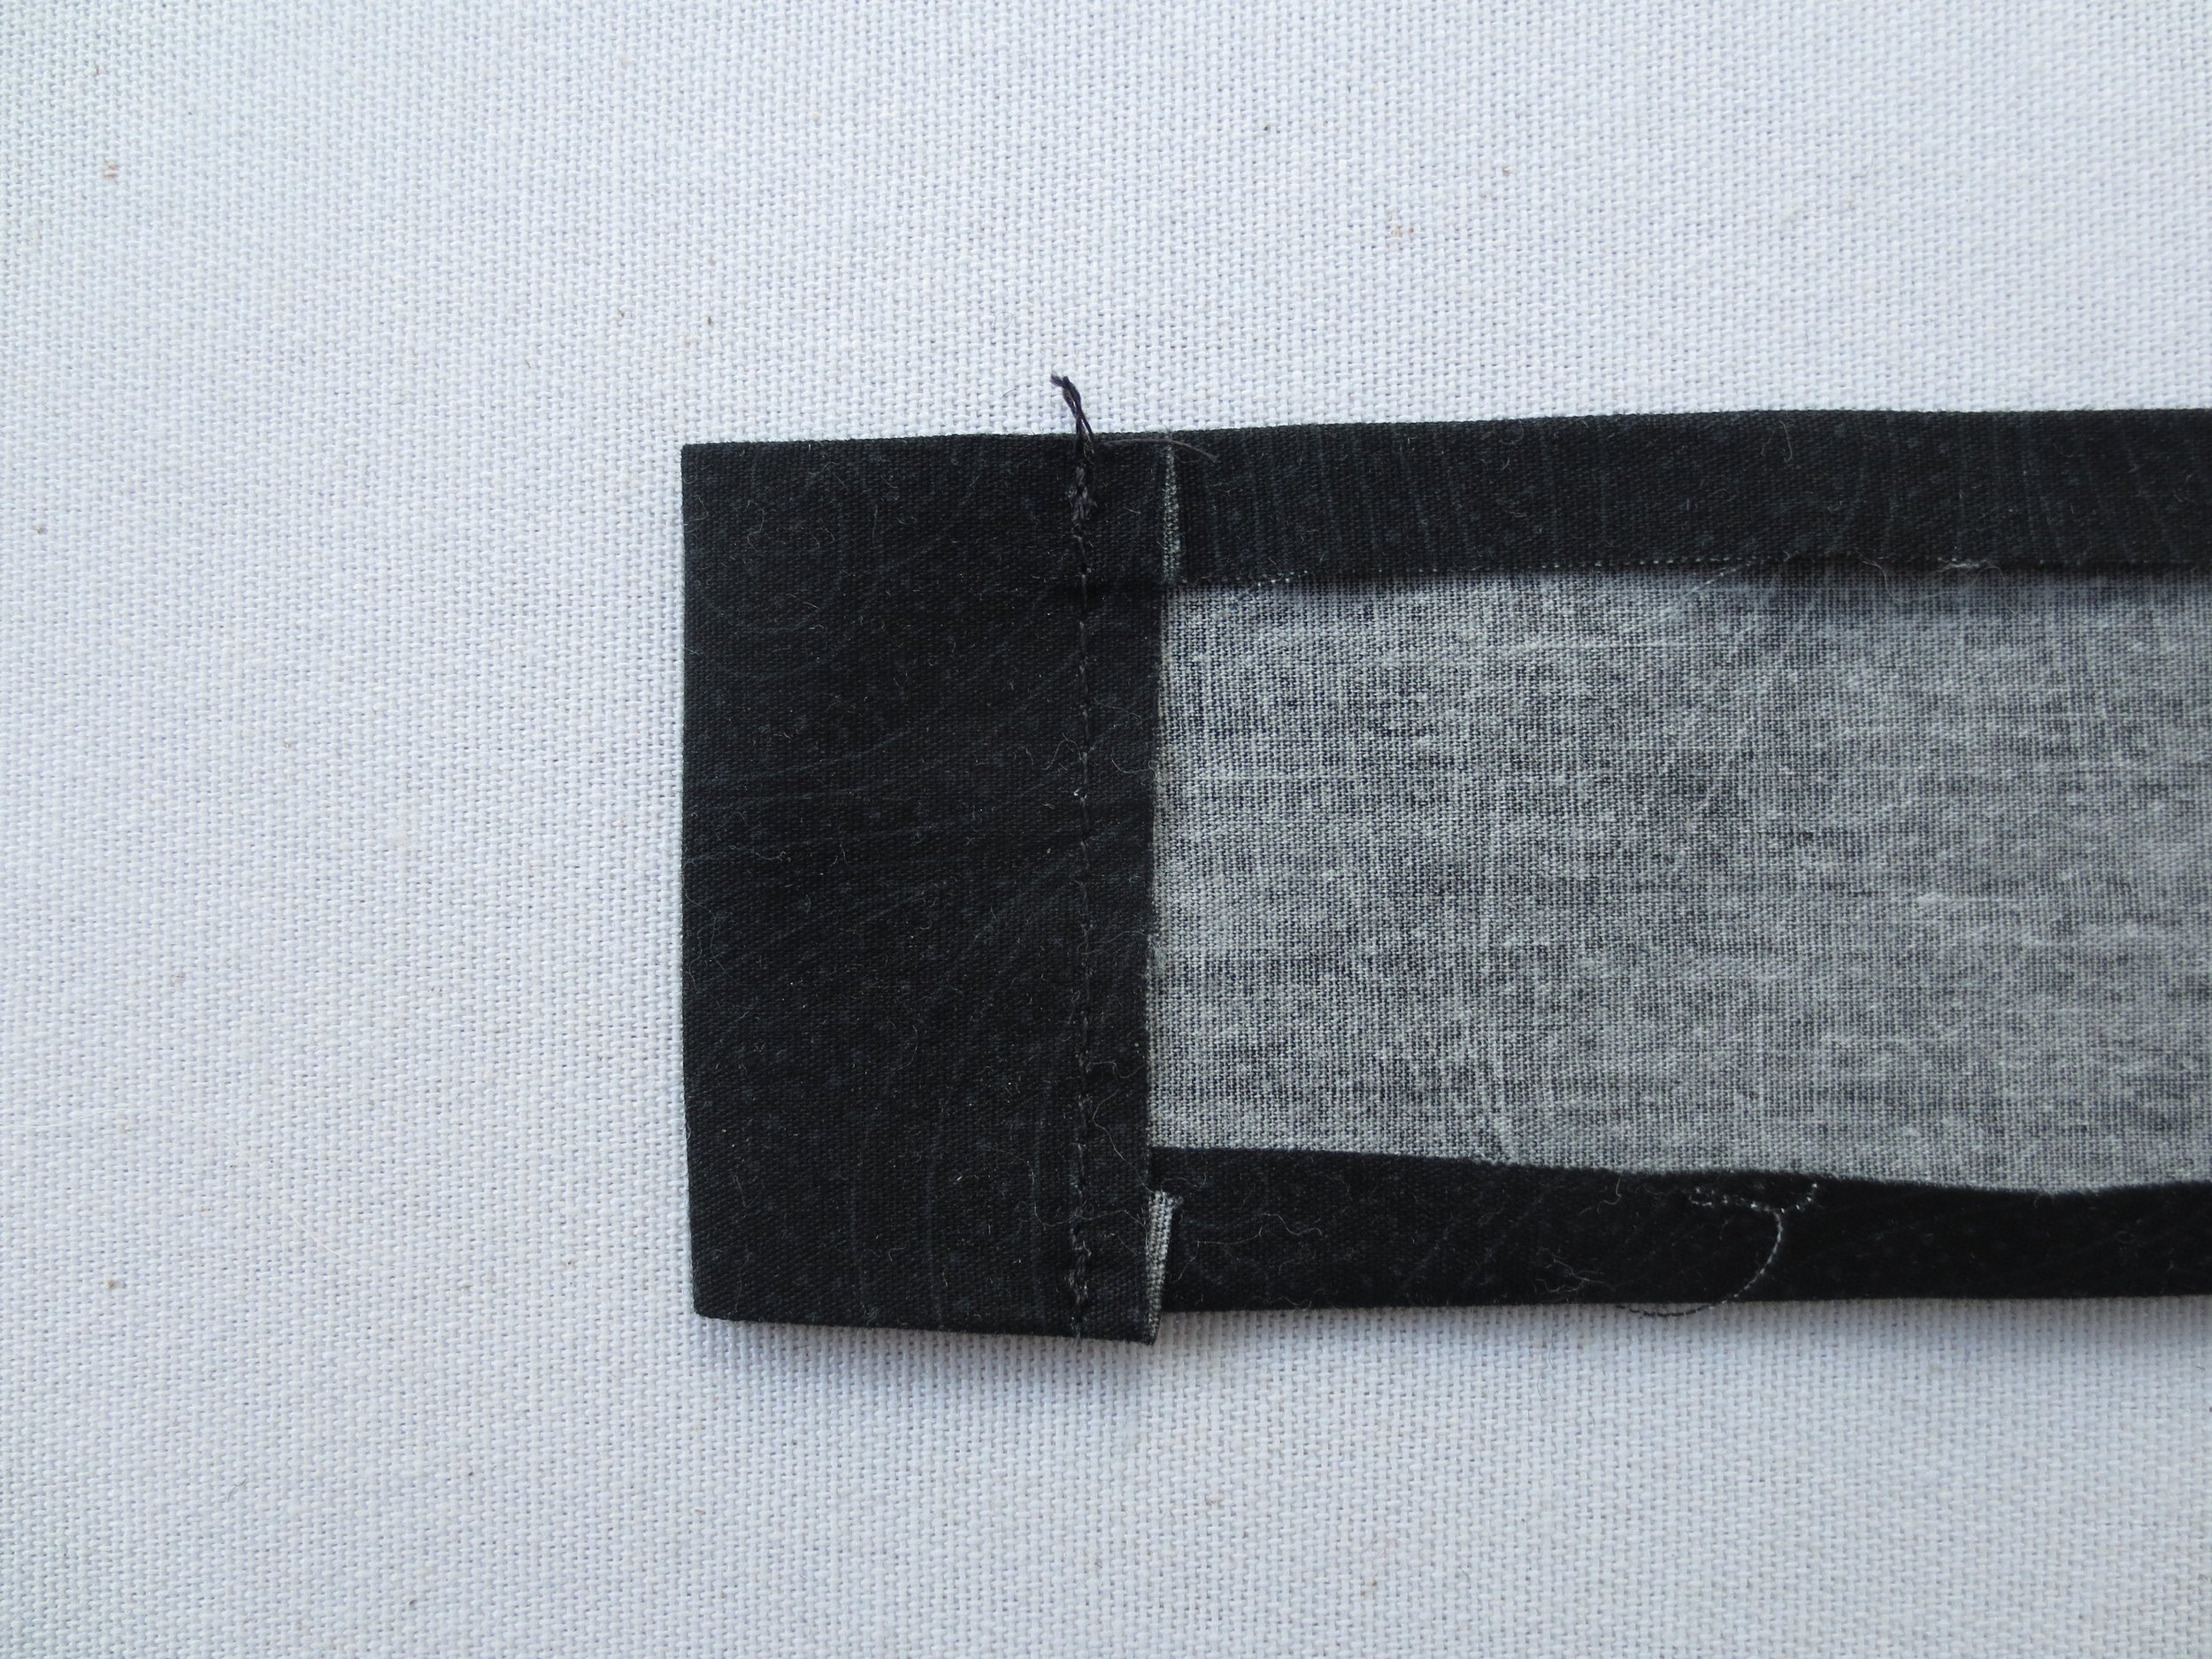
- Pin sleeve, wrong side down, on the upper back of the banner just below the binding.
- Whip stitch the long ends of the sleeve to secure it to the banner. Leave the sides open.
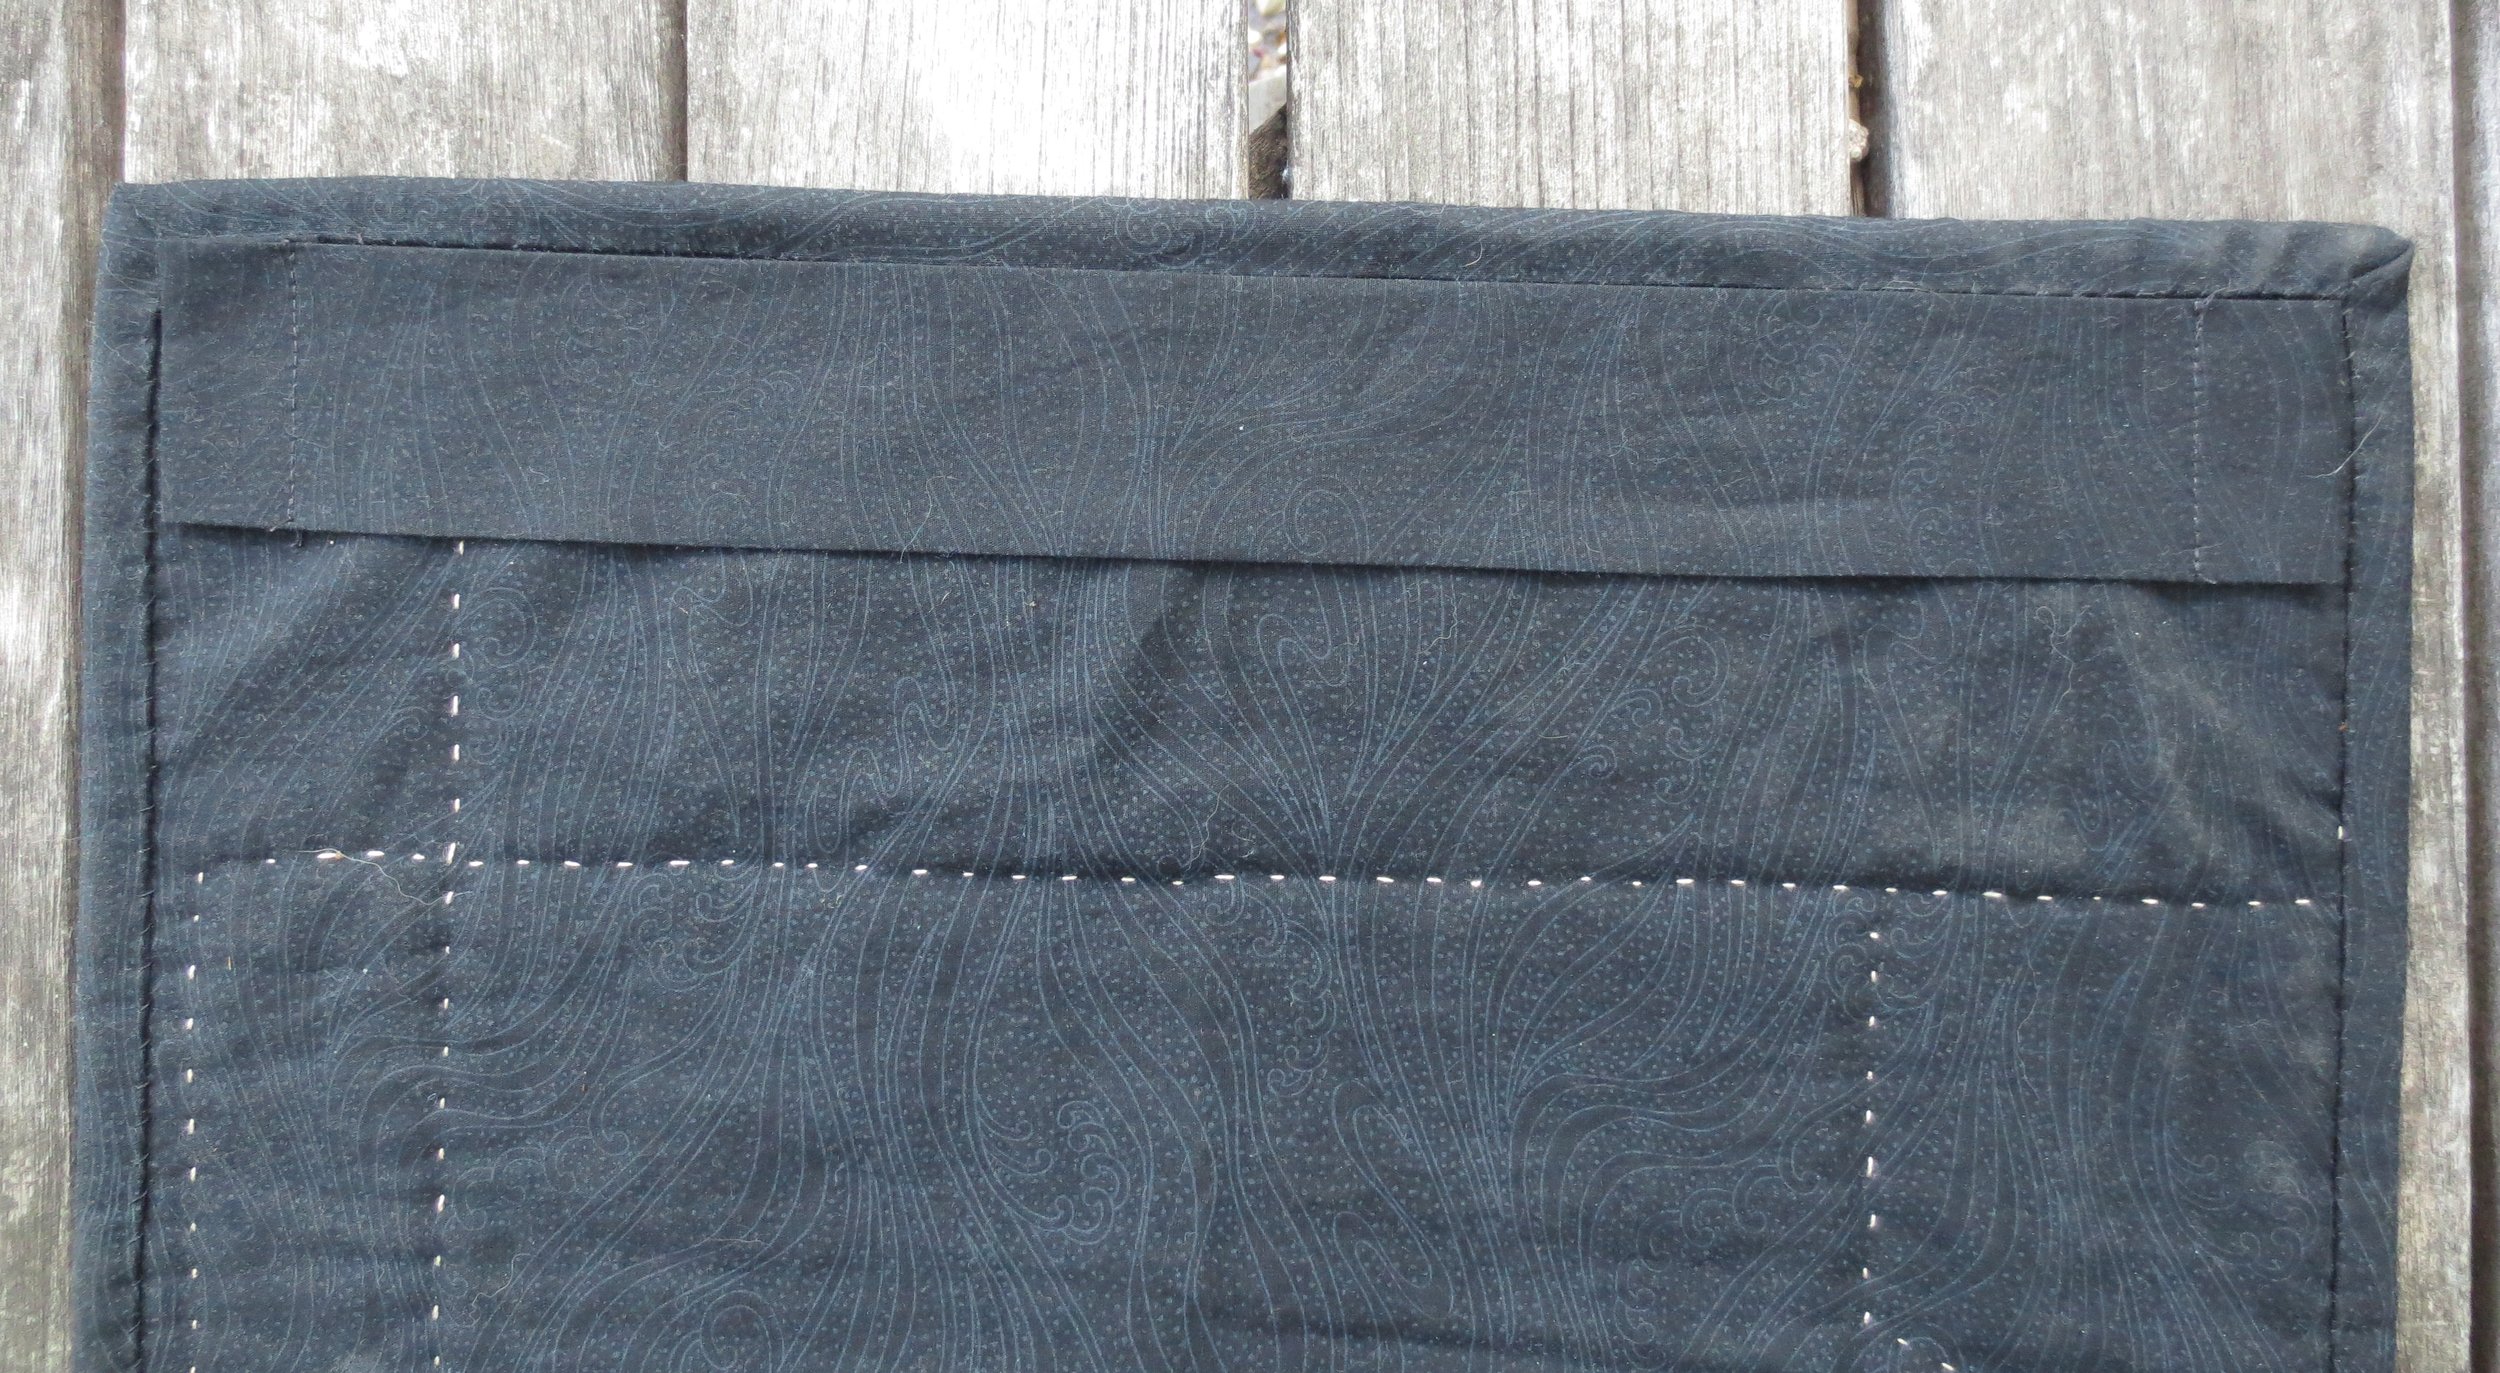
Voile! The banner is complete.
I used a thin branch and heavy gauge wire to make my hanger, but a dowel and thick twine would work just as well.
Enjoy!