

William Morris Inspired - Part V
Now that you have completed the applique, you need to decide what to do with it. You can make it into a pillow, table rug, quilt, or just frame it as is. I decided to make it into a 14" x 20" pillow and a table rug.
This post will cover the basic instructions on how to make an simple envelope pillow. See part VI for the table rug instructions.
You will need:
1. Fabric (You can use the left over fabric from the appliqued front background)
- 8 1/2" x 15 1/2" black print - A
- 14 1/2" x 15 1/2" black print -B
- 12" x 15 1/2" red print - C
2. Thread (Perle cotton, size 12, or 2 strands of embroidery floss)
- Green ( I used a variegated Valdani perle cotton, size 12, color: O575)
- Blue ( I used a variegated Valdani perle cotton, size 12, color: O578)
- Gold ( I used Valdani perle cotton, size 12, color: M81)
- Red (I used Valdani perle cotton, size 12, color: P1)
3. 1/2 yd. of 3/4" wide green ribbon ( I purchased my ribbon from Studio Carta).
4. 14" x 20" pillow insert ( I used a 95/5 goose down decorative pillow insert from Garnet Hill.com).
5. Chalk pencil
Instructions
- Pin fabrics A and C, right sides together, lining up the 15 1/2" sides.

2. Sew fabrics together along the 15 1/2" side.
3. Press seam toward fabric C (red).
4. Fold under the remaining 15 1/2" side of fabric C 1/4", and press.
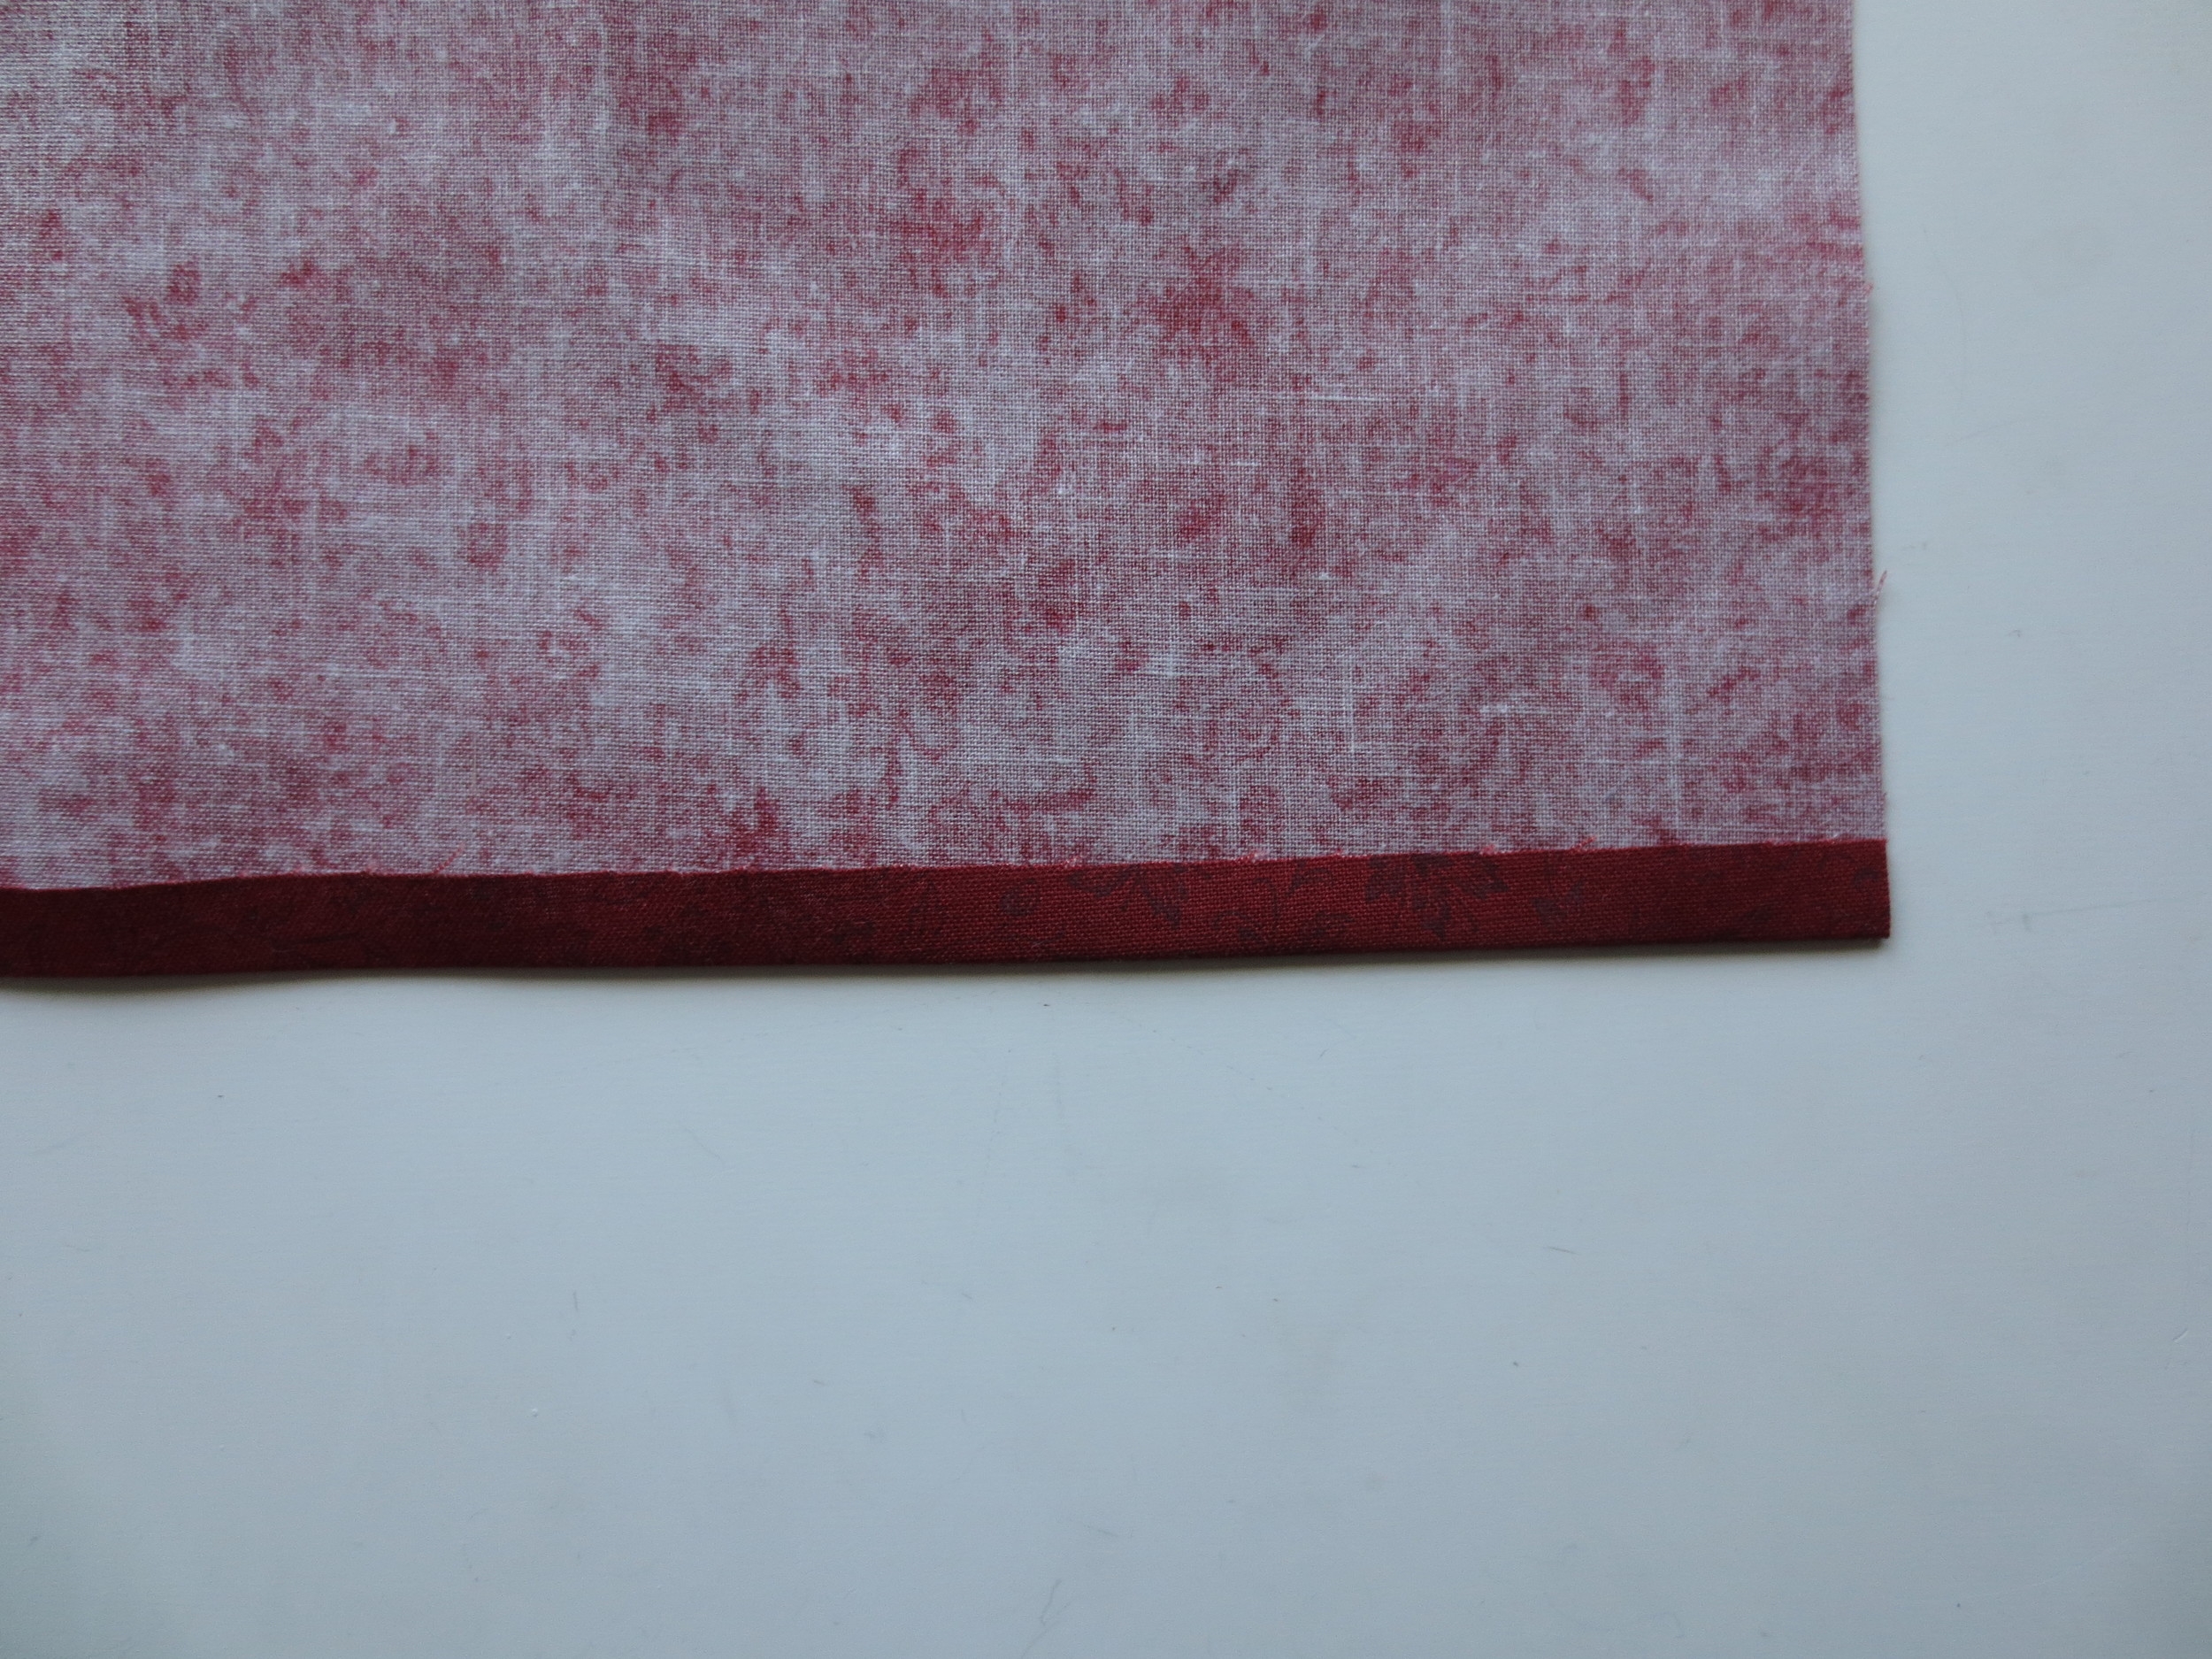
5. Fold under fabric C again, so that the 1/4" fold aligns with the seam line.

6. Whip stitch the 1/4" folded edge to the seam.
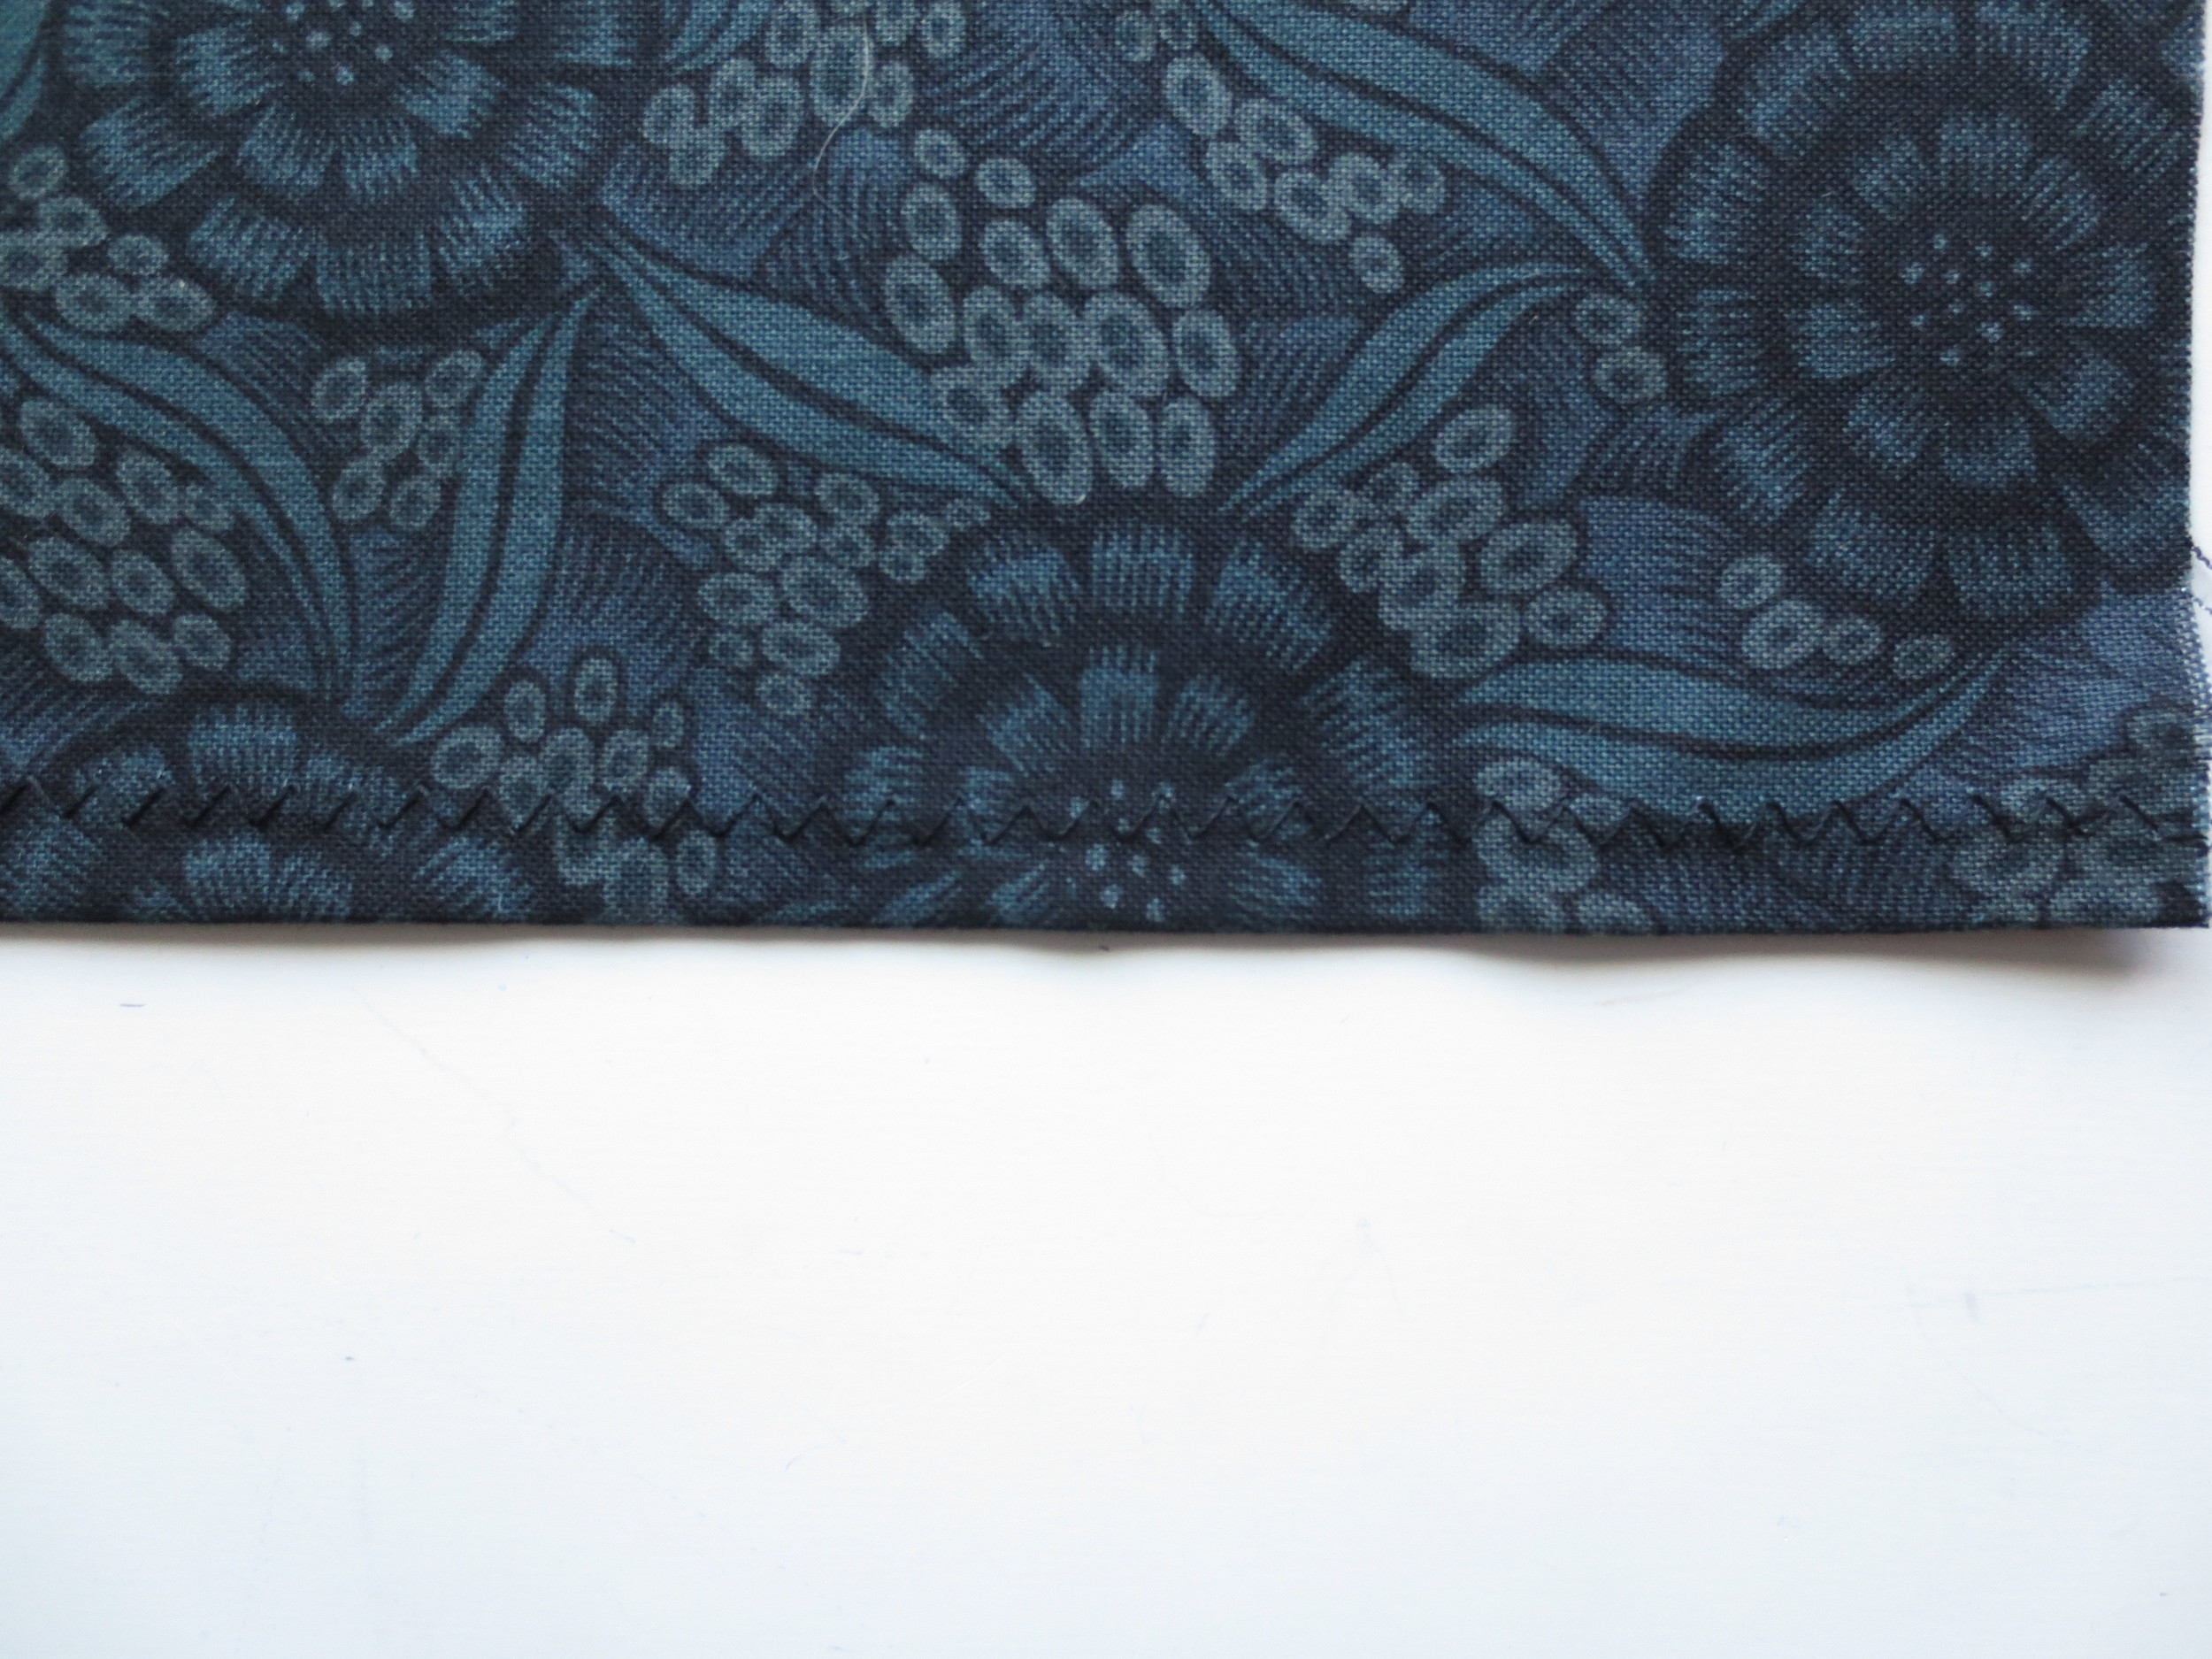
7. Fold under the long edge of fabric B 3/8", and press.

8. Top stitch the folded edge with a zig-zag stitch.
9. Embellishment - Use one strand of thread unless otherwise noted. Use the stitch guide from William Morris Inspired - Part I for stitch instructions.
- Lay the 3/4" wide ribbon on top of the seam of fabric AC. Pin in place and whip stitch with green thread.

- Draw a horizontal line down the center of the ribbon.
- Use blue thread to make a feather stitch over the line. The branches of the stitch should be about 1" apart.
- Use red thread to make a lazy daisy flower on every third branch.
- Use gold thread to make french knots on the remaining branches and in the center of each flower.

You should now have two fabric back pieces: AC and B.
10. Pillow Assembly
- Trim appliqued front to 15 1/2" x 21 1/2".
- Lay appliqued front face up.
- Lay fabric AC face down on the appliqued front, lining up the left side with the left side of the appliqued front. Pin to secure.
- Lay fabric C face down on the appliqued front, overlapping fabric AC, lining up the right side with the appliqued front's right side. Pin to secure.
- Sew all four sides together using a 1/4" seam.

- Clip corners and turn right side out.

Slip the pillow insert inside the envelope and you are done!