

William Morris Inspired - Part IV
We are on the home stretch now. Finally!
Berries
- Draw the stems of the berries using the layout as your guide.
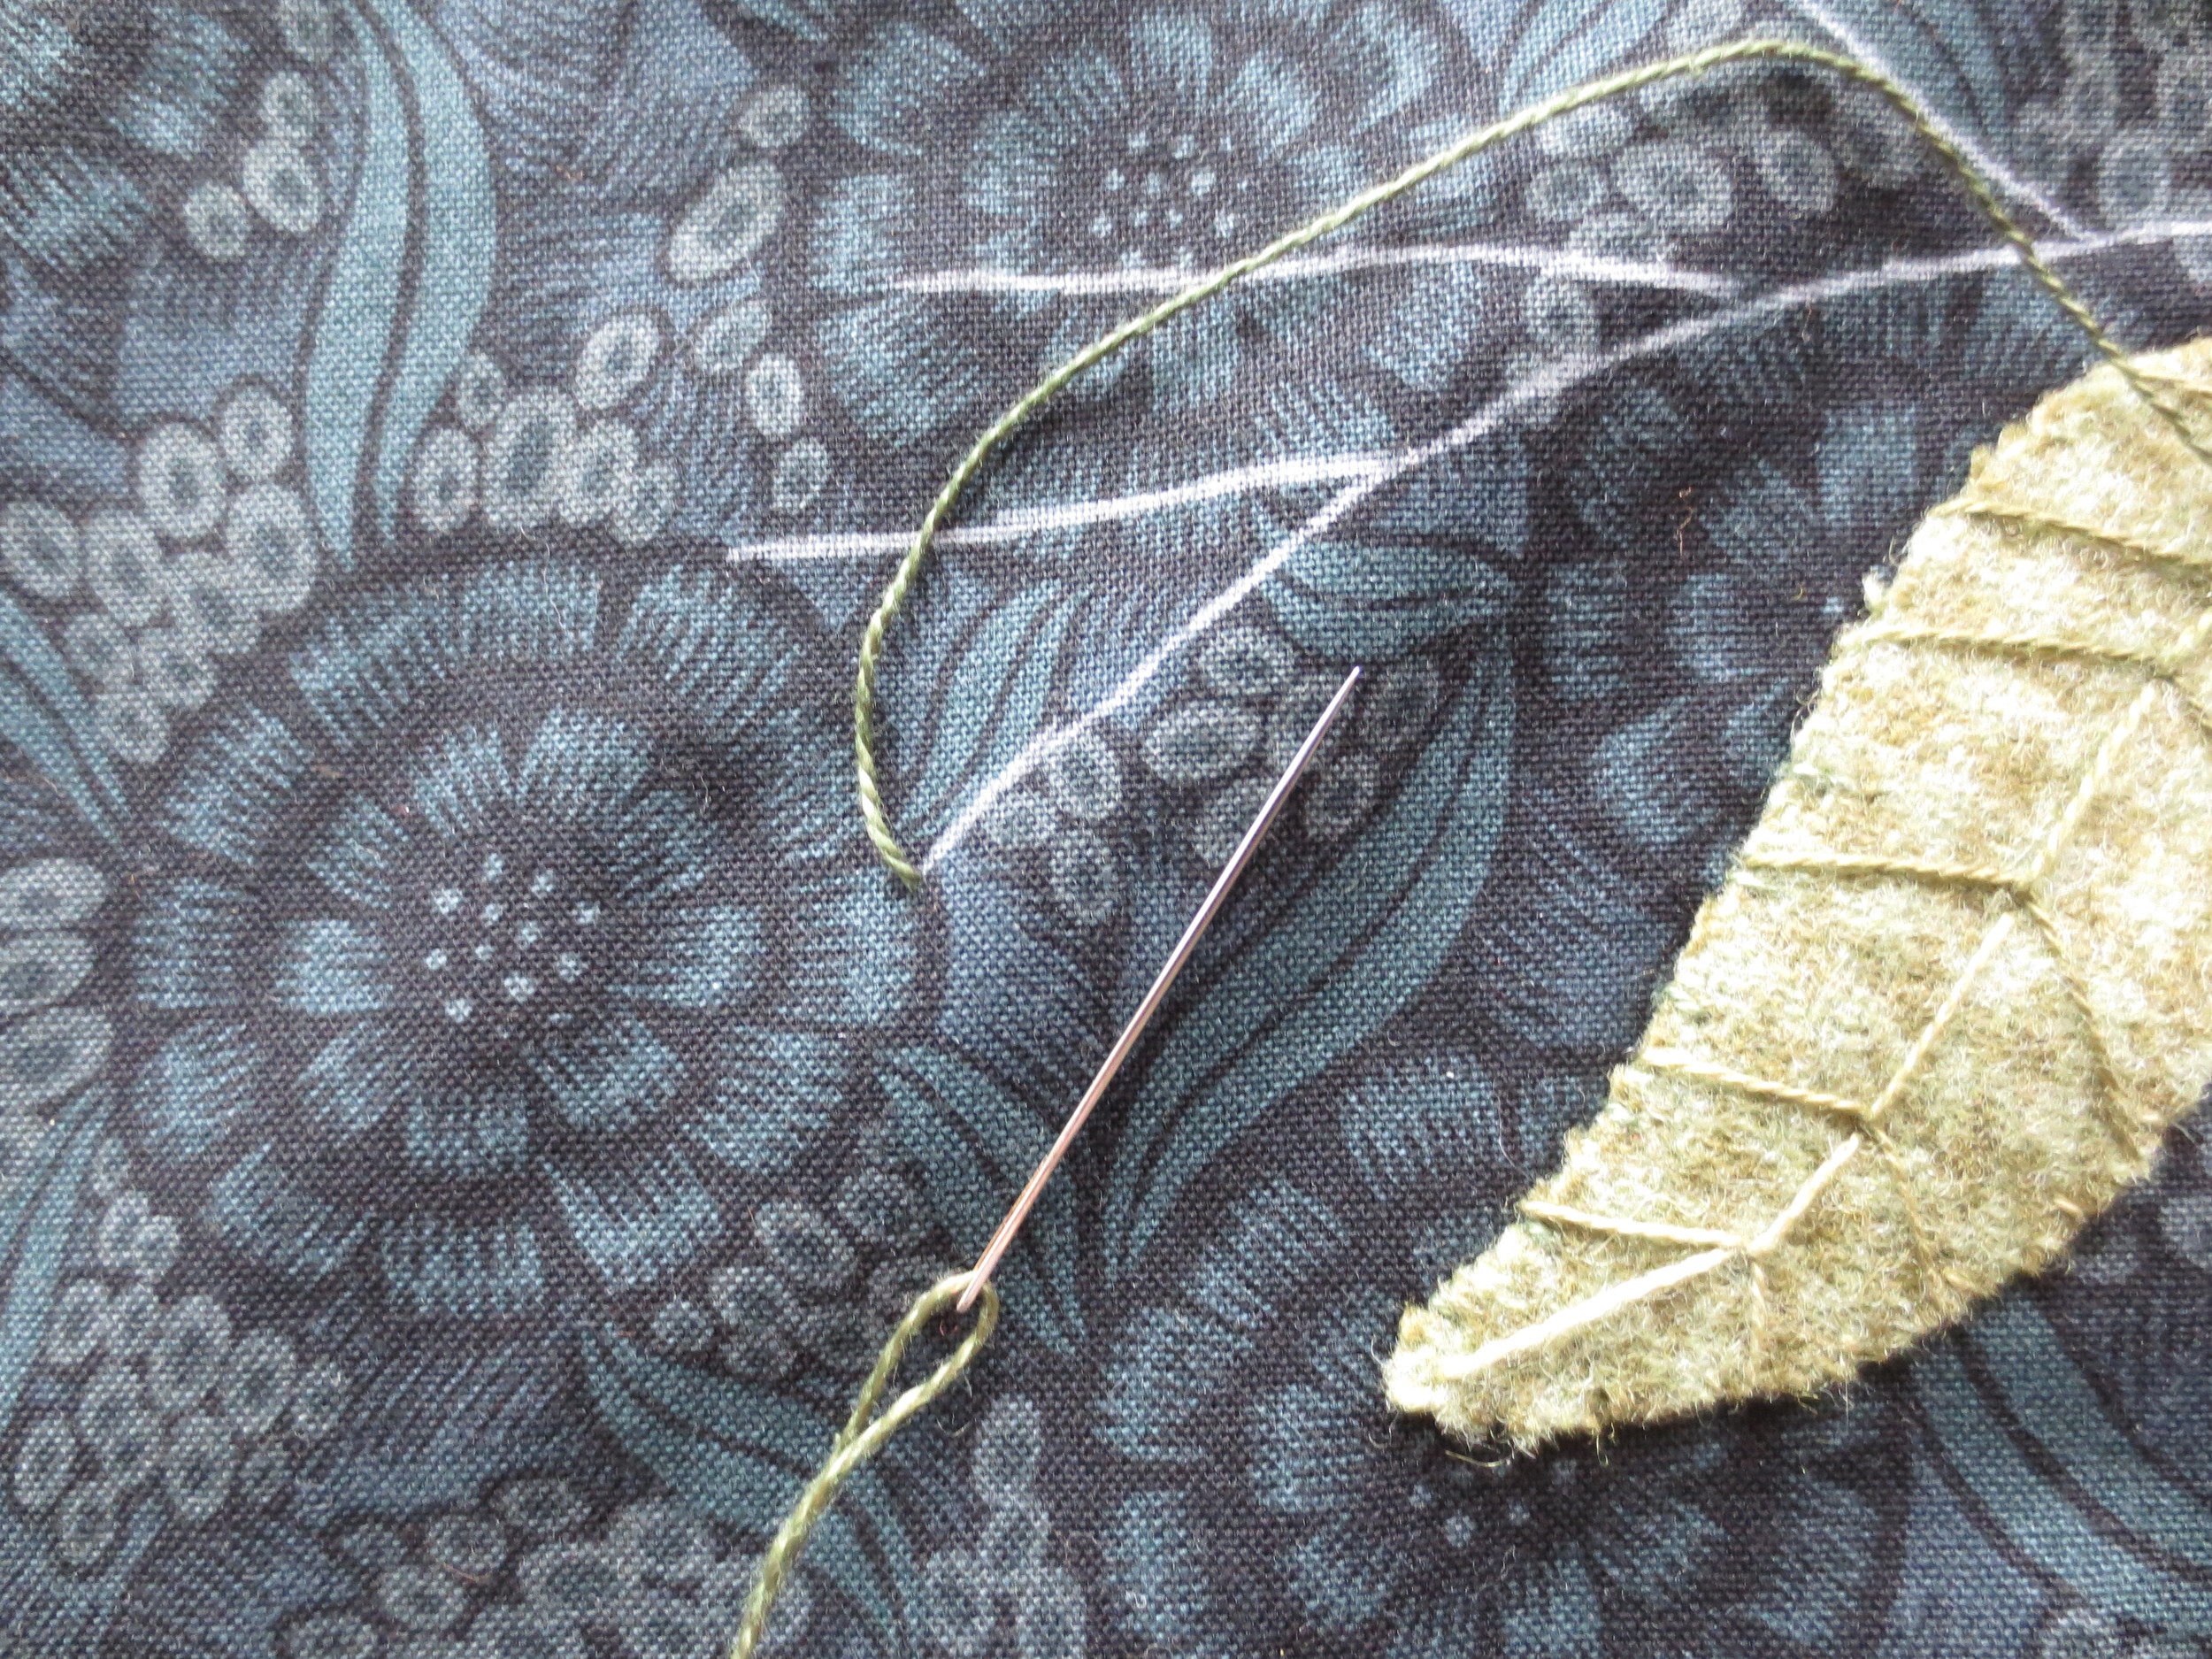
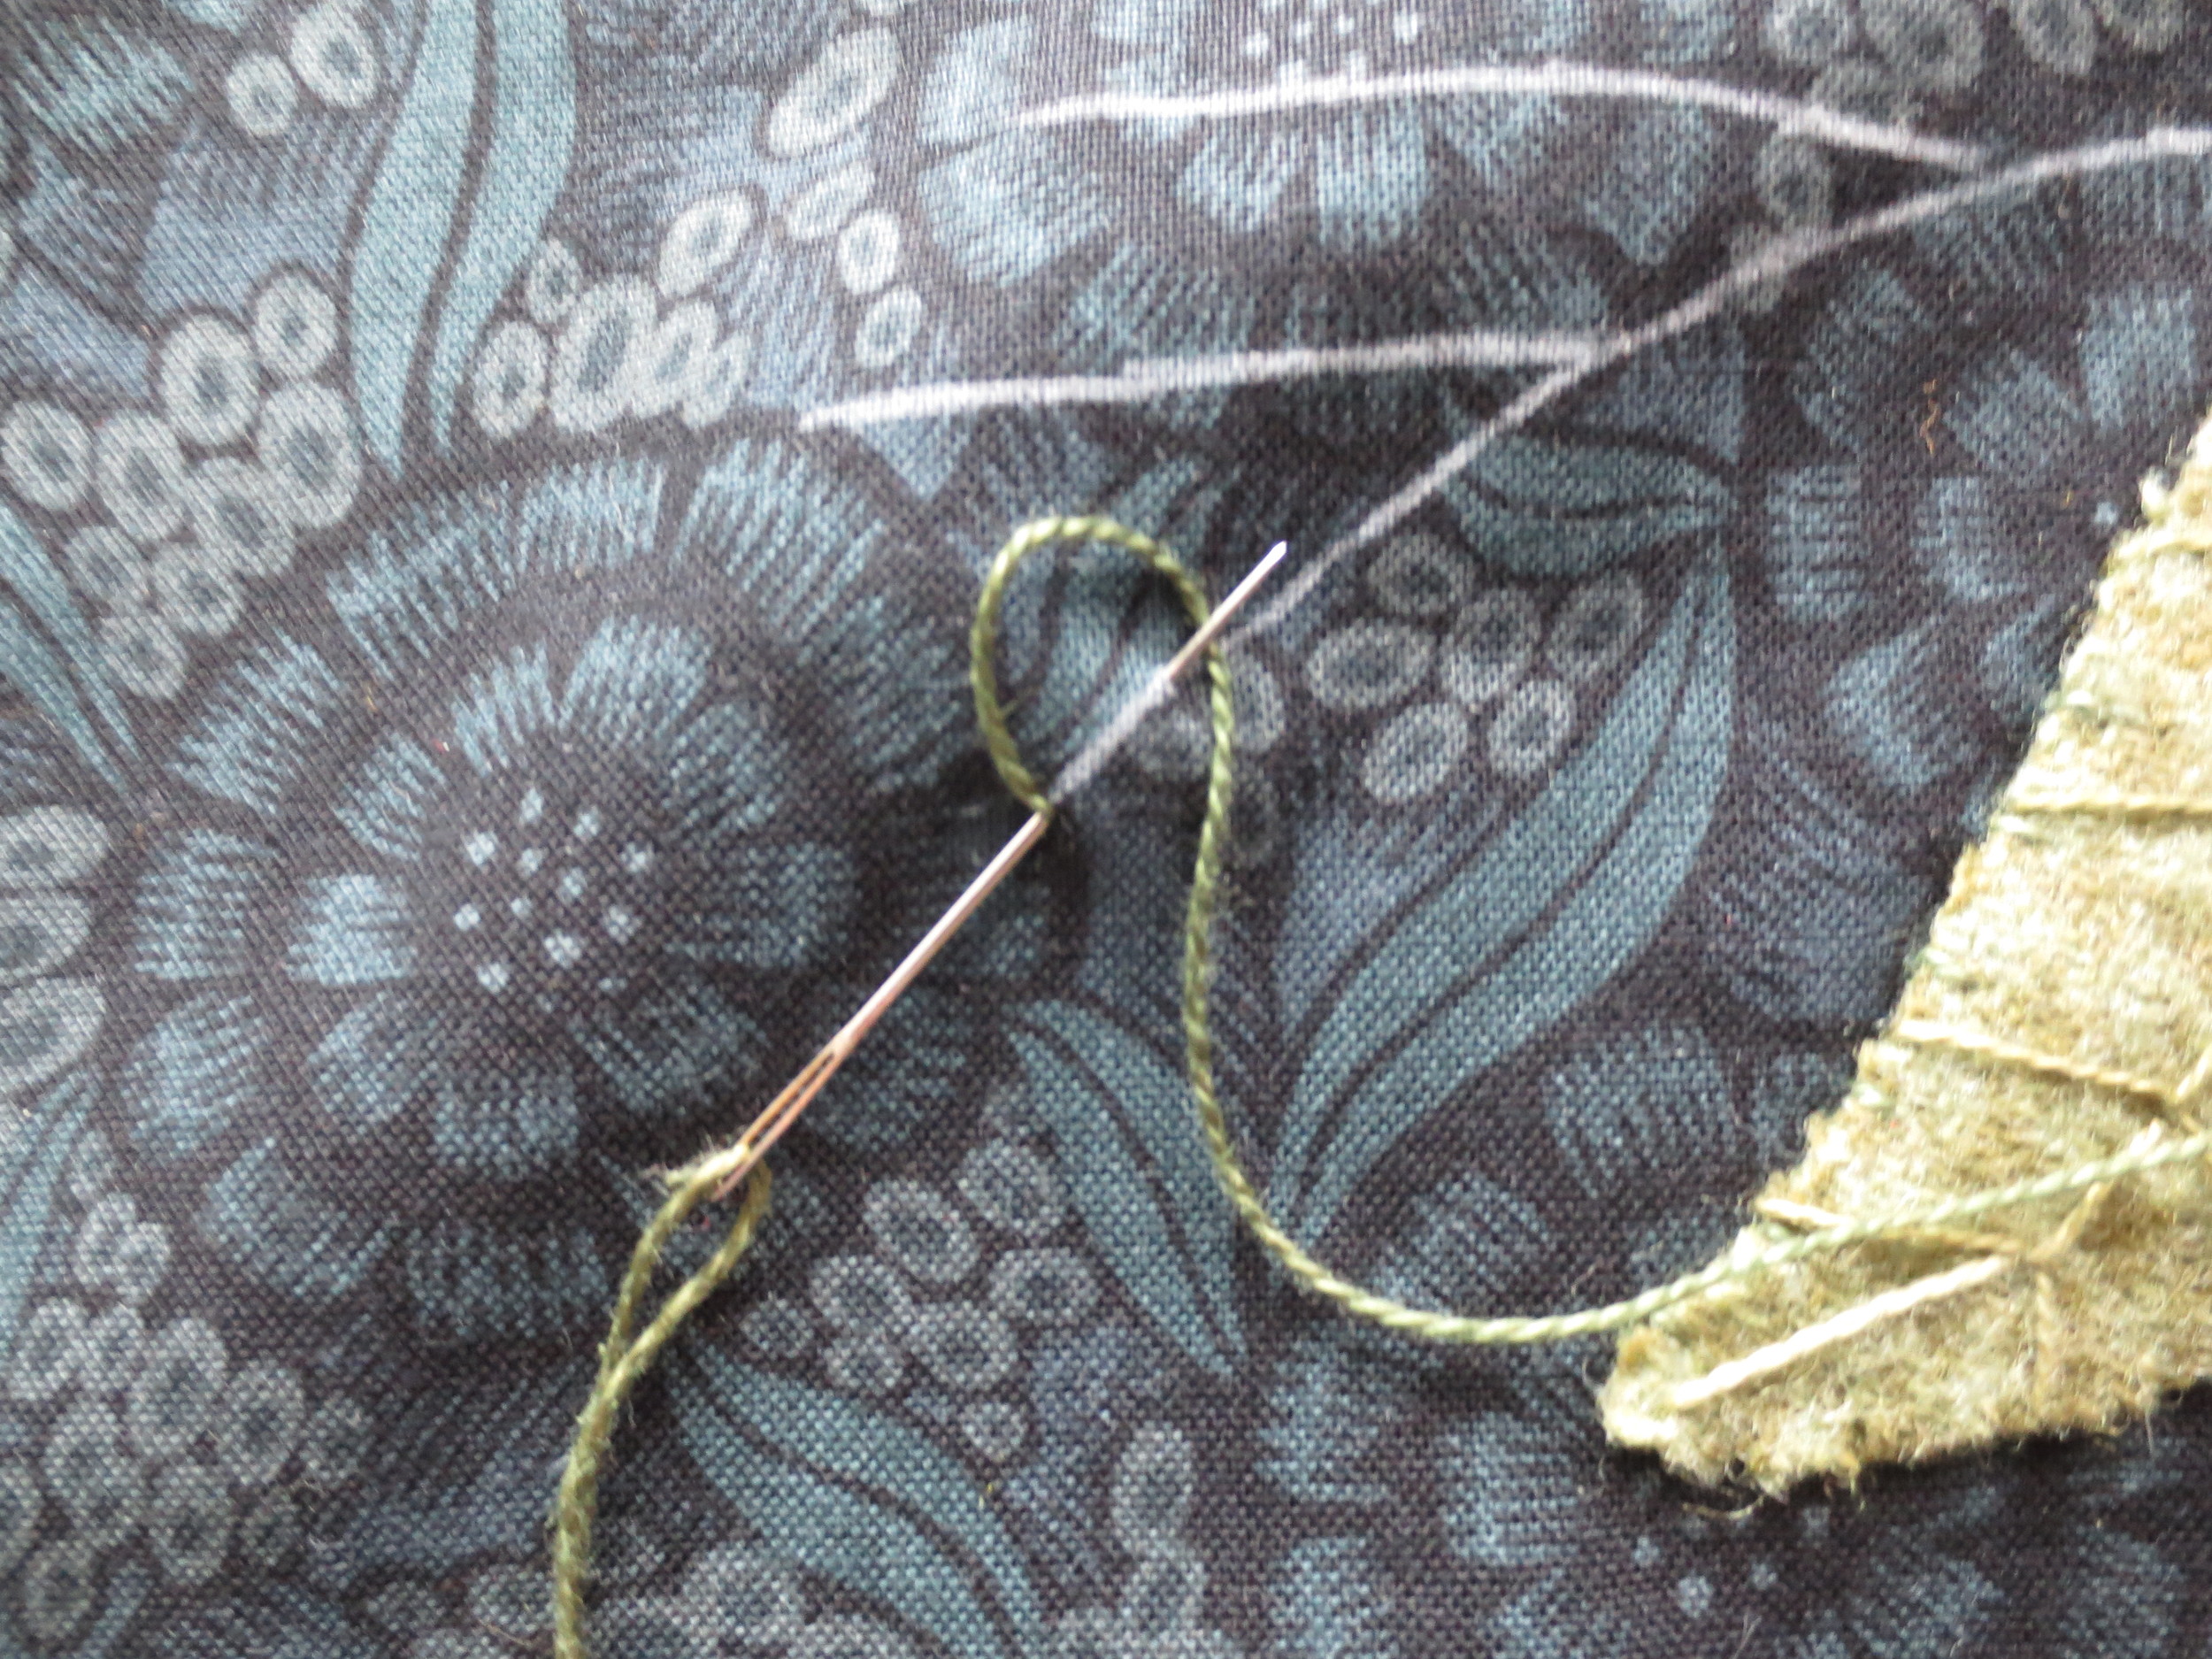
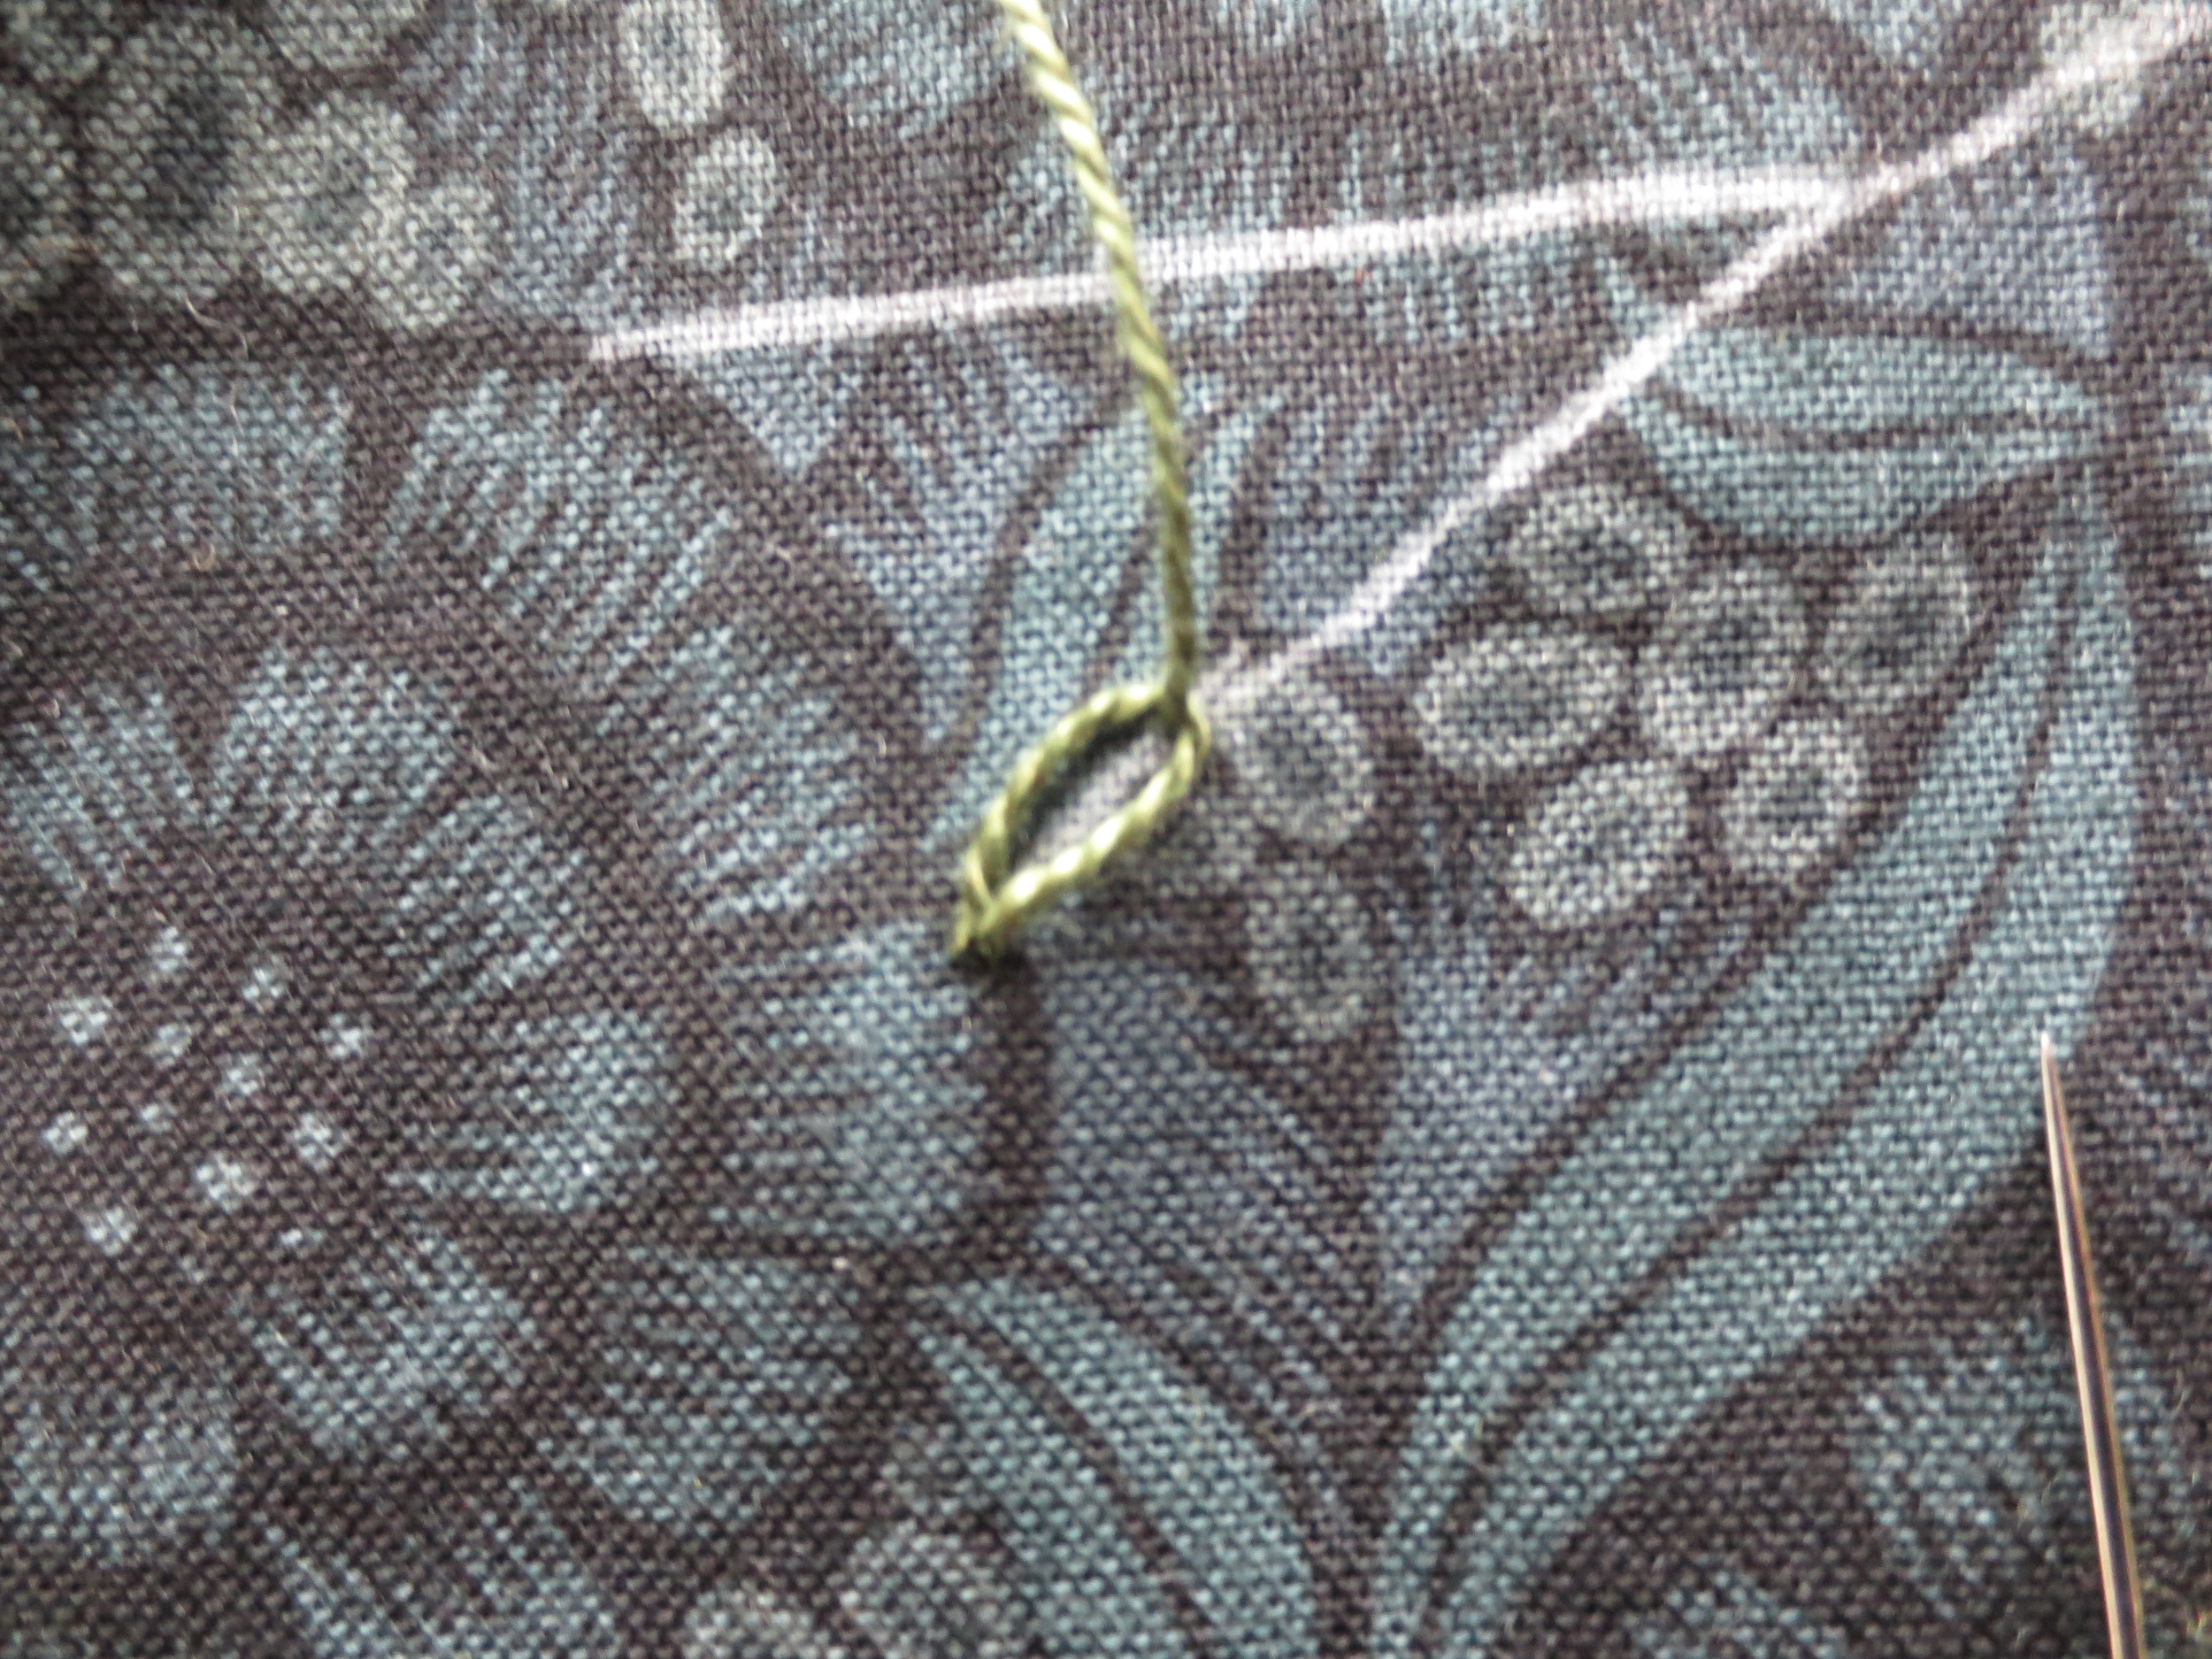
- Use a green perle 8 ( a variegated one would do nicely here) to chain stitch over the lines. These are just a series of lazy daisy stitches linked together. Bring your needle up at the end of the stem, down into the same hole, and up again about 1/4" along the stem line, wrapping the thread around the needle, and pulling the thread through. Repeat the sequence as needed.
3. Position the berries on the ends of stems and fuse in place using steam.
4. Use one strand of orange perle 12 to whip stitch the berries.
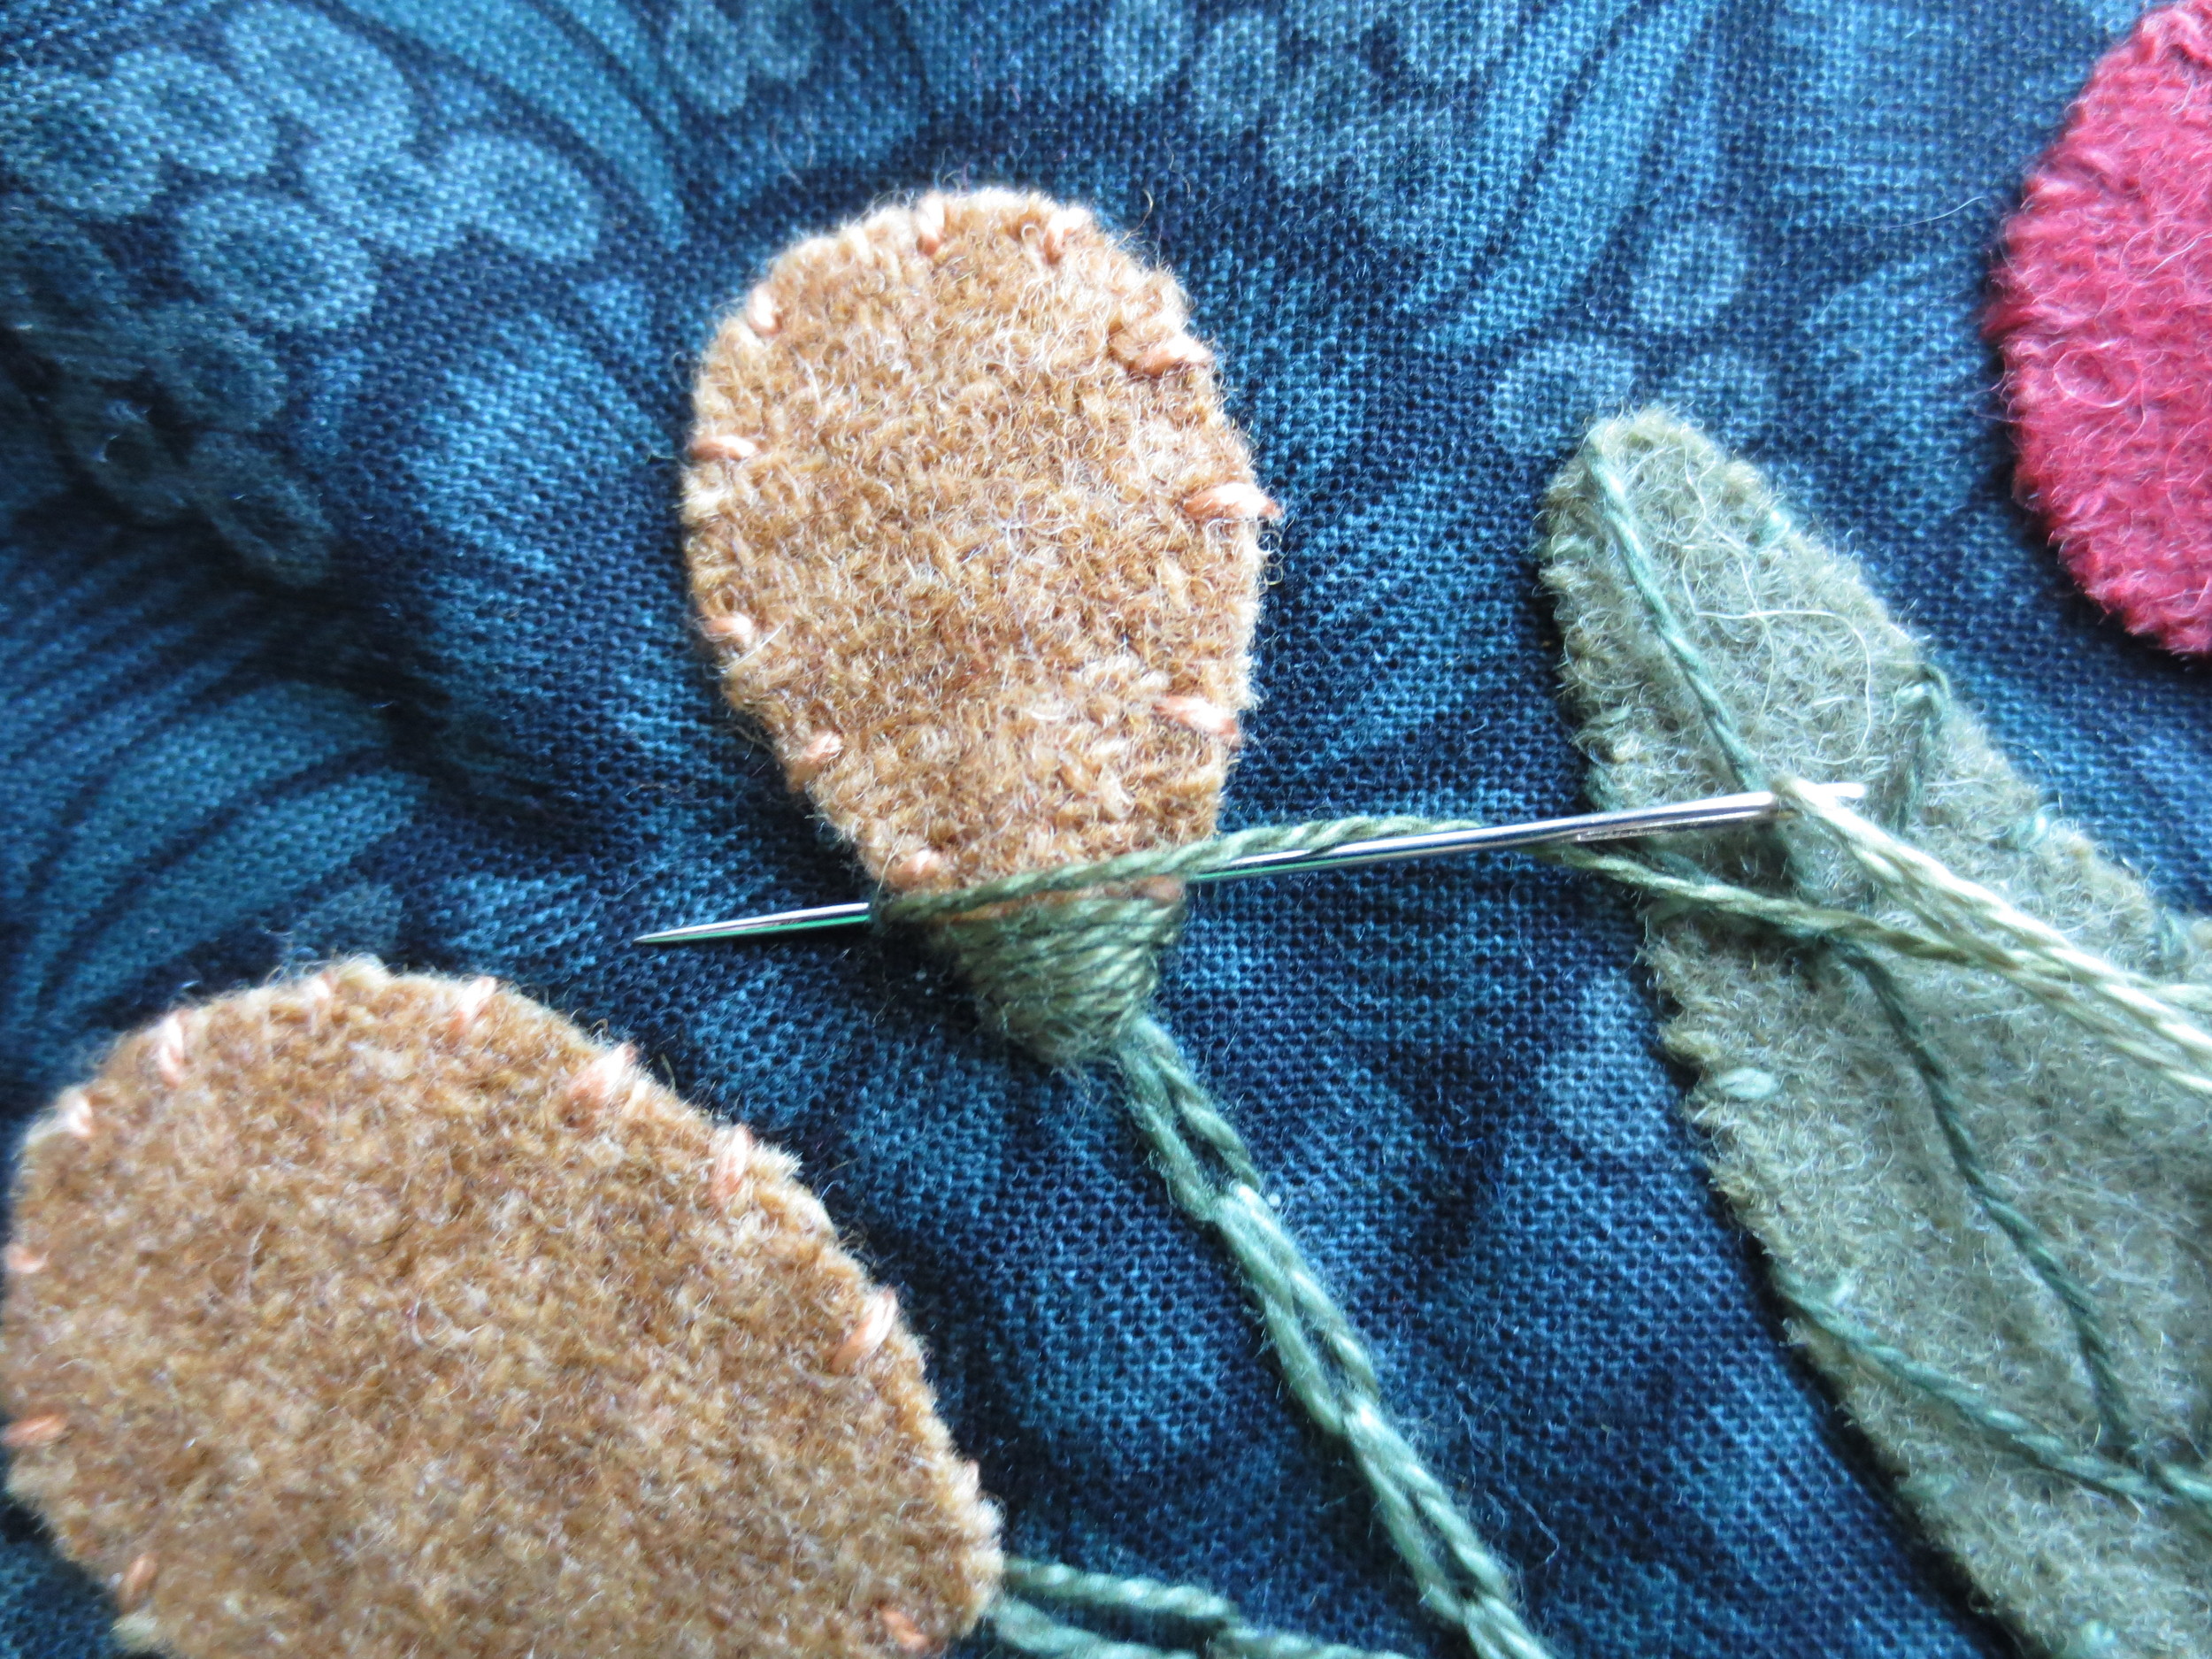
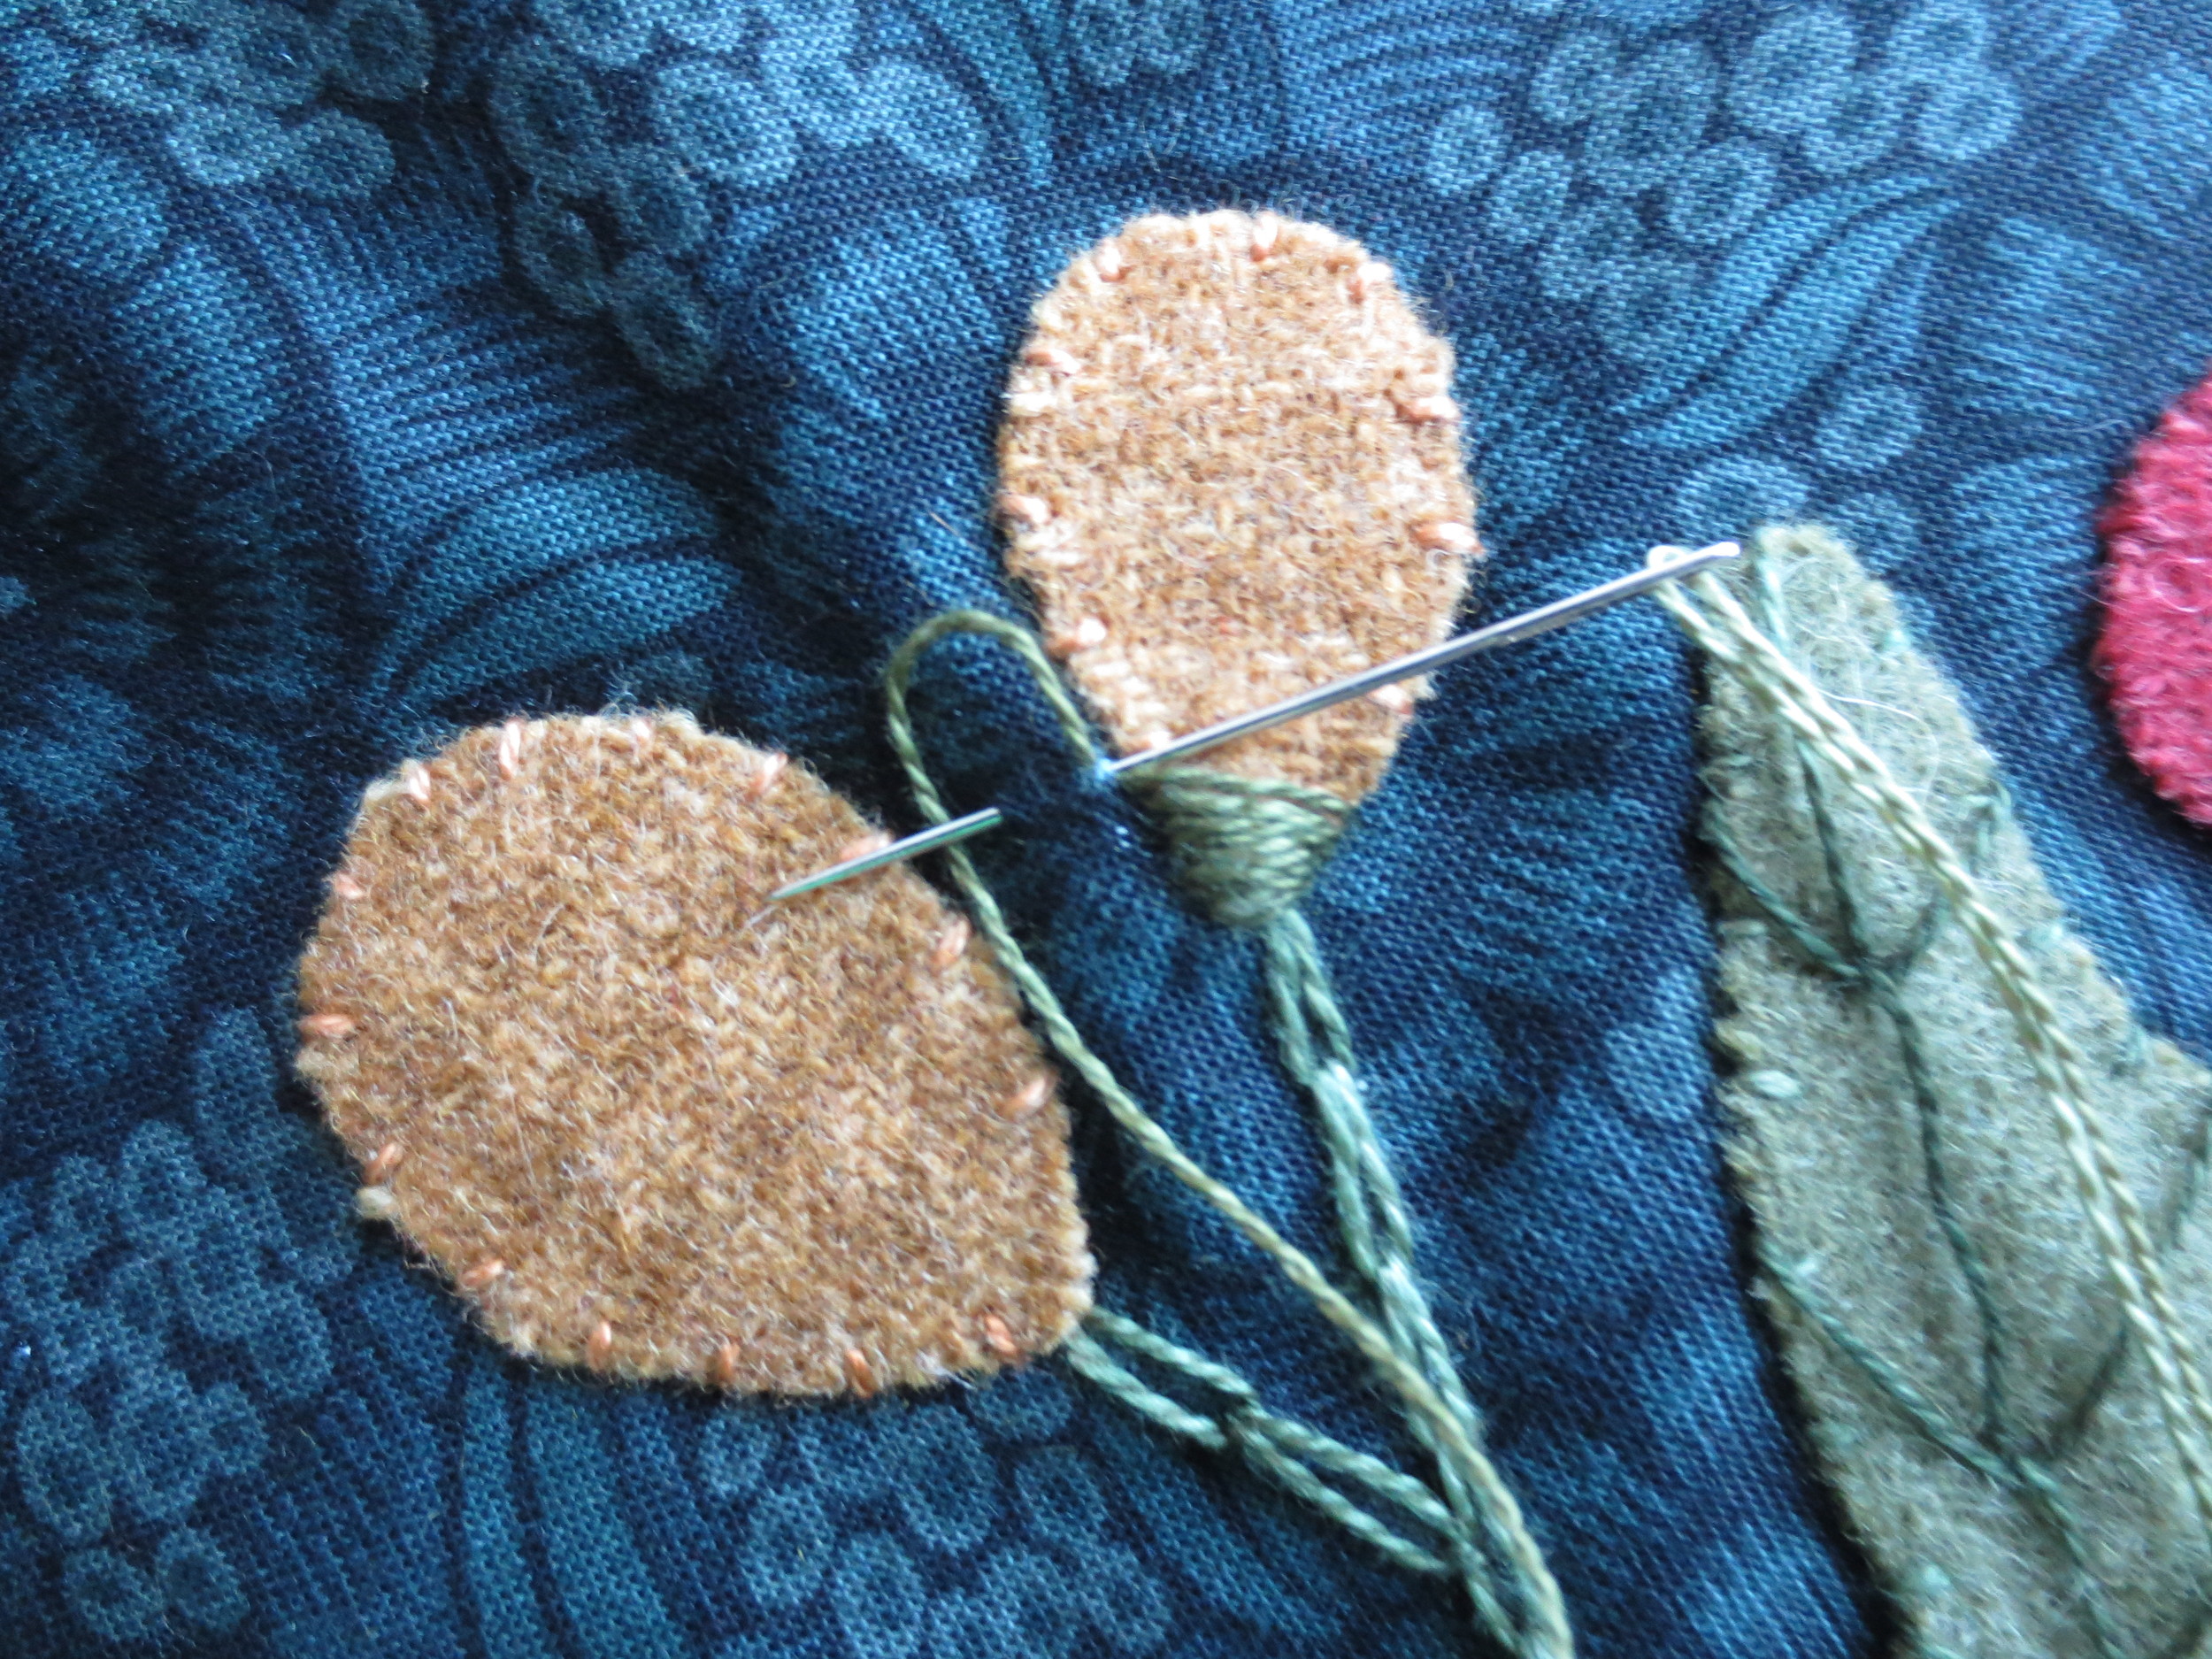
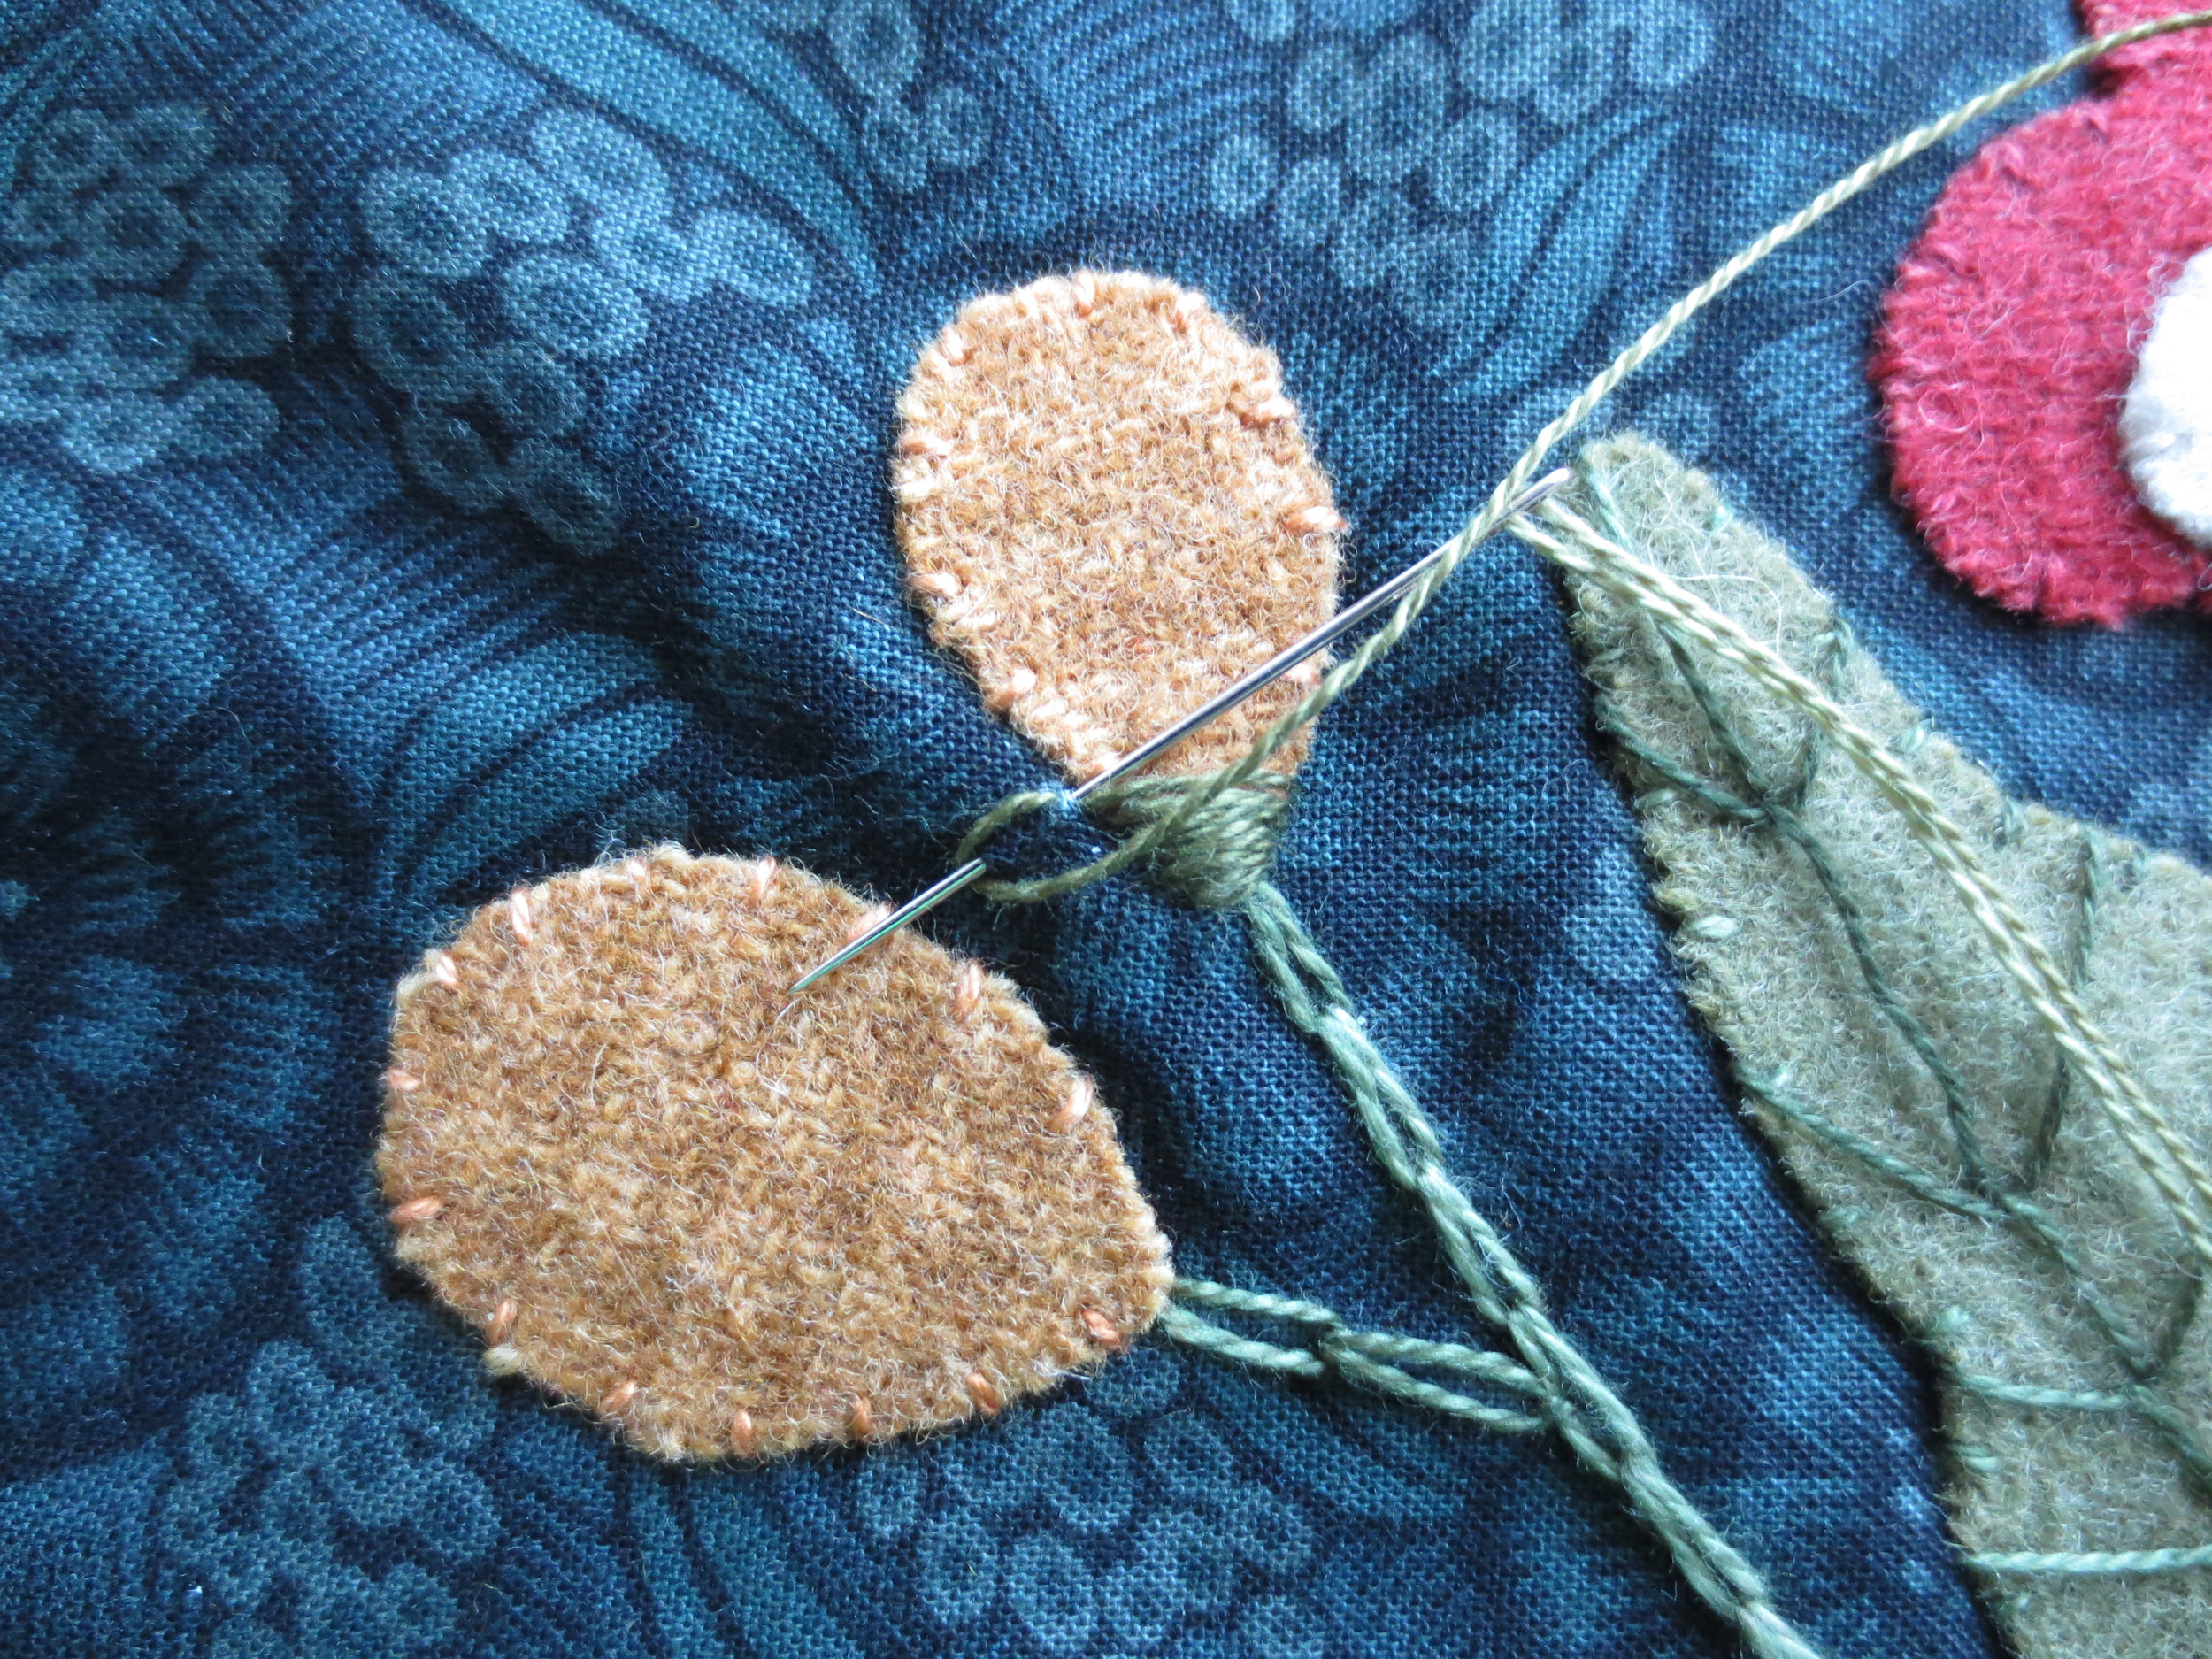
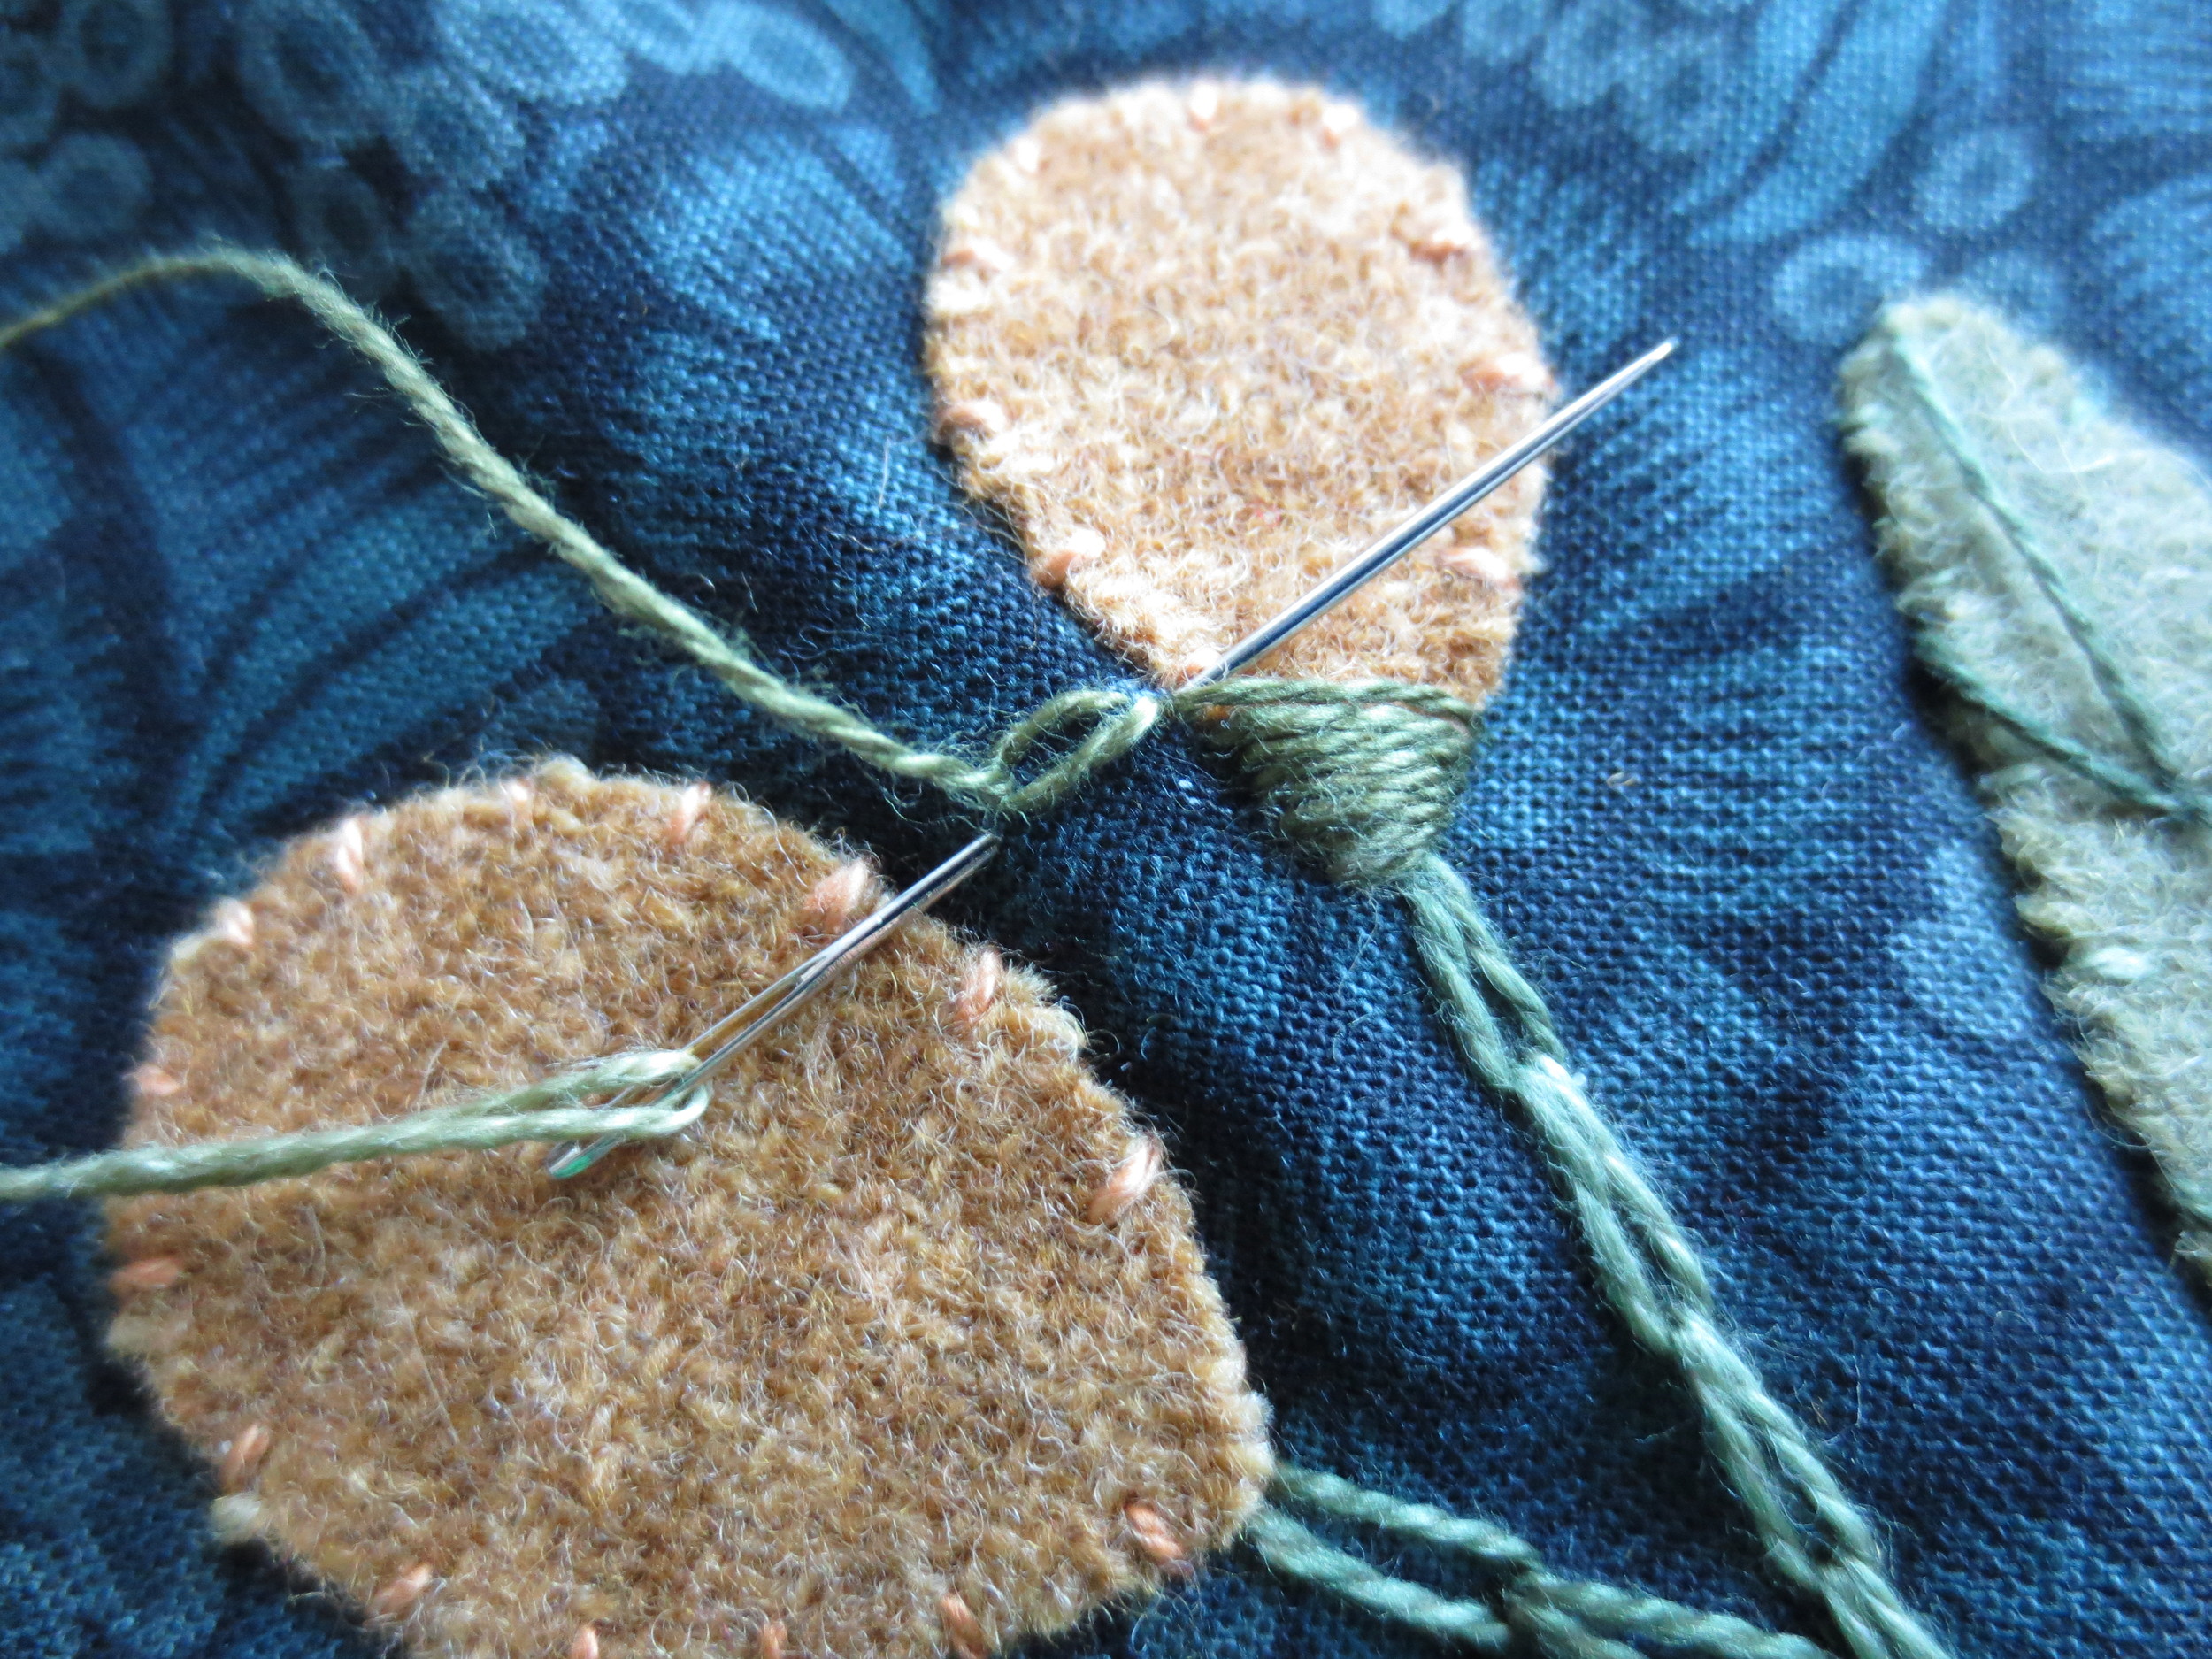
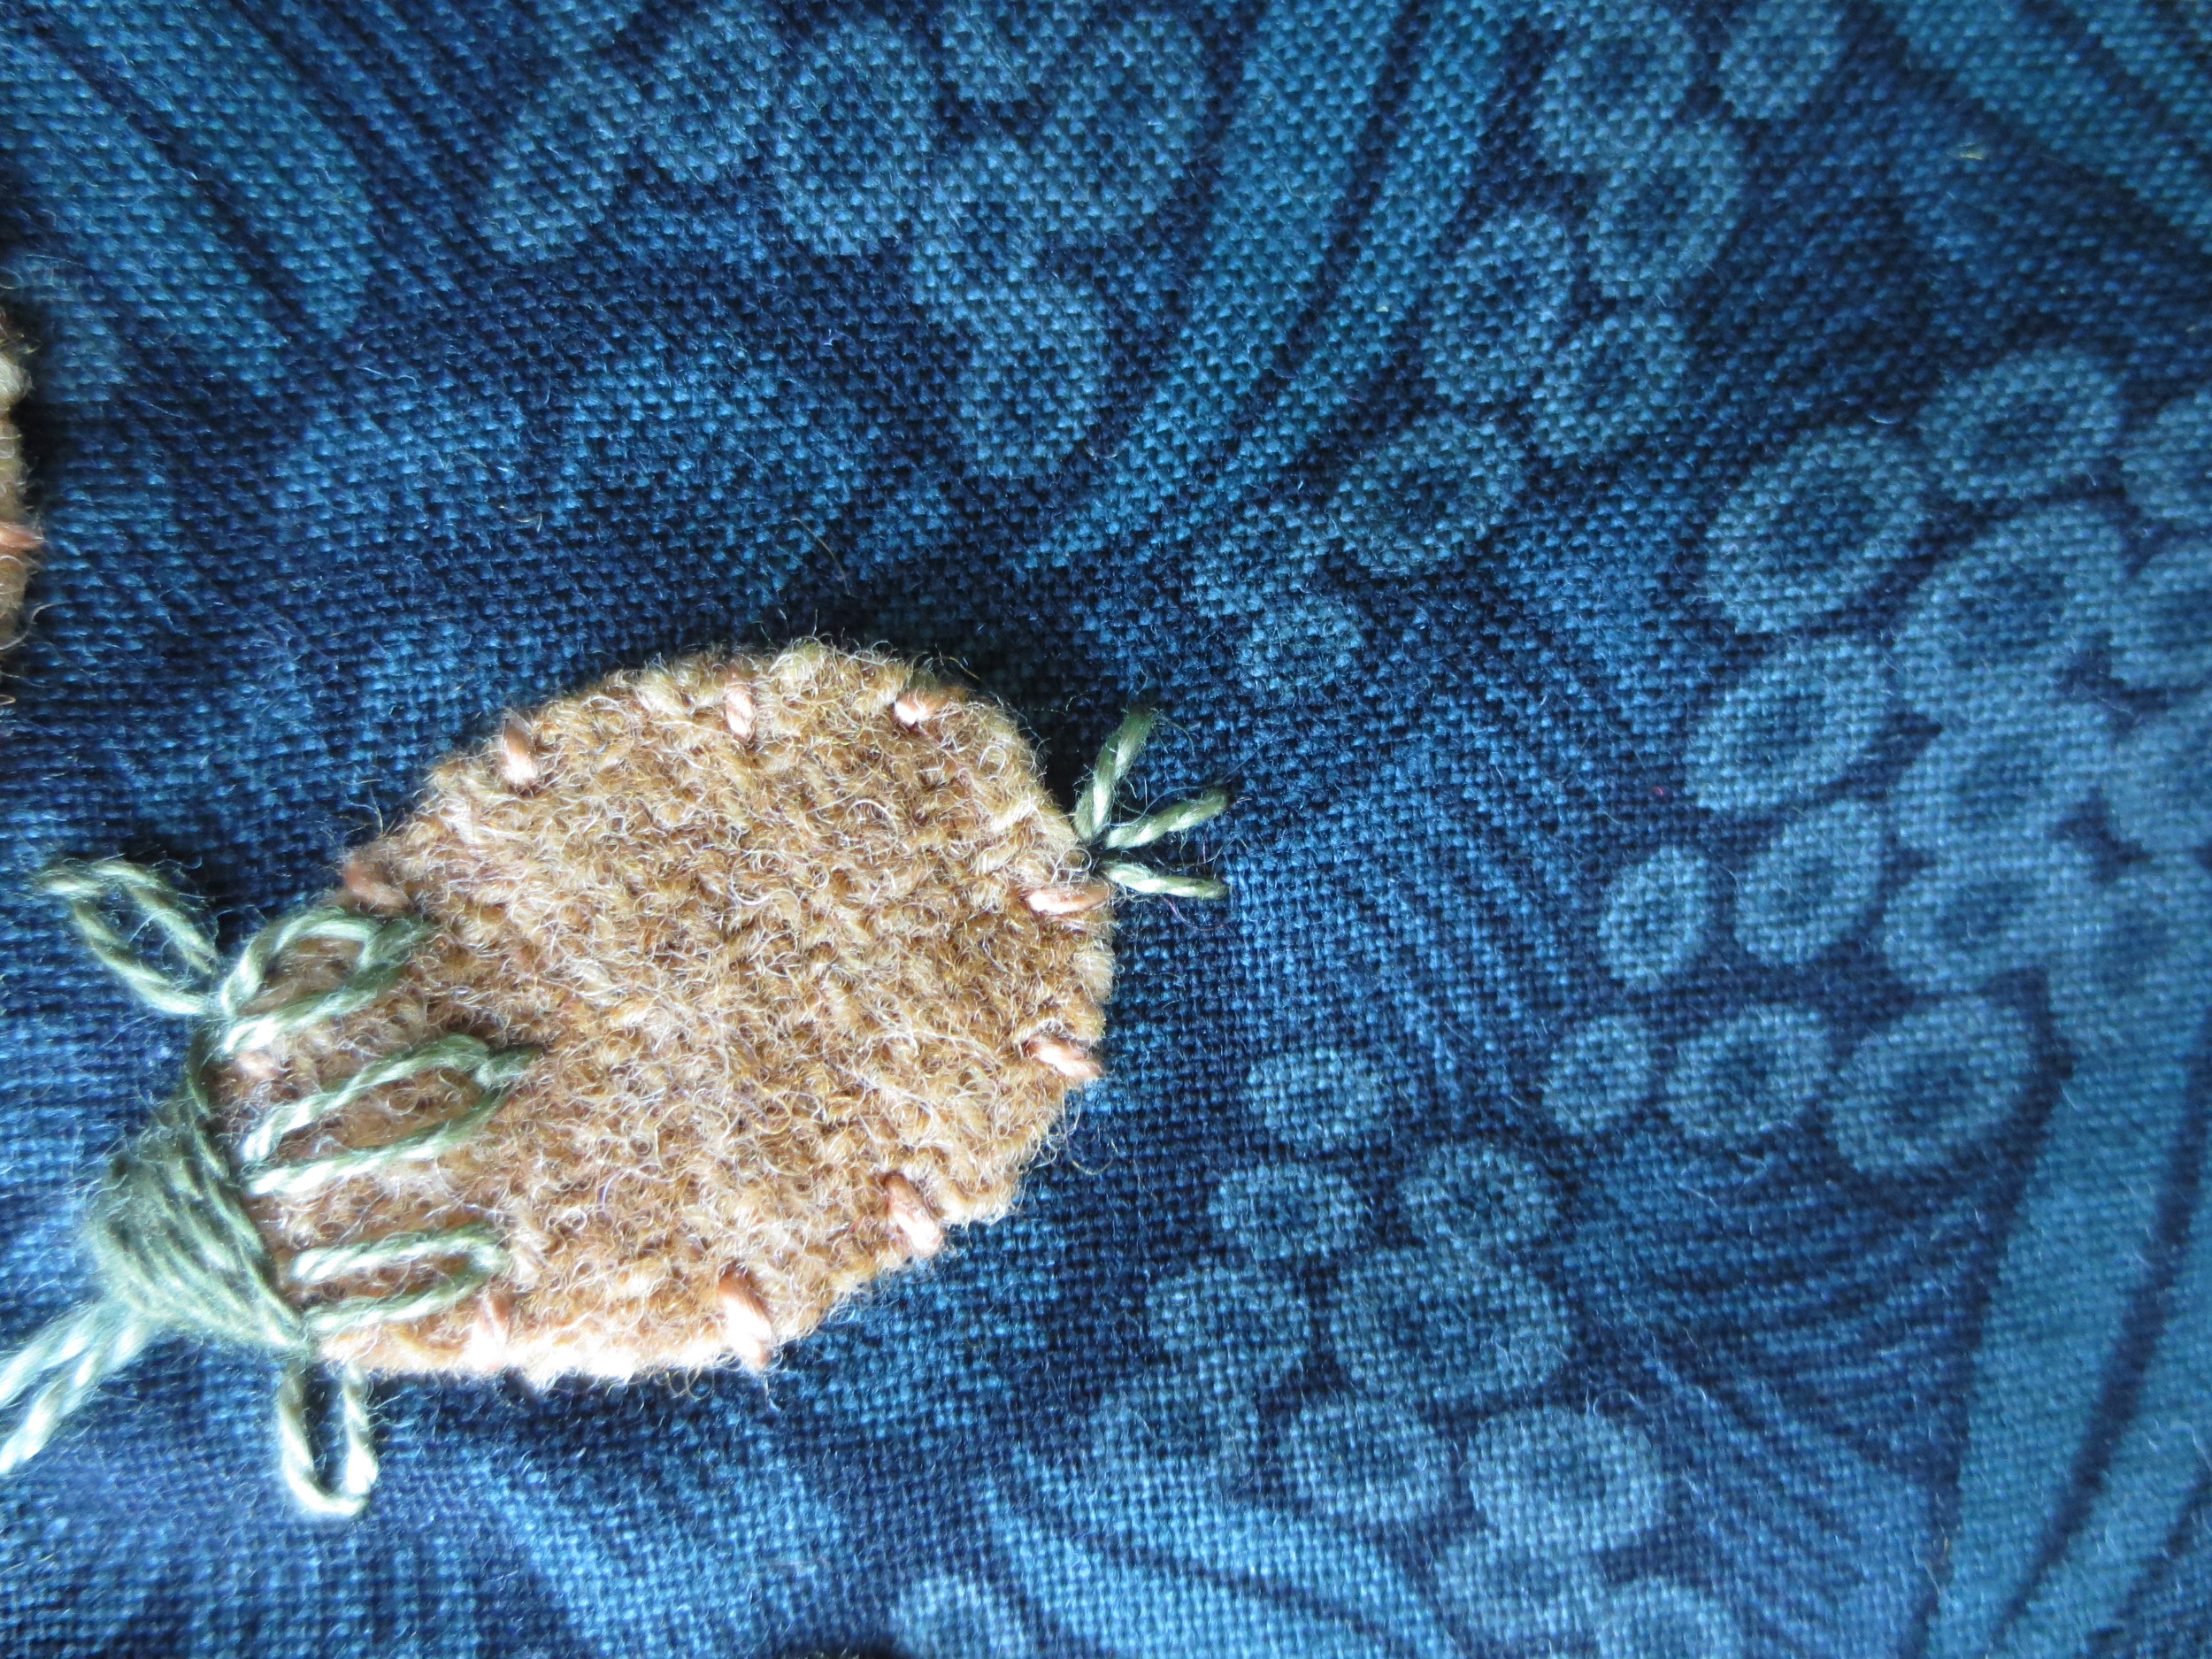
5. Use one strand of green perle 12 to satin stitch the base of each berry. I call these the berry receptacles. Bring your needle up at the bottom left of the berry, down on the bottom right directly accross from the stitch origin, and back up just above the stitch origin. Pull the thread through, and repeat 7-10 times depending on the size of the berry. Make sure the stitches don't overlap.
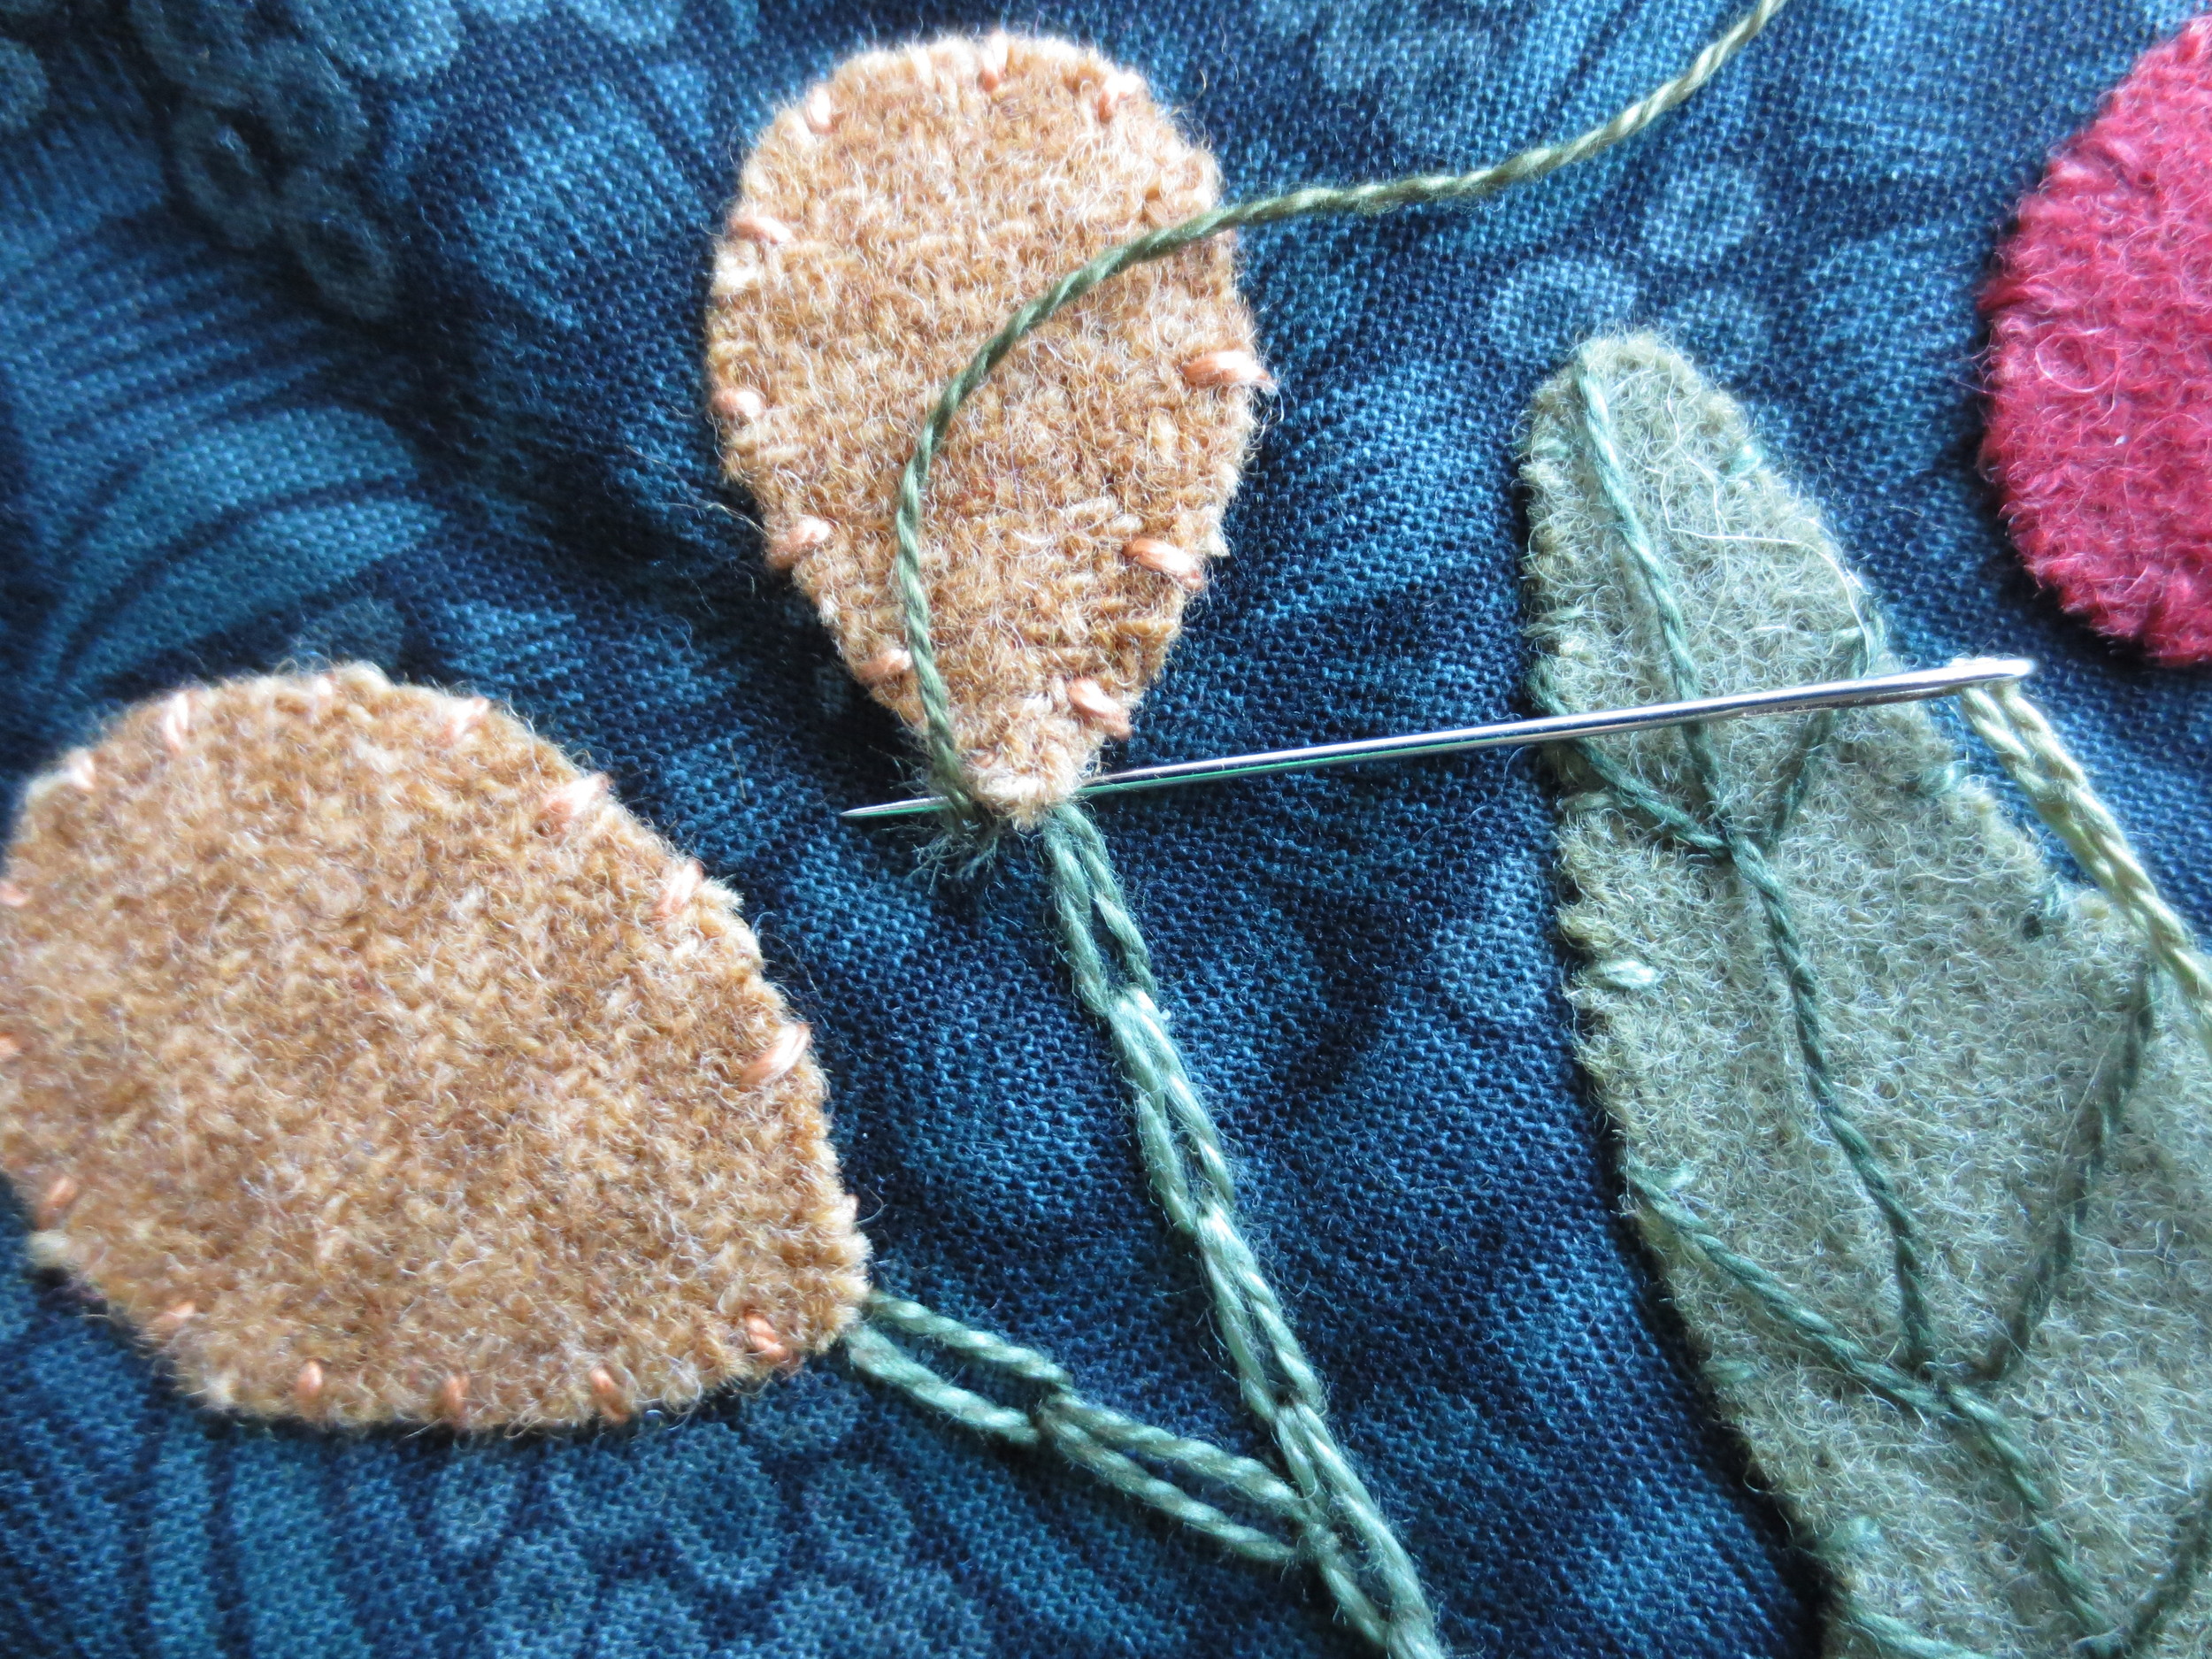

6. Use the same thread to make several lazy daisy stitches (sepals) on the top of the receptacles. The amount of stitches varies with the size of the berry (see layout).
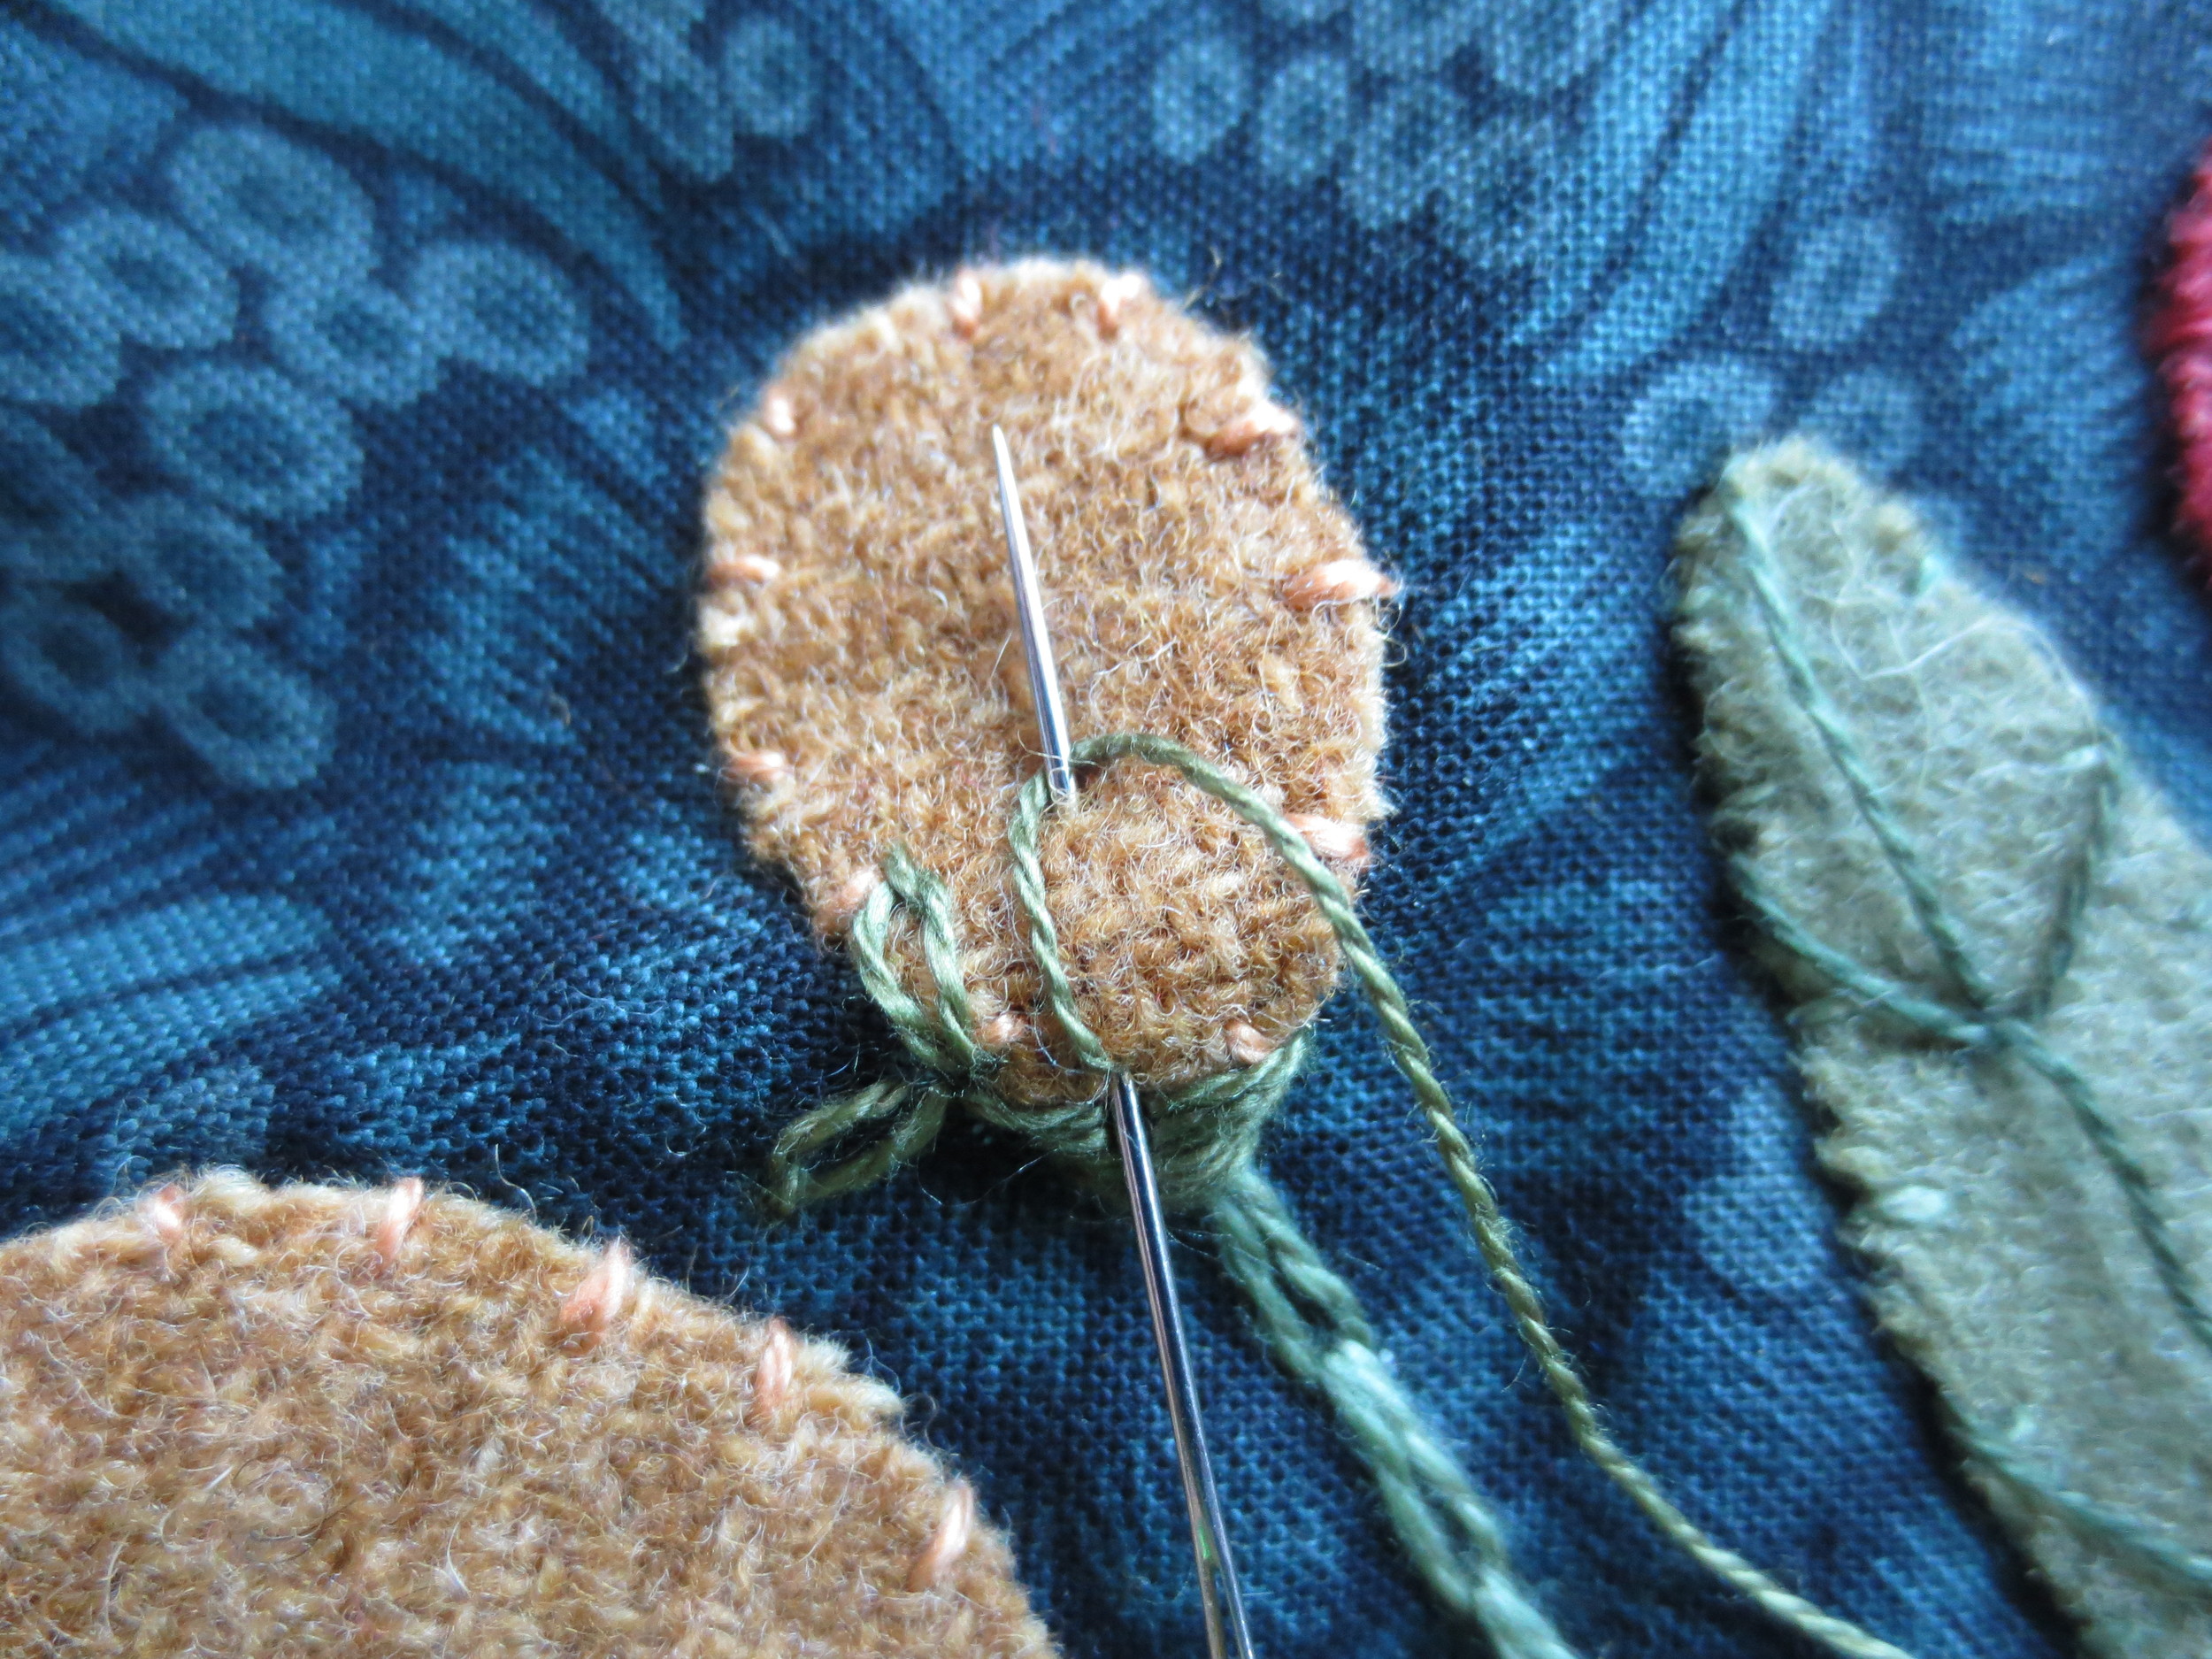
7. Use the same thread to make three small straight stitches radiating out from the top of each berry.
Congratulations! All the applique is done!
Go to Part V if you want to make it into a pillow, or Part VI if you want to make it into a table rug.