
The Promise of Spring
The Promise of Spring Notepad Cover

Front cover
I made this to celebrate the coming of Spring in my garden.
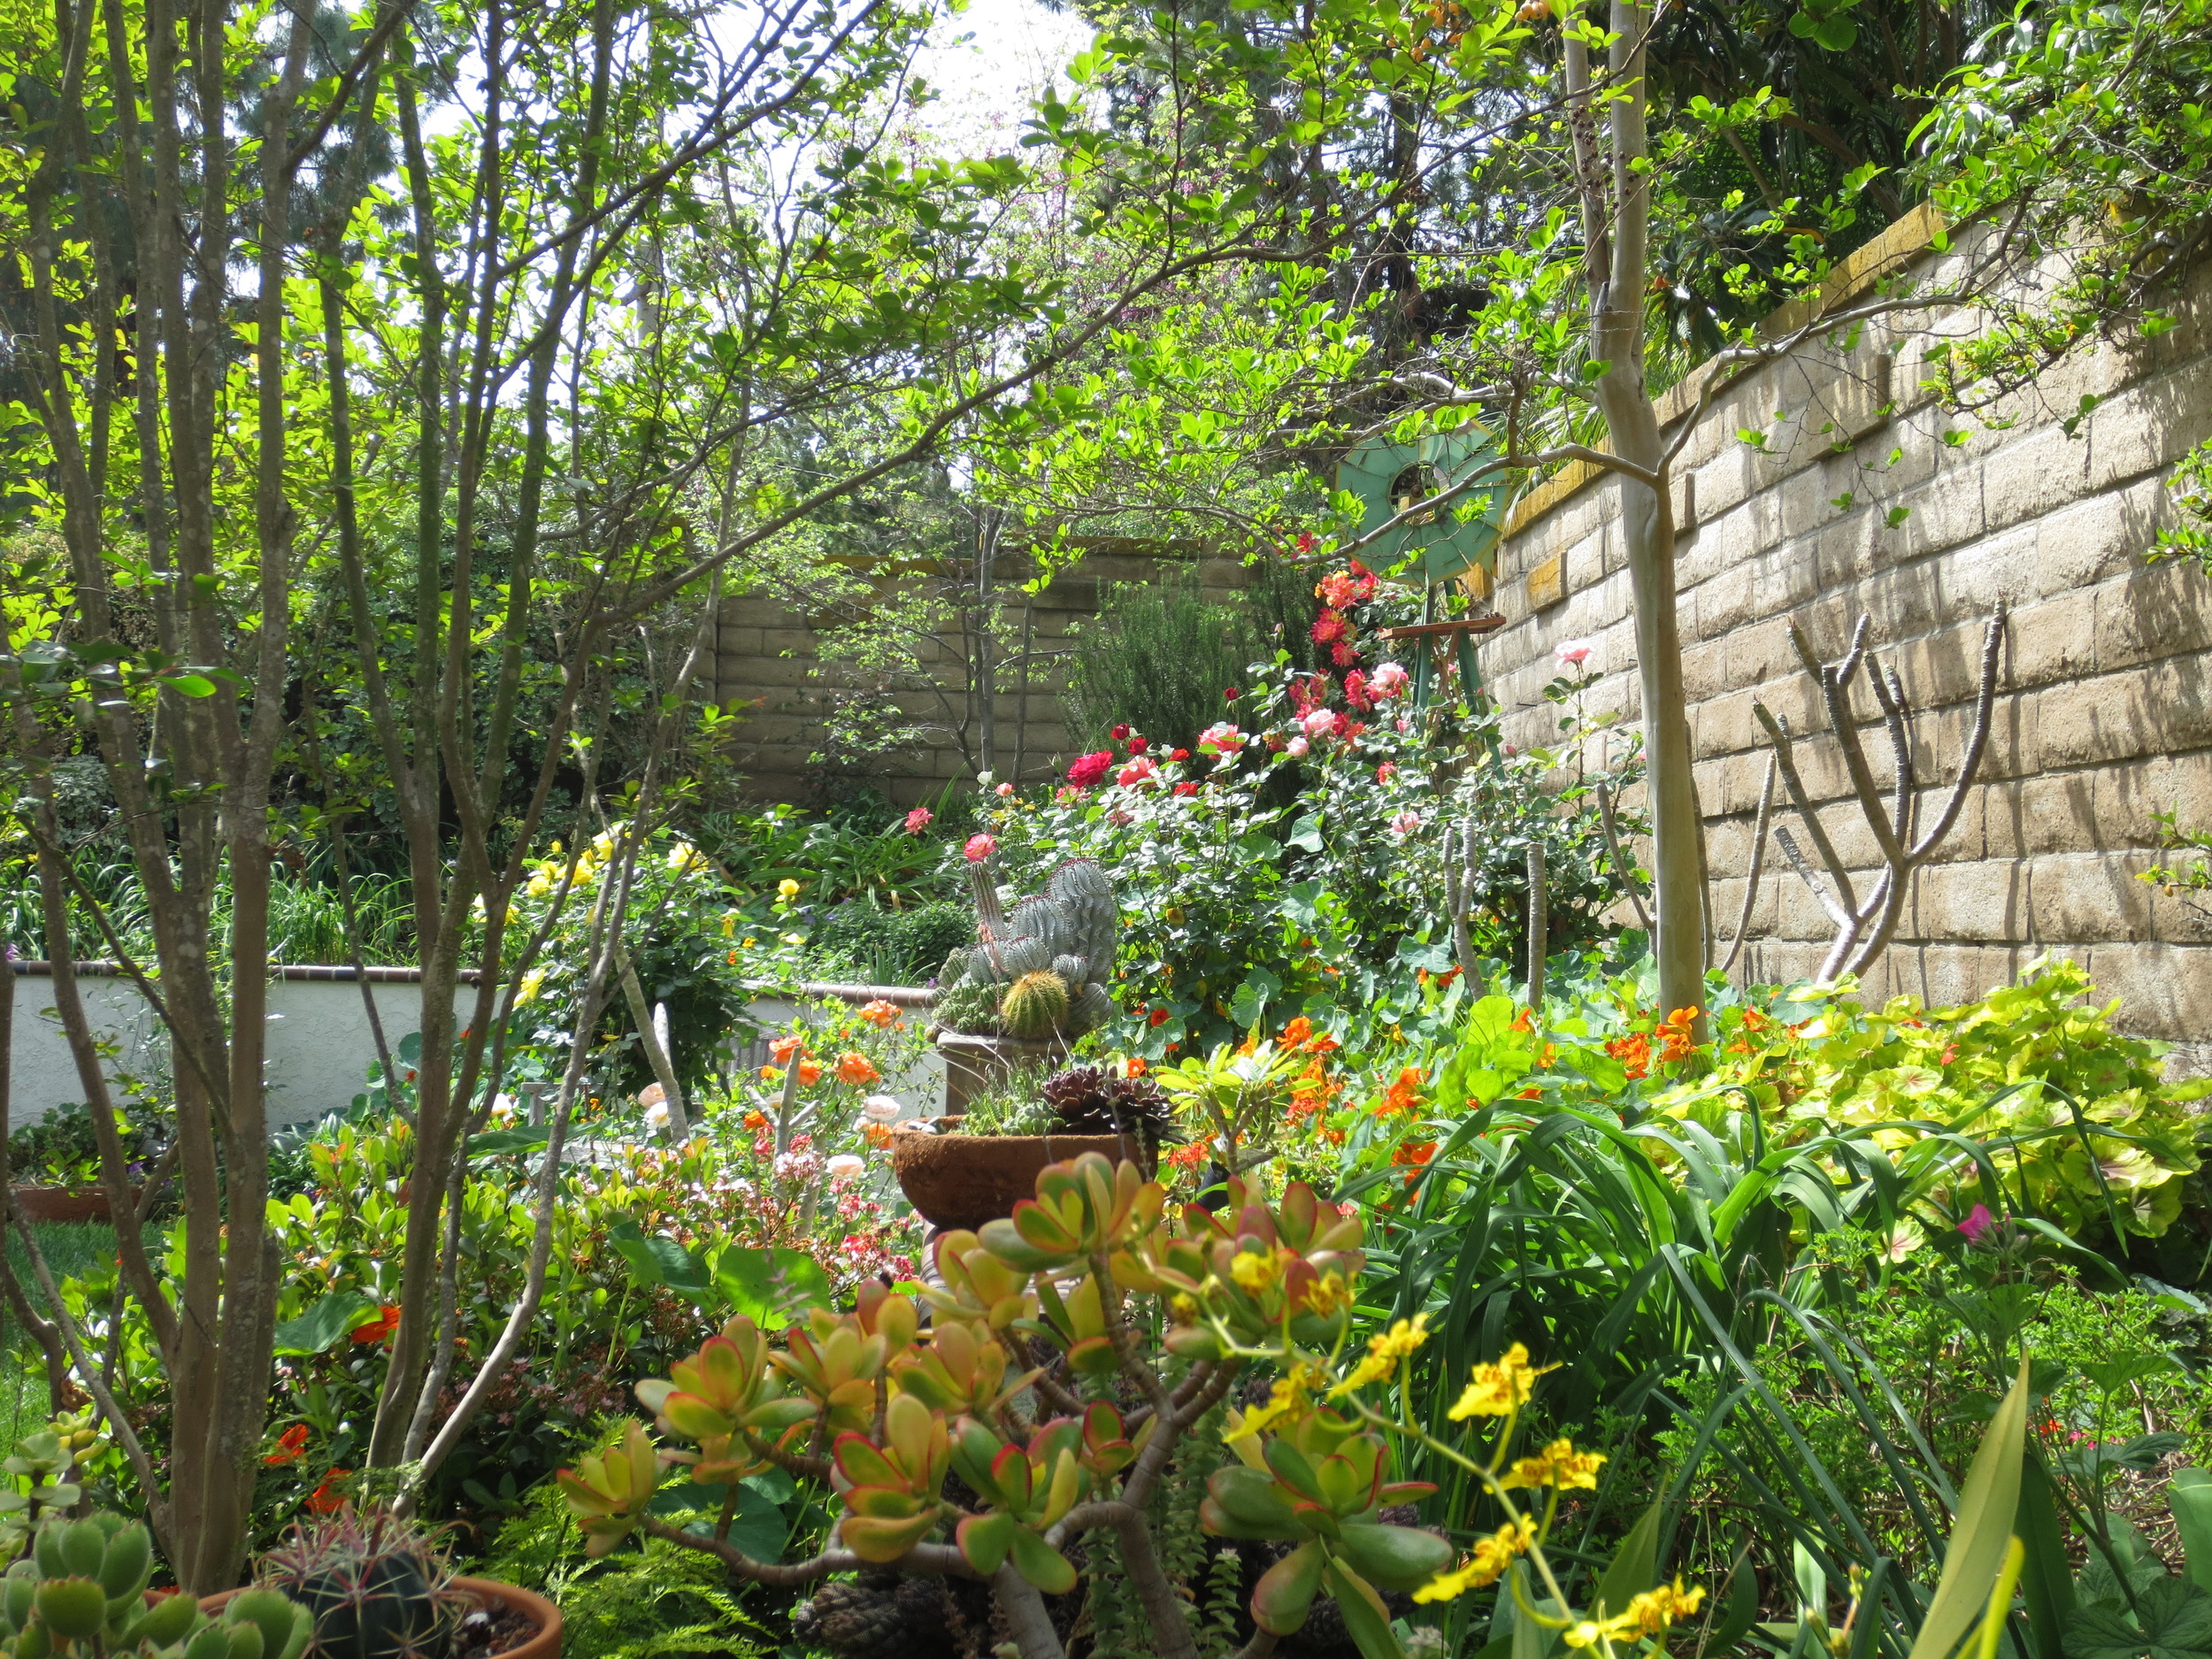
The flowers are beginning to bloom in my garden.
The basic construction of the notepad is the same as that in Snow Day. Scroll down to "Background Assembly." This post contains the applique instructions only.
The background fabric is: Robert Kaufman "Imperial Collection" screen print D# 11260. The lining fabric is: Bonnie Blue Basics by Paula Barnes of Bonnie Blue Quilts for Marcus Fabrics.
You will need:
Cotton fabric
- 1/4" textured black - background
- 1/4" red print - lining
Felted wool
- 4 1/2" square teal plaid - vase, butterfly body
- 1" x 2" light teal - inside top of vase
- 2" x 3" yellow - large flower center, small flower
- 3" x 4" red - large flower, small flower center, butterfly wing spots
- 2" x 2 1/2" yellow green - leaves
- 3" square yellow plaid - butterfly wings
Thread
- Perle cotton, size 12 or 2 strands of embroidery floss
- Teal - vase, vase handles, large and small flower embellishments, butterfly body, antennae, and wing embellishments
- Red - large flower and small flower center , large flower embellishment, butterfly body stripes, ribbon on vase
- Yellow - butterfly, large flower center and small flower, butterfly spot embellishment
- Medium green - leaves, flower stems
- Light green - veins of leaves
- Beige - baby's breath flowers, "Notes", butterfly antennae, butterfly flight path
- Perle cotton, size 8, or 3 strands of embroidery floss
- Black - notepad blanket stitch
- Medium green - baby's breath flower stalk
Miscellaneous
- Light-weight fusible web
- Chenille needle, size 24
- 8" length of 5mm wide red ribbon
- Fine point chalk pencil
- Sewing machine
Instructions
Download The Promise of Spring (front) - Layout, The Promise of Spring (back) - Layout, The Promise of Spring - Pattern. Download the Stitch Guide if you have not already done so from previous projects.
For more detailed instructions on the preparation of the applique pieces prior to sewing see "Wool Appliqued Pouch - Flower Variation."
All thread is perle cotton, size 12, or 2 strands of floss unless otherwise noted.
Front Cover
- Trace pattern images (reversed) onto fusible web. Cut out pattern pieces slightly larger than outline and fuse to desired wool. Cut out wool pieces.
- Position vase, vase inside top, flowers, and leaves on front of notepad. Remove everything but the vase and vase inside top (vase is on top of vase inside top). Fuse in place using steam. Whip stitch with teal thread.
- Draw vase handles with chalk pencil. Back stitch over chalk lines with teal thread. Using the same thread, stitch a french knot on the end of each handle.
- Position flowers and leaves leaving space for baby's breath. Draw flower stems and baby's breath stalk and stems using chalk pencil. Remove flowers and leaves.
- Stem stitch large and small flower stems with medium green thread.
- Use medium green perle cotton, size 8 to stitch a closed fly stitch on the upper portion of the baby's breath flower stalk. Use a coral stitch to make the bottom portion of the stalk. Stitch a lazy daisy stitch on each side of the stalk extending from the top two knots of the coral stitch. Use beige thread to stitch a "cross stitch plus one" on the end of each stem. Note: The "cross stitch plus one" is a simple "X" plus a horizontal stitch across the intersection of the crossed lines. It should look like an asterisk.
- Replace the flowers, flower centers, and leaves. Fuse in place using steam.
- Use medium green thread to whip stitch leaves. Use light green thread to make leaf veins. Stitch a long straight stitch down the center of the leaf (central vein) and then two or three evenly spaced short straight stitches perpendicular to the central vein.
- Whip stitch large flower with red thread. Whip flower center with yellow thread. Use teal thread to create fly stitches around the perimeter of the large flower center. Use medium green thread and a square laid stitch to create a grid pattern on the flower center. Stitch a red french knot in the center of each grid square.
- Use yellow thread to whip stitch small flower. Whip stitch flower center with red thread. Draw a line down the center of the small flower center. Stitch four equally spaced knotted fly stitches along the line. Note: A knotted fly stitch is a modification of a fly stitch (see stitch guide). Before inserting the needle at 4, wrap the thread around the needle as you would for a french knot (see stitch guide) and then insert at 4 and pull through.
- Tie ribbon into a bow that measures the same as the width of the top of the vase. Fold ends to match layout. Hint: Lay ribbon bow on layout and finger press folds as you match picture. Fold under selvage ends and trim excess. Pin ribbon in place on vase. Whip stitch with red thread.

Folding ribbon to match layout
Back Cover
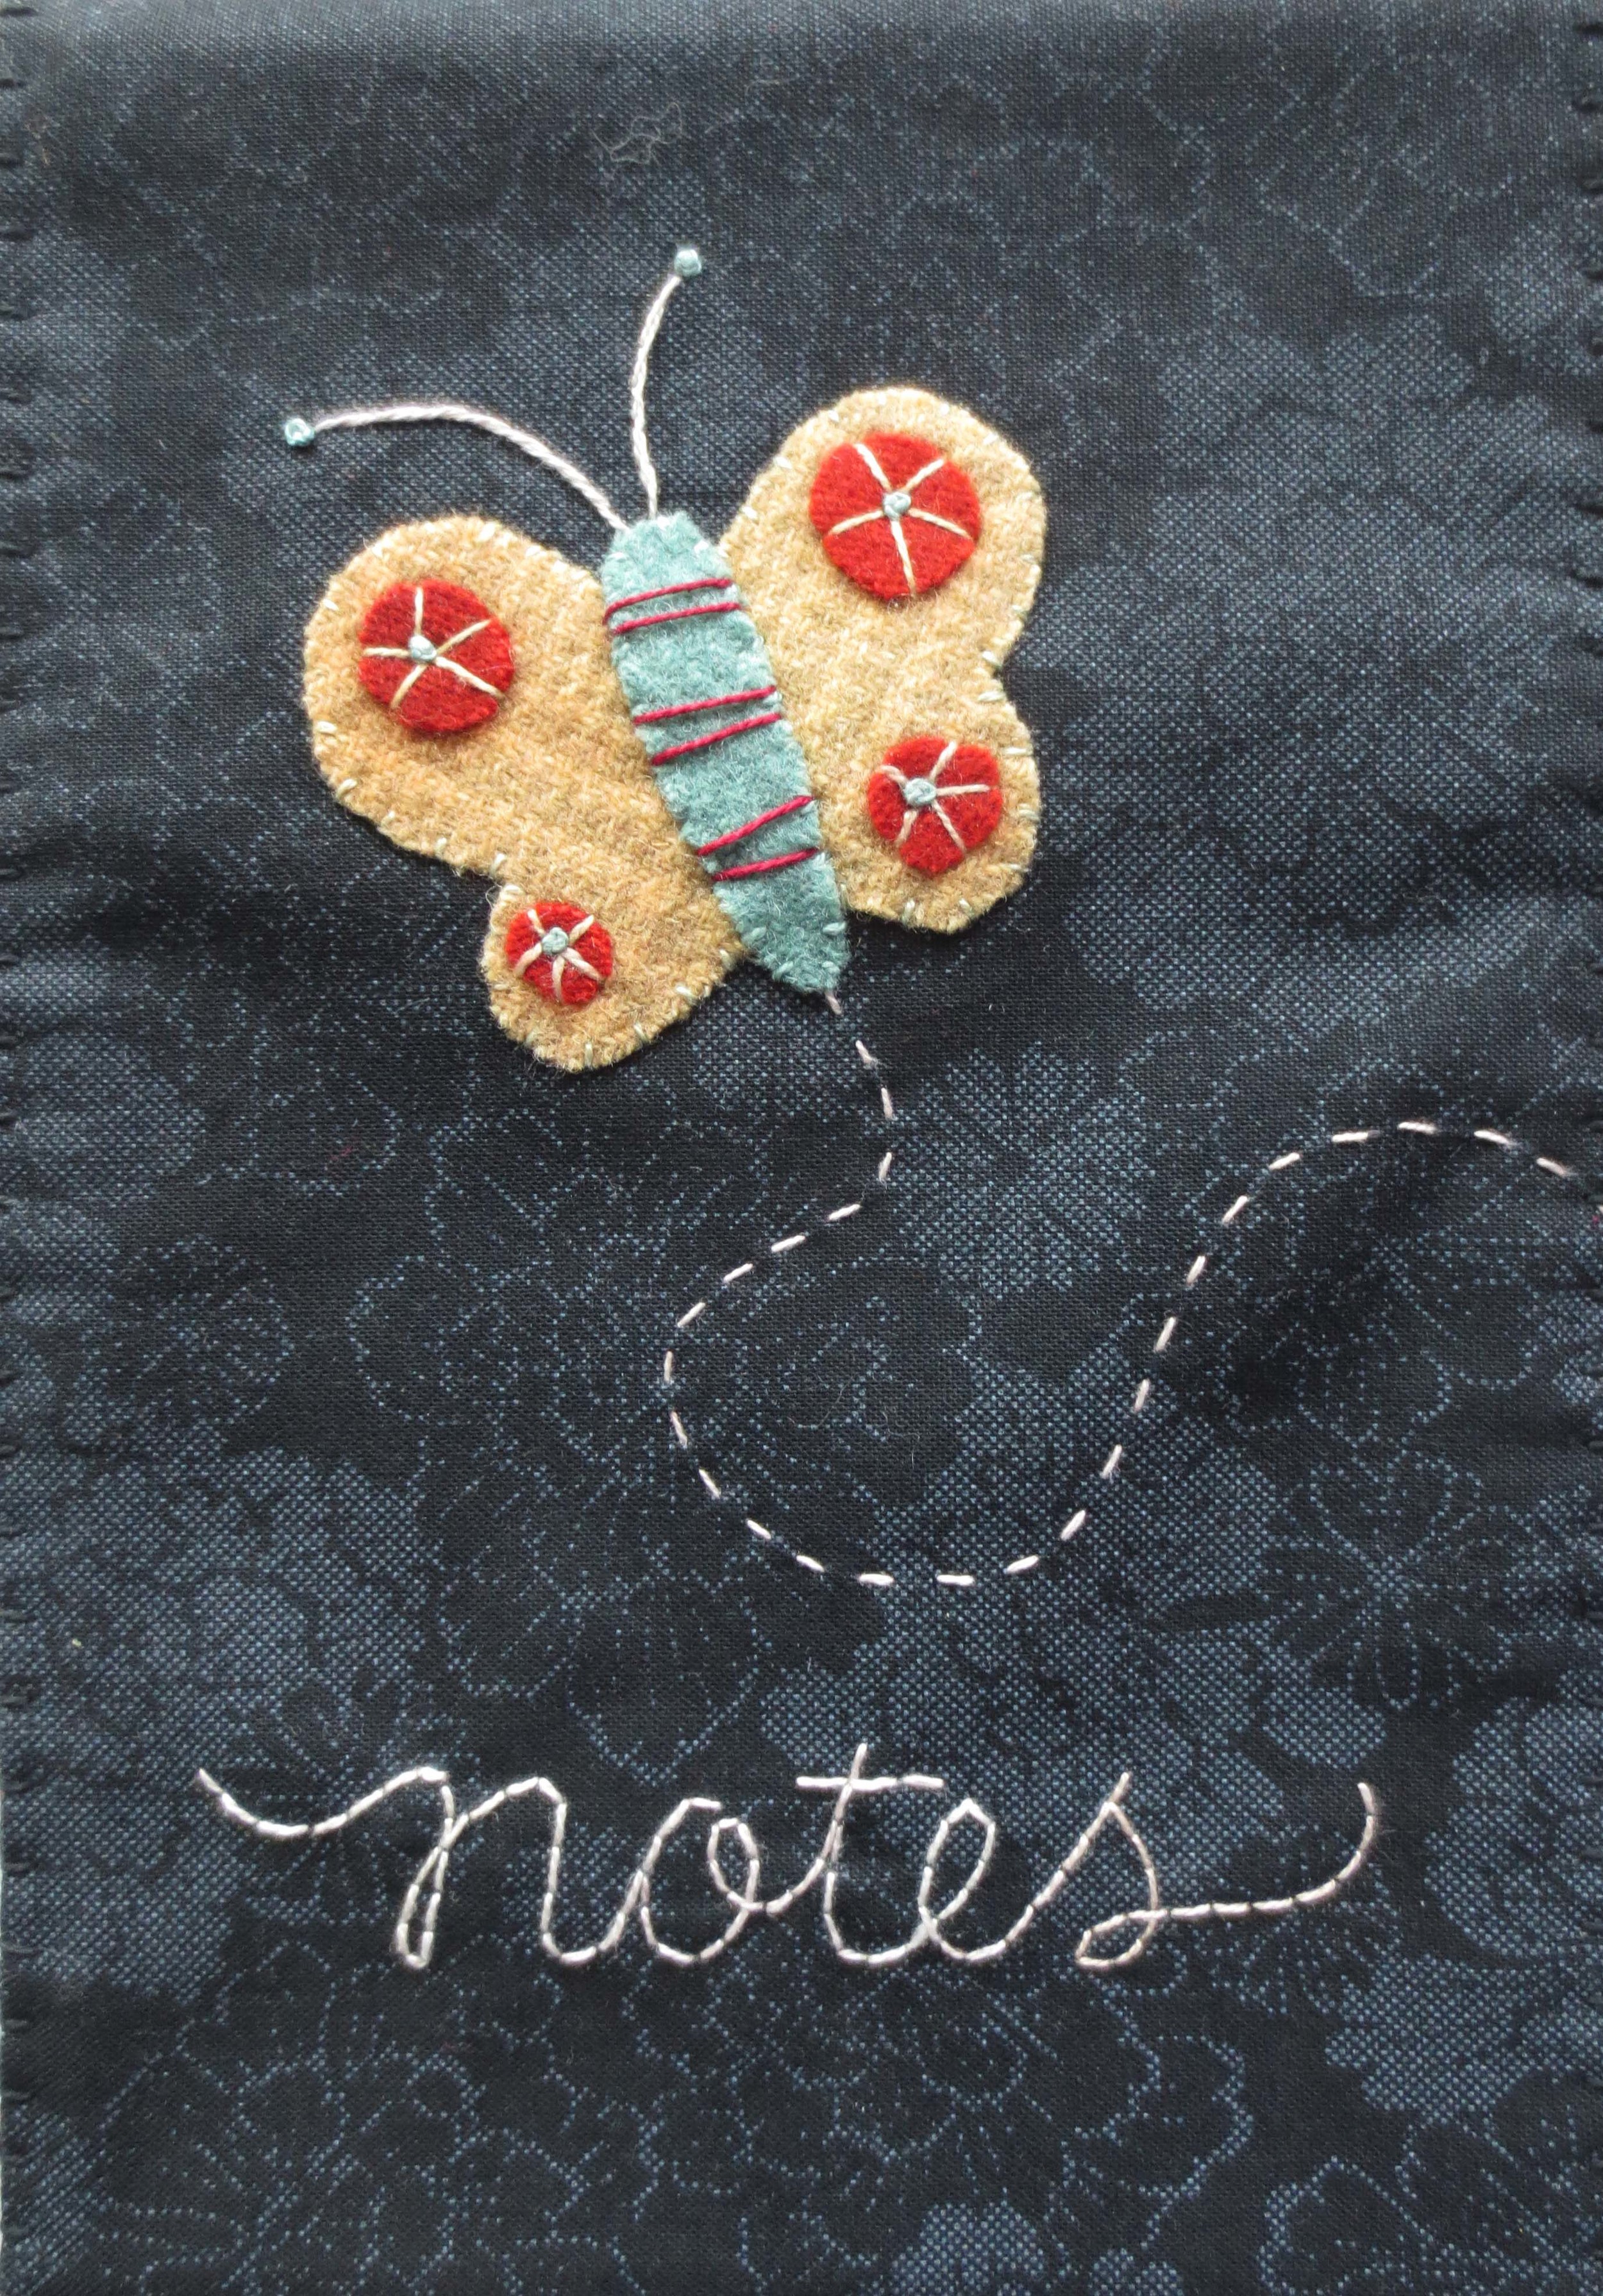
Back cover
- Lay out butterfly wings, body, and spots making room for the antennae, flight path, and "Notes". Fuse in place.
- Whip stitch wings with yellow thread.
- Whip stitch body with teal thread. Use red thread to make three pairs of straight stitches on the body.
- Use yellow thread to make 5 evenly spaced straight stitches radiating out from the center to the outer perimeter of each spot like the spokes of a wheel. Use teal thread to make a french knot in the center of each spot.
- Draw antennae, flight path, and "Notes" with a chalk pencil.
- Use beige thread to stem stitch antennae. Use teal thread to stitch a french knot on the end of each antennae.
- Use beige thread to stitch a running stitch over flight path line.
- Back stitch "Notes" with beige thread.
Finishing - See Snow Day for instructions on how to finish the notepad cover. Scroll down to the "Finishing" section of the post. The blanket stitch is made with black perle cotton, size 8.